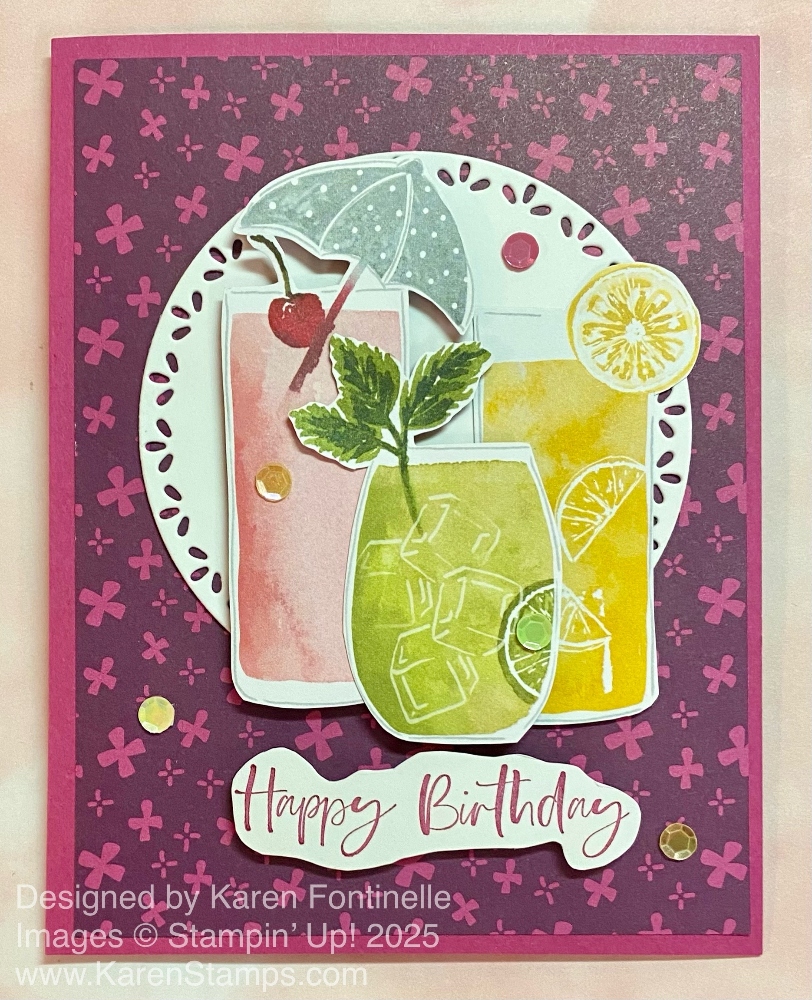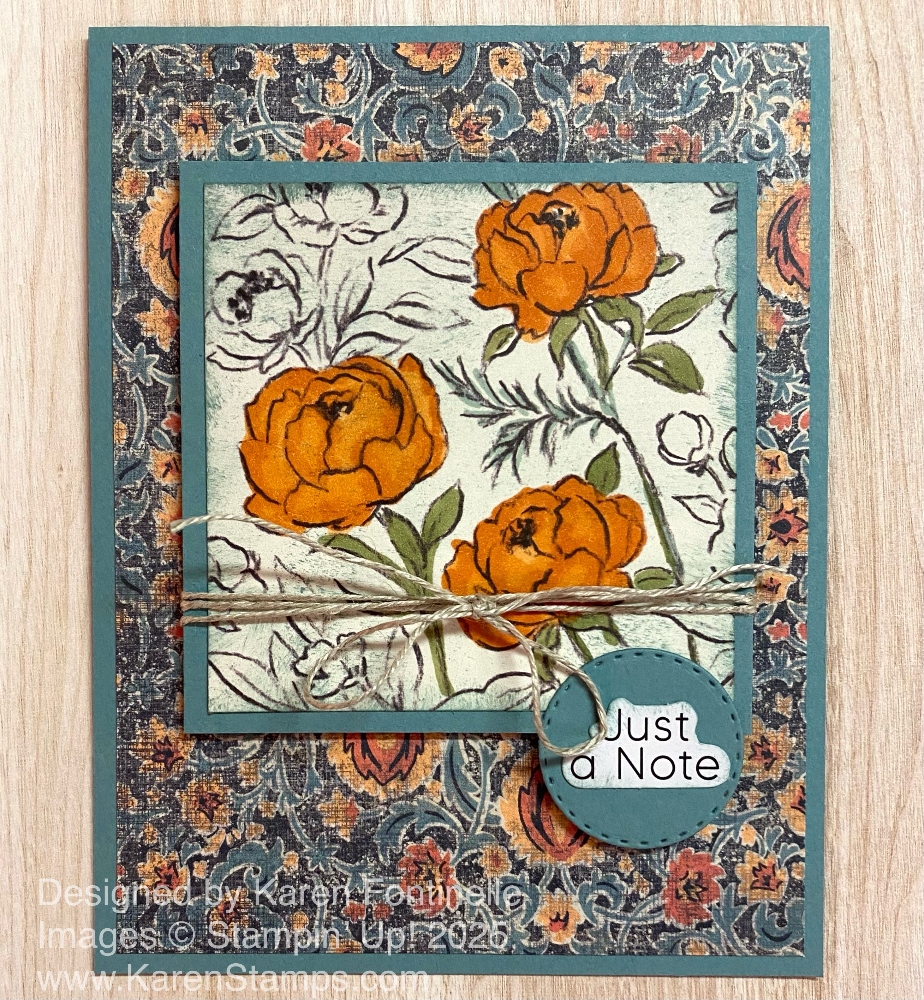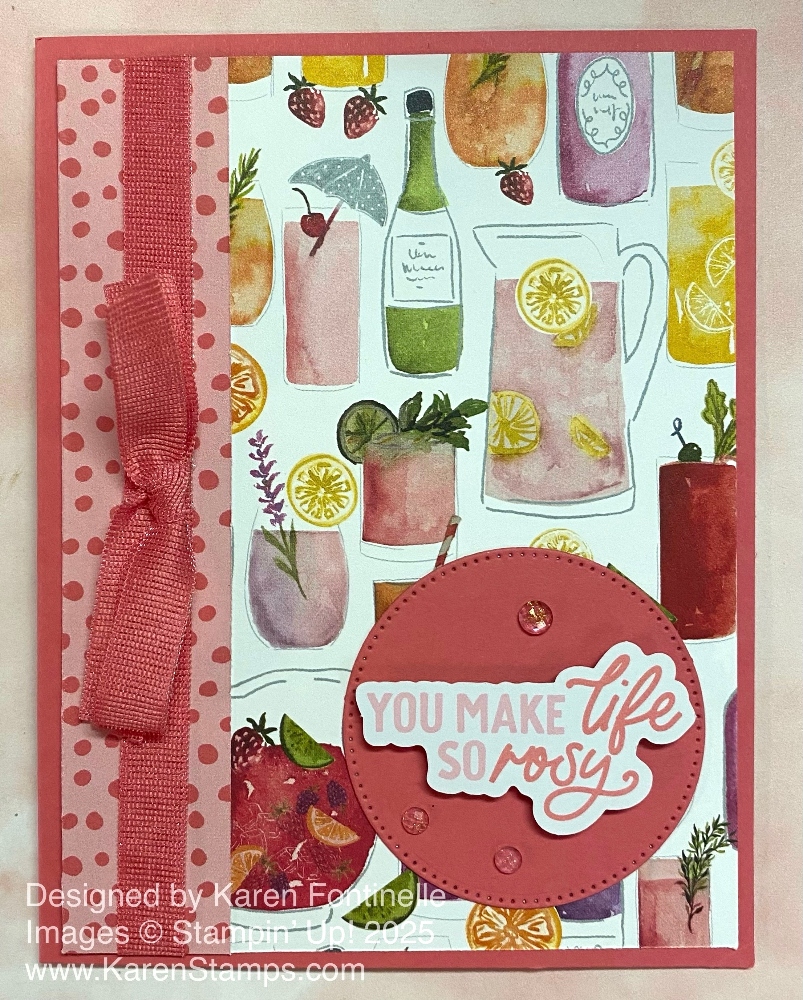
This is one of those cards, this Celebratory Sips Rosy Drinks Card, that as relatively simple as it is, it was very pleasing to see the end result. I think the designer series paper and the greeting make the card! Not only is the designer paper fun to use, but all the elements just came together.
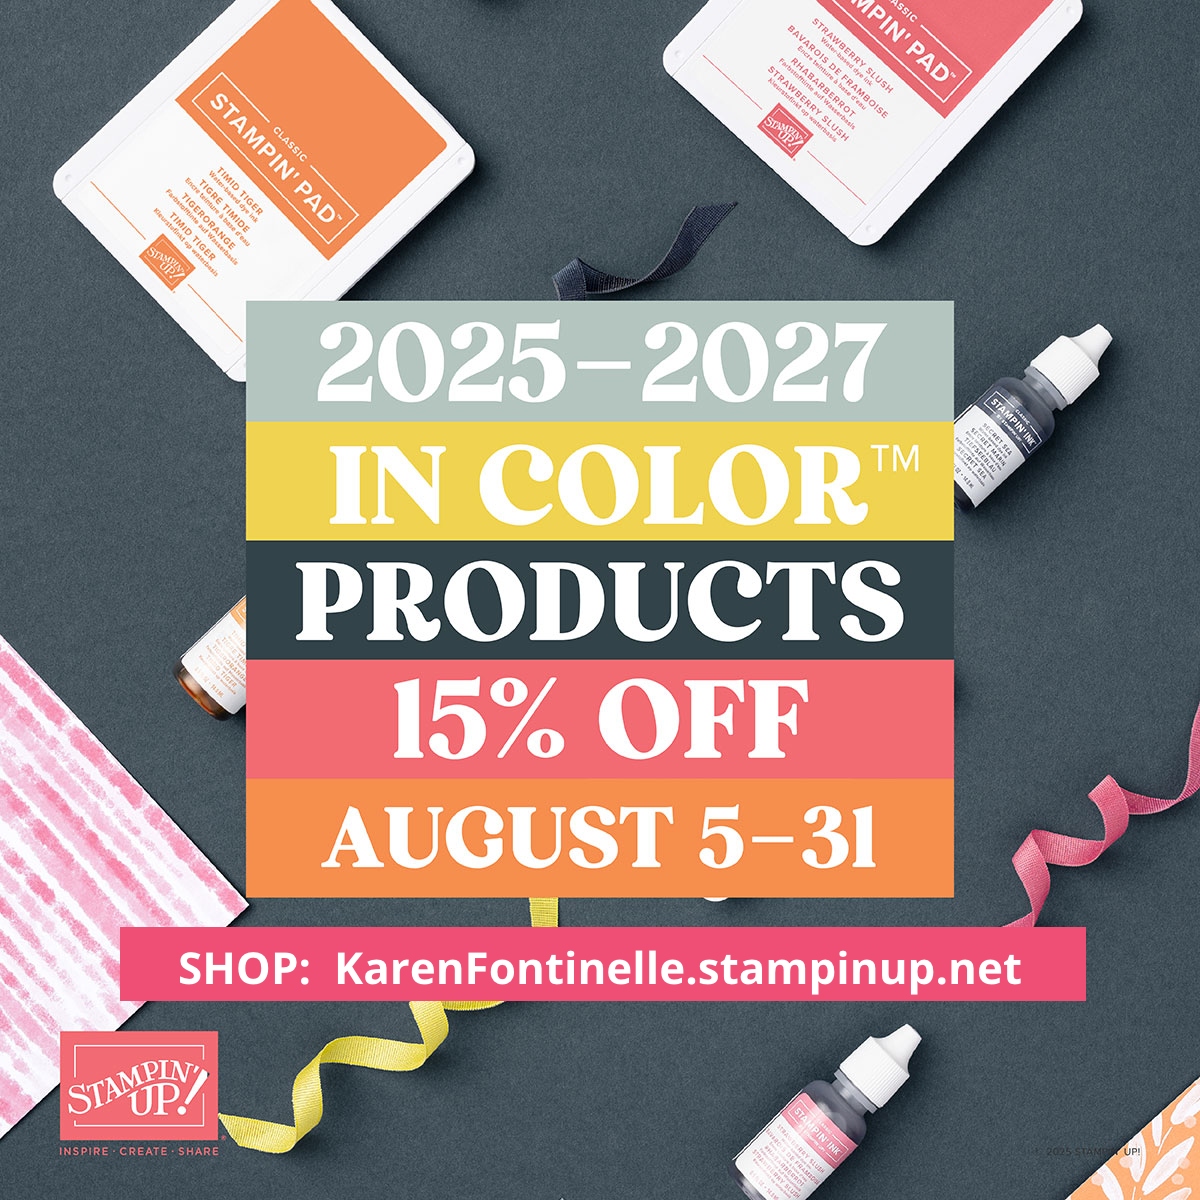
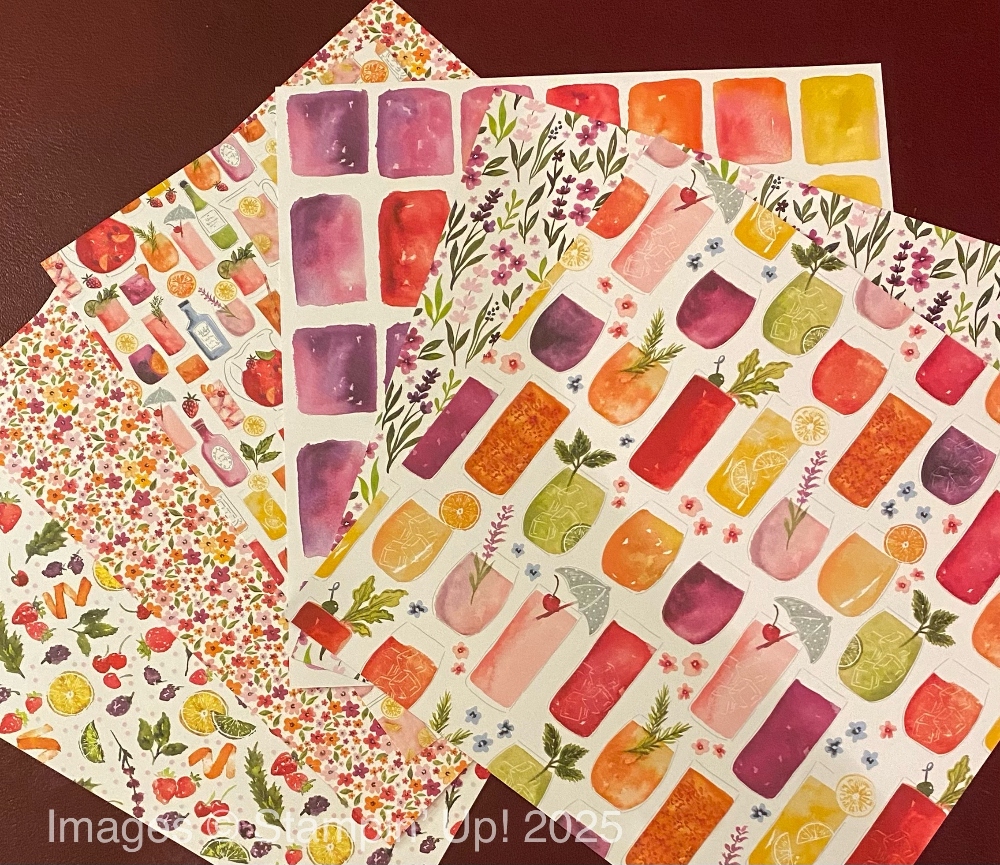
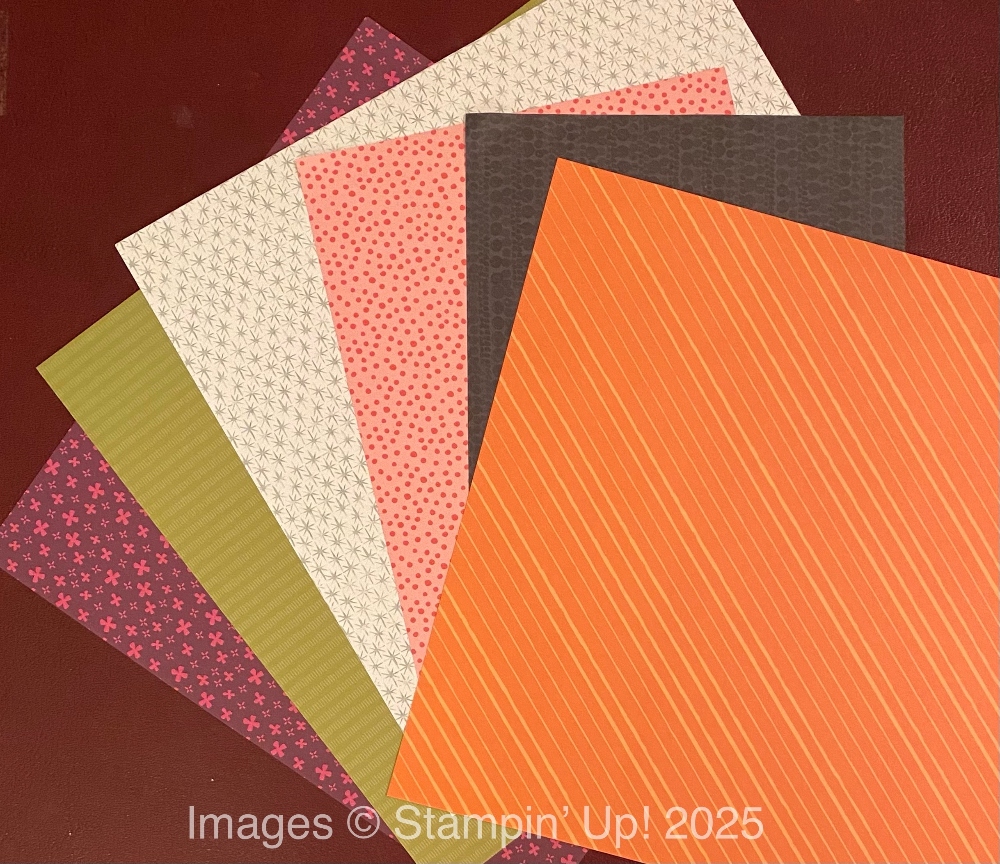
The Celebratory Sips Designer Series Paper may surprise you if you don’t look at it carefully online. It is in the Online Exclusives category PLUS is on sale during August because some of the coordinating colors are the new 2025-2027 In Colors. Get it for 15% off until August 31! What is surprising is that it’s not just pretty drinks! The papers also contain flowers, whimsical designs, citrus fruit images and watercoloring. And no need to assume that the “drinks” are alcoholic! They can be anything! Just refreshing summer drinks perhaps!
The card base is Strawberry Slush cardstock. It is also in the In Color Sale going on now! The designer paper, Celebratory Sips, would normally be cut at 4″ x 5 1/4″ but since I wanted to fold over one side of the DSP to show “the other side”, I cut it an inch wider, so 5″ x 5 1/4″, scored at 1″ on the left side, and folded it over. I glued it down, then wrapped around some ribbon. This is the Strawberry Slush 3/8″ Faux Linen Ribbon and it is a very lovely type of ribbon! And on sale! The bow is tied separately and stuck on with Mini Glue Dots or you can use a bit of Stampin’ Seal Adhesive right on the ribbon.
The greeting is in the Saying Something Ephemera Pack in the Annual Catalog. As I write this, it says “Low Inventory” so if you want it, I would order it SOON! It really is a fantastic product, especially when you want a quick greeting to finish off the card or you don’t have quite the right one in your stamp sets. There are all sorts of greetings, styles, colors, and shapes so you are almost sure to find one you can use. This one I found in the package I thought was PERFECT for this card, with the word “rosy” in it, just in case any of the drinks perhaps had some Rose wine in them! Or even just a reference to enjoying any of these drinks with their rosy color!
I also diecut a Stylish Shapes circle on which to pop up the greeting to help it stand out. For a little embellishment, I added three of the Strawberry Slush & Pretty In Pink Gems on the Strawberry Slush diecut circle. I love those particular gems so I recommend them!
You could make cards like this design with other designer series paper by just folding over one edge of the designer paper to show the other side, or cut a strip from another paper for a contrast to the main paper. We do have great designer series paper!
Here is another card I made with the Celebratory Sips Designer Series Paper but I cut out the larger drink images and used one of the other papers for the background.