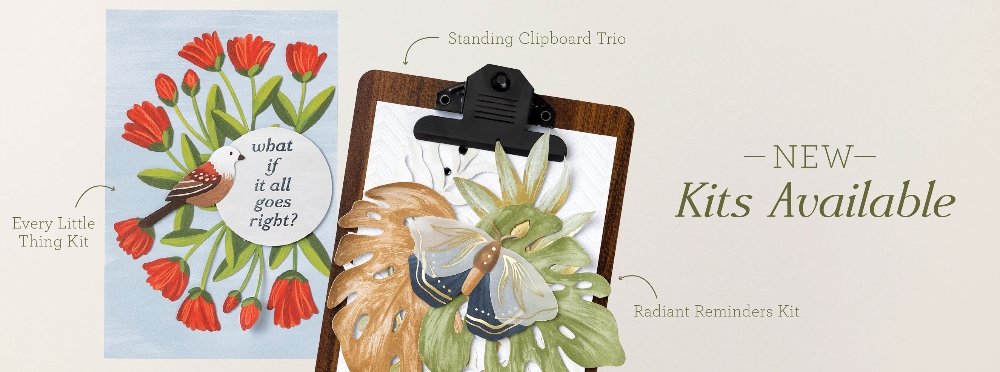
Three new Kits were released in the Stampin’ Up! Kits Collection on Tuesday, plus one accessory to go with the Kits if you so choose!
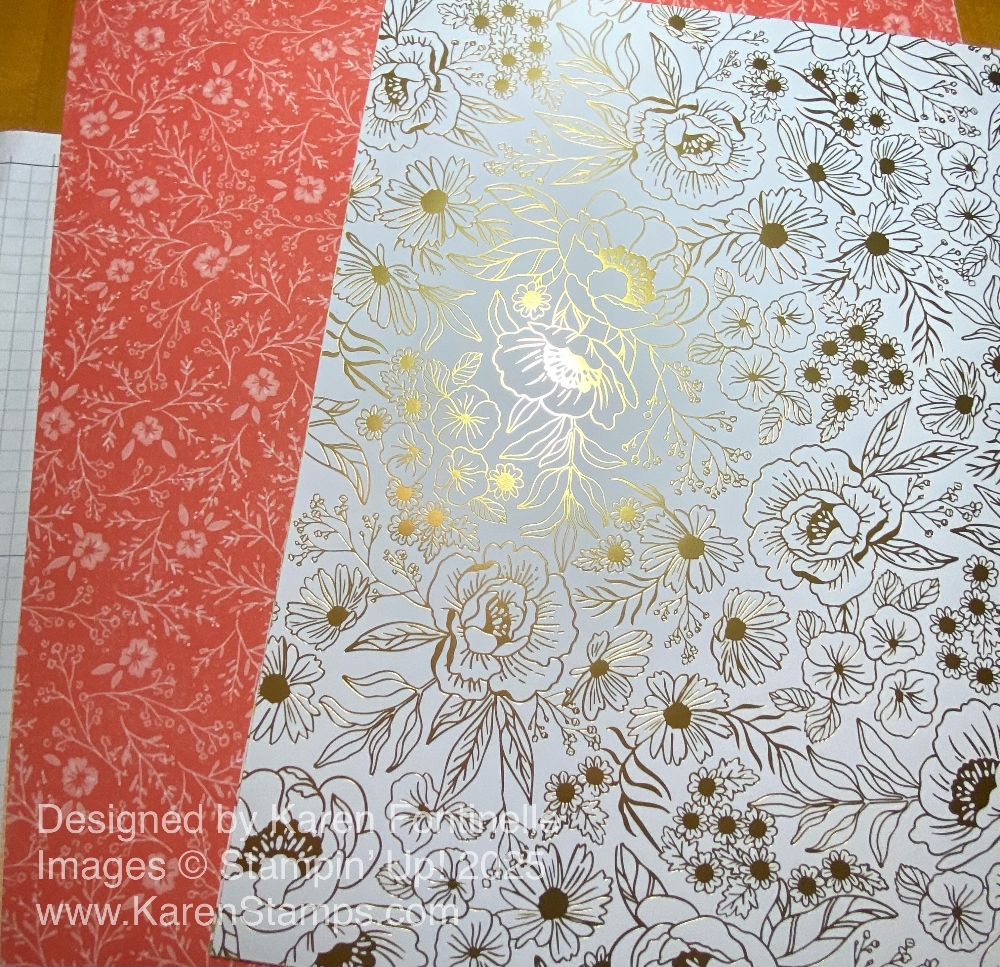
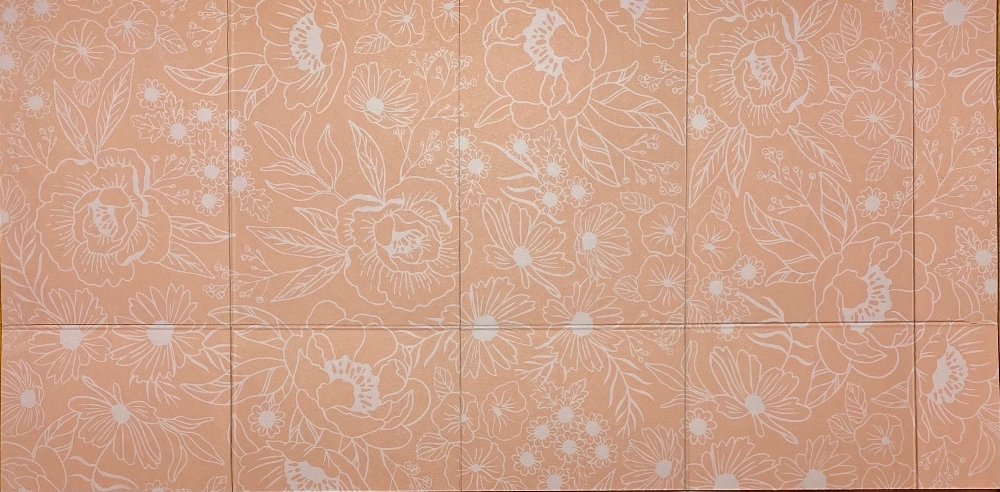
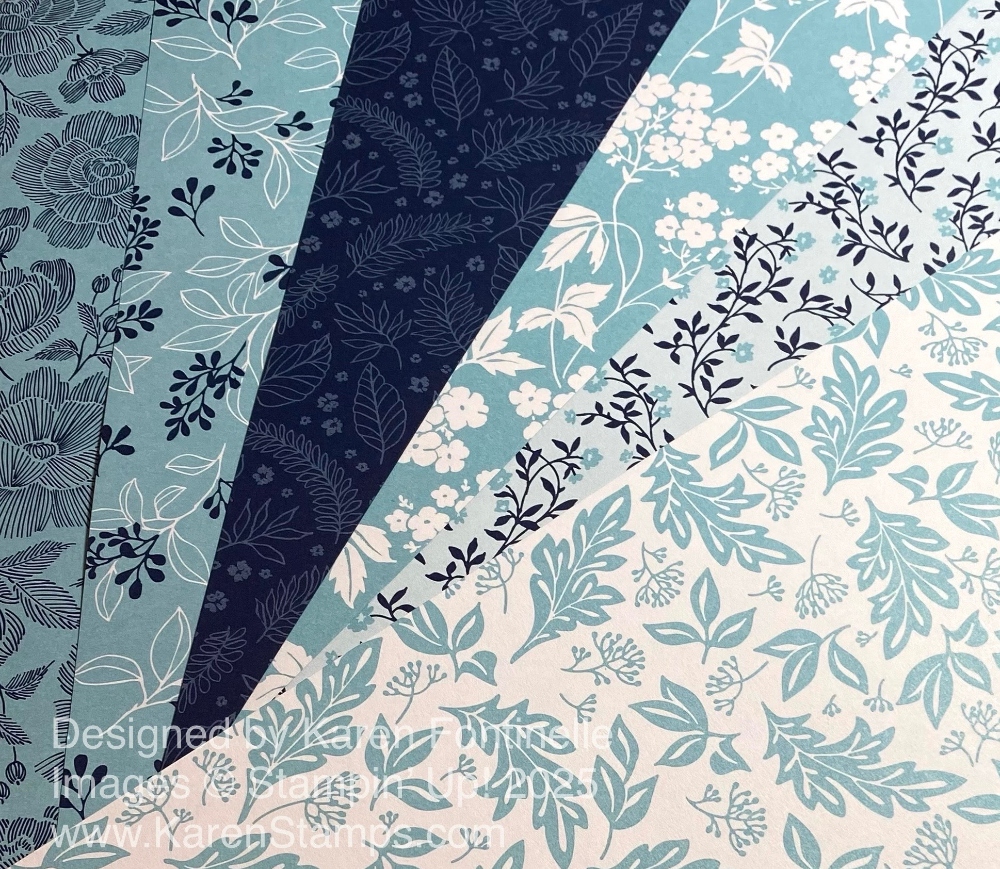
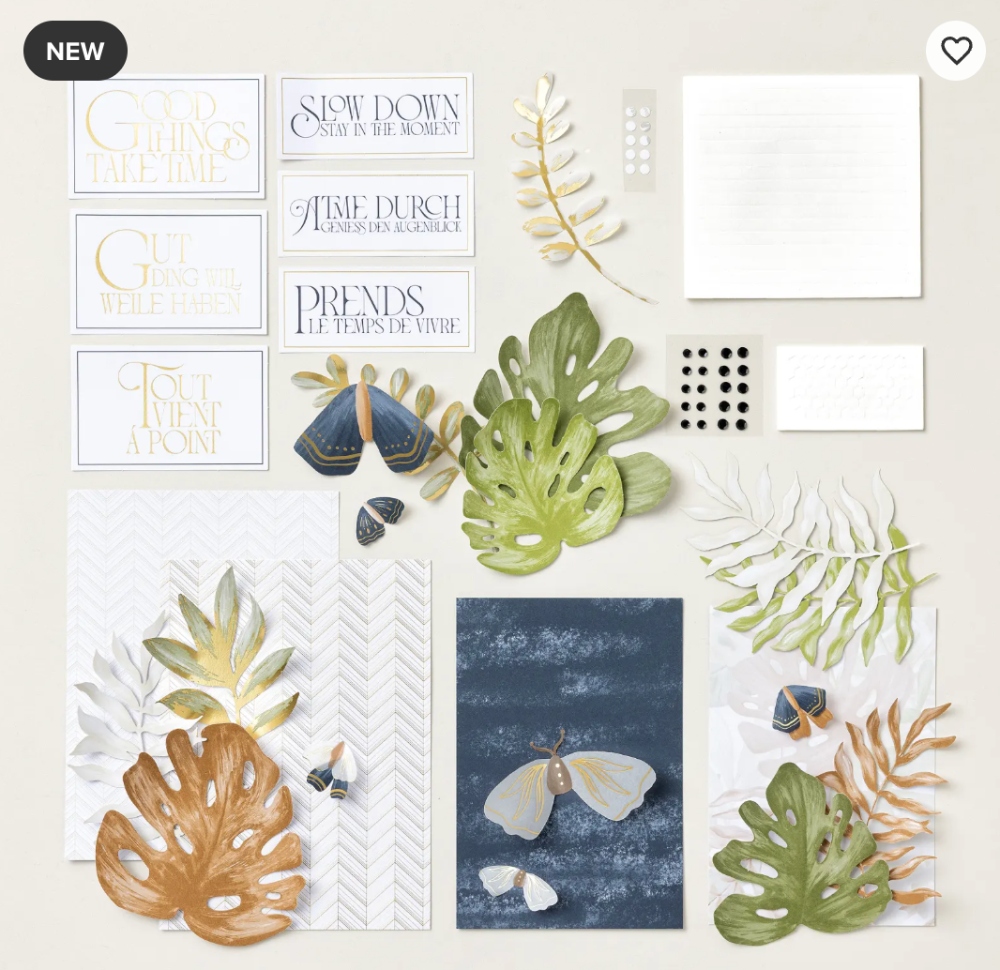
Create three DIY displays with the Radiant Reminders Kit. Featuring monstera leaves, luna moths, and neutral patterns in beige, black, brown, green, and gold, these handmade home decor pieces let your creativity shine while adding natural, organic style to any room.
Display your creations on clipboards from the Standing Clipboard Trio Kit (sold separately), or add them to your favorite frames, bulletin board, or other fun display.
DETAILS
– Makes 3 displays
– Colors: Basic Beige, gold, Mossy Meadow, Old Olive, Pecan Pie, Secret Sea
– Coordinates with the Standing Clipboard Trio Kit (sold separately)
– Sentiments printed in English, French, and German
Kit includes one of each item listed below.
– Step-by-step instructions
– Precut paper images
– Printed labels
– Includes gold foil
– Adhesive
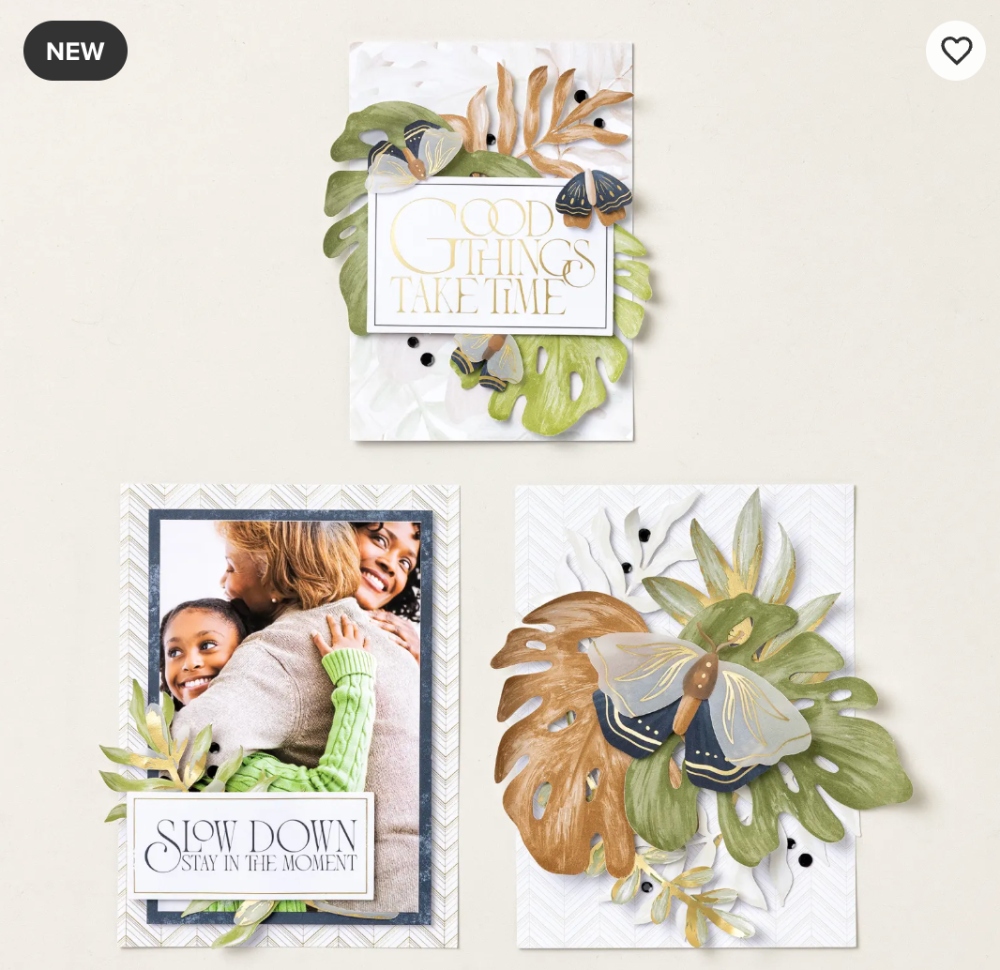
The Every Little Thing Kit is the other new Kit in the Kits Collection. These are Kits that you just purchase with your order, like any other product, as long as they are available in the Online Store.
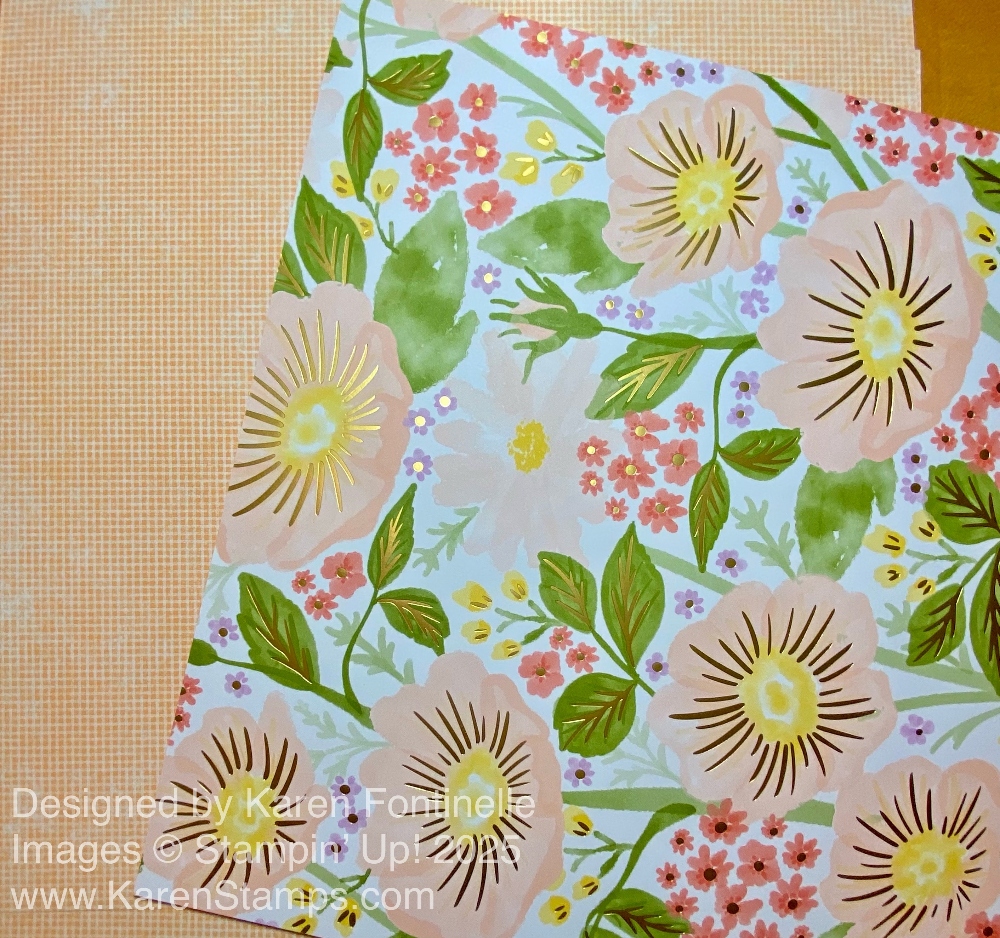
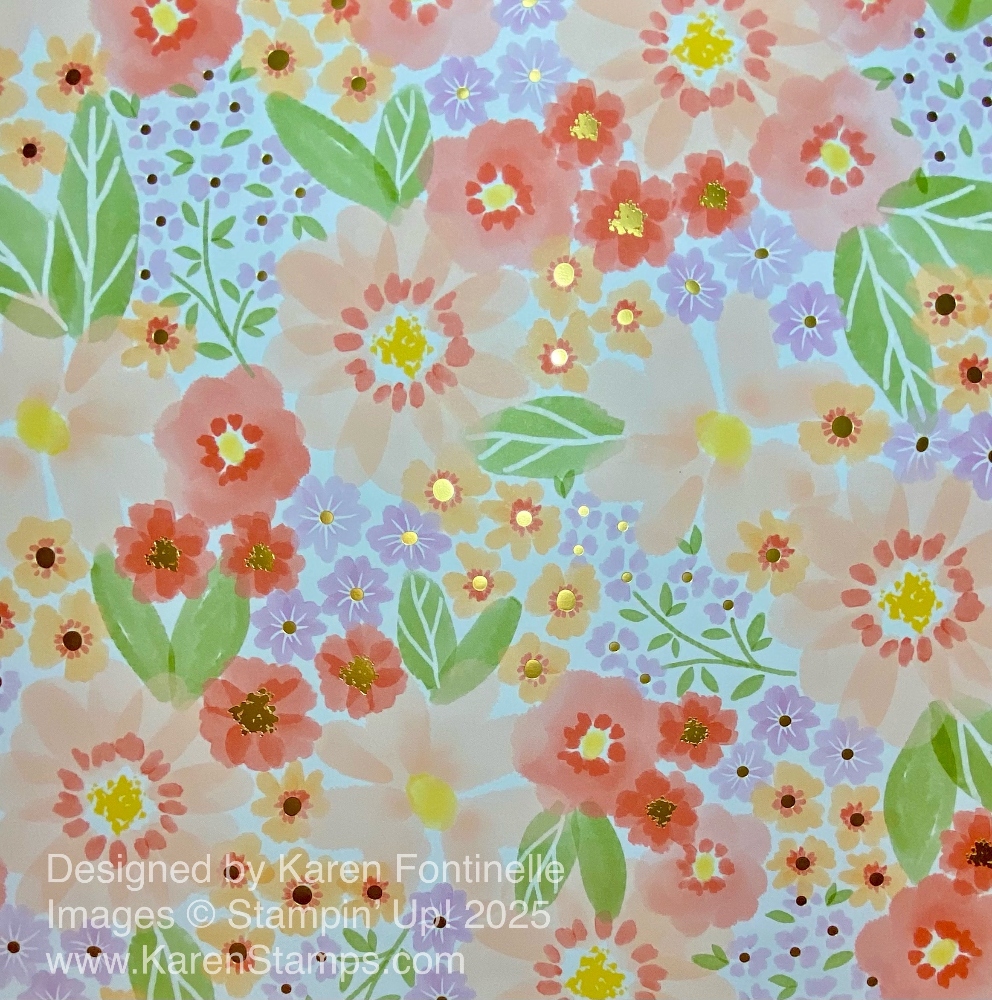
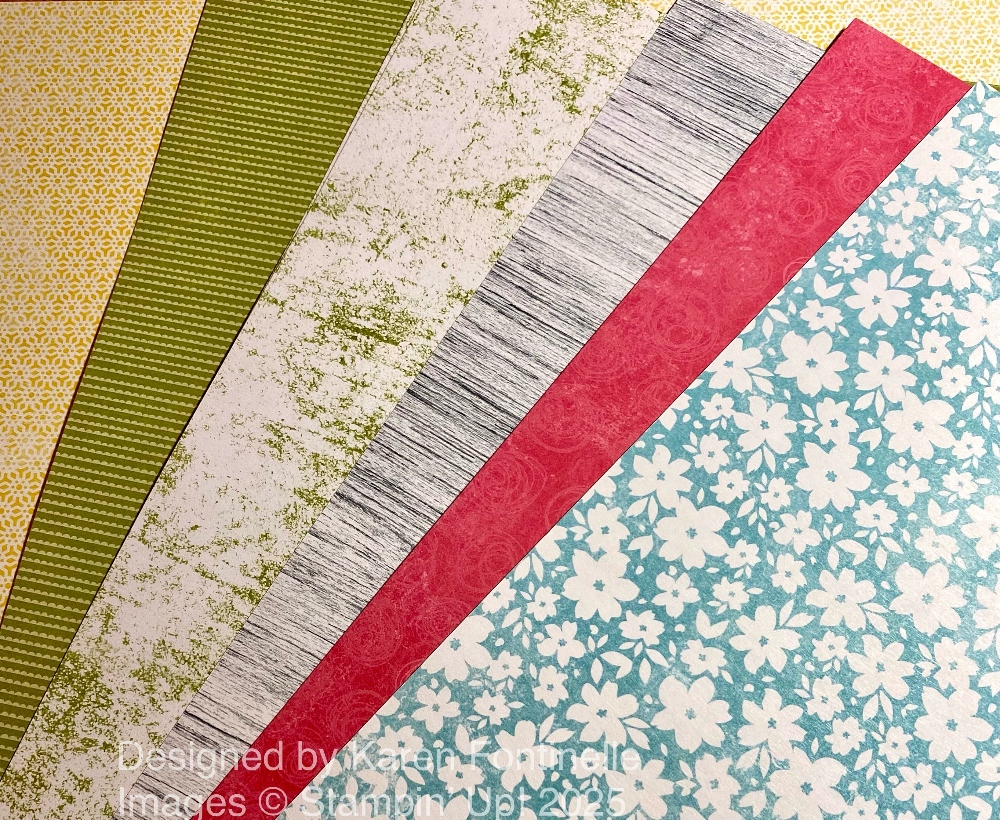
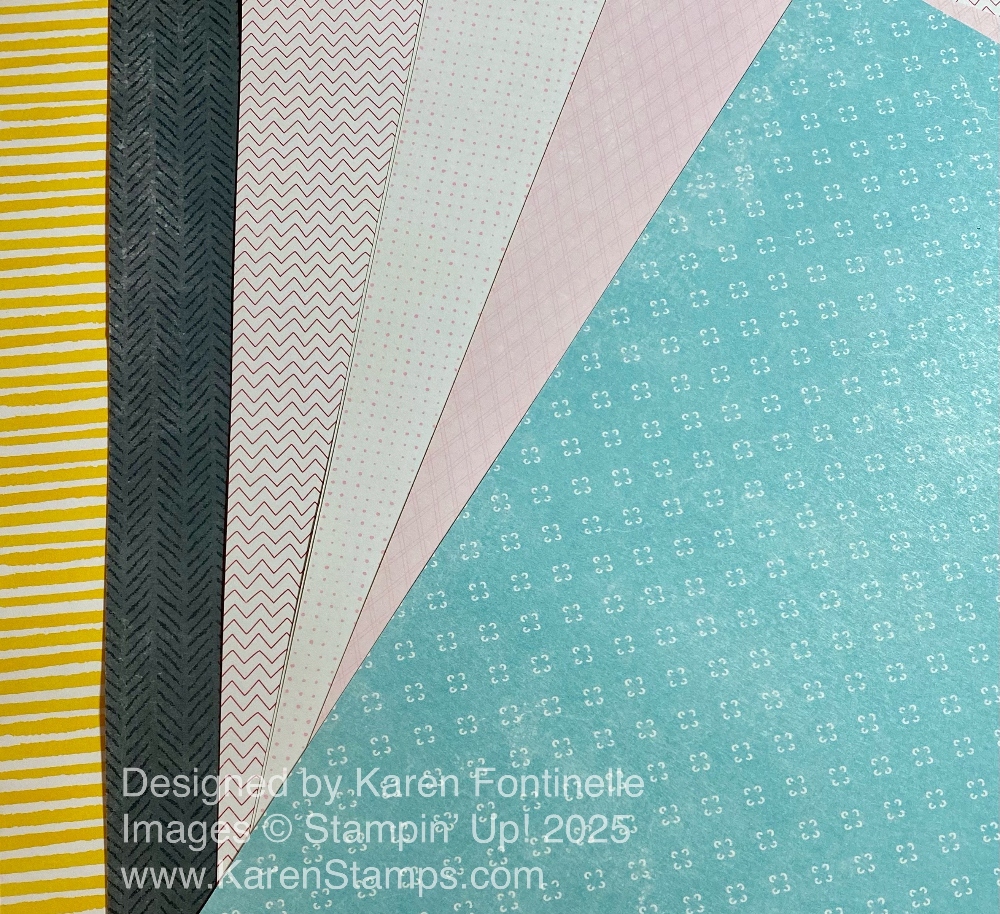
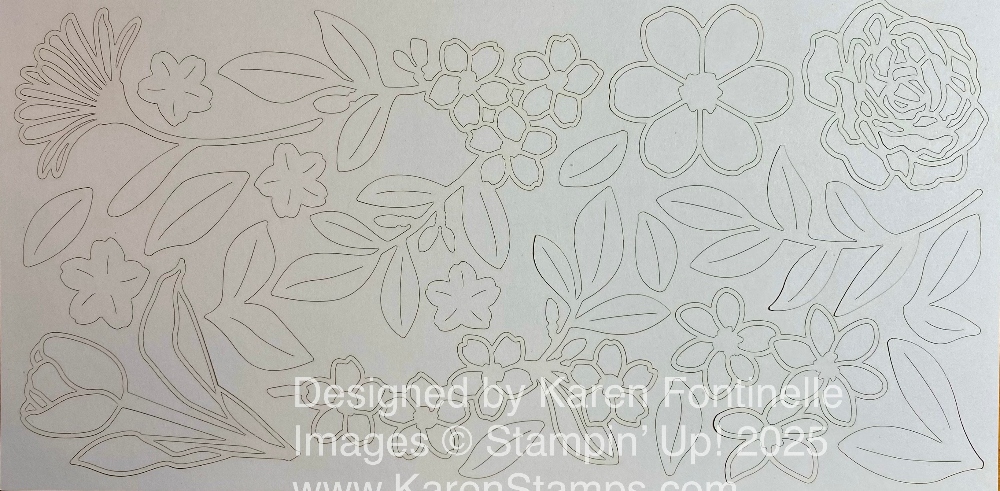
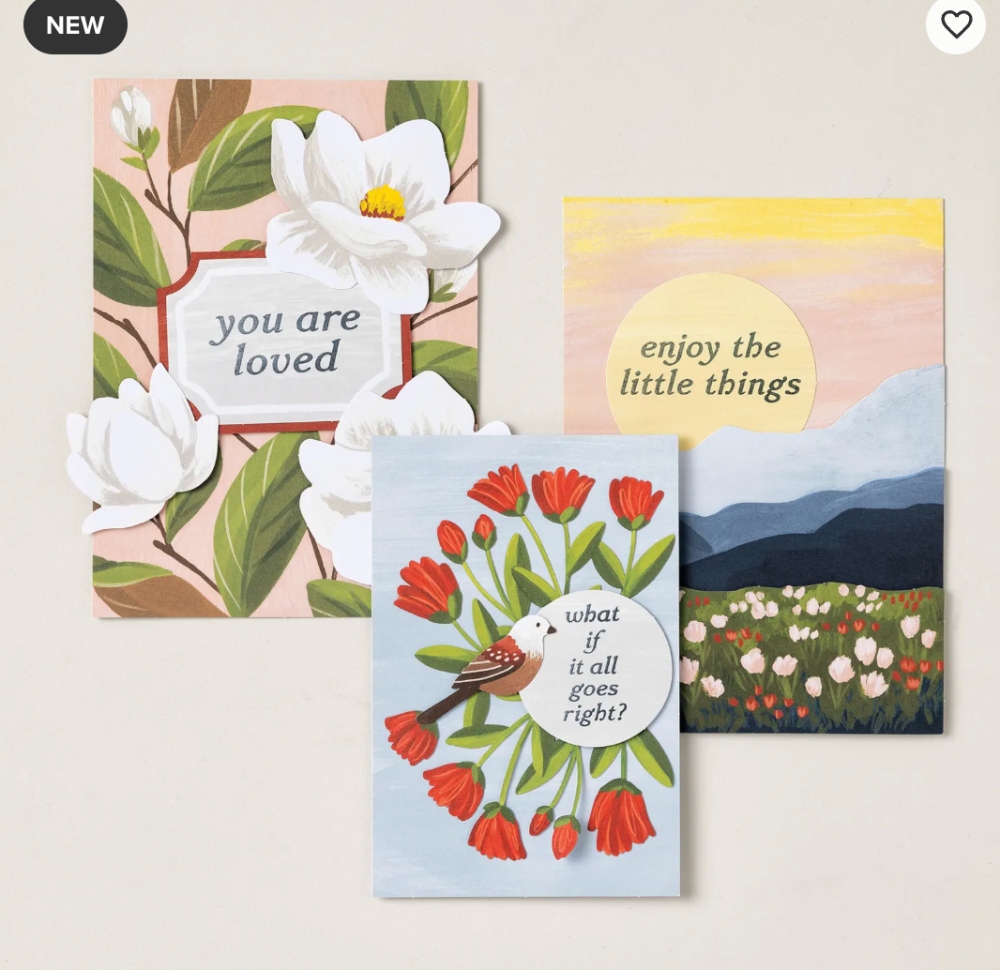
With this Kit, create three DIY floral and nature-inspired paper artworks. Featuring magnolias, tulips, mountains, and a bird, each piece includes uplifting sentiment stamps to brighten your home. Display them on the clipboards from the Standing Clipboard Trio Kit (sold separately) for a personalized decor touch.
DETAILS
– Makes 3 paper artworks: 1 each of 3 designs
– 2 large: 5″ x 7″ (12.7 x 17.8 cm)
– 1 small: 4″ x 6″ (10.2 x 15.2 cm)
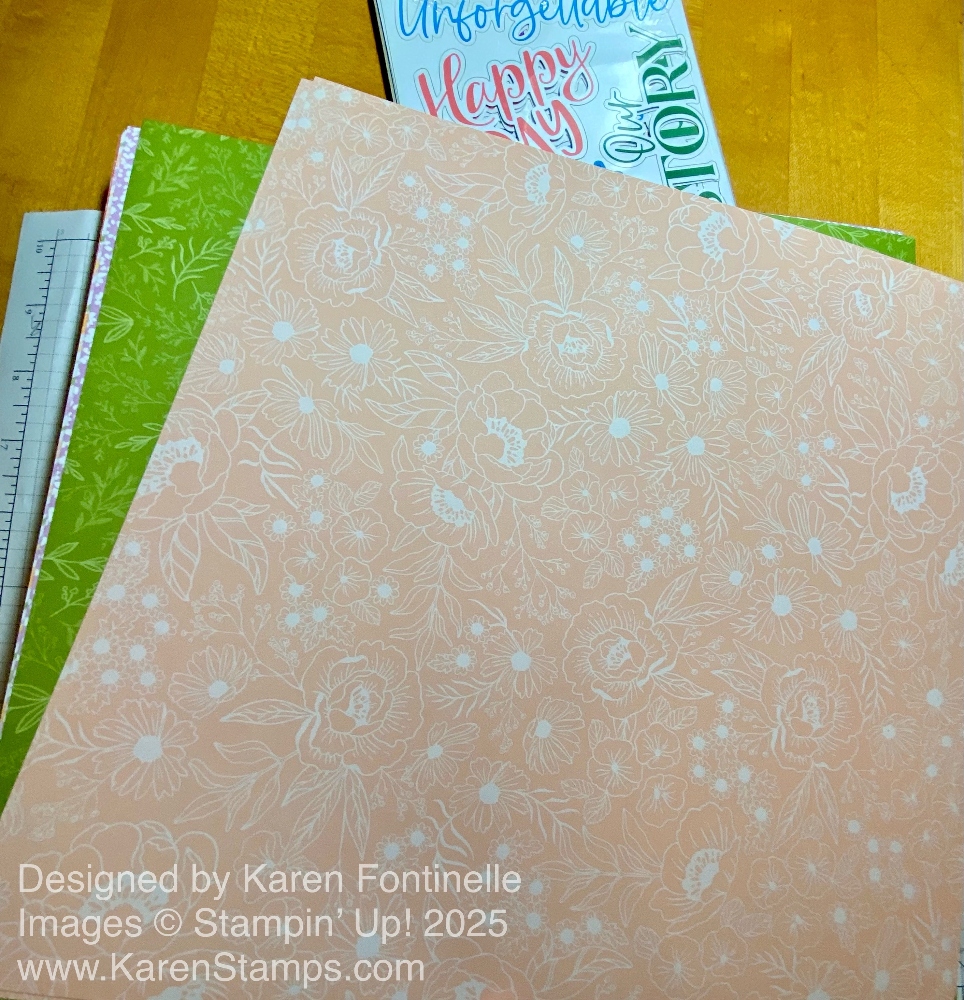
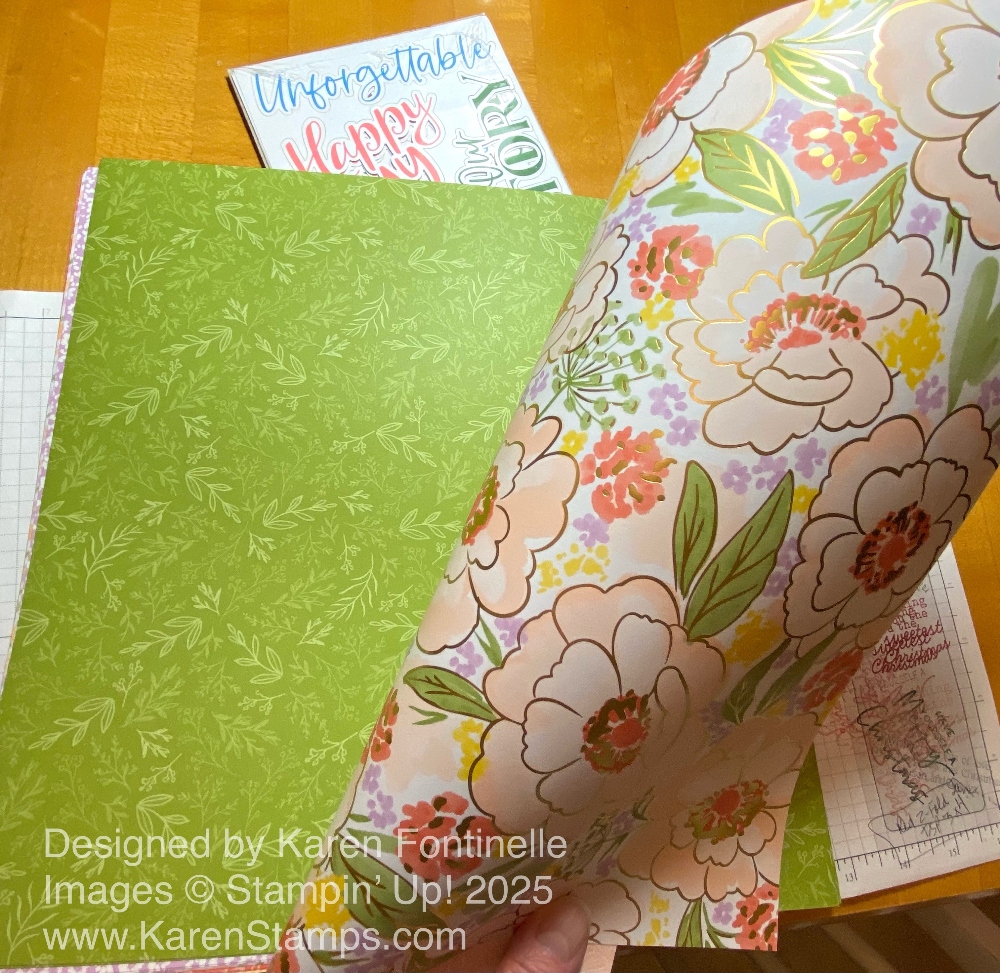
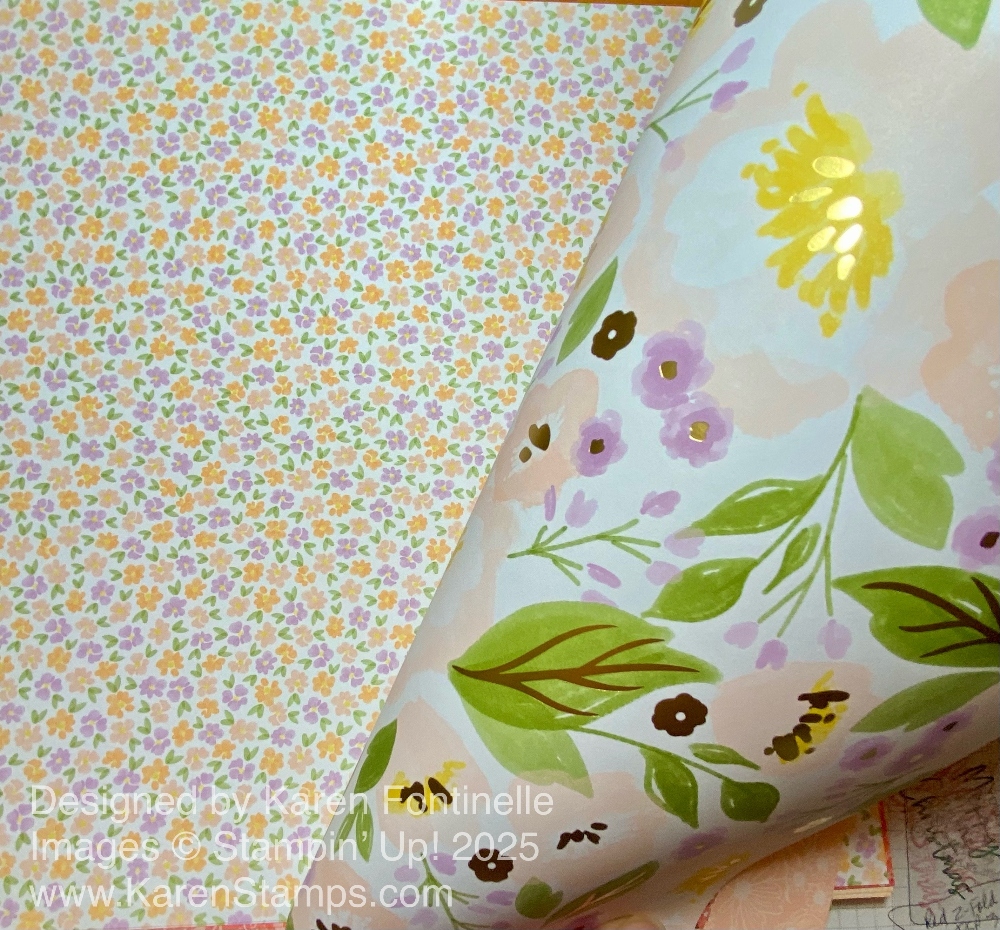
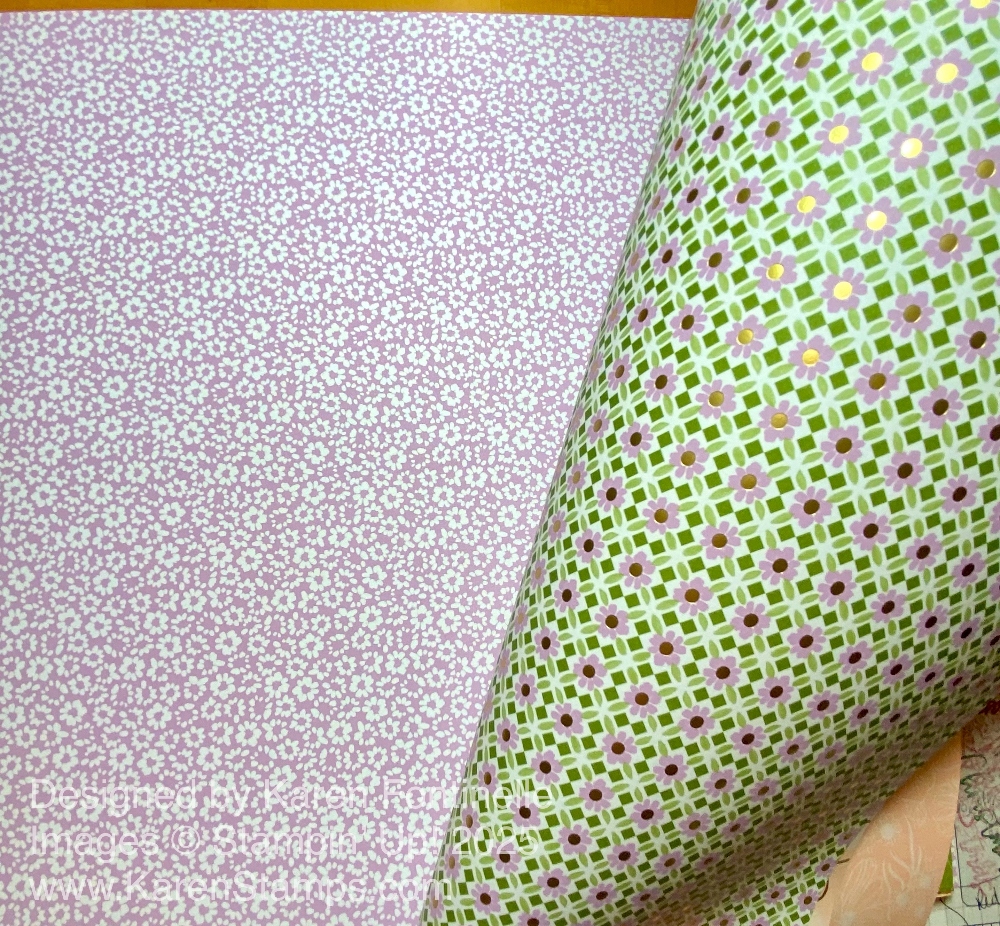
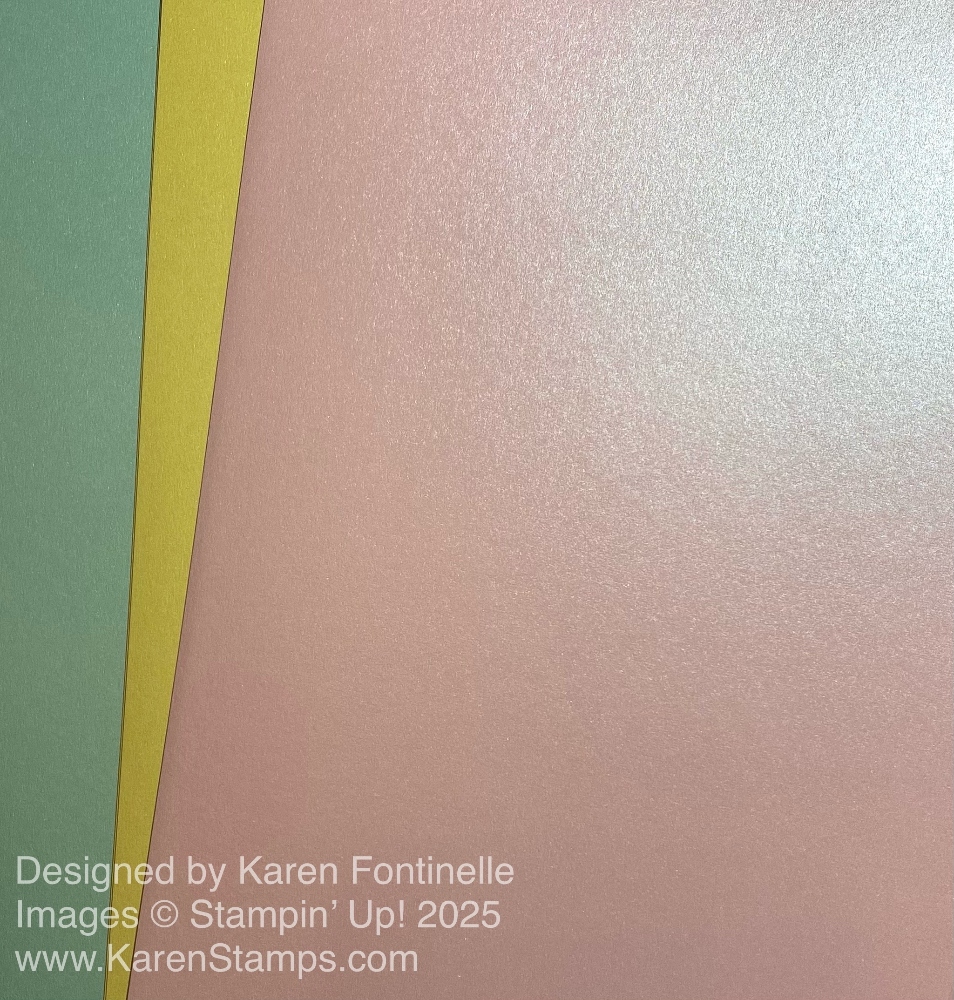
– Colors: Basic Beige, Cajun Craze, Cloud Cover, Daffodil Delight, Early Espresso, Mossy Meadow, Old Olive, Pecan Pie, Petal Pink, Secret Sea
– Also available in French
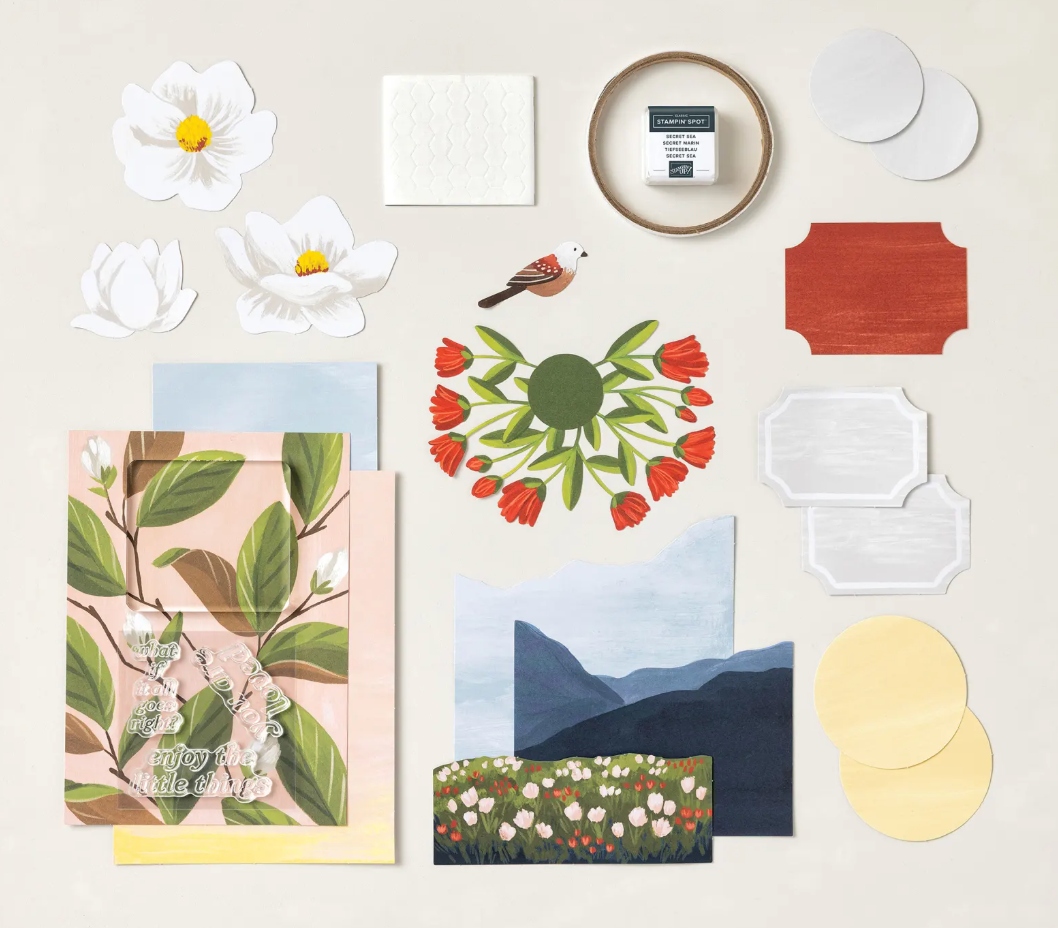
Kit includes one of each item listed below.
– Every Little Thing Stamp Set
– Clear stamp block
– Secret Sea Classic Stampin’ Spot
– Step-by-step instructions
– Precut paper pieces
– Adhesive
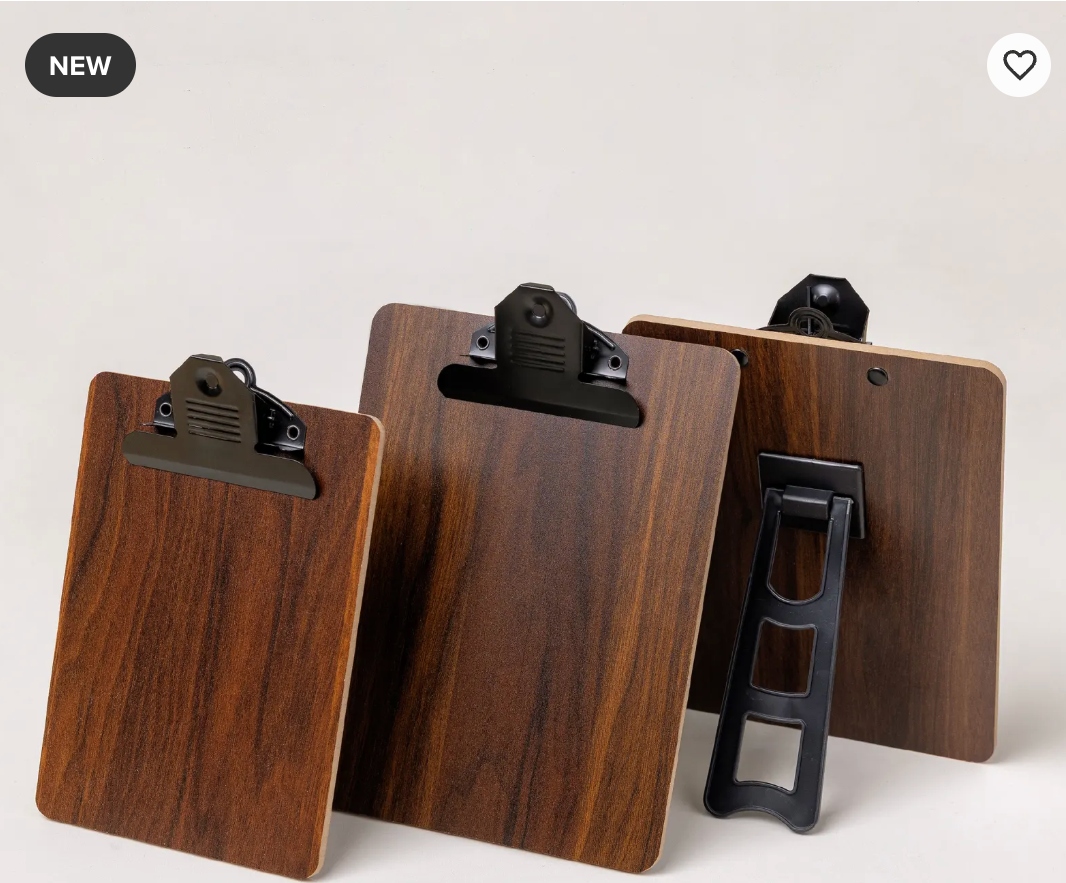
Here is the Standing Clipboard Trio Kit which includes three clipboards you can use to showcase creations from the coordinating Radiant Reminders and Every Little Thing Kits (sold separately). These are also great for your handmade cards, photos, stamped art, and favorite quotes. Each clipboard comes assembled and features a sturdy backing and kickstand. They’re perfect for adding a personal touch to your desk, craft room, or office.
DETAILS
– 3 easel clipboards: 1 small and 2 large
– Small clipboard: 4-3/4″ x 6-3/4″ (12.1 x 17.2 cm)
– Large clipboard: 6″ x 8″ (15.2 x 20.3 cm)
– Color: Brown
Check out these new products in the Stampin’ Up! Kits Collection! If you have been interested in something besides cards, these might be something you were looking for!