Tag Archives: Stampin’ Blends markers

The Stampin’ Up! Black Friday Sale is Still On

Black Friday Sale SU Ad Info

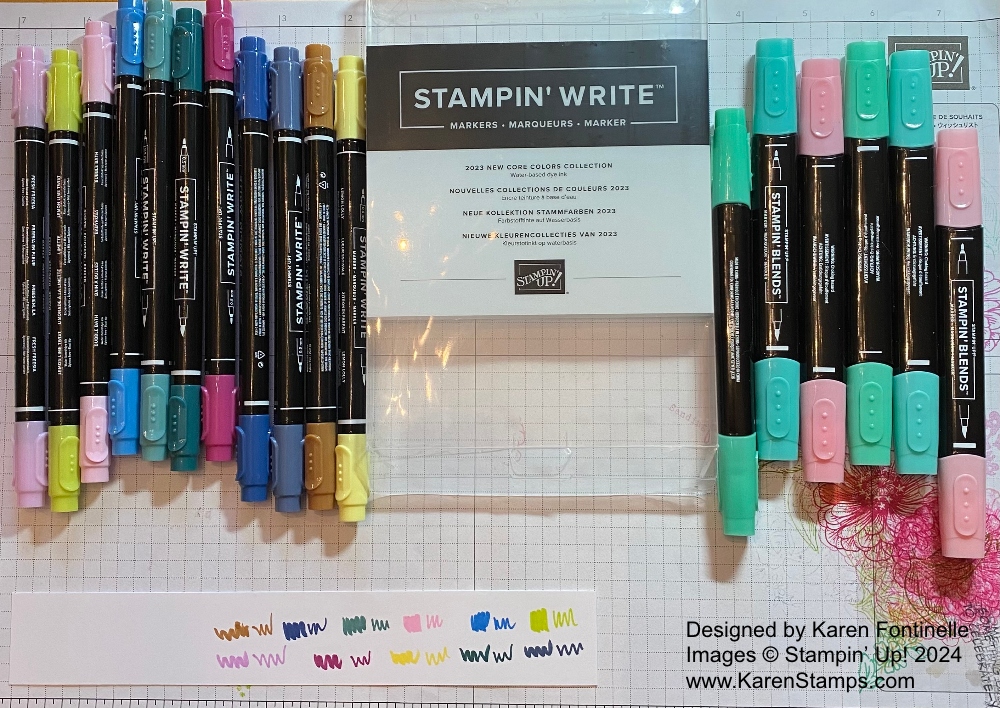
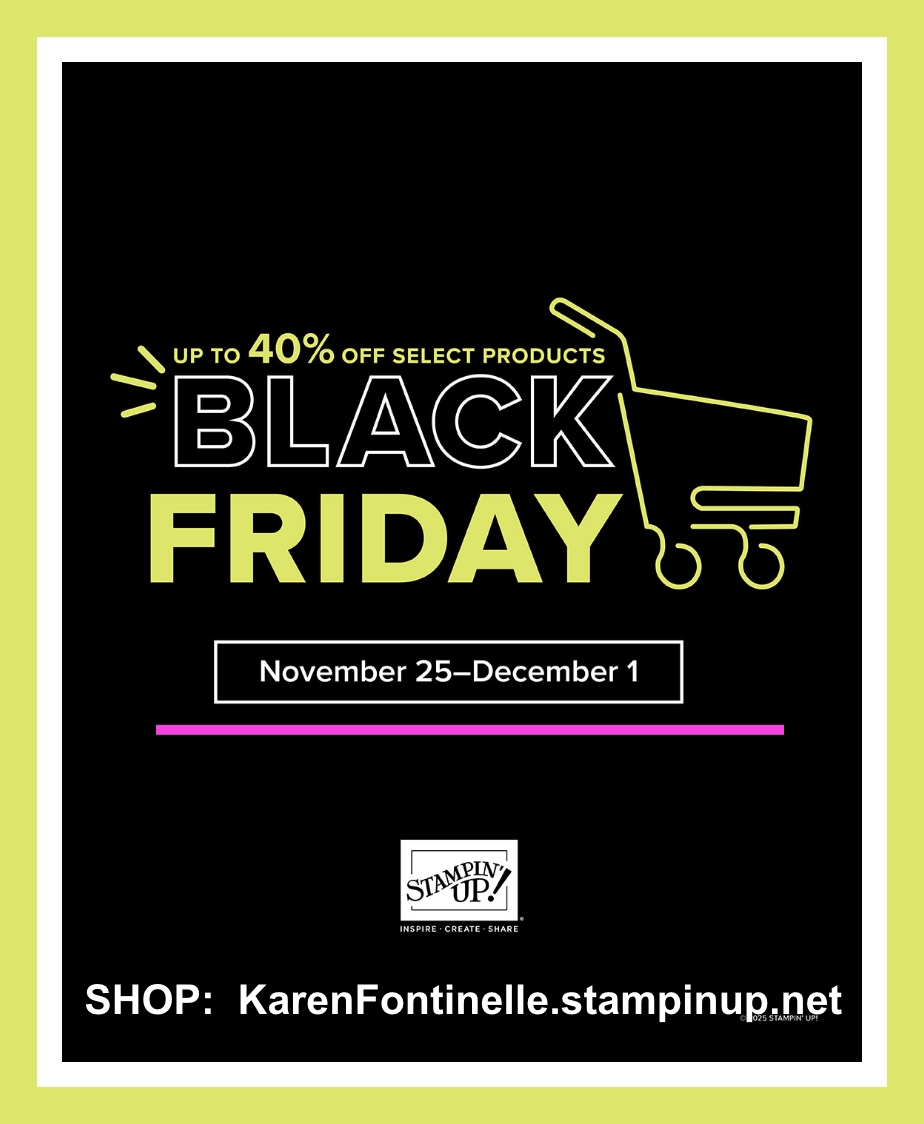
The Stampin’ Up! Black Friday Sale is still going, through tomorrow, Monday December 1st. The deadline for ordering is December 1, 2025, at 11:59 p.m. (MT). While the sale was disappointing to many of us that some products were sold out right away the first day (or during the night!), if you are interested in Stampin’ Blends alcohol markers, there are many colors that are on a great sale and still available!

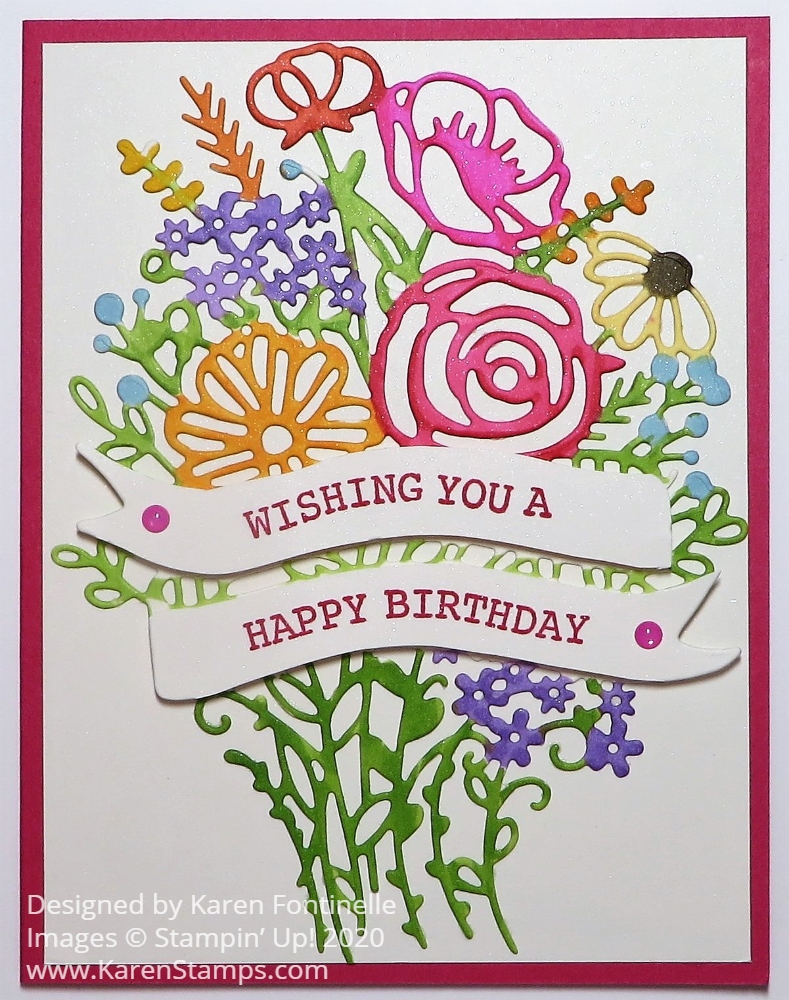
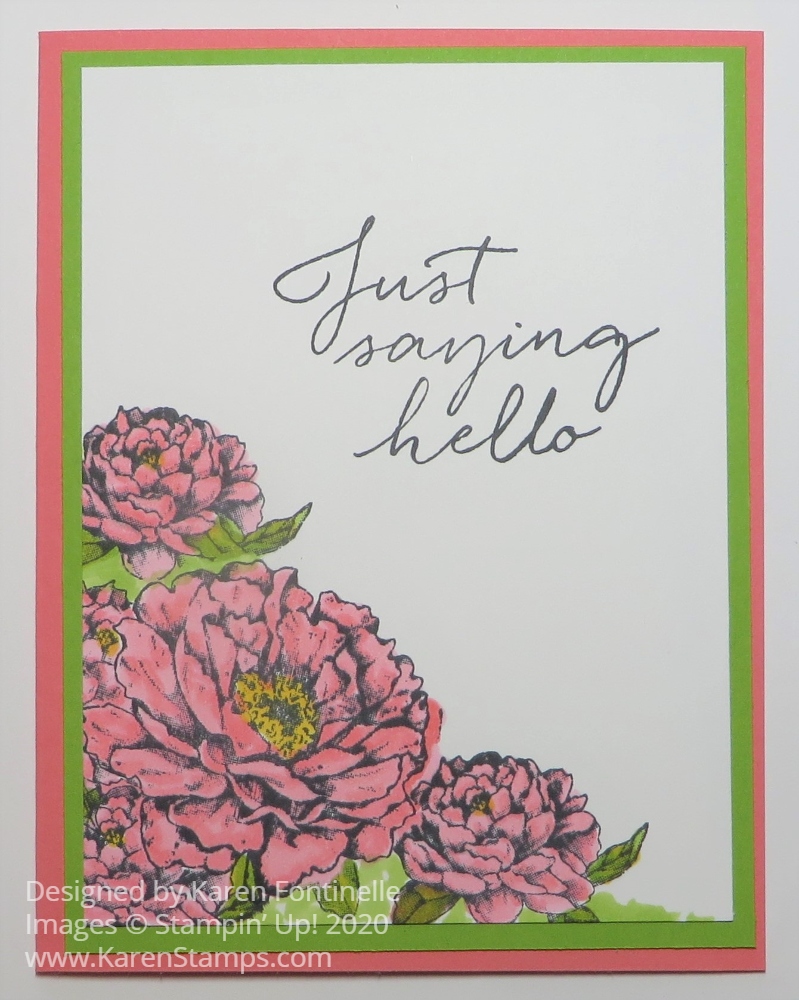
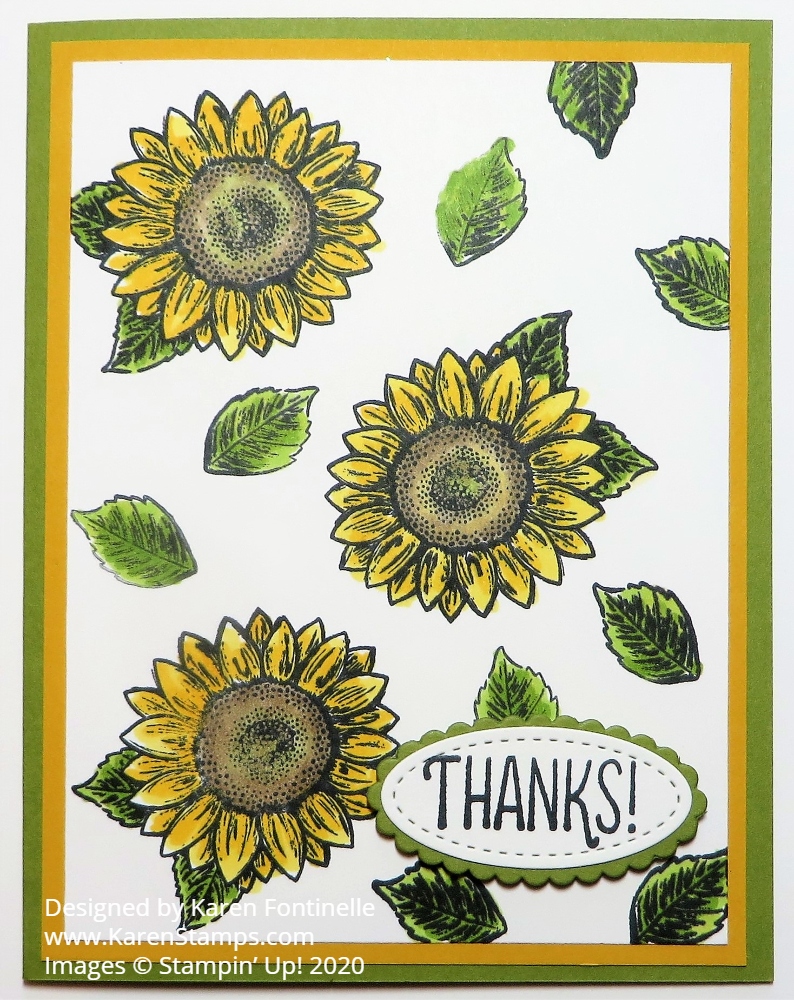
The Stampin’ Blends Markers are wonderful for coloring, but they don’t last forever. While this sale is going on, I would recommend getting a scrap piece of white cardstock (not just computer paper) and testing each end of the markers you have with just a little scribble to see if any are dried out, particularly the brush end which is what I use the most. Sometimes they just get mushy and are difficult to color with. I periodically go through mine and order new ones if I have markers that are not easily usable. So if you need new markers, right now is a good time to buy some on sale.

The Blends combo is normally $11.00 and is now on sale for $6.60. So if you want markers or more colors or have some that are past their prime, be sure to catch the sale before it ends tomorrow night, Dec. 1st!

As I write this, Stampin’ Dimensionals are the only other product still available on the sale and are about $1.00 off.

From December 1–9, prepaid Paper Pumpkin subscriptions will be discounted as follows:

3-month prepaid: $61.00 (regular price $81.00)
6-month prepaid: $122.00 (regular price $162.00)
12-month prepaid: $244.00 (regular price $324.00)

This offer ends on December 9 at 11:59 p.m. (MT).

Learn about Paper Pumpkin Prepaid subscriptions HERE and then scroll down for the Prepaid subscription information.

Amber Autumn Thanksgiving Card

Amber Autumn Thanksgiving Card

You may want to send a few cards to your loved ones or friends for Thanksgiving like this Amber Autumn Thanksgiving Card. It’s time! I can’t believe how fast Thanksgiving has snuck up on us! Anything “fallish” will do, but I have loved this Amber Autumn Stamp Set since it came out!

For something different, I decided to make this a “book fold” card. I also chose some “fallish” colors of cardstock scraps to decorate the background of the card. To make the book fold card base, cut the cardstock at 11″ x 4 1/4″. With the paper placed horizontally, score at 4 1/4″ and 5 1/2″. Of course, normally you would score that card in half at 5 1/2″, but for the book fold you add in that extra inch and a quarter and adhere that to the inside of the card. If you think you want to add ribbon or twine around this “binding” part, do it before you adhere that section or just place the ribbon around the cardstock or designer series paper you adhere to that section on the front. If you forget, there are ways around it!

I chose different color scraps of cardstock in fall colors to make the background of this card. On the left book binding section, I adhered a piece of Timid Tiger cardstock. The other colors are Cherry Cobbler, Lost Lagoon, Crushed Curry and Old Olive.

Once these pieces were adhered, I stamped the acorns and leaves image from the Amber Autumn Stamp Set with Versamark ink. I tried to stamp them randomly on that area. Since they were already adhered to the card, I didn’t want to get the stamping on the Crumb Cake card base, so I placed other scrap pieces of cardstock along whatever edge I would be stamping on as a mark to protect the card base from the ink. I probably could have done it a better way, but this worked. Same with the Timid Tiger piece being stamped with just the leaf images.

For the focal point, I stamped the pumpkins, squash and corn image from the Amber Autumn Set in Memento ink in black on Very Vanilla. I colored in the images with Stampin’ Blends. Some of the colors I used were Pumpkin Pie, Timid Tiger, Daffodil Delight, Granny Apple Green, and Old Olive. Then I scribbled in some Pool Party around the background just to add some color to the background. This image was diecut with a Stylish Shapes circle die and layered on a larger circle of Garden Green.

The greeting is stamped in Garden Green ink from the Amber Autumn Stamp Set on Very Vanilla and made little banner ends. It is glued down flat across the pumpkins.

The pumpkins image is popped up on a lot of Stampin’ Dimensionals since I held down the Gold Striped Ribbon with the Dimensionals. I just wound it back and forth on the back of the circle die. Since I didn’t think to add ribbon around the binding section before adhering it, instead I added three of the large Timid Tiger 2025-27 In Color Flat Pearls to the side for something different!

I think these Book Fold cards are fun to make, hence the name “fun fold” cards for anything folded differently than the norm. Many can get very complicated and take some extra work, but this book fold card only had one extra score line and a little glue in a different place!

Thanksgiving, surprisingly, is only one week from Thursday on November 27th! Remember, Stampin’ Up! is celebrating Black Friday this year for the first time a couple of days early, November 25 – December 1 for discounted prices on select products. That’s all I know! Maybe we’ll all be surprised on the 25th! And that is one month until Christmas!! Oh my goodness!

SHOP STAMPIN’ UP! ONLINE HERE!

Beautiful Gallery Orange Floral Card

Beautiful Gallery Orange Floral Card

This Beautiful Gallery Orange Floral Card came together pretty easily once I decided on colors for the center focal point. The Beautiful Gallery 6″ x 6″ Designer Series Paper is truly beautiful to use and several of the papers could, maybe should, be framed for home decor!

This particular paper I chose for the background on this card is not like most of the other papers. Most are outdoor landscapes, floral sketches, or look like images you would see in an old-world art gallery. This paper looks more like a tapestry or beautiful fabric, but the design and colors really appealed to me. The Lost Lagoon cardstock card base is cut at 11″ x 4 1/4″ with the fold at the top instead of the side just for something different.

The center panel is another of the papers with outlines of flowers and foliage. I decided to color in three of the flowers and foliage, but not all of the images. I intended to color the flowers with Peach Pie Stampin’ Blends with maybe a highlight of Pumpkin Pie, but I got my colors mixed up and only used the Light and Dark Pumpkin Pie Combo. The leaves were colored with Light Mossy Meadow Stampin’ Blend and just a touch of Lost Lagoon on one feathery type of leafy foliage.

To make this floral piece go with the background, I sponged it lightly all around the edges with Lost Lagoon ink, but also brushed the sponge lightly across the paper as well to make it look blended with the print in the background. This 3″ x 3″ piece is layered on a 3 1/4″ x 3 1/4″ piece of Lost Lagoon cardstock Before adhering to the card, I wrapped around some Linen Thread and tied a bow. Then that piece was popped up on Stampin’ Dimensionals.

For a greeting, I chose one in the Greetings For All Ephemera Pack. I sponged a little Lost Lagoon ink on that and layered it on a small diecut circle in the Unbounded Love Dies. That little greeting has a Stampin’ Dimensional under the bottom portion so that the top will lay over the floral piece and the bottom part is popped up even with the floral piece.

SHOP STAMPIN’ UP! ONLINE HERE!

Spotlight On Nature Fall Card

Spotlight on Nature Fall Card

I’m trying to make it fall weather here in Houston with this Spotlight On Nature Fall Card! I think it might be working because while the temperatures might not go down very much, the air should be drier, which means everything in this very humid climate! So I’m doing what I can with fall colors on this card!

This Spotlight On Nature Stamp Set is a very nice one. The set has very pretty basic elements of nature – flowers, leaves, and a butterfly. You can use each one separately or a couple of them together as I did on this card. There are no dies that match up with the stamp images, but instead, there are sets of circular dies, sizes that layer together. Use these dies not just with the Spotlight On Nature Stamp Set but independently as layers for other stamps, for frames, or for tags. These are the Spotlight On Nature Dies.

This card has a Pumpkin Pie cardstock base to coordinate with the colorful layer of the Full of Life 6″ x 6″ Designer Series Paper. As bold and colorful as a lot of the patterns of paper are in this package, this pattern with various shades of orange and green can be used on this card as fall colors without looking too strong. There were other good choices I could have used with this paper.

The flowers were stamped with Memento Ink on Basic White cardstock, then diecut with one of the Spotlight On Nature Dies. These dies are especially pretty to use because they each have an interesting detail around the border of the die. This floral diecut was then layered on a larger diecut of Granny Apple Green cardstock.

The flowers and leaves are colored in with Stampin’ Blends markers. I used a little bit of Daffodil Delight yellow on the flowers first and then the Pumpkin Pie shades. The leaves are colored with Granny Apple Green shades plus a tiny bit of Daffodil Delight. The greeting is in the Spotlight Of Nature Stamp Set and is stamped on Basic White with Memento Ink, then diecut with an interesting die in the Unbounded Love Dies.

There are several options for embellishing this card, but I chose to keep it simple and just added three Iridescent Foil Gems around the flowers. You could add some ribbon to the flowers or a tiny bow on the greeting if you wanted to do something different.

This stamp set could be used for multiple seasons or occasion. Sometimes it is nice to have a simple stamp set in your collection for quick, easy but elegant cards.

SHOP STAMPIN’ UP! ONLINE HERE!

Checking Out New Stampin’ Up! Products

Testing Markers

It’s so much fun receiving an order of new Stampin’ Up! products! As a Demonstrator, I got to preorder certain products from the new Stampin’ Up! catalog this month. One of the products I got were all the Stampin’ Blends Markers in the new In Colors. They are not all pictured in the photo above, but I did get all five new In Colors.

Here’s a tip when you get new Stampin’ Up! products! Check them over! After receiving the Stampin’ Blends alcohol markers, I sat down with a scrap of Basic White cardstock and tried out each color, brush end and tip end. You want to do this to make sure you don’t have a defective marker that maybe is dried out. I have rarely had this happen, but you know, stuff happens sometimes. I think sometimes there is a batch of a certain product that isn’t perfect. I just try out each marker, just scribbled a little test scribble. I suggest coloring on Basic White so you can see the true color of the marker. I have done it just on my grid paper but it’s not the same. You might find out if the markers all work properly, but scribbling on white cardstock lets you see the color. And that’s something you want to know with a new marker color!

Naturally, I forgot to order a few things on my first preorder so I had to place another order, like for the new Basic Beige cardstock and ink pad, plus the retiring Stampin’ Write Core Colors markers. These markers came out last year when we had the big color refresh to fill in the colors we already had. When I saw that these markers were on a good discount at 50% off I thought it was a great deal to get them!

As I said about the Stampin’ Blends markers, I sat down with a scrap of Basic White cardstock to test out all the Stampin’ Write Markers and make sure they were all working fine. They were! What I didn’t think about at first is that these are the new design of Stampin’ Write Markers! I realized they felt thinner than the markers I had plus the tip end had a new design! I really liked the new tip end! How do we get so excited about such things?! That’s why we are papercrafters I guess!

These Stampin’ Write Core Color Markers are 50% off!! So if you need to fill in these colors, or even most of them, it’s time to order them before they disappear. Actually, I thought they were sold out but more must have come in! The colors are Azure Afternoon, Berry Burst, Blueberry Bushel, Bubble Bath, Fresh Freesia, Lemon Lime Twist, Lemon Lolly, Lost Lagoon, Misty Moonlight, Pecan Pie, and Pretty Peacock.

And while we are talking about Stampin’ Up! colors, here are cardstock colors I stocked up on that I needed before prices go up. But when I held the packages together, I just thought “How pretty all these colors are!” So I had to take a photo to show you! One of the best things about Stampin’ Up! is how pretty their colors are and how the products all coordinate. You won’t get a red ink that doesn’t quite match the paper.

Stampin' Up! Colors

There are six days left of the Stampin’ Up! 2023-2024 Annual Catalog and the January-April 2024 Mini Catalog (the Spring Mini) and the discounts on the Last Chance List! Don’t miss out!

SHOP THE LAST CHANCE PRODUCTS!

SHOP THE CLEARANCE RACK!

Banner Blooms Colored Flowers Birthday Card

Banner Blooms Colored Flowers Birthday Card

This Banner Blooms Colored Flowers Birthday Card is another example of how I did something different than I planned to! I originally thought I would color this die-cut by sponging on some color, maybe in a very soft look. But when I went to actually color on the die-cut, I grabbed my Stampin’ Blends markers instead and went to town!

When I stamp, I am always, always, always using Grid Paper on my table. It is handy for lining things up and especially for measuring quickly and easily. When I took a decorative painting class years ago, the teacher had us put down a towel on the table and after that, I couldn’t paint unless I had a towel underneath my project! Now you can even choose from several kinds of Grid Paper from Stampin’ Up!, even colorful ones! For coloring these die-cut flowers, I needed a plain white paper underneath (and you always need a paper underneath when coloring with Stampin’ Blends because they do bleed through the paper) so I could see the die-cut well. I simply turned my Grid Paper over to the other side.

This card uses Melon Mambo Cardstock for the card base. I chose it after coloring the flowers. I used Shimmery White Cardstock, my favorite, for the die-cut and also for the card layer, because it is good to color on and it has a very subtle shimmer to it. The paper is very pretty all on its own!

I die cut the flower bouquet with the Banner Blooms Dies. This die is really different from the ones we have had. I found that it works best placing the die cutting side up with the paper on top rather than face down on the paper. I don’t know why, but it does! I also ran it through my machine three times and after that, almost all the pieces popped out on their own and the few that were left I used the Take Your Pick Die Brush Tip to roll over the die cut piece and also over the die to get out just a few pieces of paper that remain in the die.

As I said, I planned to use maybe Sponge Daubers to lightly sponge on ink colors on the flowers and leaves over the die, not really being precise, just adding color. But then I grabbed my Stampin’ Blends Markers and had fun coloring the whole thing! I didn’t try to be absolutely perfect but used mostly the brush tips of the markers to quickly color in the different areas. On the really narrow areas, I used the tip ends of the markers. I usually started with the Light color and also added the Dark for a tiny bit of shading. Since I LOVE coloring with these markers I didn’t find the coloring tedious.

To make the banners going across the bouquet, just stamp the greeting in the Hand-Drawn Blooms Stamp Set on a scrap piece of paper. Then line the die up over the stamped greeting (but you don’t need a full piece of paper or you’ll be wasting it). You will end up with the portion with the stamped banners. Then just trim these off the rest of the bouquet and adhere to the bouquet you have just colored. The greetings in the stamp set are doubled-up to fit perfectly on the banner areas. You could also cut out the banners and use stamps from other sets that would fit.

The banners are stamped in Melon Mambo ink. I popped them up on Stampin’ Dimensionals®. I added two Magenta Madness 2020-22 In Color Enamel Dots to the banners.

The whole bouquet is adhered to the card with lots of teeny tiny dots of Multipurpose Liquid Glue. I placed the bouquet on the Silicone Craft Sheet which held it steady and it didn’t matter if a little glue got on the craft sheet.

A good thing to use for delicate die-cuts like this is the Adhesive Sheets which you adhere to the paper before die-cutting and it turns the die-cut into a sticker when you remove the backing paper. I just never think ahead to use it!

Here is another card I made with the Banner Blooms Die using Rainbow Glimmer Paper, another great option if you don’t want to color in!

Remember, we only have about a week left of Bonus Days! When you spend $50 on any order, you will receive via email a $5 Bonus Coupon to use on an order in August. No limit to how many coupons you can earn with every $50 you spend! Bonus Days ends on July 31.

SHOP STAMPIN’ UP! ONLINE HERE!

Prized Peony Saying Hello Card

Prized Peony Saying Hello Card

If you like to stamp and color, this Prized Peony Saying Hello Card is really an easy card to make! I did use the masking technique to cover the large peony while I stamped the smaller flowers on the side. Since I love coloring with the Stampin’ Blends markers, for me this is an easy and relaxing card to make! If you don’t like coloring, you could do the same by stamping the flowers in the same or different colors rather than black ink and then do not color them in.

The card base is Flirty Flamingo and after stamping the card, I opted to add a layer of Granny Apple Green Cardstock as a layer under the Whisper White to blend in with the card better since I had used Granny Apple Green on the card.

I stamped the large peony and then stamped it on a “sticky note” being sure to get part of the stamped flower over the sticky area on the back to help hold it over the stamped flower on the card. After stamping on the sticky note, I cut out the flower right on the lines or just barely inside to use this as a mask. After stamping the large flower on the card, I stuck this mask over the flower so I could stamp the side flowers and my stamp would land on the paper mask and not stamp over my original stamped flower.

I stamped the flowers in Memento Ink and then colored in with several Stampin’ Blends Markers. I used both the Light and Dark of Flirty Flamingo on the flower, Granny Apple Green for the few leaves, and a dab of Daffodil Delight for the flower centers. Just to fill in a little white space, I scribbled a little Granny Apple Green beyond the leaves and flowers or in between.

I wanted a large greeting on the card so I simply stamped this one directly on the card front. It is from the Tasteful Touches Stamp Set, which has several very nice greetings to use. There is enough room on this card that I could have stamped it on cardstock and layered it on another piece. I could also have added some sequins or dots so an extra little embellishment, but I kept it simple this time!

You can see how I just stamped the very large peony on THIS CARD in just a colored ink and didn’t have to color it in. It still produced a pretty card doing it this way, so if you don’t like coloring, don’t let that deter you from getting this very lovely Prized Peony Stamp Set and perhaps the Bundle. You will be able to get very creative with this stamp set and perhaps the entire Peony Garden Suite making cards similar to my Prized Peony Saying Hello Card.

SHOP STAMPIN’ UP! ONLINE HERE!

Celebrate Sunflowers Stamped Thank You Card

Celebrate Sunflowers Stamped Thank You Card

I wanted to try out this stamp set but in an easy card, so I came up with this Celebrate Sunflowers Stamped Thank You Card. Demonstrators who were able to pre-order this stamp set have been making beautiful cards with it and with the coordinating dies! So be sure to check it out when you get your catalog!

Ordering from the new Stampin’ Up! Catalog begins Wednesday, June 3, no later than Noon (Mountain Time/Stampin’ Up! Time). That’s 1:00 PM Central Time. That’s the plan anyway! Stampin’ Up! will be setting up the website with the new catalog products from midnight until Noon MT so ordering will be unavailable until it IS available again!

I wanted to try out the Celebrate Sunflowers Stamp Set but I wanted it to be easy. I chose the smaller sunflower and decided to just stamp a few randomly on the Whisper White card layer along with some leaves. I stamped all of these in Memento Ink and then colored in with Stampin’ Blends.

The card base is Old Olive and the next layer is Crushed Curry. I could have used the new Bumblebee color of cardstock but I didn’t think about it and I didn’t have a matching Stampin’ Blend marker.

After stamping with Memento Ink, I used various Stampin’ Blends to color in the sunflowers and leaves. If you aren’t sure which color to use on any project, get a piece of scrap Whisper White Cardstock and try out some colors on that. You get a better view of the actual color than if you color on Grid Paper or computer paper. Use the real cardstock!

For the flower centers, I used the Dark and Light Crumb Cake plus a touch of Old Olive. Maybe even a touch of yellow. For the petals, I used Light and Dark Daffodil Delight (I think) but I also had Mango Melody handy. Mango Melody has a little more orange in it. But just try out some colors and see what you are in the mood for!

The greeting I took from another new stamp set just because of space. This “Thank You” is in the Many Mates Stamp Set which has lots of great greetings. I used a die from the Stitched Shapes Dies (one of my favorite die sets!) and then layered it on an Old Olive scalloped oval from the Layering Ovals Dies.

This card would also be pretty made with Shimmery White Cardstock with just that faint hint of glimmer, plus if you wanted to watercolor the sunflowers, the Shimmery White paper holds up a little better to water than the regular Whisper White cardstock. Shimmery White is probably my favorite paper except for Real Red!

So, basically an easy card to make although it does take a little bit of time to color the sunflowers and leaves, but that’s good therapy and relaxation! And we all need that right now! Just take your time stamping and enjoy!

Remember, the last day for the current annual catalog is Tuesday, June 2 until around midnight (Mountain Time). If you want any SINGLE Stampin’ Blends, get them by Tuesday because in the new catalog they are only sold in the Combo sets of Light and Dark. So if you only need one of the colors, order now. Also, check the Last-Chance products and the Clearance Rack! Get all the bargains!

AND Stampin’ Up! has extended the early release ordering of the Ornate Garden Suite of products through June 2 since it has been so popular, I think it was to end May 31. It is in the new catalog so you can also order it with a new catalog order.

I hope you like these new sunflowers in the Celebrate Sunflowers Stamp Set! And if you like dies, you can get the Celebrate Sunflowers Bundle and save 10% off the total price! It’s all on page 13 of the new Stampin’ Up! Catalog.

SHOP STAMPIN’ UP! ONLINE HERE!

Modern Heart Anniversary Card

Modern Heart Anniversary Card

This Modern Heart Stamp Set is one that I skipped over initially and then soon discovered was kind of cute and had really nice sentiments. I love the fonts on the sentiments. You can stamp this heart many ways and make many types of cards with it. I made it a Modern Heart Anniversary Card for my husband.

You can just stamp the heart and color it in, or stamp in a color and leave it as is. You can stamp the “swooshy thing” and then stamp the heart over it. You can emboss the heart if you like some dimension. You can use the new Fluid 100 Watercolor Paper and use the new Pigment Sprinkles. So many opportunities for creativity!

In this case, I wanted to do some coloring using my Stampin’ Blends. I just stamped the heart on Whisper White in Memento Ink and used several shades of markers……Calypso Coral Combo, Mango Melody Combo, Pineapple Punch Combo, Balmy Blue Combo, Granny Apple Green Combo, Pool Party Combo, Highland Heather Combo and Night of Navy Dark just to color around the edge after I cut out the heart.

The background piece is from the Perennial Essence Designer Series Paper. I decided to add narrow strips of Basic Black to each side of the designer paper. Underneath the heart is a strip of Copper Foil that I decorated the edge with the straight die in the Stitched Nested Labels Dies.

The greeting is stamped in Memento Ink on Whisper White and punched with the 1″ Circle Punch. Then I layered it on the 1 1/8″ Scallop Circle Punch in Copper Foil. Both the heart and this greeting are popped up on Stampin’ Dimensionals.

Take a look at this Modern Heart Stamp Set and see if it is one you want in your collection! Remember, for every $50 you spend in July, you will receive a $5 coupon code to use on your order in August! No limit! It’s Stampin’ Up! Bonus Days! Keep your code(s) in a safe place so you will have them handy to use in August.