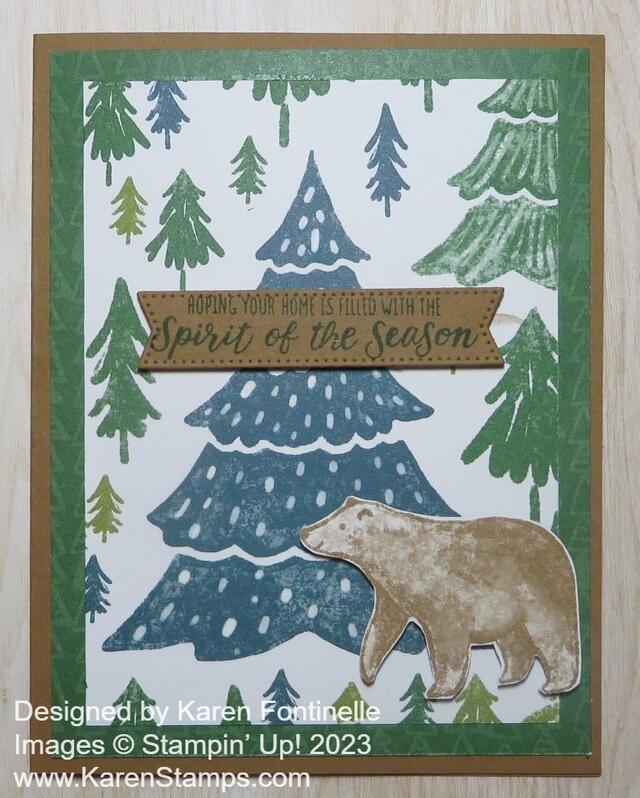
This is my first Christmas card made from my Holiday Mini Catalog preorder for Stampin’ Up! Demonstrators! So many new things to choose from! Somehow I came up with this Reindeer Days Christmas Together Card and I’m happy with how it turned out!
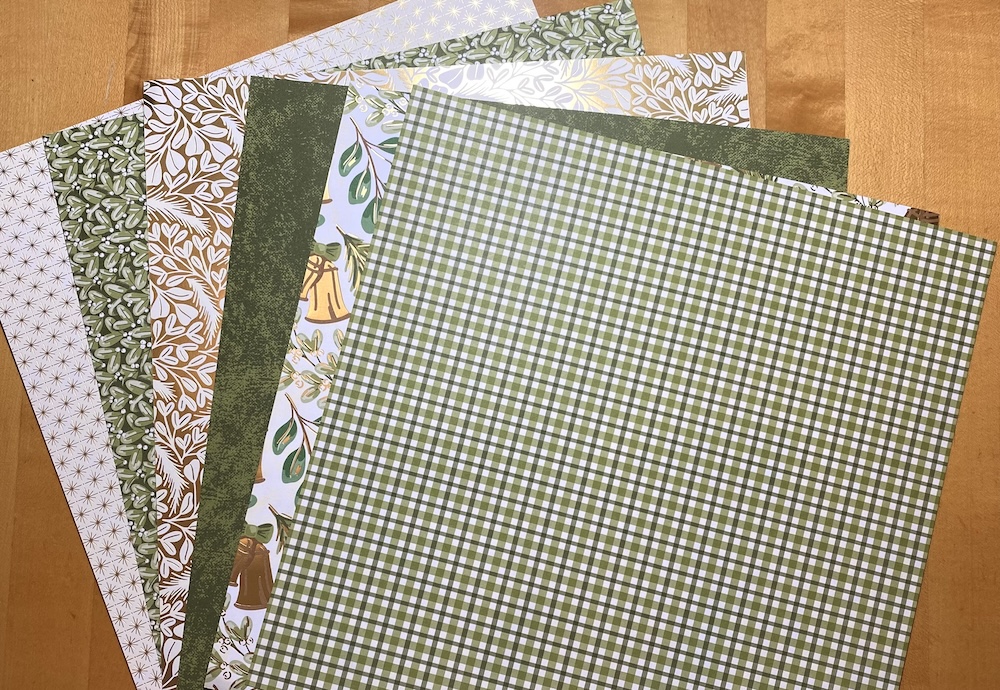
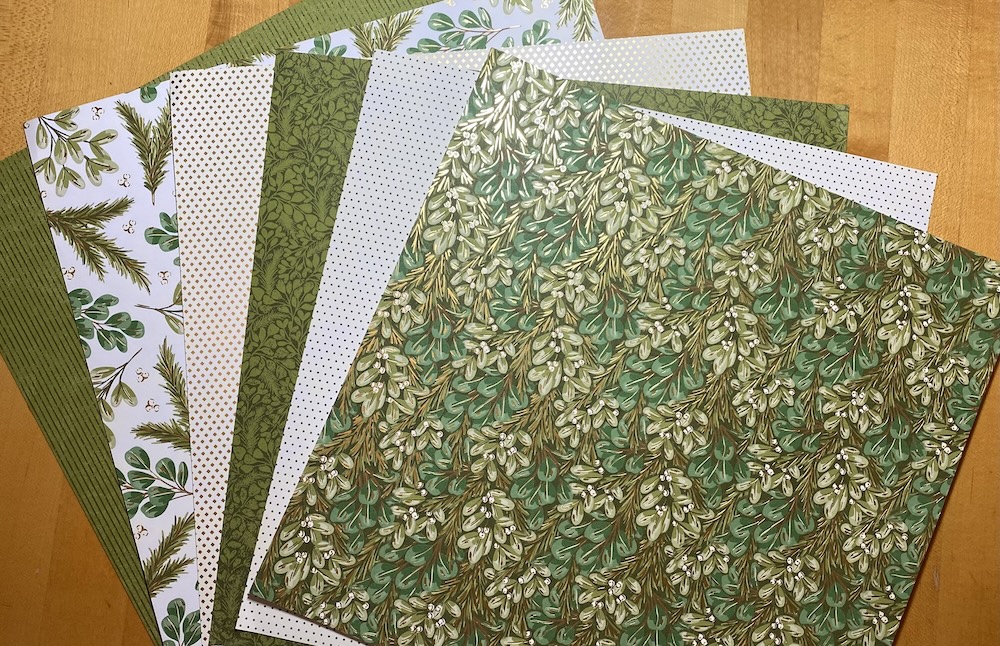
The card base is Garden Green although I was tempted to use Real Red because I love red for Christmas cards. The paper with the trees is in the new Reindeer Days 12″ x 12″ Designer Series Paper. Other papers have various reindeer on them and they are so cute! A couple of the reindeer can be cut out from certain designer papers in the pack with reindeer dies in the Reindeer Days Dies. It’s so fun to be able to do that, although it is a killer to cut into the beautiful paper to retrieve the reindeer you want from a section of the paper since we can’t put the whole 12″ x 12″ paper through our Cut & Emboss Machine! This one die cut out the adult and baby reindeer!
Behind the reindeer, I cut out the largest stitched circle in the Stylish Shapes Dies. I used Granny Apple Green for the circle. Before adhering the reindeer, I wanted a little something on the circle, so I stamped some little sparkle images from the Reindeer Fun Stamp Set in Granny Apple Green ink for the background. I popped up the circle with the reindeer on Stampin’ Dimensionals.
The greeting is also in the Reindeer Fun Stamp Set. It is stamped in Garden Green ink. It goes well with the two reindeer! The die I used to cut out the greeting is in the Nested Essentials Dies. I thought it fit this greeting perfectly. The greeting is also popped up on Stampin’ Dimensionals. I also added a few new Gold Textured Adhesive-Backed Dots to the card front. When I got these and some other embellishments, these were my least favorite, yet they are the first new ones I used!
I think the Reindeer Days Suite Collection is going to be a very popular one because who can resist reindeer?! The paper, stamp set, and dies that I used for this card are all in the Suite, plus more. The Gold Dots are in another Suite.
While you are waiting until September 4th to be able to order from the Holiday Mini, remember that the Designer Series Paper Sale is going on with select papers 15% off through August 31! Choose your favorites for your collection!