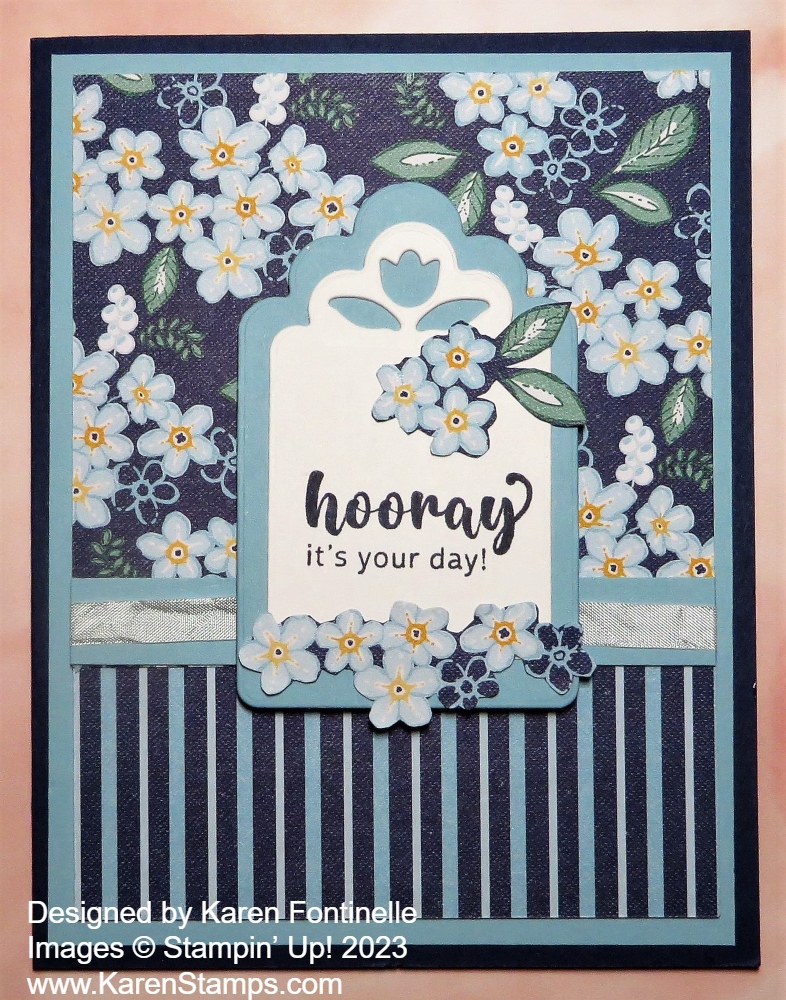
I thought one time I had seen a card I really liked using this blue floral paper and without even trying to find that card or a similar one again, this Regency Park Blue Floral Hooray Card is what I came up with. I have to say I’m really pleased with how this card turned out! It’s the paper and it’s the tag!
For this card, I used the Regency Park 6″ x 6″ Designer Series Paper which you will find in the Stampin’ Up! Spring Mini Catalog on page 31. I chose this paper with Night of Navy and Balmy Blue colors. One side is the floral side and the other side has stripes so I decided to use both!
The card base is Night of Navy with a layer of Balmy Blue. I think other color combinations would be pretty too and I may try out some of those! The floral paper is cut at 3 1/2″ x 3 3/4″ and the striped portion is 2″ x 3 3/4″. This allows for some overlap of the papers. Often I want to put a ribbon over the “seam” to cover it up and sometimes I do that with just the two papers adhered together. That works, but it is a little flimsy and difficult to handle. On this card, I cut a piece of Basic White Cardstock the same size that I wanted the designer paper layer to be, 3 3/4″ x 5″, and adhered the designer papers to that first, completely covering the white cardstock. I added a narrow strip of Balmy Blue to cover the junction of the two papers and also added a bit of White 1/4″ Crinkled Seam Binding Ribbon over the strip of Balmy Blue. Then I adhered this whole piece to the layer of Balmy Blue on the card.
For the greeting, I chose one from the Sentimental Park Stamp Set in the same Regency Park Suite. I stamped the greeting in Night of Navy ink on Basic White. Then I switched to the Something Fancy Dies and diecut the greeting. These dies are great shapes of tags and labels and versatile with the extra little dies that come with them. I diecut the greeting with the tag die, then used the extra little die with the flower and leaves to diecut the top of the tag and make it really pretty! You can diecut both at the same time or separately. After trying out the tag on my card, I thought it needed a layer and luckily this die set has layering dies! I cut another larger tag out of Balmy blue to layer behind the greeting.
I might have tied a bow at the top of the tag, but with the pretty diecut at the top, I didn’t want to cover that up. So instead, for a little extra embellishment, I used my Paper Snips to cut out some little flowers from the designer paper. I really like how that turned out! I could have also added some rhinestones or other sparkly embellishments.
Since the card base is a dark color, on the inside I added a layer of Basic White and then added a strip of the floral paper to the bottom to decorate it a little bit. That way I can stamp a greeting or write a note on the white cardstock inside.
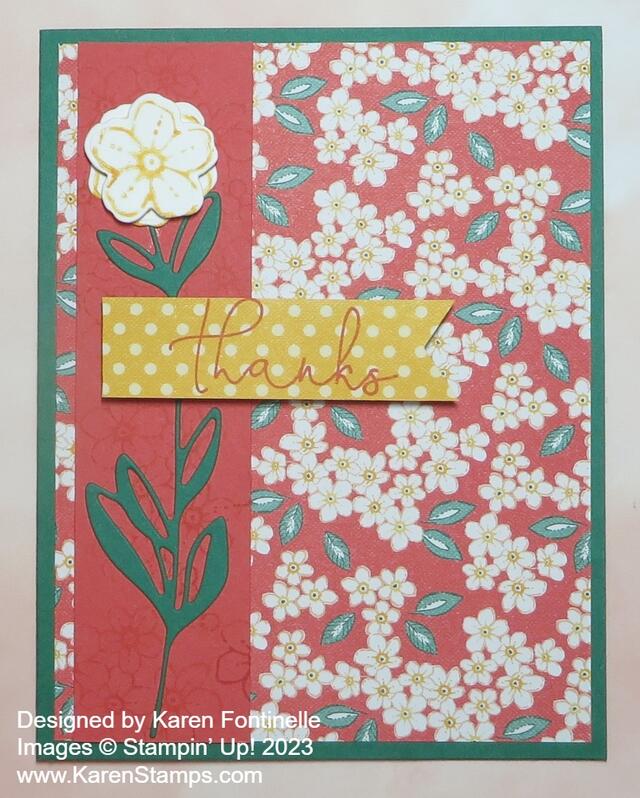
Check out the whole Regency Park Suite Collection in the Spring Mini. If the whole Suite is not available, then just pick and choose which products you would like. If just one item is not available, the whole Suite is not available, but you can still purchase products individually that are available. Here is another card I made with similarly designed paper but in Sweet Sorbet. Try your hand at a card like my Regency Park Blue Floral Hooray Card and maybe use different color combinations for fun!