It’s time to shop at Stampin’ Up! THIS WEEKEND!! Tuesday, April 30th is the LAST DAY to shop the Last Chance Products! Take your time this weekend looking over the Stampin’ Up! 2023-2024 Annual Catalog and the January – April 2024 Mini Catalog (known as the Spring Mini) to check what is retiring that you want! Some products, especially in the Annual Catalog, are discounted.
Keep in mind that any Bundles of two products from the Annual Catalog that are carrying over to the new Annual Catalog will be “taken apart” so you will pay full price for each item rather than 10% off now during the current Annual Catalog. This is what they do and of course, there are new Bundles in the new catalog with a 10% discount.
Also, notice that some products are going up in price in the new catalog. If you have received your catalog, you might want to compare prices on basic products and maybe stock up, saving a dollar or two on each one. Some are very minimal price increases and some are about $2.50. That’s the theme anywhere we shop these days. Just ask me how much my favorite Blue Bell ice cream costs these days!!
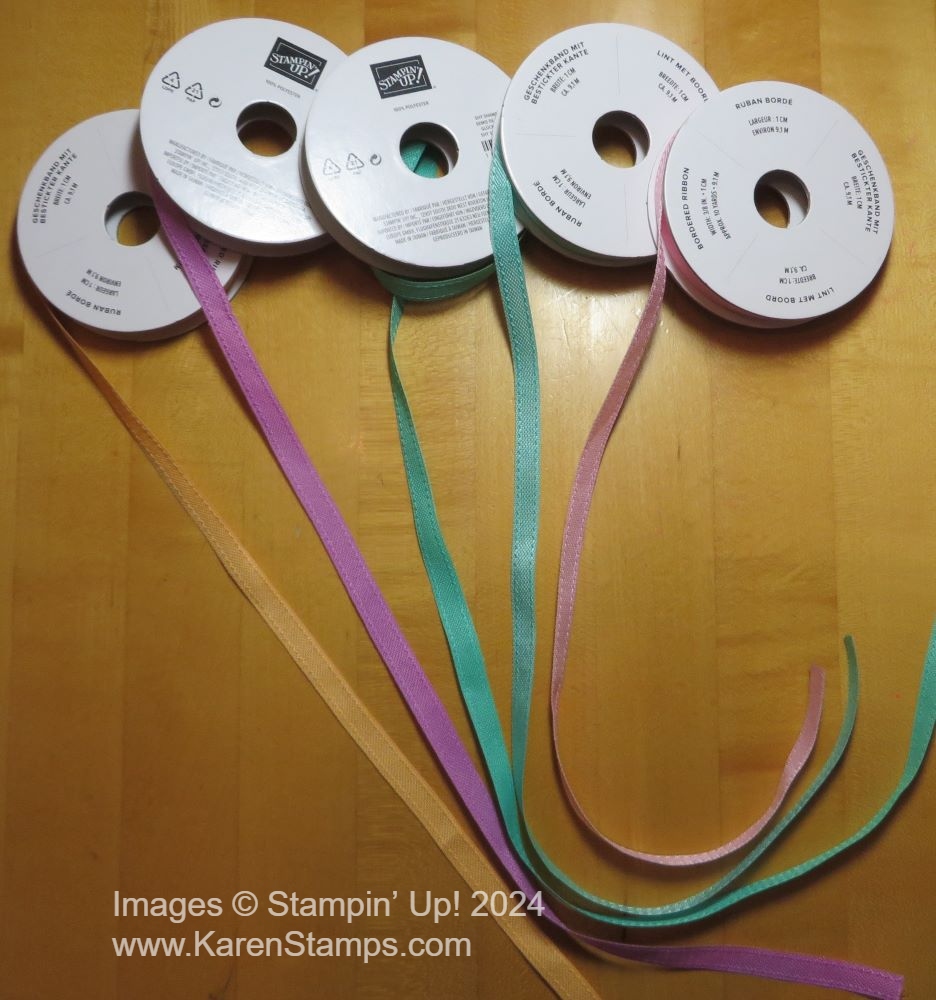
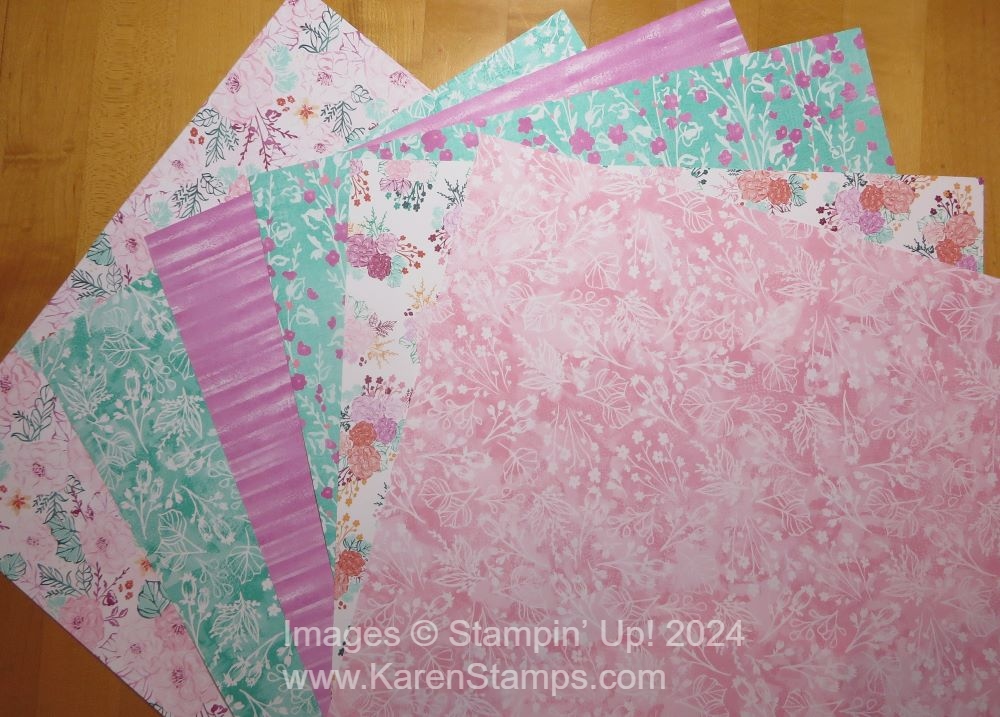
Check out the Stampin’ Up! Clearance Rack that was refreshed the other day! There were aboout two pages of products (not a lot) but now we are down to a little less than one page. There are some good deals on dies, several papers, a couple of ribbons. Just go look! It can change at any moment.