Tag Archives: Masterfully Made Designer Series Paper

Hello First Day of Fall Card

Hello First Day of Fall Card

Today, September 23, is the first day of fall! Thank goodness!! We had such a hot, hot, hot summer here in Houston and most of Texas I think that we are SO ready for a break in this heat! I’m hoping this Hello First Day of Fall Card will help usher in more comfortable weather! It will be a while before the heat goes away, though.

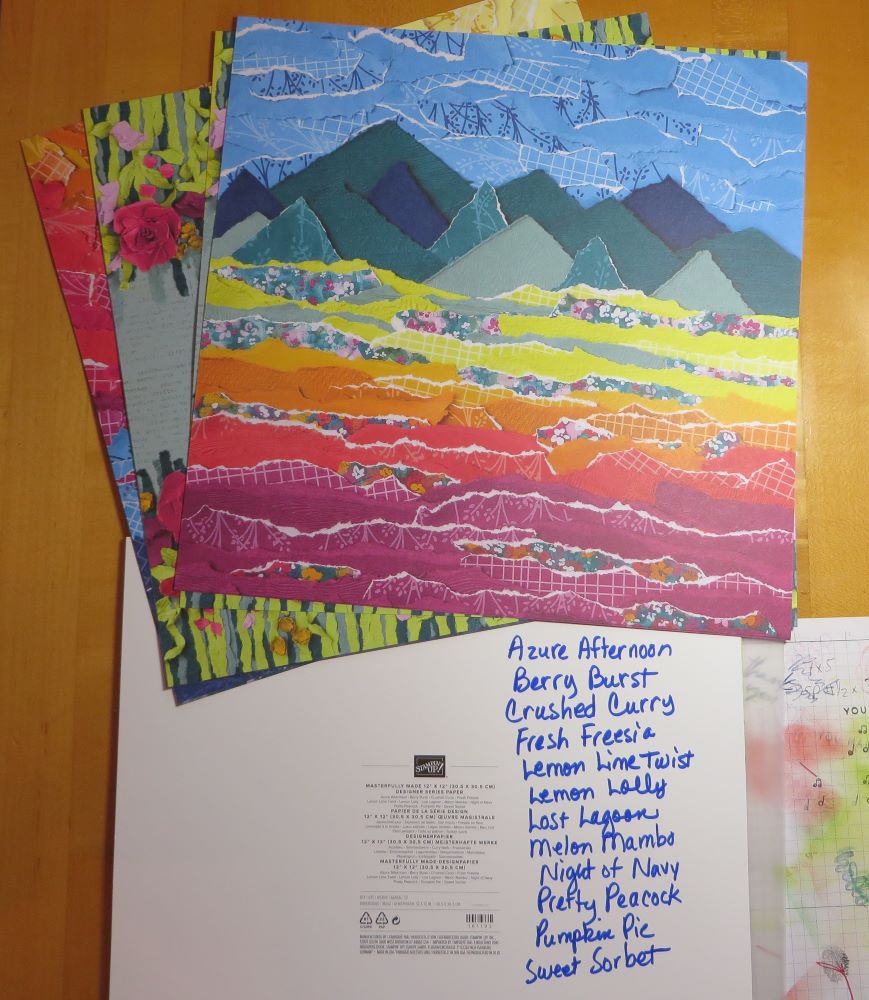
In thinking about fall, I naturally thought about the Layering Leaves Stamp Set. In kind of looking for ideas online, I saw someone had made a card using the Masterfully Made Designer Series Paper. That made me look through my package to see if an idea popped into my head using one of the paper patterns. This one that I used seemed to have some fall colors in the flowers so I chose it! It’s a different look for a fall leaves card, I admit, but this whole package of paper is a little daring so it’s okay to do something a little different with it!

In the Layering Leaves Stamp Set, there are two stamps you can use for two-step stamping. I stamped the outline stamp of the leafy stem with Garden Green. Then I colored on the stamp that was just the fill-in leaves using two or three different colors of Stampin’ Write Markers. I wanted each leaf to have several colors on it as if it were turning colors for fall. I used Crushed Curry, Garden Green, Pumpkin Pie, and Granny Apple Green. Just play and see what you come up with! Everyone will be different. On a few leaves, I added a little marker color to fill in some empty spaces. Then I cut out each stem with my Paper Snips. The Bough Punch has been out of stock for a while but you can order it now, earlier than expected!

The card base is Crushed Curry. I used the Radiating Stitches Dies to diecut a piece of Pumpkin Pie for a layer for the focal point of the card, and the next smaller piece of Basic White. To fill in the white background a little bit, I stamped lightly with the dotted stamp using Granny Apple Green and Lemon Lime Twist. Not one to leave well enough alone, I also stamped the little flower image in Pumpkin Pie.

The greeting is in the Layering Leaves Stamp Set. I thought “Hello” was appropriate for saying “Hello” to the first day of fall! I love the font of the greetings in this stamp set. I stamped it in Pumpkin Pie ink and die cut it with a label die in the Cheerful Daisies Dies. I also cut a piece of Crushed Curry with the same die and cut it in half horizontally to make a layer under the greeting. I just adhered one half of the Crushed Curry to peek out from the top of the greeting and the other half for the bottom. Just line the two pieces up evenly and they look like a full layer underneath the greeting!

Before adhering the greeting, see where you want the leaves placed and glue those down. I decided to add a piece of ribbon underneath the popped-up greeting. It is the Burlap Ribbon in the Combo Pack with Real Red Ribbon. I also added some gold Pastel Adhesive-Backed Sequins around on the card.

You can make a similar card to this one with the Layering Leaves Stamp Set. You can change the background designer paper and change the colors of paper and ink that I used. The best part of the Layering Leaves set, I believe, is the beautiful fonts and words you can use a lot.

Fall and fall decorating is just around the corner now! It is fall and it is almost October! Make a few cards to send to celebrate fall!

SHOP STAMPIN’ UP! HERE!

Altered Gift Bag with Masterfully Made DSP

Altered Gift Bag with Masterfully Made DSP

It just so happened that I needed a larger gift bag and couldn’t find one in my stash of bags in the closet. They are mostly Christmas bags. Luckily, I found this gift bag from a fabulous bakery, but of course, it has the bakery’s name on the front of the bag and the back. I decided to use the bag but decorate over the bakery name and this Altered Gift Bag with Masterfully Made DSP is what came of that project!

The colors on the bag were already interesting. When I started comparing our Stampin’ Up! cardstock, the colors on the bag came very close to Berry Burst and even pretty close to Coastal Cabana. And this bag is at least several years old so they were ahead of the Stampin’ Up! trend!

I played around with some different ideas and originally thought about using the Cheerful Daisies one way or another, but I ended up using the Masterfully Made Designer Series Paper which is extremely colorful but seemed to go along with this bag. I cut a wide enough strip of this roses pattern to cover the bakery name and take up some space on the front. The paper is still 12″ wide so you can get an idea of how much wider the shopping bag is. Then I added narrow strips of the green torn paper pattern in the Masterfully Made DSP to the top and bottom of the strip. I had a few scraps of the rose paper so I cut out the roses as best I could out of the scraps using my Paper Snips and decided to place them on the bag as if they are cascading down.

This isn’t my favorite bag I have ever decorated, but I think it turned out okay and I decided to not get too perfectionistic about it because who knows what will happen to a gift bag after the gift is opened. I really love to decorate and personalize shopping bags I get at certain stores, usually requiring the business name to be covered up, which is pretty simple. This bag being larger and having these two colors on it made it a little more challenging. You can even purchase place kraft or white shopping bags at craft stores or online to have some handy for when you want to make your own creation to go with the gift and occasion.

The back side of the bag also had the bakery name so I just chose a piece of the Bright & Beautiful 6″ x 6″ Designer Series Paper to cover the name. It also has the Berry Burst color in it. Here is a photo of the back of the bag.

Altered Gift Bag back

At least I have a large enough gift bag to use and decorated with some interesting designer paper! I usually save those handled bags when I get them because I know I can turn them into a gift bag and not have to run to the store at the last minute. Here is one example from a few years ago of a bag I turned into a Christmas gift bag.

Look through your bags and see if you have something you can alter and make into a nice gift bag! It’s really a fun project and oh so handy! You will be glad you did!

Quick and Easy Masterfully Made Cards

Quick and Easy Masterfully Made Cards

When you are looking for an easy card design, try these Quick and Easy Masterfully Made Cards. All you need is a card base and the beautiful and fun Masterfully Made Designer Series Paper.

This 12″ x 12″ designer series paper gives you the look of texture of torn pieces of paper or handpainted designs without you having to do all the work! Some of the papers are entirely designed with torn pieces of paper of different patterns and you can even add your own real texture by tearing some edges you add to the card as I did on this card.

These two cards are just made by cutting a piece of the designer paper with these flowers and stems and some newsprint in the background. The paper is cut at 4″ x 5 1/4″. The card base is Sweet Sorbet cardstock for the card on the right and the card on the left is Melon Mambo. They practically look the same but I wanted to try both colors.

All you need is a piece of this designer paper and a greeting! Both greetings are in the Sending Smiles Stamp Set. The card on the left with the Fresh Freesia greeting is die cut with the narrow die in the Sending Dies set. The greeting on the right stamped on Lemon Lime Twist cardstock is diecut with the angled banner in the Something Fancy Dies.

If you wanted to, you could add some sparkly embellishments like rhinestones or sequins, but you can also just leave it as is to keep it quick and easy!

Remember, with every $50 you spend at Stampin’ Up! during the month of July, you will receive a $5 coupon to spend on Stampin’ Up! merchandise in August!

SHOP STAMPIN’ UP! ONLINE HERE!

Masterfully Made Slimline Card

This Masterfully Made Designer Series Paper is so interesting and there are so many ways you can use this paper as you can see with this Masterfully Made Slimline Card. The card turned out differently than I expected, as is often the case, and you can’t tell from the photo, but I will explain!

I just purchased this designer series paper during the Stampin’ Up! designer paper sale in June, but if you missed it, don’t worry because during July 2023 you can earn a $5 coupon for every $50 you spend in July. Then spend that coupon in August! It’s called Bonus Days! Every $5 helps when you want to buy products at Stampin’ Up!

To make this card I started with a card base of Azure Afternoon but in the Slimline design. The cardstock is cut at 6″ x 6″ and then scored at 3″ so the card front is 3″ wide by 6″ high. You can make a slimline card in various sizes but I like this size to go with some standard envelopes I already have.

I thought it would be fun to just cut strips of the Masterfully Made Designer Series Paper to fit across the front of the card. If you had already used a lot of your paper, you might have scraps you could use, but in this case, I had to cut into mostly new sheets of paper just for little strips! A tough thing to do, as you can imagine, with such beautiful paper!

I also added a layer of Basic White over the Azure Afternoon which just brightens up the paper strips a little against the medium blue. I just used very narrow margins, so the Basic White is cut at 2 7/8″ x 5 7/8″ and then the strips are cut at 2 3/4″ x 1″. I wasn’t sure about the width of the strips until I played around with the card a bit. I ended up using eight different strips of paper.

The paper itself already looks like it has torn edges. That is the way it is printed. After I was getting the strips laid out how I liked them, I got the idea to tear the top edge of each strip and even kind of rough it up along the torn edge with my fingernail. I suppose that was an unnecessary step when the paper already looks torn and when it doesn’t really show up in the photograph. Even in person, I barely notice it! But it does add a little texture to the card and surely the recipient will notice it and be impressed!

In looking through greetings to put on the card, it obviously needed something small and I found this one in the Charming Sentiments Stamp Set. “Hey there!” is just cocky enough I think to go with this rather wild designer paper! I stamped it with Azure Afternoon ink on Basic White and diecut it with a rectangular stitched die in the Warm Welcome Dies (which I forgot are retired now but you will find another substitute or just cut a rectangular piece). I also made an Azure Afternoon layer under the greeting.

That’s all there is to this card! You could also make the card horizontal and use longer strips of paper! Just play and see what you come up with! But you will definitely want to experiment with this Masterfully Made Designer Series Paper!

And look at all the colors that these papers coordinate with! I always like to write the color names on the back of the designer paper cardboard so I can READ THEM without getting out my glasses! I wish Stampin’ Up! would print the labels larger!

SHOP STAMPIN’ UP! ONLINE DURING BONUS DAYS! GET YOUR COUPONS!!