Does this Full of Life Layering Leaves Autumn Card make you think of fall? As I was looking through this designer paper, I thought the colors of this particular pattern looked like autumn. Maybe it’s wishful thinking on my part since it is nearly 100 degrees here in Houston every day for the foreseeable future, likely until November (well, maybe a “slight” exaggeration, but not much!). I thought if I paired some leaves with this paper it would give the impression of autumn!
The paper I used is the Full of Life Designer Series Paper. This pack of paper is 6″ x 6″ and has all kinds of colorful patterns as well as “the other side” of the paper with softer colors that you can use as backgrounds. If you like color and fun patterns and designs, then this paper is for you! Best of all, you can save 15% on the cost when you purchase it during the Stampin’ Up! Designer Series Paper Sale during August!
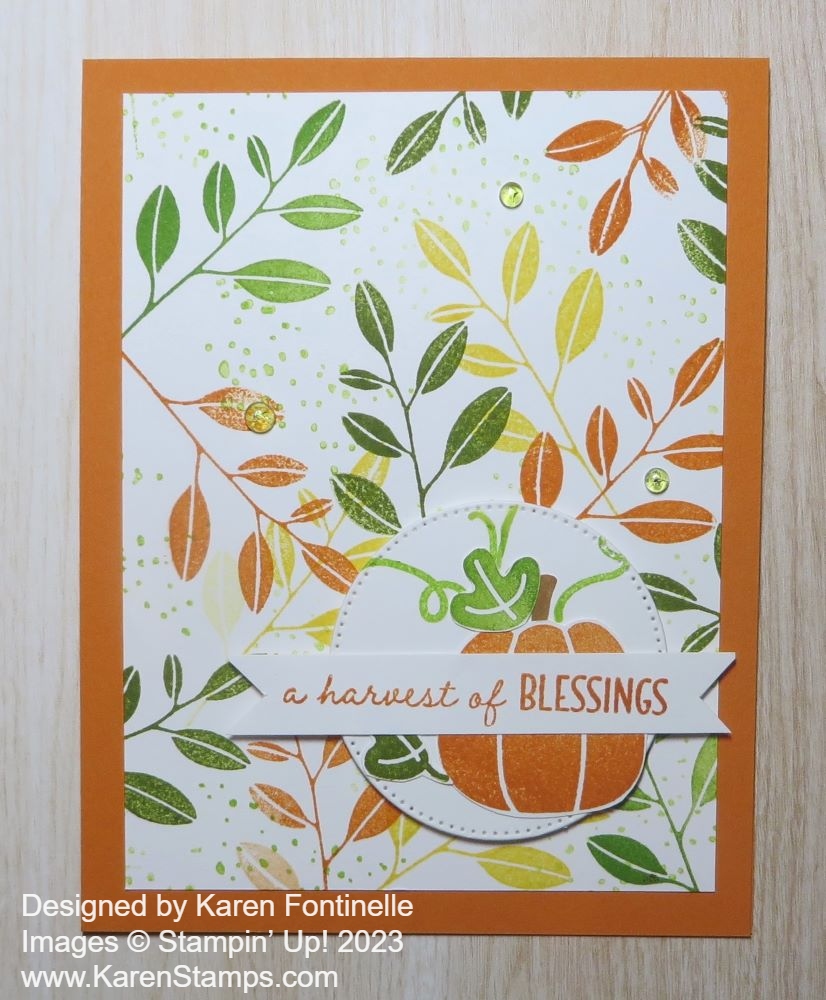
The card base is Pumpkin Pie with a layer of Old Olive. There are so many colors you can use with this Full of Life DSP. We all have so many choices for leaves we could use for this card to make it look like autumn. You can stamp or diecut leaves and we have plenty of stamp sets and dies to choose from with those items. I chose the Layering Leaves Stamp Set, which is a carryover into the new Annual Catalog from last year. You’ll find it on page 77 in the Encore Section of the catalog. I always thought it had beautiful and useful sentiments in this set.
For the focal point of this card, I diecut a piece of Basic White with the largest banner shape in the Nesting Essentials Dies. I kind of turned it into my own piece of designer paper by stamping different leaves in different colors all over the banner piece. I used some fall colors like Old Olive, Shaded Spruce, Crushed Curry, and Pumpkin Pie. For a layer, I just cut out a piece of Old Olive cardstock and trimmed out the banner shape at the bottom since there was no larger banner die to use.
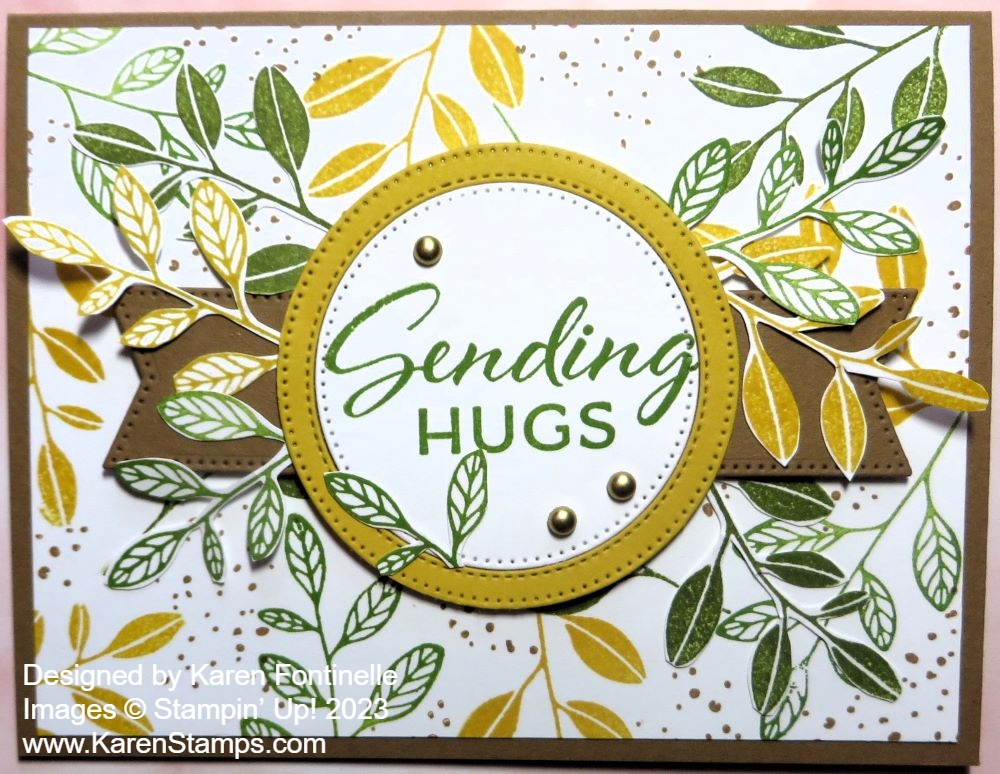
Here is a card I made last year with the Layering Leaves Stamp Set which is much like I made the banner on this card.
Because I had stamped all over the banner, I needed a way to have the greeting stand out. I stamped my greeting on Basic White and cut it out with a banner shape in the Stylish Shapes Dies. The greeting is stamped in Pumpkin Pie ink and is in the Layering Leaves Stamp Set. I popped it up on Stampin’ Dimensionals. Then I used some new Natural Tones Linen Thread coming in the Nests of Winter Suite in the Holiday Mini Catalog, doubled, to tie a bow and adhere with a Mini Glue Dot. I used the Garden Green color. There are three colors of linen thread in the package.
That’s my first card for fall! Instead of stamping the leaves, you could use any shape, stamp the greeting, and then use diecut leaves around the edges. Lots of possibilities!
August is almost half over already and September comes next! In lots of parts of the country, that will mean fall is coming so it’s not crazy to start working on fall cards and projects!