Author Archives: Karen Fontinelle

Veterans Day 2009

Soldier 

This is a swap card I received at the Stampin' Up! Convention this summer, made by Julia G. from California.  I thought it would be perfect to showcase today on Veterans Day, a day set aside to honor military veterans.

This card uses the stamp set Courage for the main image, the set Service & Sacrifice for the sentiment, and in the background on the Brilliant Blue the wheel Hero.  You can find all of these stamps on page 67 of the Idea Book & Catalog.

You can read all about Veterans Day by clicking HERE.

Robot Gift Card

It's been awhile since I have used this template…usually I think people put a tea bag or a chocolate candy in the little pocket.  But since I needed a quick birthday gift for a young teenage boy, I thought it would be fine to hold cash!  I thought of my Lots of Bots stamp set, a good one for boys, and stamped that image for the front.  After I had it all colored in and mounted on Brushed Silver card stock, I thought it needed a little more silver…..and since I am apparently into silver glitter these days, why not a little silver glitter, Chunky Essentials, for the robot!  I just applied a thin line of Tombow Multi Glue around the edge and sprinkled on the glitter.  I think it looks kind of jazzy now!  The Designer Paper I used is the retired Jersey Shore, a good set of colors for a boy.  You could also use any color of card stock and perhaps embellish it with some designer paper.  Lots of opportunity for creativity in this easy project!  Email me if you want more information or ideas!

RobotMichael 

Robotinside

A Pottery Barn Look-a-Like

While shopping at Pottery Barn, I saw some monogram ornaments with silver glitter and I thought…"I could make that!"  So I went home, found a round coaster (or I could have used chipboard), covered the back of the coaster (that was printed) with Stampin' Up! Specialty Night and Day Designer Paper.  The Pottery Barn monogram was larger, but I stamped my initial with the Lovely Letters Alphabet, an alphabet I just love.  After applying the Tombow Multi Glue around the edge of the front (and then the back later) I adhered the Silver Chunky Essentials Glitter.  Wouldn't this be a quick and easy gift or tag on a gift for someone?!

PotteryBarnKOrnament 

PotteryBarnBack

Serene Snowflakes Peppermint Patty

Always love these quick and easy Peppermint Patties made with the 1 3/8" Circle Punch and the ever-popular Scallop Circle Punch!  Stamp a Serene Snowflake (in the Holiday Mini) on Whisper White with Bashful Blue ink.  Punch out with the Circle Punch.  Punch two Bashful Blue Scallop Circles for the top and bottom of the Peppermint Patty.  Adhere the snowflake to one Scallop Circle.  Attach to the candy with Mini Glue Dots.  Cute!!

SnowflakePepPatties 

A Nugget Purse

It's been awhile since I have made one of these, but they sure are fun little things to make for party favors or little gifts.  You can use card stock or stamped card stock or designer series paper.  You might want to use the heavier weight designer series paper, but I think this one will be fine.  I used the Thoroughly Modern DSP, but of course you could use anything.  A Hershey's Nugget is what I used for the candy on the inside, hence the name, Nugget Purse!

Cut a 1 1/4" x 3" piece of Designer Series Paper (DSP) to wrap around the nugget. Just put adhesive on both ends of the "wrong side" of the DSP, sticking one end to the bottom of the nugget and wrapping the other around.

For the purse:  DSP  1 3/8" x 4 1/4"

Score at 3/4", 1", 2 1/4", 3 1/4"  Put a piece of Sticky Strip in between the 3/4 and 1" score lines.  Fold on all the score lines and see how the purse will go together.  If you want, use your Tag Corner Punch or your Corner Rounder Punch on what will be the front flap of the purse to cut off the corners.  Take a 4 1/4" piece of grosgrain ribbon to match or just a strip of card stock for the purse handle.  Remove the red liner of the Sticky Strip and attach the ends of the ribbon (or card stock) together over the Sticky Strip, forming the handle of the purse.  

For the little decoration on the purse flap, in a coordinating color of card stock, use the 1/16" punch to punch a hole and then punch out with the Trio Flower Punch (or the 1/2" Circle Punch).  (It is pretty hard to punch the flower first and then add the hole, unless you use your paper piercer….so punch the little hole first, then center in your flower punch).  Hold your purse together (without the flower decoration) as if it were assembled and use the 1/16" punch to punch through both the flap and the purse.  Now insert a brad into your punched flower and then into the purse to hold together.  Reach inside to spread the legs of the brad.  You could always use a little piece of velcro or even just glue the flap down with a mini glue dot.  Now insert your wrapped Nugget into the purse, perhaps using a bit of SNAIL or a mini glue dot on the bottom to hold it in the purse.

All of these supplies can be purchased at my Stampin' Up! Online Store of course!

NuggetPurse 

NuggetPurse2 

I wish I had more Hershey's Nuggets!  I'm in a Nugget Purse kind of mood!

Papercrafting Ideas from Stampin’ Up!

Image copyright Stampin' Up!

Don't forget about the wonderful resources for papercrafting ideas right on the Stampin' Up! website!  Just click HERE to see many projects which by changing card stock color or different designer series paper you can change into Christmas or holiday gifts if you want.  Click on each project picture to see a list of supplies.  Go to my website HERE and click the Shop Now button and you'll be able to place your order!


Learning New Things with My Digital Studio

When we got to watch our son's wushu demonstration at college a couple weekends ago, I took a few photos but mostly I took video.  With My Digital Studio I can (and I did!) incorporate that video into an "interactive photo album" so that he will be able to see the pages I designed plus watch short videos of the demonstration.  I was surprised how easily I was able to do that with my limited computer skills!  But I also wanted more photos for the pages.  Luckily, I was able to figure out on my computer how to capture individual frames from the videos and save them individually as photos.  Not sure how clearly they will print out, but for now, it suited the purpose…..and I learned a new computer skill!  Here is one of the scrapbook pages I made with My Digital Studio using all these extra photos I was able to extract.  If you click on the link above, you can watch a short video from Stampin' Up! about My Digital Studio.

Wushu-004

Fun & Fast Notes

I felt like I needed to get back to some simple, versatile stamping today and decided to pull out my Fun & Fast Notes stamp set.  This set covers about every occasion and is easy and fun to use.  Here is a birthday card I made, adding some brads on the side and a little Dazzling Diamonds on the cake (flames and middle layer of frosting!).  After that I decided to add a little something to the background so I used the Retro Remix wheel and Versamark ink.  I used our Stampin' Up! Watercolor Paper for the cake and colored in with In Color Markers and my Aquapainter.  If you don't own this set, you can go to my Online Store and order it!

FunFastHB

Stampin’ Up!’s Holiday Extravaganza!!

Happy November!  Once Halloween is over we know the holidays are not far behind at all!  Why not make Stampin' Up! your one-stop shopping destination for all the family and friends on your list?!  What could be more appreciated than a handmade gift from you?

Stampin' Up! has just announced their Holiday Gift-Giving Guide!  Click HERE to see all the wonderful ideas for kids, teens, neighbors, teachers, scrapbookers, and more!

And that's not all!!  From Nov. 1 to Jan. 4, receive a FREE Decor Elements piece (up to $16.95 value) when you spend $50 on products in the Holiday Gift-Giving Guide.  NO LIMIT!  Click HERE to browse the Definitely Decorative Catalog or click on the banner below!

                                                            Image © Stampin’ Up! 

Lots of Bots Birthday Card

Now that my son's birthday is over I will post the card I made for him.  Not that I really think he would be reading his mother's stamping blog, but it seemed better to wait!  When this stamp set first came out and Stampin' Up! demonstrators had a chance to preorder it at a discount, I was going to pass on it.  But then I remembered my son was going to be working on some robot project at college, so gee, it might come in handy!  I've seen lots of cute cards made with it so it is a great set to own!

Here is the card for his 21st birthday…..and he LIKED the card!  What more could a stamping mother want??!

Robotcard 

I used the In Colors Crushed Curry and Soft Suede, plus some Basic Gray under the 021, only because I couldn't find my Brushed Silver at the moment.  That is one of the Sweet Treat Cups holding the screws, etc. from the Holiday Mini.….so the Sweet Treat Cups aren't just for candy!  The Sweet Treat Cup is actually mounted to the inside of the card so that the front opens and you can still see the robot in the cup.  You use the 1 3/4" Circle Punch to make the holes.  After I made the first one, I traced with a pencil where the next one would go so I would get the placement right with the punch and everything would line up.  The punches work best with one layer of card stock at a time.

Robotcard1 

Robotcard2 

Robotcardassemb 

Robotcardtreatcup 

Use some Mini Glue Dots to attach the front of the Treat Cup to the layer you see here, then when you attach the stamped robot layer you will peel away the adhesive strip on the actual Treat Cup to adhere that so it looks like the robot is inside the cup.

Robotcardinside

I left the right hand corner unstamped so we could sign the card there!  Be sure to stamp the images before adhering over the Treat Cup……otherwise it is difficult to stamp near the cup!  Duh!

And the finished card again………..

Robotcard 

I hope these photos make the assembly process somewhat clear, but if not, email me with any questions!

PS:  Since I don't own any number stamps, I used My Digital Studio to print out the numbers I wanted and then adhered them to this card!

A Different Way to Trick-or-Treat

Happy Halloween!!

The other day I remembered a slightly different way we used to trick-or-treat in our neighborhood that we thought was fun.  It sounds confusing, but trust me, it works!  One year a friend invited my kids and me to come do this "special trick-or-treating" over on her side of the neighborhood.  After that, another friend and I started organizing it over on our side of the neighborhood.  The point was as a parent you knew whose houses you were going to so it was safe and if you wanted to you could give out maybe a little better candy treat to the kids since you knew how many to expect.  We would do this on the Sunday night before Halloween, so it really was kind of an extra trick-or-treating event!  But some people were going to parties on Halloween night so their kids would normally not get to go door-to-door for candy.

This has to be organized ahead of time.  You find out what neighbors want to participate and it has to be in a reasonable walking distance.  If somebody from way out of the walking range wants to participate, they just have to start from someone's house who is "on the route".  The organizer plans the route to take to hit everyone's houses and approximately what time the group would arrive.

This is how it works:  My kids and I leave our house at the appointed time, say 6:30 pm.  We go next door.  That neighbor gives my kids candy, locks her house, and she and her child come with us.  We all go across the street to that neighbor….she gives candy to my kids and my next door neighbor's child, they join us, and we all go to the next house down the street.  That neighbor gives out candy to all of us, and comes along with all of us as we go to the next house.  (I know it sounds like somebody isn't going to get candy, but keep following me!)  Let's say there are 10 families on the list.  We get to the tenth house.  That mom gives out candy to all the kids who are now in the group, locks her house and joins us.  NOW since we have finished picking everybody up, we all go back to MY house which was the starting point.  Now I haven't given out candy to anybody since we were the first family.  So when we get to my house, I go inside, get the candy and give it out to all the kids in the group (which at that point is everybody).  Now my kids and I stay home…we're done.  The group continues on to my next door neighbor (second on the list).  She has only given candy to my kids when we started, but now my kids have stayed home and when the groups goes to her house, she gives out candy to everybody and she stays home.  Then the whole group goes across the street and that neighbor gives out candy to everybody and she stays home with her kids.  It continues on that way until the last family gets home (who had already given out candy to everybody when we first arrived). So all the kids do get the same amount of candy, from everybody, and it is a fun night out!  Just a little difficult perhaps to keep the kids from running ahead of the leader!  One year we had a police helicopter hovering above probably trying to figure out what this big group of kids and adults were doing….or maybe they were just enjoying the Halloween sight!

Just a slightly different way to trick-or-treat in an organized fashion if that works for you!

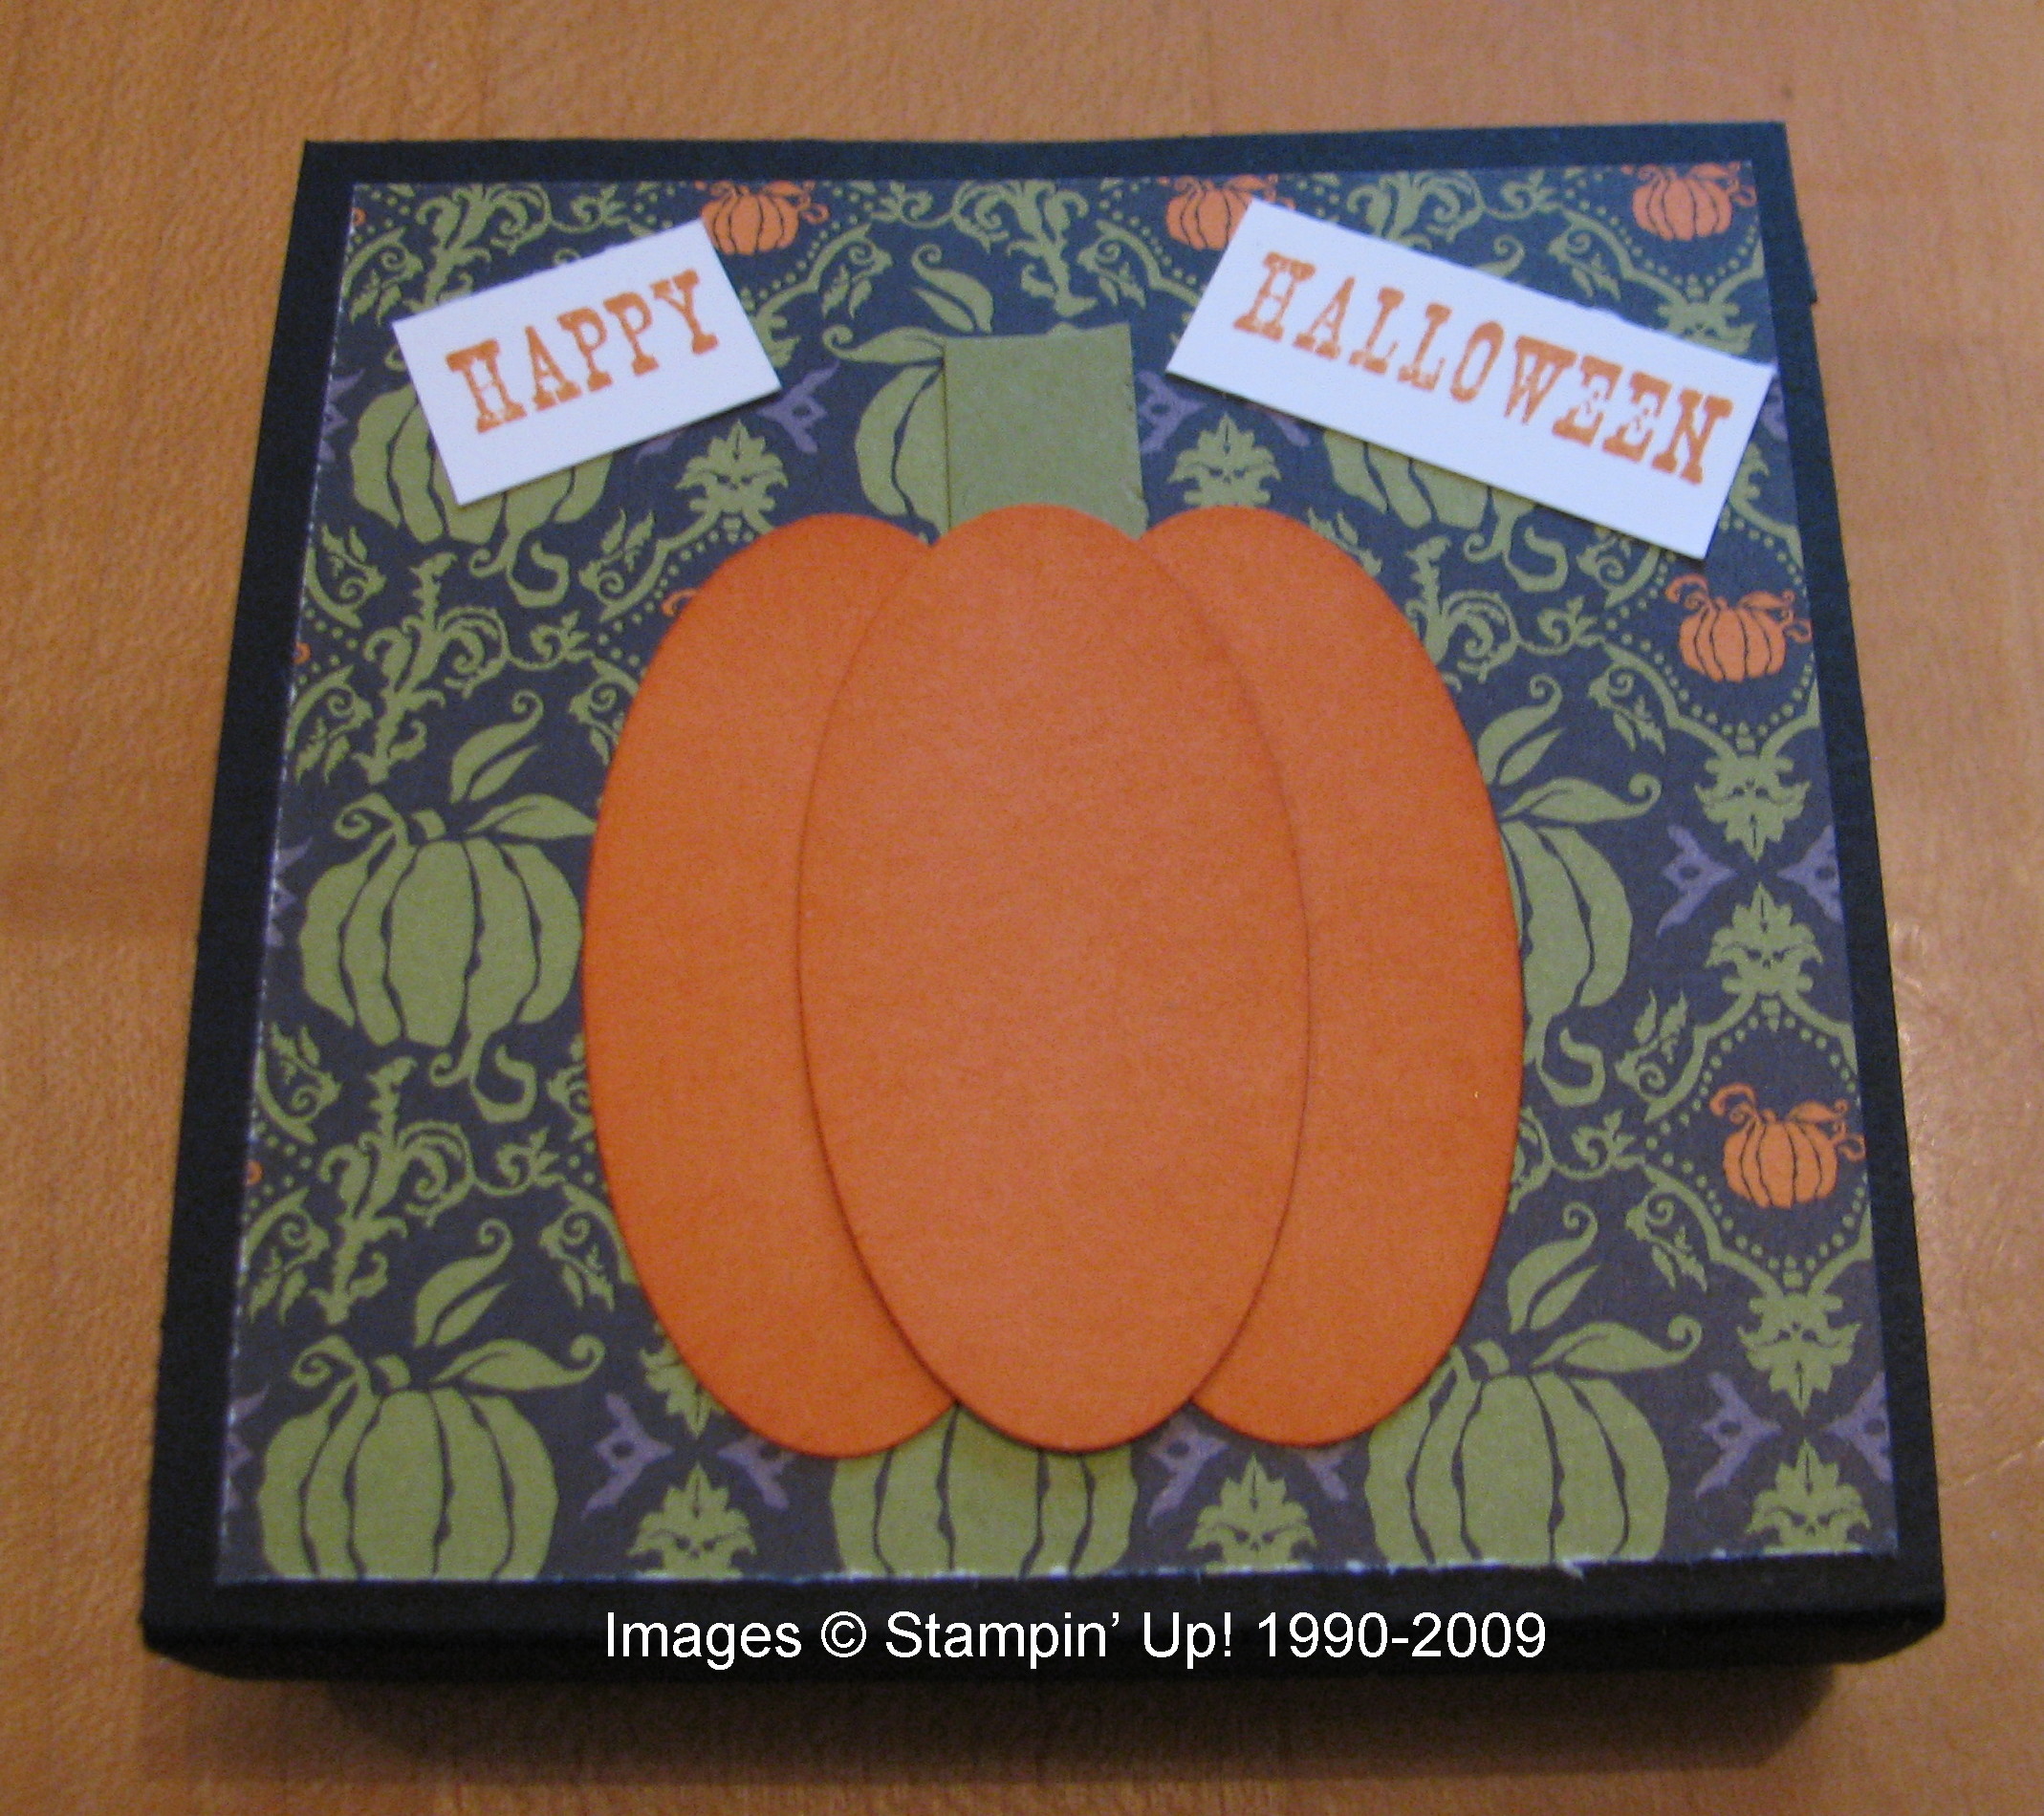
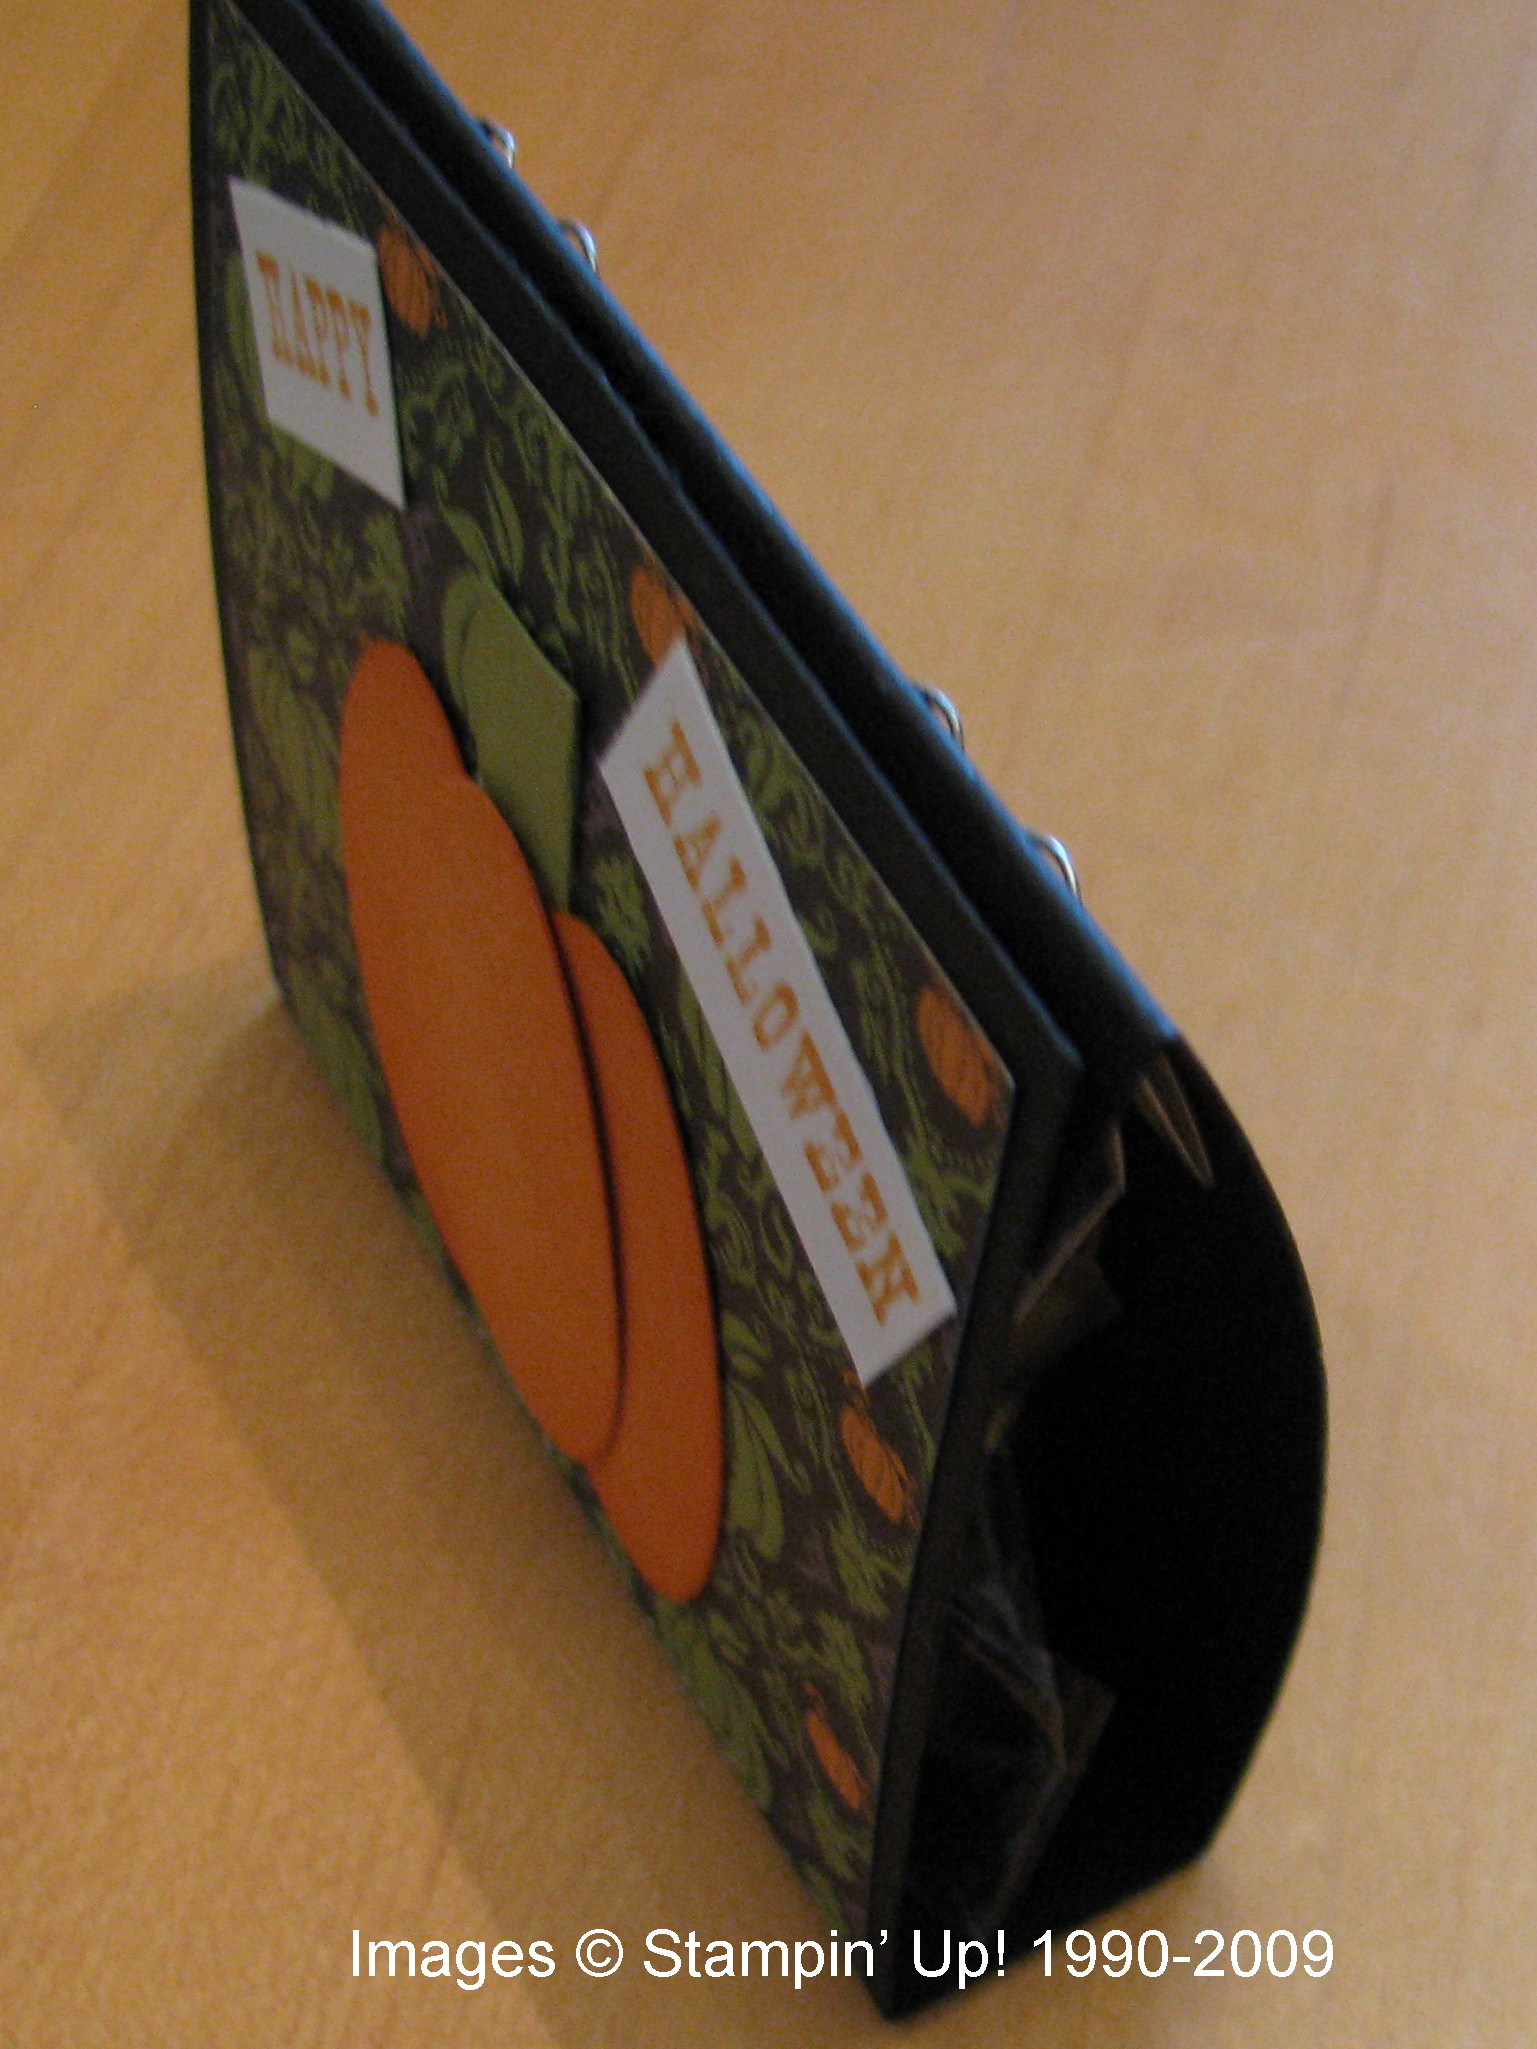
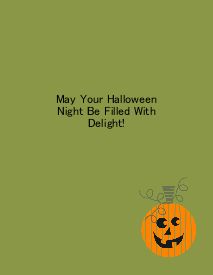
And now here is a Halloween card I made on the new My Digital Studio!!  I just used one of the templates and then changed it up a little! What fun!

Halloweencard-001 Halloweencard-003 

Images © Stampin’ Up! 1990-2009

Happy Birthday to My Wushu Kid!

Wushu-001 

Last weekend we got to go to Austin to visit our boys, although one was sick so we only saw him as we dropped off an order of chicken soup from the restaurant where we had dinner!  We were lucky to be there in time to see our son, Steven, do his Wushu demo for a campus club.  This is just the "Demo Team", a group chosen for their skills and dedication to the practice and the sport.  The kids were all amazing in their skills, and the audience, who had been milling around, talking, and eating, all stopped to gather and give the Wushu team their full attention.  Wushu is Chinese martial arts like you might have seen in the move "Crouching Tiger, Hidden Dragon".

Since I was learning how to make an "interactive album" with the new Stampin' Up! My Digital Studio, I decided to try making an album using my Wushu photos and video.  I don't think the video will play on this post, which is a good thing since I probably need to edit it first, but this is a page I made with My Digital Studio. After designing the page, I embedded? one of my video segments into the photo.  I can burn it to a DVD or I can email it to my son and the video(s) will automatically play on each  of the pages as they are viewed!  It was an amazingly easy project to work on, for being so "technical", what with including video!  Now I need to go finish up the album and email it to him for a birthday gift today!

There are SO many things you can do with My Digital Studio!  You really need to check it out!!

Pumpkin Poop Treat

Normally I don't go too much for the little "poop" treats that you often see around holiday time, but this Halloween one going around on many stamping sites kind of caught my eye.  Some were made into little boxes, but I made mine just kind of a foldover thing.  You can see it from the side in the second photo.

PumpkinPoop 

PumpkinPoopside 

The black card stock is 3 1/4" x 7 1/4", scored at 1/2", 3 1/2", and 4 1/4".  On the front I used a small piece of Cast-A-Spell Designer Series Paper and made my pumpkin from three oval punches, sponged a little on the sides.  The candy corn is in a little Stampin' Up! cello bag, stapled to the back, although you could also just use SNAIL.  To keep the holder closed, I put a dab of Tombow Multipurpose Adhesive on the two ends and let dry.  Now it is a temporary adhesive that I can open and close carefully.  You could also punch some holes and use ribbon.  The sentiment is from "All Holidays" stamp set.

PumpkinPoopinside 

I wish October were just starting so I had more time for making Halloween gifts and treats!

My Digital Studio Card

While I have owned My Digital Studio since it first was available, I haven't been as quick as others to whip out projects in ten minutes!  We were out of town for ten days and of course it took probably at least a week to catch up on things at home after returning.  Since I'm not one to just "get in there and play" with the software, I have been listening to and watching the training webinars Stampin' Up! has been providing for demonstrators.  So while I have been "playing" with My Digital Studio, I also found it valuable to follow some of the training provided.  Now that our big trip to New England is long over plus another weekend trip, I've been finding more time to enjoy My Digital Studio.  Click HERE for more information.

My Digital Studio provides designer templates that you can use as is, adding your own photos for a photo album or other project, or adding your own embellishments, etc.  

Here is the greeting card template I started with:

                                              My Project 8-001 


(I added the black border in my blog as the card is white and it wasn't showing up!)

And now here is my own version:

                                               XmasCardCertif-001 

As you can see, I added some digital red grosgrain ribbon and a bow and a digital layer of Real Red card stock behind the snowflakes.  I'm having it printed by the Stampin' Up! professional printer.  

Last night I was really going to town working on a multimedia photo album but had to stop to go to bed!  It is so much fun to discover what all is included in this program….and there already are some new downloads!  Let me know if you have any questions if you are considering purchasing My Digital Studio!