Author Archives: Karen Fontinelle

Spring Flowers and Butterflies

Now that Valentine's Day is over, it is time to start thinking about spring!  No matter how cold it still is outside!  Even here in Houston it is close to freezing every morning, although the day usually turns out nice if the sun comes out!
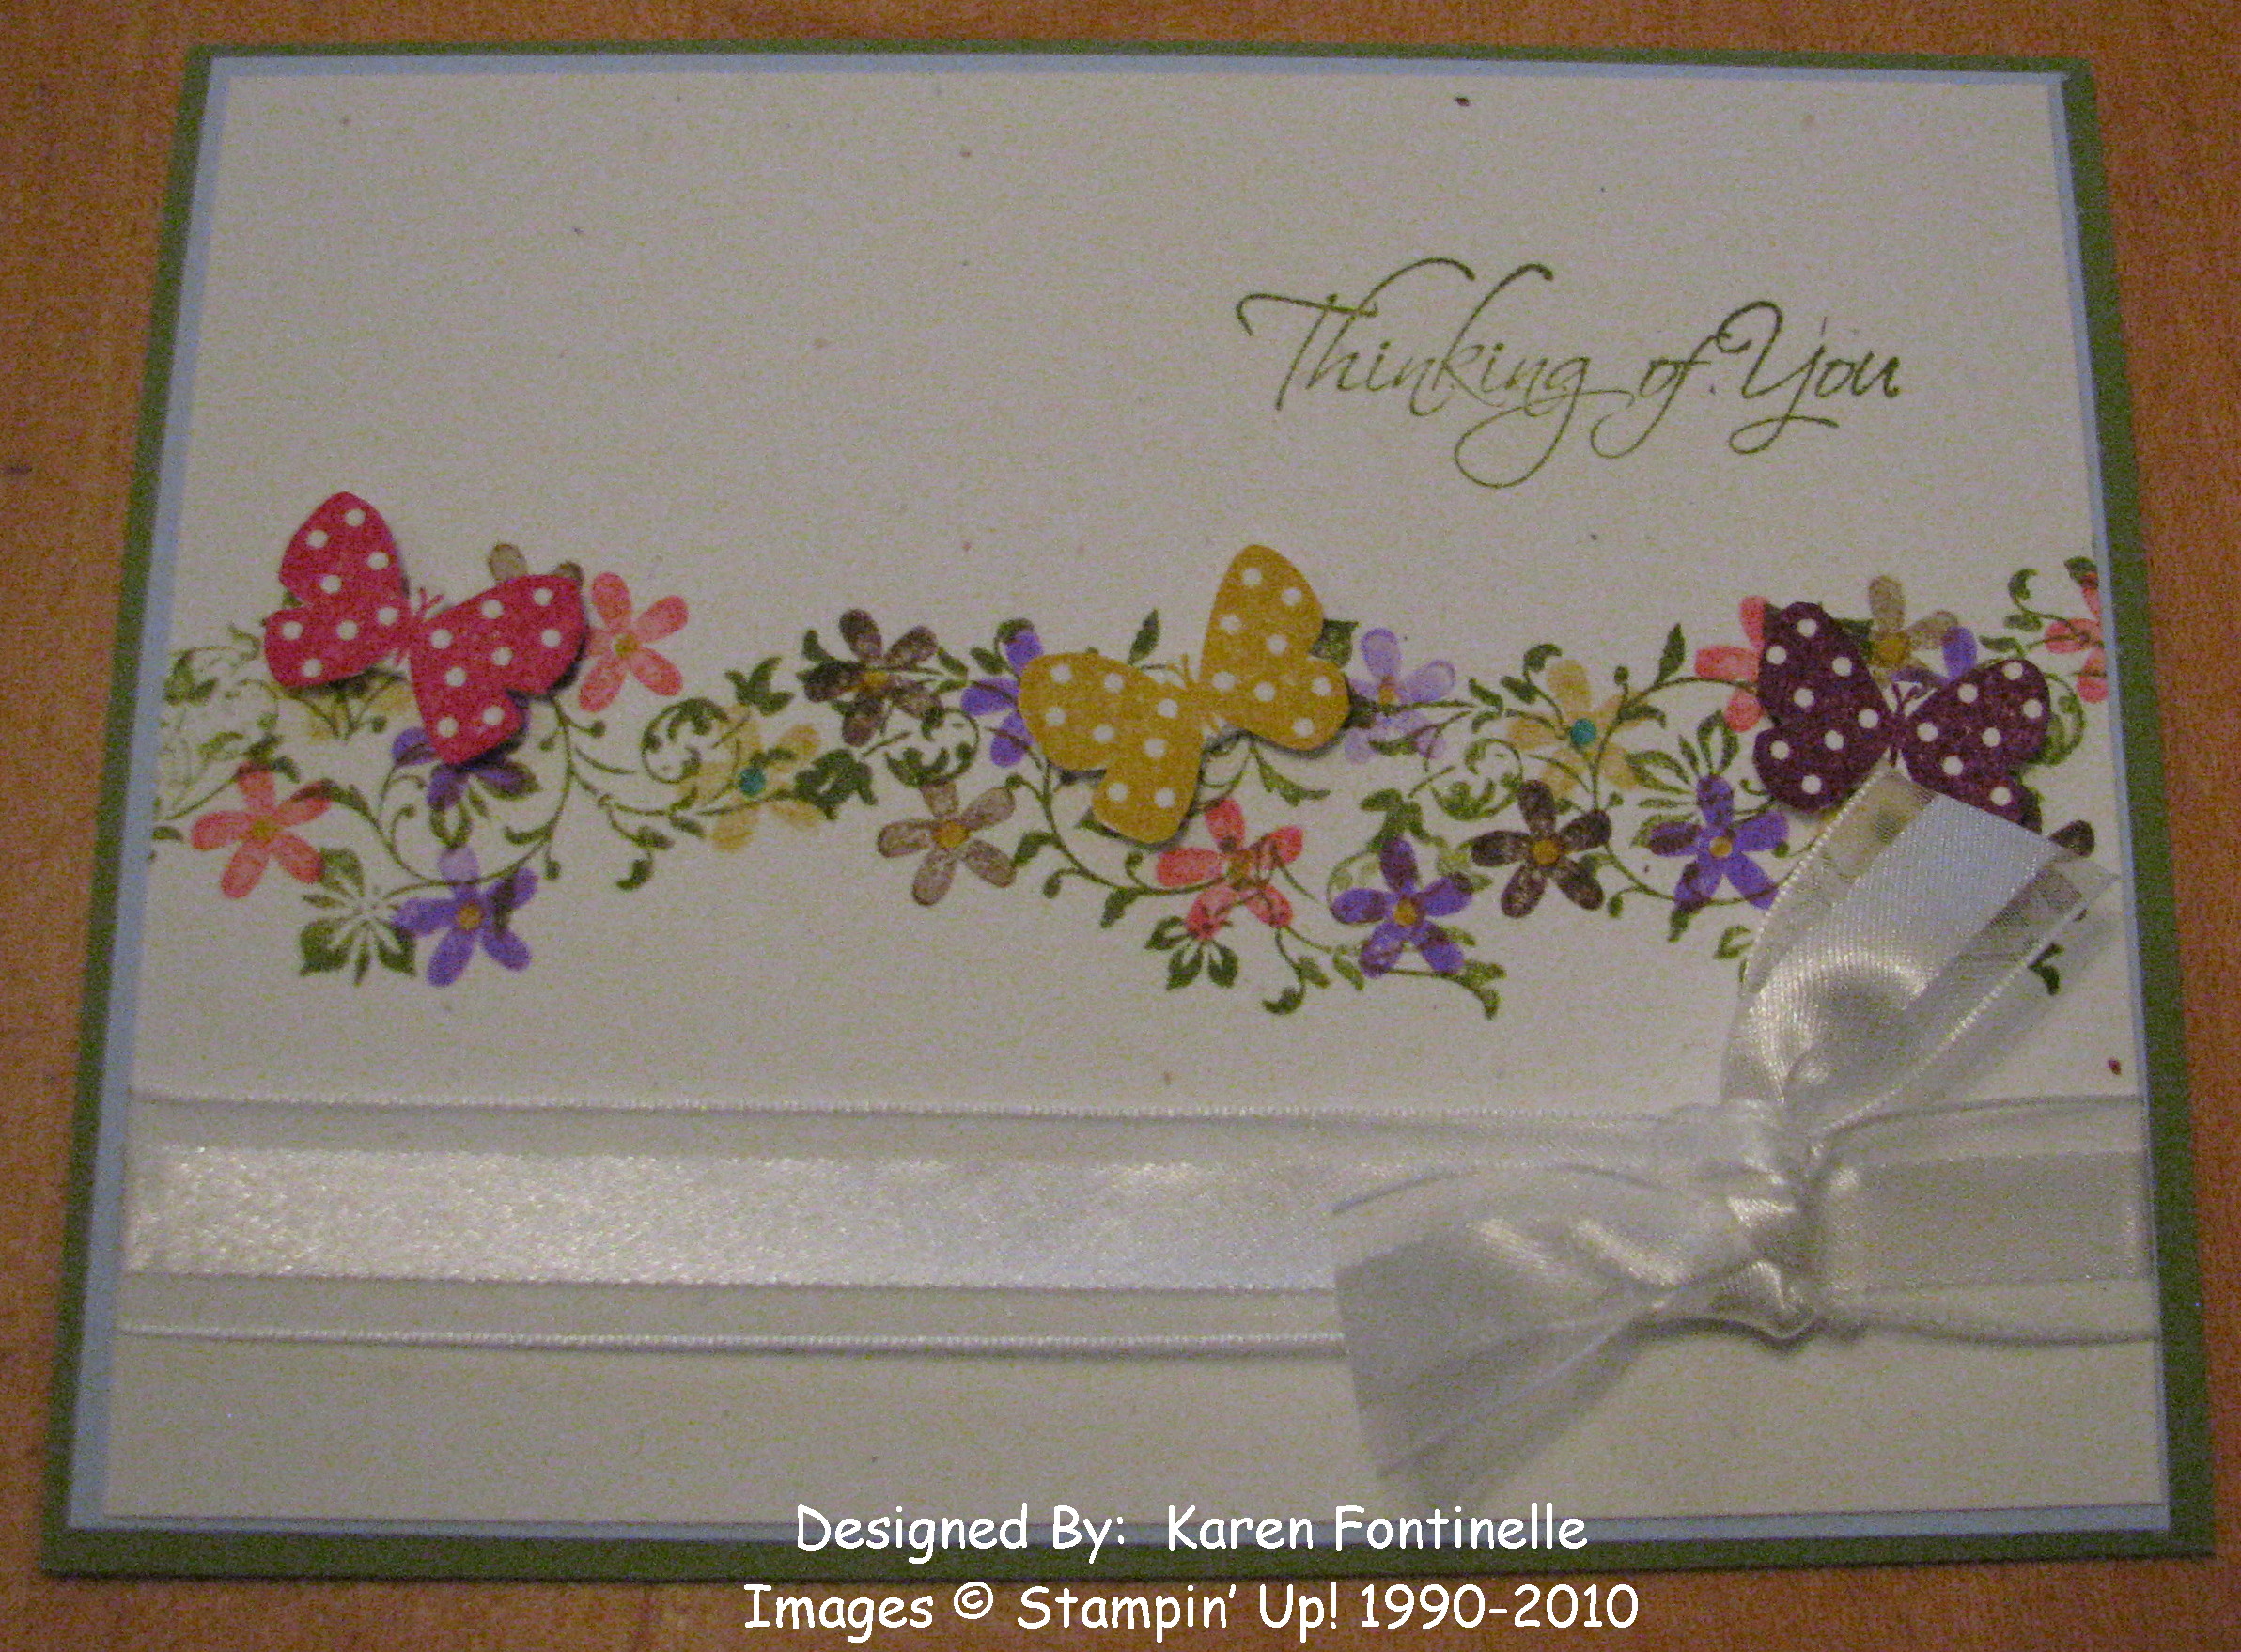
Easy Butterfly Card 

This is a fairly easy card to make, except for cutting out the little butterflies!  But don't worry about it, just do it.  Even if they are not perfect they will be fine! Paper Snips (#103579) make cutting out much easier!  For a change, I used the Confetti White card stock (#102028).  It used to be one of my favorites, but I haven't used it in awhile.  It's also pretty good for watercoloring and just has a little more elegant look maybe than Whisper White with the little flecks in it.

Get out that fantastic new set in the Occasions Mini, Vintage Vogue, and stamp a few green vines and leaves going across the paper.  Then I went back over with a little flower from Flight of the Butterfly in the Idea Book & Catalog and stamped in various colors.  I used the little butterfly stamp in that same set for the three little butterflies which are then cut out by hand and mounted on Dimensionals.  Tie a pretty Whisper White Organza Ribbon around, stamp a sentiment, and you've got yourself a card!

It's time to get started on spring stamping projects, so contact me to help you with your selections!
 

Happy Mardi Gras!

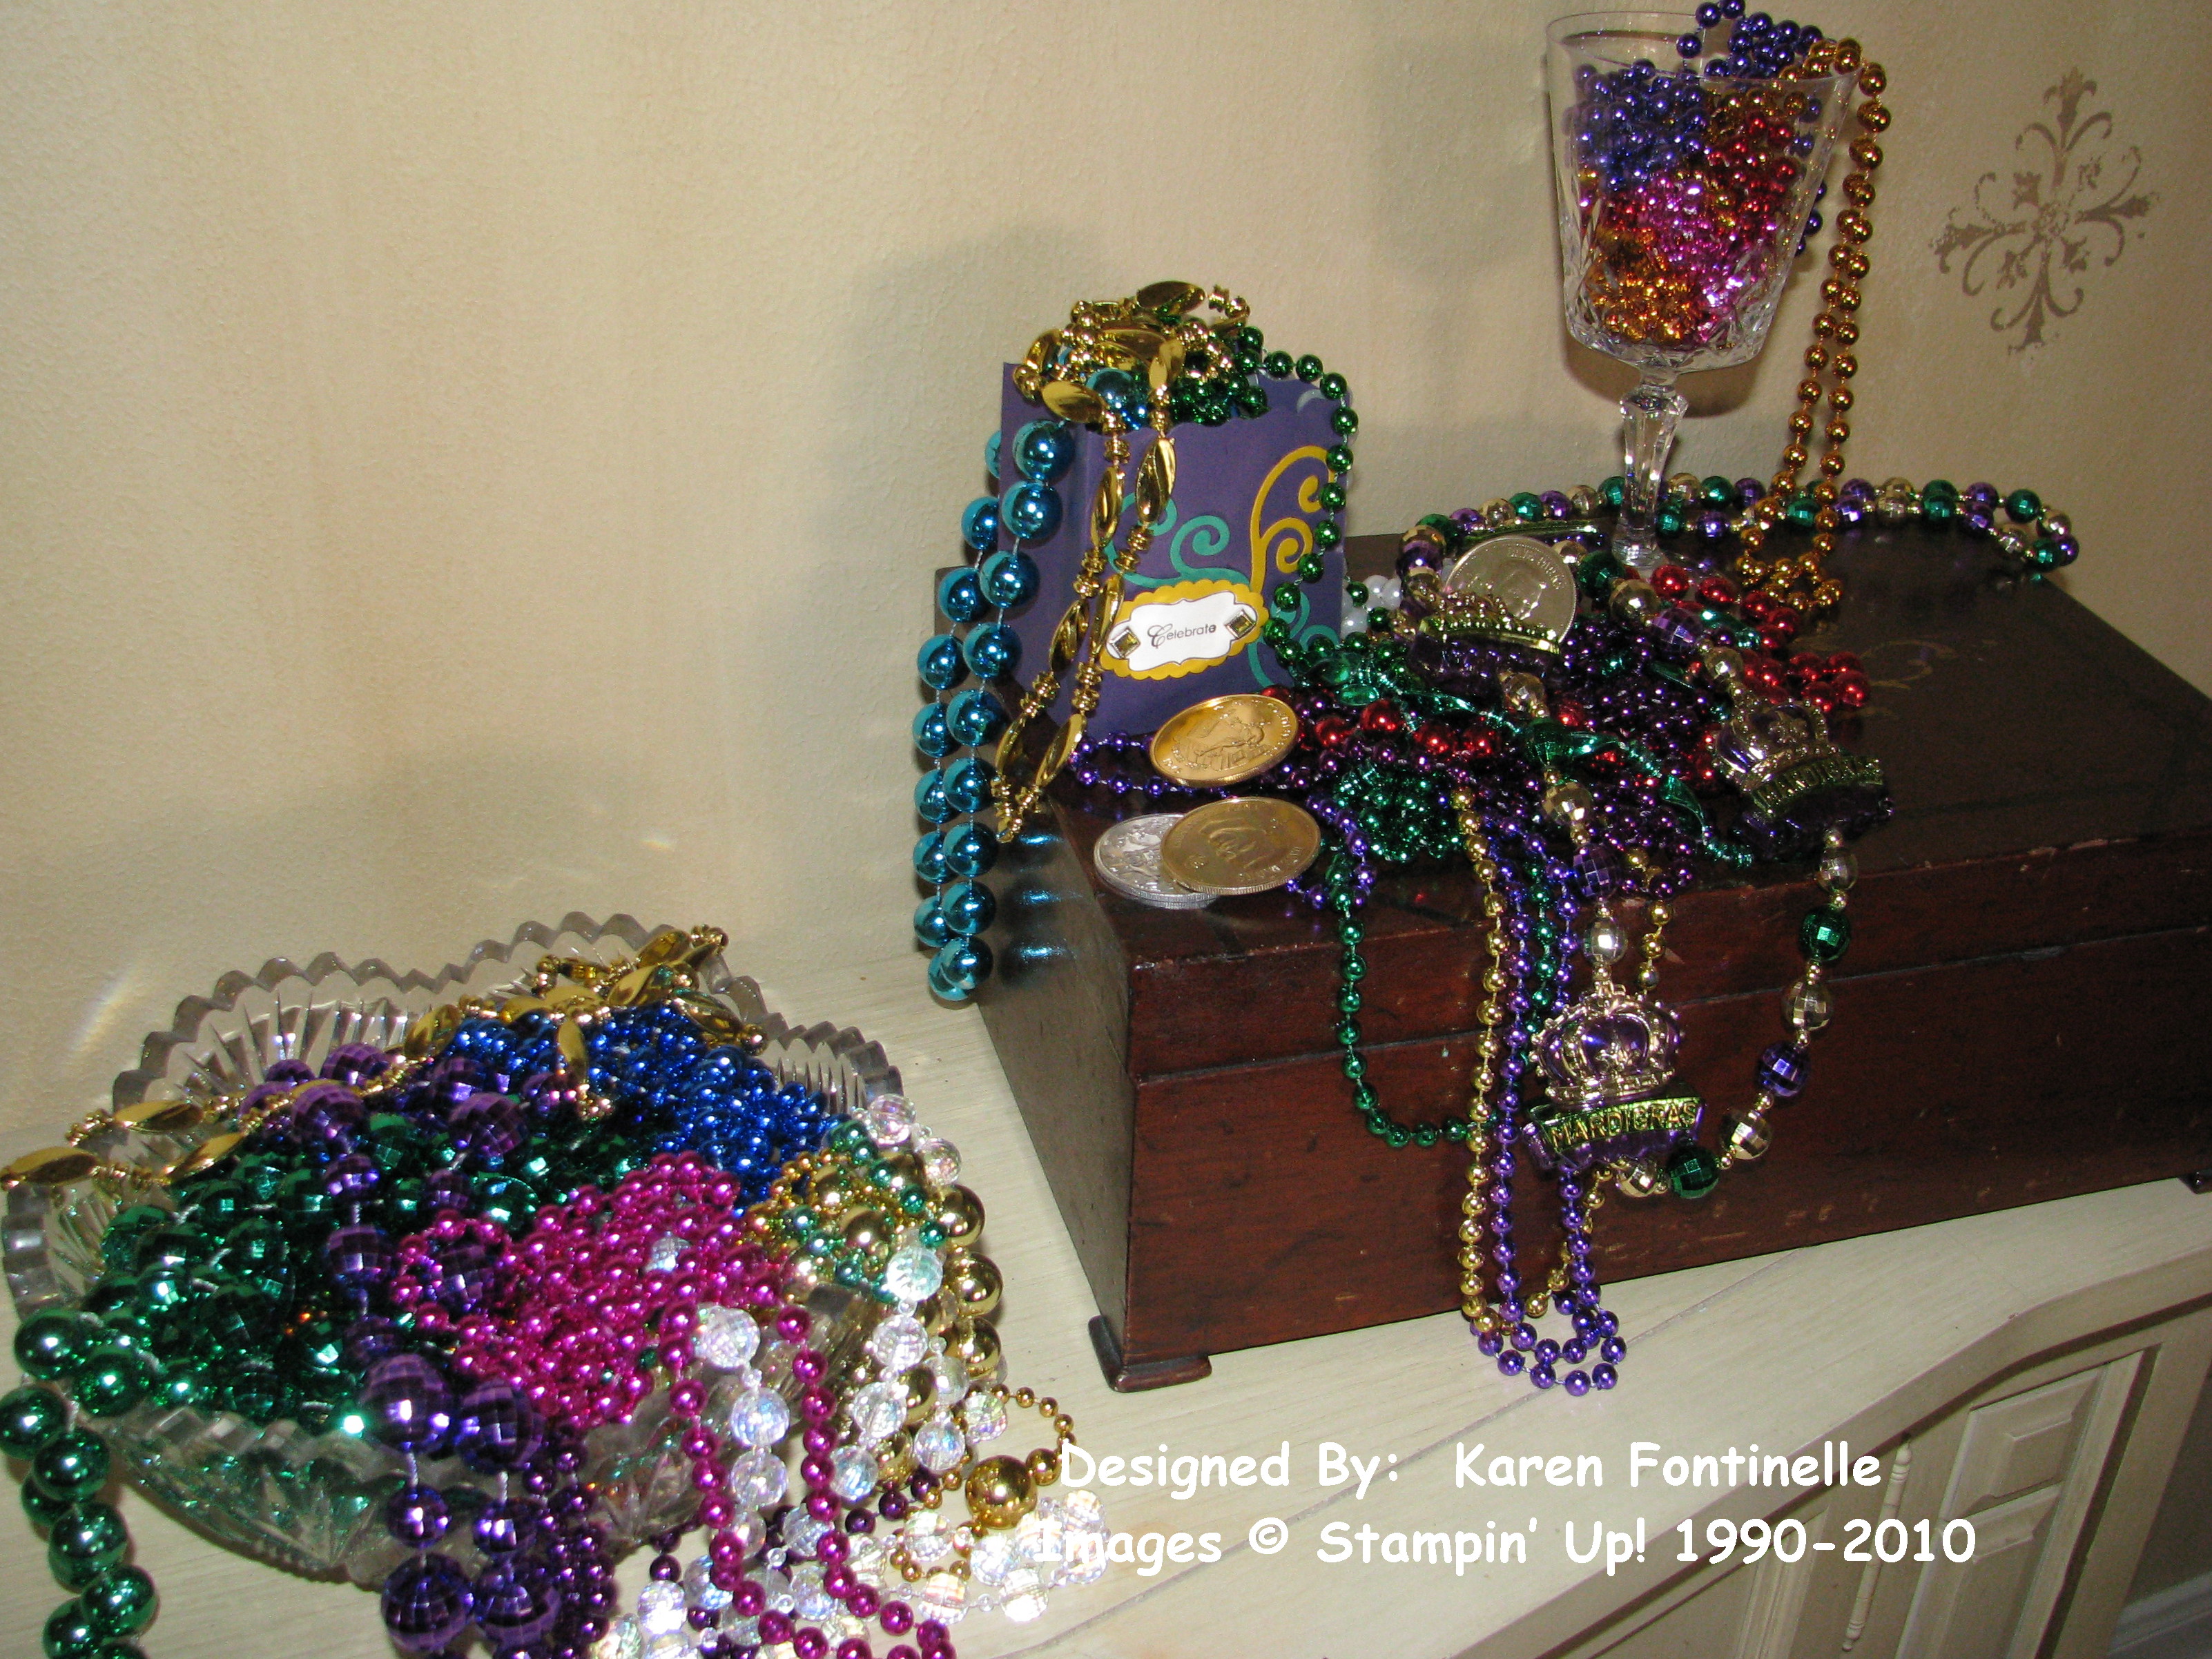
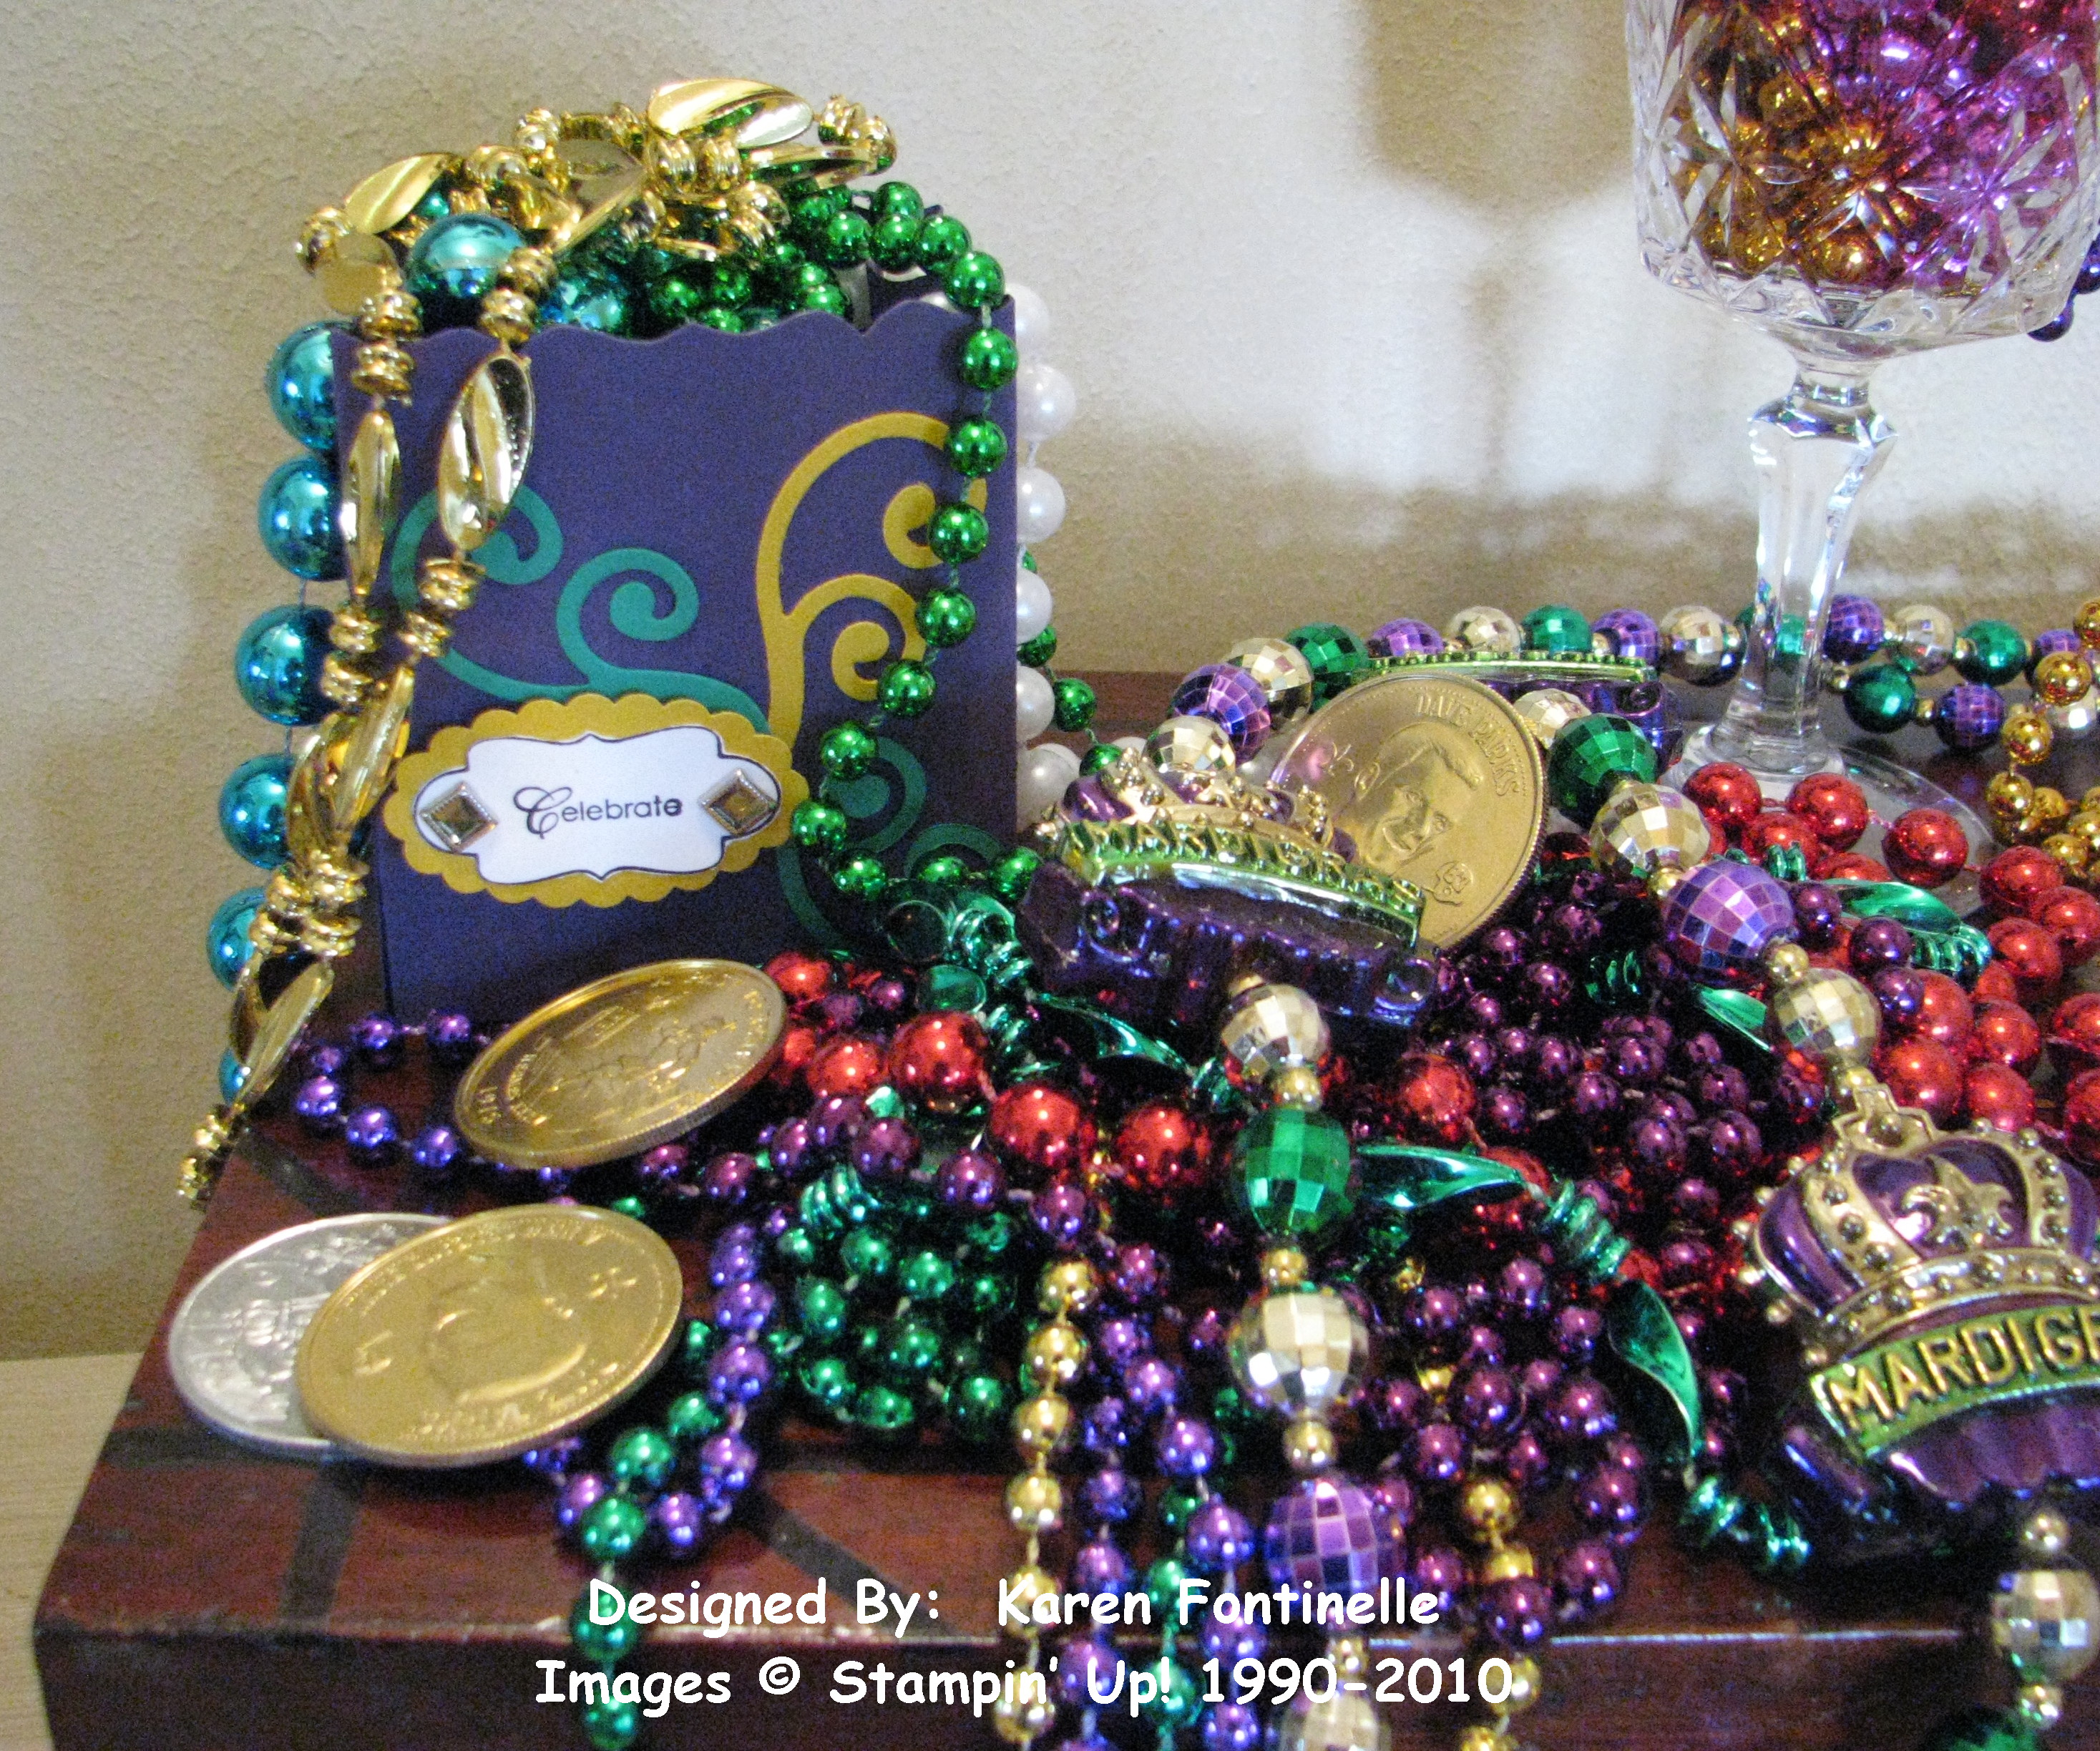
Wow!  I didn't even remember having so many and such great Mardi Gras beads!  And I haven't even been to New Orleans!  These are mostly from a company Mardi Gras party we used to go to every year here in Houston, which was always fabulous!  Those people from Louisiana know how to have a good time and the food is beyond fabulous!

Mardi Gras Beads
 

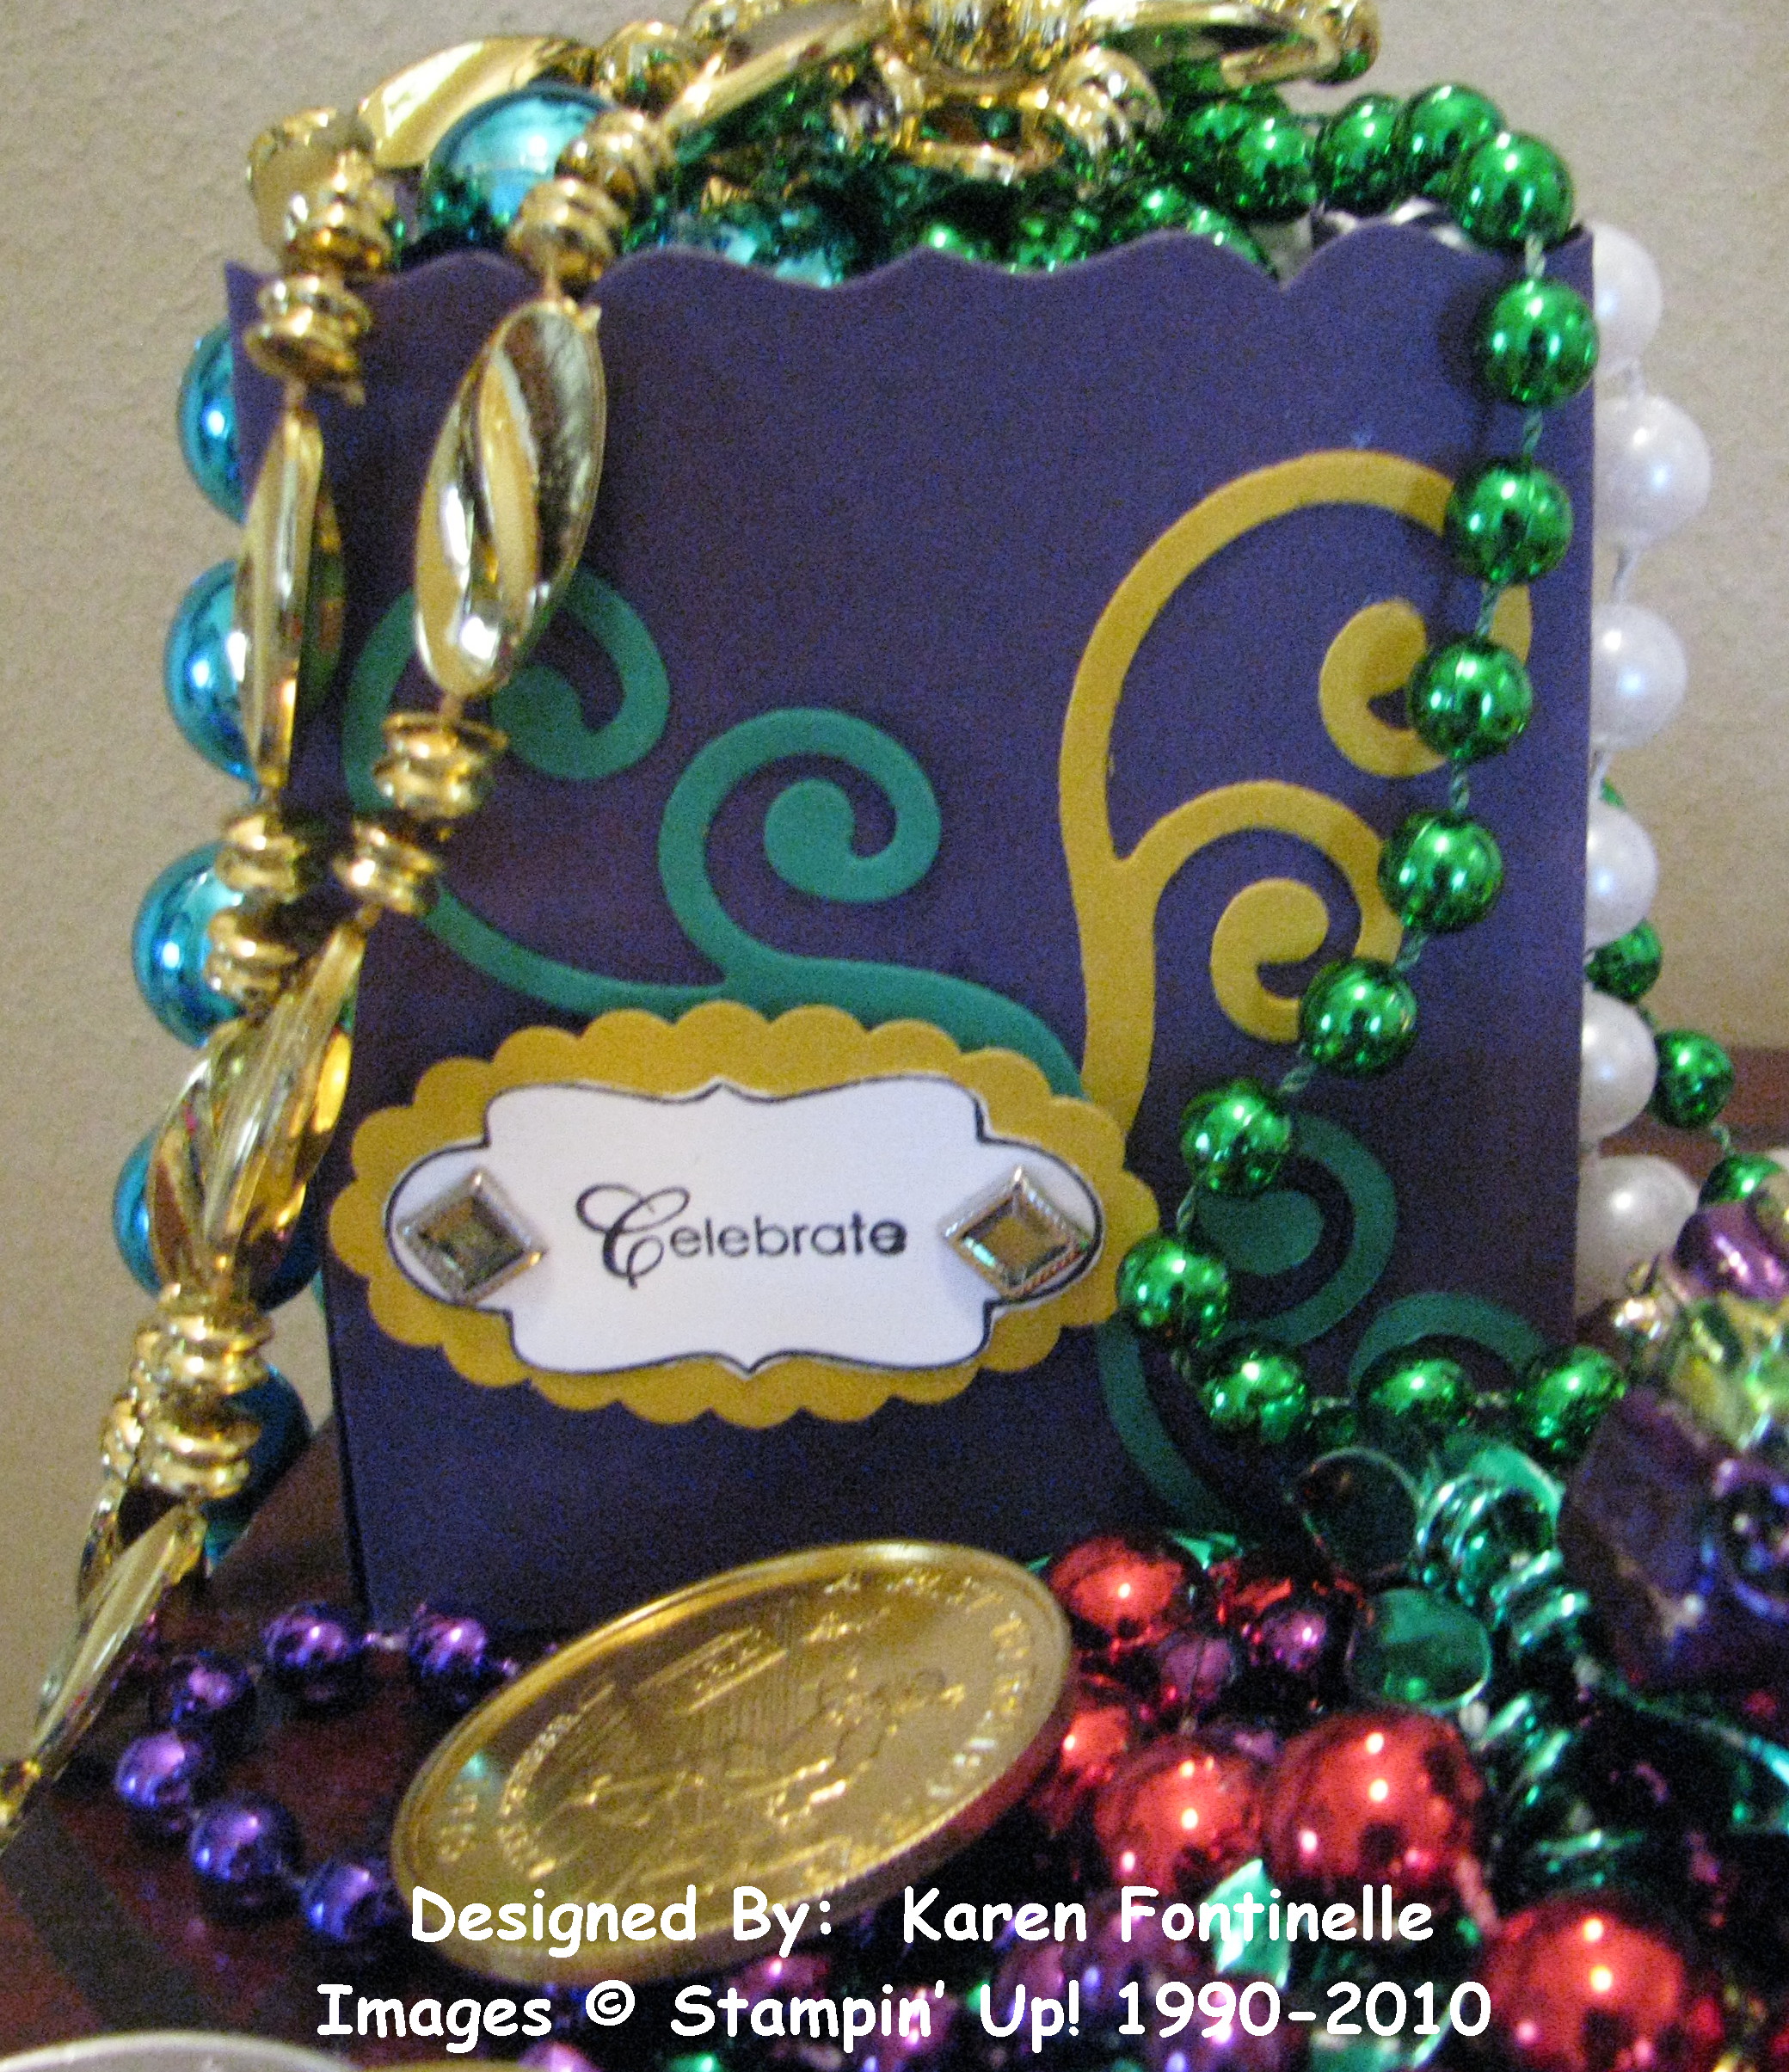
I decided to make a little bag with the Fancy Favor Die for the Big Shot out of Elegant Eggplant card stock to help display my beads.  It was so easy and took only minutes!  The swirls are from the Swirls Scribbles Sizzlit Die so no cutting involved in those!

Mardi Gras Fancy Favor Die Bag and Beads 

I also used Crushed Curry for the yellow and Garden Green.  The square rhinestones were just perfect for this project!

Mardi Gras Beads
 

Happy Mardi Gras!  Let the good times roll! 

Easy Valentine Candy Treat Bag

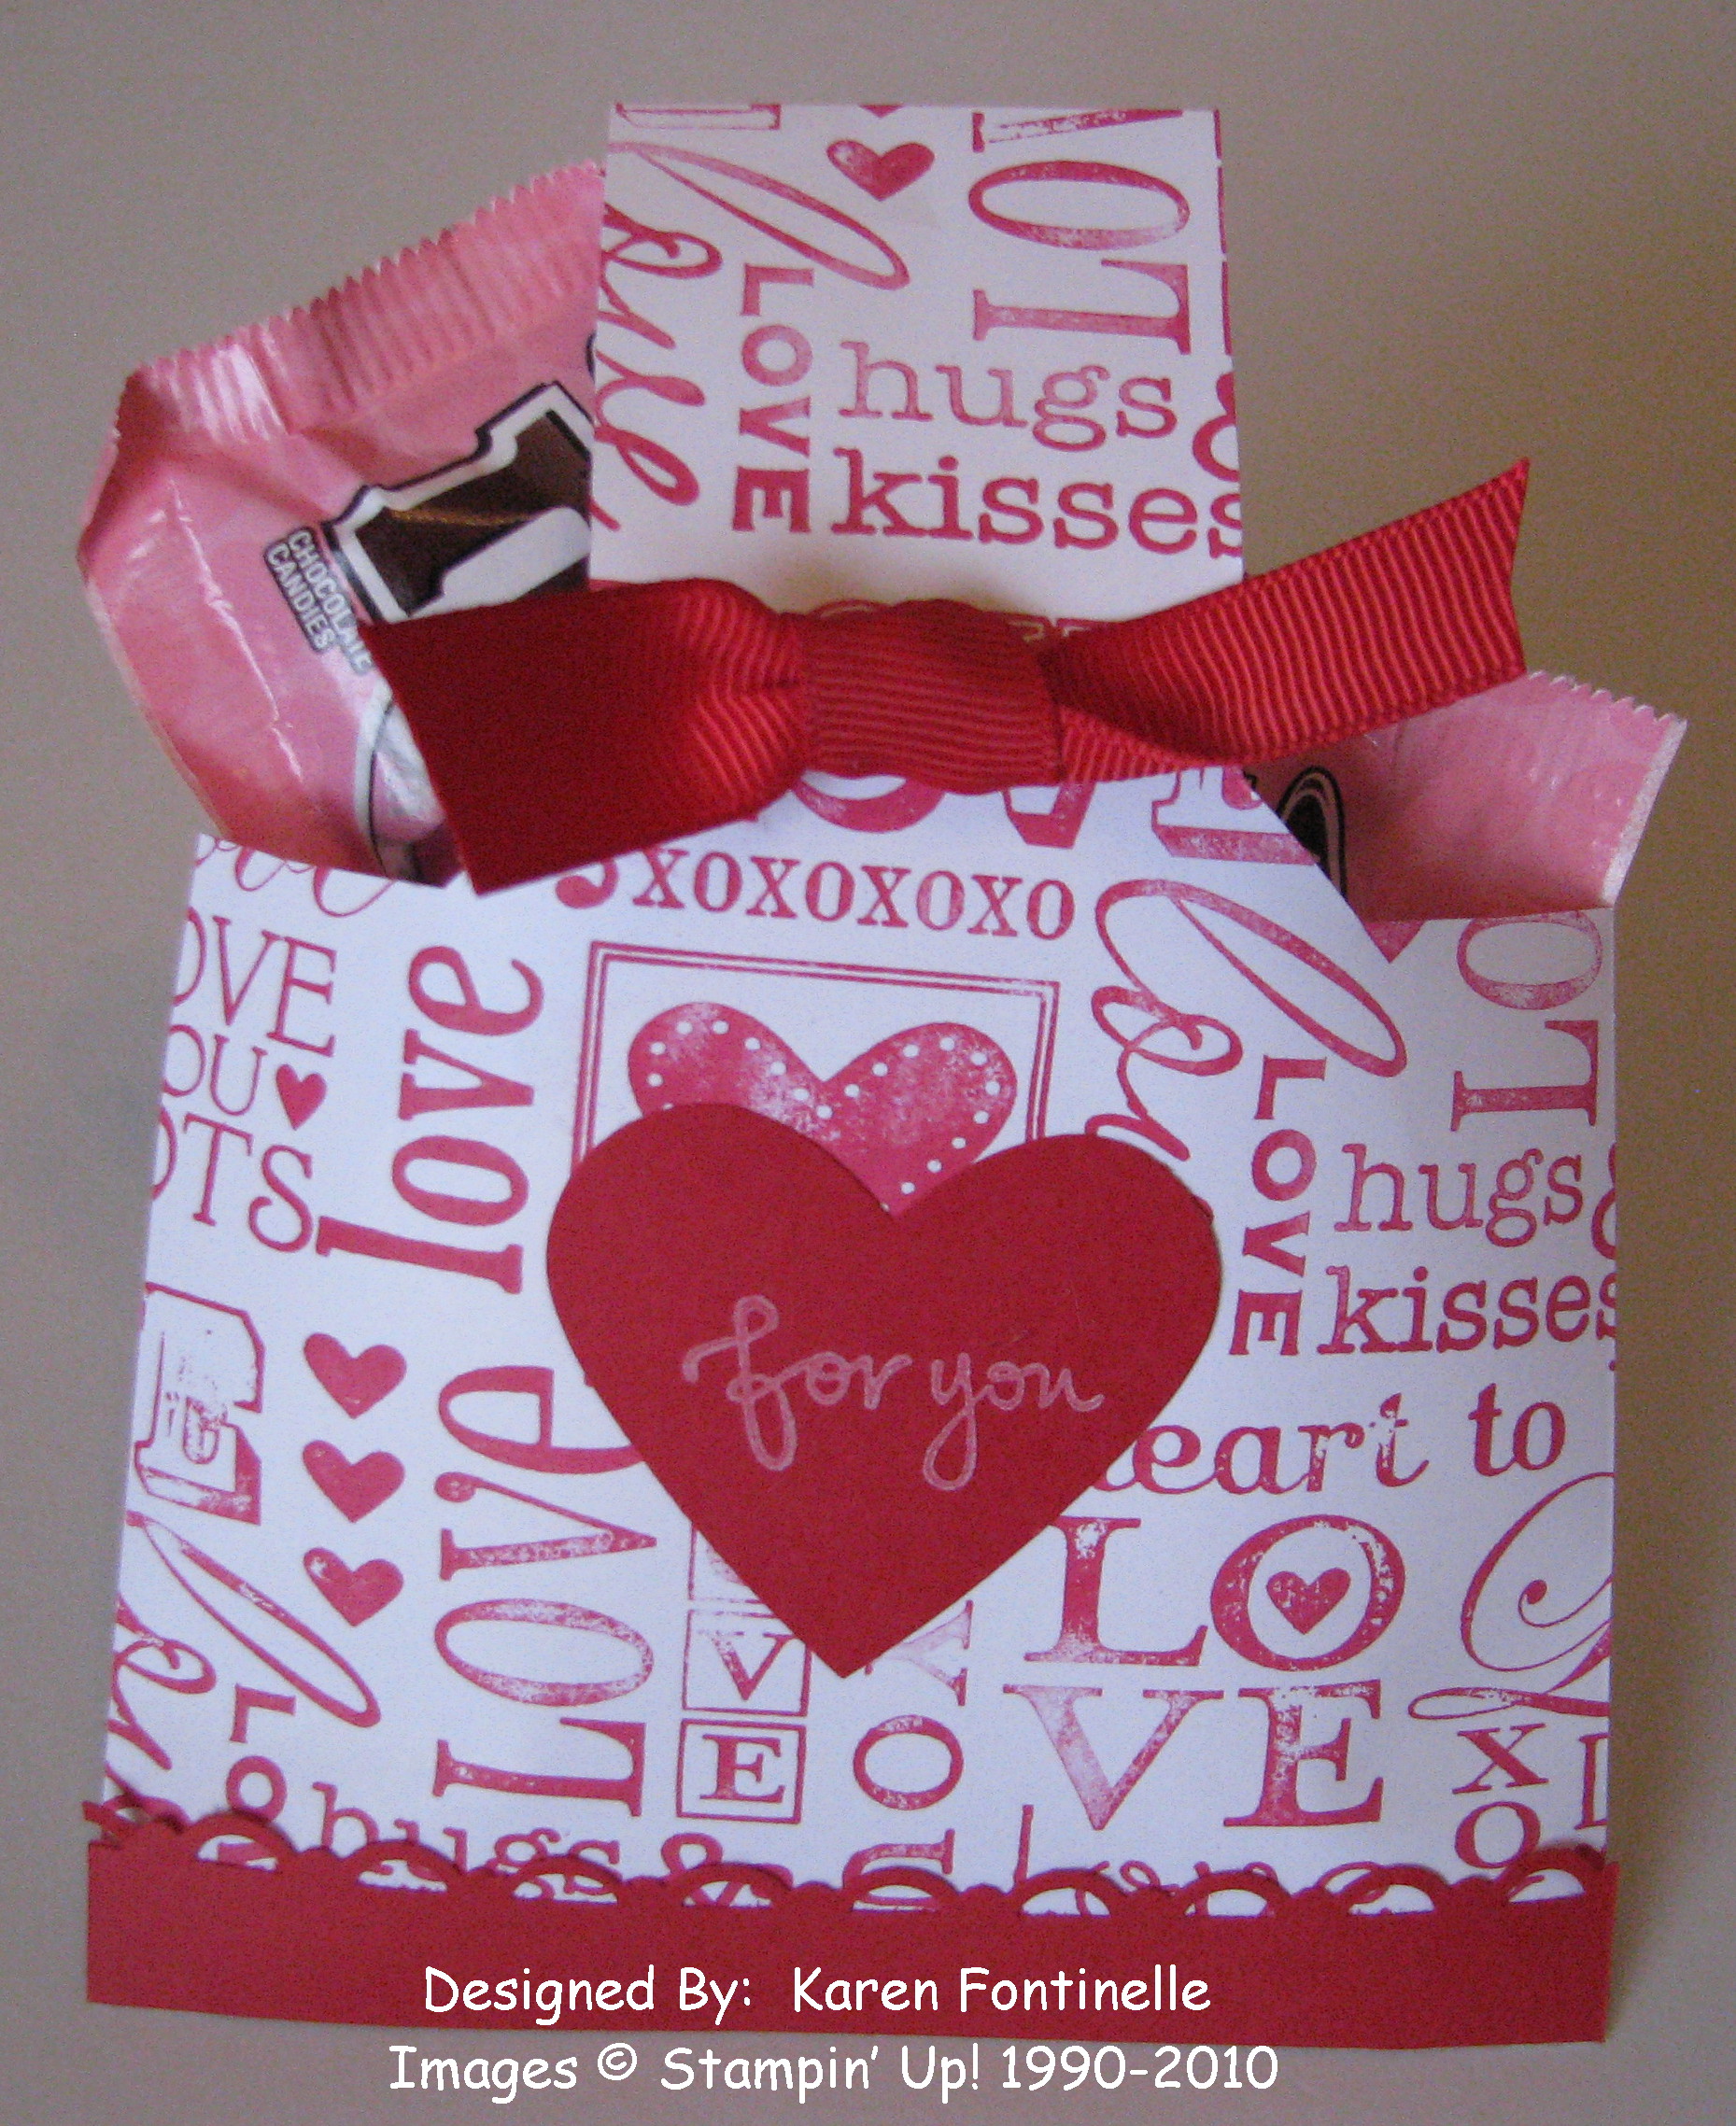
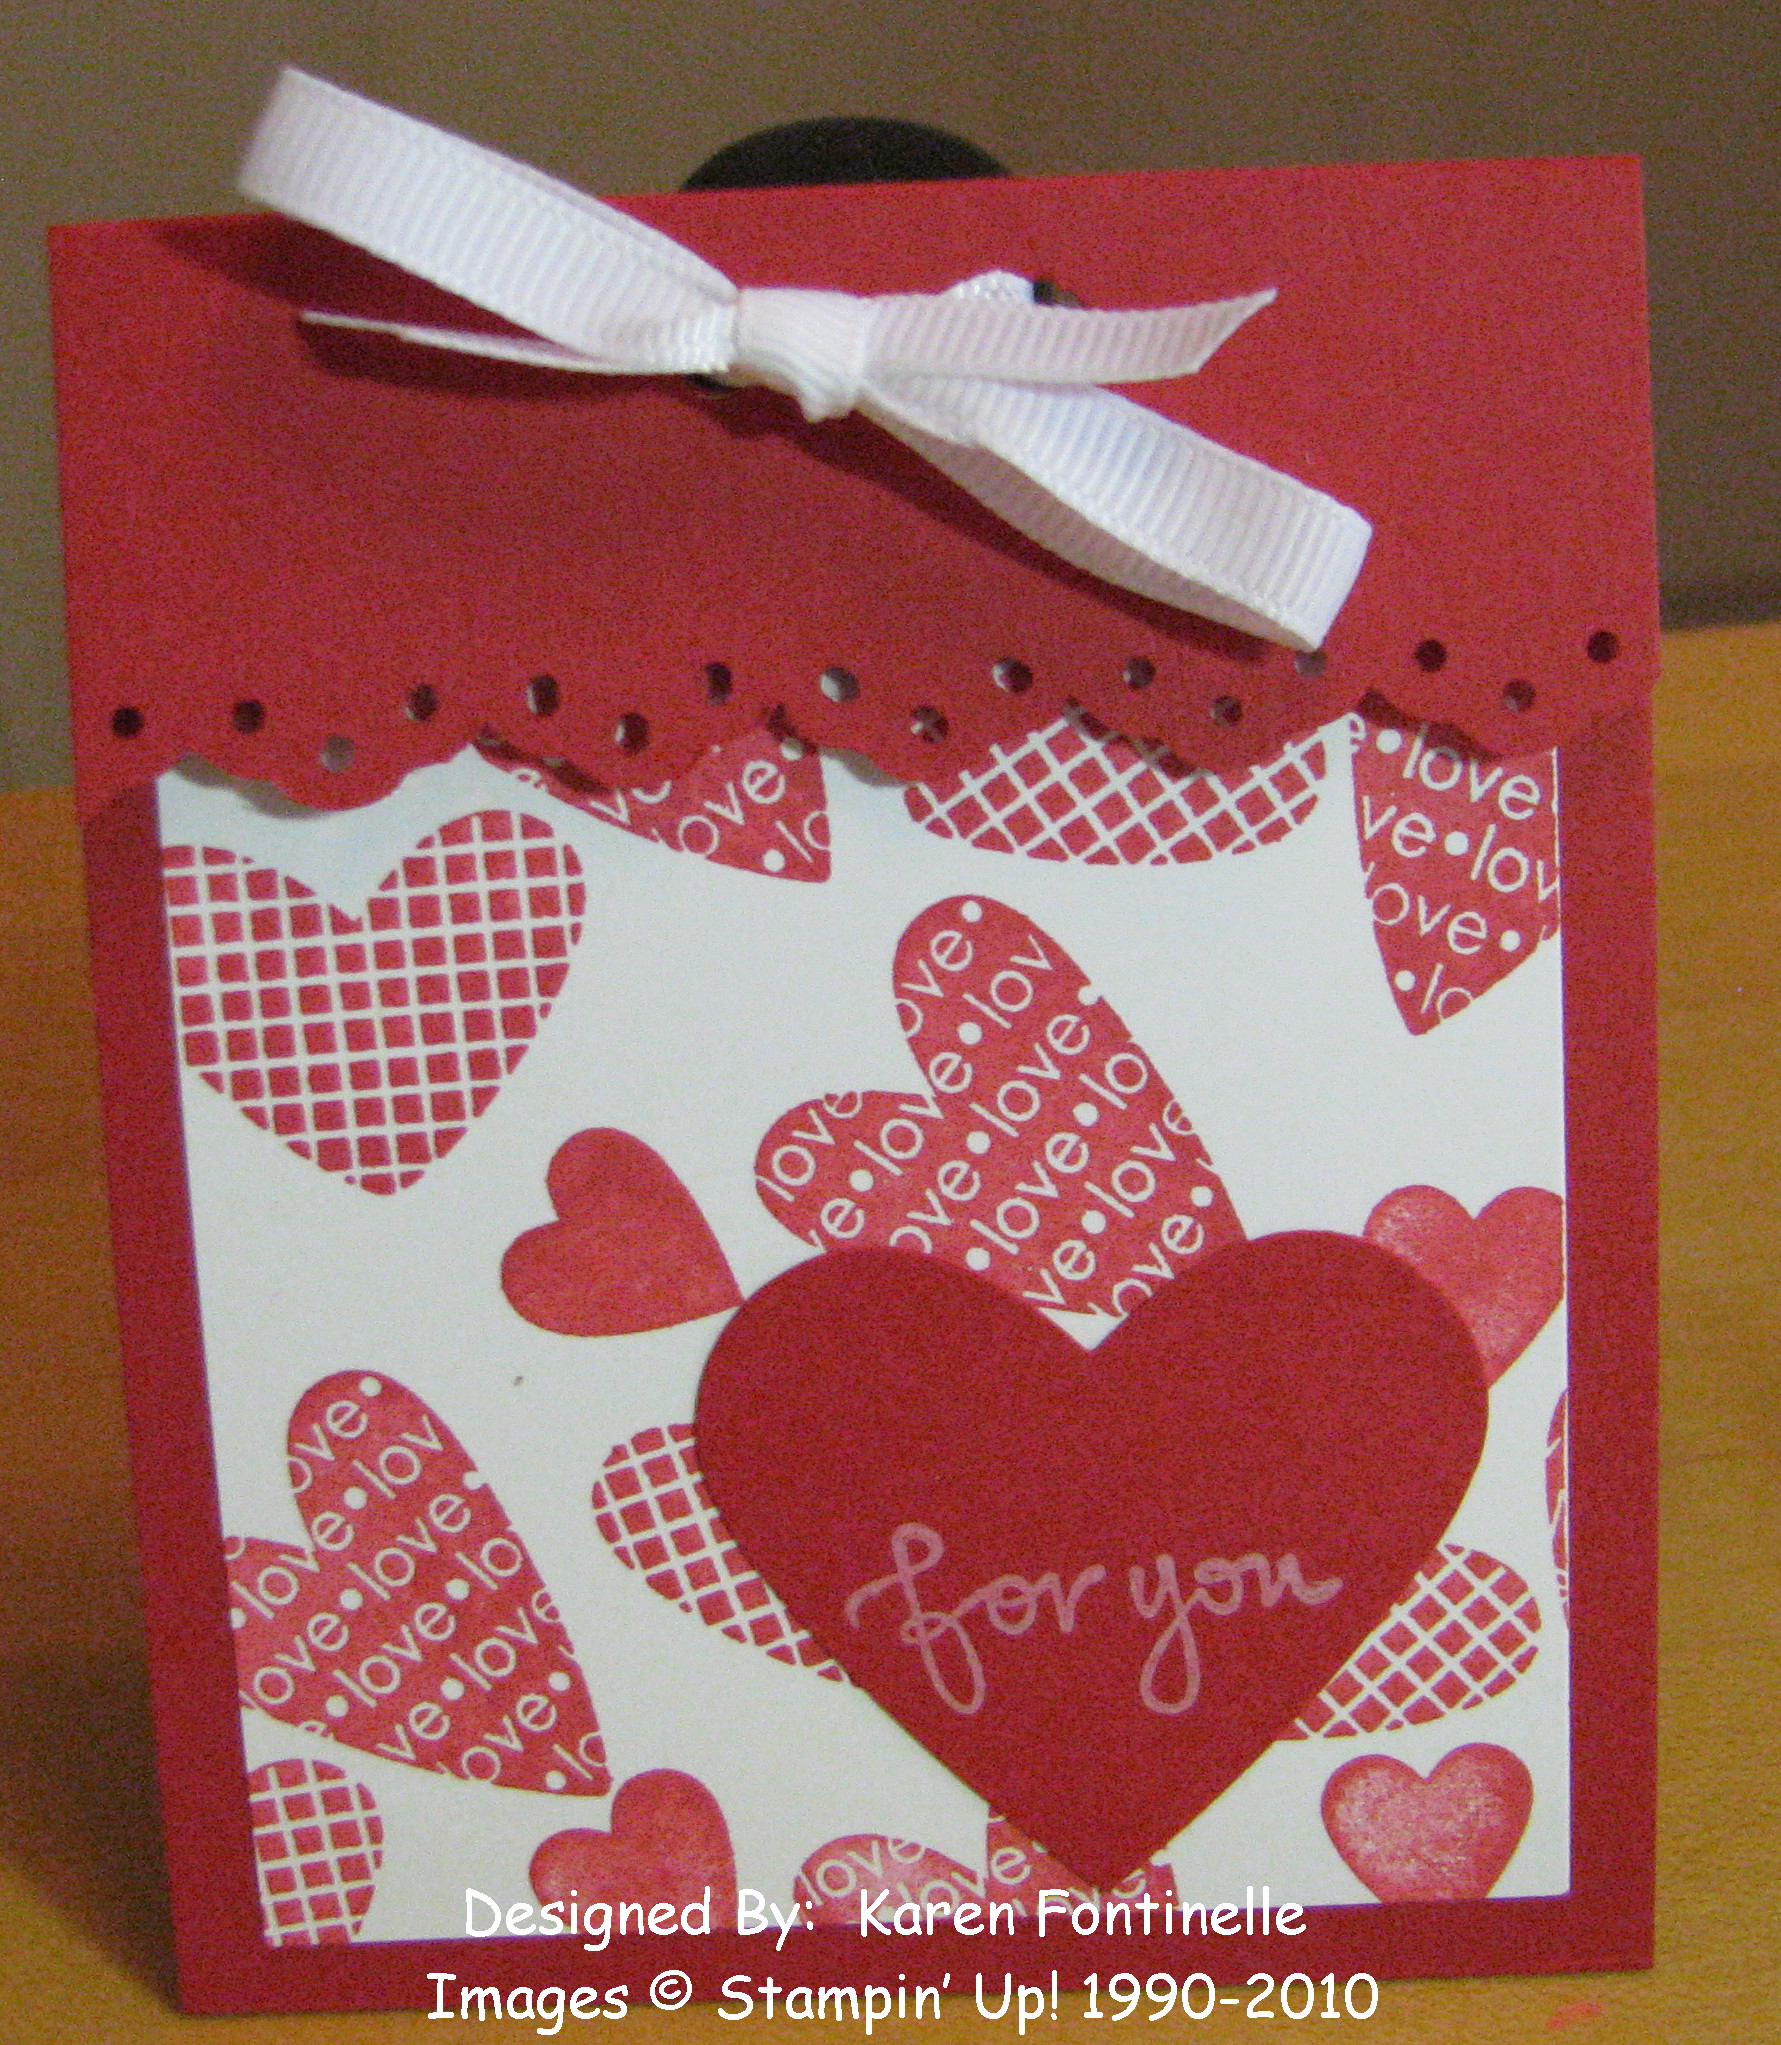
Easy Valentine Candy Envelope Treat Bag 

This was a very easy little Valentine treat bag to make and you can fancy it up as little or as much as you want!  I went back to an older technique of using an envelope!  Take a Stampin' Up! envelope (#107301) (once you use a Stampin' Up! envelope you won't want to go back to those plain ones!!), seal it, then punch down the sides with the Tag Punch (#105934) to form the handle. Wheel the envelope (or stamp) to decorate.  I used the I "Love" Love Jumbo Wheel (#117084) in the Occasions Mini.  I decorated with some ribbon, a punched out heart and a little border with the new Scallop Trim Border Punch (#118402) in the Sale-A-Bration Mini (get the punch FREE with a $50 order!)  Fill with some candy and you've got yourself a nice little Valentine treat! 

If you're ready to place your $50 or more Sale-a-Bration order and get some free products, just email me!

2010 Winter Olympics Opens Tonight

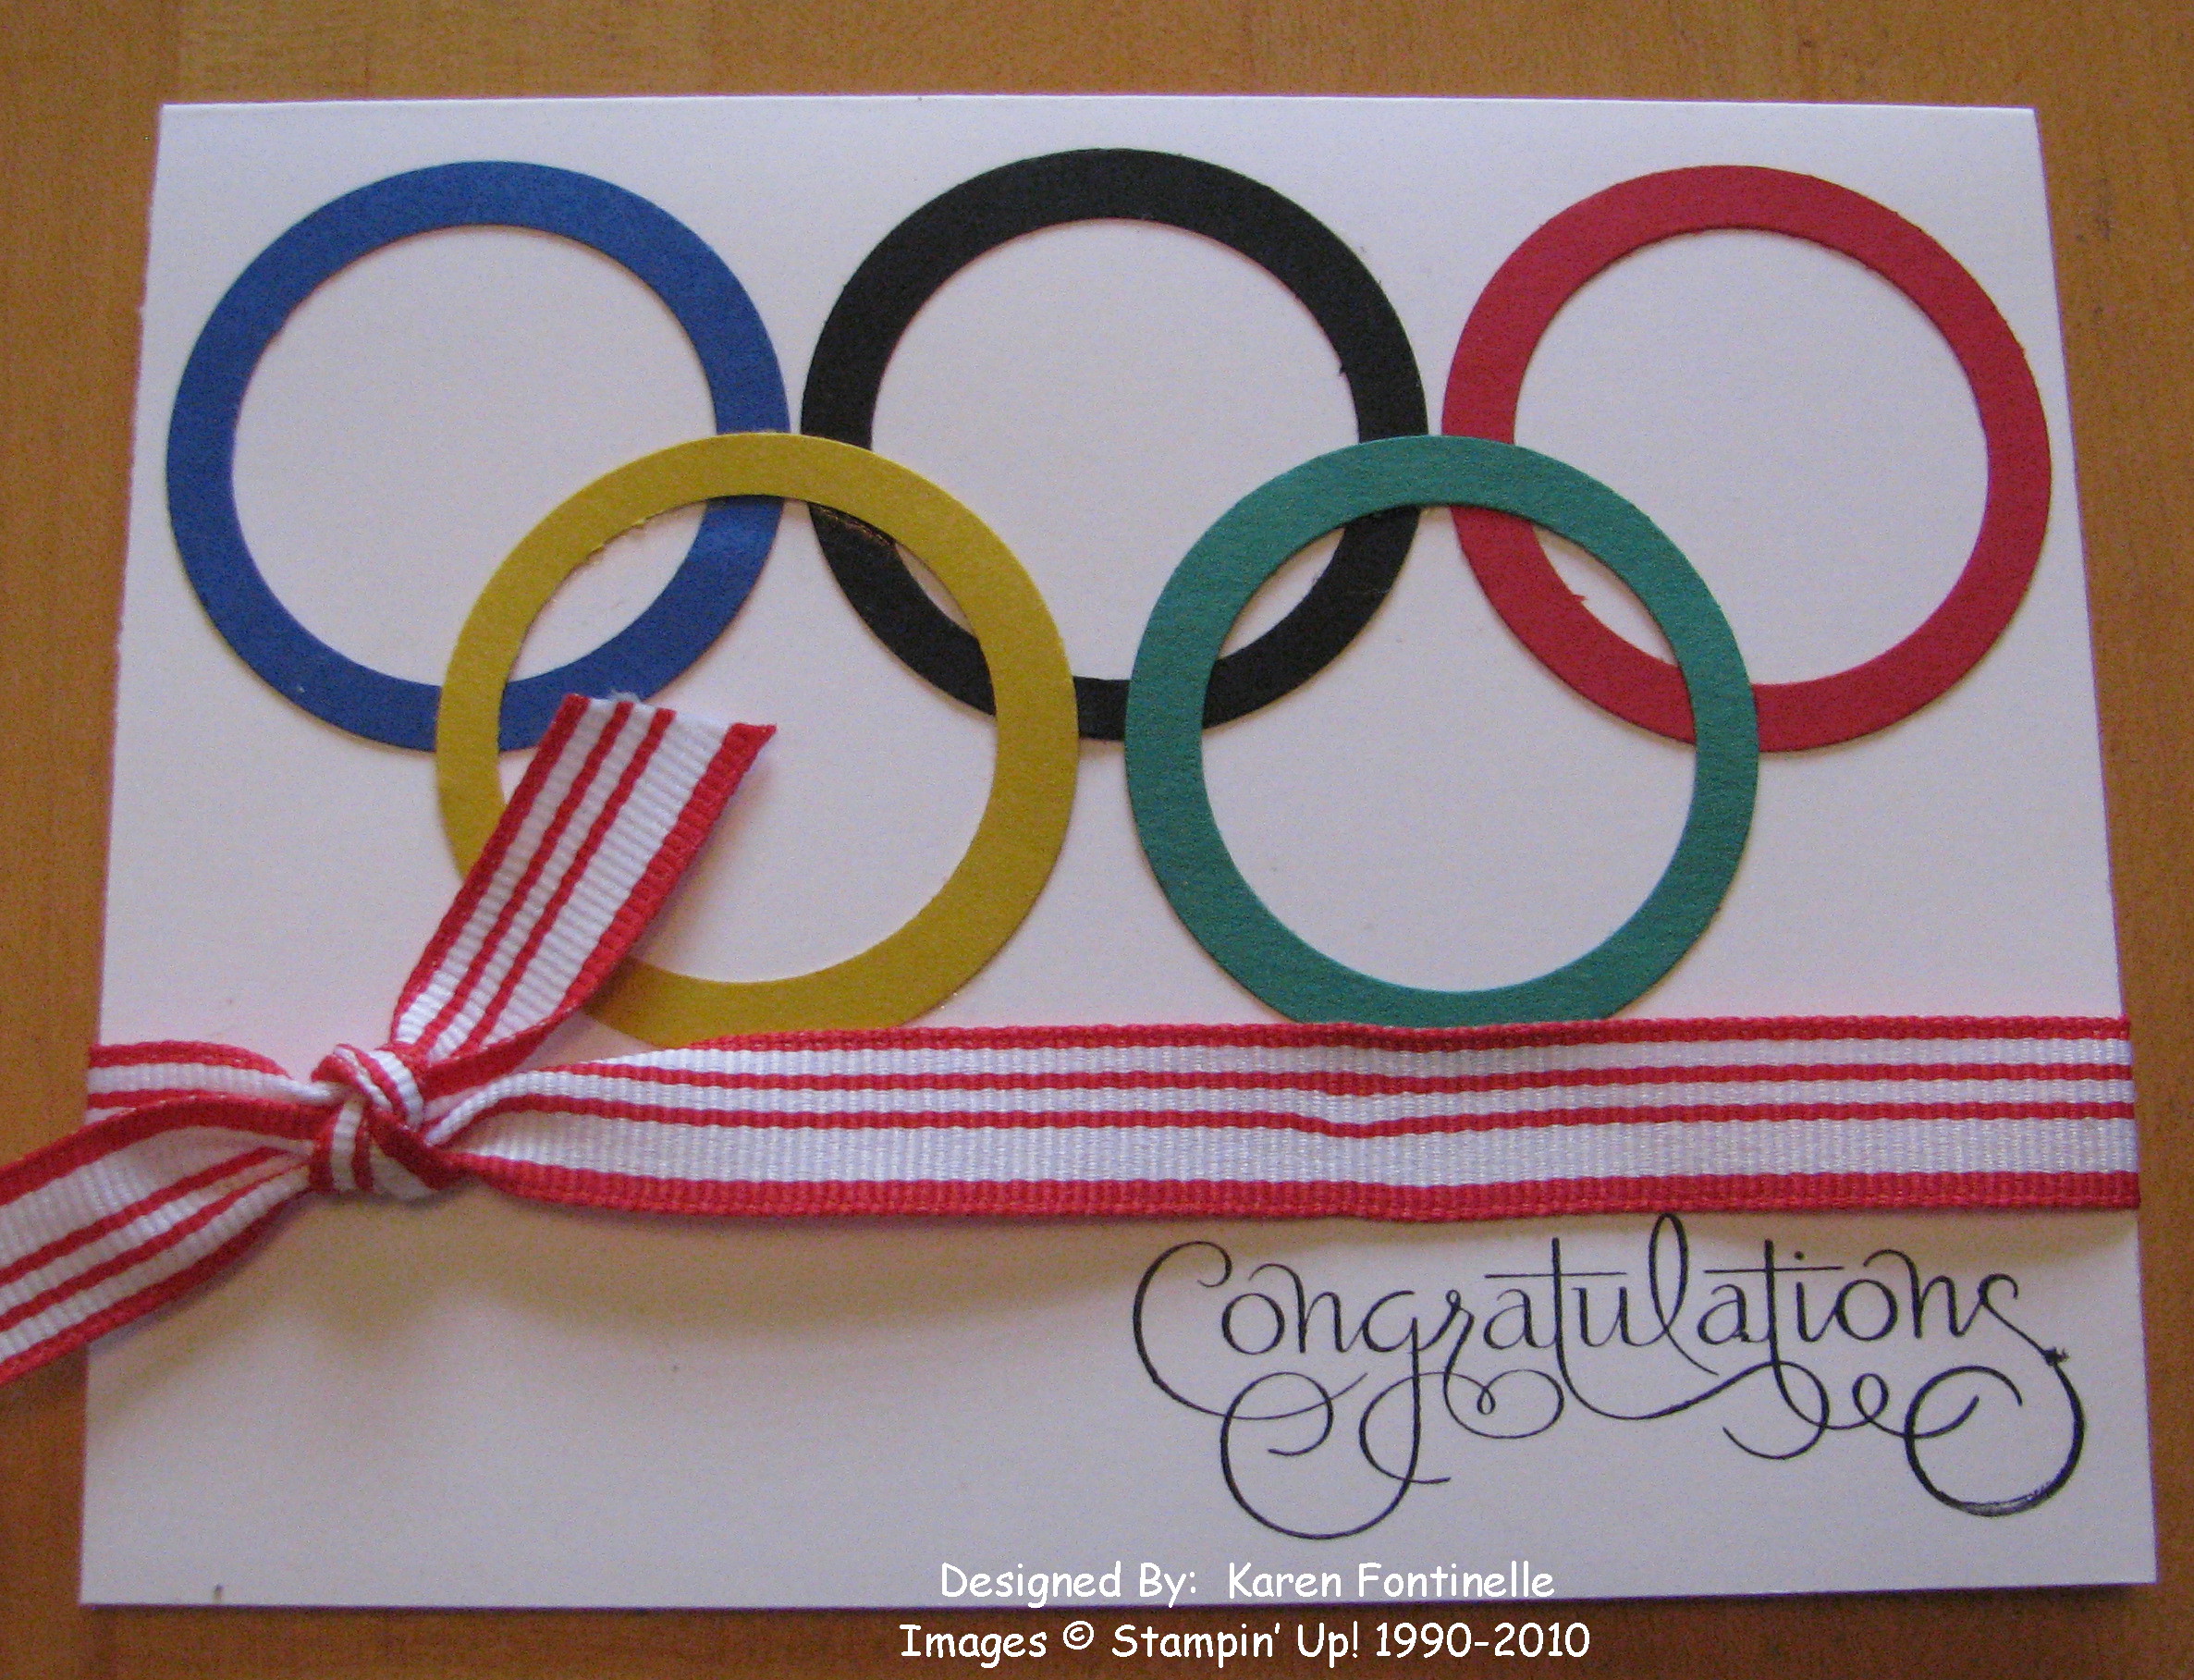
The 2010 Winter Olympics in Vancouver, Canada kicks off tonight with the Opening Ceremonies!  It's always fun to watch the Olympics, so we've been looking forward to this for awhile.  Here's a simple card inspired by the Olympic rings.

2010 Winter Olympics Vancouver Rings 

Supplies

Stamps:  Well-Scripted (#117072, #118501)

Cardstock:  Whisper White, Real Red, Brilliant Blue, Basic Black, Yoyo Yellow, Garden Green

Accessories:  1 3/4" Circle Punch, 1 3/8" Circle Punch, 1/2" Striped Real Red Grosgrain Ribbon

Ink:  Stazon Black


Don't forget, you'll be able to shop online any time during the Olympics at my Stampin' Up! Online Store.


Tip for Brads

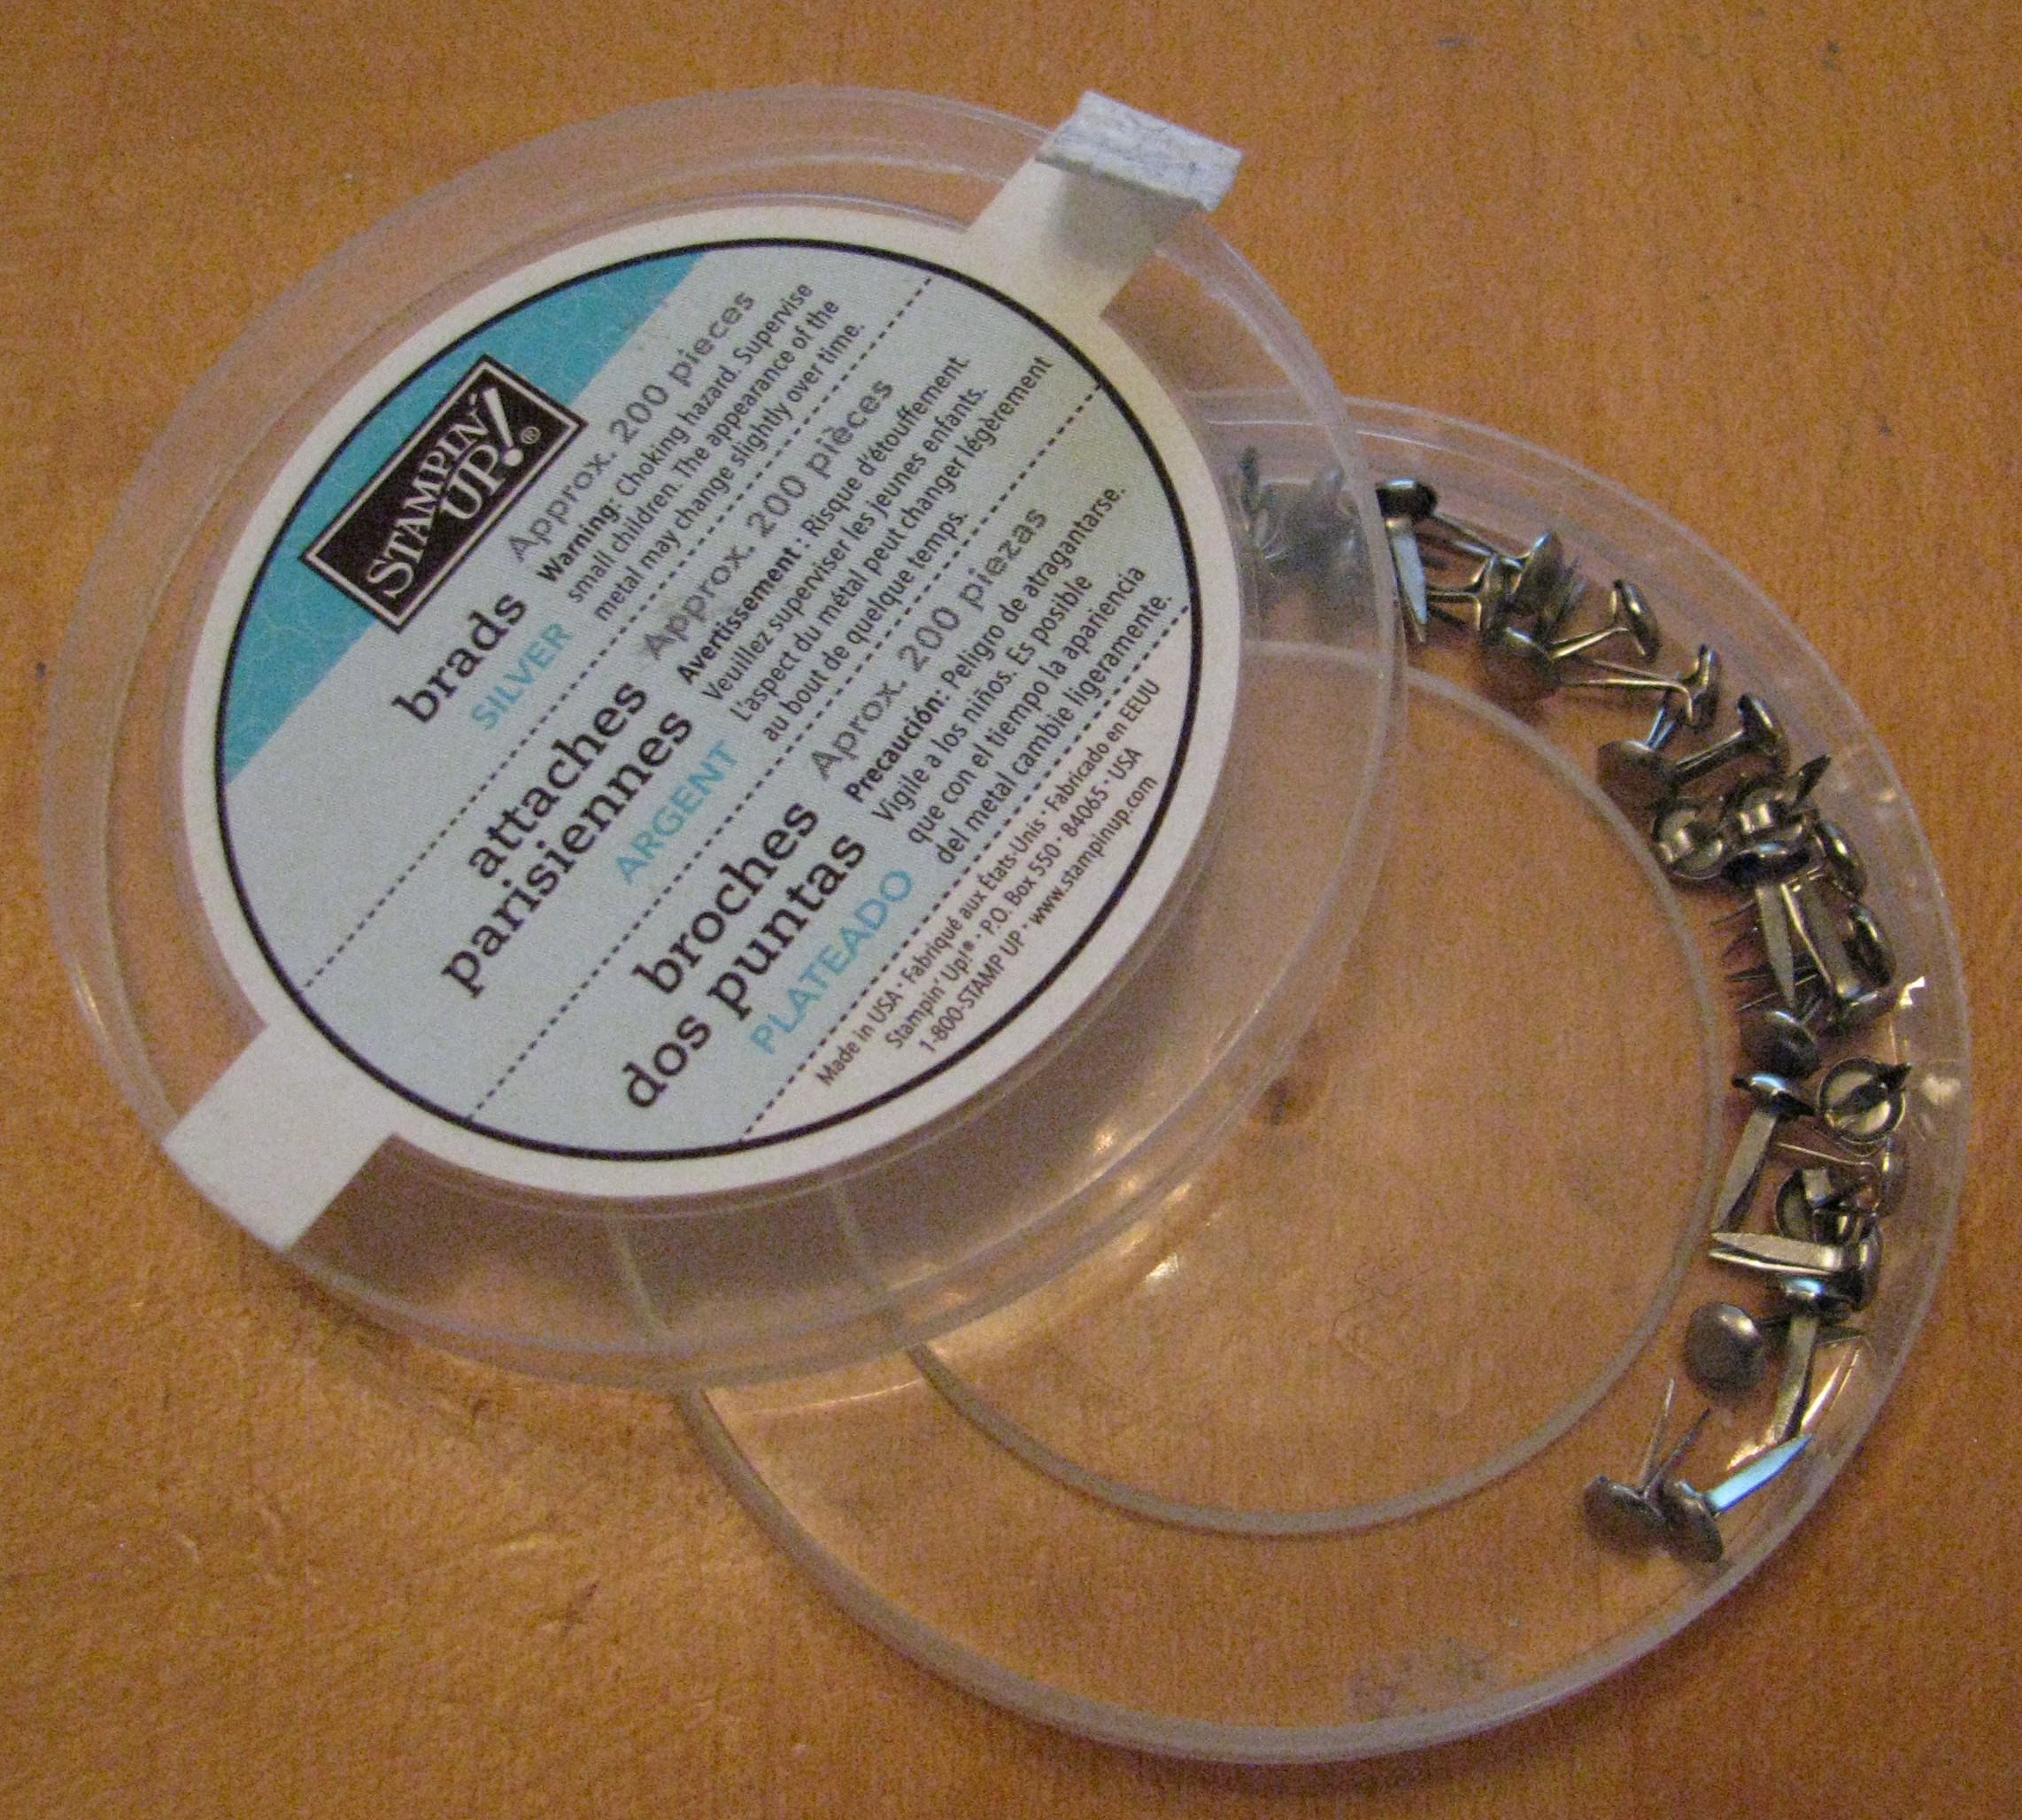
Here's a quick tip for when you are using brads on a stamping project:  After taking the little bitty brads out of the container that you are going to use, PUT THE LID BACK ON. Then move the brad container away from your arm.  Especially when you are in a hurry to finish your valentines to get out in the mailbox before the mailman comes.  But if you like picking up things the size of a mosquito off your kitchen floor, then this tip is not for you!

Brads 

Here's another quick tip….if you have any inkling that a holiday is approaching, let's say…oh…Valentine's Day…..and you already have most of your cards made, go ahead and put those cards in envelopes and address and stamp them, just so you don't have to do it as the mail truck is coming down the street and it is pouring down rain outside.  Because getting an umbrella out of the closet will slow you down.


The Snowstorm of 2010

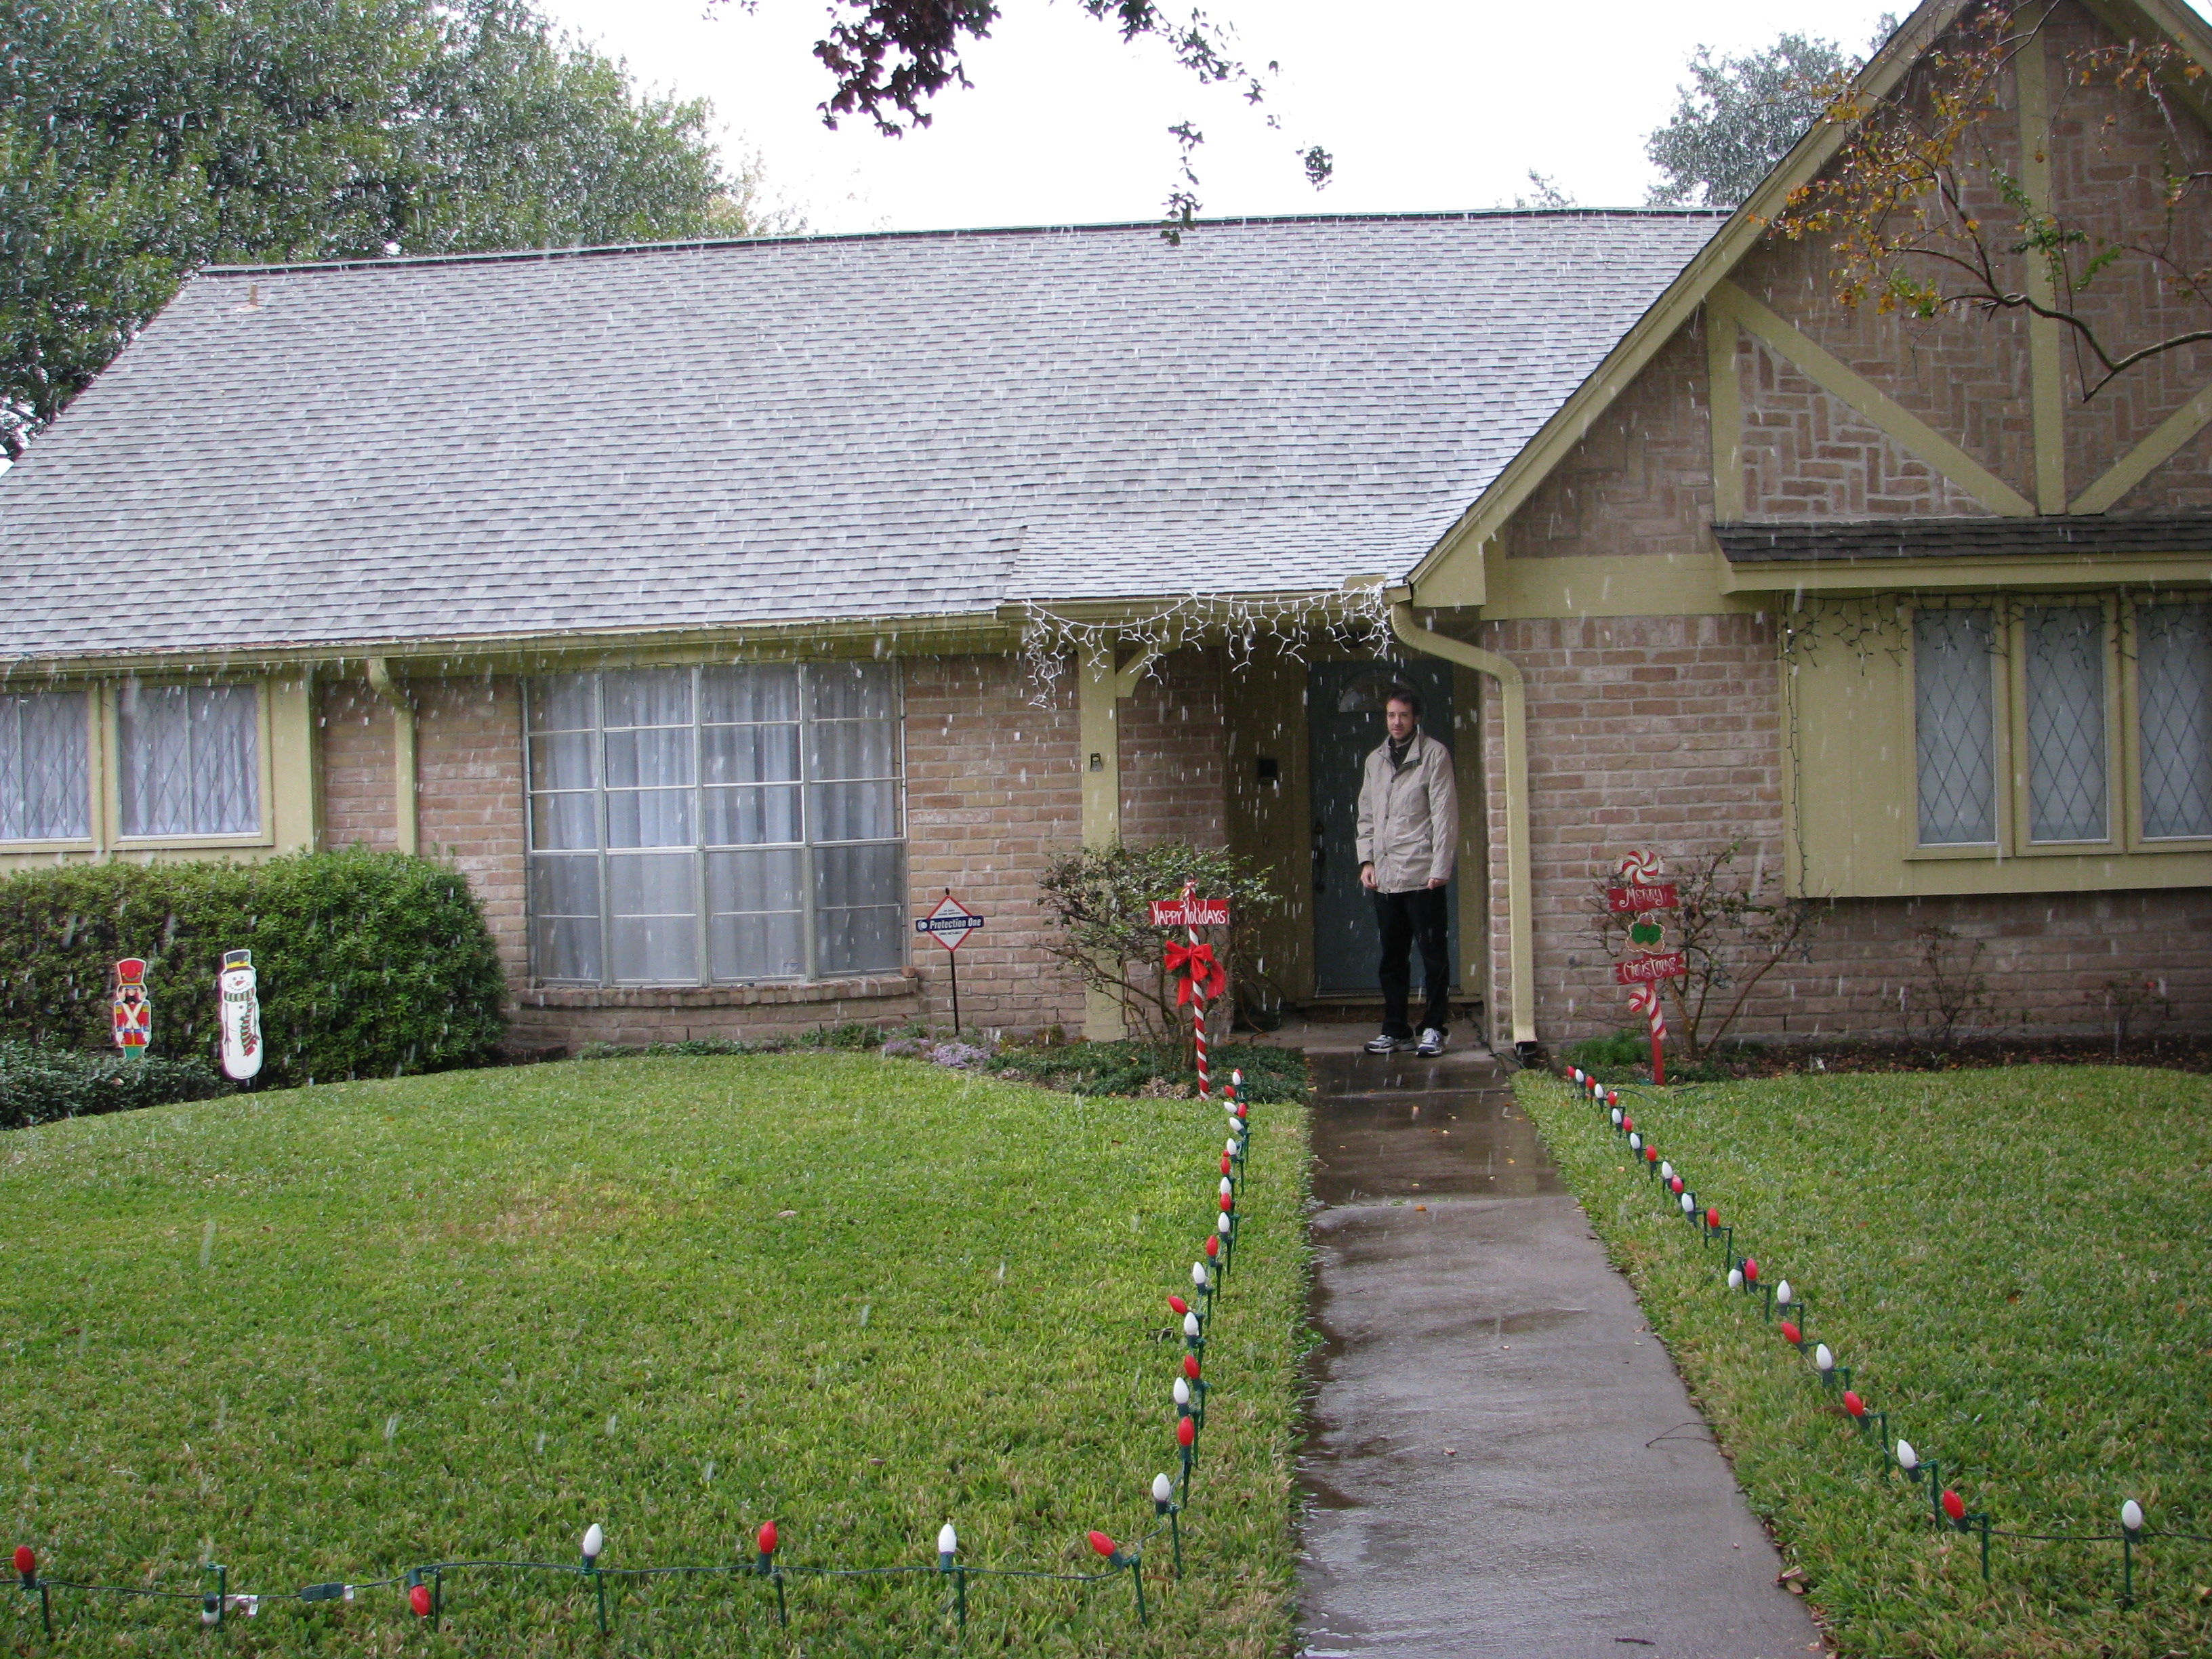
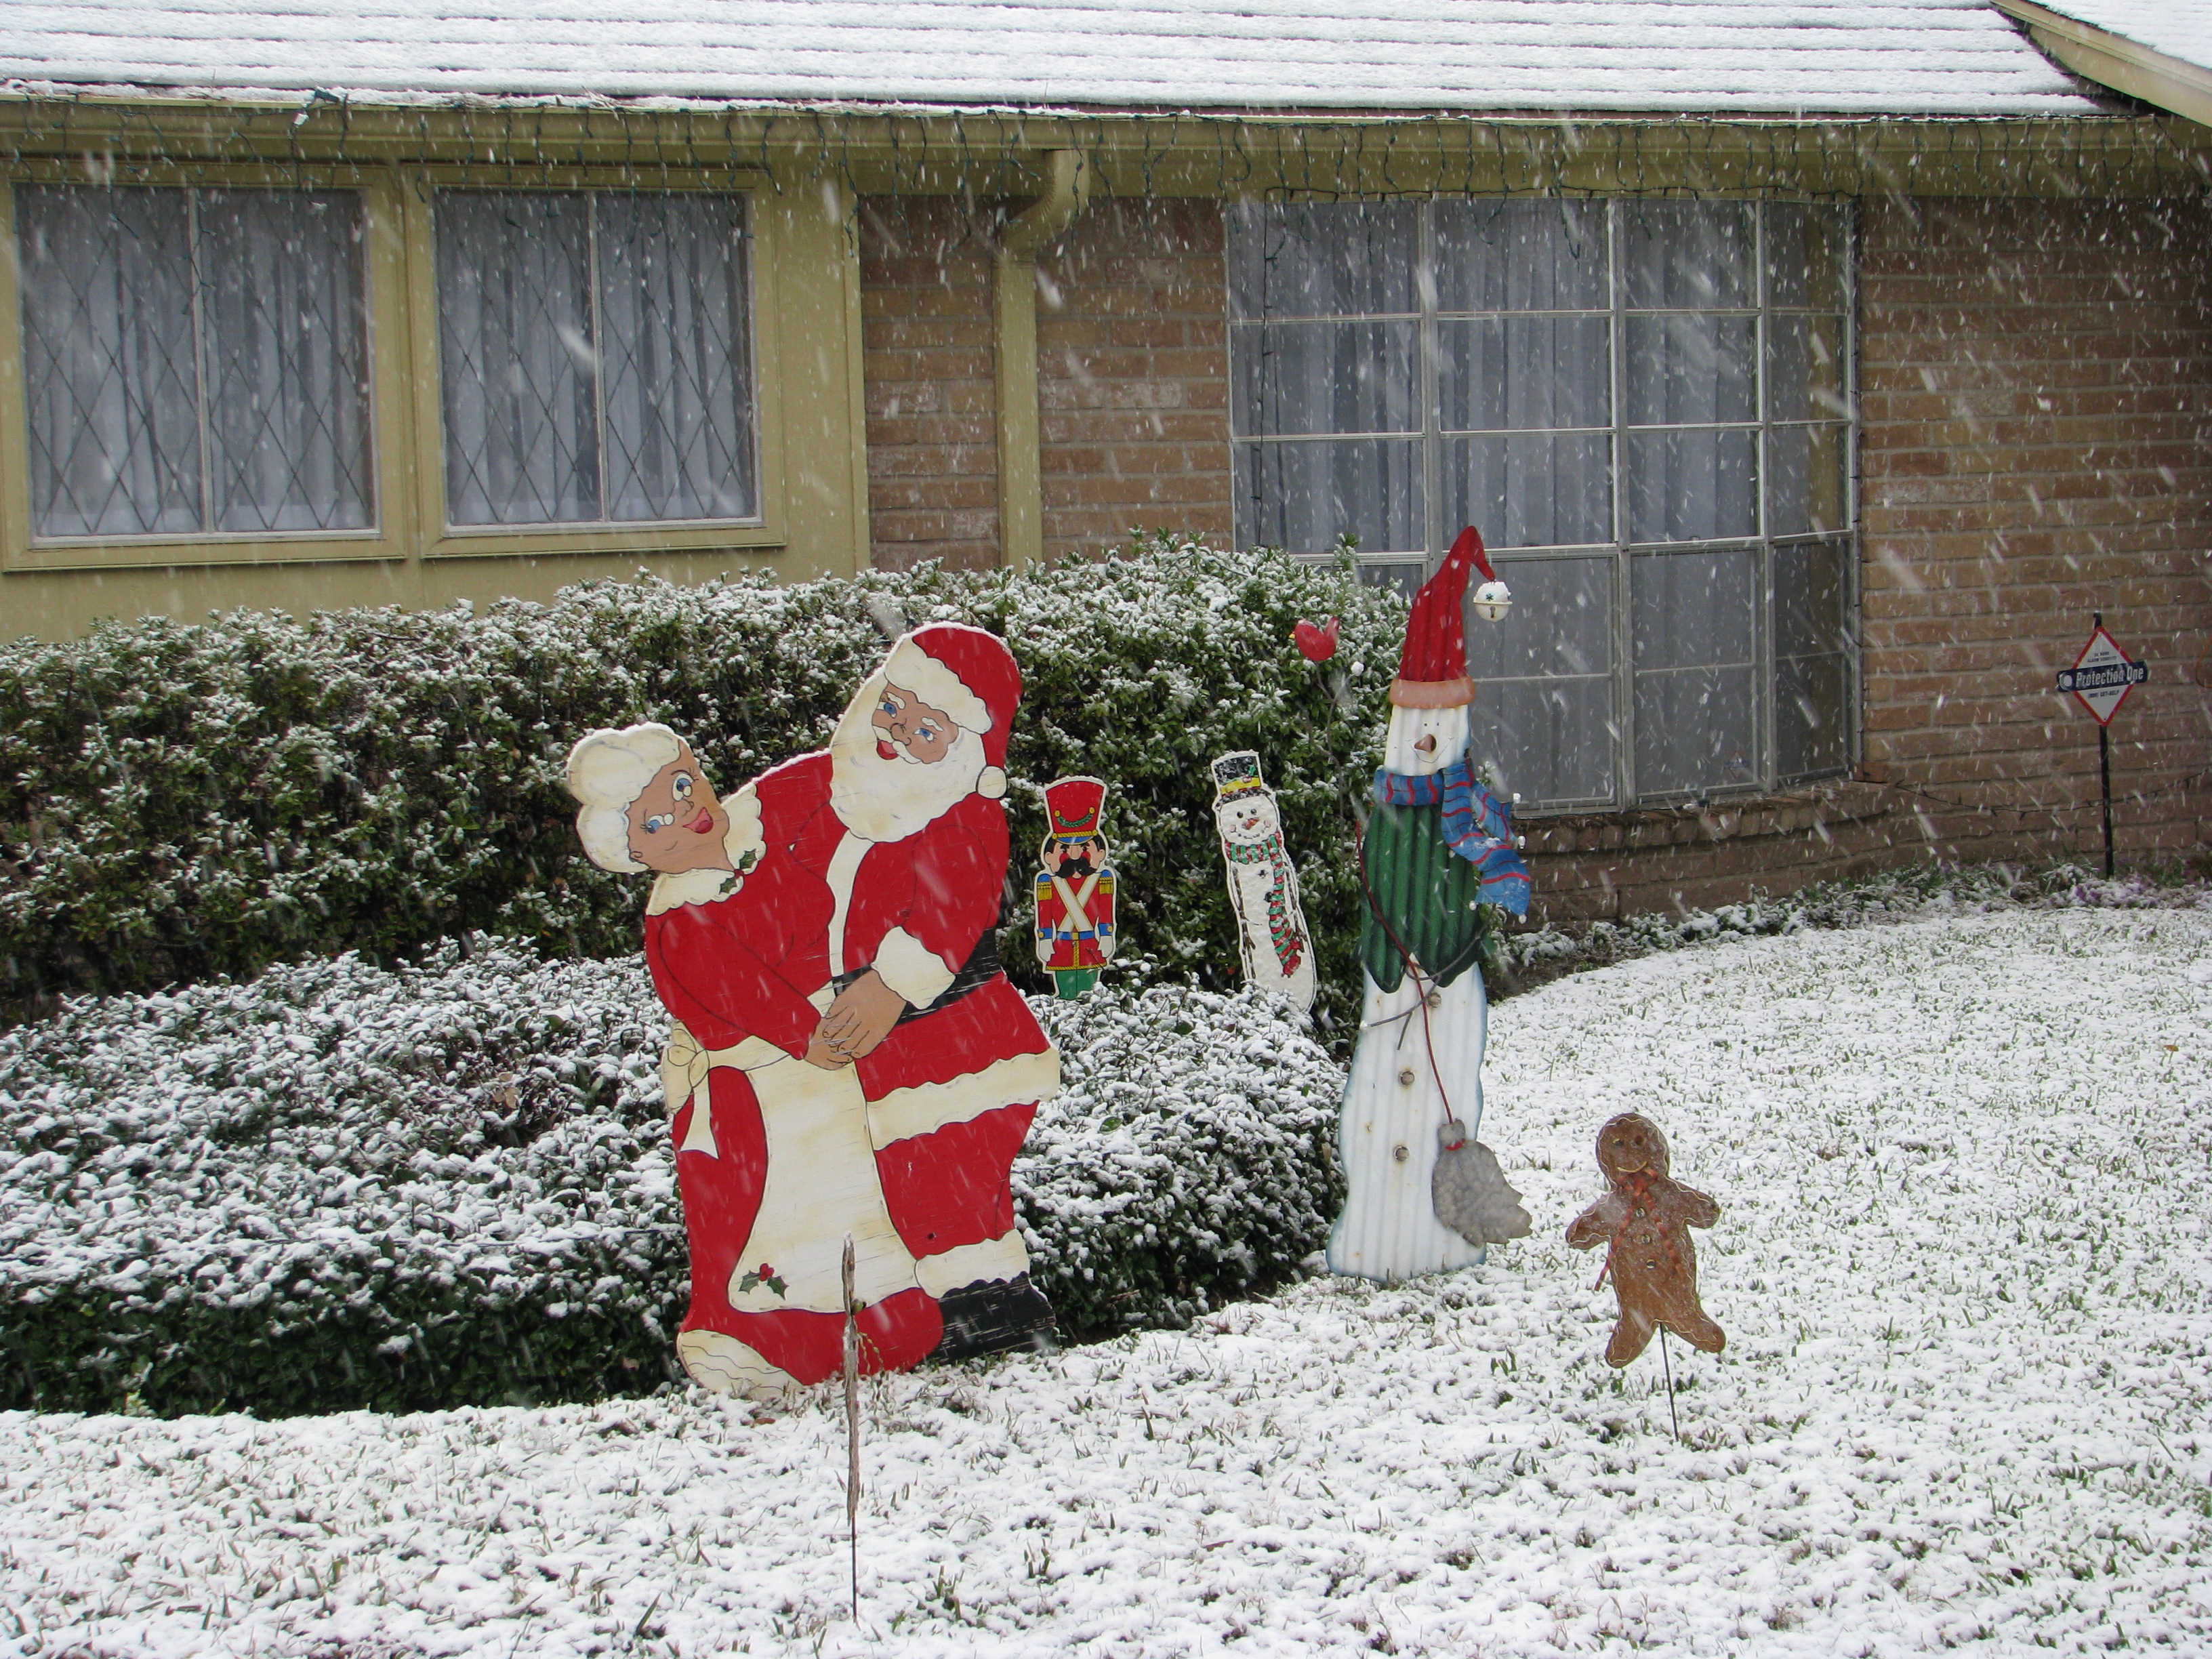
It's a cold, rainy day in Houston, TX but with hearing all the news reports on TV about the snow all over the country, particularly the East coast, I almost feel like I should look out the window and see snow piled up here!  An impossible reality, if you have seen my snow pictures of the "blizzards" we have had here in Houston resulting the grass barely being covered!  However, I did observe SLEET yesterday afternoon!  It was quite rainy and the temperature was about 48 degrees, but when I got out of my car I could HEAR sleet and if I looked against my black jacket sleeve and squinted, I could almost SEE the little sleet pellets and I could see them bouncing and rolling off my neighbor's roof!  So that was pretty exciting to have a minute amount of winter weather here in Houston!

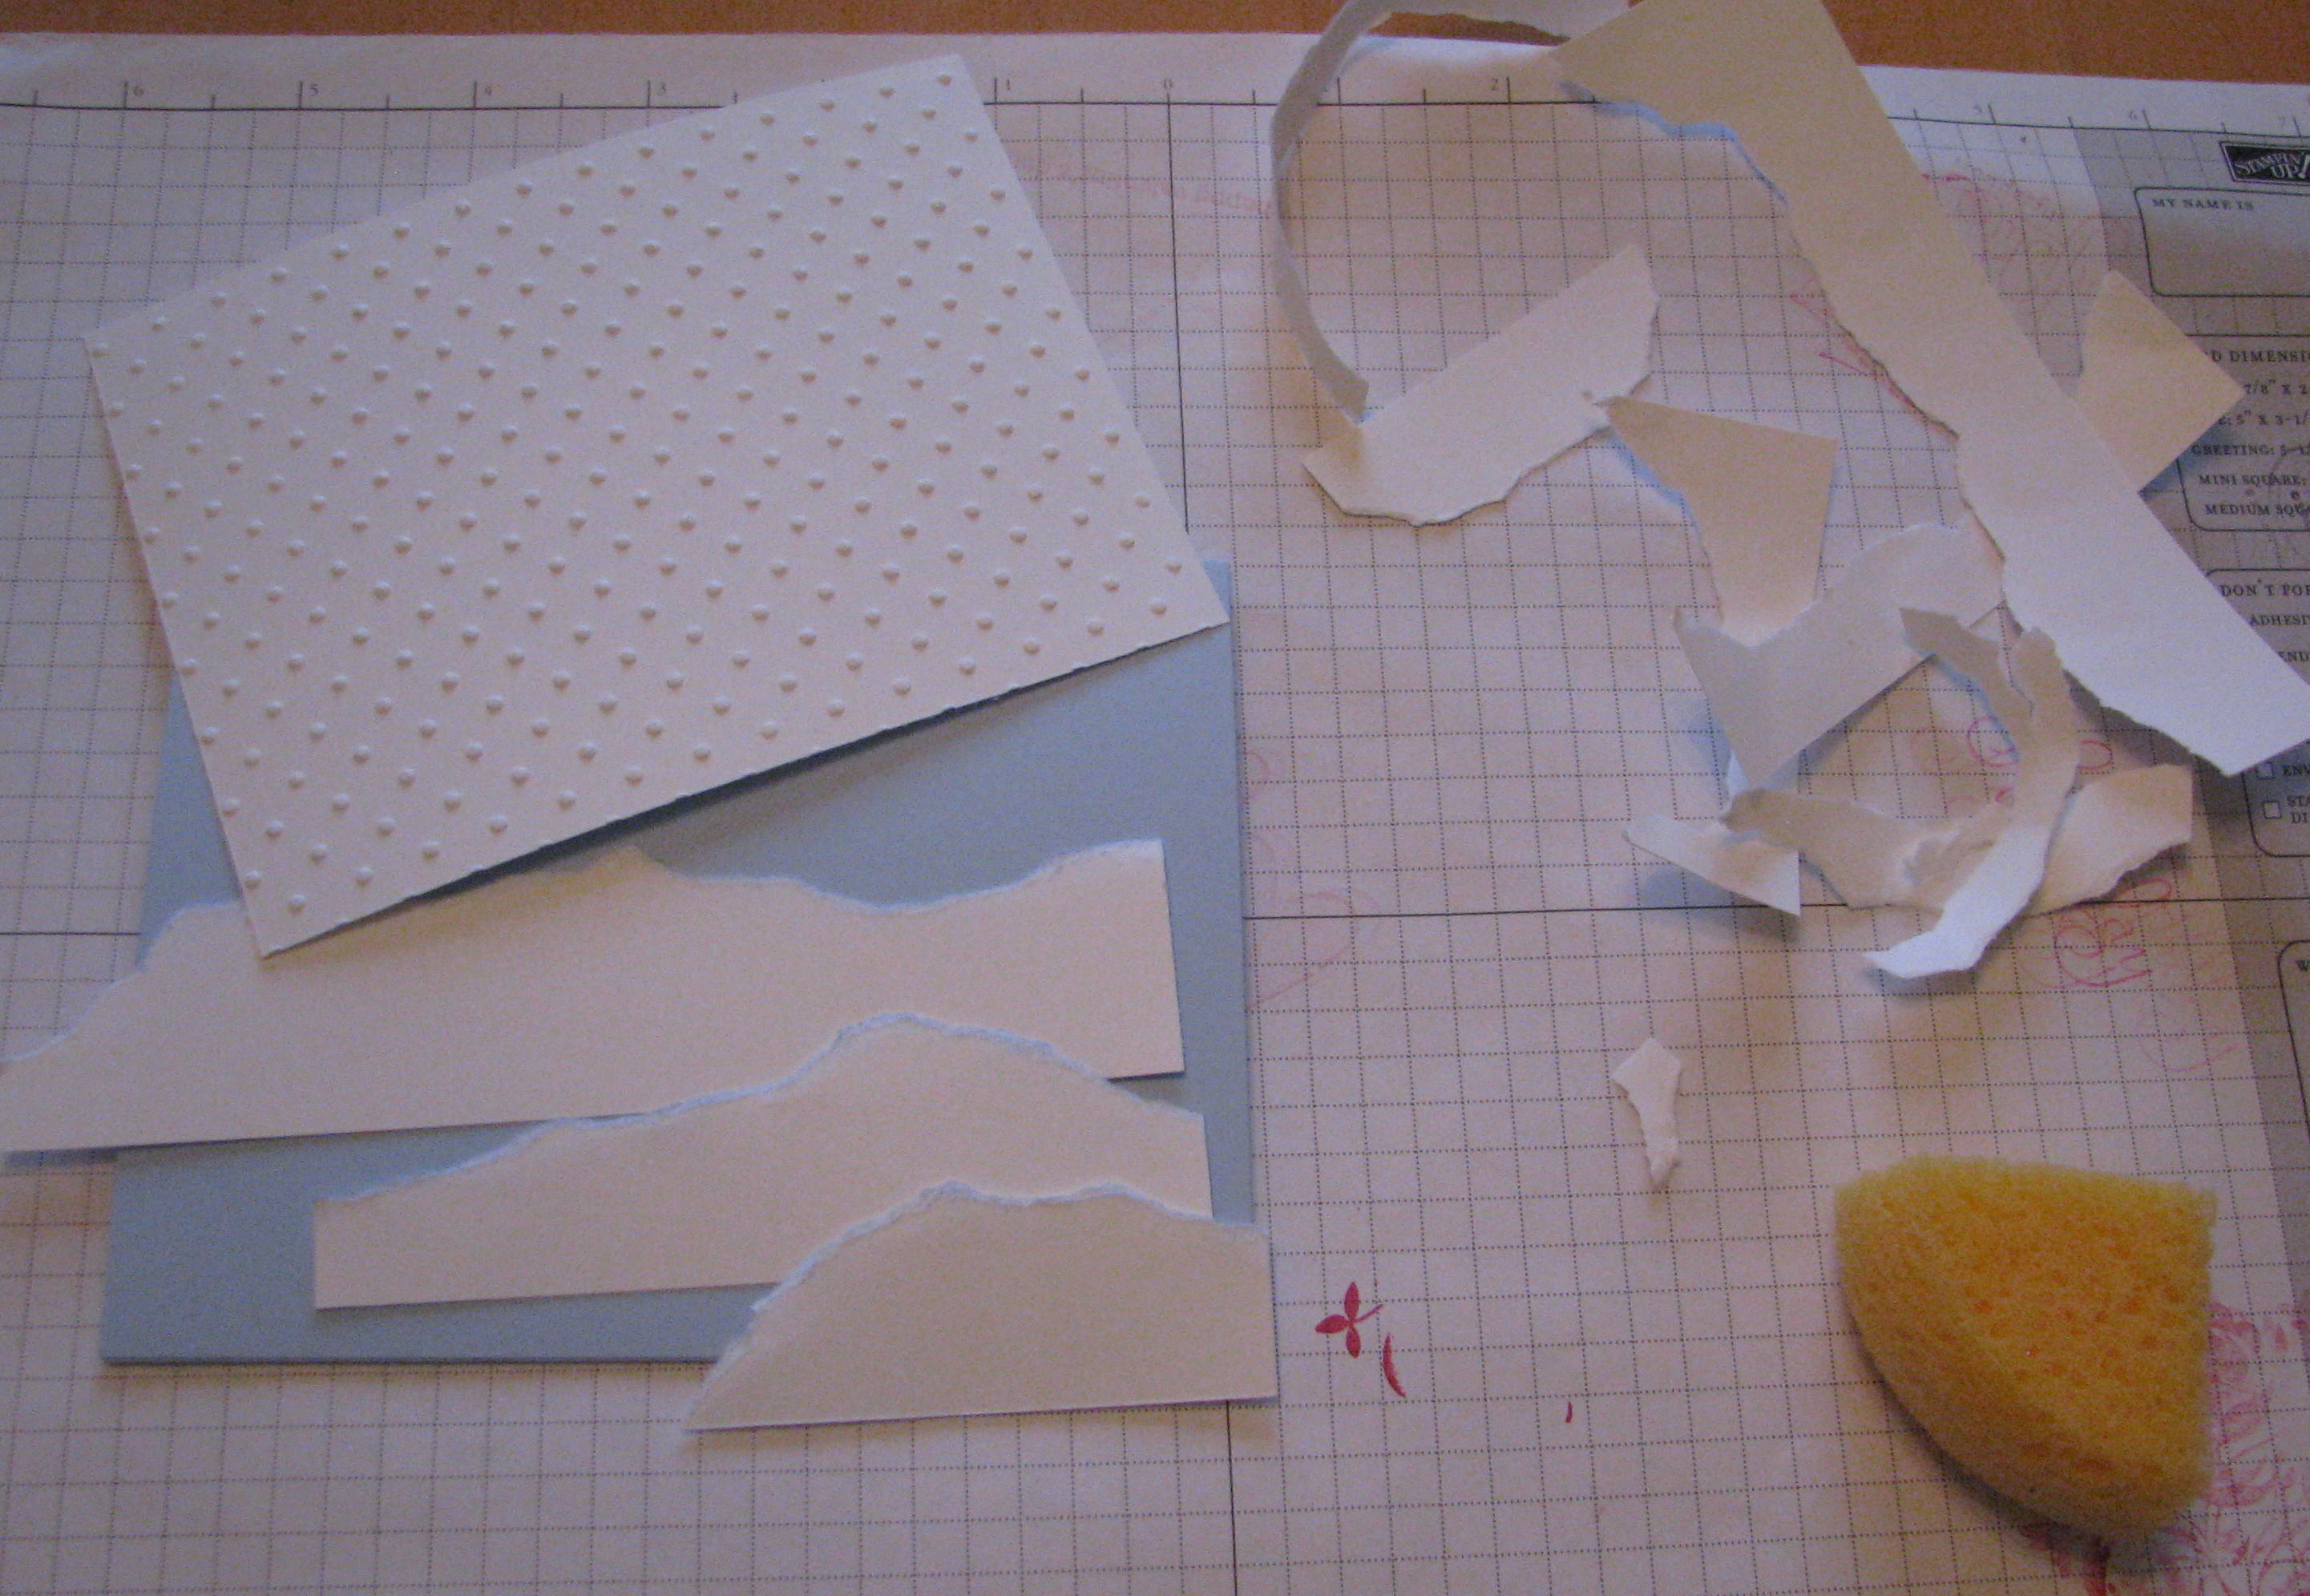
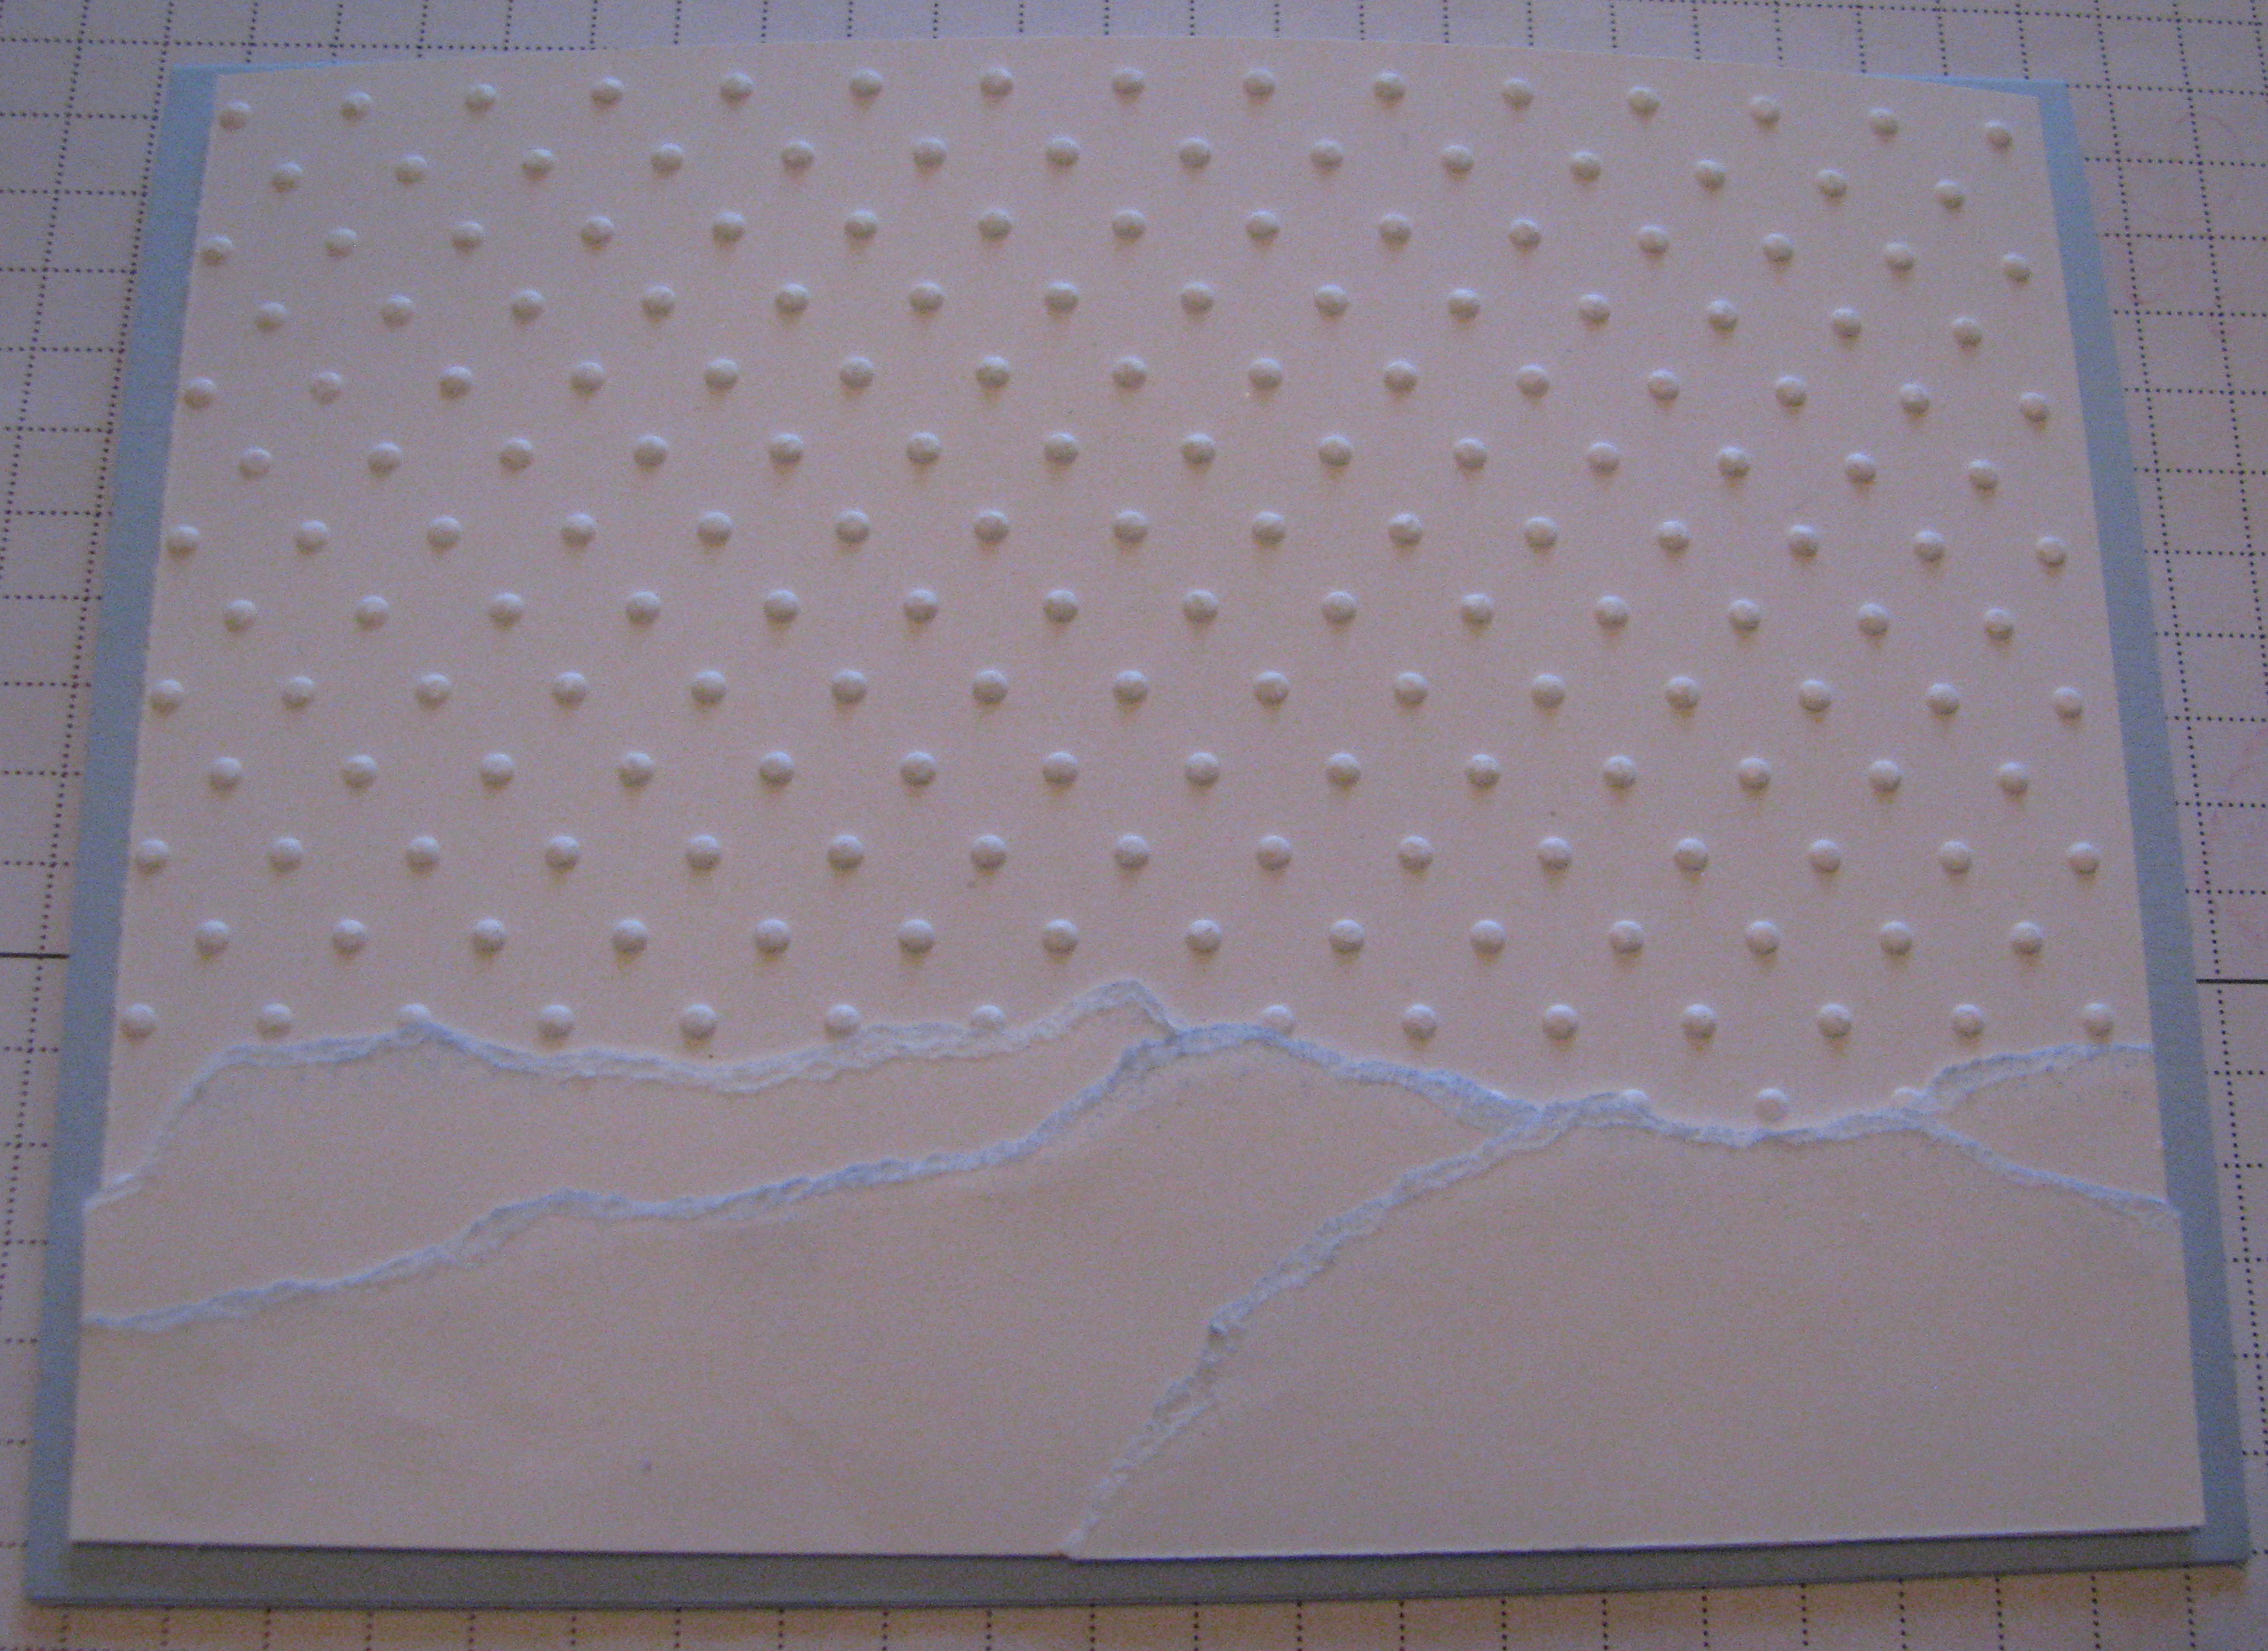
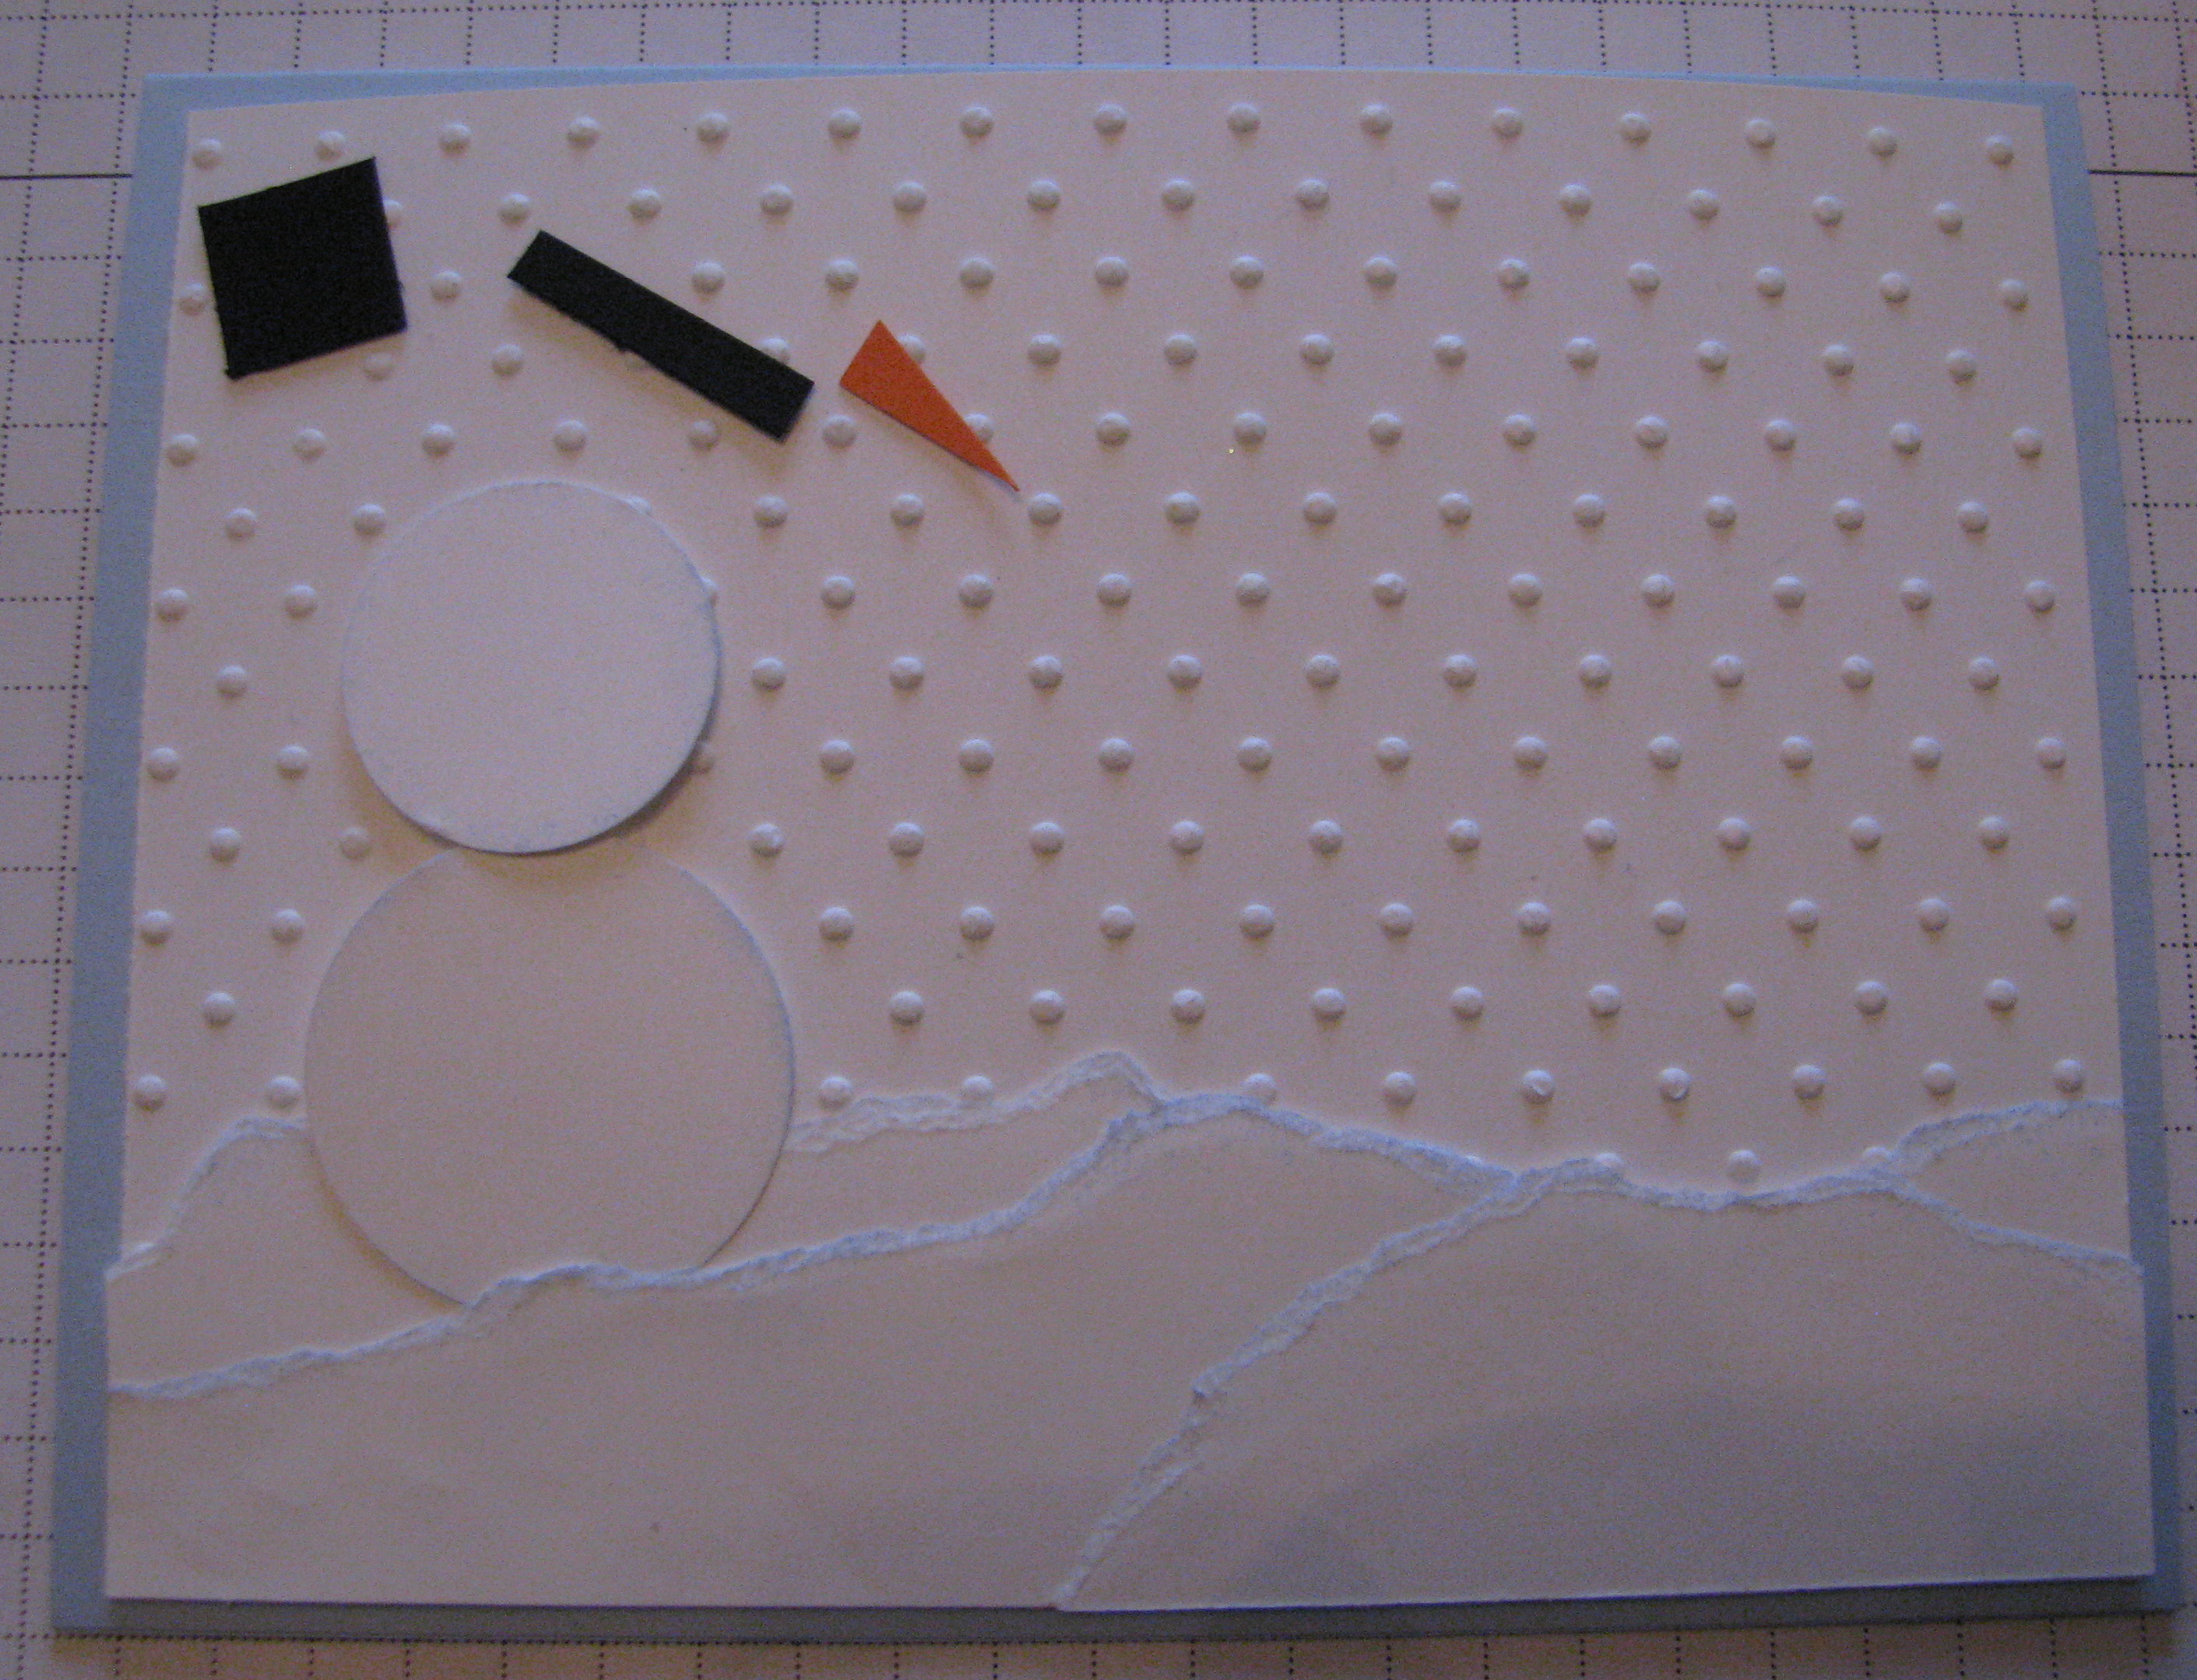
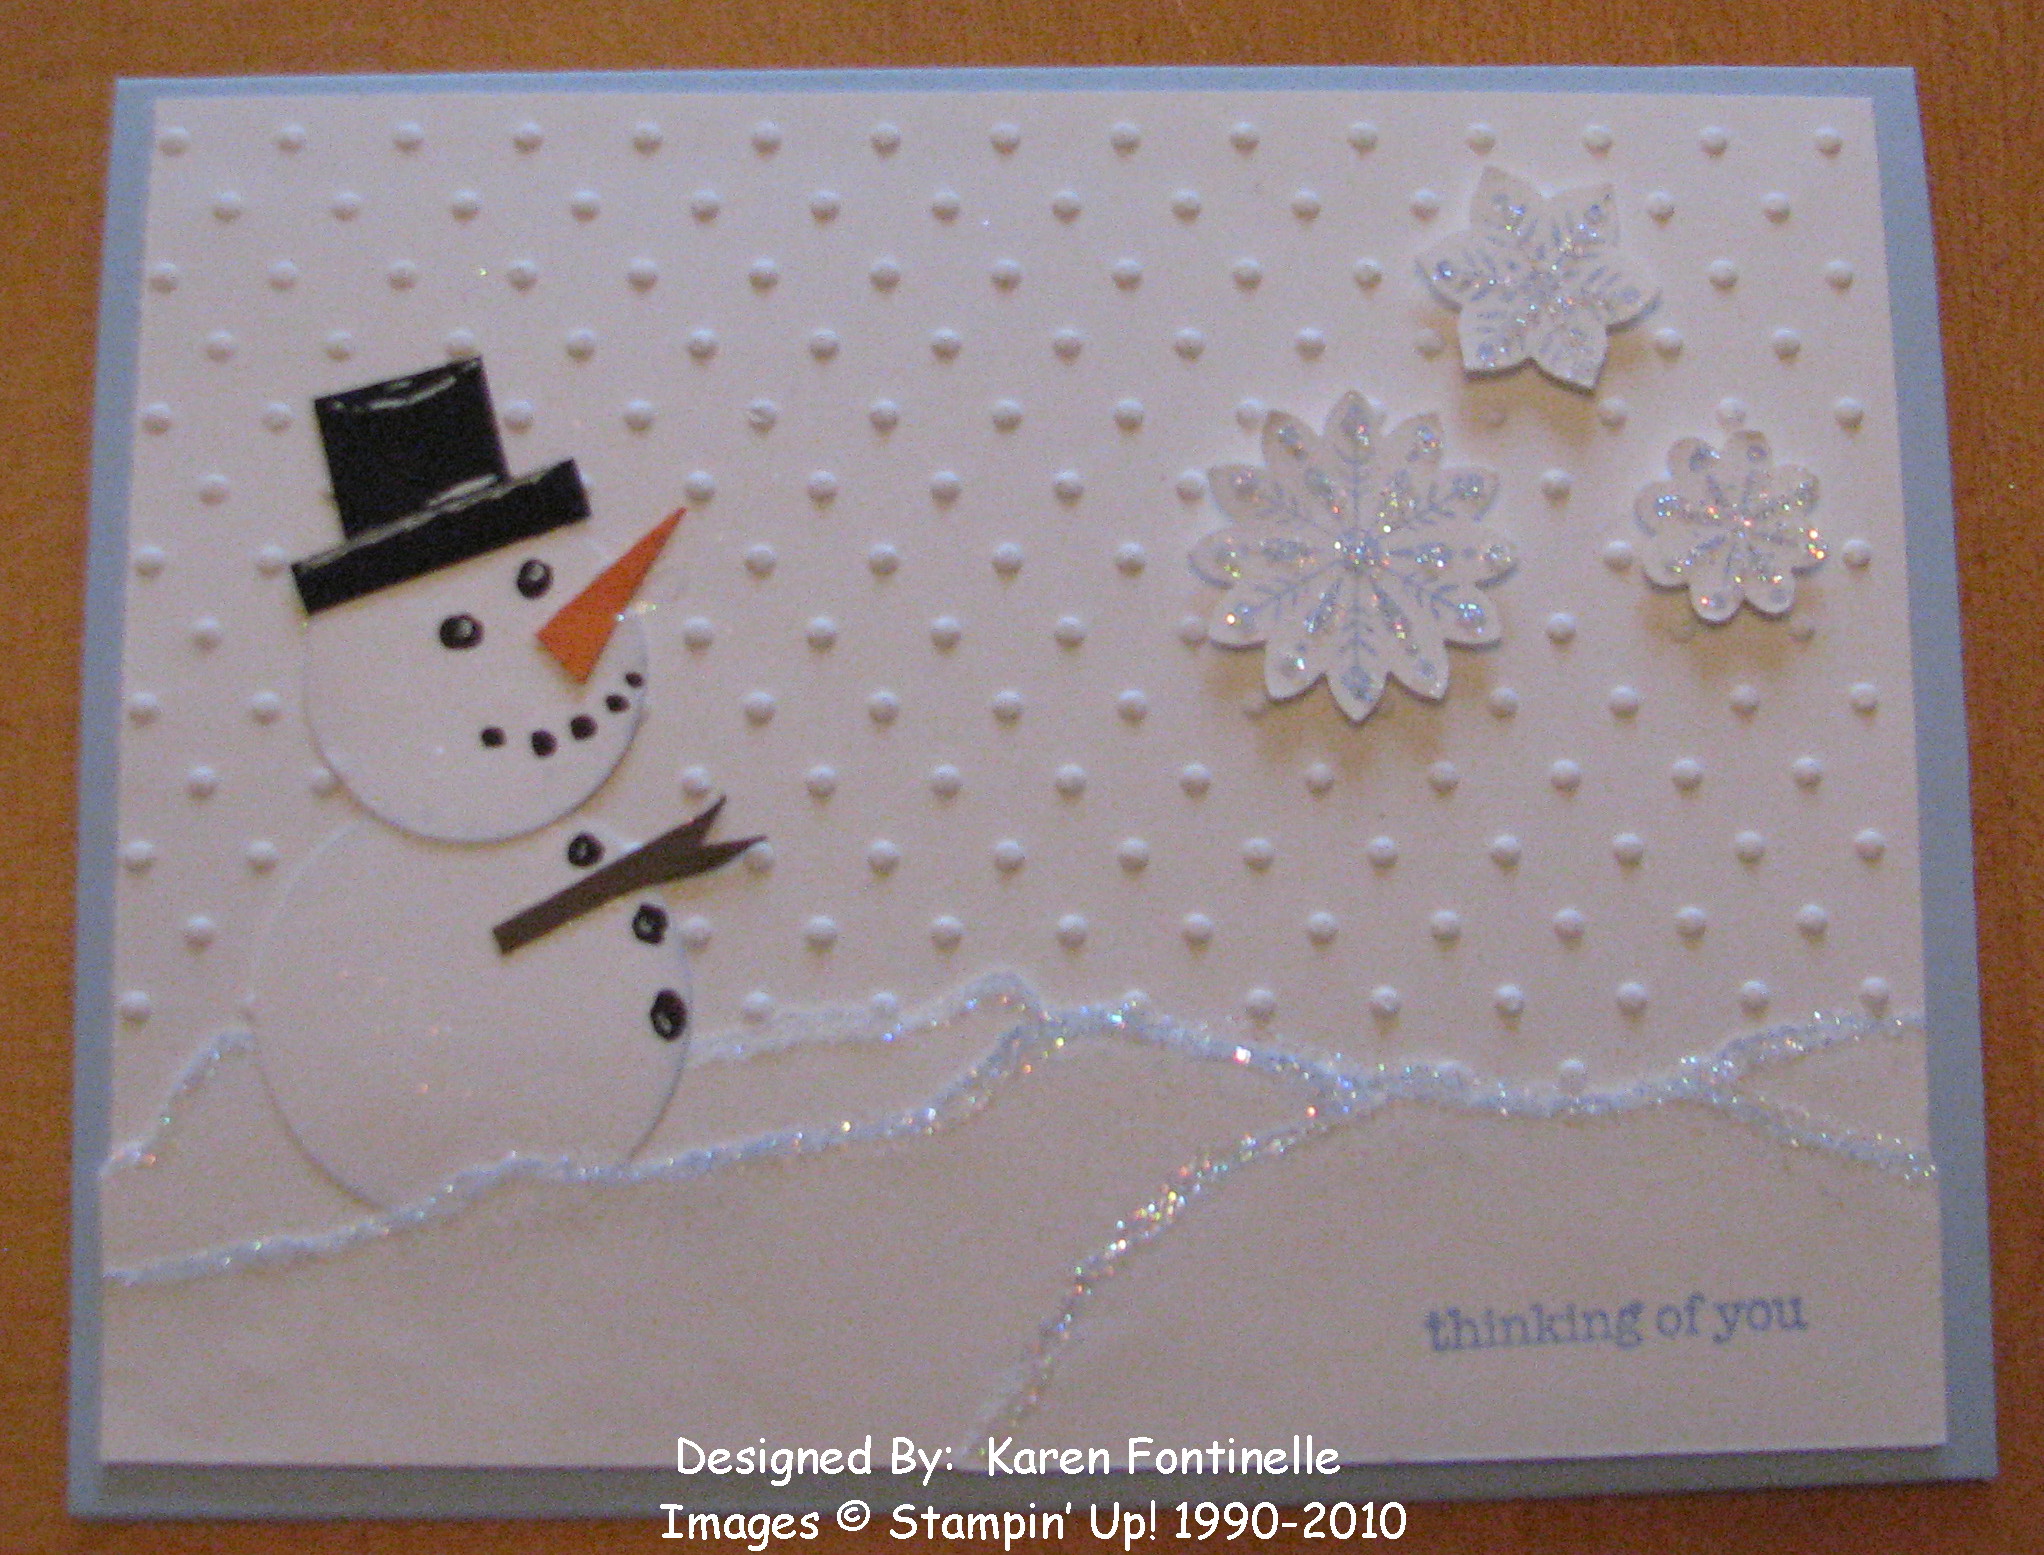
But in thinking about all the snow elsewhere around the country, I decided to make a snow card!  I used the Stampin' Up! Perfect Polka Dots Textured Impressions Folder (#117335) to create the "snowy" background in the Occasions Mini, page 35.  Then I tore some card stock to make the snowdrifts, punched out some circles for the snowman, cut out his hat, nose and arm and stamped a few snowflakes from the Hostess set Christmas Punch. (Did you know the Boho Blossoms Punch #110711 fits that trio of snowflakes?  You don't even have to cut them out!).  And what snow card would be complete without Dazzling Diamonds Glitter?

SnowCard 

SnowCard2 

SnowCard3
SnowCard4 


If you are snowed in and like this card, please leave me a comment telling me about the snow!  I wish I could zap myself to all that snow just for a little while! 


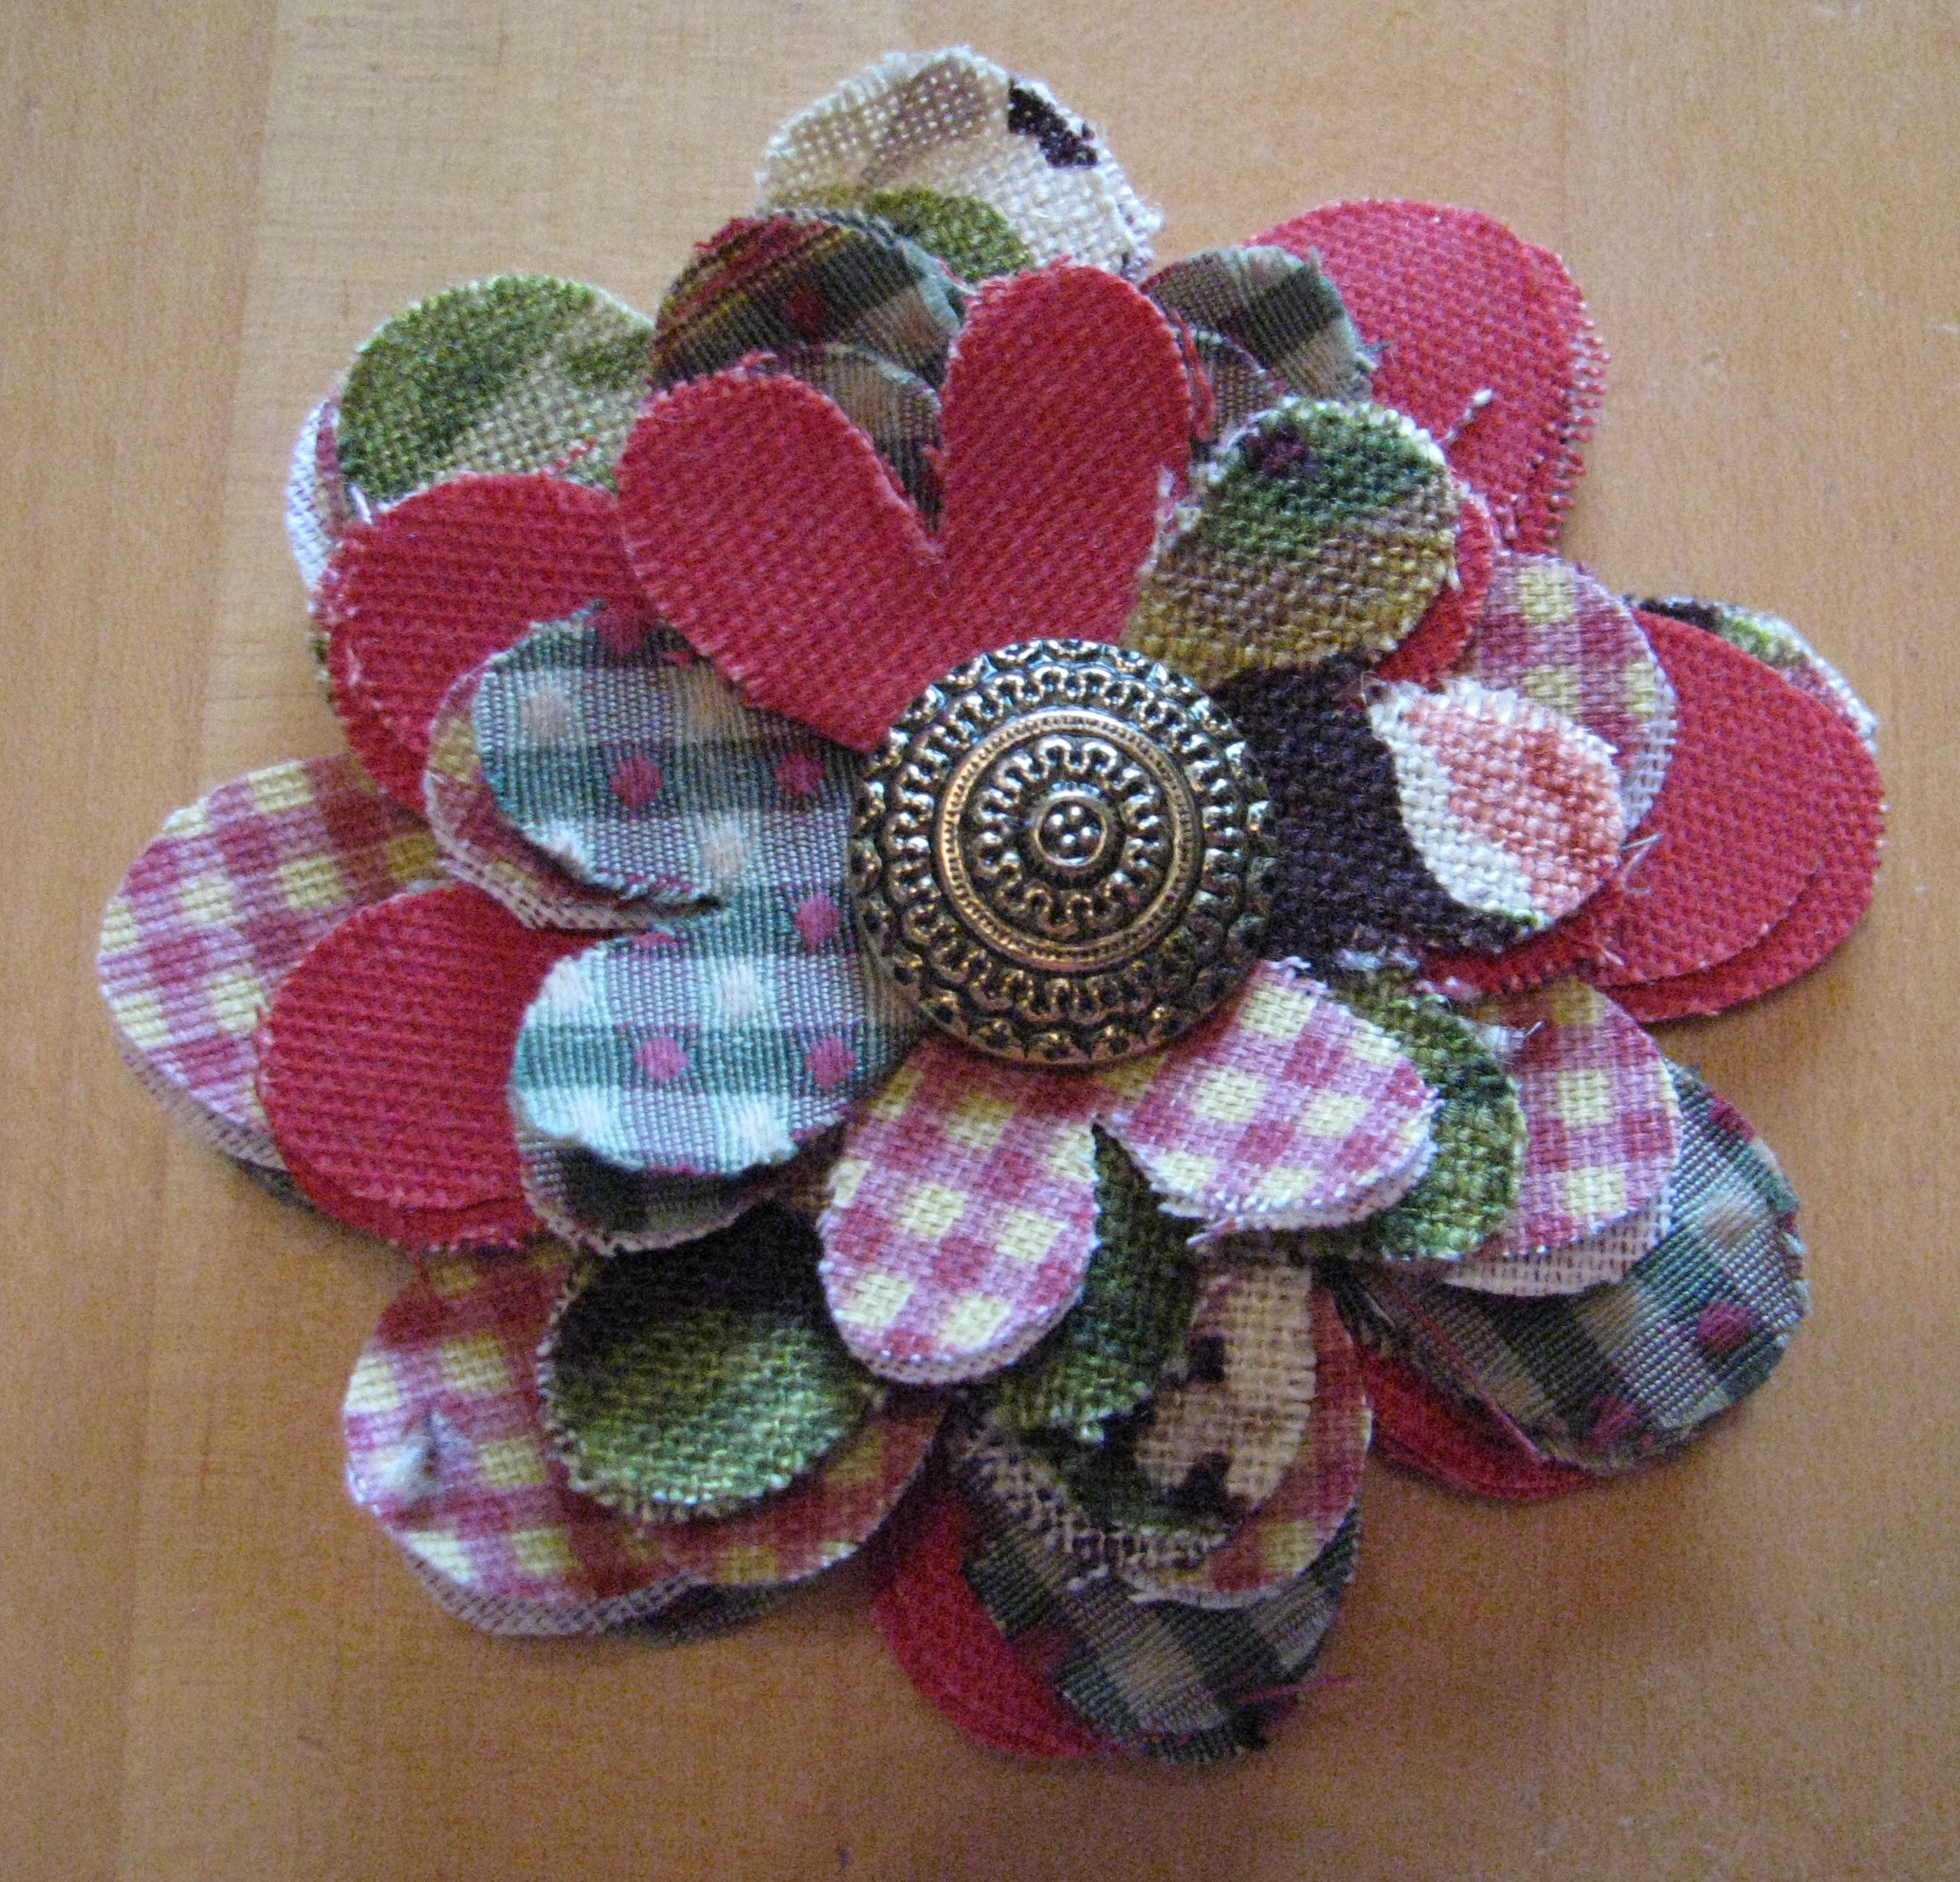
Flower Folds Fabric Flower

I think that is almost a tongue-twister!  I have really been enjoying making these fabric flowers with the Big Shot and the Flower Folds Die The Big Shot makes it so easy to cut out your  flowers, so I've been using my Big Shot like crazy!

Flower Fold Fabric Pin

If you want to purchase the Stampin' Up! supplies to make these lovely flowers, please contact me today!  It's a great deal during Sale-a-Bration

Big Shot Die-Cut Machine (#113439)

Extended Cutting Pads (#113478)

Stampin' Up! Flower Folds Die (#115970)

Country Living Cards a la Carte Stationery Kit

COUNTRY LIVING CARDS À LA CARTE


This is a special French-Country-style stationery kit from 

Stampin' Up! and Country Living Magazine.

This kit contains:


  • The exclusive Dinner Party stamp set, which you can see in the foreground
  • A Ballet Blue Stampin' Spot
  • Twenty-four sheets of 5 1/2" x 8 1/2" printed paper for your creative use
  • Twelve Very Vanilla Medium envelopes

Click HERE on my website!

New Stampin’ Up! Border and Corner Punches

Want to see a Stampin' Up! video of Bonnie Thurber demonstrating how to use the new Border and Corner Punches in the Occasions Mini and Sale-A-Bration catalogs?  I knew you would! 

I know you'll enjoy Bonnie on this video!  I've seen her on stage at Convention and not only does she do a great demonstration, but she can sing also!!  She doesn't sing on this video though!

Sale-A-Bration….Become a Stampin’ Up! Demonstrator!

Anytime is a good time to become a Stampin' Up! Demonstrator, but right now is a GREAT time!  Read about it HERE.

Did you know that Sale-A-Bration is in full swing and continues on until March 31? To become a Demonstrator, all you have to do is purchase one of the Starter Kits, a great value in lots of stamping product.  And right now, during Sale-A-Bration you can buy a Starter Kit for 15% off!!  Choose theStandard Starter Kit for 15% off the regular price of $199…..OR if you are interested, the new Digital+ Starter Kit with the new My Digital Studio software for 15% off $185.  Free Shipping on either kit!

AND…..during Sale-A-Bration choose a free stamp set (up to $47.95 value) when you purchase a Starter Kit!

Now that's a deal!  And a fun one at that!  Contact me if you are interested or need more information!  I'd love to tell you how much fun it is to be a Stampin' Up! Demonstrator!  But if you're very spontaneous and want to sign up on your own, just go to my website HERE, click on "Start Your Own Business", watch the video if you like, and then click on "Join Now" on the left.  The password you need is "karenstamps".

“I Heart Hearts” Valentine Treat Bag

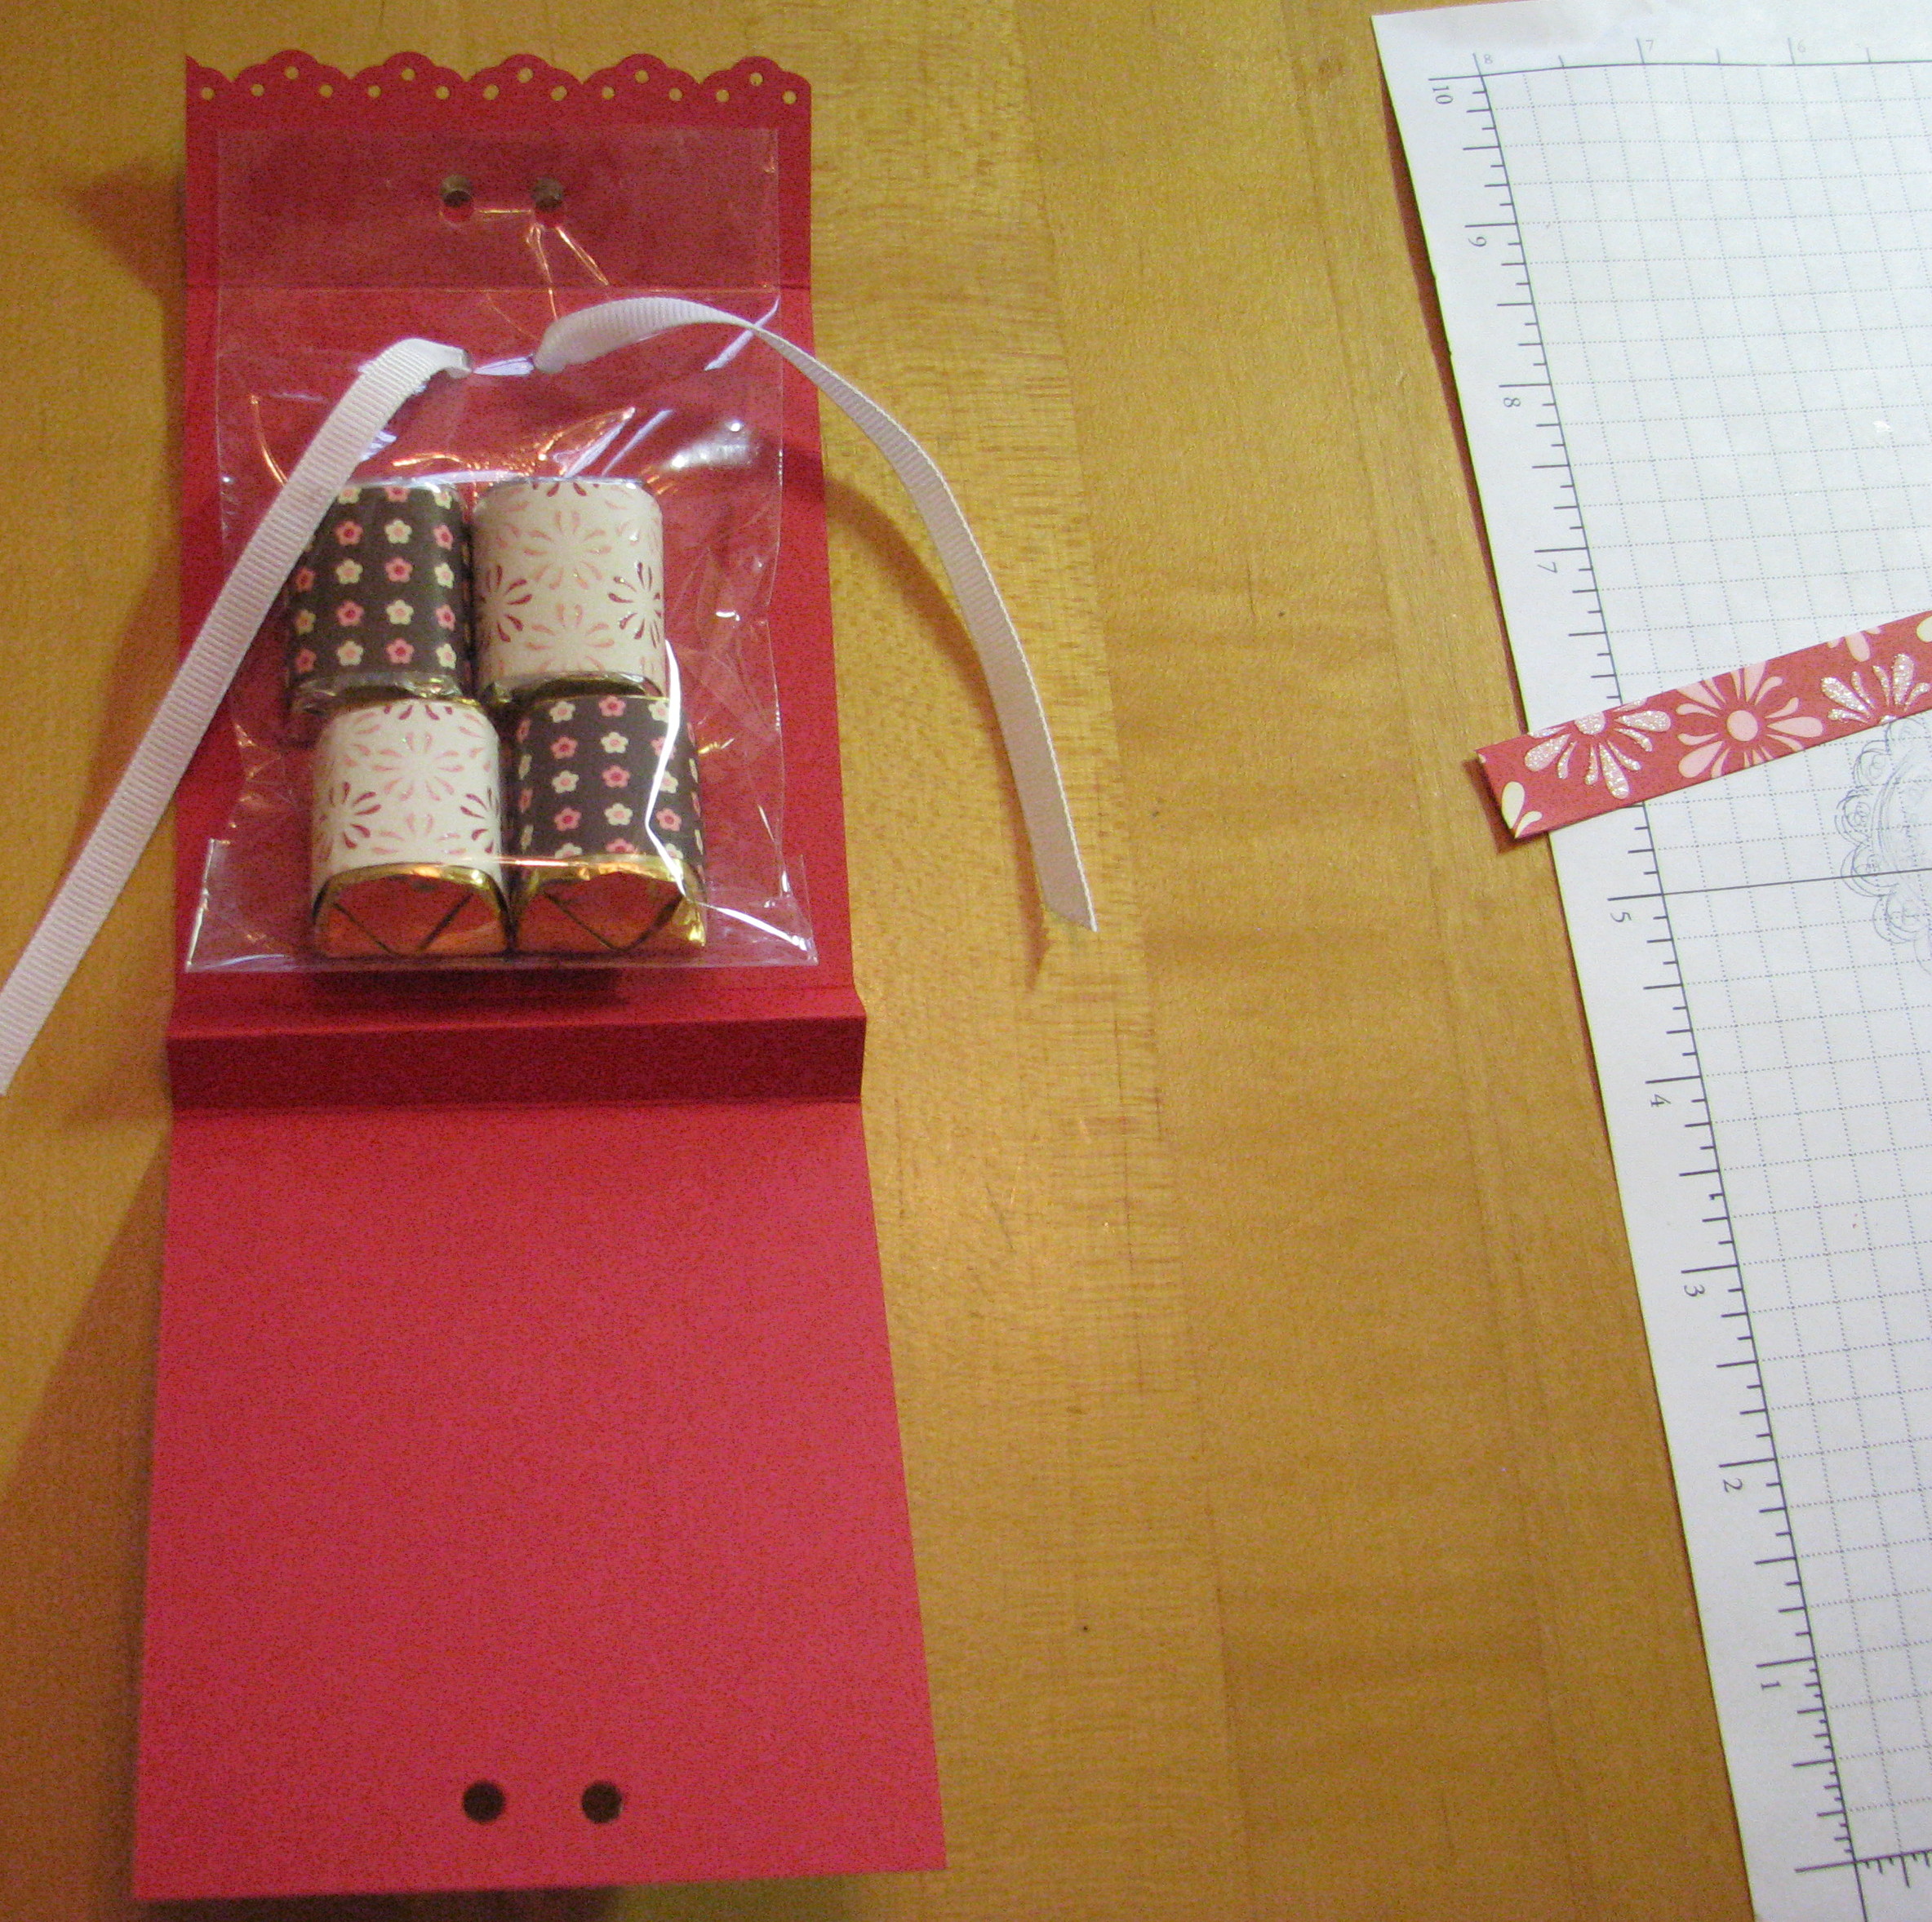
Splitcoaststampers puts out a tutorial every week and this treat bag cover was from last week.  It's very easy and you could vary the dimensions according to whatever your own treat is.  I cut the Real Red card stock at 3 3/8" x 10 1/2" and scored at 4", 4 1/2", 5", and 9".  Then just accordion-fold what will be the base of the treat holder and fold the top flap over.  Fill your cello bag with your treat, attach with a little SNAIL to the inside, punch some holes for some ribbon to tie through if you want, decorate the front and you are done!

 TreatBag

TreatBagInside1

To decorate the front of my Treat Bag I used the I "Heart" Hearts Stamp Set in the Occasions Mini Catalog.  If you want to know you are doing some good while you are stamping, purchase this stamp set and Stampin' Up! will donate $2.00 to the American Red Cross for Haitian Relief. Already 6694 stamp sets have been sold as of a couple days ago.

Star Card for a Star!

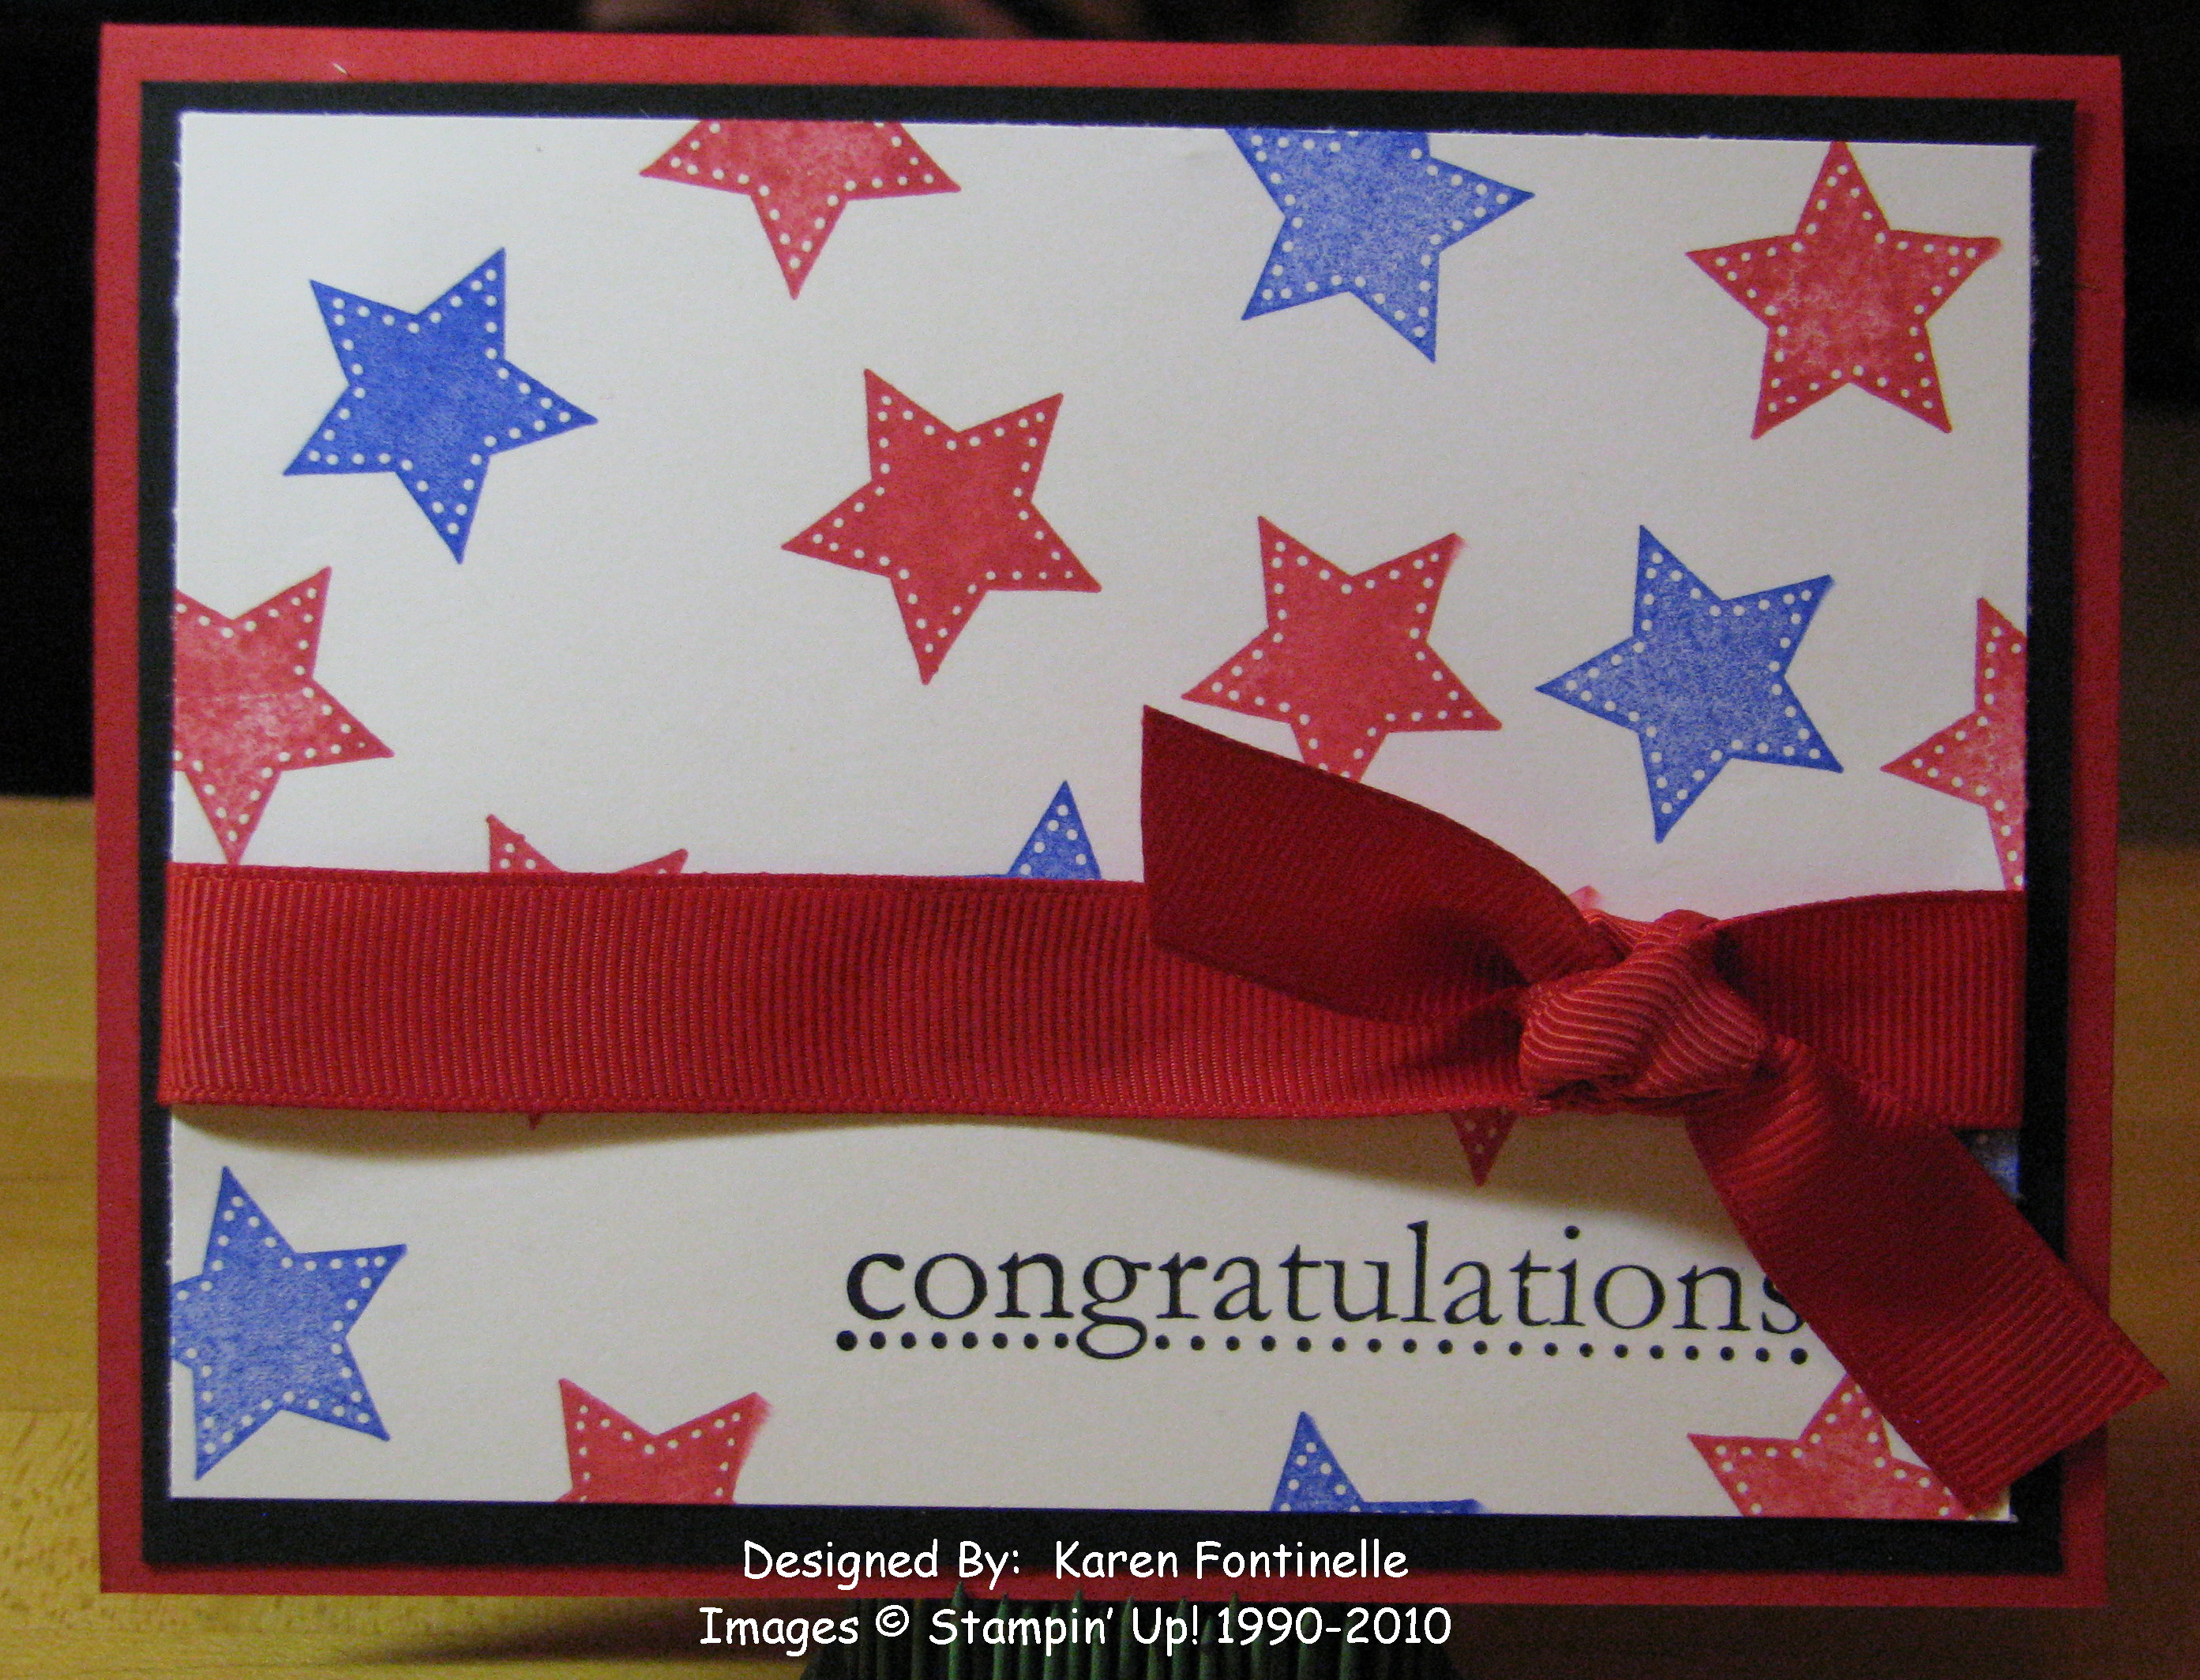
Last week my son called to say the results were posted and he had indeed passed his first level CFA (Chartered Financial Analyst) exam that he took last December in Houston!  This is a self-study, graduate level program for investment professionals with three levels of exams, and if you do take and pass all three exams and meet the other professional and ethical requirements you will have earned for yourself quite a credential in the investment field.  There is an enormous amount of study required, on your own, for each exam, so it is quite a commitment and we were hoping all the time he had put in had paid off for him.  The results say that 34% of the 44,000+ candidates worldwide who took the test successfully passed it.  Of course, I thought, at a minimum, he deserved a special card of congratulations!

Star Card Congratulations 

StarCard3 

Star Card 

Star Card inside 

Now in Houston if you have an important event coming up, you have to hope that we don't have heavy rains which make the streets flood and become impassable at times….unless it is hurricane season….but flooded streets are much more likely.  As luck would have it, though, we had SNOW!  

Snow 

Snow in Houston 

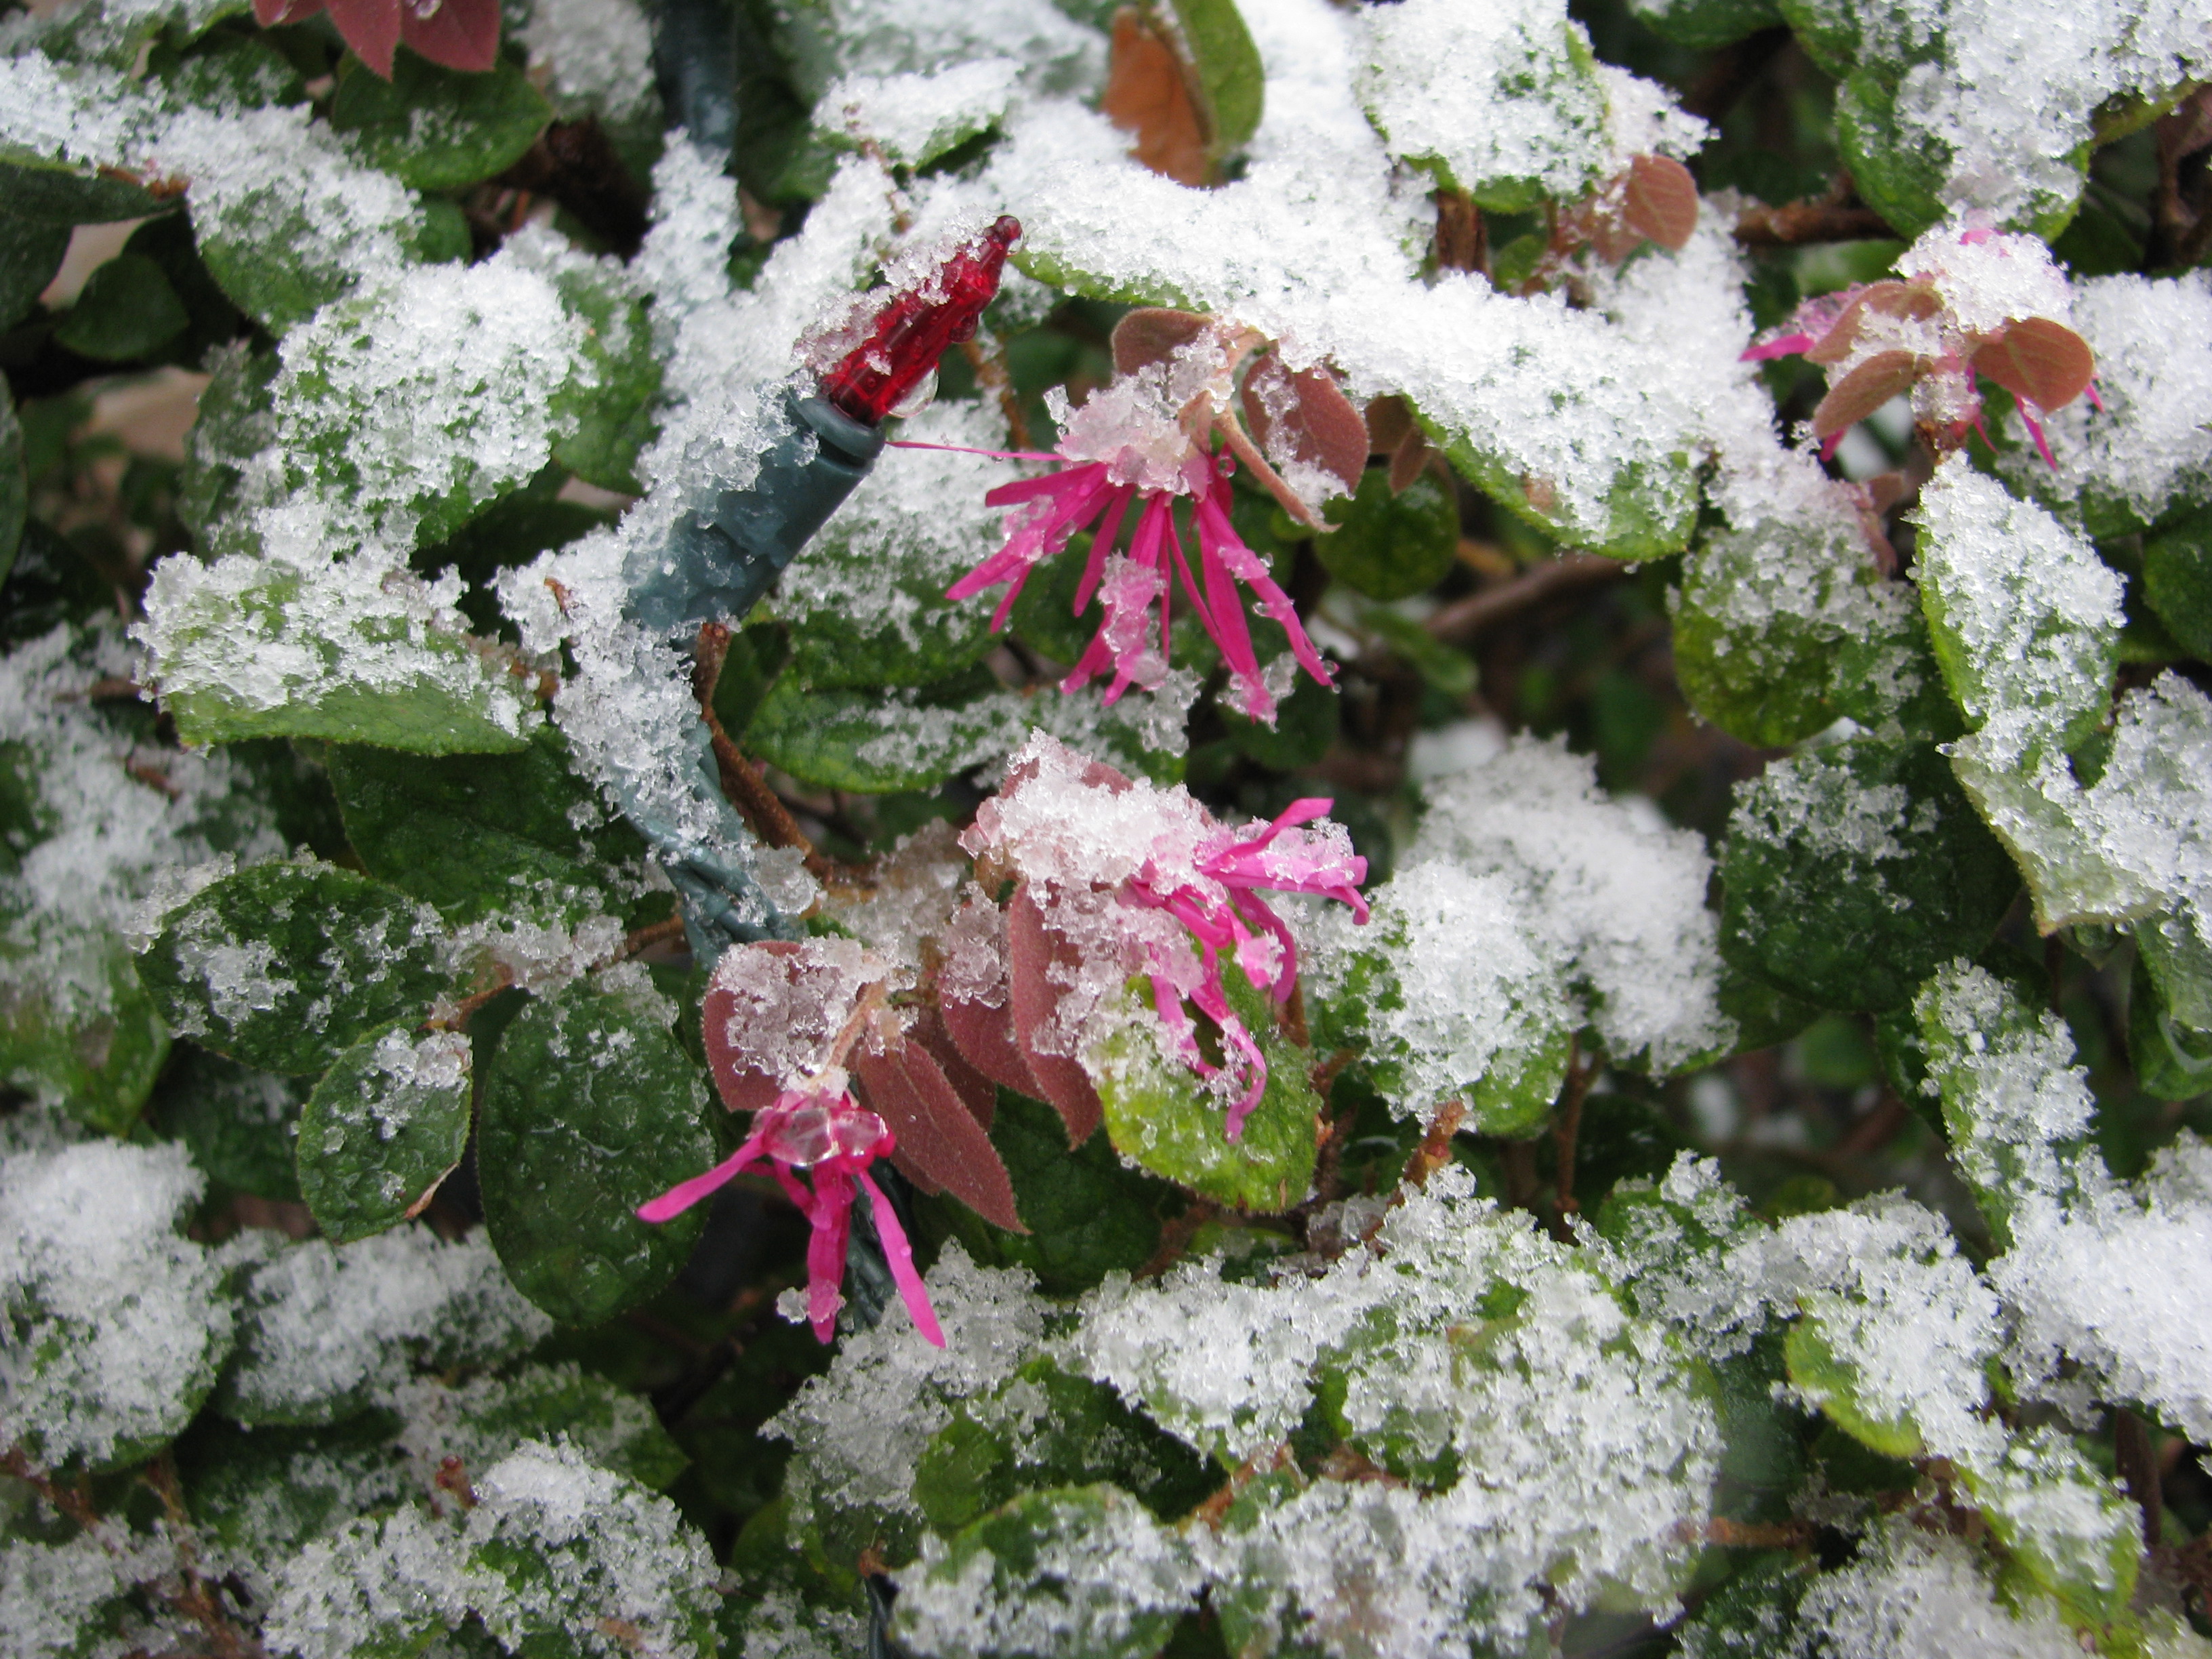
The day before the exam it snowed like crazy, beautiful and fun!  It was great to have him home to share the excitement with (during his study breaks!).  But who would have thought the day of the exam we would have to worry about ice on the roads in Houston, TX?!!  We offered to drive him downtown so he wouldn't get lost or have to worry about parking, etc. since this test was SUCH A BIG DEAL!  We were lucky because we had no trouble, although we saw some accidents from icy spots going the opposite way.  Who would have thought!

Snow in Houston on bushes 


Valentine Pencil Bug

Last Saturday I had the pleasure of stamping with a troop of ten Girl Scouts, ages 7-8 and this was one of the projects we did!  I'd seen these around on the internet and thought they were so cute!  The one I first saw was made by another demo, Janet Wakeland.  

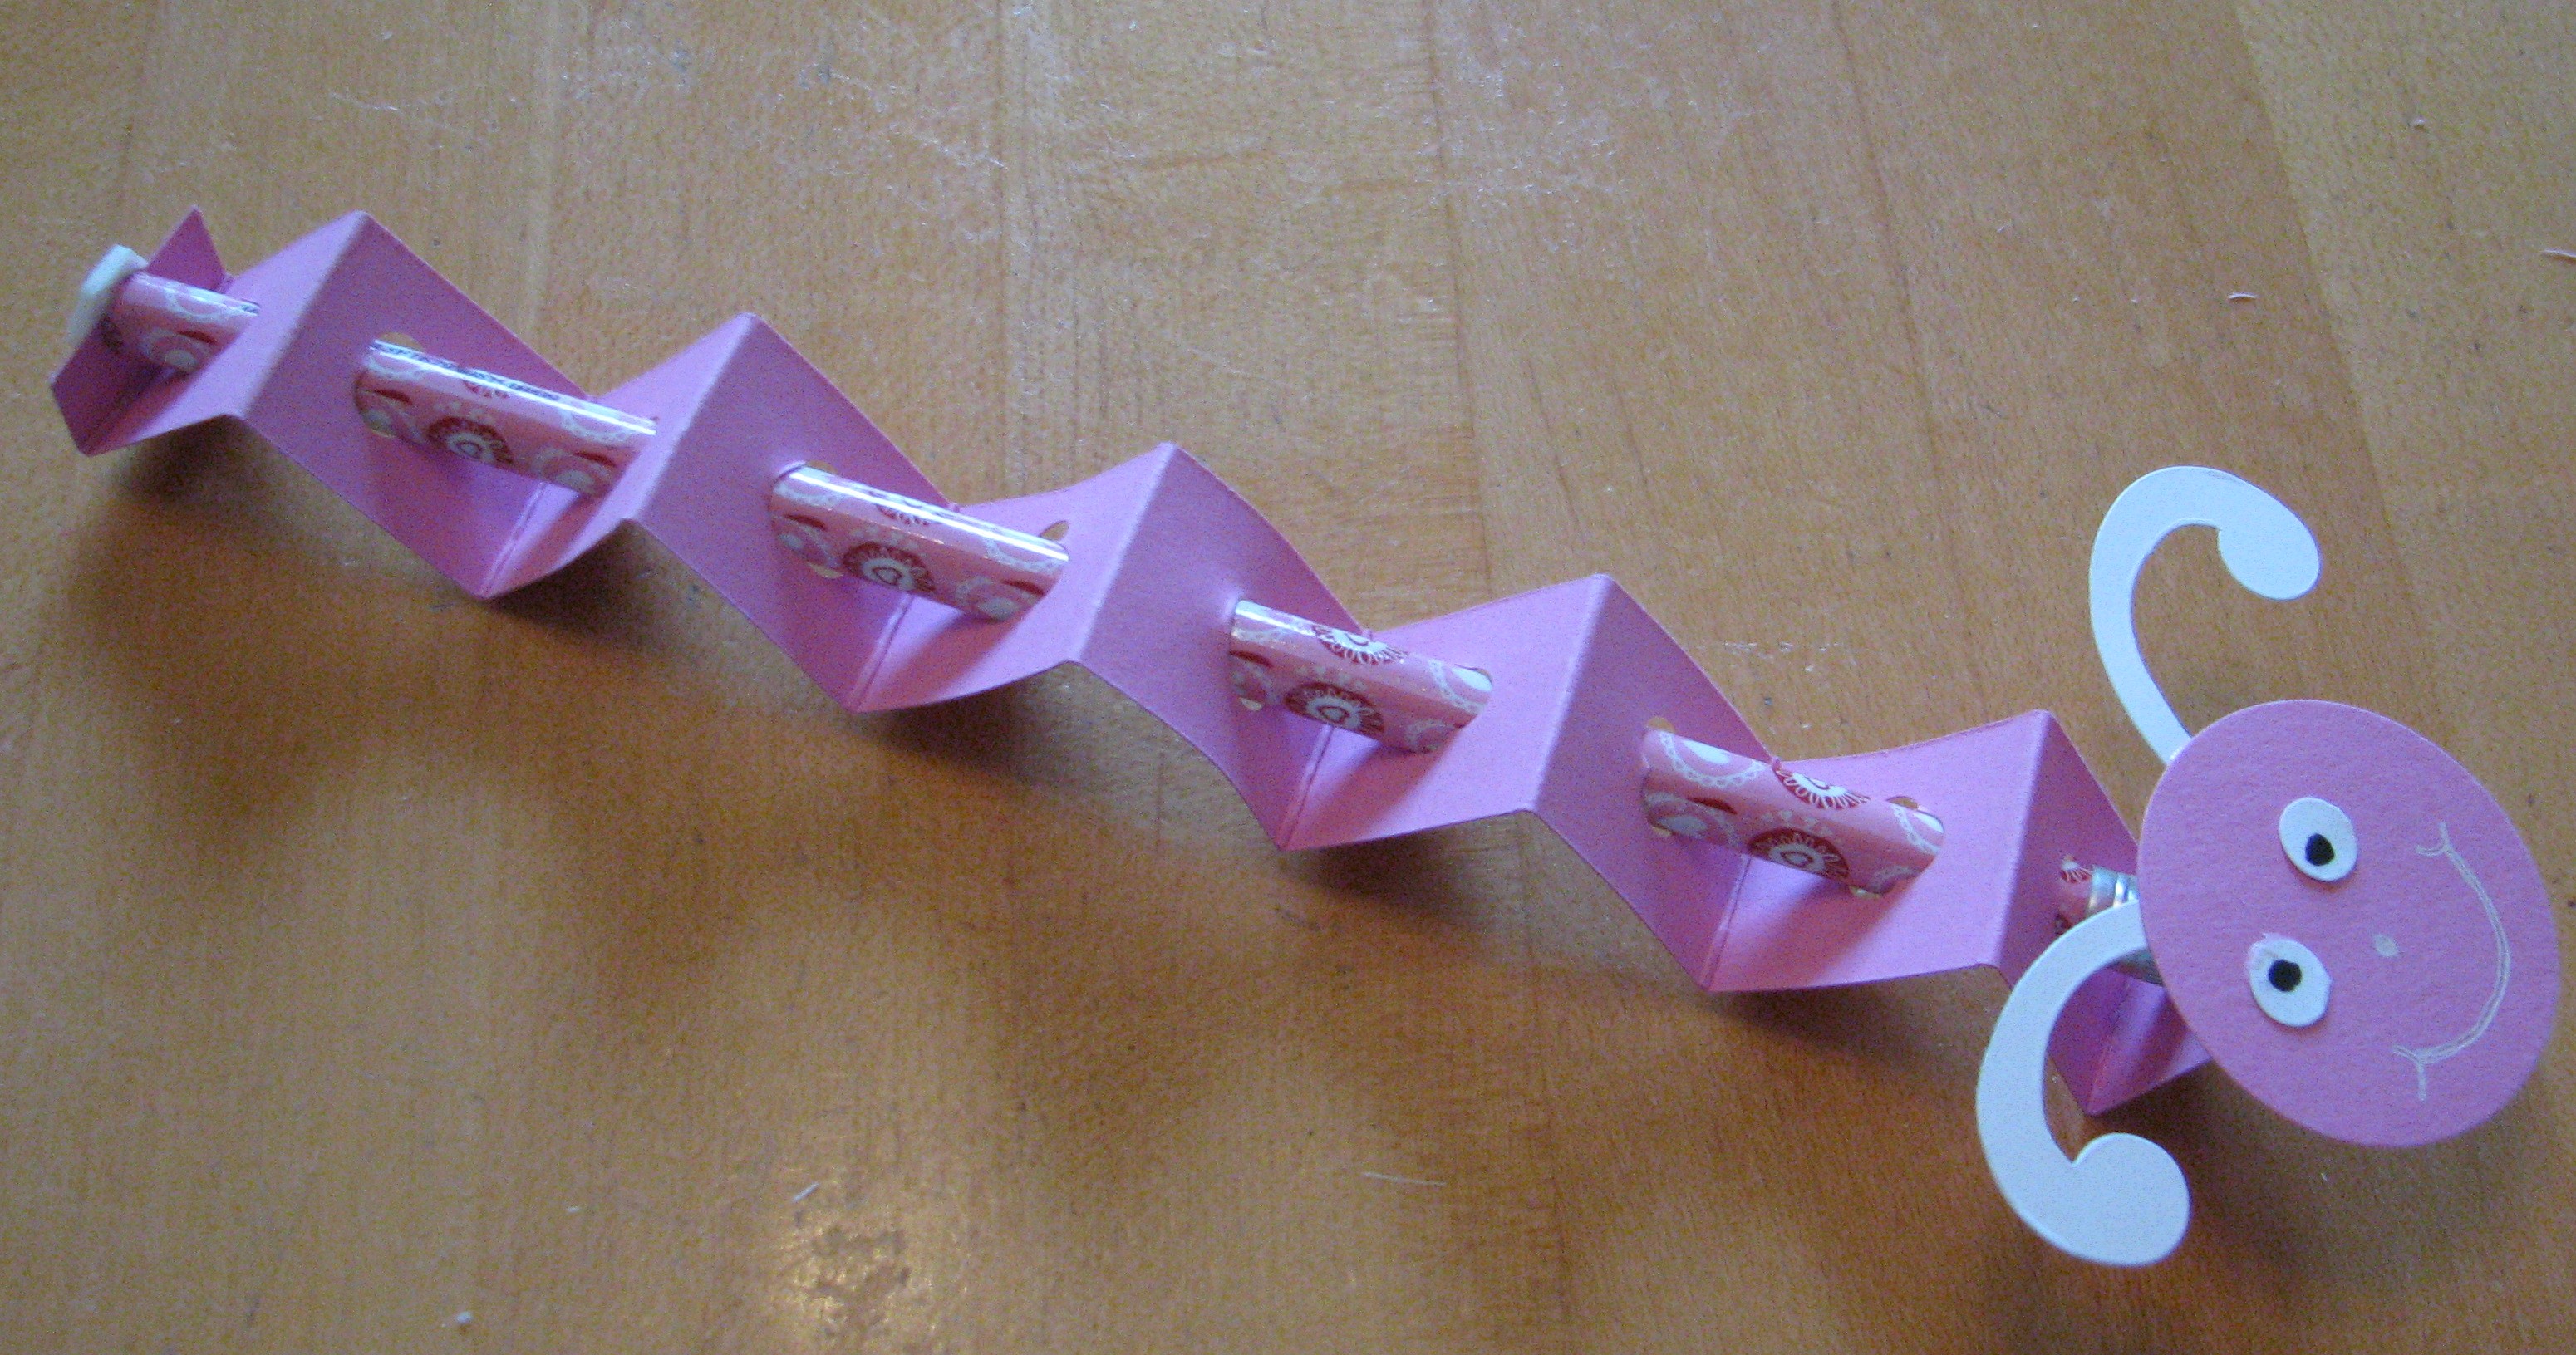
These Valentine Pencil Bugs/Caterpillar?? are so easy to make!  Just take a 12" strip of card stock or designer paper, score at 1/2" at the beginning and end, and every inch in between.  You will them punch a hole in the center of each inch space along the strip.  Now no hole punch I had was big enough to fit a pencil through so I punched several times to make the holes larger.  The strip looked pretty messy when I got finished, but once you shove the pencil through, the messy punches don't show!  Perhaps the new Small Heart Punch would work, but the hearts would be sideways unless you could accordion-fold and then punch two layers at a time.  I can't FIND my heart punch at the moment so I can't try it to be sure!  After punching the the holes, accordion-fold on all the score lines and insert the pencil (or you could use a Pixie Stix!)  To make the head, just punch a 1 3/8" circle and make a face however you like….you could use wiggly eyes.  The antennae were made from various swirls from the Tulipe Die for the Big Shot.  Just adhere the head to the 1/2" section at one end of the paper strip.

ValCaterpillar


Mini Milk Carton Birdhouse

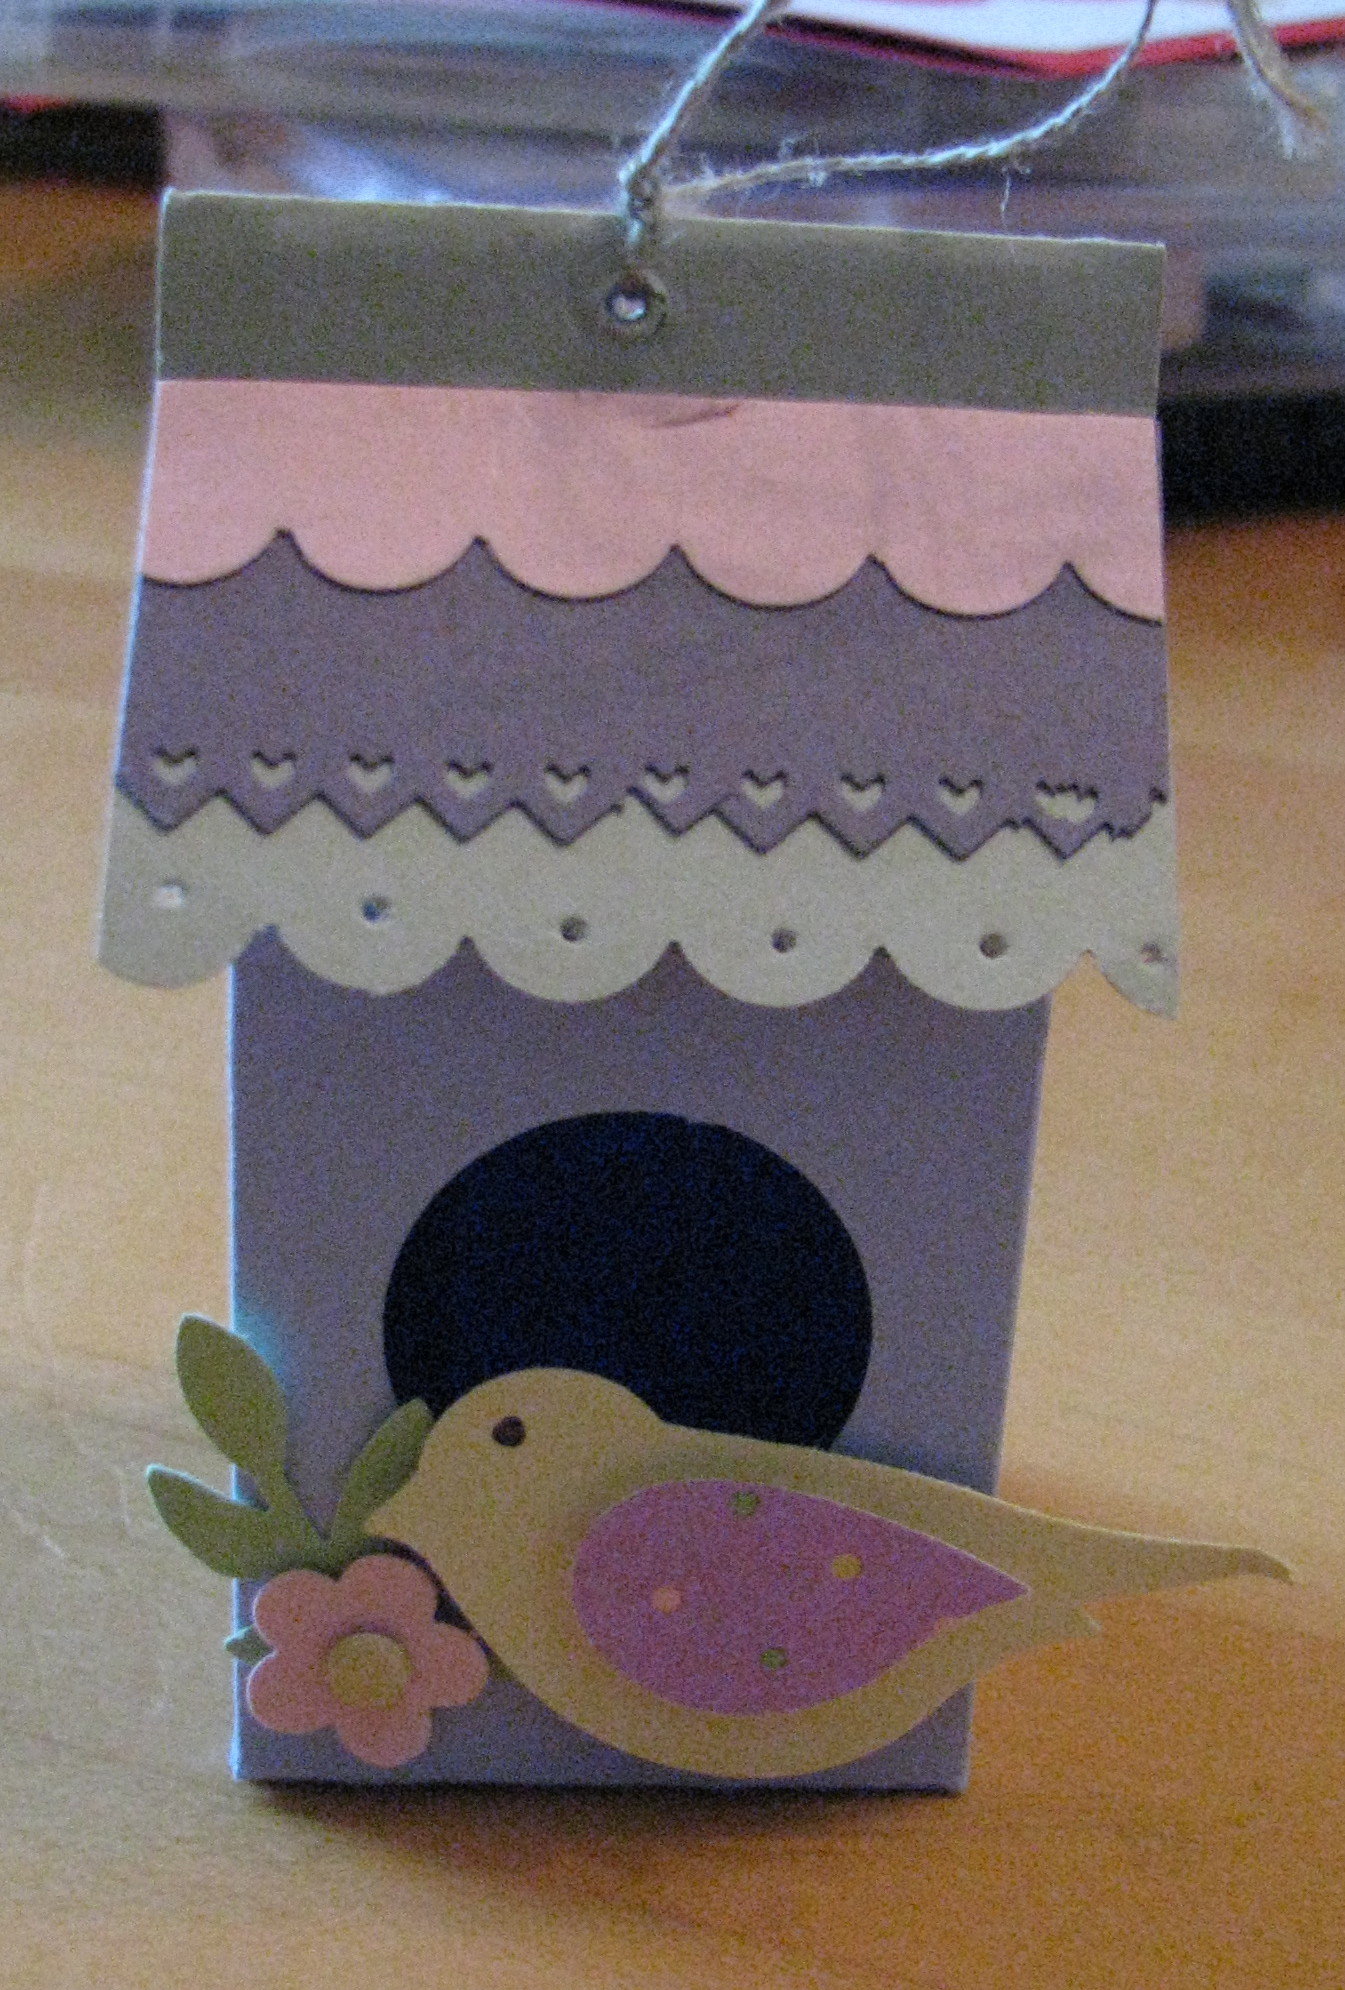
Here is my first attempt at a little birdhouse made from the Mini Milk Carton Die (#117310) for the Big Shot.  It was so fun to make and there's lots of room for creativity!  I punched the hole with the 1" Circle Punch (#109046), the bird and branch with the new Extra-Large Two-Step Bird Punch (#117191), and the little flower with the Trio Flower Punch (#109183).  For the roof you can use any of the new border punches in the Occasions Mini or the Scallop Edge Punch…..or leave it plain.  Try it, you'll love making one!


 Birdhouse1 


Red Mini Milk Carton

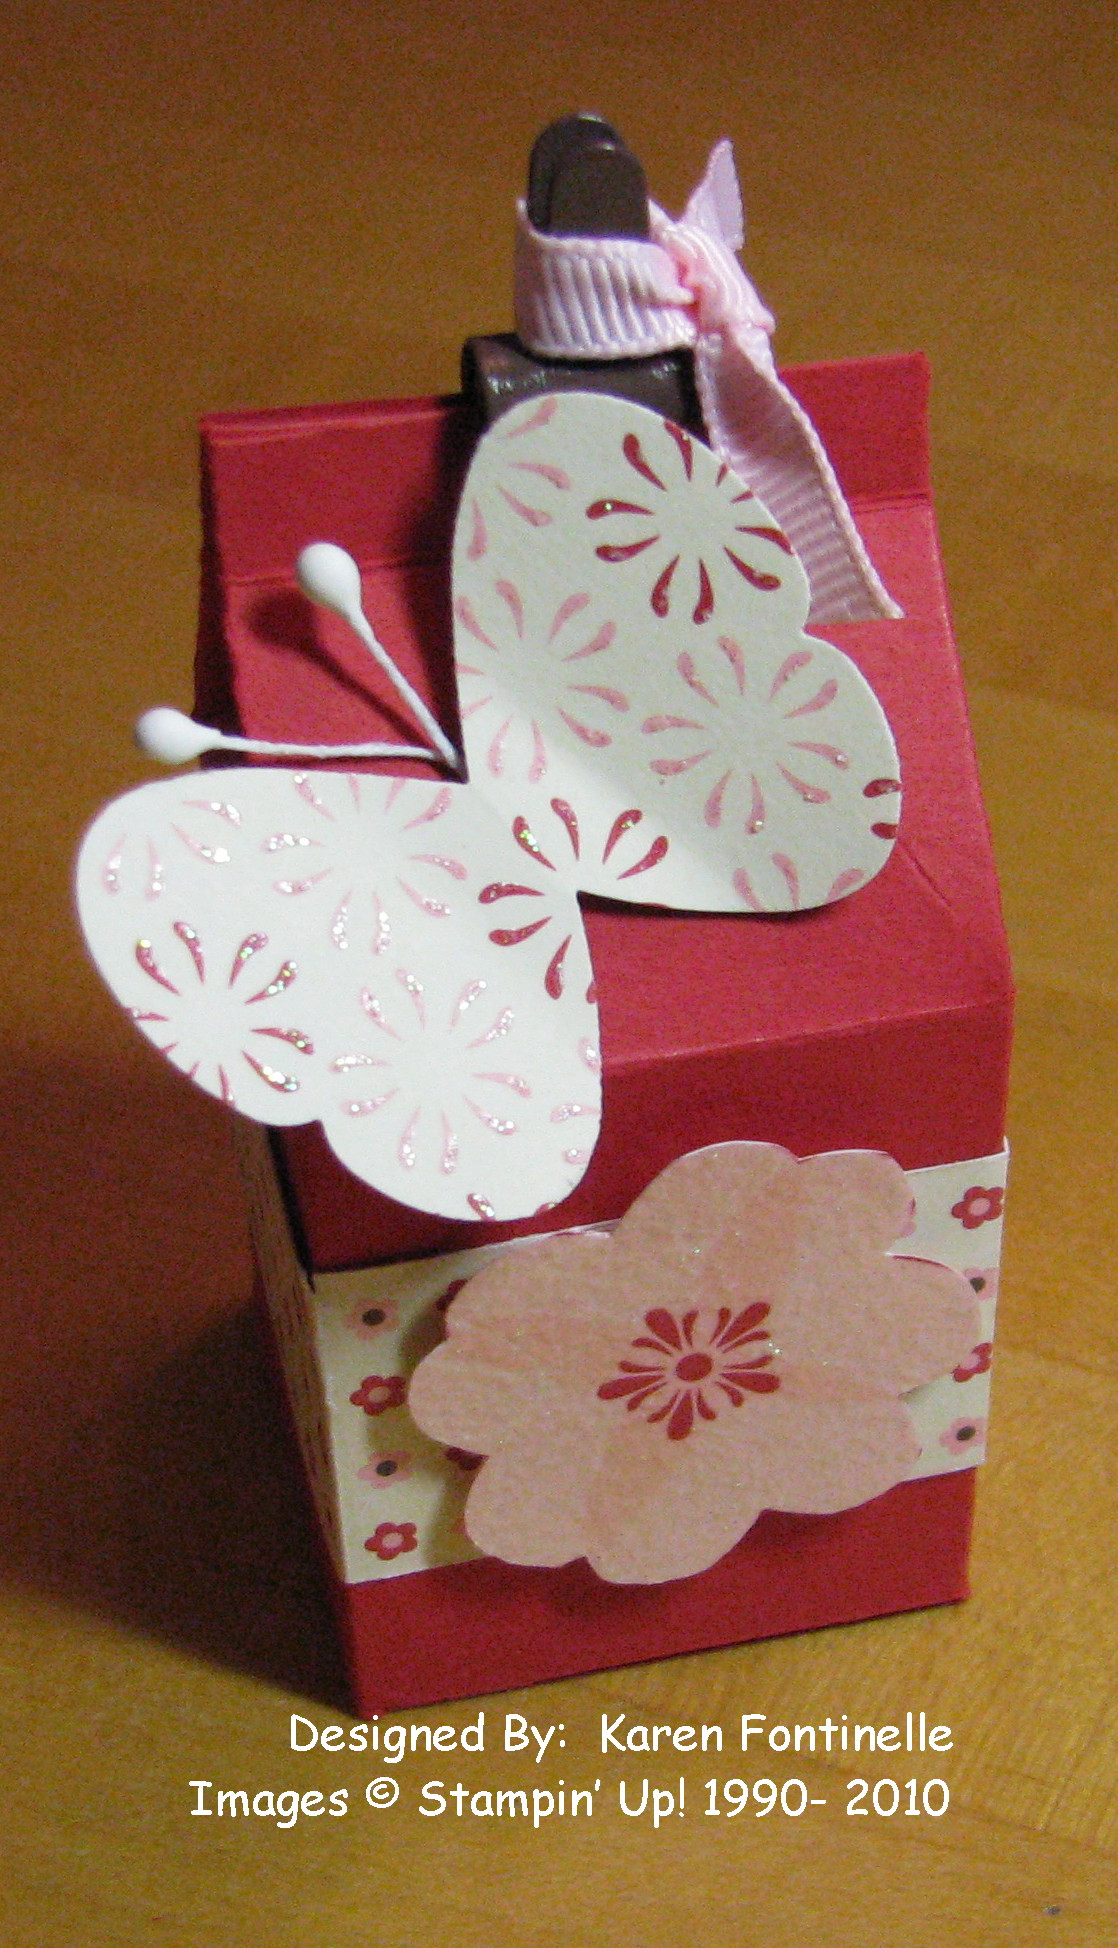
Here's the first mini milk carton I made.  So cute for Valentine's Day in red or any time!  You can add any kind of decorations to them that you like!  I used the beautiful Sending Love Specialty Designer Series Paper, the Butterfly Punch, some flower stems from the Pretties Kit for its antennae and a Library Clip to hold the box closed.  Check out the Mini Milk Carton Die (#117310) in the Occasions Mini Catalog!

MilkCarton