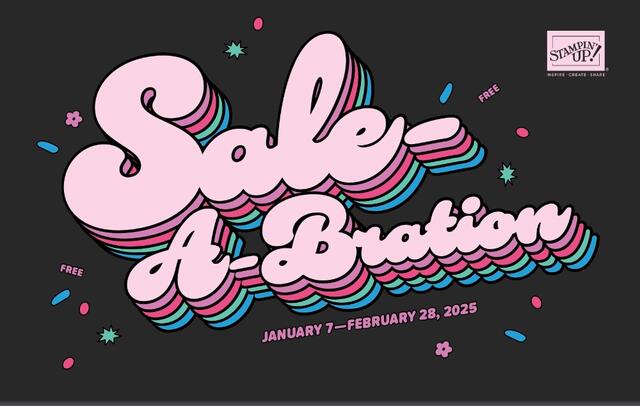
Stampin’ Up!’s biggest annual promotion, Sale-A-Bration, has already begun so don’t delay! This special promotion has been going on for years and yet it is always fun to earn FREE products from Stampin’ Up! With every $60 you spend at Stampin’ Up! on any products (before shipping and tax) you can choose a FREE product in the special Sale-A-Bration brochure! You can choose from stamp sets, designer series paper, embellishments, an embossing folder, and even a card kit! If you spend a larger amount, for $120 you can choose from the Heart Shaped Bundle or the intriguing Corner In Bloom Stamp Set. Or instead of one of the $120 level products, you can choose two of the $60 level products. Spend $180 on Stampin’ Up! products and earn three free $60 level products, PLUS Stampin’ Rewards because your order is $150 or over. With an order of $300 (a party order with others or an individual order) you can choose any extra $30 worth of products!
Watch this video below and see what Sale-A-Bration has to offer!
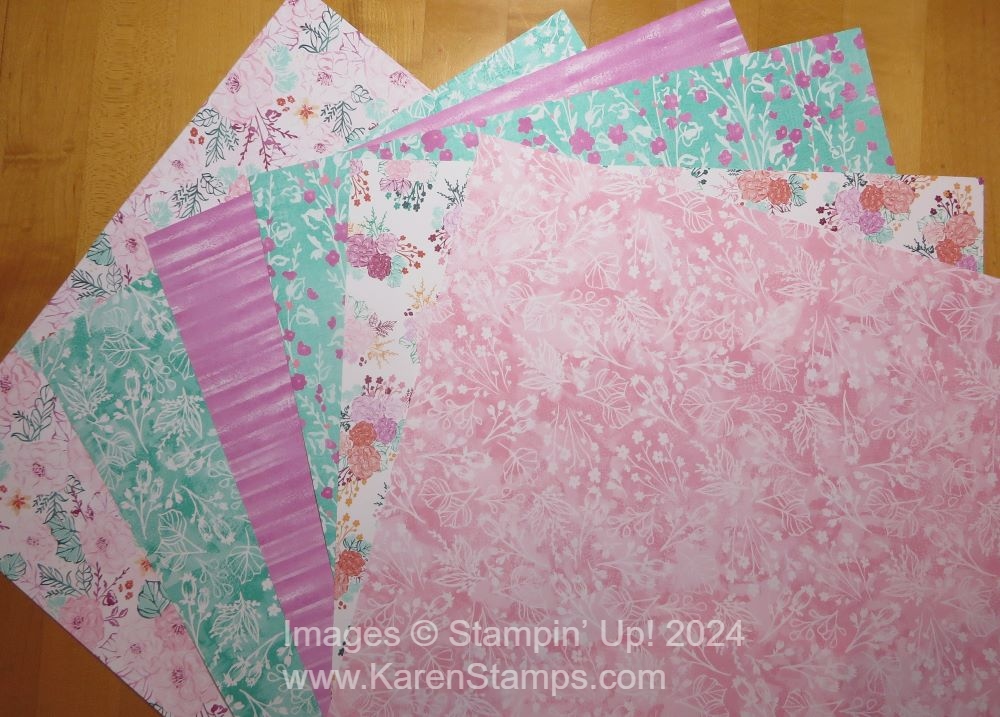
And if you’d like a closer look at the designer paper and sample projects, enjoy this video!
To see what is available when you spend $60 or more at Stampin’ Up!, CLICK HERE!
To see what is available when you spend $120 or more at Stampin’ Up!, CLICK HERE!
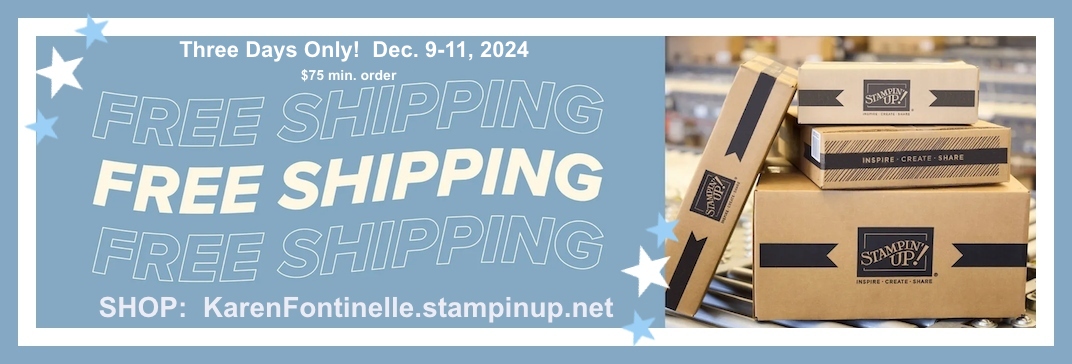
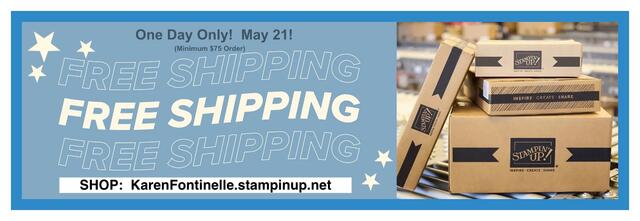
From December 9–11, you can shop and save on all qualifying orders of $75 or more. What a great way to stock up on all your favorite products from the catalog, Last Chance Products List, Online Exclusives, kits, and more!
Free shipping is for three days only so don’t delay!
Due to the high volume of orders and the Christmas season, the distribution center may fall behind their typical shipping timeframes. They will do all they can to return to the regular service levels as quickly as possible.
Please know that any orders placed during this promotion are not guaranteed to arrive before or by December 25.
Don’t buy anything over the weekend! (Unless you’re in a hurry!)
Surprise! It’s time for FREE SHIPPING!
From December 9–11, you can shop and save on all qualifying orders of $75 or more. What a great way to stock up on all your favorite products from the catalog, Last Chance Products List, Online Exclusives, kits, and more!
Free shipping is for three days only so don’t delay!
Due to the high volume of orders and the Christmas season, the distribution center may fall behind their typical shipping timeframes. They will do all they can to return to the regular service levels as quickly as possible.
Please know that any orders placed during this promotion are not guaranteed to arrive before or by December 25.
If you need an order by Christmas, order as early as possible or consider expedited shipping.
DETAILS
Free shipping is for three days only. Orders must be opened and closed during December 9–11.
Free shipping automatically applies to your cart after the qualifying amount has been met, which is $75 USD (before tax).
Coupon codes and product credits are non-commissionable and will lower your order’s retail amount. Orders must meet the qualifying amount to be eligible for free shipping.
The additional cost for expedited shipping is not covered by this promotion.
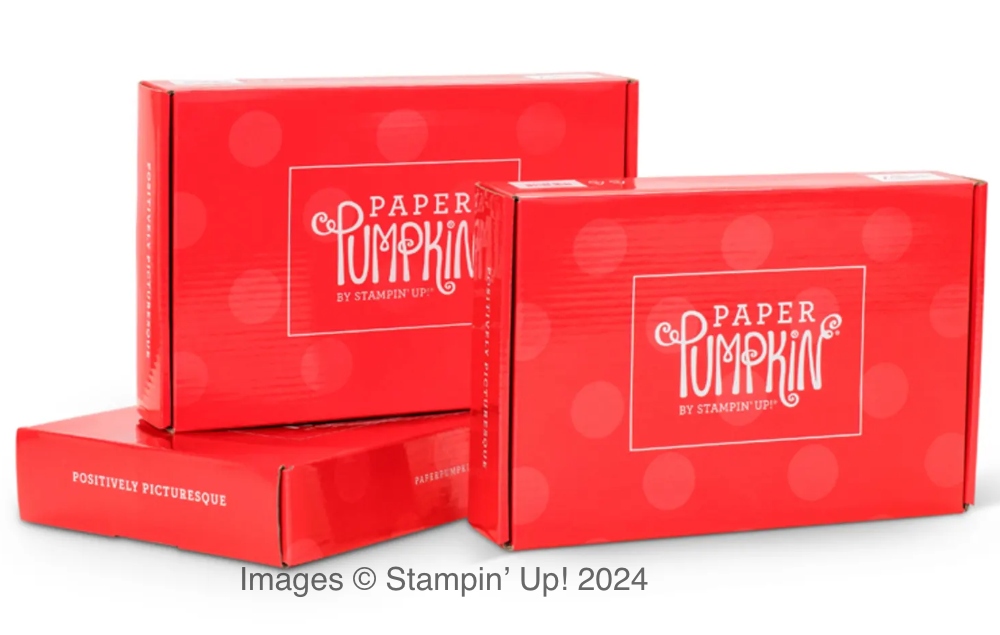
Prepaid 3-, 6-, or 12-month Paper Pumpkin subscriptions can contribute to the qualifying amount for free shipping (Month-to-month subscriptions do not qualify). Subscriptions billed and shipped this month will be charged for the normal amount ($24.50 USD shipping included) + tax .
Let me know if you have any questions! Don’t forget the Last Chance List!
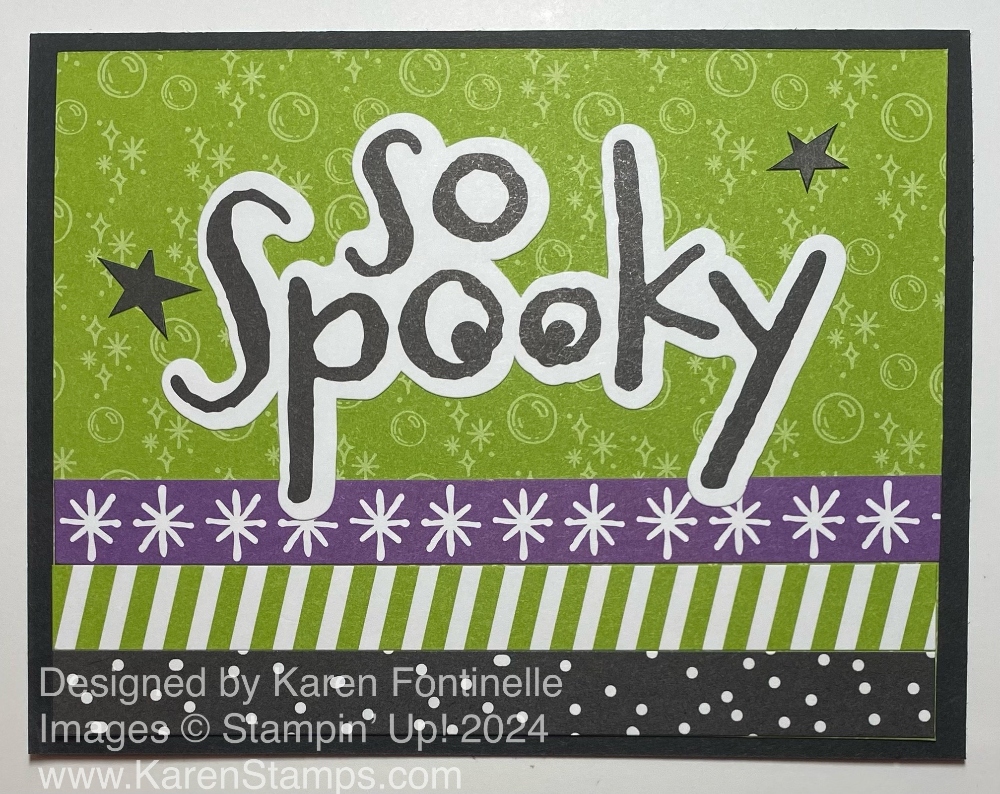
Halloween is really getting close now! Here’s a quick and easy card to make, the Halloween Memories So Spooky Sticker Card. Even if you don’t have these exact materials, you can make something similar with whatever you have!
This card is made with the Halloween Memories Scrapbooking Workshop Kit. It is great for scrapbooking and even comes with layouts and detailed instructions if you want to follow their design. But you can also use the paper and stickers for making cards, treats, and other projects. If you don’t have this kit with the sticker sheet, you can substitute other paper or stamping. The kit includes the Halloween Spells Designer Series Paper that you can order online but is not in a catalog.
This card starts with a Basic Black card base but you could use any other Halloween color. The background is a pattern in the Halloween Spells DSP that has little bubbles from the potion. The three stripes at the bottom of the card are stickers in the Workshop Kit but you could use the striped paper pattern in the Halloween Spells to put across there or just some other coordinating designer paper or stamped strip.
The So Spooky on the card is a large sticker in the kit. That sure makes it easy! Even the two black stars are stickers. If you don’t have the kit, just stamp some Halloween greeting on cardstock and adhere it, maybe add some spooky, glittery gems….which could be anything! Maybe some Googly Eyes if you have some.
This is one of those cards that I liked a lot when I finished it even though it took barely any planning or time at all! It was super simple!
Today is the day for the start of the 3-Day Stamp Sale at Stampin’ Up! Don’t miss out on this opportunity to purchase any of the stamp sets in the Annual Catalog at 15% off! Check out the stamp sets that were brand new in this catalog in May plus the “Encore” stamp sets carried over from previous catalogs. You know you want them all!
Act fast—this stamp-tacular sale only lasts for 3 days!
SALE DETAILS
This stamp sale only happens once a year!
The sale will run for three days. October 7, 8, and 9th. Monday, Tuesday, and Wednesday!
The 15% off discount will apply to all stamp sets (photopolymer and cling) from the 2024–2025 Annual Catalog.
Bundles are not included in this sale.
Stamp sets are available while supplies last.
SHOP the big choice of stamps Stampin’ Up! offers! This is the time to get the ones you have missed out on before!
If you need any suggestions, here are some of my favorite stamp sets that I own and some that I think have been pretty popular. You can click on any image below and add it to your Cart in the Online Store. You can also shop for anything else from Stampin’ Up!
It’s the Last Days for the Designer Series Paper Sale at Stampin’ Up! One of the (many) best things about Stampin’ Up! products is their designer series paper! So when you can get select papers from the Stampin’ Up! Annual Catalog at a 15% discount, it’s time to stock up on your favorites or try out some new papers that you have been wanting to purchase.
Some papers are 12″ x 12″ and some are 6″ x 6″. There’s a very nice variety to choose from! In fact, it isn’t easy to choose, unless you want them ALL! Stampin’ Up! papers coordinate nicely with our colors, one of Stampin’ Up!’s strengths. I always suggest writing the list of coordinating colors of the paper on the back cardboard in the package. They are printed there in teeny tiny print (unless you are 20 years of age and can still see everything perfectly!), so I take a Sharpie and write them on the side in bigger lettering that I can read! It’s very handy!
As I write this, the Country Woods Designer Series Paper is unavailable. It will be back in stock soon but it will be after the sale, as far as I know now. The Thoughtful Journey 6″ x 6″ DSP is “Low Inventory” so if you want that, be sure to order soon!
The Stampin’ Up! Designer Series Paper Sale Begins Today!
Choose from select Designer Series Papers in the Stampin’ Up! Annual Catalog and save 15% during the month of August! Sale begins today so start a new Cart to get the sale prices. Some papers are 12″ x 12″ and some are 6″ x 6″. There’s a very nice variety to choose from! In fact, it is difficult to choose, unless you want them ALL!
Watch the video below to get a view of the papers, then SHOP HERE!
Additional Details
Specialty paper, cardstock assortments, Designer Series Paper stacks, and paper not yet live is not included in the sale.
You must open and close the order during the allotted dates to receive the discount. (Don’t start your Cart early!)
There are NO limits on ordering. However, the products are only available while supplies last.
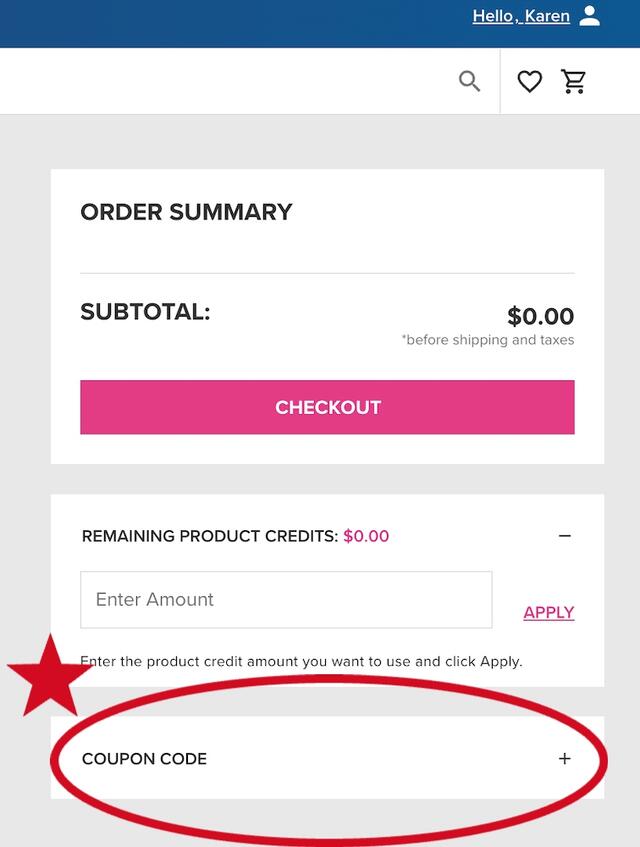
It’s time to redeem all of the Bonus Coupons you earned with your order or orders during July! Find the email(s) you received from Stampin’ Up! and copy the code in your email, then Paste in the Coupon Code box.
During the month of August, you can redeem your coupon codes when you order!
Redemption Period: August 1–31, 2024
Bonus Days coupon codes can be applied to new prepaid Paper Pumpkin subscriptions.
There is no limit to the number of coupon codes you can redeem on an order during the redemption period. If using multiple codes, they must be separated by a space.
Coupon codes may be redeemed one time only. They cannot be redeemed after August 31.
Coupon codes may be redeemed for any product (excluding Starter Kits).
When you place your order in August, you will find the Coupon Code box in the Checkout area, below that pink Checkout bar. In the photo, I added a red star and oval circling the Coupon Code area. Click on the + sign and the box will open for you to type or paste your coupon code(s). You can use all of them on one order or spread them out as long as you know you will order again during August. Whatever you like!
Have fun shopping! (But wait until Tuesday, August 6! Select designer papers will be discounted!)
Several new things are coming tomorrow, July 3rd at Stampin’ Up! I don’t have links today, you will have to check back tomorrow on my blog post when everything is LIVE!
New Online Exclusives!! Including Christmas and Halloween, believe it or not! This banner does not show everything at all. Your best bet will be to look in the Online Store tomorrow under Online Exclusives.
BONUS DAYS! Spend $50 and get a $5 coupon in your email right after you order (check your spam folder if you don’t get it or call Stampin’ Up!). Use the coupon or coupons you earn in August! Just save those emails or record the coupon code. Probably a good idea to do both!
NEW KITS COLLECTION KITS!! (No photos yet!)
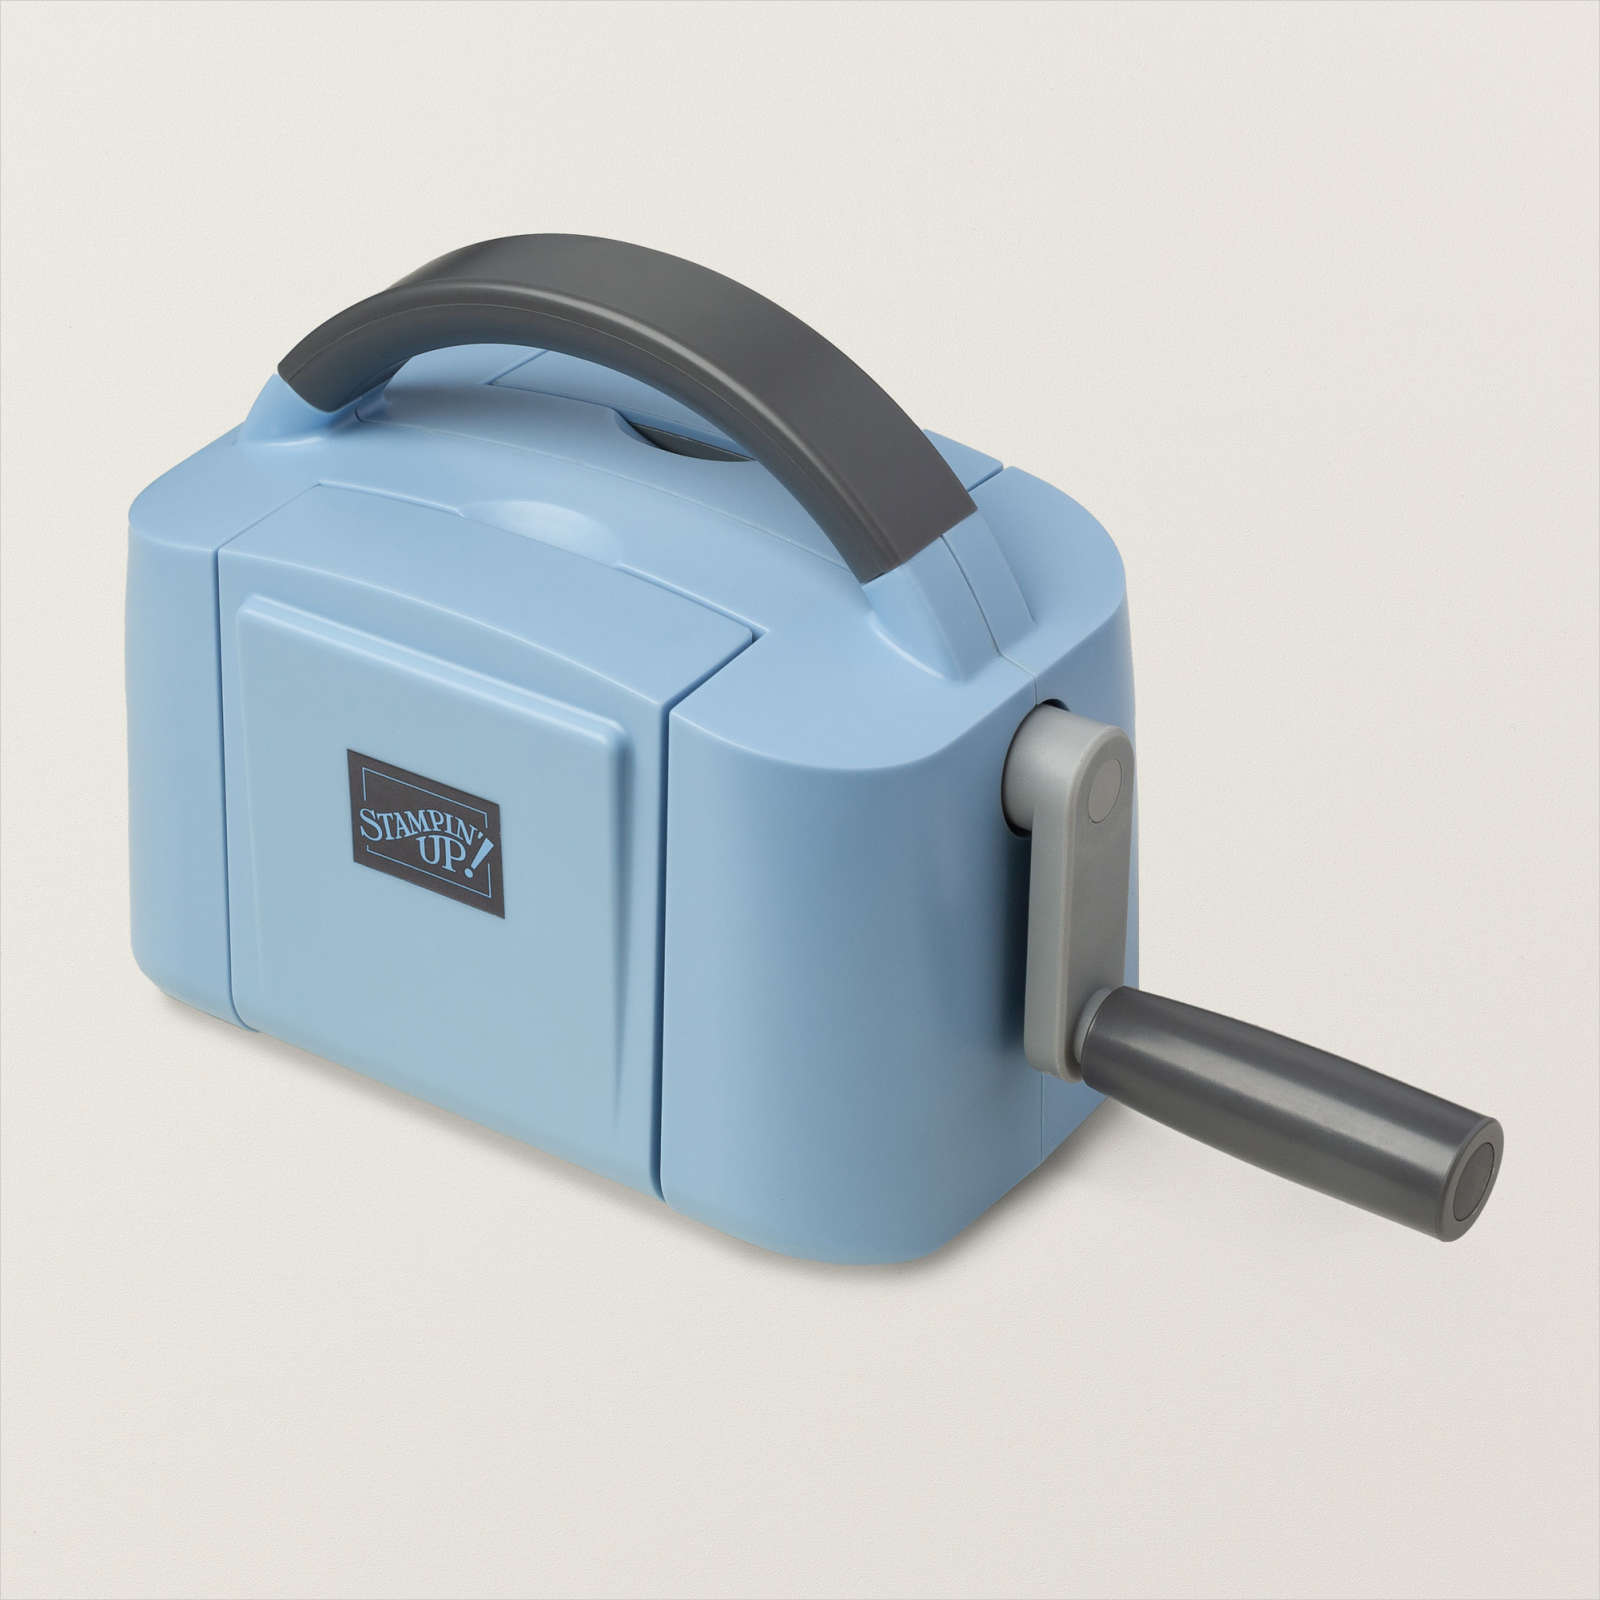
GLASS MAT AVAILABLE!! ( It was previously available in a limited way during Sale-A-Bration, but now available for everyone!)
I don’t know about you, but I can’t believe it is the last day of June! Where did the month go? At least it’s almost the 4th of July, which I love because we get to see fireworks! But if you want to save on purchasing some new Bundles at Stampin’ Up!, today, June 30th, is the last day of the Stampin’ Up! Bundle Sale. Don’t miss out!
DETAILS:LAST DAY! Sunday, June 30th!
Get an additional 10% discount on stamp and die bundles only (that’s a total of 20% discount on stamp and die bundles!). ***This excludes suite collections, stamp and punch bundles, bundles not yet released to customers, and any other bundles.
Yesterday afternoon we finally got the tropical rain in Houston that they had been predicting since Monday from the storm in the Gulf of Mexico heading into Mexico. ‘Tis the season of unpredictable tropical weather of all kinds. That’s how this Playing in the Rain Rainy Day Card came about!
I started getting out some stamp sets and cardstock to make the card idea in my head when I saw the Playing In The Rain Stamp Set on the shelf. It was carried over into the new Annual Catalog! If I had remembered I had the matching dies, I might have made this card a little differently, but I like it as is. Since it was pouring down rain at the moment this seemed like the perfect stamp set to use.
I chose Smoky Slate for the card base to go along with gray clouds on a rainy day. For a layer, I chose Azure Afternoon because I have barely used that color and because it seemed like the right blue for this card. I just stamped a little rainy day scene on the card with Memento Ink on Basic White and colored in with Stampin’ Blends Markers. I made a mask of the bunny dancing in the rain puddle to cover him so I could then stamp the raindrops closer to him. If I had thought about it ahead of time, I would have stamped the whole background scene and then stamped the bunny separately and diecut him so I could pop him up on the card against the background. But either way is okay!
For coloring the clouds, I lightly colored them with Light Smoky Slate, leaving a little bit of white space on most, then added little bits of Dark Smoky Slate around some of the edges of the clouds. I thought that made it look a little stormy but not really bad. For the background, I just kind of scribbled with Pool Party and then went over some areas with Balmy Blue to give the sky some color. On the ground around the flowers, I colored in with Light Soft Sea Foam. The flowers are colored with Daffodil Delight, Melon Mambo, and a few with purple. The leaves are Granny Apple Green. The colors don’t matter. You can choose whichever ones you like.
The greeting is in the Playing In The Rain Stamp Set and is stamped with Azure Afternoon ink on Basic White. I needed to cut it out with a small die so it would fit fine on the card front. I found this one in the Unbounded Love Dies and it was the perfect size for my greeting. I popped it up with Stampin’ Dimensionals. All in all, this turned out to be a fun card to make on a rainy afternoon!
Here is another card I made back in January 2023 using the Playing in the Rain Stamp Set and the Rain Or Shine Specialty Designer Series Paper (retired). It’s a fun stamp set to use for sure!
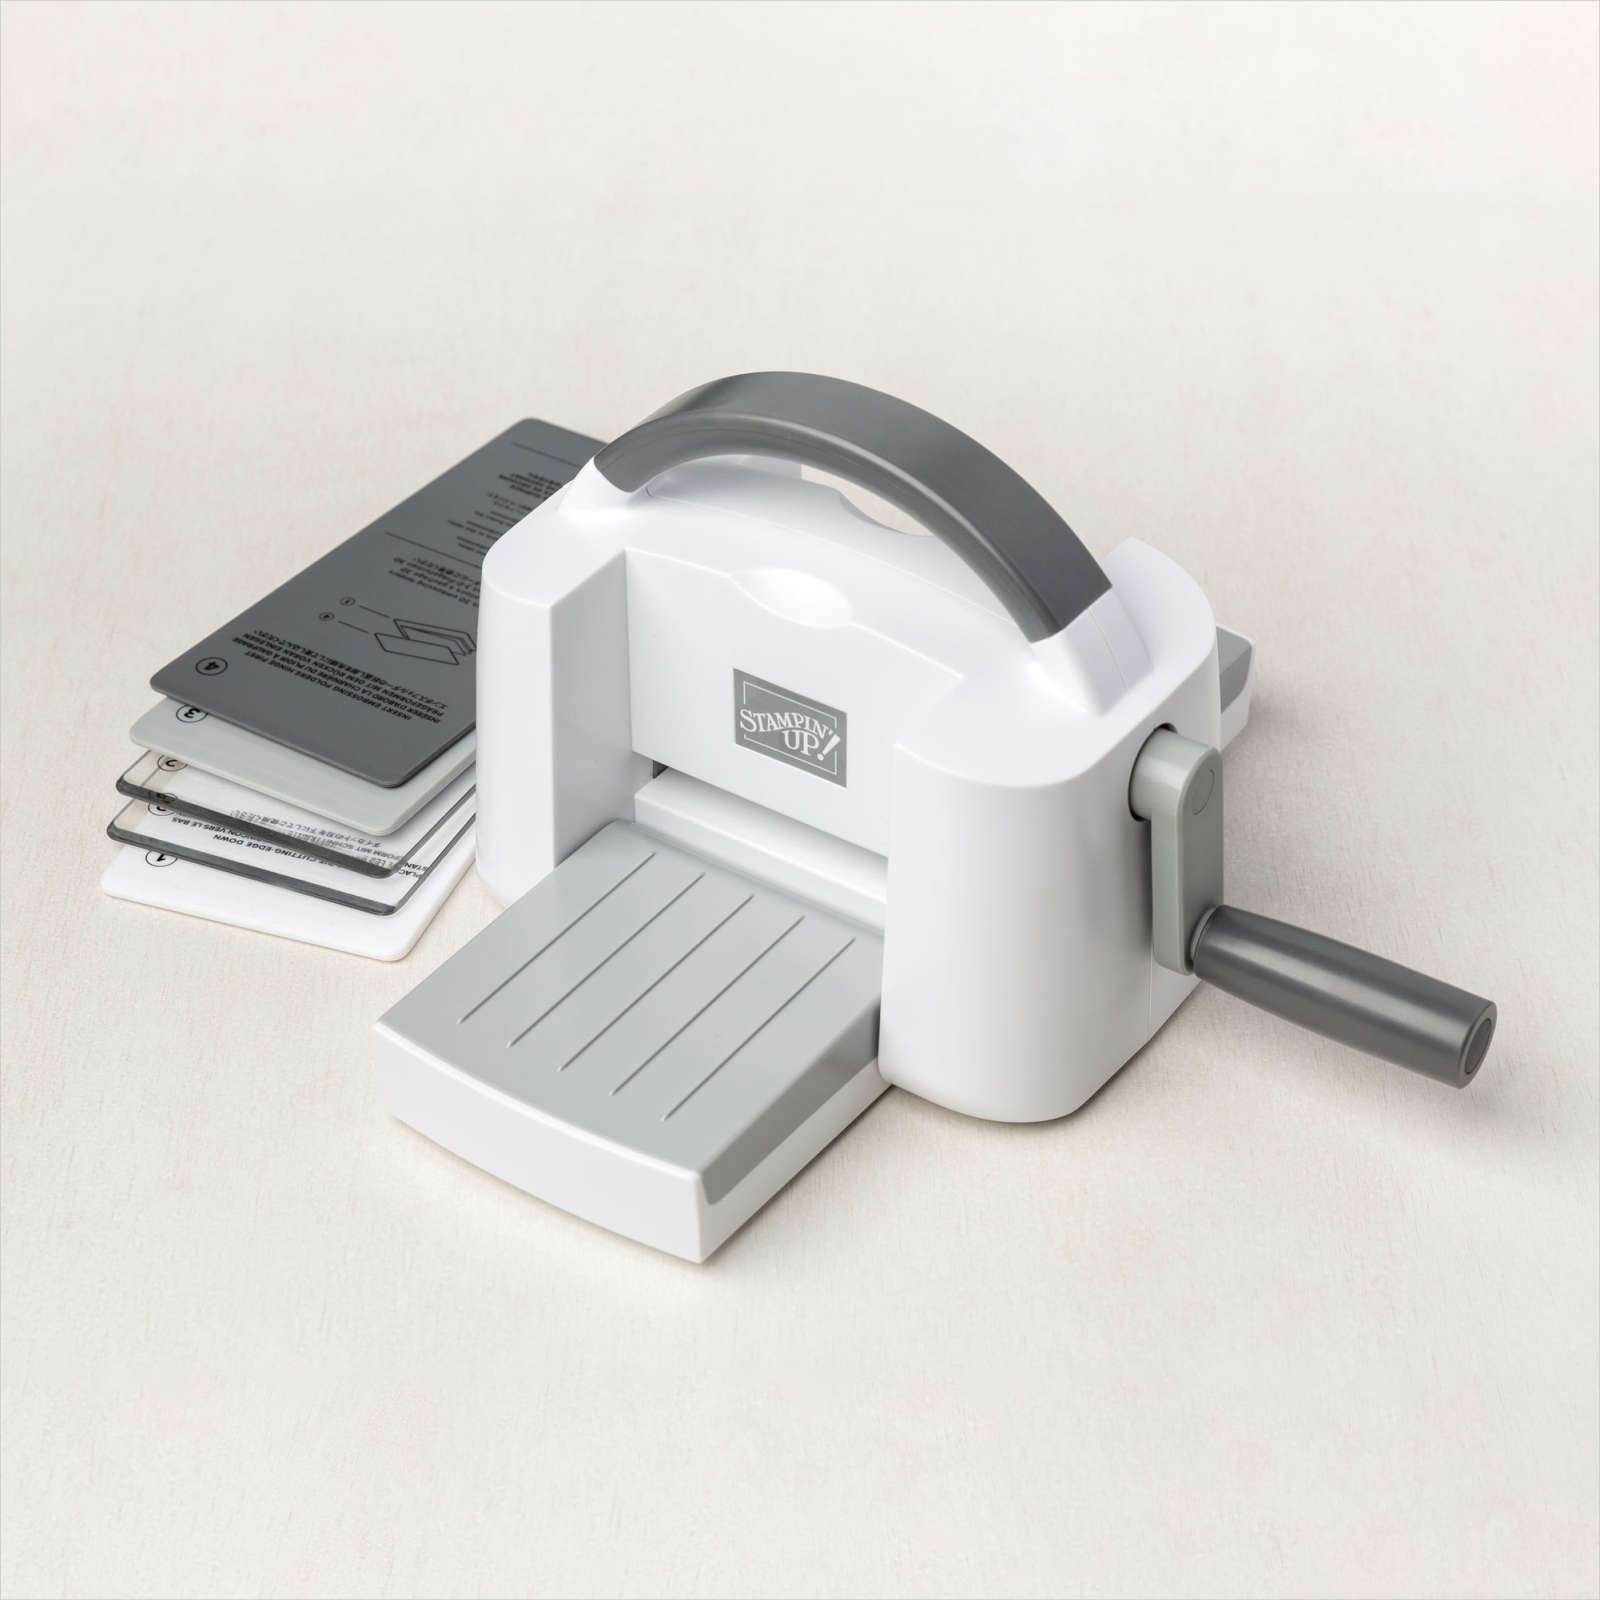
We all love a deal, especially at Stampin’ Up! There are two great parts to this Bundle Sale going on the whole month of June. Take advantage of the sale and add some new bundles to your collection or maybe a new diecutting and embossing machine!
Bundles are normally 10% off the cost of buying the stamp set and dies separately. During June, you can save 20% on stamp and die bundles. Remember we have brand new bundles in the new Stampin’ Up! Annual Catalog that you might not own yet or have thought about.
DETAILS:
Get an additional 10% discount on stamp and die bundles only (that’s a total of 20% discount on stamp and die bundles!). ***This excludes suite collections, stamp and punch bundles, bundles not yet released to customers, and any other bundles.
This Meandering Meadows Scenic View Card uses beautiful designer paper that I haven’t used in awhile and using a greeting that is brand new! Actually, the card base is brand new also!
This designer series paper is called Meandering Meadows and comes in the 6″ x 6″ size. You’ll find it in the Online Exclusives. Each paper is like owning a painting of a beautiful meadow painted by an artist in the impressionist style. You really could frame each individual scenic paper or change them out every few months for some art in your home!
To make this card, I started with the new Basic Beige Cardstock, one of the new Basic colors. I thought this color of cardstock would go well with the other colors I was using. The Basic Beige is layered with the greenish side of one of the papers that has a scene.
This arched die is perfect for making kind of a window into one of the scenic papers. If you cut the arched-opening first, you can place it over some of the scenic papers and see which one you would like to show through the window, then cut that paper just a smidge smaller than your arched piece. I glued everything on flat to the card but you could use Dimensionals if you wanted.
The greeting is in one of the new Ephemera Packs in the catalog. This one has all kinds of greetings and is the Saying Something Ephemera Pack. The three others have flowers, labels, and miscellaneous things that will be fun to use. I chose this one because the colors kind of went with the card and it fit nicely on the card. You know I couldn’t resist using a few Iridescent Foil Gems on the card.
There are so many fun products in the Online Exclusives so even though they are not in the catalog, don’t forget to check that category online when you are ordering. Of course, new products are going to be added along and along, too! The Online Exclusives makes that convenient so Stampin’ Up! can put new things out there without waiting for a new catalog to be published.
If you like to make scenic cards, this designer paper will really fit the bill! If you would like to see another simple card I made with this paper and a greeting on a tag, click HERE.
Have something on your wish list? Thinking about stocking up on crafting essentials? Got the urge to splurge? Shop TODAY and get all the products you love while saving on shipping costs! This incredible deal only lasts for 24 hours, so don’t miss out!
(If you started an order in your Cart on another day, you may have to start over to get the free shipping.)
Think about this:
Prepaid 3-, 6-, or 12-month Paper Pumpkin subscriptionscan contribute to the qualifying amount for free shipping (Month-to-month subscriptions do not qualify). Subscriptions billed and shipped this month will be charged for the normal amount ($24.50 USD shipping included) + tax.
When you purchase a Prepaid subscription (even if you already have a Monthly subscription), Stampin’ Up! will send you an email with a code. You will set up your account and enter that code to begin receiving the Prepaid Paper Pumpkin Kits. You can still skip a month if you want to. If you already have a monthly subscription to Paper Pumpkin, it will resume after your Prepaid subscription ends.
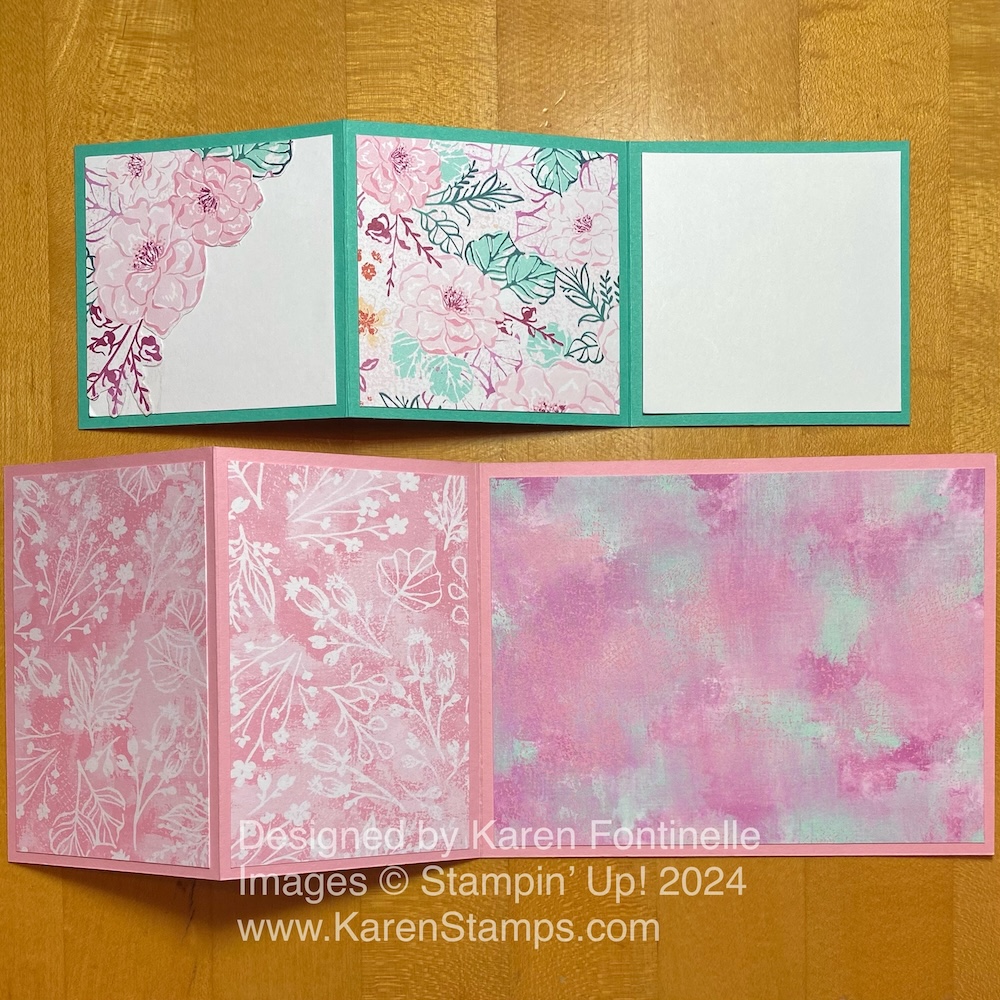
If you are enjoying the new Stampin’ Up! Annual Catalog, here is a Double Z-Fold Unbounded Beauty Card made with some of the new paper, stamps, and gems in the catalog that you can now order! No matter how pretty you think this designer paper looks in the Stampin’ Up! Catalog, I guarantee you it is even more beautiful in person! And this Double Z-Fold card is very easy to make!
This card base is Pretty in Pink, one of the new In Colors 2024-2026 in the catalog. This card base is cut at 4 1/4″ x 11″, then scored at 2 3/4″ and 5 1/2″. If you have ever made a basic Z-Fold card, it is the same. Crease and fold the score lines so it looks like you have folded the front panel in half back on itself.
The other cardstock color I used is the new Summer Splash, another new In Color. This piece, the top Z-Fold piece, is cut at 3″ x 9″ and scored at 3″ and 6″. Crease and fold the score lines and see how it will fit on the Pretty in Pink base. Don’t adhere anything yet!
I chose the Unbounded Beauty Designer Series Paper in the new catalog for this card. You can make your own choice about colored cardstock and designer paper patterns, but you can see what I chose. I also used Basic White cardstock as a couple of layers to add the sentiments.
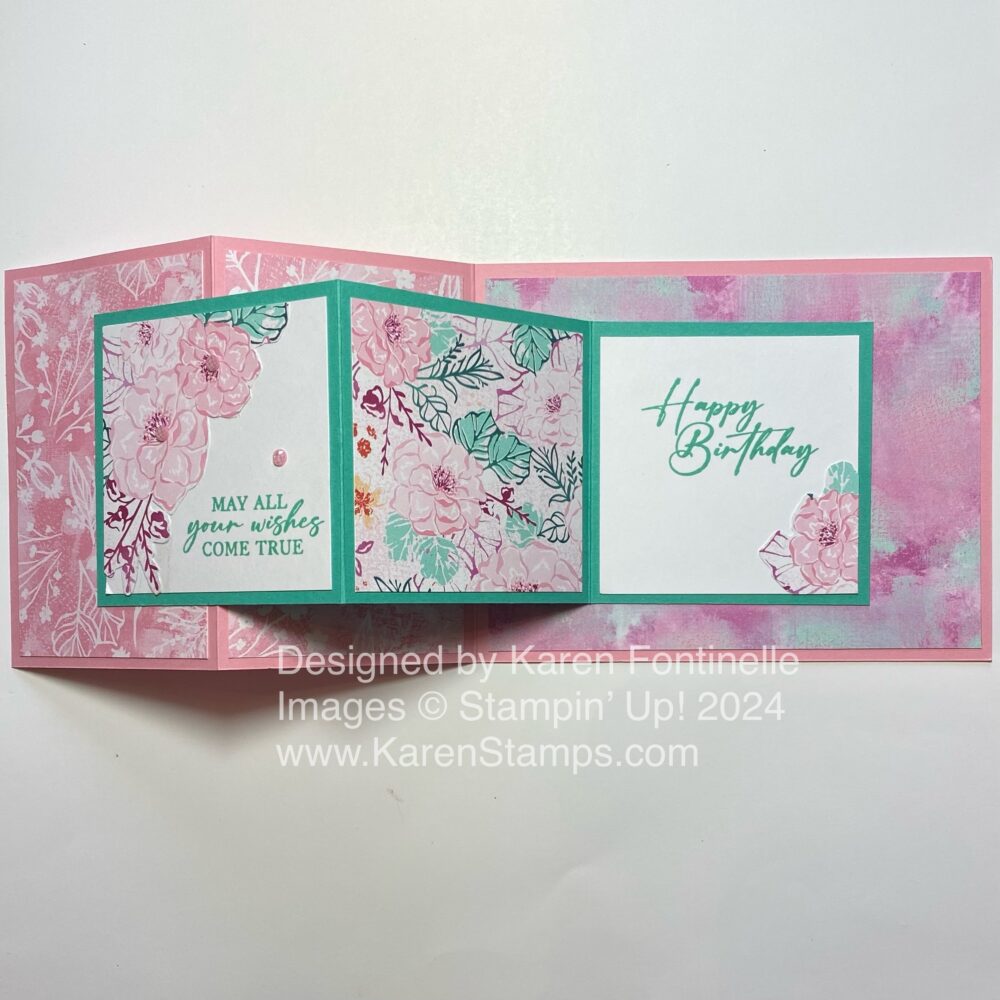
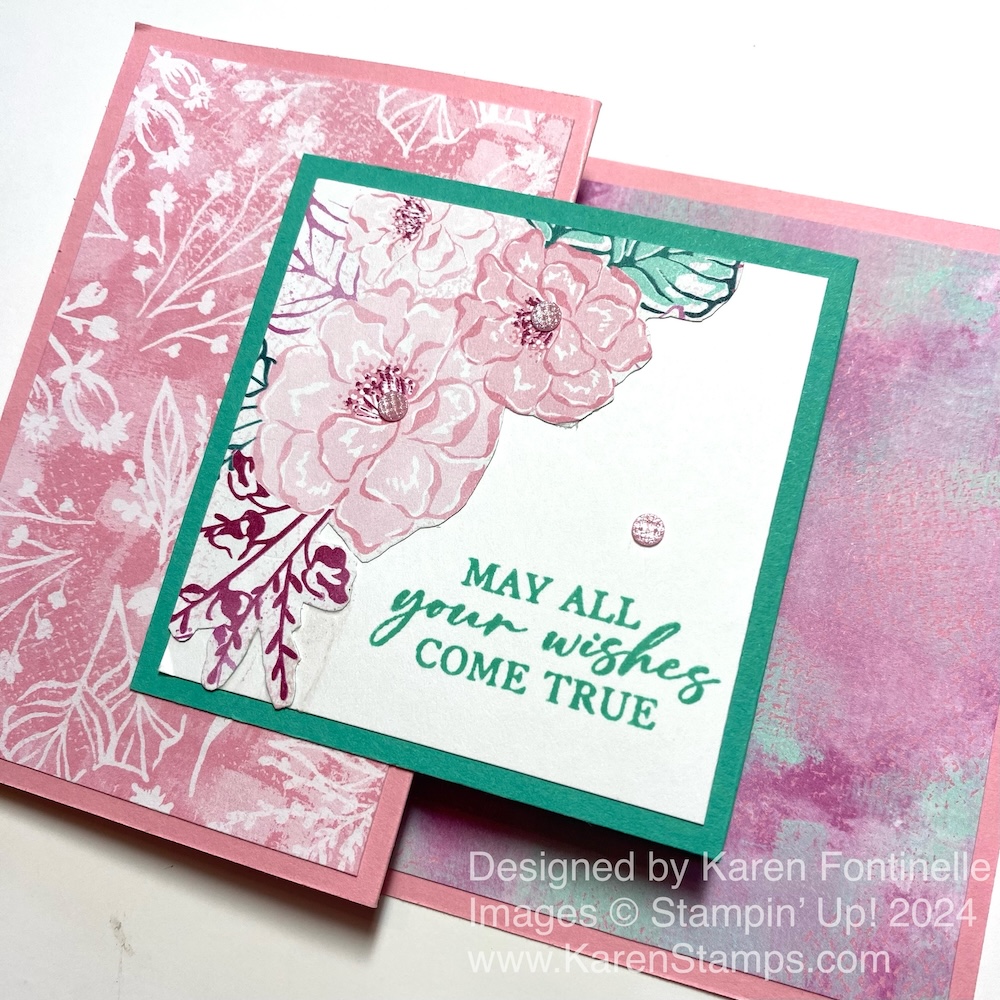
The layers for the Pretty in Pink card base are cut at 4″ x 2 1/2″ (two of these) and one at 5 1/4″ x 4″. The smaller layers for the Summer Splash cardstock are cut at 2 3/4″ x 2 3/4″. The first square on the Summer Splash is Basic White, but I cut out some flowers from the designer paper and adhered it to the corner of the Basic White cardstock to decorate it. The middle square is the same pattern. The third square is also Basic White with another little flower cut out of the designer paper in the bottom corner. After stamping any greetings on the Basic White pieces you can adhere all the layers but don’t adhere them to the card yet.
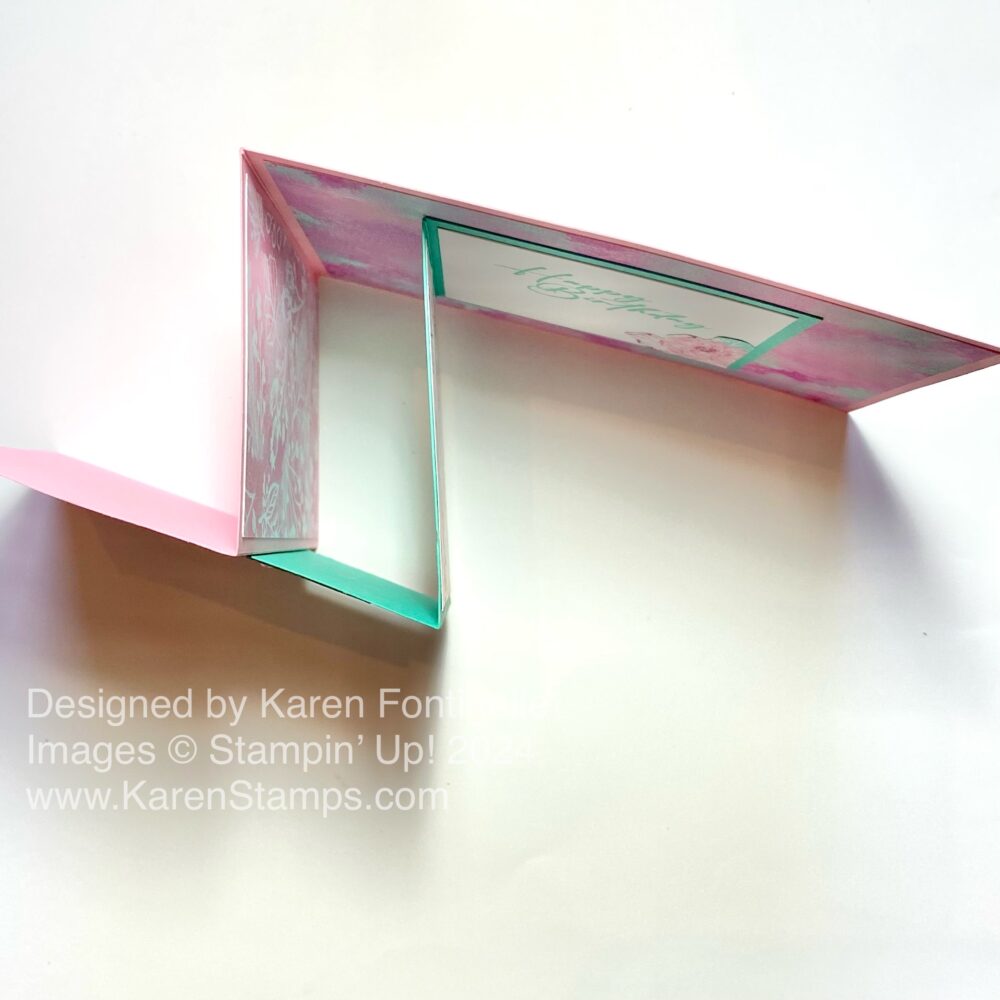
To assemble the card, first center the Summer Splash first square at the fold of the Pretty in Pink. Be sure to not put adhesive on the entire back, just on the left side that is going to adhere to the Pretty in Pink. Then fold up the Summer Splash strip, put the card face down on the table, and put adhesive on the back of the third square. Don’t try to adhere it to the back panel of the Pretty in Pink on your own. Now just fold the back of the card over onto the Summer Splash piece. This way the Summer Splash third square will adhere in just the right place to the inside back panel. It sounds confusing but it isn’t. Try it first before you use glue!
This is what the card should look like from the top.
The sentiments are in the Unbounded Love Stamp Set. I stamped these with Summer Splash ink. My new ink pad seemed to stamp a little heavy with the ink so I took a paper towel folded up and lightly dabbed on the ink pad just to get off some extra ink. Then I thought the stamped image looked better.
I also added some 2024-2026 In Color Shimmer Gems to the front panel of the card. These come in all five In Colors, in two different sizes. They are very pretty! This may seem like a lot of directions, but once you cut the two cardstock strips and score them, then you just have the difficult decision of which pretty designer paper to use!
Here is my photo of the Unbounded Love Designer Series Paper.