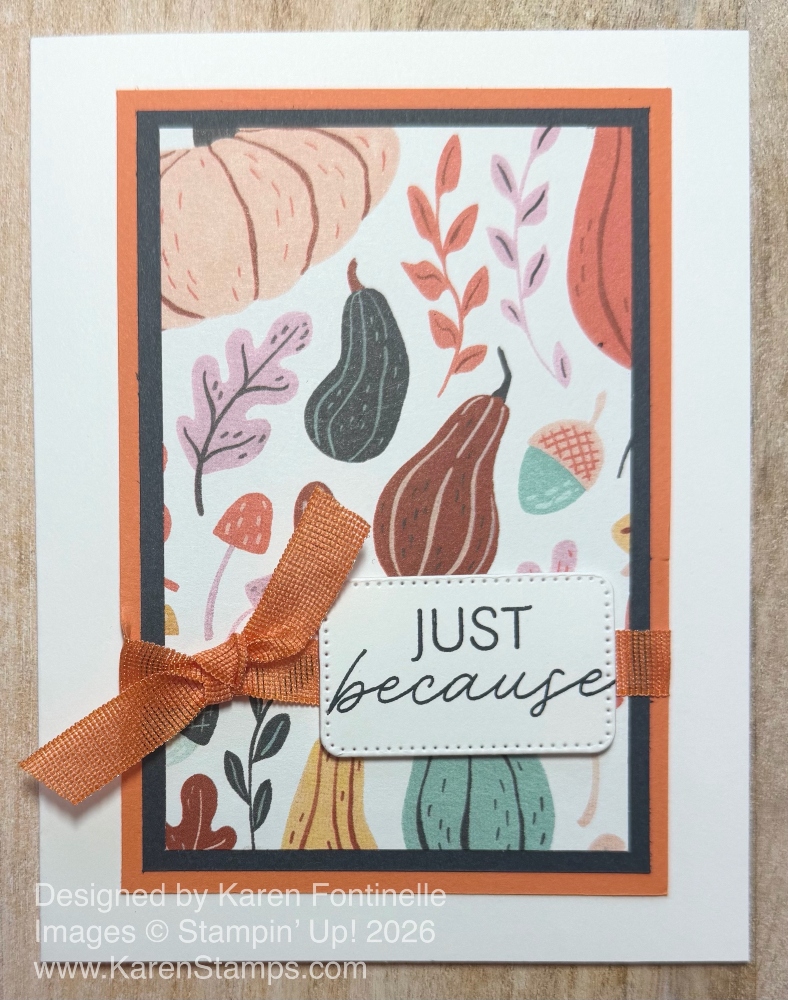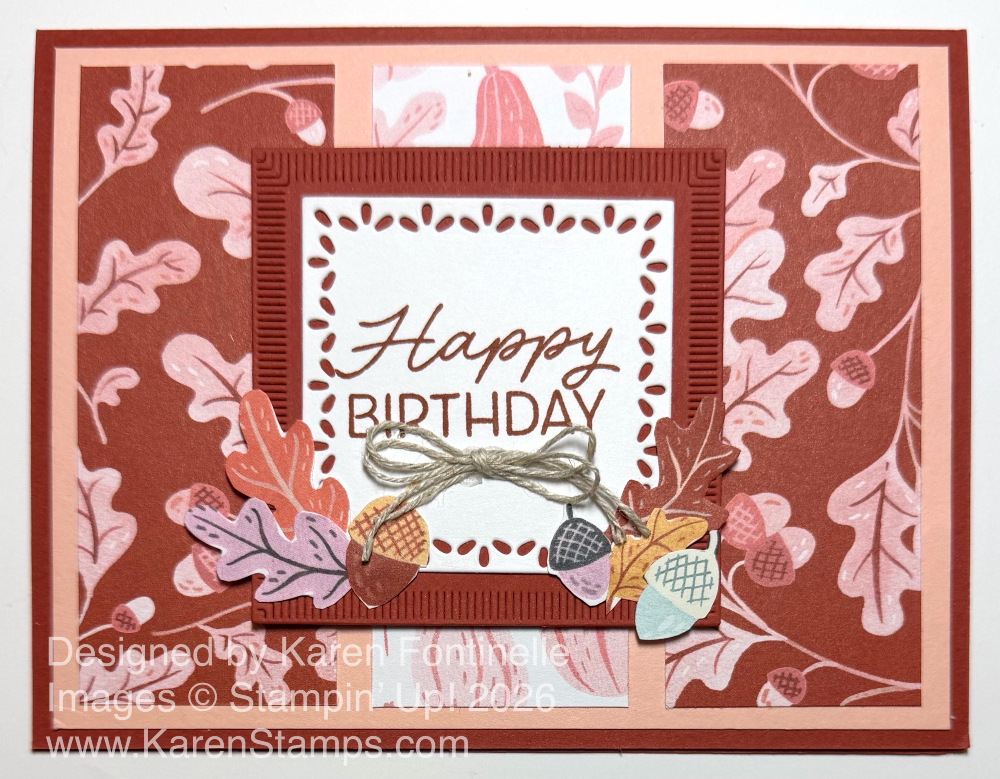
If you need a birthday card for fall, just grab the pretty Painted Patch Designer Series Paper in the new Stampin’ Up! Catalog. I already had the pattern with the Cajun Craze background color picked out to make a card with. But I also kind of liked the paper with the pinkish colors, so I decided to make this card with the three panels of designer series paper. I’m not sure what that design is called!
The card base is Cajun Craze. It’s a color I don’t often use, but it’s great for the fall season! After playing around with other colors, I chose Petal PInk cardstock for a layer on top of the card base. But I adhered the designer papers to this piece to line them up before adhering that to the card base. The Petal Pink piece is 4″ x 5 1/4″.
I used two of the Cajun Craze DSP pieces on the right side and left side and the pinkish panel in the middle. It is mostly covered by the greeting. I cut these three pieces at 1 1/2″ wide and 3 3/4″ long. This allows for a space in between the DSP panels and around the margins. If you want the three panels to touch and not have the spaces between them, then you’ll have to adjust the measurements.
For the greeting, I used the birthday greeting in the Framed & Fabulous Stamp Set. It is stamped with Cajun Craze ink on Basic White. I used the Tile Garden Dies to cut out the greeting and the Cajun Craze layer underneath. I love these dies, all the sizes to layer, and the different borders on them!
I could have stopped at that point, but I thought it would be fun to cut out some leaves and acorns to add to the greeting from the designer series paper. They add a little extra color and interest without taking away from the color theme of the card. I also added a little double bow made with Linen Thread. I think our Linen Thread is one of the best basics to have in your “stash” of stamping supplies. It is so useful so many times, especially when you want just a little something extra without overdoing it.
On the inside of the card, I added a white layer for a stamped or written message with a strip of designer series paper at the bottom plus two more leaves in the corner. It just makes the inside of the card look a little interesting, too, like the outside!
If you are never not quite sure what card to make, just get out a pack of designer series paper and pull out all the sheets and see what appeals to you! Maybe just one sheet, maybe a couple! Just play and see what you come up with!