Valentine Sending Love Small Treat Bag

Valentine Sending Love Small Treat BagIf you are looking for ideas for Valentine treats, this Valentine Sending Love Small Treat Bag might be the perfect idea for you! It is the perfect size for just a few treats and easy to make! You can use cardstock or designer paper and make this treat bag for any occasion.  Decorate it however you like with die cuts or greetings or just leave plain if you use cute paper.

Start with a piece of paper 4″ x 6″. The Sending Love Designer Series Paper Stack is 6″ x 6″ so it is perfect to just cut off 2″ and you are ready to go! It’s easiest if the paper doesn’t have a pattern that must go a certain way, but if it does, just be careful to have the pattern running the correct way.

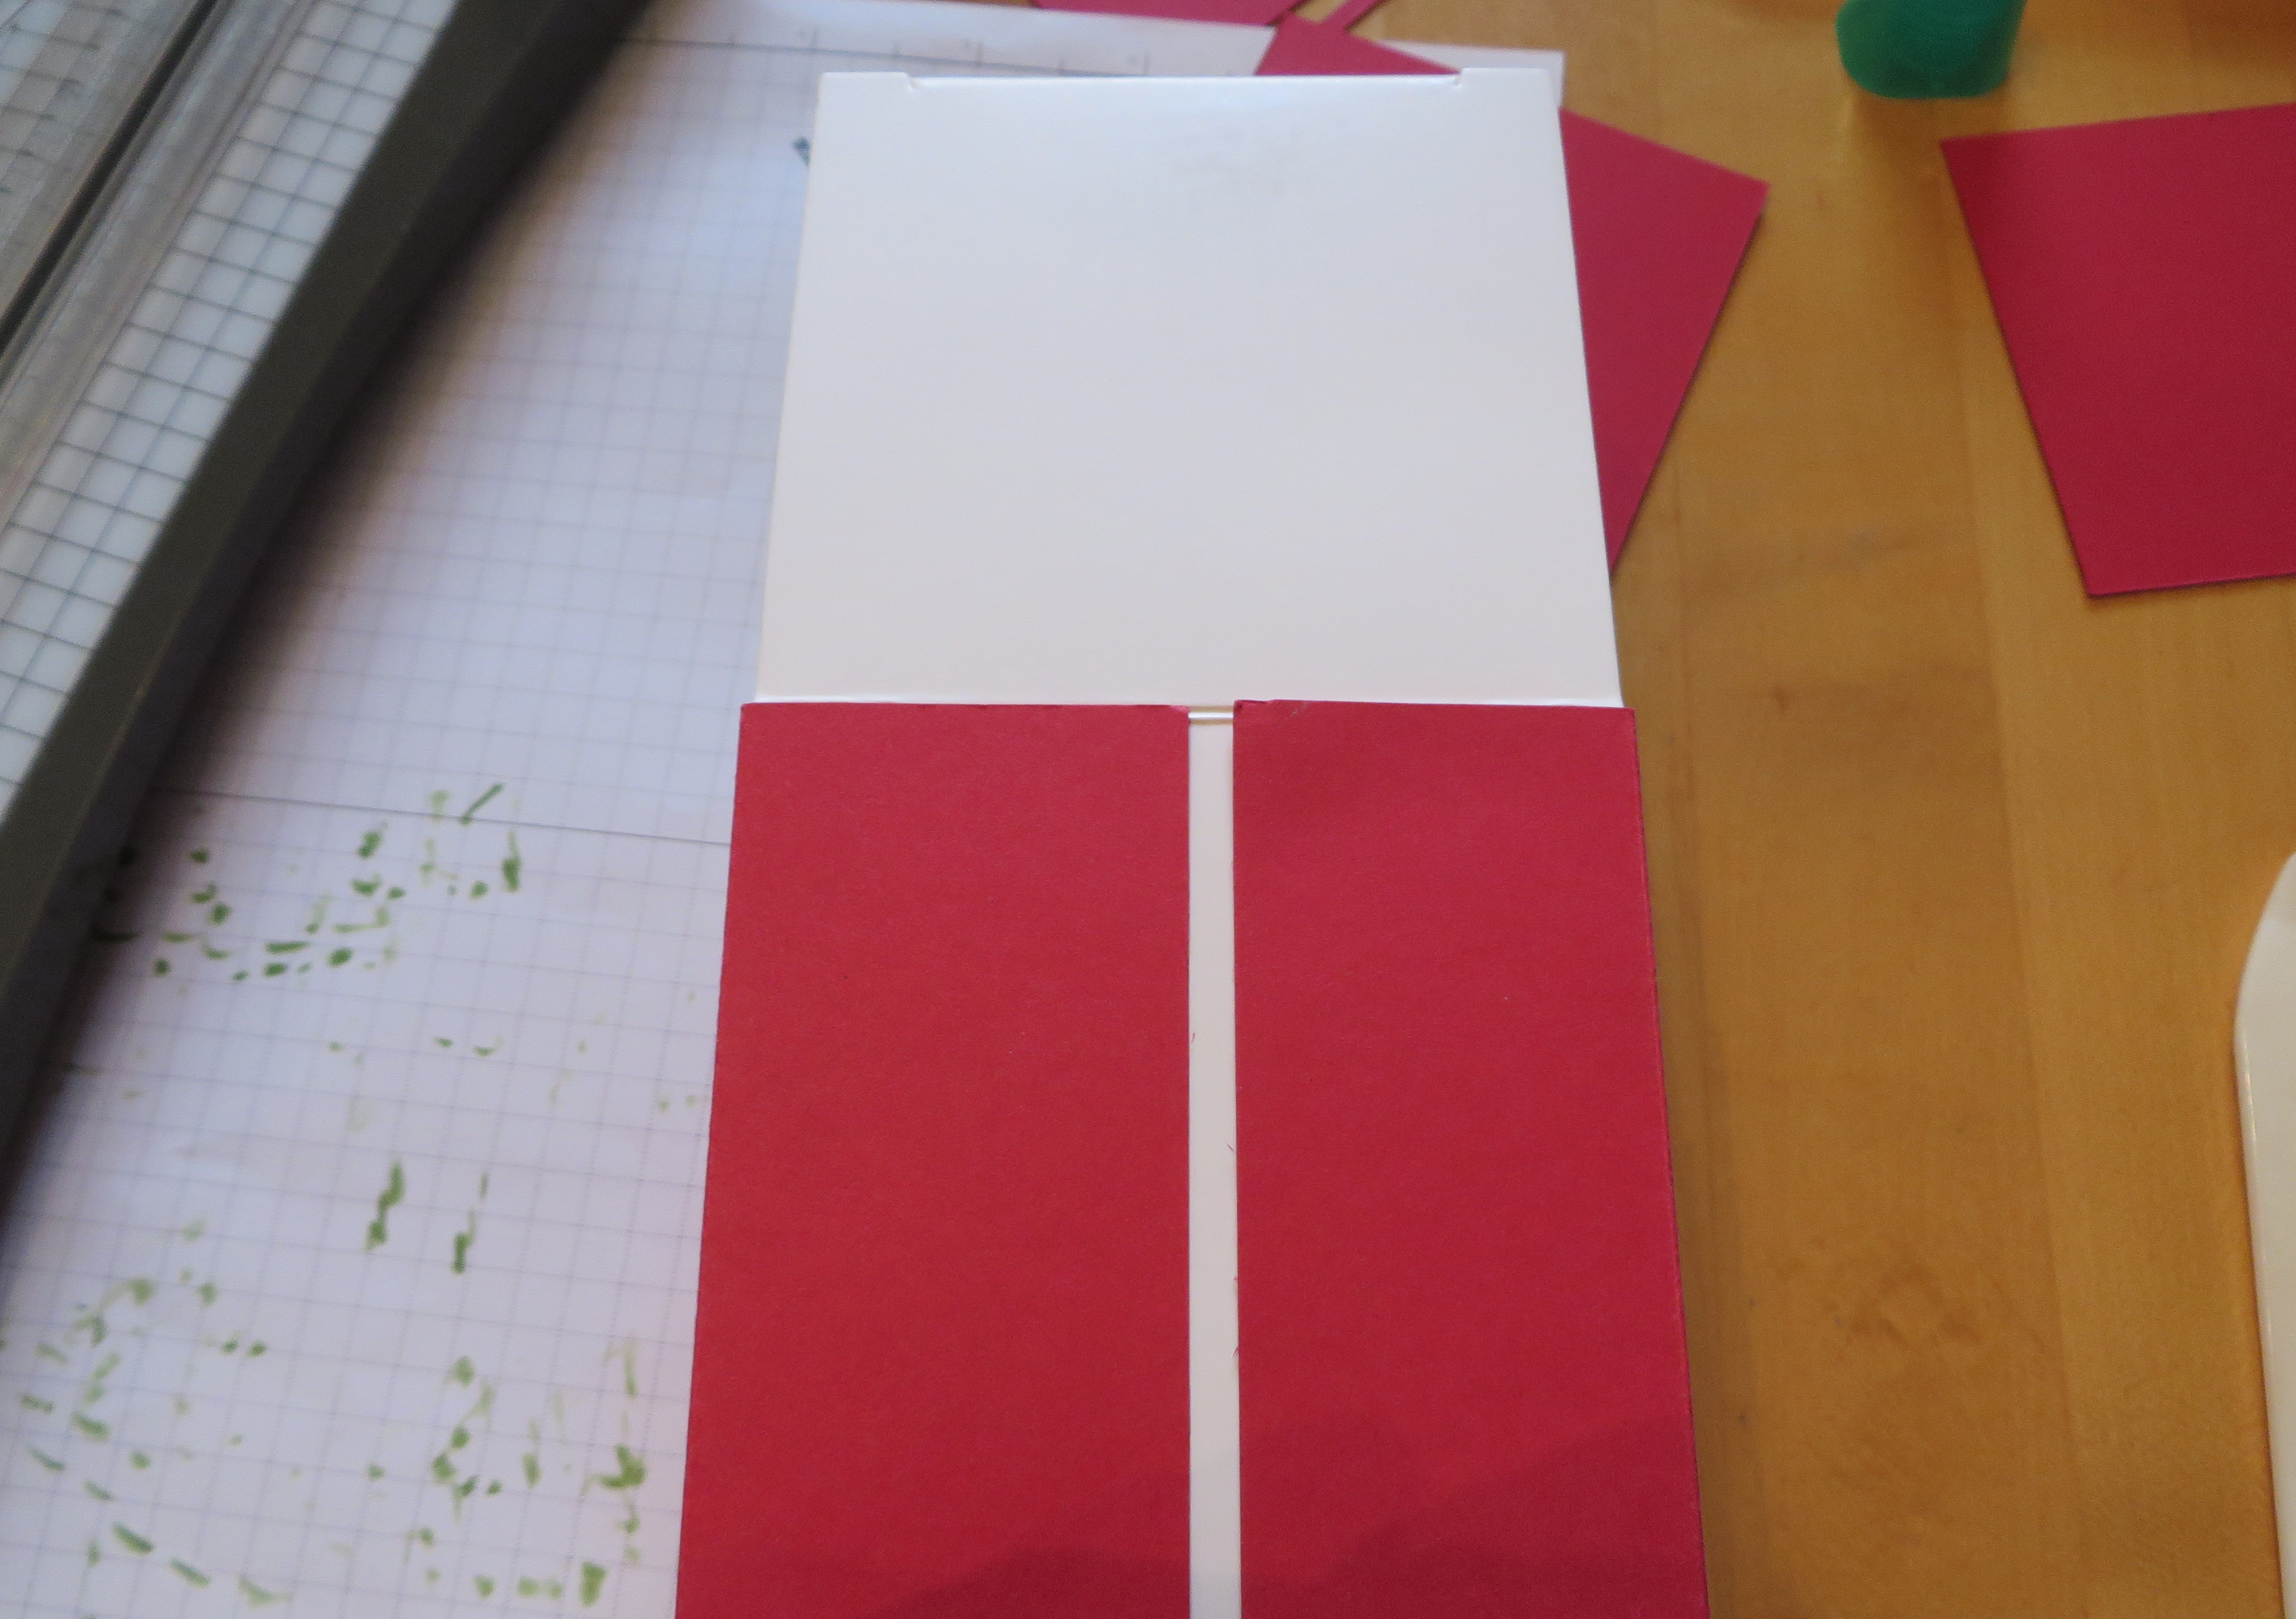
Treat Box diagram

This is the inside of what will be my treat bag but I drew on the score lines so you could see.  The “x” marks the area that you will cut off entirely.  You can see how the score line going across lengthwise indicates where the bottom of the bag will be, so watch your pattern.

Place the paper lengthwise on the Simply Scored board and score at 1″ (portrait). The bottom of the bag should be along the left side of the board.  Then turn the paper and score at 1″, 2 3/4″, 3 3/4″ and 5 1/2″. (Obviously if you have the paper turned the wrong way you wouldn’t be able to score at 5 1/2″ if the paper is only 4″ wide.) After scoring, cut up on all those bottom score lines up to that 1″ score line. Then cut off the little area marked with an X on my diagram. Fold and crease all the score lines.  I like to use a Bone Folder to get a good crease!

Treat Bag Folded

After the bag is creased, add some adhesive to the narrow flap on one side.  I like to use Tear & Tape because I’m sure it will hold the bag closed. You can see it in the photo above. If you just fold the other side of the box over it is easier to adhere flat than to have the box 3D. Just match up the top of the bag so the edges are even.Treat Bag open box

When the box is all assembled, this is what it looks like.  You could leave it like this! But if you want the top closed, be sure to put your treat inside and then punch a hole or two holes in the top and add a ribbon or bow. Just push in on the sides in order to pull the top edges together. When you have the treat bag assembled, add on whatever you like to decorate.

Just think, if you use birthday paper or the colors of your themed party, then you have something for another occasion!  Once you make some of these, you would probably be able to design your own treat bag according to whatever size you want.  Just draw a little sketch showing how wide and how tall you want the front and back and then how wide you want the sides. You could use this same idea and make a smaller or larger bag or box.

No matter what, this little Valentine Sending Love Small Treat Bag is easy to make and fun to give!

Shop Stampin’ Up! Online for all the best in stamping in papercrafting supplies!


Super Bowl 2017 Card With Punch Art Football Helmets

Super Bowl 2017 Card With Punch Art Football Helmets

Super Bowl LI is almost here, although for those of us living in Houston, Texas it IS here! Time to celebrate with a card for Super Bowl 2017 Card With Punch Art Football Helmets. I wanted something to commemorate this big event for our city, so here is a card celebrating the best in football here in Houston!  The greeting from the Watercolor Words Photopolymer Stamp Set expresses it perfectly!

The city has been spruced up for the Super Bowl, and the George R. Brown Convention  downtown and Discovery Green, a park outside the convention center, have been transformed for many events held pre-Super Bowl this week. There are games, parties, celebrity sightings, concerts, shows and more and that’s all before the championship game even starts!

To make my Super Bowl card, I used a Soft Suede card base with a layer of Emerald Envy on top. Before I adhered the green piece, I scored it with lines about 3/4″ apart with my Simply Scored scoring board  to represent the football field with the yardage marks. Then I stamped the greeting with the Watercolor Words stamp set I mentioned.

For the football helmets, made with punches, I punched a circle with the 1 3/4″ Circle Punch. Then I used a 1 1/4″ Circle Punch  to punch the indentation for the front of the helmet and the 1/2″ Circle Punch for the little indentation. To make the face guard I used a retired triangle punch. I also used my retired Crop-A-Dile tool to punch the little black circle on both helmets and a retired small star punch for the stars.  Just use whatever you may have! Or you can just snip parts by hand.

It is fun having stamping and papercrafting supplies on hand for commemorating these special events and occasions going on, just for fun. But this card isn’t just for the Super Bowl in Houston, you could make something like this for a man’s birthday. As we have discussed before, it often is difficult to come up with a masculine card…..not that this couldn’t be a card for a woman or a girl.

If you need supplies to make fun cards like this Super Bowl 2017 Card With Punch Art Football Helmets, get the best at Stampin’ Up! 

Shop Stampin’ Up! Online HERE!

Easy Masculine Birthday Card to Make

Easy Masculine Birthday Card with Serene SceneryFor some reason, we all seem to find it difficult to make a card for the men in our lives, but here is an easy masculine birthday card to make. I think often in the whole crafting world, there is a lot for women but not so much for men. But if we look carefully and think outside the box creatively and often with the help of Stampin’ Up!, we can always find something appropriate for any occasion.

Sometimes an idea just pops into my head, and the other day it was to use the Serene Scenery Designer Series Paper Stack. I find that I often get carried away with the seasonal catalogs, like the recent Holiday Catalog and now the spring/summer Occasions Catalog, and forget all the great products in the Stampin’ Up! Annual Catalog. I paged through the stack of designer paper and choose the pattern that looks like wood strips (it would make a pretty wood floor!) What I wanted to do was make a simple card with designer paper and a bold greeting stamped on the front.

The card base is made with Soft Suede Card Stock, incidentally not one of the coordinating colors with the Serene Scenery paper, but I liked it better with this paper than Crumb Cake. Then I stamped in Early Espresso Ink the birthday greeting from the stamp set Big on Birthdays which is in the Occasions Catalog on page 6. There are so many birthday stamps sets with fabulous greetings to choose from in the Occasions Catalog this year!

To embellish my masculine birthday card, I tied on a piece of 5/8″ Burlap RibbonBurlap is not just for masculine cards and projects at all. It’s a very thin and loose weave ribbon, not big and bulky like you might think of burlap ribbon. It’s very nice and I think something everyone should have in their stash for certain cards and other projects.

Often we don’t show the inside of cards, usually just stamping a greeting or writing a note inside is all that is required and is personal to your recipient. Since I was using Soft Suede, I added a piece of Whisper White cardstock inside, stamped another greeting from the same Big on Birthdays Stamp Set. Since I had a strip of the patterned paper left over, I just added it to the bottom of the inside piece of cardstock. Often it works to turn the paper over and show the pattern on the other side of the paper!

Easy Masculine Birthday Card with Serene Scenery Inside

Put this Serene Scenery Designer Series Paper Stack on your list to order and choose a stamp set you like in the Occasions Catalog for birthdays or whatever occasion you are looking for. If you don’t have lots of cardstock colors, you hecan make an easy decision by choosing the Serene Scenery pack of cardstock which contains Crumb Cake, Pool Party and the Whisper White Thick Cardstock. That will at least get you started! Maybe choose some ribbon or embellishments you like, extra paper, and probably you will get up to $50. Then choose something for FREE from the Sale-A-Bration Brochure!  We always like “free”! You’ll be all set to make some easy masculine birthday cards or other occasions.

Shop Stampin’ Up! Online HERE!

Stylish Stems Cutout Die Birthday Card

Stylish Stems Cutout Die Birthday Card

I saw a card like this one and immediately thought I needed to make one like it, a Stylish Stems Cutout Die Birthday Card.  I used a Pool Party card base with a Whisper White layer die cut with a flower die with a glimmer paper behind it. I love the simplicity and elegance of the card, and it has tons of possibilities! I want to make more!

Just think!  Using this basic card idea, you could make a card for almost any occasion! Die cut the flower, put some contrasting paper behind it, and stamp a greeting! So simple and so easy! I was going to make the card white on white like the sample I saw online, but decided to add some color with the Pool Party cardstock. To make the flower I just used my Big Shot and the Stylish Stems Framelits DiesThese dies are special because the large flower die just cuts out the flower pieces as you see on the card above. If you want to die cut the whole flower to use elsewhere, then you can add the shape around it to die cut it. I just adhered a piece of Silver Glimmer Paper behind the die cut flower for some pizzazz!  The greeting is from the Window Shopping Stamp Set.

There is a coordinating stamp set, Special Reason, to use with these dies. If you want to save 10%, the Special Reason Bundle comes with both the stamp set and the framelits dies. I’m sure you will want both sets to make beautiful cards and projects.

Check out the Stampin’ Up! video below to see how to use this stamp set and framelits dies!

And don’t forget……Sale-A-Bration is going on!  For each $50 you spend at Stampin’ Up!, you get to choose a FREE product in the Sale-A-Bration Brochure!

Shop Stampin’ Up! Online HERE!

A Valentine Mini Treat Bag With Glassine Sheet

A Valentine Mini Treat Bag For a Valentine Treat

Time to make those valentines, and here is a Valentine Mini Treat Bag made with the Sending Love Glassine Sheets.  You can see on the photo that the glassine sheets have a small pattern on them! I used the Mini Treat Bag Thinlits Dies to make the treat bag. I absolutely love that die, but it was a little difficult to use on the slippery glassine sheets.  However, I also need to use new cutting pads with my Big Shot so that made for a difficult situation. But I did it, and assembled the bag and inserted a card.

The card is stamped with stamps from the Sealed with Love Photopolymer Stamp Set.  So many stamps to choose from in that set! And you’ll be able to use them long past Valentine’s Day.

To decorate the Mini Treat Bag, I added a Red Glimmer Paper banner, stapled at the top with the Stampin’ Up! Handheld Stapler.  Stampin’ Up! is going to stop carrying this stapler when the inventory is depleted, which is a shame since I love mine. It is just a nice size.  If you need this stapler, don’t delay, order it while you still can!  The hearts are die cuts from the Love Notes Framelits Dies. I cut extras the other day so I was all set to add some hearts to decorate my bag!

A Valentine Mini Treat Bag

If you don’t have the Mini Treat Bag Thinlits Dies to make this project, you still use the ideas on a regular card with a banner and hearts or stamping like the inside of the card! Once you start stamping, the ideas will flow!

Have fun making some Valentines! Doesn’t it always take us back to our childhood?!

Shop Stampin’ Up! Online for your Valentine-making supplies!

It’s Chinese New Year! The Year of the Rooster!

Chinese New Year Red Money Envelopes Confetti

It’s the Chinese New Year, the Year of the Rooster! Depending on where you live, you might be able to catch a Lion Dance somewhere in celebration or maybe someone will give you a red money envelope, such as the ones I made above, for luck and prosperity. It’s customary to put crisp, new bills in the envelopes (no coins!) so people have to make a trip to the bank to trade in their old wrinkled bills. And it’s not good to give an amount of money with a “four” in it because the number four in Chinese sounds like the word for “death”.  Eight, however, is a lucky number.

These red money envelopes in the photo above I made with retired Real Red Envelope Paper and decorated with cardstock from the Sprinkles Punch.

These envelopes I made with some old retired Stampin’ Up! designer paper that already had glimmer on the flowers!

Chinese New Year Red Money Envelopes Glitter Flowers

You can see some of the other red money envelopes I made for someone in my post HERE the other day.

Check out the blog post on the Stampin’ Up! website about Chinese New Year and see some projects made by one of the Artisan designers!

Chinese New Year

Image Stampin’ Up! 2017

Happy Chinese New Year!


Make Red Money Envelopes for Chinese New Year

Chinese New Year Red Money Envelopes Year of the Rooster

This weekend is Chinese New Year on January 28th, and it is tradition for Chinese people to give out these red envelopes with money inside! Here are some red money envelopes for the Chinese New Year that I made for someone. I made an assortment of different designs. This New Year is the Year of the Rooster, so I tried to make some roosters with heart shapes! These were really fun to make!

I couldn’t have made these envelopes very easily without the Stampin’ Up! Envelope Punch Board. I found the size listed on the board, cut my paper the correct size and followed the directions found on the board.  I used some retired Real Red Envelope Paper that was perfect for this project. Luckily I ordered some extra packages before it was all gone! That is the envelope flap that you see at the top.

I made different designs since I was making a lot of them, some more whimsical like these heart roosters and some with gold embossing that to me look more like red envelopes I’ve seen online.

Chinese New Year Red Money Envelopes Gold Embossed Dahlia

This doesn’t photograph as well, but I loved this gold embossed Definitely Dahlia stamp! I also pulled out any retired Happy New Year stamps I could find in my stash!

Chinese New Year Red Money Envelopes Gold Butterfly

This envelope is stamped and embossed with the Flourishing Phrases Stamp Set and embellished with a butterfly die cut with the Butterflies Thinlits Dies.  This envelope is one of my favorites…..after the roosters!

Chinese New Year Red Money Envelopes BalloonsHere is another more whimsical one made with the Balloon Bouquet Punch.

I also made a few more designs as well as the ones I made last year in this post.

On January 28 celebrate the Chinese New Year 2017, year of the Rooster! Maybe make some lucky red money envelopes to give someone a cash gift!
Die Cut Hearts Easy Valentine Card

Die Cut Hearts Easy Valentine Card

In playing with my new Love Notes Framelits Dies, I decided to cut a lot of hearts and make a die cut hearts easy Valentine card.  I just chose some Real Red card stock and Silver Glimmer Paper for the hearts. Then I just played with arranging the hearts until I came up with a pleasing layout.  You can see that one of the dies makes the hearts pop up on a center fold! On one of the them I snipped the inside heart off so that I had just the thin outline heart. The card base is just Whisper White Thick Cardstock although I have it laying on a piece of red cardstock for the photo. But as you can see, it would be a pretty card with a Real Red card base and a Whisper White layer with the hearts adhered. In fact, you could use pink or many colors of hearts! Makes me want to play some more with this same idea!

The greeting is a stamp in the Sealed with Love Photopolymer Stamp Set.  There are so many great stamps in this set and they don’t all have to only be used on Valentine’s Day. We can use hearts in lots of ways for lots of occasions. And along with the Love Notes Framelits Dies, you will really be in business!  One of the dies even makes cute little bitty envelopes! If you would like to save 10%, just purchase the Sealed with Love Bundle to get the stamp set and framelits!

Valentine’s Day is coming, but you do still have time to order Stampin’ Up! supplies to make your cards and projects! And remember, you can use them for more than Valentine’s Day!  You will be making wedding cards, baby cards, birthday cards, love notes, all-occasion cards!

Shop Stampin’ Up! Online HERE!

Do you need the current catalogs and Sale-A-Bration Brochure? If you are interested in Stampin’ Up! products, email me at Karen@KarenStamps.com and I’d be happy to mail you complimentary catalogs! More fun than looking at them online, I say!

Stamp Tee Shirts and More with the Custom Tee Stamp Set!

Custom Tee Bundle

Images (c) Stampin’ Up! 2017
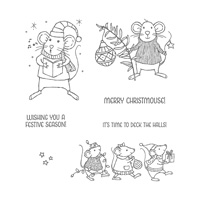
One stamp set you possibly could have overlooked in the new Occasions Catalog is the Custom Tee Photopolymer Stamp Set by Stampin’ Up! along with the T-shirt Builder Framelits Dies.  You can purchase both of these in a Bundle, the Custom Tee Bundle, and save 10%! Just add a little something more to your order and you will earn a FREE Sale-A-Bration item in the Sale-A-Bration Brochure!  Surely you want free stuff! To go along with this Bundle, one thing you might want to choose is the Designer Tee Stamp Set on page 19 of the Sale-A-Bration Brochure.  You could use these greetings on your tee shirts you stamp but also on any cards or projects as greetings!

Here is a new video from Stampin’ Up! telling you about the t-shirt products!  Enjoy!

This stamp set also reminds me of when I was a young girl and I loved designing and drawing clothing. It wasn’t a phase that lasted too long but I do remember a little booklet I put together drawn with colored pencils! If you yourself or a future clothing designer in your family likes that sort of thing, they could have lots of fun with this tee shirt stamp set.

This stamp set is also good for making masculine cards, something we always seem to have a bit of difficulty with.  And as Holly describes in the video, you can use some of the stamps just for adding a little background interest or as greetings on other projects.

To order any or all of these tee shirt products, please visit my Stampin’ Up! Online Store HERE!

How To Make an Easy Z-Fold Valentine Card

Z Fold Valentine Card Design 2

Valentine’s Day is really sneaking up on us this year, so I thought I would show how to make an easy Z-Fold Valentine Card with the Sealed with Love Photopolymer Stamp Set and the Sending Love Designer Series Paper StackSo many great patterns in the paper stack, you almost won’t know which one to choose! In fact, below you can see what the card would look like if I used the other side of the little white heart print paper that I used on the card above.

Z Fold Valentine Card Design 1

This is how easy it is to make a Z-fold card.  It’s just the size of a regular card but with the fold on the side.   I cut my card stock vertically in half so it would be 11″ x 4 1/4″, then folded in half at 5 1/2″. To make the z-fold, all you do is take the front of the card and fold in half back on itself. In other words, you can score that front flap at the midpoint, at 2 3/4″ and fold it back. Then decorate your card however you like. The photo below shows how the folding should look.Z Fold Valentine Card Open

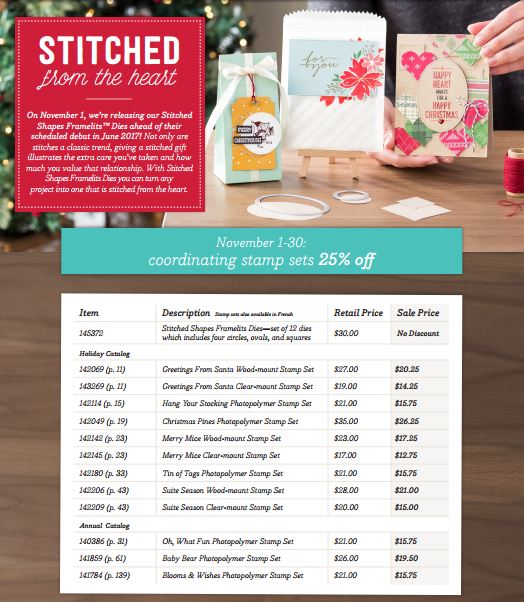
To decorate the card with the greeting, I stamped the greeting from the Sealed with Love Stamp Set and then die cut with the wonderful Stitched Shapes Framelits.  They are back in stock now, after being so popular when they were introduced that Stampin’ Up! had to shut off the ordering. They will be in the next annual catalog, but you should go ahead and get yours now. They are that good! The scalloped Basic Black layer behind the greeting is die cut with the Layering Circles Framelits Dies. These two sets of dies pair very nicely.

You still have time to order supplies to make Valentine cards, treats and projects! Try the easy z-fold card for some of your Valentines!

Shop Stampin’ Up! Online for all the best in papercrafting supplies!

Fun Ideas With the Any Occasions Stamp Set During Sale-A-Bration

From now through the end of March is Stampin’ Up!’s favorite promotion – Sale-A-Bration! During Sale-A-Bration, for every $50 you purchase from Stampin’ Up! (no limit!) you may choose a FREE product in the Sale-A-Bration Brochure.  The free choices are highlighted with a pink hot air balloon beside them.

One of the stamp sets you may choose is the Any Occasions Stamp Set, a stamp set of little banners you can make for many occasions. You’ll find it on page 14 in the Sale-A-Bration Catalog.

Enjoy the Stampin’ Up! video above to see the ideas and tips for using this stamp set!

Need a Sale-A-Bration Brochure or the new Occasions Catalog?  I have a few copies on hand right now.  Just email me at Karen@KarenStamps.com with your contact information.

Just put in your $50 or more order at Stampin’ Up! Online!

Red White and Blue Patriotic Card for Inauguration Day

Red White and Blue Patriotic Card for Inauguration Day

Today, January 20, 2017 is Inauguration Day here in the United States. No matter everyone’s political choices, it is the day we celebrate the peaceful transition of power from one President to the other. In honor of today, here is a red, white and blue patriotic card for Inauguration Day!

This card is made with the Balloon Adventures Stamp Set and the Balloon Pop-Up Thinlits DiesI made it extra glitzy with the Gold Glimmer Paper, die cut with the big pop-up piece. Then I stamped the balloons with Real Red and Pacific Point Ink, punched out with the Balloon Bouquet Punch and adhered them over the Gold Glimmer paper balloons.  I also stamped the banner and greeting and just cut out by hand. The red paper behind the balloons is in the Sending Love Designer Series Paper Stack.  The card base is Pacific Point cardstock and cut the length of the paper, 11″ x 4 1/4″ with a fold at the top.

Just in case you don’t need an Inauguration Day card, you can easily use this card for a birthday!  Lots of possibilities with this stamp set and dies! Want to save 10%?  Buy the Balloon Adventures Photopolymer Bundle!  Get both the stamp set and set of dies at a discount.

Shop Stampin’ Up! Online HERE!

A Card For a Rainy Day in Houston

A Card For a Rainy Day in Houston

Yesterday we woke up to rain that was forecast, but as it turned out, it continued to rain over the same area of Houston. And when rain does that in Houston, flooding occurs. The path was from just a little southwest of us in Sugarland, up the freeway into downtown and beyond.  So it was a morning of local TV stations broadcasting continuously regarding flooded areas and streets and school delays and showing alternate routes around the flooding. I don’t think we could have gotten out of our neighborhood very easily so my husband didn’t leave for work until almost lunchtime. We got a little more rain in the afternoon but nothing like overnight. Today there was even more rain this morning, but somehow it didn’t cause flooding, thank goodness, because today I had to go for an appointment! I only came across one huge puddle which probably yesterday completed flooded the highway access road I was on.

Because of two rainy days in Houston, I thought a rainy day card was in order, using the Beautiful You Stamp Set. One image has the lady with an umbrella.  Perfect! I sponged on some gray clouds in the sky with Smoky Slate ink with a piece of the Stamping Sponge. Then with one of the squiggly stamps in the set, I stamped rain puddles with  Marina Mist  by stamping off first on scrap paper so the color would be lighter. I actually like the way the puddles turned out!

If there is one thing I think you should buy from the Occasions Catalog, it would be the Watercolor Pencils! I love these and they are so easy to use!  Just barely color in, scribble if you like, then blend with the Blender Pen which smooths it all out! I colored in the lady’s clothes in this way.

To jazz up the card a little, I paper-pieced the umbrella.  That means I stamped the umbrella part of the stamp on a piece of designer paper and then cut it out. A very easy technique for something a little different. It just adds a little interest!  I thought this Houston lady, out in the rain, should look snazzy with her colorful umbrella!

What a great way we have to express ourselves with stamps, ink and paper! We can even make a card for a rainy day – and other than maybe baking chocolate chip cookies, what else is better to do on a dark and gray rainy day than to stamp?!

Get your stamps, ink and paper plus accessories at Stampin’ Up!

The Stampin’ Up! Party Animal Circus Elephants

The Stampin' Up! Party Animal Circus Elephants

This new designer series paper from Stampin’ Up! in the Occasions Catalog is called Party Animal, and when I saw the pattern with all the animals on it, the elephants jumped out at me. Just recently it was announced that the Ringling Bros. Barnum and Bailey Circus would be shutting down in May after 146 years, so the elephants on this paper made me think of the circus elephants.  Of course, the circus elephants were taken out of the circus several months ago, and that may have contributed to the decline in interest in the Barnum and Bailey Circus among other circumstances. Even though I have not really been that much of a circus person, I know I have been to several performances in my lifetime, and I think it will always be thought of as an American tradition.

I  think the animals on this Party Animal Designer Series Paper look so cute with their party hats on! I decided to just cut out one of the elephants from the designer paper and adhere him to an Emerald Envy piece of cardstock, punched with the 1 3/4″ Circle Punch. Then I found a Layering Circle Framelit with a scalloped edge to die cut a piece of Crushed Curry to layer underneath the punched circle.

I started the card with a Whisper White Thick Cardstock base and layered it with a narrow strip of the squiggly pattern of the paper just on the left and then a thin strip of Emerald Envy cardstock before I layered on the animal pattern.  The greeting and banner are from the Balloon Adventures Stamp Set.

Does this pattern of the Party Animal Designer Paper remind you of going to the circus, perhaps when you were a child? What was your favorite act??  If you want to see the famed Ringling Bros. Barnum and Bailey Circus before it comes to an end you better find a show to see before May. And maybe the elephants have their party hats on and are enjoying their retirement.

To purchase this paper and other papercrafting and stamping supplies, please visit my Stampin’ Up! Online Store HERE!

Stitched Shapes Framelits Dies Are Available Again!

If you recall, back in November, Stampin’ Up! released these new Stitched Shapes Framelits Dies as an early release from the upcoming new Stampin’ Up! Catalog. Well, they were SO popular that Stampin’ Up! couldn’t keep up with the demand until they got a lot more in stock! Well, that day was yesterday so now the Stitched Shapes Framelits Dies are available again!  I ordered mine at the time and have been using them ever since.  I really love these dies!  They just add a little something to the piece with the stitched look, just a little something that looks really nice.  And as stampers, we are always looking for that little extra that finishes a card or project.

Easy Ghirardelli Candy Holder

Here is just one sample I made with the Stitched Framelits Dies to add that stitched look border to my greeting, If you have some of the other shape dies with the scalloped edges, you can add another layer underneath the stitched shape and it adds a nice look, too.

Watch this Stampin’ Up! video for more ideas on using these framelits!  Then go to Stampin’ Up! Online and order yours today! (And remember, these were originally released before the holidays!!)

Check out these dies and other products at Stampin’ Up! today!  And don’t forget, with every $50 purchase you get a FREE Sale-A-Bration product!

Shop Stampin’ Up! Online!