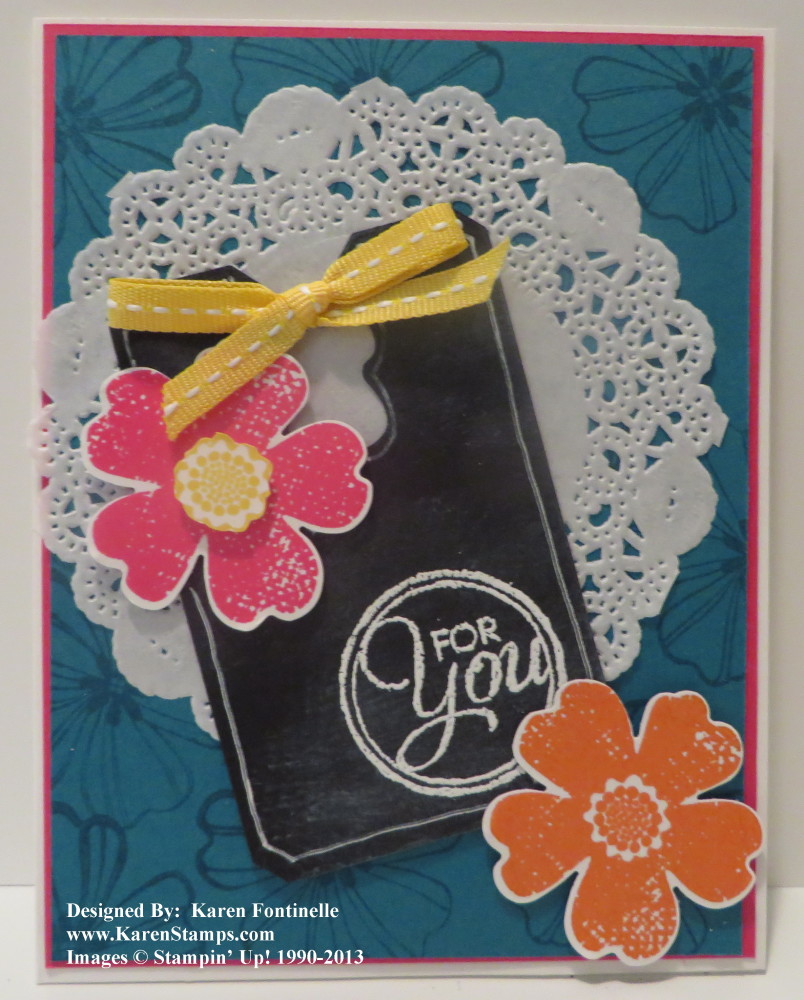
We have some kind of flowers back along the fence with long stems and lots of small flowers in pinks and whites. This morning they looked especially beautiful blooming in all their glory! And those flowers inspired this card.
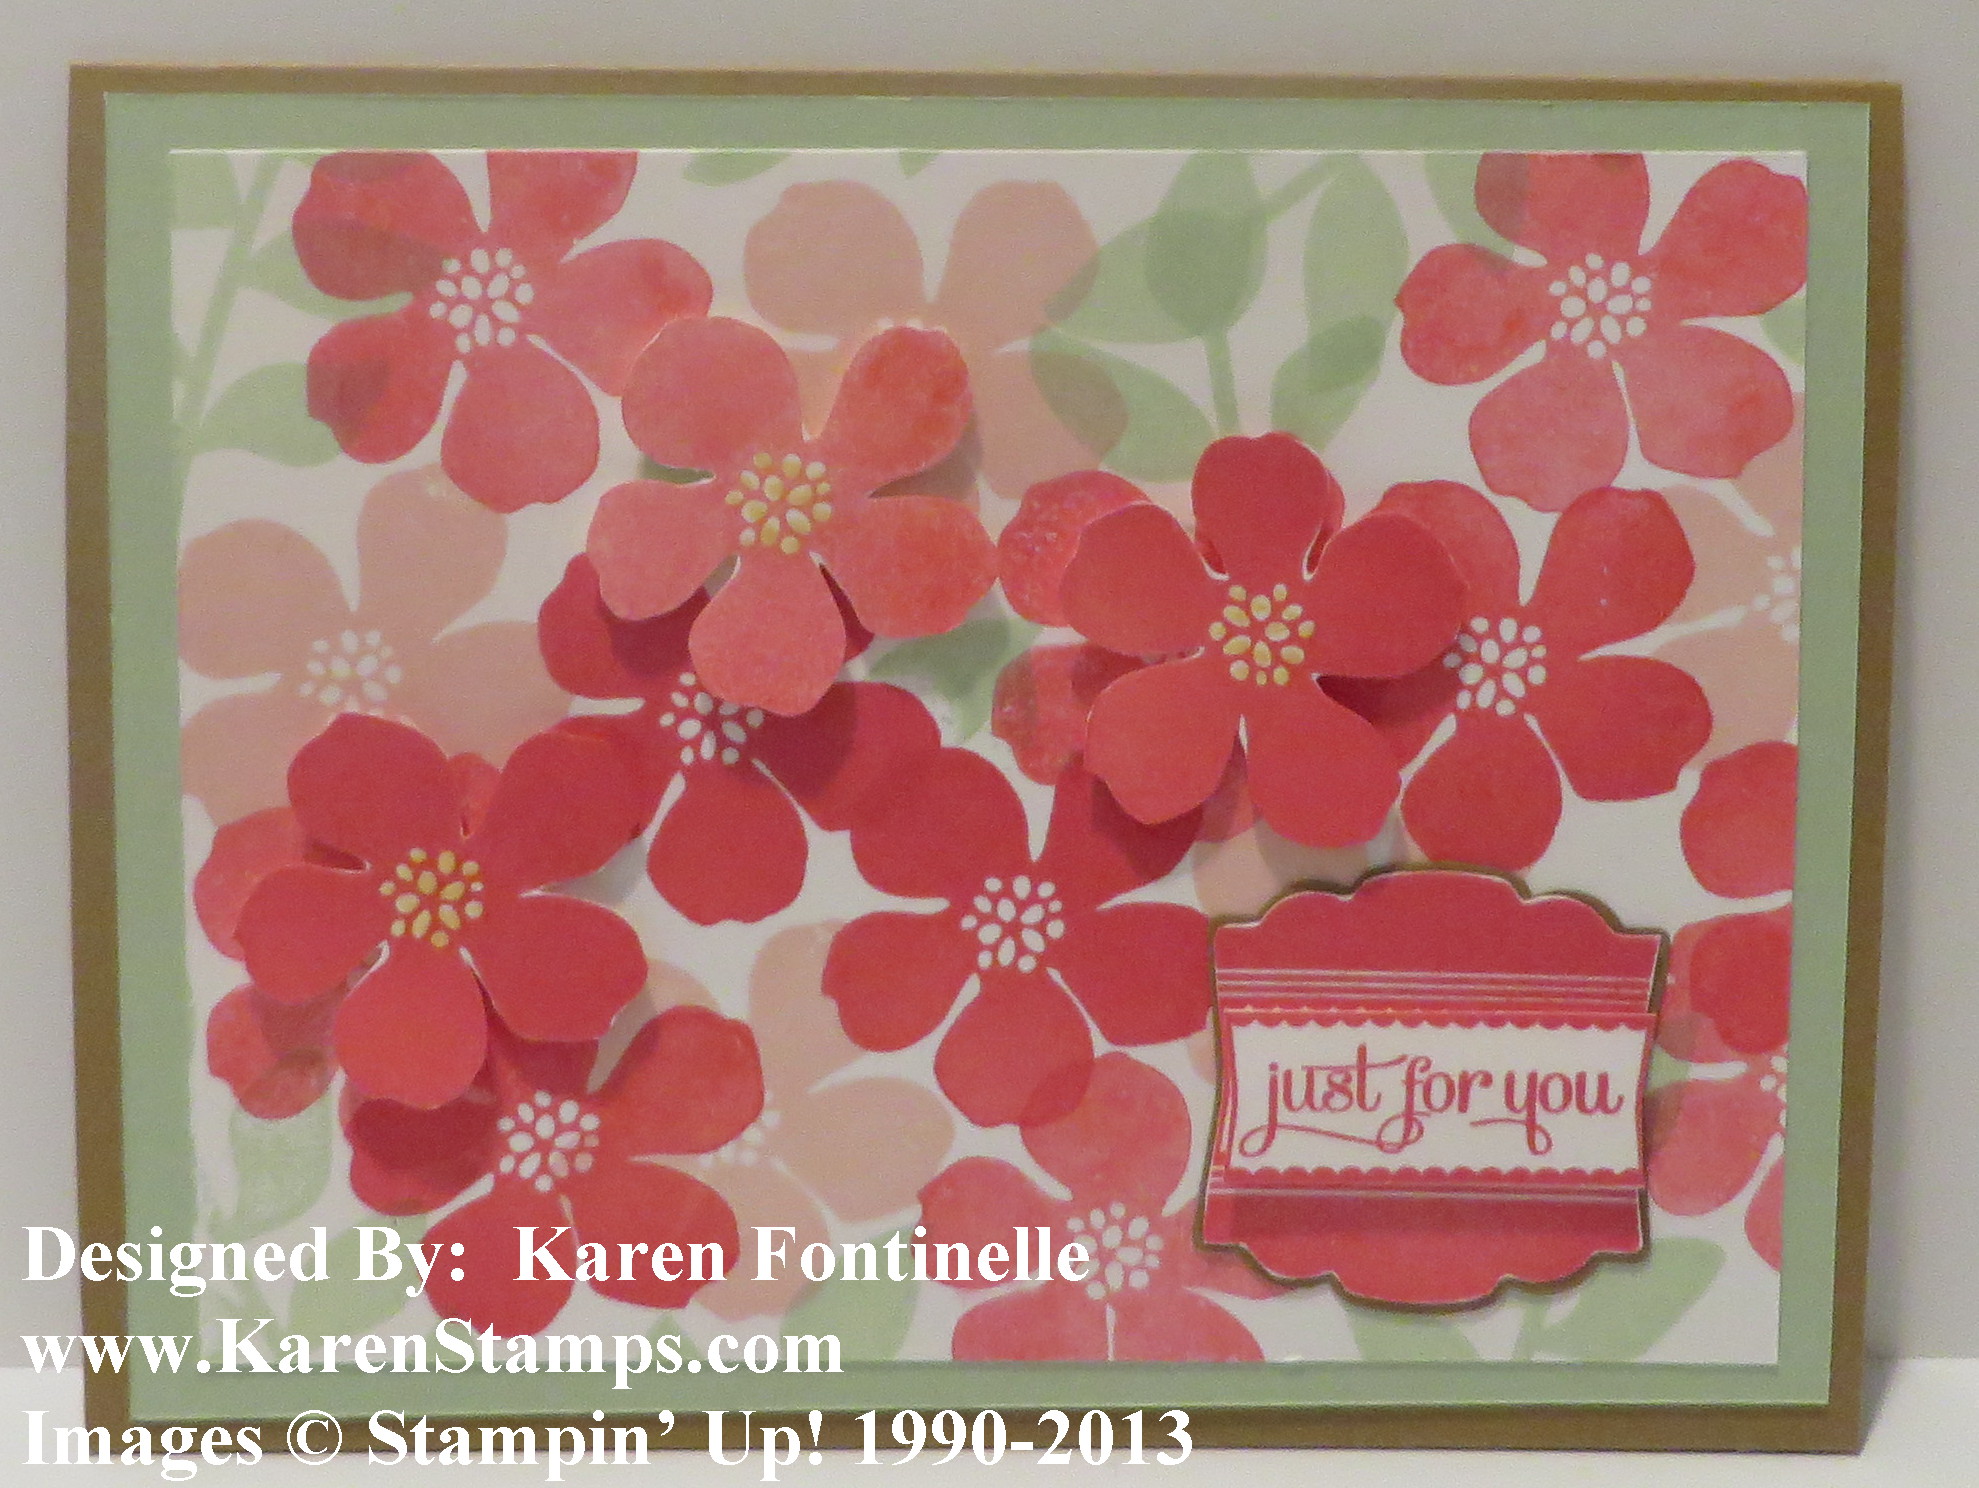
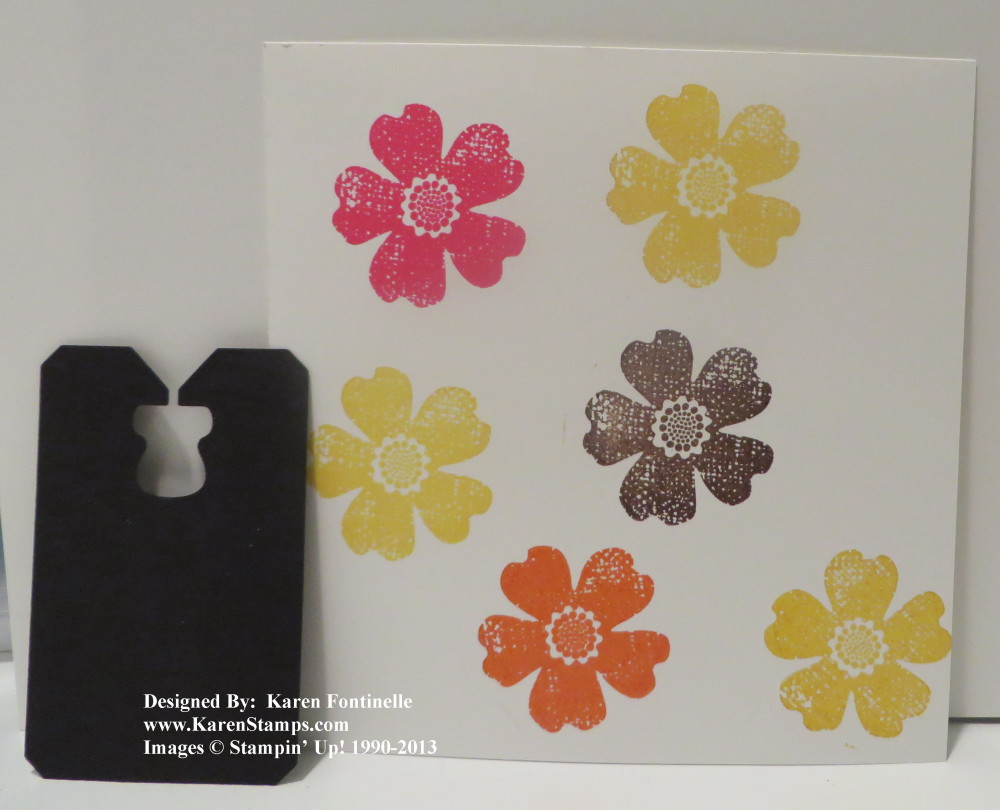
Since I couldn’t stamp white flowers on Whisper White card stock, I stamped flowers from the Secret Garden stamp set in Pink Pirouette and Strawberry Slush (with some flowers stamped off once to give a lighter shade) with three flowers cut out with Paper Snips (cuz I forgot we had matching framelits, oh well!!) and popped up on Stampin’ Dimensionals. The greeting is from the stamp set Label Love and punched out with the Artisan Label Punch. Actually the greeting is trimmed a bit so I could layer over the punched piece of Baked Brown Sugar card stock. I stamped it twice and cut out the strip with “just for you” so I could pop it up with dimensionals. Three new In Colors were used on this card: Strawberry Slush, Baked Brown Sugar, and Pistachio Pudding.
With so many flowers stamped on my card stock, it’s almost like I made my own designer paper! You can do the same thing!
For any Stampin’ Up! supplies, please visit my Online Store here!