Category Archives: Cards

Santa’s Sleigh Modern Christmas Tree Card

Santa's Sleigh Modern Christmas Tree Card

Yesterday I posted this card on my blog to draw attention to my 12 Weeks of Christmas holiday emails beginning, but today I thought I would tell you about the card Santa’s Sleigh Modern Christmas Tree Card itself.  The reason I bought this stamp set, Santa’s Sleigh, was for the sleigh and the reindeer and the beautiful framed art in the Holiday Catalog on page 24. But I haven’t gotten around to playing with those yet!  However, I have seen a lot of pretty cards made with this modern looking Christmas tree. Of course it wouldn’t have to be a Christmas tree, it could be any tree!

The card base is Crumb Cake, but Early Espresso is also a coordinating color with the designer paper, Warmth & Cheer Designer Series Paper Stack.  I love this paper stack and you certainly will be able to use it during the winter past Christmas!  If you have any left by then! The designer paper is layered on a piece of Garden Green. I was trying to keep this card super simple since I was in a rush, but after I stamped the tree and the packages, I thought it would be fun to color in a little bit and cut out the bows for the packages and pop up the little teddy bear. I also used the Clear Wink of Stella Glitter Brush on the tree branches, although it doesn’t show up in the photograph.  I used the Gold Wink of Stella Glitter Brush on the star at the top of the tree.  The greeting is in the stamp set and I just cut a very narrow piece of paper after it was stamped so it would fit on the front of the card!  Just stamping this card gave me ideas for other cards.

You can get this Santa’s Sleigh Photopolymer Stamp Set and the matching framelit dies in the Santa’s Sleigh Bundle and save 10%!

If you would like to make some cards and many other projects with this Santa’s Sleigh stamp set or Bundle, you can shop at the Stampin’ Up! Online Store HERE!

12 Weeks of Christmas Holiday Emails Begin Today! Sign Up Now!

Santa's Sleigh Modern Christmas Tree Card

Today is the day!  My weekly holiday emails, the 12 Weeks of Christmas, begin this afternoon at 1:00 pm Central Time.  Do you like to get new ideas for projects?  I love seeing more and more ideas! Almost as much as I love stamping and making them!

If  you would like to receive a holiday idea each week between now and Christmas (can you believe it??) for Christmas cards, handmade Christmas gifts, and finally gift bags and tags with which to wrap your gifts, then join my Stamping With Karen Mailing List by signing up in the red mailing list box in the upper right of my blog!

These holiday emails are a gift to my subscribers. In the past I have gotten a lot of positive response from the ideas, and it is wonderful to hear from everyone.

The only way to see these ideas is to be a subscriber and get my 12 Weeks of Christmas emails, so sign up before 1:00 pm Central Time today to get the first one! They will go out every Wednesday for 12 weeks! They will not be posted on my blog, Facebook, Instagram or anywhere else.  Just for my subscribers.

Okay, stop reading and go fill out your first name and email in the sign up box at the top! You even get a gift when you sign up! If you are already receiving my email newsletters, then you don’t need to do anything.  You’re on my list!

Join my Stamping With Karen mailing list today and receive the 12 Weeks of Christmas holiday emails!

Less Than 24 Hours Until My 12 Weeks of Christmas Holiday Emails Begin!

!2 Weeks of Christmas Banner


Do you love to get ideas for handmade Christmas cards, holiday gifts, gift wrap ideas and holiday tags?

If so, then you will want to be on my Stamping With Karen mailing list!  In less than 24 hours, I will begin sending out my 12 Weeks of Christmas Holiday Emails, and the only way you can get them is to be on my mailing list!

Sign Up in the red Mailing List sign up in the upper right corner of my blog!

Every week on Wednesday at 1:00 pm Central Time you are going to receive via email a holiday project idea complete with instructions and list of supplies. We will start with Christmas cards, then some gift ideas, and finally wrapping ideas, bags and tags.  You can copy these ideas or use them for inspiration to come up with your own creations!

The 12 Weeks of Christmas emails are a gift from me to my newsletter subscribers! I appreciate your loyalty and interest and hope that you enjoy these extra holiday ideas! These projects will not be seen on my blog, Facebook page or anywhere else, just in this special email. By the end of twelve weeks, you will have twelve wonderful holiday projects that you can complete or be inspired by!

If you would like to receive these 12 Weeks of Christmas Holiday Emails, you must be subscribed to my mailing list by October 5th at 1:00 pm Central time or you will not receive these great projects!

Sign up in the red Mailing List Box in the upper right side column of my blog! You will also get a free gift just for signing up!

*If you already receive my regular newsletters, then you are already on my list and will be getting the 12 Weeks of Christmas emails. You do not need to do anything!

I hope you will join us for 12 terrific holiday ideas! There’s nothing I like better than looking for more and more ideas!

Stamping with Karen 12 Weeks of Christmas

Best Tips and Tricks for Using Fast Fuse Adhesive by Stampin’ Up!

Celebrate World Card Making Day Stampin' Up! Specials

Stampin’ Up! has special offers for you to celebrate World Card Making Day except the specials last through Wednesday, October 5th! One of the deals is to buy a Fast Fuse Adhesive and get a refill FREE (a $7.50 value!)! Fast Fuse works great where you want a strong hold, like making a box yourself!

Fast Fuse Adhesive for Box

Handmade Box Embossed Paper


When Stampin’ Up! first came out with Fast Fuse a few years ago, I did not have much luck with it, admittedly! I probably ruined a few rolls of adhesive before I got the hang of it, and even then, I didn’t always have the hang of it!  If it worked for me, it was probably just luck. But then I watched some videos online and kept playing with it, and now I can say I really like Fast Fuse!  I probably even use it more than I use SNAIL Adhesive.  So if you have had the same experience and written off Fast Fuse, I would urge you to watch these videos below and see if you can pick up some tips you may have forgotten or never knew about how to use Fast Fuse.

This first video shows the basics of using Fast Fuse and how to fix it if the adhesive has “snapped back” from not breaking at the end of your adhesive line. She says to not open the case!  Even now I sometimes have to roll that little applicator to get the adhesive back in place or pick off the gooby stuff aroun the opening on the case. But otherwise, it works fine and these things are an easy fix.

This second video is Donna Griffith from the Home Office showing how to make a box out of cardstock, which is a great video anyway, but later in the video she also gives tips about using Fast Fuse. If you only want to see that part, skip to about 6:40 in the video. (But I think watching how she makes this cute box is well worth your time and enjoyment!)

Donna suggests not putting your finger on the top of the Fast Fuse case like we are used to doing with SNAIL. I’m not positive that you can’t use it with your finger on top, but use a light pressure. I have been trying to remember to NOT put my finger on the top like Donna suggests. Just try it and see what you think. It was good for me to find that first video above again and listen to how this adhesive really works, even if you have been using Fast Fuse. It’s a good review.  I think Fast Fuse works well when you want a really good “stick”. But since it does stick so well, there’s no playing around when adhering your two things.  If you need a little time to move one layer or image around to get it just right, then you might prefer the Multipurpose Liquid Glue which allows for a little bit of repositioning before it sets up.

Here are all the other #WCMD Special Offers from Stampin’ Up!

World Card Making Day Stampin' Up! Discounts

So many great things to shop for at Stampin’ Up!  Check out these World Card Making cardmaking essentials through October 5th, the Designer Series Paper Buy 3 Get 1 Free Offer, the Holiday Catalog, the Clearance Rack and more!  Just click HERE to shop Stampin’ Up! Online!

Happy #WCMD World Card Making Day! Celebrate With Stampin’ Up! and Make a Handmade Card!

World Card Making Day Discounts

Today is World Card Making Day so celebrate with Stampin’ Up! and choose a few things discounted for the occasion!

Check out the In Color cardstock!

And you might like the In Color Envelope Paper to make your own envelopes with the Envelope Punch Board to match your beautiful cards!

Here is a video about the Envelope Punch Board!  You can make more things than envelopes, too!

And the Designer Tin of Cards Project Kit is on sale!  If you need lots of cards, get this kit, enjoy making the cards, and you will be set for awhile! And we should all be sending more cards!

And last but not least – Buy one Fast Fuse Adhesive and get a refill free (a $7.50 value)!

Don’t forget!  Select Designer Series Papers are on a special all during October beginning today!  Buy 3, Get One FREE!

Designer Series Paper Sale List of PapersShop Stampin’ Up! for all these great stamping and papercrafting supplies!!

Happy World Card Making Day! Be sure to make a card for someone today and mail it!! #WCMD


Sign Up for Stamping with Karen “12 Weeks of Christmas” Holiday Card and Project Ideas

Gingerbread man and woman for Christmas holidays

Christmas Is Coming!

Do you need ideas for handmade Christmas cards, gifts, wrapping and tags?

If you do, then join my Stamping With Karen mailing list today to receive my special holiday newsletter every week up until Christmas! Sign up in the red Mailing List box in the upper right!

I’m excited to announce that I will begin sending out my annual 12 Weeks of Christmas holiday emails one week from today on Wednesday, October 5, 2016!  Every week you are going to receive via email a holiday project idea complete with instructions and list of supplies.  We will   start with Christmas cards, then some gift ideas, and finally wrapping ideas, bags and tags.

The 12 Weeks of Christmas emails are a gift from me to my newsletter subscribers! I appreciate your loyalty and interest and hope that you enjoy these extra holiday ideas!  These projects will not be seen on my blog, Facebook page or anywhere else, just in this special email. By the end of twelve weeks, you will have twelve wonderful holiday projects that you can complete or be inspired by!

If you would like to receive these 12 Weeks of Christmas holiday emails, you must be subscribed to my mailing list by October 5th at 1:00 pm Central time or you will not receive these great projects!

Sign up in the red Mailing List Box in the upper right side column of my blog! You will also get a free gift just for signing up!

*If you already receive my regular newsletters, then you are already on my list and will be getting the 12 Weeks of Christmas emails. You do not need to do anything!

The 12 Weeks of Christmas emails always get a positive response, so I hope you will join us at Stamping With Karen for this gift I love to send to my newsletter subscribers!

World Card Making Day Is Coming October 1st!

World Card Making Day Discounts

World Card Making Day is coming Saturday, October 1, 2016! Let’s all make and send  AT LEAST one card to someone to brighten their day. Don’t we all love to get real mail in our mailbox rather than all this junk mail that isn’t even worth the trip to get the mail?!

To celebrate #WCMD, Stampin’ Up! will be offering these specials beginning October 1 through October 5. Be sure to check them out in the chart above! The products are pictured below but do not reflect the discounted price YET because the sale does not start until Saturday!

Click on the images above to see them in the Stampin’ Up! Online Store for more information!  Remember, these deals and discounted prices are not available until October 1, 2016!

Purchase the regular Fast Fuse and receive a Fast Fuse Refill free October 1 – 5, 2016.

Let me know if you have any questions!  Start making some cards or getting ideas for cards today to mail on World Card Making Day on Saturday!

First Day of Fall Sheltering Tree

First Day of Fall Sheltering Tree

To celebrate the first day of fall I had to break out my Sheltering Tree Stamp Set that I hadn’t used in awhile. Well, fall begins at 9:20 EDT I think I heard!  I guess at that moment all the trees in my neighborhood will change their leaves to fall colors and the temperature will drop about 30 degrees this afternoon!  Maybe in Houston we need it to drop 40 degrees to get that crisp autumn feel!

What do you enjoy the most about fall?  The cool, crisp air?  The colored leaves? Halloween coming?  I wish I could zap myself right now to somewhere cooler that has colored leaves! Those of you who have colored leaves now or coming can count yourselves lucky!

Sheltering Tree is an all purpose stamp set!  You can stamp the leaves on the tree to be any season you want.  Make them all one color or do like I did and use Stampin’ Write Markers randomly to apply several colors. Then I stamped again with yellow in case I missed any spots.  The set comes with a small stamp of leaves so I used that to put a few leaves on the ground to be raked up with the cute little rake stamp!  The grass can be stamped with just the solid swoosh piece or the individual blades of grass.  I used both.  You also get several nice greetings in the stamp set.  The card base is Garden Green with a layer of Pumpkin Pie.

Enjoy your first day of fall!  Go jump in a pile of leaves! Or stamp something with fall colors!

Shop Stampin’ Up! Online for the Sheltering Tree Stamp Set or fall products in the Holiday Catalog!

Petals & Paisleys Scalloped Tag Thank You Card

Petals & Paisleys Scalloped Tag Thank You Card

The other day I was making several cards with the beautiful Petals & Paisleys Specialty Designer Series Paper, and I think this one, the Petals & Paisleys Scalloped Tag Thank You Card, might be my favorite — well, it’s hard to pick a favorite, I liked them all!  I didn’t even buy the matching stamp set or framelits, just the paper (at least not yet!), but I thought I could make some beautiful cards with just the paper and greetings from other stamp sets.

This package of paper actually surprised me with the different patterns in it. It’s always fun to flip the new paper over and see what pattern is on the other side!  The papers I used on this card are from the same sheet, opposite sides!  I decided to use the patterned paper and leave a wide margin rather than another color of cardstock for a layer. Then the Scalloped Tag Topper Punch came in handy for the focal point on the card. Just cut the paper a smidge under 2 inches to fit into the tag punch. It may seem very narrow, but once the tag is punched and embellished, it is not too small at all.  You could even add layers to it if you wanted.

The greeting is from the Flourishing Phrases Stamp Set.  The ribbon is the Mint Macaron which comes in the Ribbon 3/8″ Trio PackSo great to get three ribbons that coordinate in one package!  And I think these designer papers and ribbon are perfect for any fall or Thanksgiving cards. For a little fun, I added one of the new Brights Enamel Shapes, the heart shape in Rich Razzleberry, to the tag. One thing I love about the Enamel Shapes is that they are pretty flat so easy to mail!

Shop Stampin’ Up! Online for all your stamping and papercrafting supplies!

Petals & Paisleys Cajun Craze Thank You Card

Petals & Paisleys Cajun Craze Thank You Card

Some of the patterns of paper in the Petals & Paisleys Specialty Designer Series Paper may come as a surprise such as the one I used on this Petals & Paisleys Cajun Craze Thank You Card.  You might think almost every paper would have some kind of paisley pattern on it.  But the pack comes with many different patterns! Although I did not purchase the stamp set and framelits that go with the paper (even a Demonstrator can’t have everything!), I knew I could make lots of pretty cards with just the paper, especially for fall.

This design, of course, is one of the most simple you could make for any card. The card base is Rich RazzleberryI adhered the designer paper and added some Mint Macaron ribbon that comes in the Trio Pack in the Holiday Catalog.  The “Thank You” is a greeting in the Flourishing Phrases Stamp Set. It is die cut with the  Layering Oval Framelits as well as the little scalloped layer underneath.  The Oval Framelits are on the Stampin’ Up! Special Offers this week through Wednesday, September 21 so get them at a discount while you can!

And on the inside of the card, I glued a narrow strip (about 1/2″) of designer paper along the bottom edge of a Very Vanilla layer (since the Rich Razzleberry is too dark to write or stamp on for a message or note), just to add a little interest inside the card!

Cards made with the Petals & Paisleys Designer Paper are going to look so elegant, you might want to add an envelope liner to your envelope or glue a piece on the back flap of the envelope!

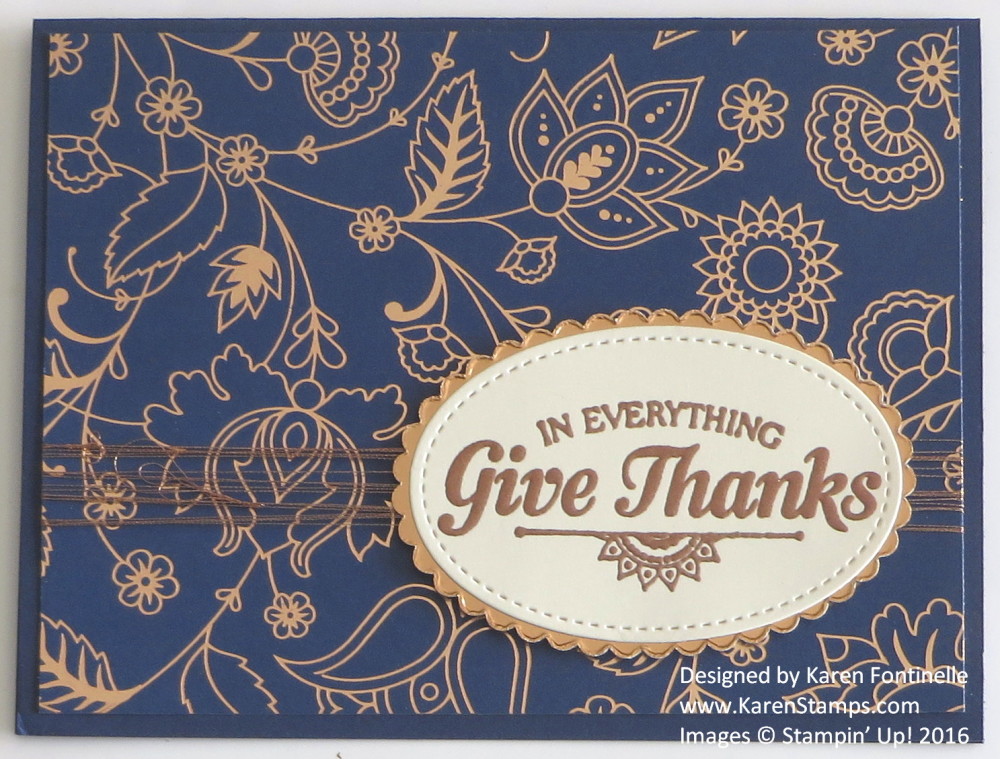
Some designer papers are called “Specialty” because they come with one or two sheets with something special on just one side – like copper foil design in this pack!

Petals & Paisleys Specialty Designer Series Paper Assortment

You know Stampin’ Up! paper always looks better in person, photos just do not do it justice, so just trust me on this one, the paper is beautiful, especially that last blue sheet with the copper foil!

Order your Petals & Paisleys Specialty Designer Series Paper Today!

Check the Stampin’ Up! Clearance Rack also for bargains up to 60% off!


Candy Cane Lane Houses Christmas Card

Candy Cane Lane Houses Christmas CardWhat’s not to love about this Candy Cane Lane Designer Series Paper with all the cute images and pretty patterns?! Once I had the idea, it was very simple to make this Candy Cane Lane Houses Christmas card mostly by just cutting out the cute gingerbread houses on one of the sheets of designer paper.

The card base is just Crumb Cake and covered with a pattern in the Candy Cane Lane DSP that looks like snow. To look almost like real snow, I cut a piece of Dazzling Diamonds Glimmer PaperI measured the width of the card for the strip and then just freehanded the curvy cut. The houses are cut out from the DSP with my Paper Snips and popped up on Stampin’ Dimensionals. Mostly to use another piece of the fun paper, I cut a 3/4″ strip of another pattern to place at the top of the card and tied some Candy Cane Lane Baker’s Twine (the white with red metallic thread!) around the top.  For the greeting, I needed something small and I found this cute greeting in the Oh What Fun Photopolymer Stamp Set.

Here are the Week 2 Special Offers from Stampin’ Up! 

Stampin' Up! Special Offers Week 2

Check out the Stampin’ Up! Special Offers today! Add them to your order!

Swirly Bird Pumpkins Halloween Card

Swirly Bird Pumpkins Halloween Card

I’ve been playing with the pile of extra stamped or cut out pieces on my table and this Swirly Bird Pumpkins Halloween Card is one card I’ve come up with! Sometimes when I am die-cutting pieces with my Big Shot, I cut extra pieces while I am at it and/or sometimes I just change my mind about what I am doing and don’t use the pieces I cut out.  Instead of throwing them all out, save the decent ones (in a pile on your table!) and if they don’t collect too much dust, get them out one day and see what you can make with them!

On this card, I had extra Swirly Scribbles Thinlits Dies pieces plus used the Swirly Bird Stamp Set to stamp the solid pumpkin image in Peekaboo Peach, one of the new In Colors and the little vines on the pumpkins. The pumpkin stems are pieces cut from leaves made with the Botanical Builder Framelits Dies.  The colorful moon is a Swirly Scribbles die cut sponged with some Pumpkin Pie ink.  The tiny little bats are die cuts from the Home Sweet Home Thinlits DiesI was trying out those new dies and since I had black cardstock I just cut a bunch of bats! They are perfect on this card!

For the background sky of the card, I used my Aqua Painter and various ink colors to make a colorful, spooky night sky! You could also sponge colors on with Stamping Sponges or Sponge Daubers.

While I don’t necessarily think this is my best card ever, it was fun playing with the pieces and coming up with a Halloween card! Even though the sky isn’t the best I’ve ever done, it’s okay because it is for Halloween and why couldn’t a fall sky look like this?! Not everything has to be a masterpiece! (I should use that for a quote!)

Look at your scraps (I know you have them!!) and see what you can make! We need to use up those scraps every now and then. They don’t do anyone any good just being in a pile or bag or box.  Use them!  Create something! Mail the card!

Need more cardstock to make more scraps??!  Order some today from

Stampin’ Up! Online!

Paper Pumpkin Buy One Get One Free (BOGO)!

Paper Pumpkin BOGO Ad

What is Paper Pumpkin anyway?  Paper Pumpkin is a surprise papercrafting kit from Stampin’ Up! in a cute red box, wrapped up delightfully inside.
Paper Pumpkin Feb 2014 Box

When the red box shows up in your mailbox around the middle of the month, you get all excited, open it, and find all the supplies you need inside to make the mystery project!  There is a stampin’ spot (mini ink pad), an exclusive set of photopolymer stamps, and all the materials die cut and ready to go, usually adhesive like glue dots or dimensionals, plus directions of course and a link to a video of how to make the project!
September Paper Pumpkin Kit 2014

September Paper Pumpkin Kit Contents

Then when you have some free time for yourself, or your child comes home from school to make a craft with you, or your grandchild comes over and wants to make something, or your sister, grandmother, mother, neighbor loves to make things but doesn’t know how, you sit down and assemble your kit! As you can see, it might be cards, it might be a calendar, a mini album, a home decoration, gift bags, treat bags, you name it! Follow the directions or do your own thing!  The box is yours! Just play and enjoy yourself!

Try out Paper Pumpkin now with the BOGO offer!  Just click HERE to join and use promo code BOGO.

Offer Dates: August 11–October 10, 2016

Use promo code “BOGO” at PaperPumpkin.com. Pay the regular price of $19.95 and get your second month for FREE!

If you subscribe with the promo code between now and September 10, you will pay full price for the September kit and get the October kit FREE. If you subscribe between September 11 and October 10, your first kit will be the October kit and you will get the November kit FREE.

The Fine Print:
IMPORTANT: Offer invalid if subscription is suspended or cancelled during the first two months. In other words, subscribers cannot cancel or suspend their subscription during their first two months—if they do, the offer is void. You can’t put your subscription on hold or cancel until after the first two full months.
After the first two months, the subscription will continue for $19.95 + tax per month (shipping included) unless cancelled or suspended. Ends October 10, 2016.
This offer is open to first-time subscribers only.
Not valid on prepaid subscriptions.
Ends October 10, 2016 (the last day to subscribe and get the October kit).

Except for the first two months of signing up for this offer (because you are buying one kit and getting one free) you can always cancel Paper Pumpkin if it doesn’t live up to your expectations or “pause” your subscription if you get too busy or are on vacation that month or whatever.  No risk involved with Paper Pumpkin!

What is better than a cute red box showing up in your mailbox once a month with a surprise inside?!

JOIN PAPER PUMPKIN TODAY! (receive the September kit and October kit FREE)

(Or wait until October 10 to receive the October and November kits).  Your choice!

Here are some photos of past kits this year!

Paper Pumpkin January 2016

Paper Pumpkin March 2016

Paper Pumpkin April 2016

Paper Pumpkin May 2016

Paper Pumpkin July 2016

For more information or to join to Paper Pumpkin and start getting your Paper Pumpkin Kit in the mail from Stampin’ Up!, click HERE.

The Gnomes Sneaking a Peek at Stampin’ Up!

For your weekend viewing pleasure, I hope you will enjoy these Stampin’ Up! videos about the sneaky gnomes trying to get a peek at the new Holiday Catalog products at the Stampin’ Up! Home Office!  You’ll also get to see some sample projects!  We Demonstrators got to see these videos as our sneak peek at the new products right before we got to preorder and now they are available for our customers to watch!  Enjoy!!

And after you are dying to get your hands on some of these new Holiday Catalog products, just click HERE to shop!

The Stampin’ Up! Holiday Catalog Is Ready For You!

Holiday Catalog 2016 Banner

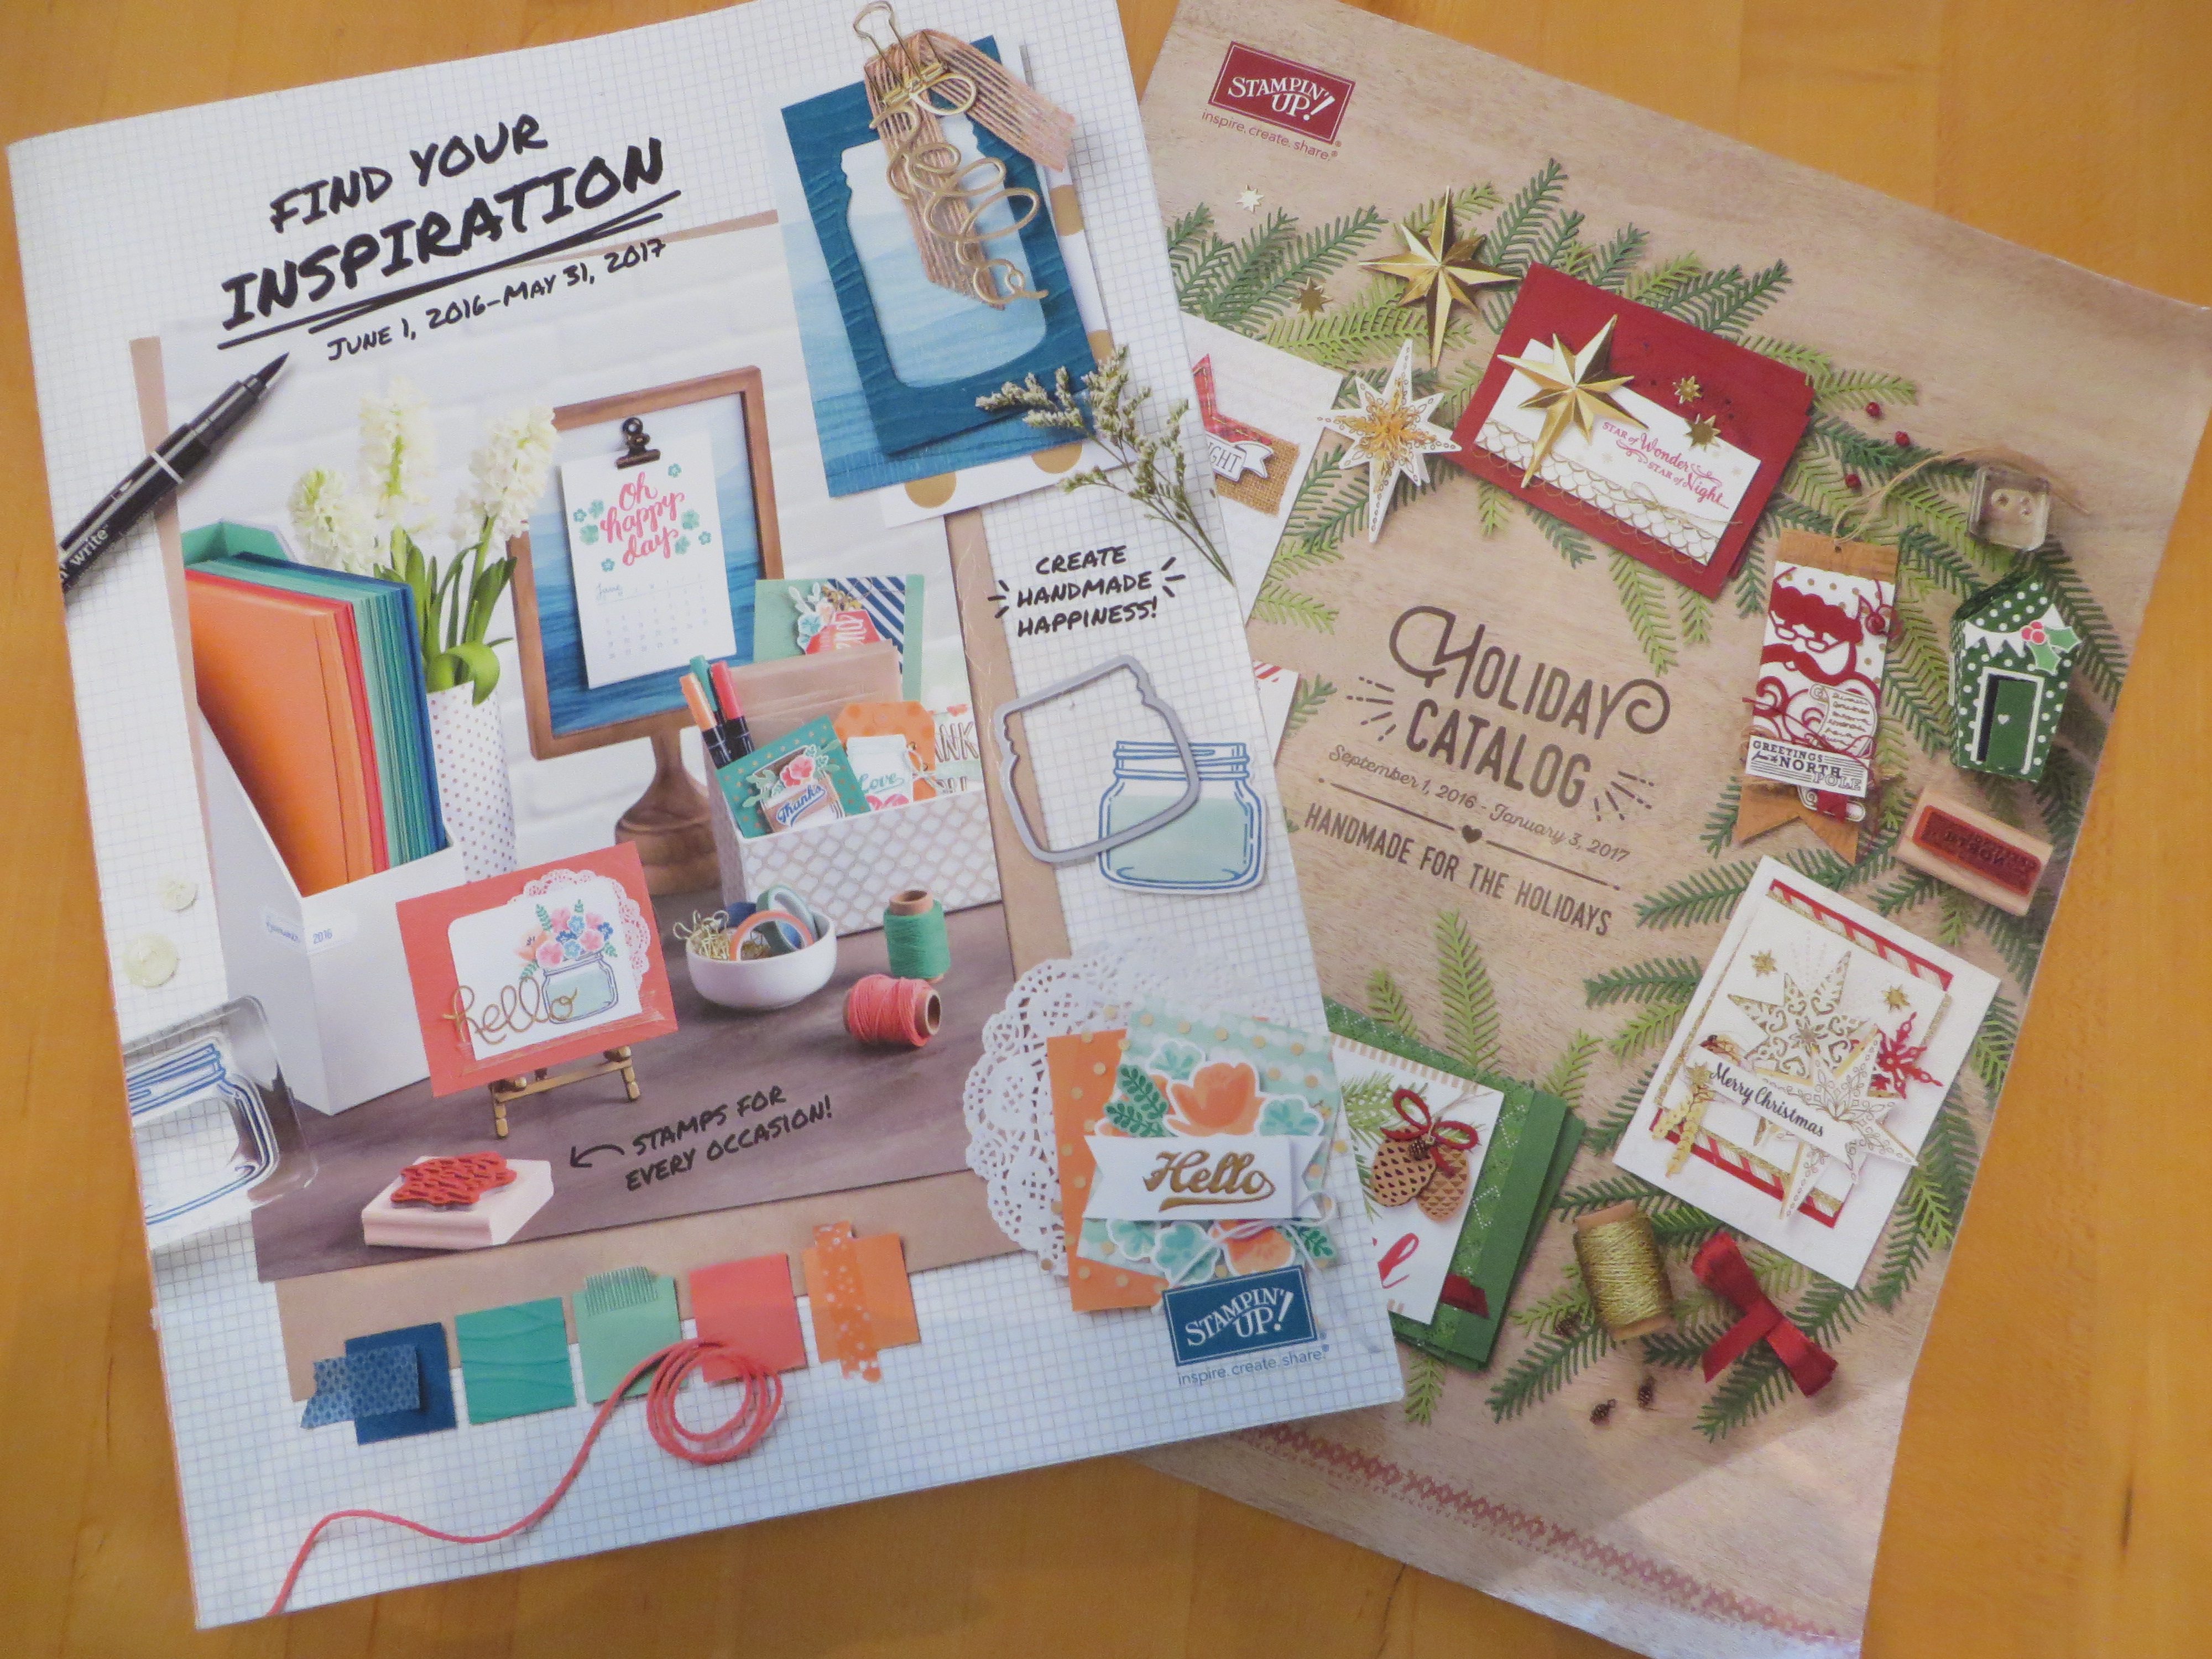
Today is the day!  It’s September 1st (can you believe it?!) and the Stampin’ Up! Holiday Catalog is LIVE!

SHOP THE HOLIDAY CATALOG HERE!

VIEW THE HOLIDAY CATALOG HERE!

Special Offers Week 1

AND Special Offers September 1-7! (Kind of like the old Weekly Deals!) Add these to your order!

New offers Sept. 8 and Sept. 15 also. Don’t know what they are yet, though!  You will love the Enamel Shapes!  Think about the Metallic Enamel Shapes, the star shapes, for the tops of Christmas trees!Stampin' Up! Holiday Houses

Go check out the Stampin’ Up! Holiday Catalog now!  Let me know what you think! If you do not have a Stampin’ Up! Demonstrator you are working with currently, contact me and I would be happy to mail you a catalog!

Shop All Things Stampin’ Up!