Category Archives: Cards

Stampin’ Up! Paper Pumpkin October 2016 Kit Fall Shaker Cards

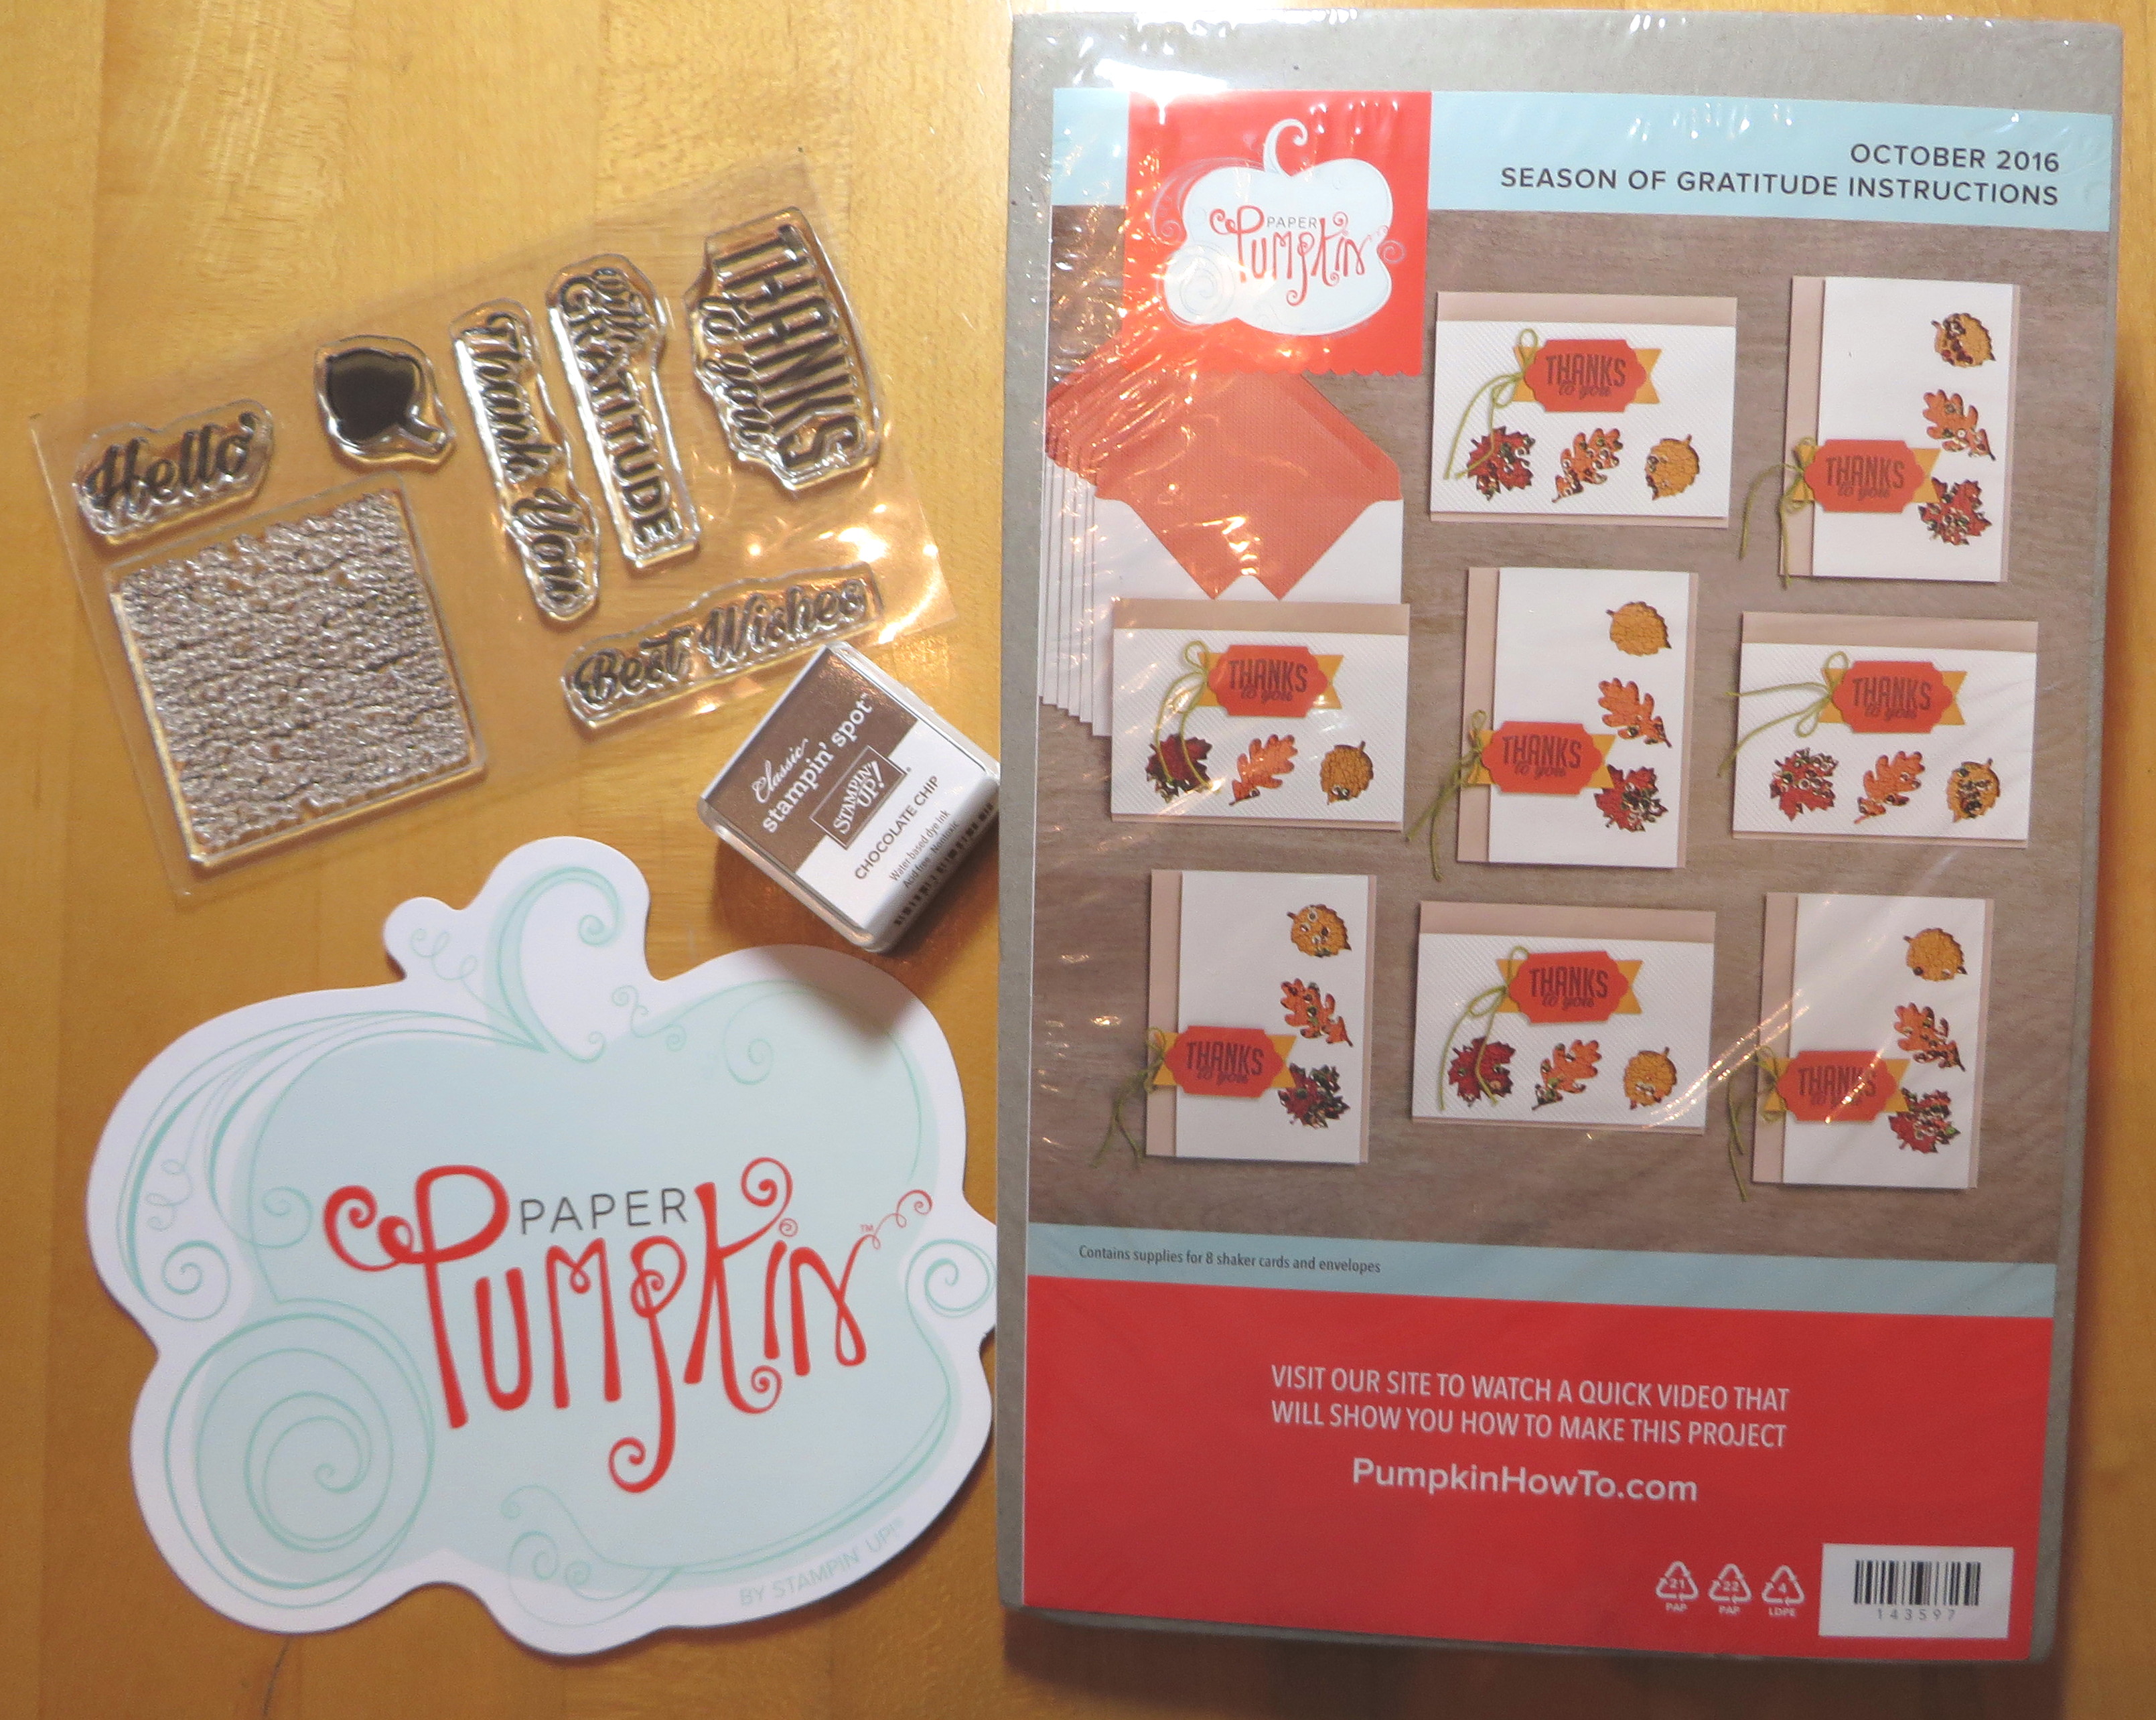
Paper Pumpkin October 2016 Kit Contents

Paper Pumpkin is a subscription kit program by Stampin’ Up! Each month a fully designed project kit arrives at your door filled with stamps, ink, and paper—everything cut and ready to go, so you can skip to the fun. You’ll enjoy fun projects like cards, gift packaging, home décor, and more for just $19.95 a month (shipping included).

Here are the fun contents for the October 2016 Kit we all recently received in the mail! If you didn’t get one, you better join Paper Pumpkin now! Everyone seems thrilled with this kit that makes shaker cards for fall! It’s a surprise every month and I think that’s one of the benefits of the kit!  Be surprised when you get your kit in the mailbox and open it up!

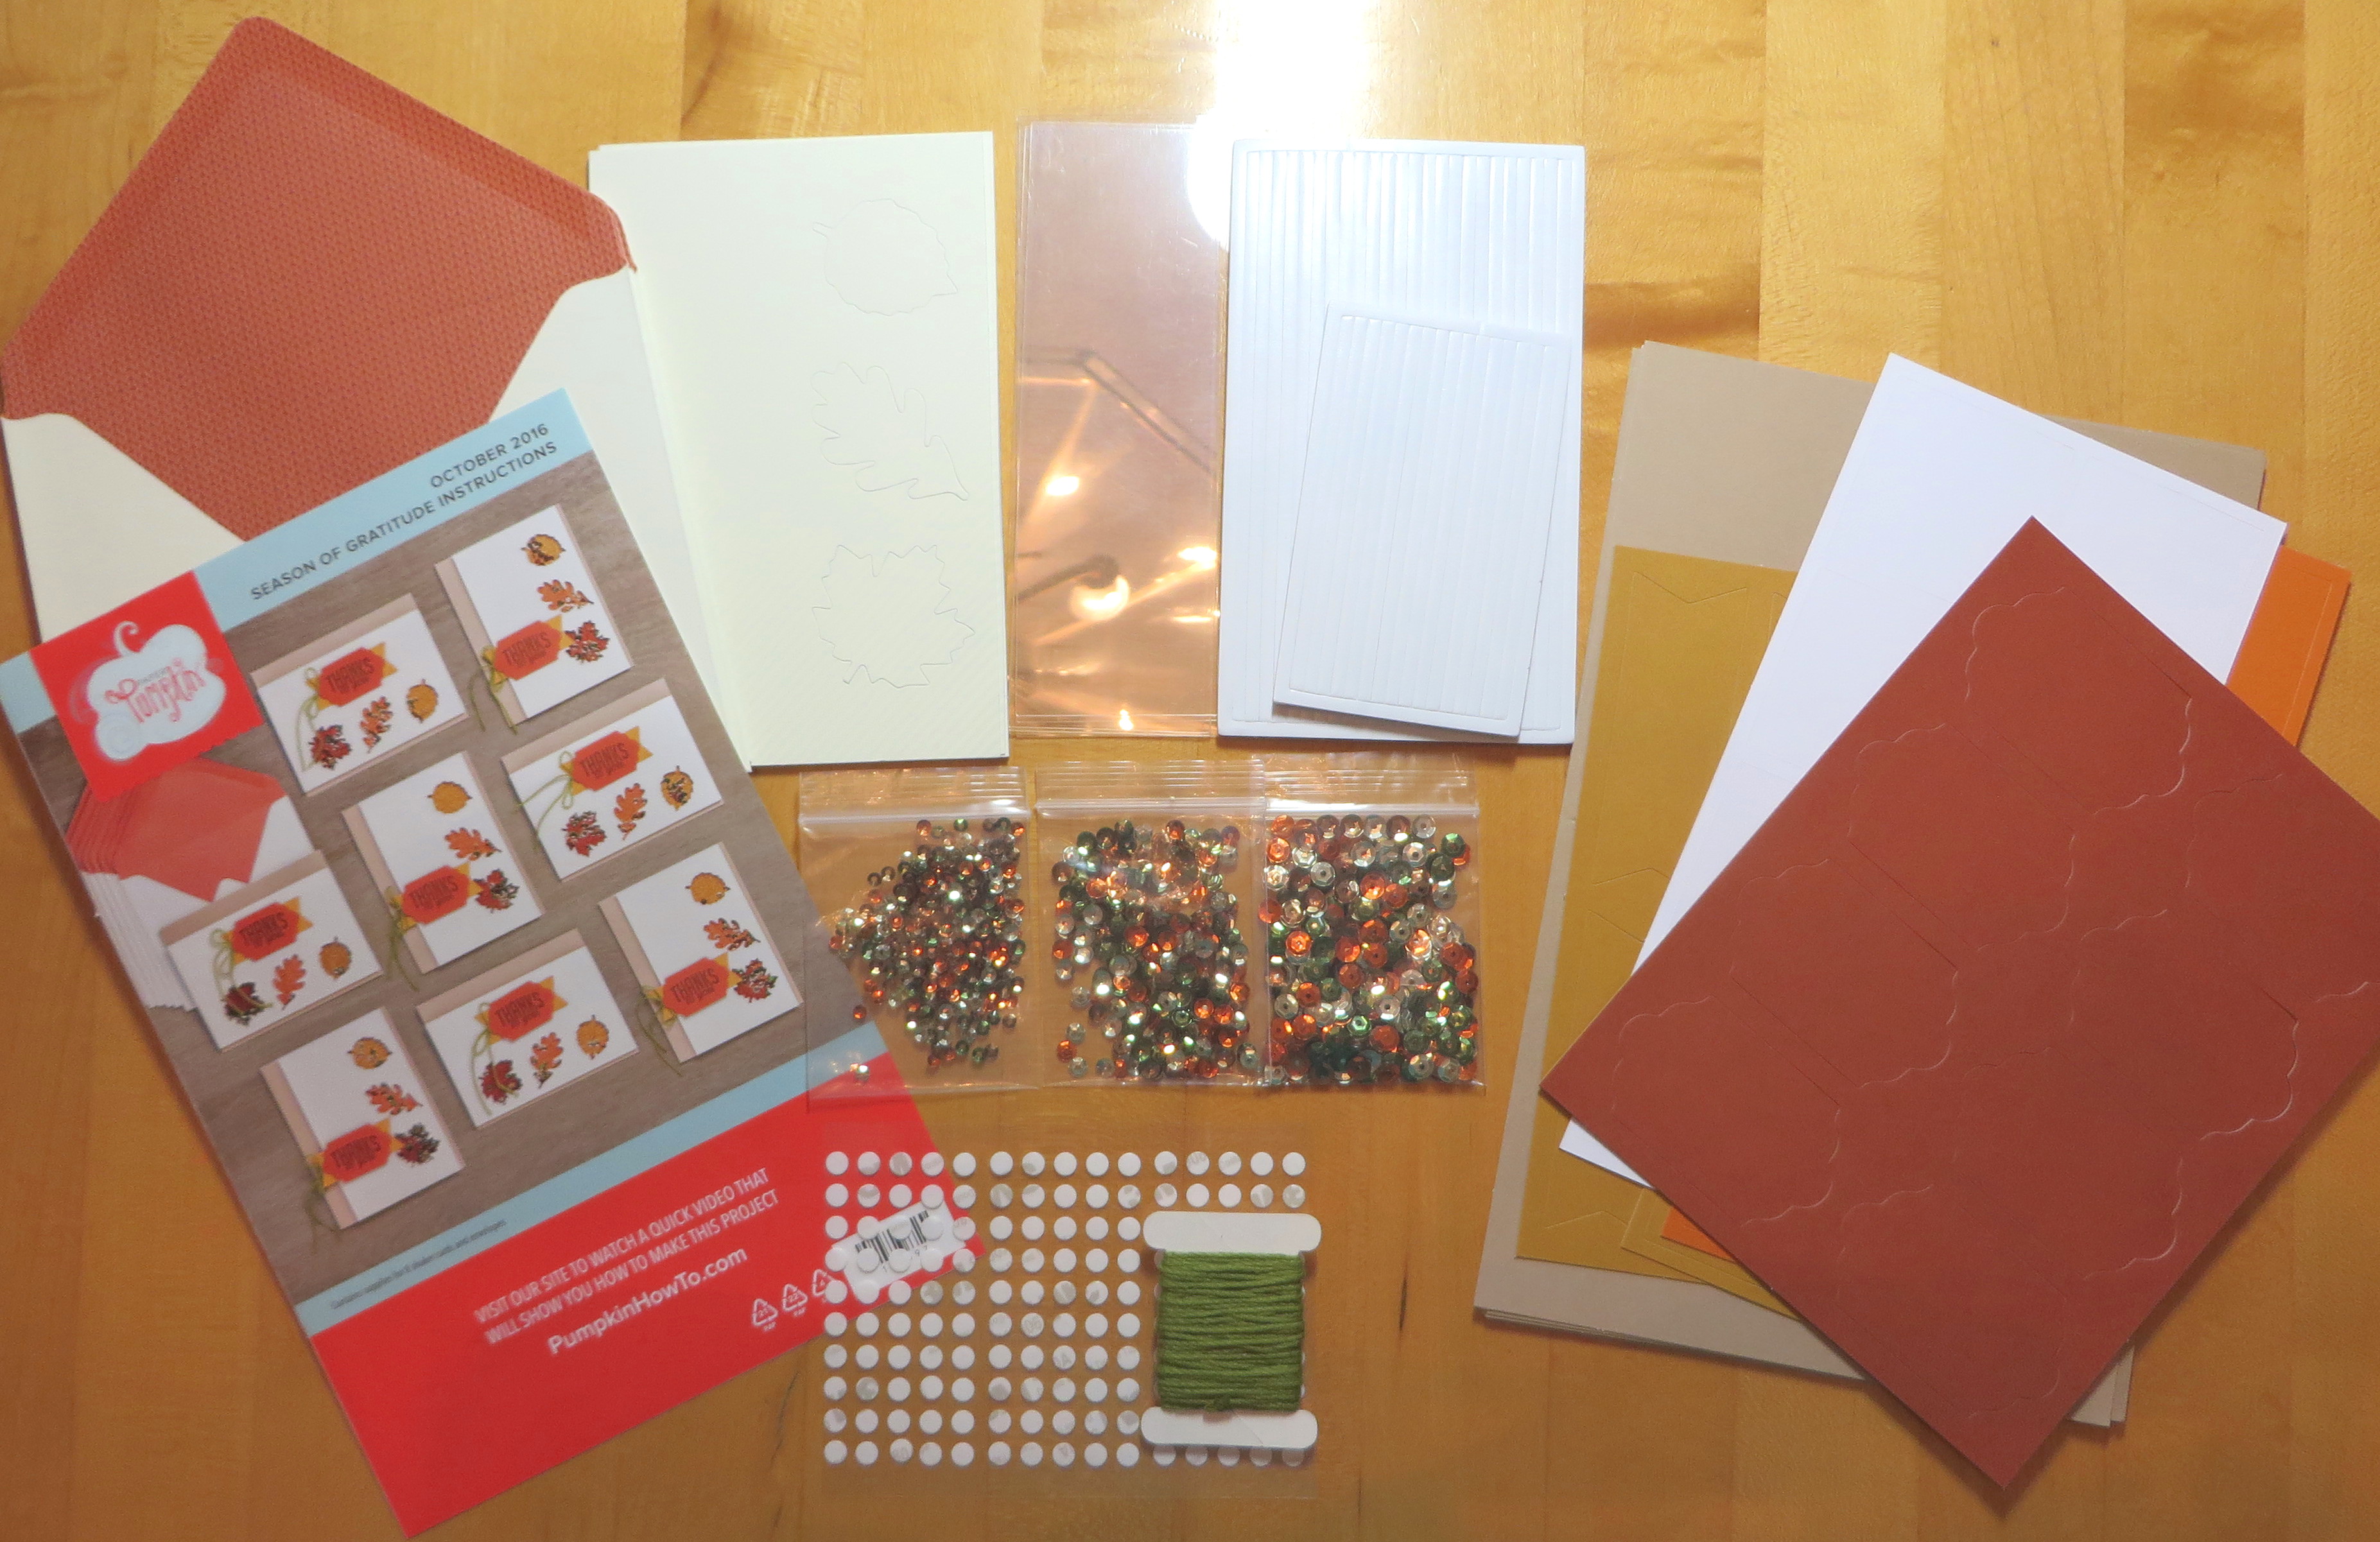
Paper Pumpkin October 2016 Kit More Contents

You get all the supplies you need, a stamp set, ink spot, often times adhesive, directions and always a video to watch! Nothing to think about or design, just sit down and make the Paper Pumpkin project!

Watch the video for this month’s kit!

No point in missing out any longer!  You deserve to have this monthly crafting fun, too! No risk, no obligation. Cancel if you must or just “pause” your subscription now and then if you think you don’t have time that month. You can even go into your account and order an extra kit or more to be sent to you if you want to give someone a gift or have a friend or loved one coming to visit! Try Paper Pumpkin!  I think you will like it!

JOIN PAPER PUMPKIN TODAY!

Jar of Haunts Monsters Halloween Card

Jar of Haunts Monsters Halloween Card

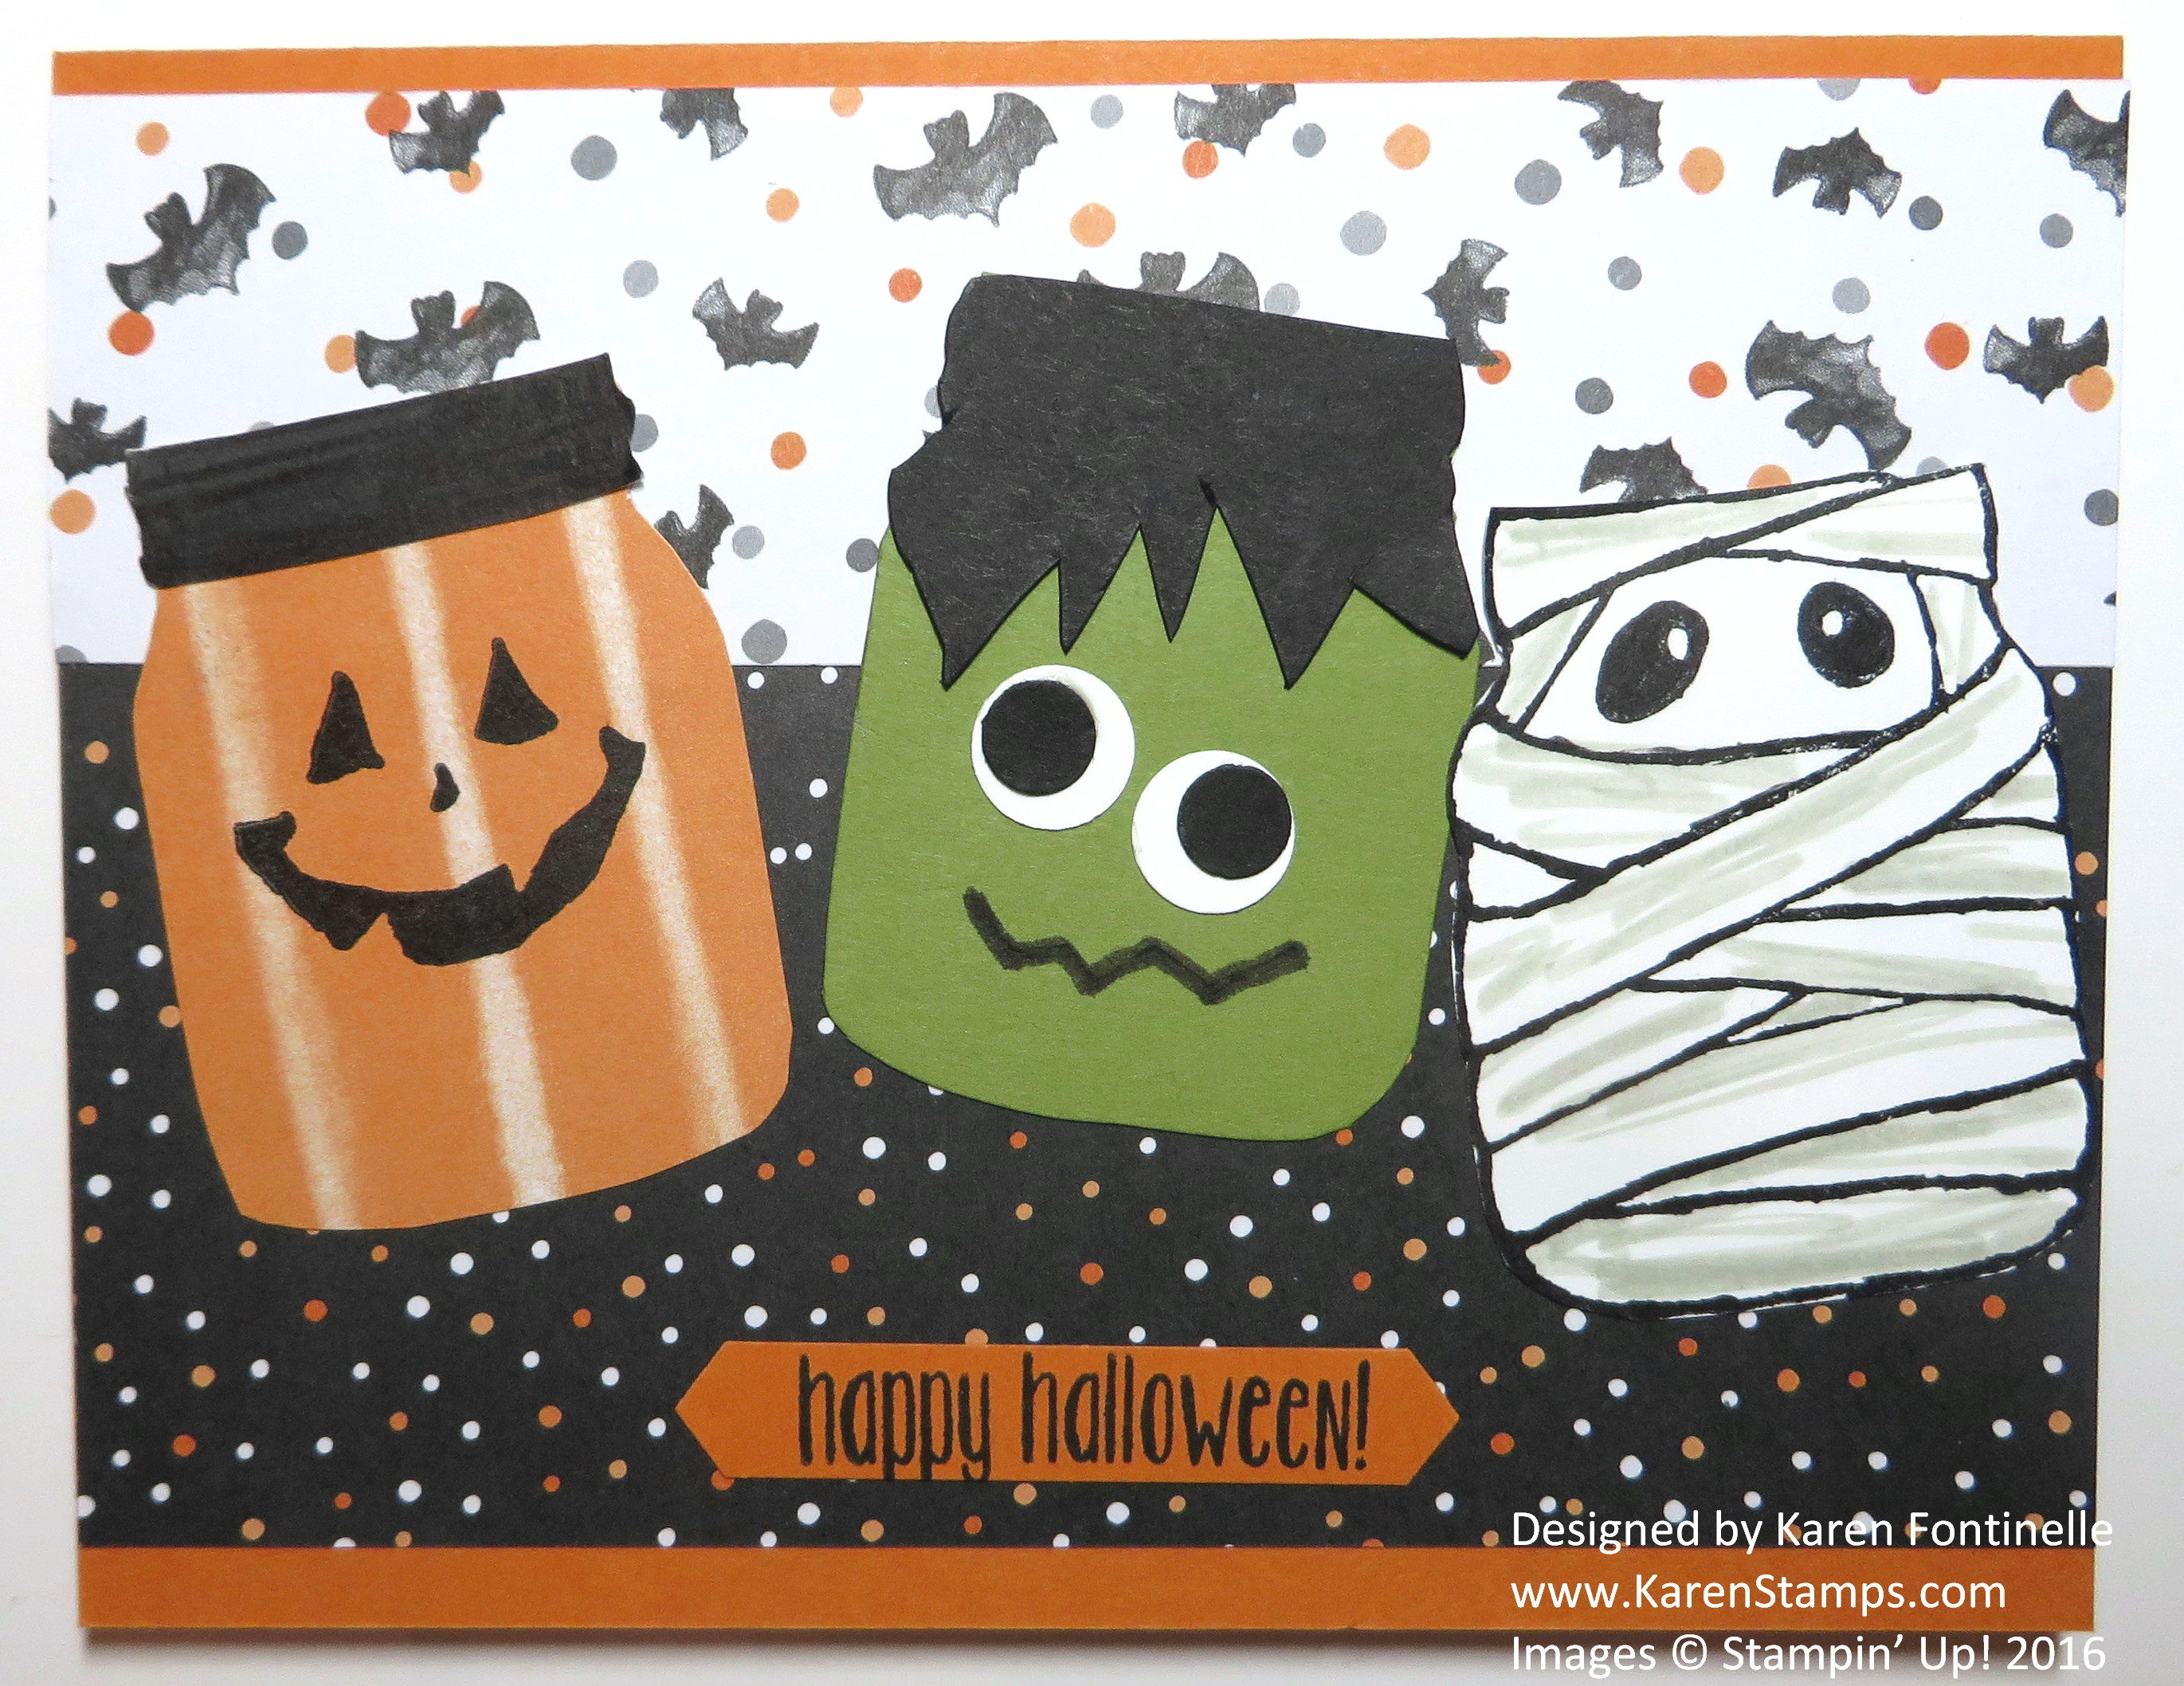
What’s more fun than some cute Halloween monsters?! Maybe Halloween monsters in a jar?! You can play with the Jar of Haunts Photopolymer Stamp Set and come up with all kinds of creations!

The card base is Pumpkin Pie Cardstock with two pieces of designer paper from Halloween Night on the front.  You can stamp the jars on designer paper and cut them out or on cardstock. On two of the jars I traced just the jar lid and cut out to add on. On the Frankenstein jar, I just cut the lid freehand at the bottom.  The eyes are punched with the ever-useful Owl Builder Punch.

The greeting is in the stamp set and punched out with the new Classic Label Punch.

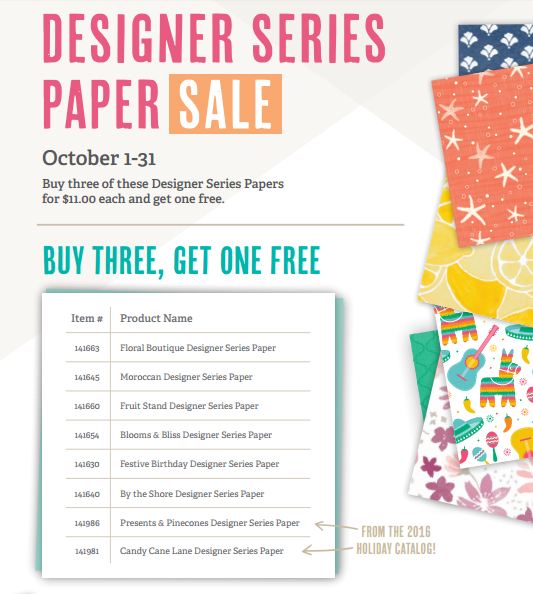
Don’t forget about the Designer Series Paper Sale going on during October! This Halloween Night paper is NOT included because it is a “Specialty” paper. Check the list below.  Buy 3, Get 1 Free!

Designer Series Paper Sale List of Papers


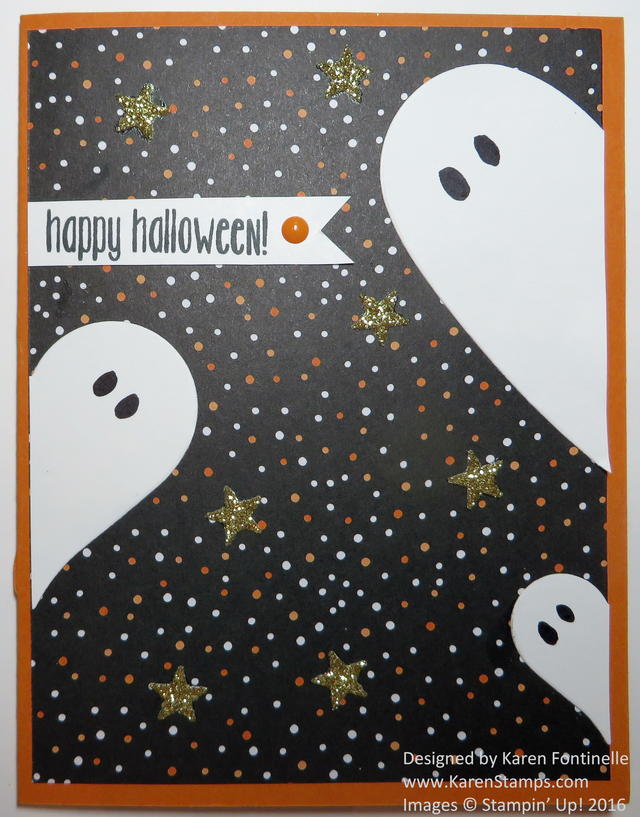
How to Make Ghosts Out of Hearts for Halloween

how-to-make-ghosts-out-of-hearts-for-halloween

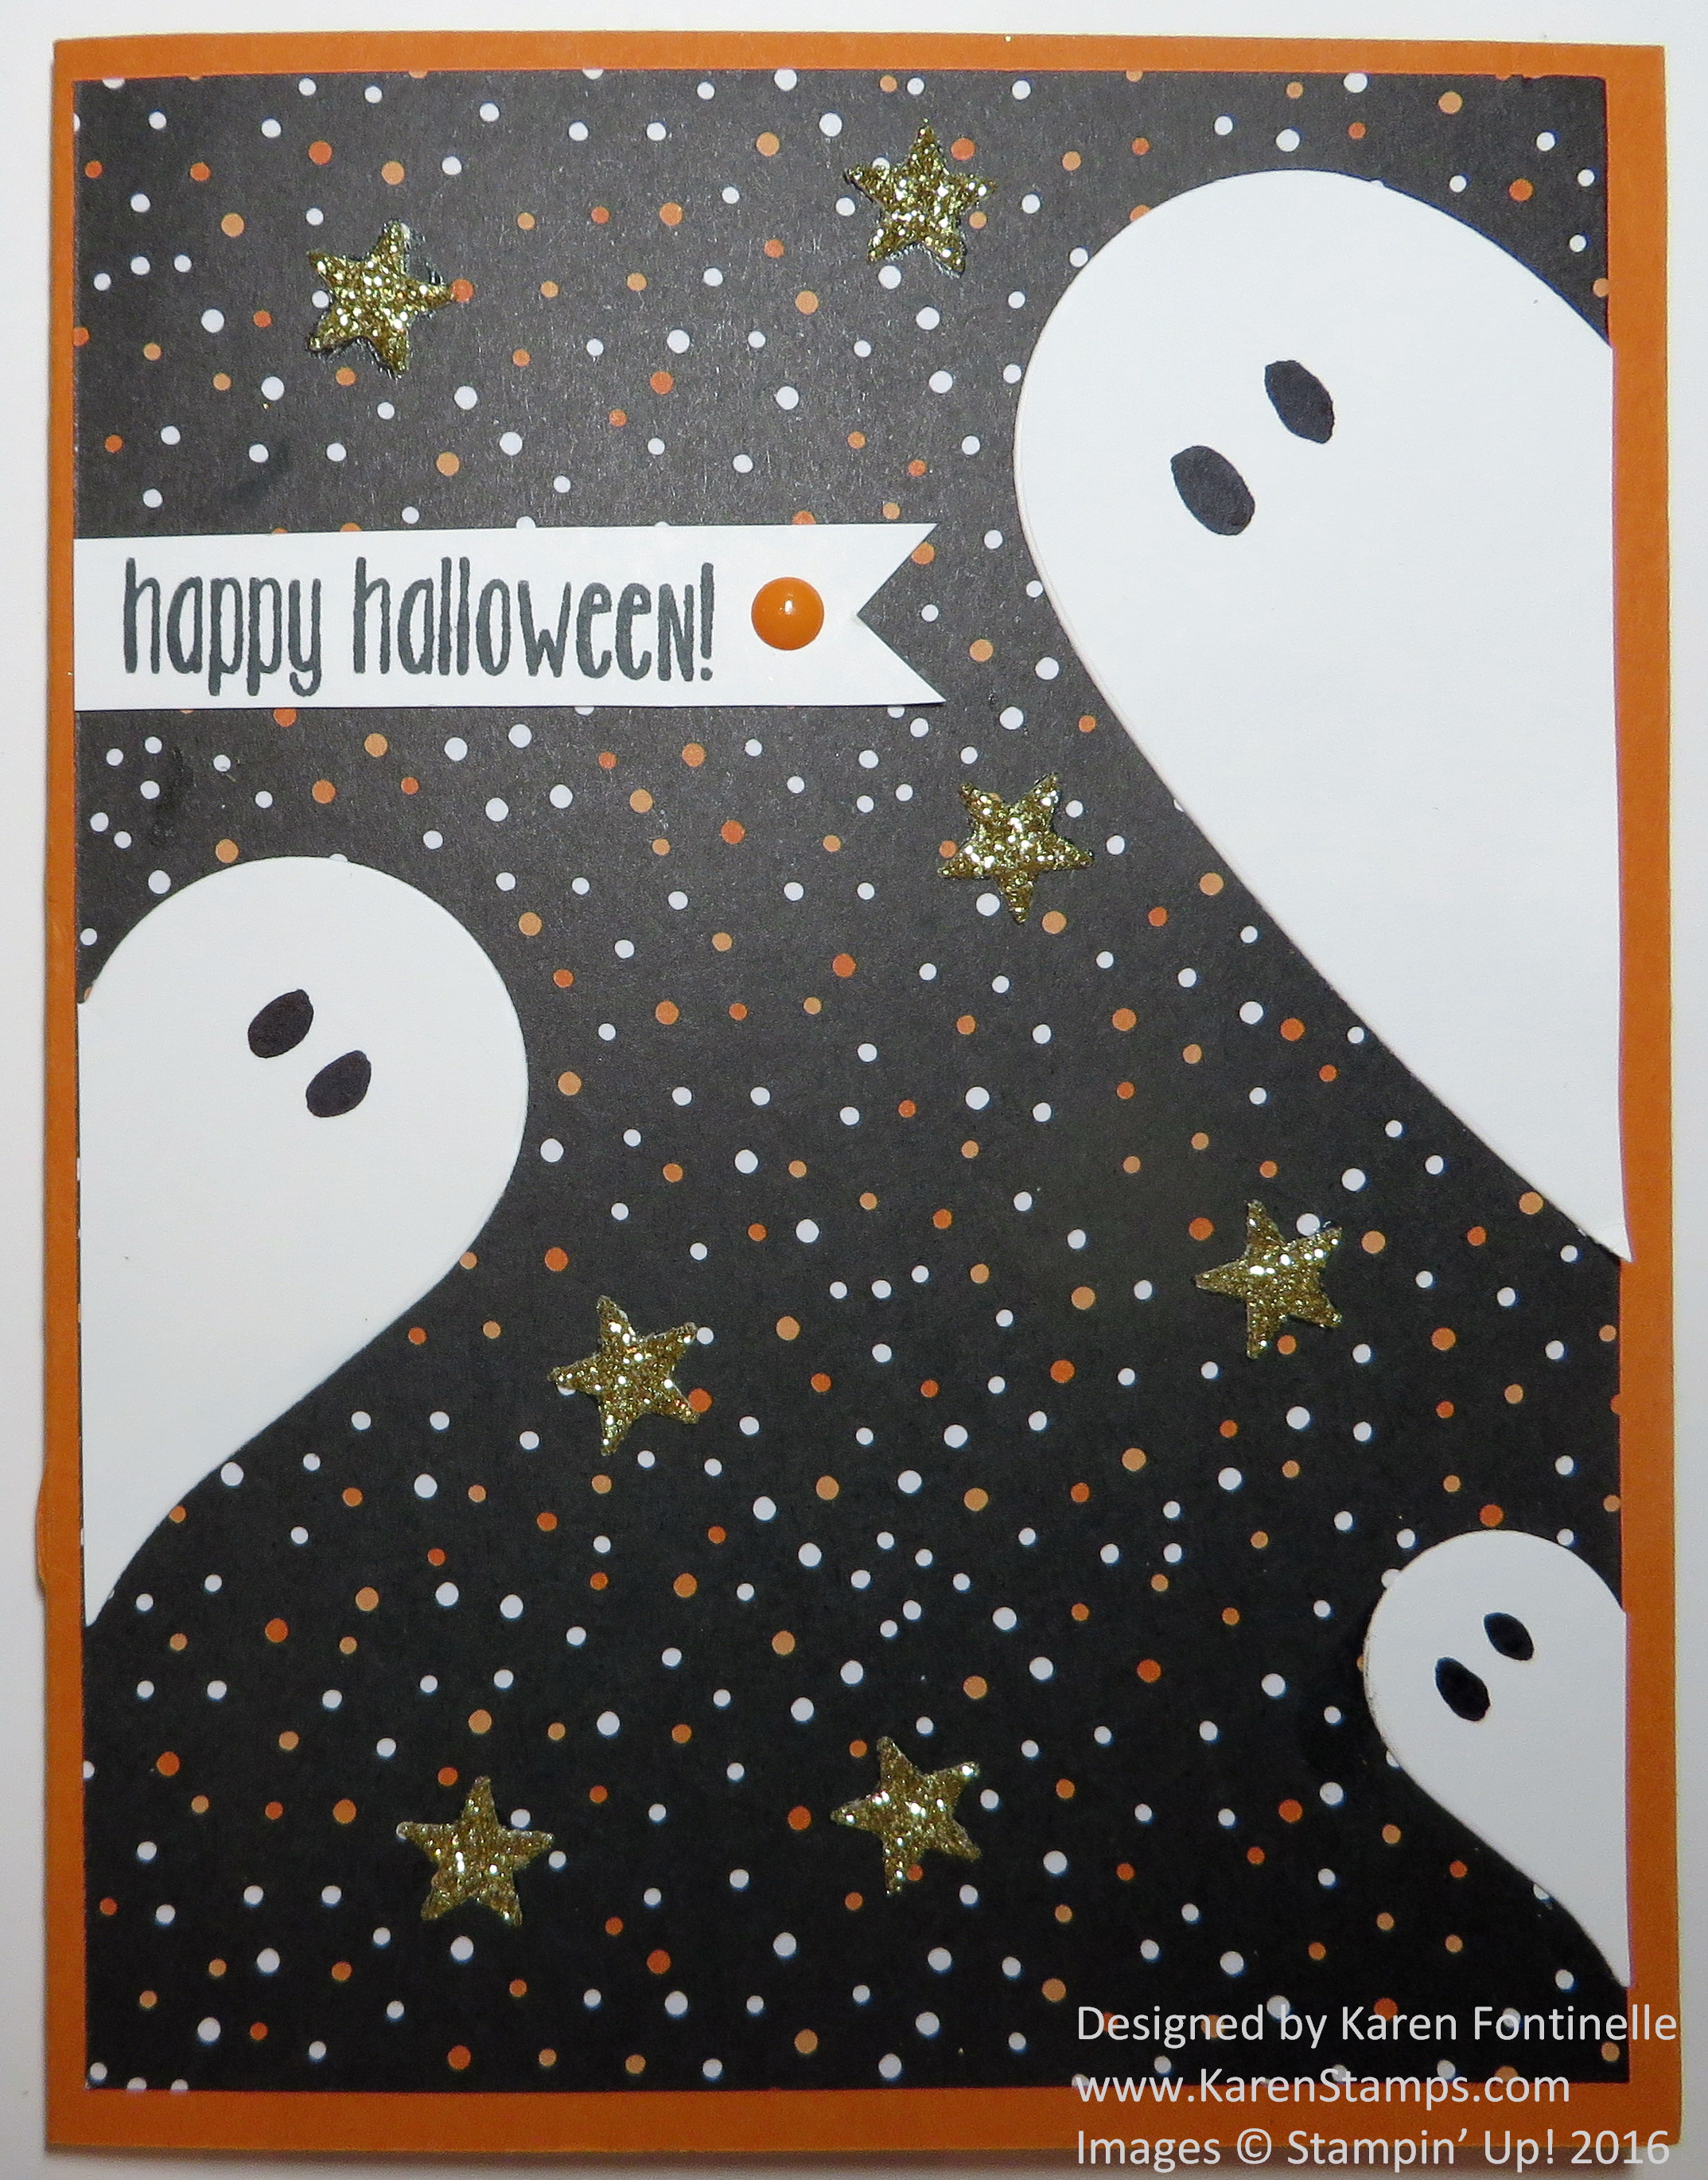
I made this Halloween card to show you how to make ghosts out of hearts because it reminds me of when I signed up to be a Stampin’ Up! Demonstrator.

I was first introduced to Stampin’ Up! when I went to my friend’s house, probably over fifteen years ago, to go to a wedding shower for a mutual friend. She only had time to tell me she had signed up to be a Demonstrator and showed me some projects she had made at a stamp camp. I didn’t really know much at all about rubber stamping but I was surprised how cute her little projects were! Later on that summer we were back in town for the wedding and I got to spend several days with my friend, and all I wanted to do was stamp with her and look at all her samples! I was mesmerized! Sometime later she suggested I sign up so we could go to the Stampin’ Up! Convention together. It took me awhile to be convinced, even though I did think it would be great to go to the next convention with her. I think it was yet another visit that I went with her to a group meeting of Demonstrators in her upline and sideline that I saw so many cute ideas on display of cards and other projects. One that I really fell in love with was a card something like the one I made above. The person made a ghost by cutting a punched heart in half, and I thought it was one of the most clever ideas I’d ever seen!

It has now been fourteen years since I bought my Starter Kit (don’t think we had any choice of products back then!) and I have loved every minute of it! Customers couldn’t even order online themselves back then, only through a Demonstrator and I don’t think any (or certainly not many) people had blogs or social media. Our Demonstrator websites were new sometime after I joined.  Lots of changes in catalogs, products, ink pads, types of stamps over the years!

If you would like to be a part of this great company, Stampin’ Up!, now is a great time to join! Someday you might be saying “I joined Stampin’ Up! 14 years ago!” I love that Stampin’ Up! values all Demonstrators, whether you want to work hard and turn this into a big business or whether you want to just get the discount and benefits for yourself, or something in between.

For an introduction, click HERE to find out about joining Stampin’ Up! All you need to do is purchase a “Starter Kit”, which means you choose $125 worth of current products (your choice) and only pay $99.  You also get about $50 in catalogs and business supplies to get your business started. Feel free to contact me with any questions or concerns you have. When you feel ready to join, just read the Demonstrator Agreement, enter your information, choose your Starter Kit and submit.  Within minutes you will be a Stampin’ Up! Demonstrator and have your Demo ID# and can start looking around on the Demo side of the website.

JOIN STAMPIN’ UP! HERE!

As for the Halloween card, I used Pumpkin Pie Cardstock for the card base and layered with a piece of paper from the Halloween Night Specialty Designer Series PaperFor the ghosts I just die cut some hearts of different sizes with the Sweet & Sassy Framelits Dies out of Whisper White Cardstock. Then I cut each heart in half with a scissors and adhered them to the card front. Use a black marker or Sharpie to draw in some eyes on each ghost. The greeting is from the Spooky Fun Photopolymer Stamp Set and I added just one Halloween Night Enamel Dot. I love these enamel dots because they are cute and flat enough for mailing! For a little extra pizzazz I die cut a strip of stars from Gold Glimmer Paper with the stars die in the Mini Treat Bag Thinlits Dies. Adhere a few of the stars with a tiny drop of Multipurpose Liquid Glue.

Maybe this card will inspire you to join the Stampin’ Up! family for lots more creative ideas! Look over the information on the Stampin’ Up! website and then email me at Karen@KarenStamps.com  if you would like more information or answers about your particular situation.

Foxy Friends Forest Animals on a Spooky Halloween Night

Foxy Friends Forest Animals on a Spooky Halloween Night

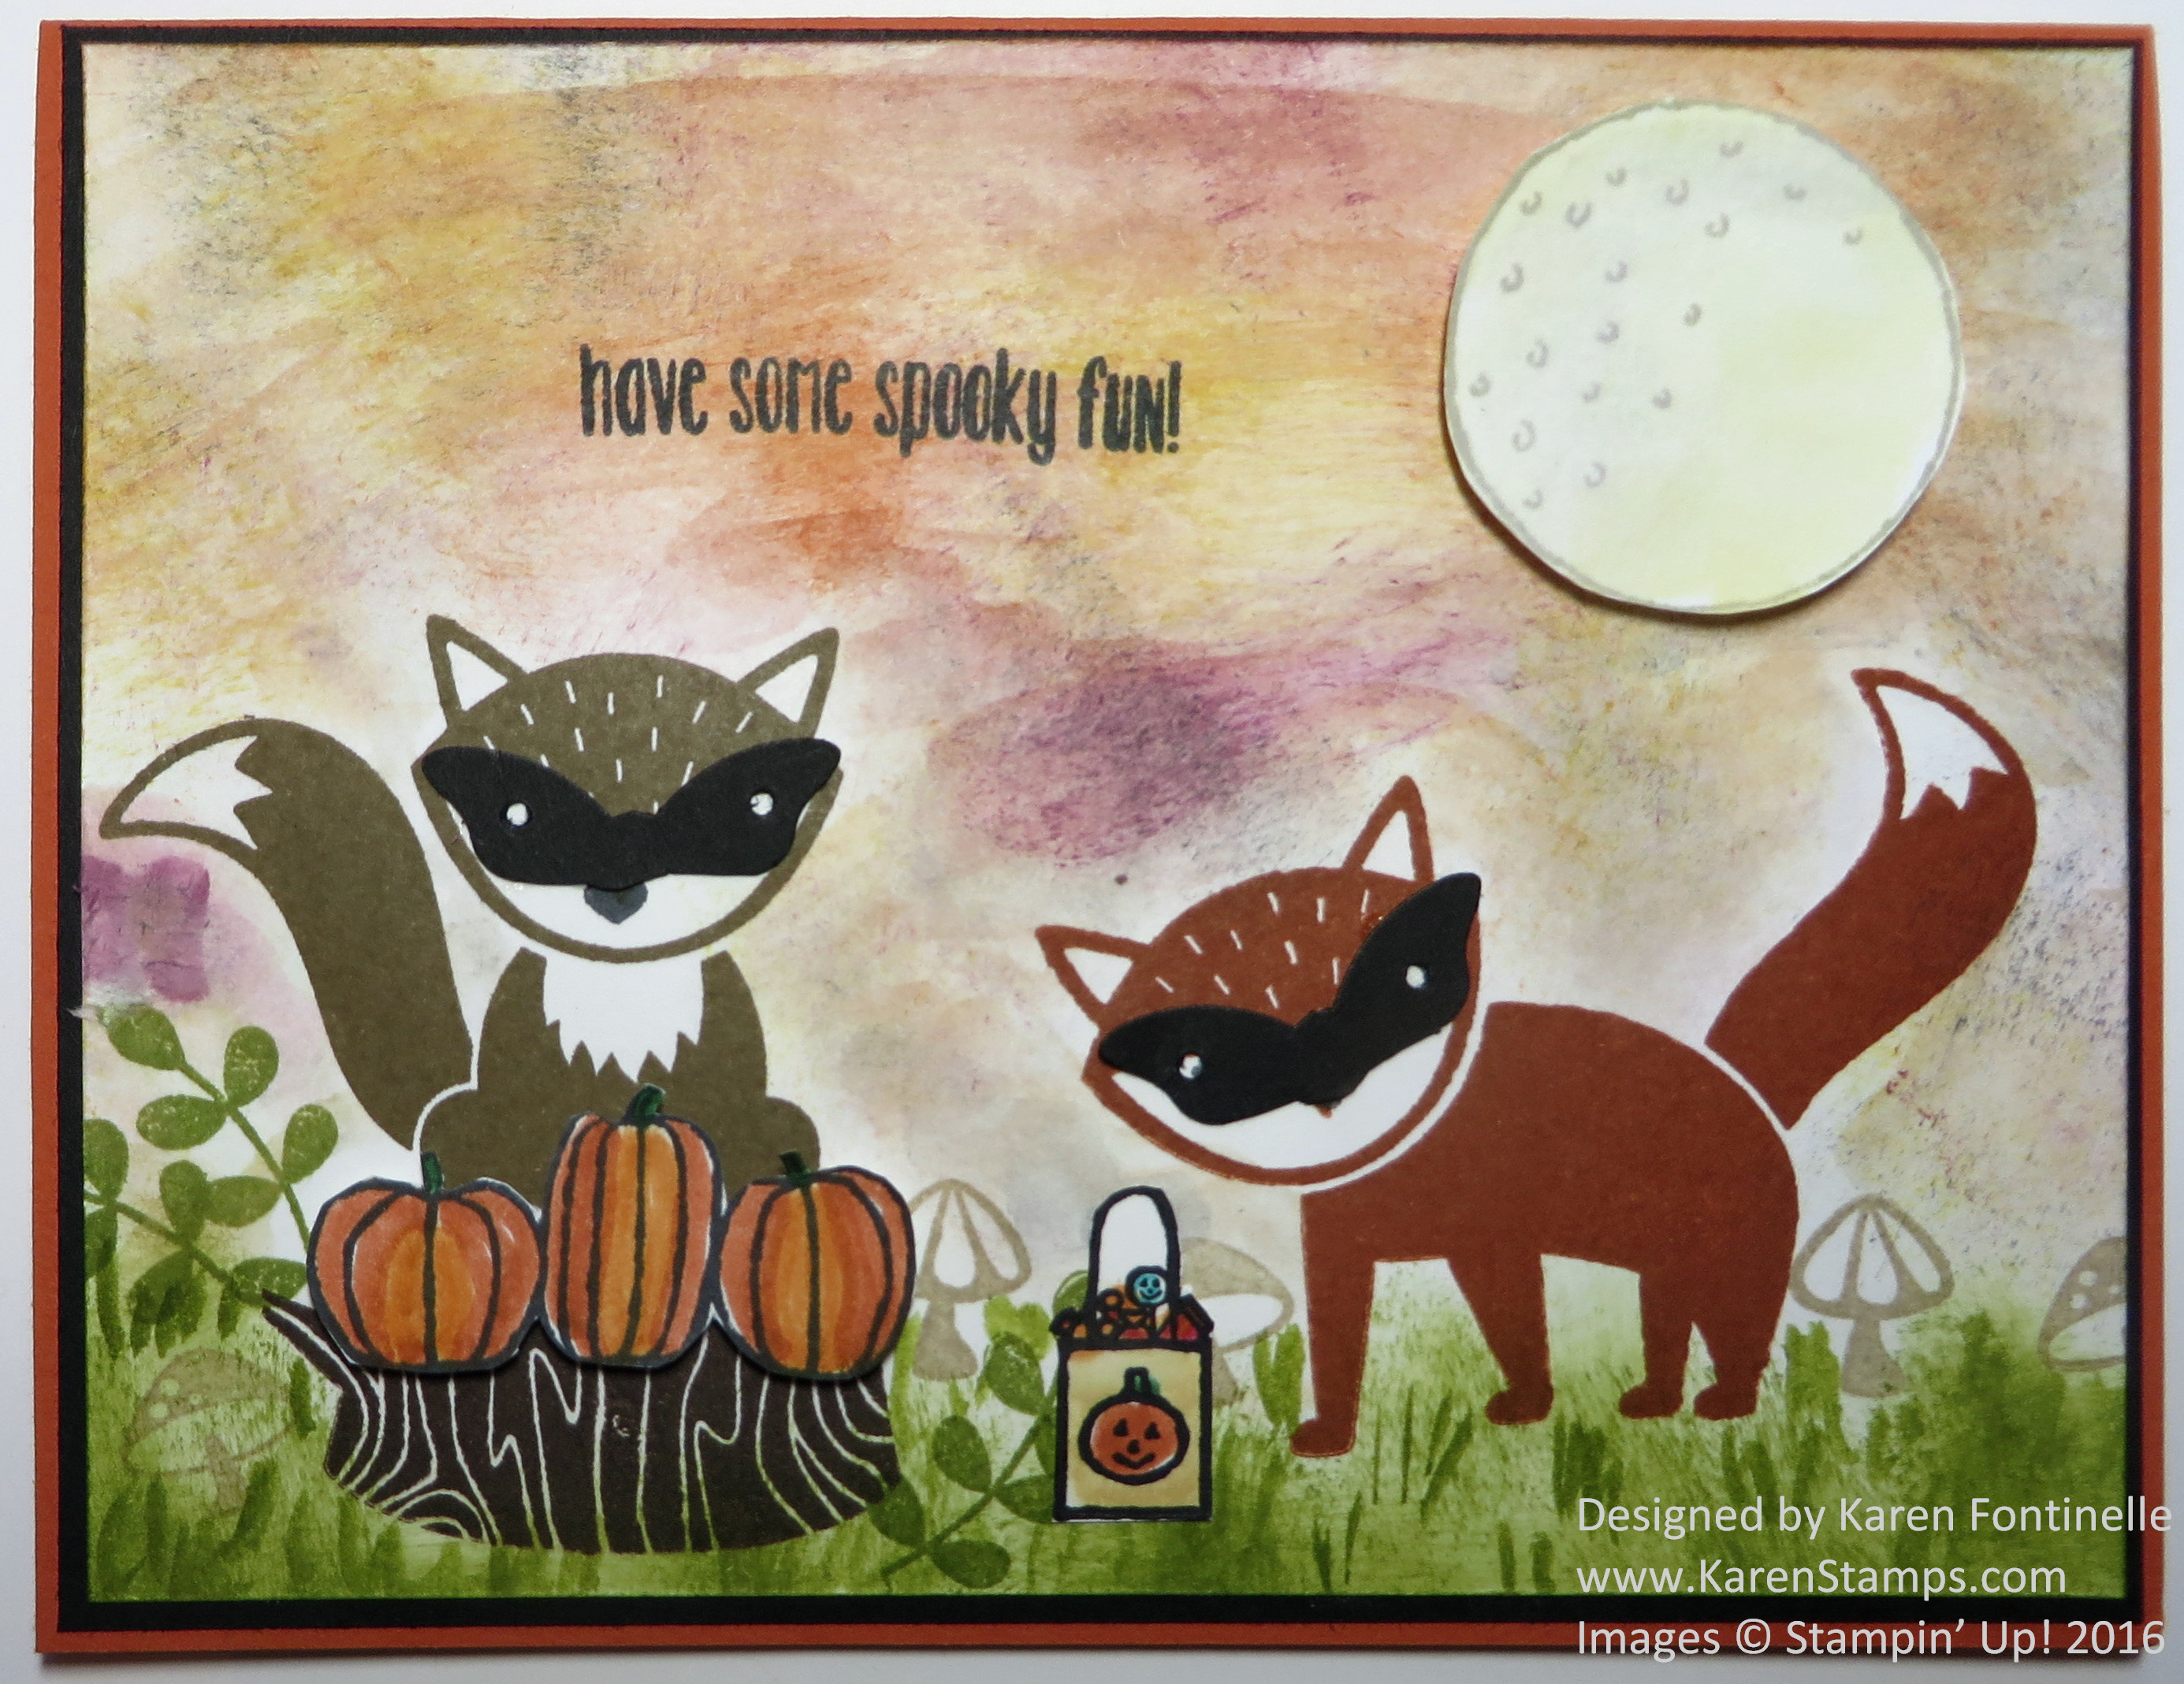
Here are a couple of Foxy Friends forest animals on a spooky Halloween night!  I saw a picture of one of our Stampin’ Up! foxes, and I thought “What if I put a mask on him for Halloween?” This is a Halloween card that I came up with as I went! These Foxy Friends in the forest have put on their masks, set out some pumpkins and went out trick-or-treating.

I stamped the animals from the Foxy Friends Stamp Set and then filled in the rest from the Spooky Fun Stamp Set. I stamped the tree stump, some mushrooms, a green vine and colored in the sky with some Halloween colors with a sponge. I also used my trusty Aqua Painter to spread out the colors in the sky a little bit. I sponged the grass and used my Aqua Painter to try in some blades of grass. I stamped and cut out the moon, the pumpkins and the trick-or-treat bag. The masks are punched with the Bitty Butterfly Punch and then I cut off the bottom of the butterfly to make it look like a mask. I saw some technique like this online somewhere, but I think they did it differently. Maybe that was stuck in my mind and led me to making this card.

I hope you are making some fun Halloween cards to send to friends! Wouldn’t that brighten up their mailbox! Most days my mail isn’t even worth walking out the mailbox to get it, so much junk mail. What if you friend found a cute handmade Halloween card from you?!

Shop Stampin’ Up! Online HERE!

Jar of Haunts Tiny Halloween Cards

Jar of Haunts Tiny Halloween Cards

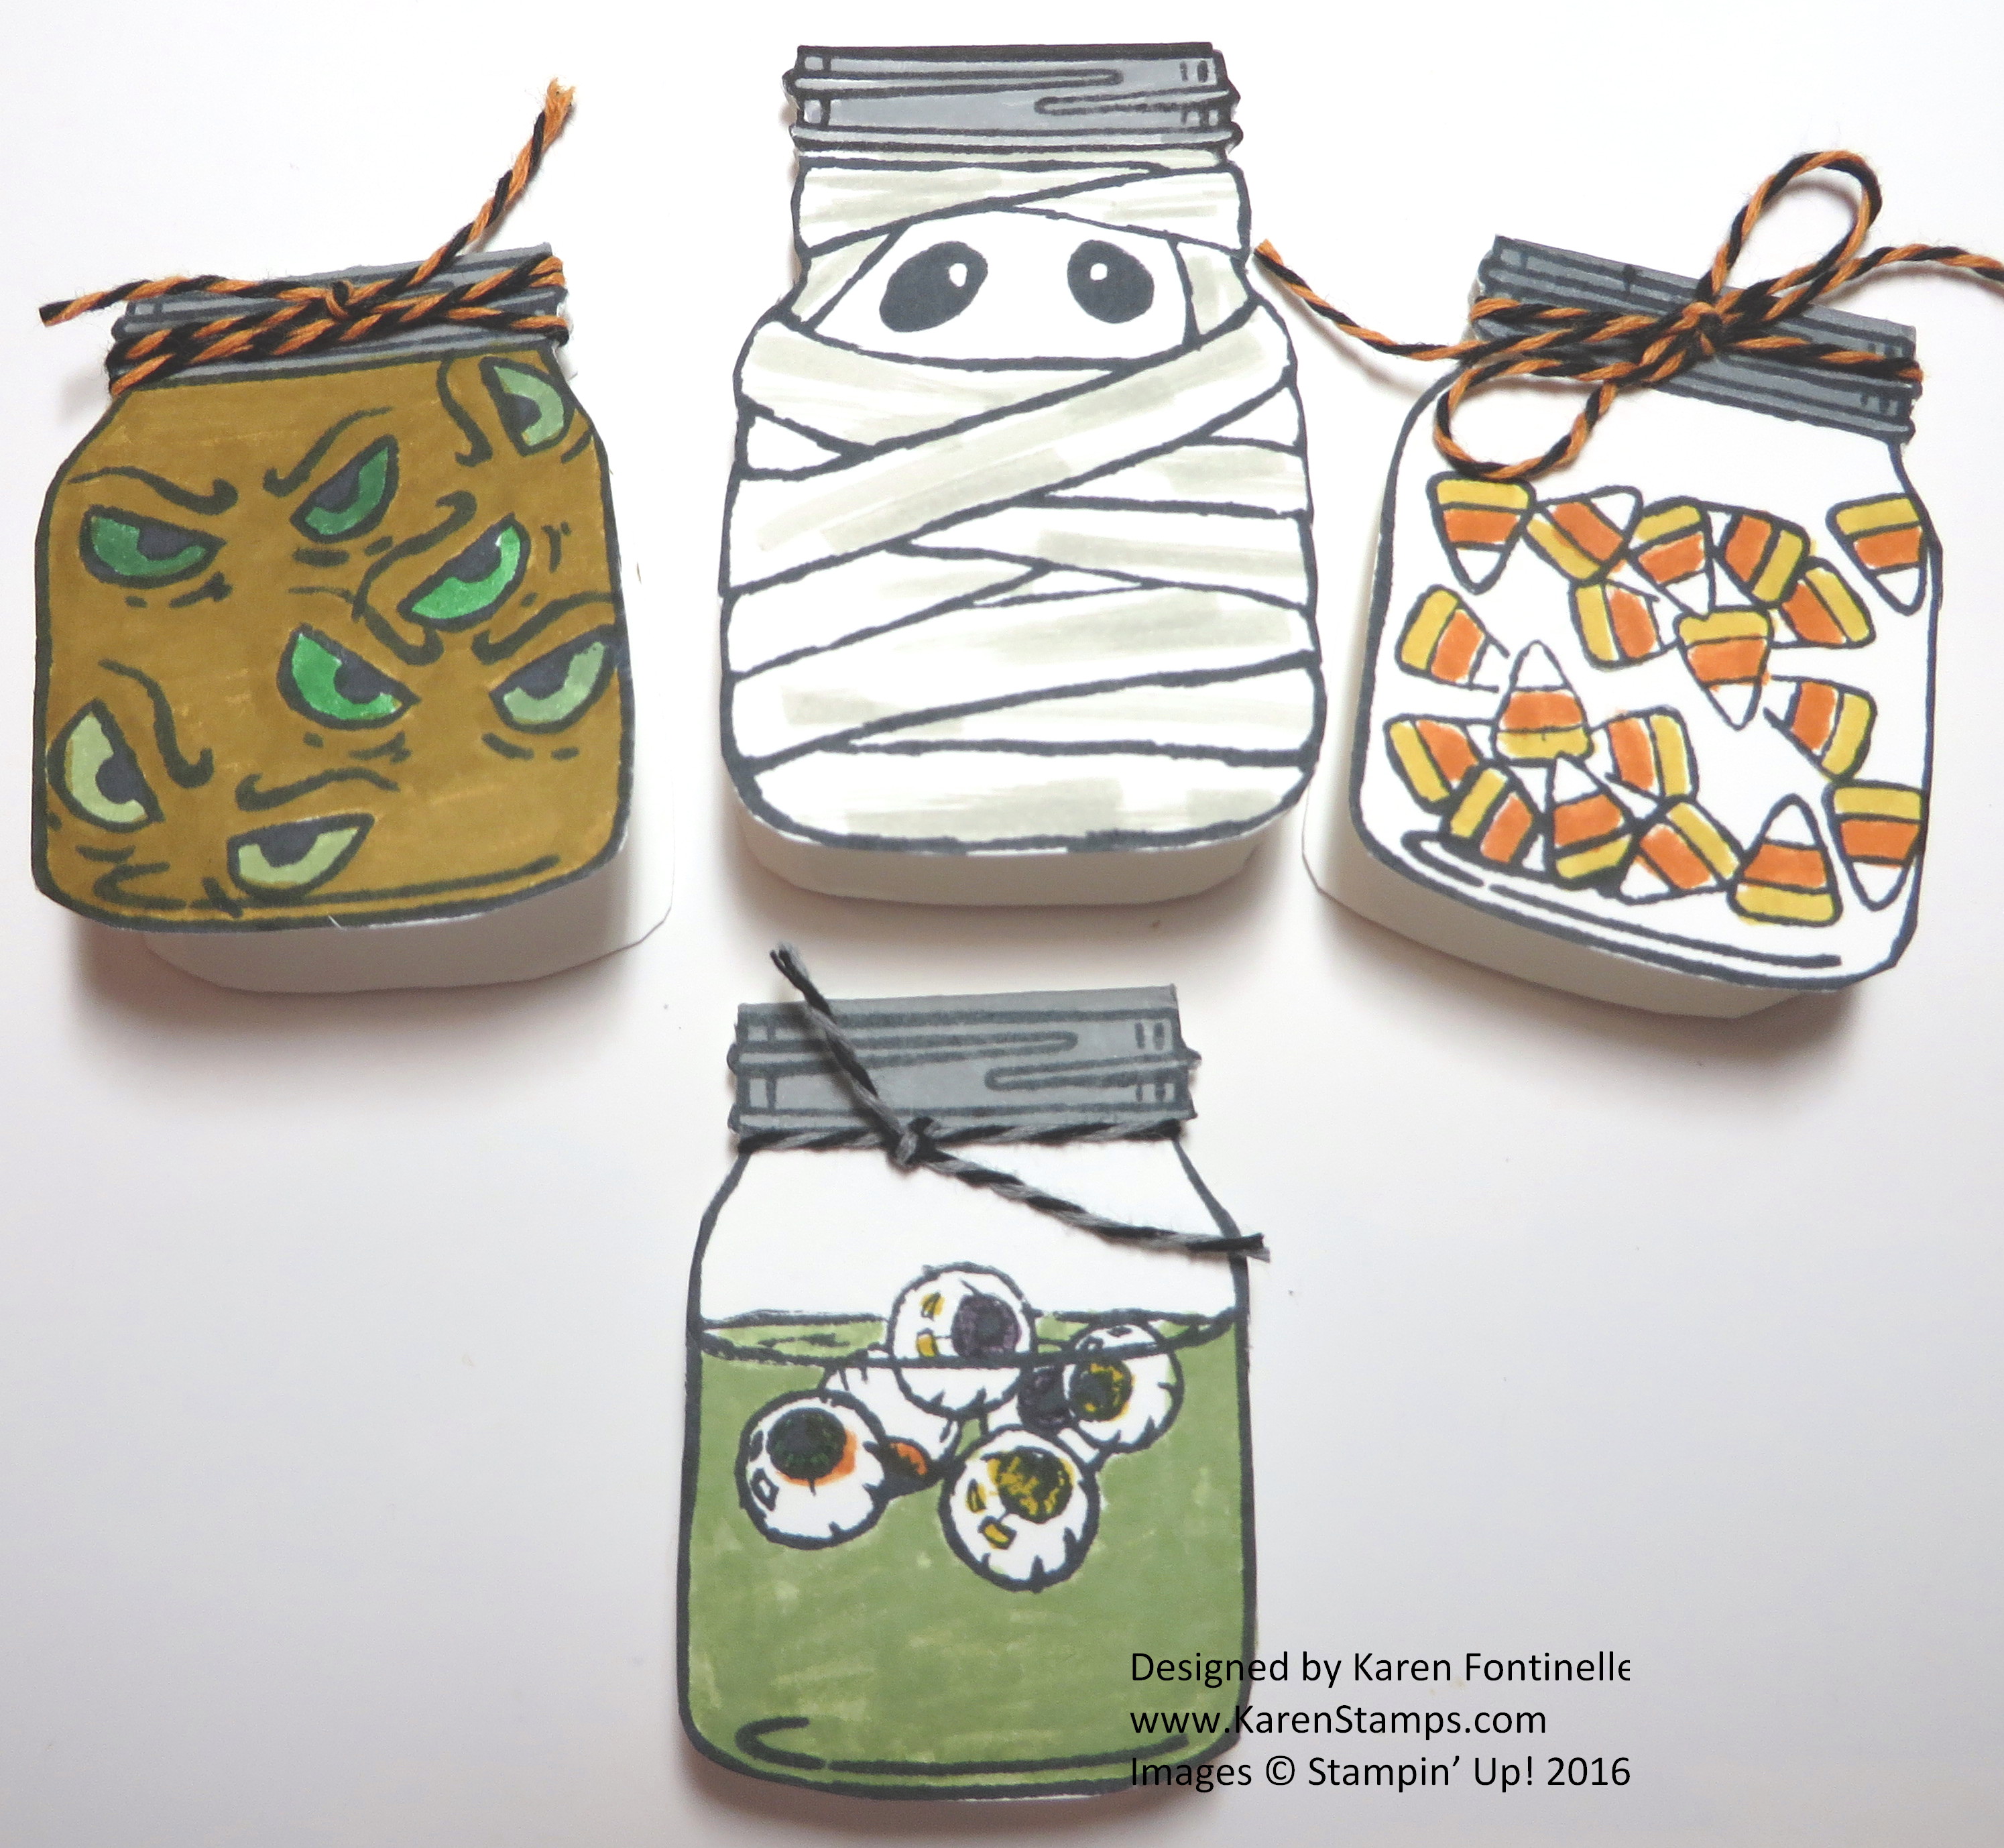
Would you like to make some tiny Halloween cards with the Jar of Haunts Stamp Set? Aren’t they cute being so little?! Somehow I got the idea to stamp the jar image right up against the fold at the top of the card and then cut out the jar image leaving the fold at the top so it could stamp up.  These jars are only about two inches wide and about three inches tall – actually a little less than that after I cut them out. I colored in the images with my Stampin’ Write Markers and tied some Halloween Night Baker’s Twine around the top.

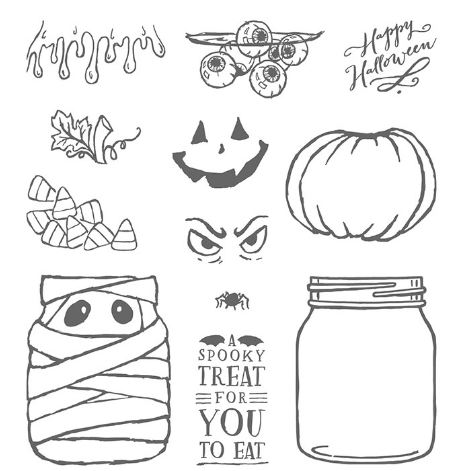
The three jars with the candy corn and eyes inside are stamped with the outline of the jar image and then the contents are stamped separately inside the jar image. The mummy jar I did differently. I first inked up just the lid of the jar outline stamp with the Black Marker and stamped that as close to the top fold of the card as I could.  Then I stamped the mummy image right under the lid image. That’s why the mummy jar looks a little taller. You also get a “Happy Halloween” greeting in this stamp set so you can stamp that inside the little card if you like.

You could send these cute little Halloween cards to some friends or stick them in your child’s lunchbox. Give them out with some treat at Halloween! Lots of choices and creative ideas with this stamp set!

Jar of Haunts Photopolymer Stamp Set

Images (c) Stampin’ Up! 2016

There’s still time to order supplies for Halloween cards and projects if you do it soon! Put the Jar of Haunts Stamp Set on your list if you’d like to make some tiny Halloween cards like these!

Shop Stampin’ Up! Online HERE!

Anniversary Card with a Silver Glimmer Flourish

Anniversary Card with a Silver Glimmer Flourish

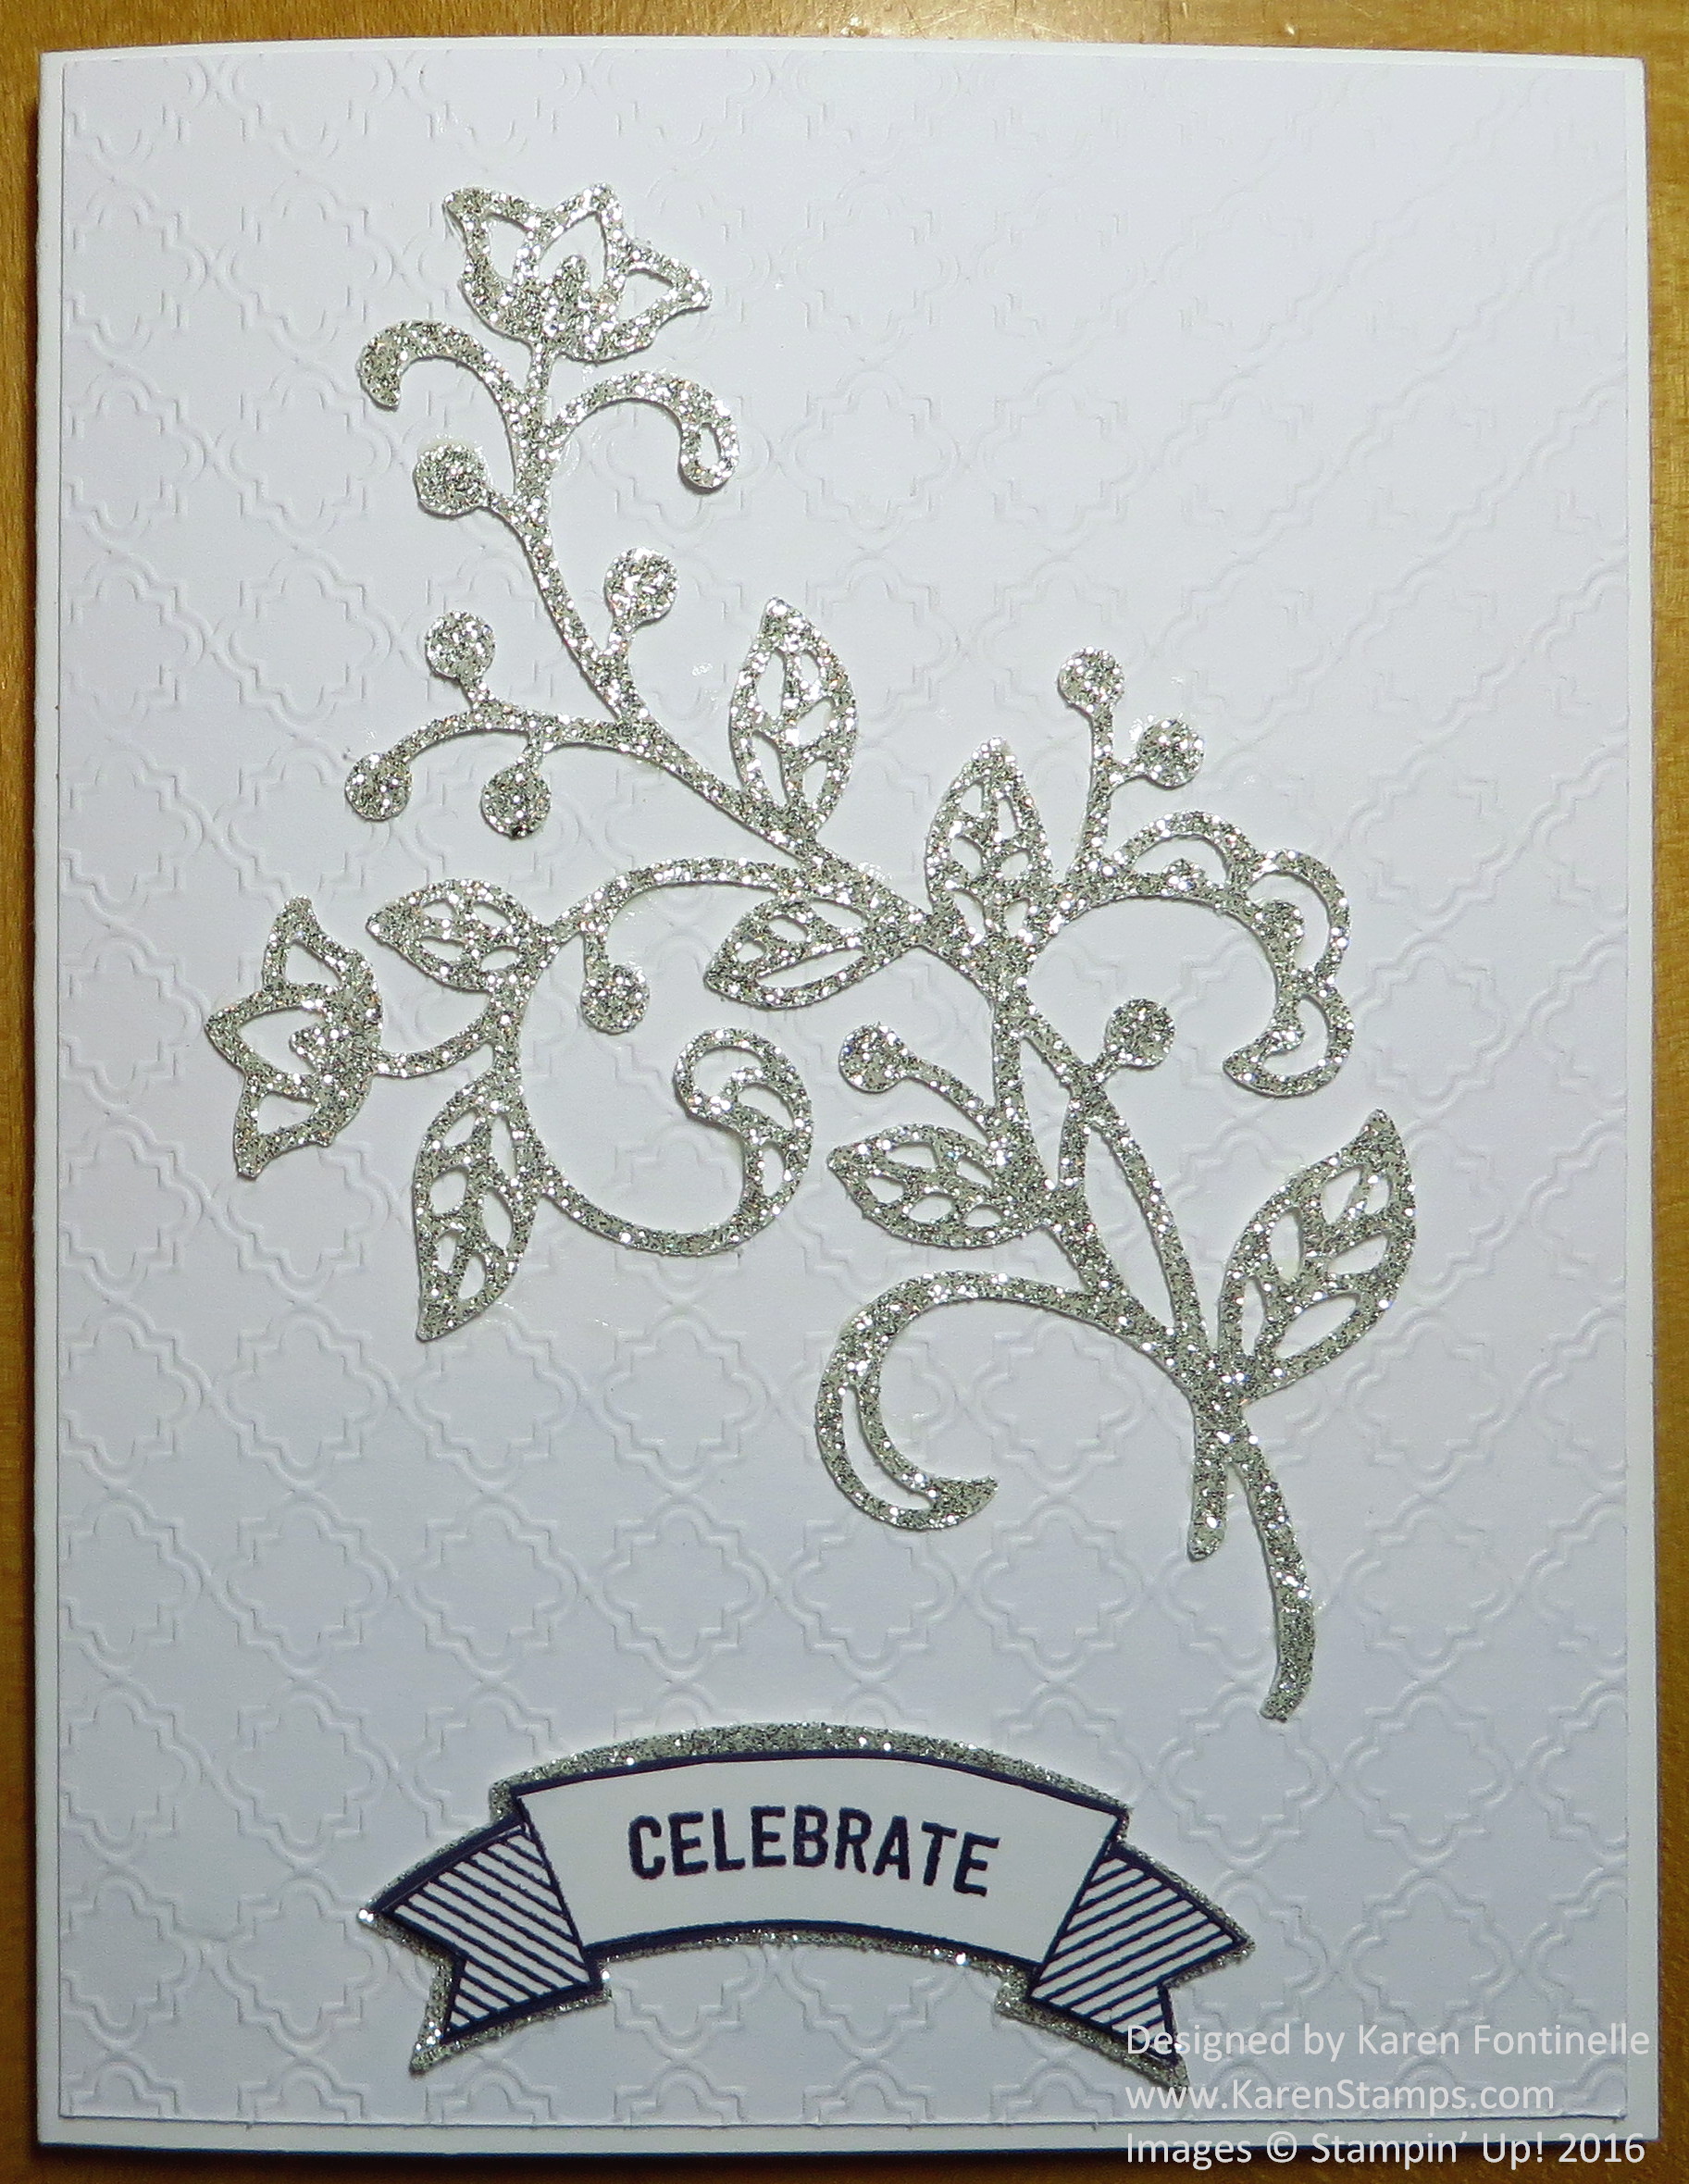
Recently I made this anniversary card with a silver glimmer flourish. I wanted to use the new Fancy Frost Specialty Designer Series Paper because it is so beautiful, and I knew it would make a lovely wedding or anniversary card. In spite of the name and the fact that it appeared in the Holiday Catalog, doesn’t mean it is only for Christmas! There are a few patterns that do suggest the holidays a bit, but the rest are definitely “plain” and can be used for anything. This paper is a little difficult to photograph but I think you can see the pattern I used.

I thought some Silver Glimmer Paper would look pretty with the white patterned paper, so I die cut a flourish with the Flourish Thinlits Dies.  Apparently I am short on “Happy Anniversary” greetings, but I thought “Celebrate” would also work! I found the word and the banner in the Thoughtful Banners Photopolymer Stamp Set. After punching out the banner stamped on white with Elegant Eggplant ink I trimmed it down a little and layered it on Elegant Eggplant cardstock and then on Silver Glimmer Paper.

You can purchase the Thoughtful Banners Photopolymer Bundle which includes the stamp set and Duet Banner Punch so you will be all set and save 10% in the process!

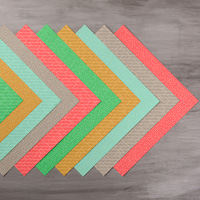
Try the Fancy Frost Specialty Designer Series Paper!  It’s different than anything else we have had since it is a dry embossed textured pattern. You can leave it white or you can color it a bit with Sponge Daubers, Brayer or Sponges.

Shop Stampin’ Up! Online for all your papercrafting supplies!

Sweet 16 Birthday Card for a Girl

Sweet 16 Birthday Card

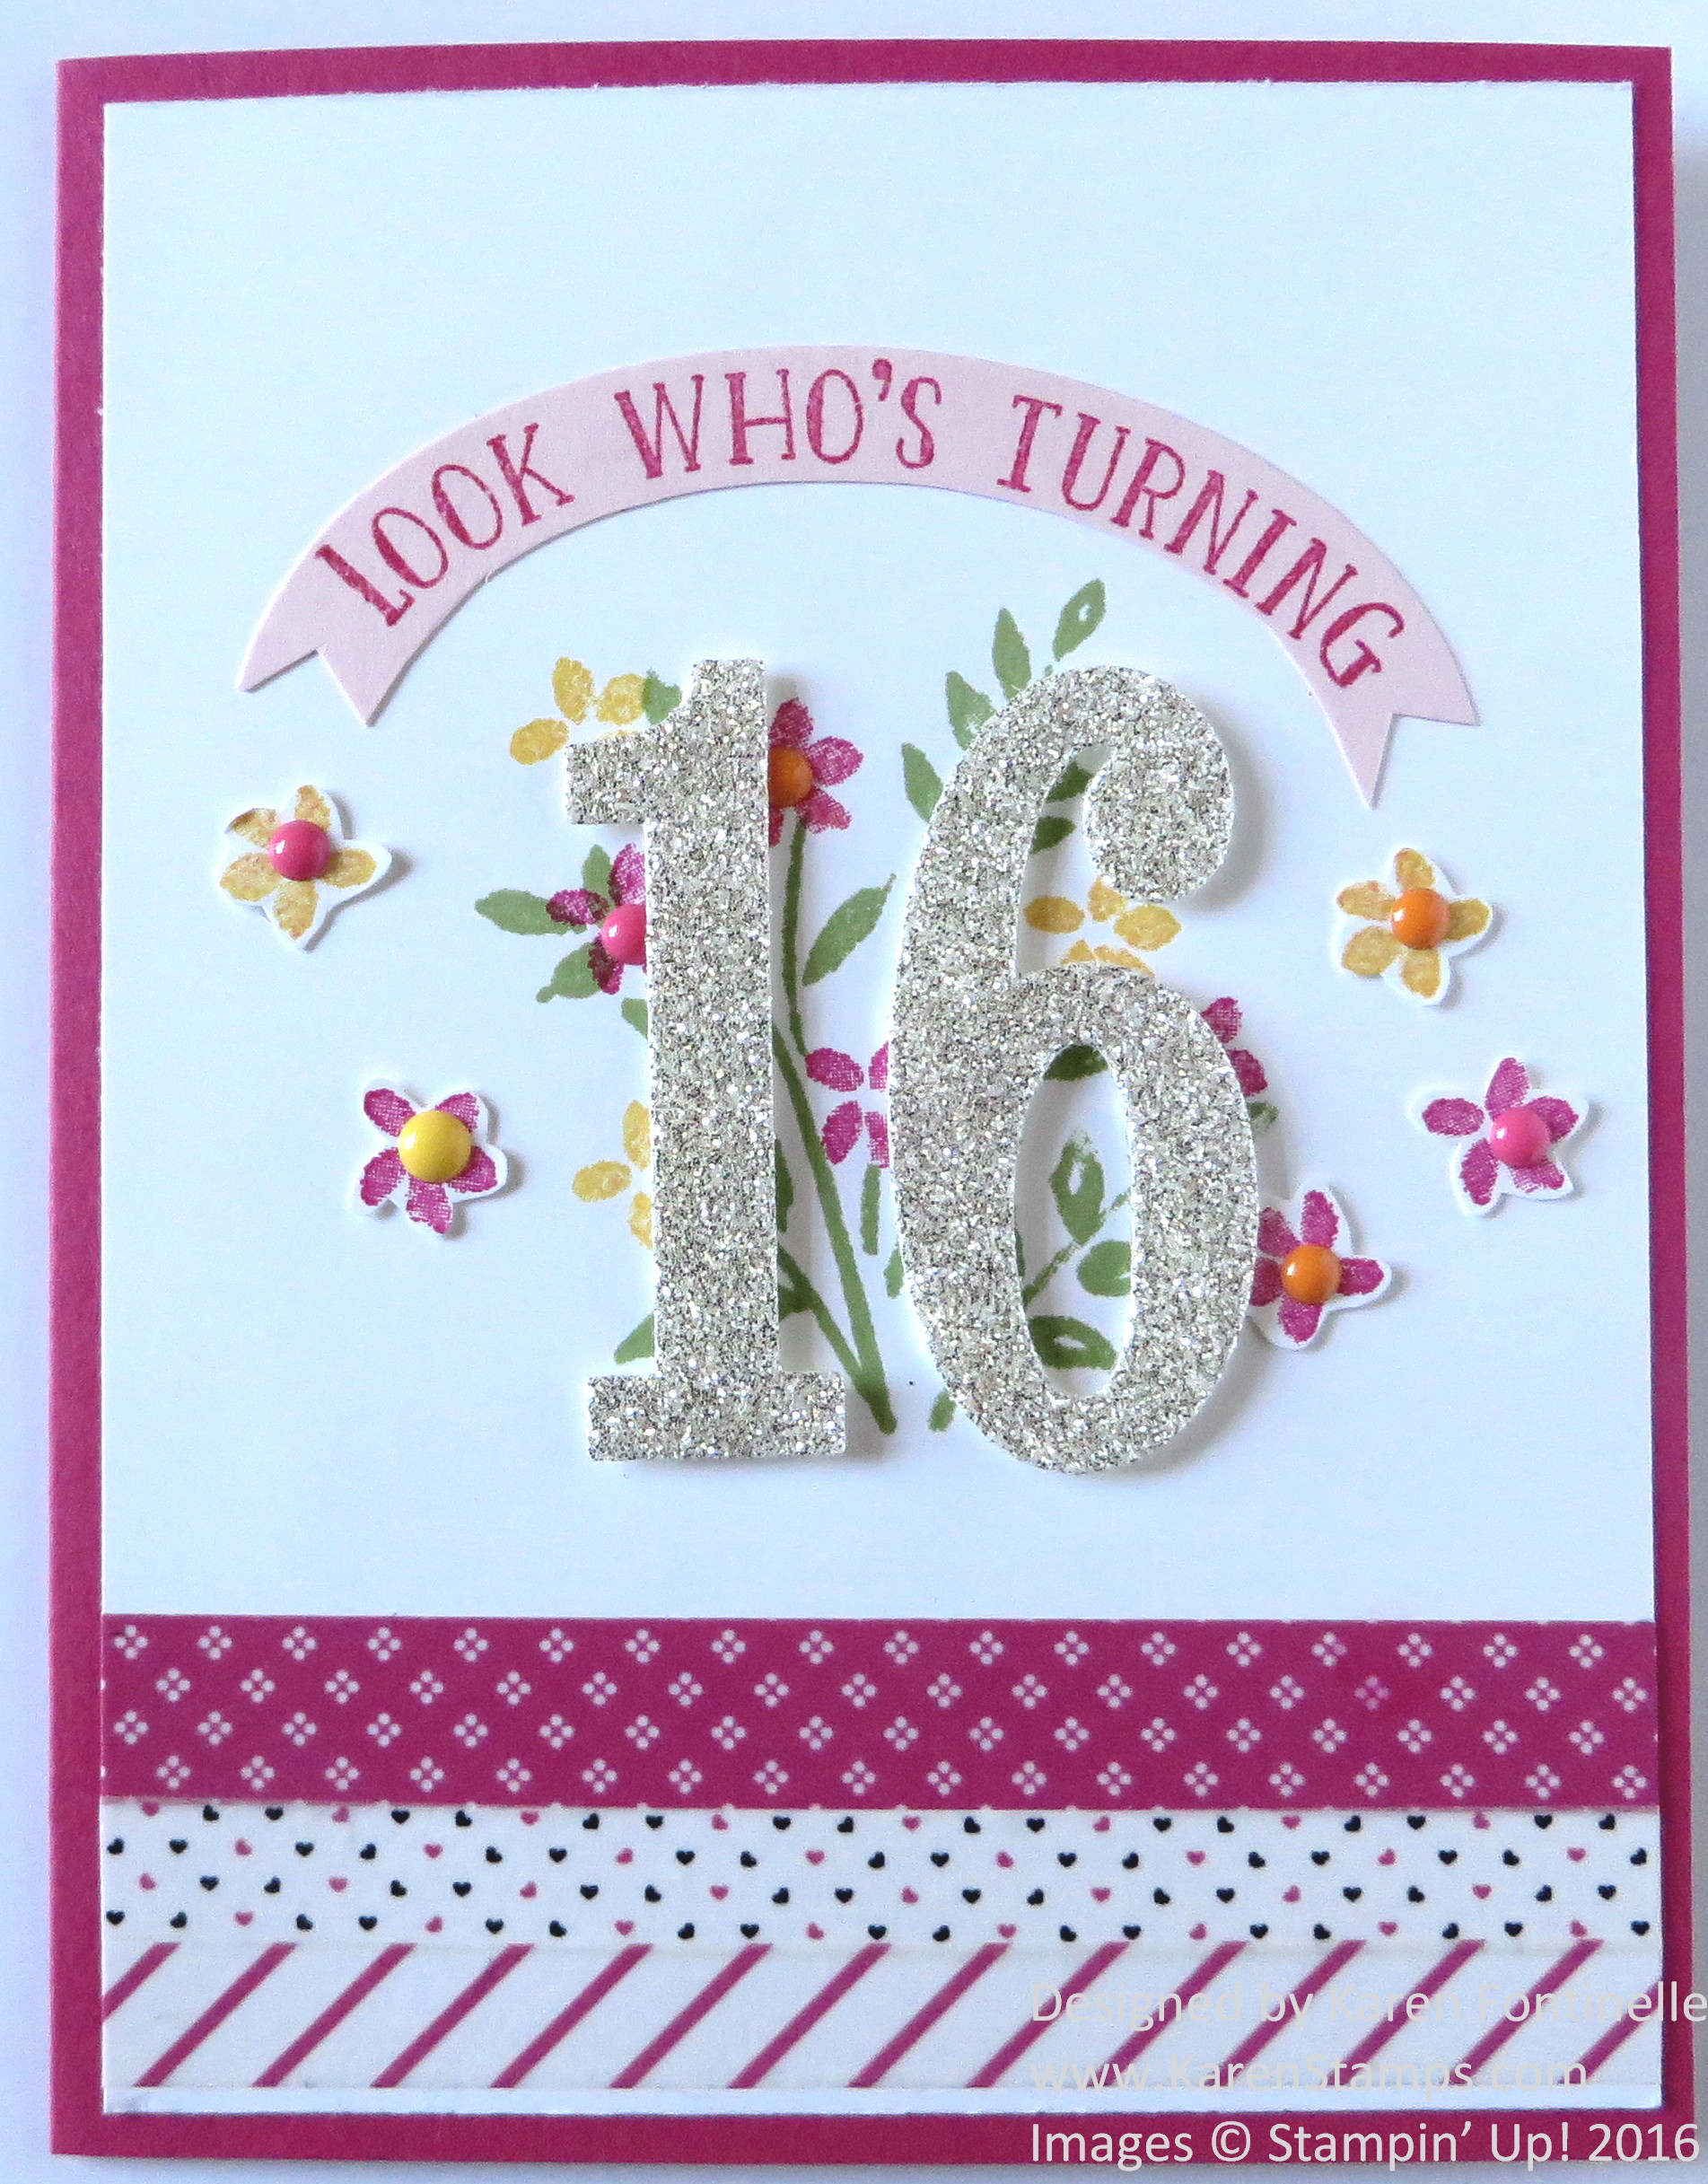
Recently I needed a birthday card for my niece turning 16, not that I can believe that little girl is 16 years old already, but I came up with this Sweet 16 Birthday Card for her. You could modify the background stamping for a boy and maybe not use the Glimmer paper.

The card base is Melon Mambo with a layer of Whisper White. I die cut the numbers with the Big Shot and the Large Numbers Framelits Dies.  The background is stamped with the stems and flowers from the Number of Years Photopolymer Stamp Set. I did cut out a few flowers for a more 3D effect. And I loved adding the little Enamel Dots to the flowers!

The greeting is stamped from the set and then I used two Oval Framelits to cut the curved banner shape.  I accented the bottom of the card with strips of Pop of Pink Designer Washi Tape. It’s so fun to play with washi tape!

Stampin’ Up! Updates!

  • We are happy to announce that we are bringing back the replacement Stampin’ Trimmer Cutting Mats and Scoring Blades. These items will be available for you  to start ordering today.Stampin’ Trimmer Replacement Cutting Mat (item 131375); $4.00 US

       Stampin’ Trimmer Scoring Blades (item 126996); $5.00 US

We came to this decision by taking another look at the overall strategy of the Stampin’ Trimmer and its supporting pieces, and we were able to work out issues with our supplier to be able to offer these items to you. Keep in mind that the cutting blade that comes with the Stampin’ Trimmer does not make contact with the cutting mat so it should not wear it down. Like the cutting mat, the scoring blade is made to last and will not wear out. These replacement items may be helpful for you if you lose a piece or prefer to have extras on hand.

  • Handheld Stapler Being DiscontinuedDue to supplier issues outside of our control, the Handheld Stapler (item 139083) and coordinating Silver Mini Staples (item 135847) will be discontinued after our current inventory runs out. We apologize for any inconvenience.

I LOVE my Stapler!  If you want one, be sure to order one right away.

Shop Stampin’ Up! Online 24/7 HERE!


Stampin’ Up! Fancy Frost Textured Designer Paper

Stampin' Up! Fancy Frost Textured Designer Paper

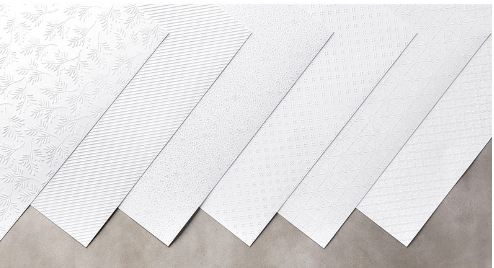
Have you seen this beautiful textured paper in the Stampin’ Up! Holiday Catalog, the Fancy Frost Specialty Designer Series Paper?  It is different than anything Stampin’ Up! has every had that I can remember!  You might think at first glance that it is embossed paper but it is not. The designs are dry embossed on the paper and they are beautiful! The photo above certainly does not do them justice. Watch the video below.  You can leave the paper plain white or you can add color to the raised patterns!

If you want to try this beautiful paper, just add it to your order when you shop at the Stampin’ Up! Online Store!

Make a Spooky Halloween Card

Spooky Halloween Card

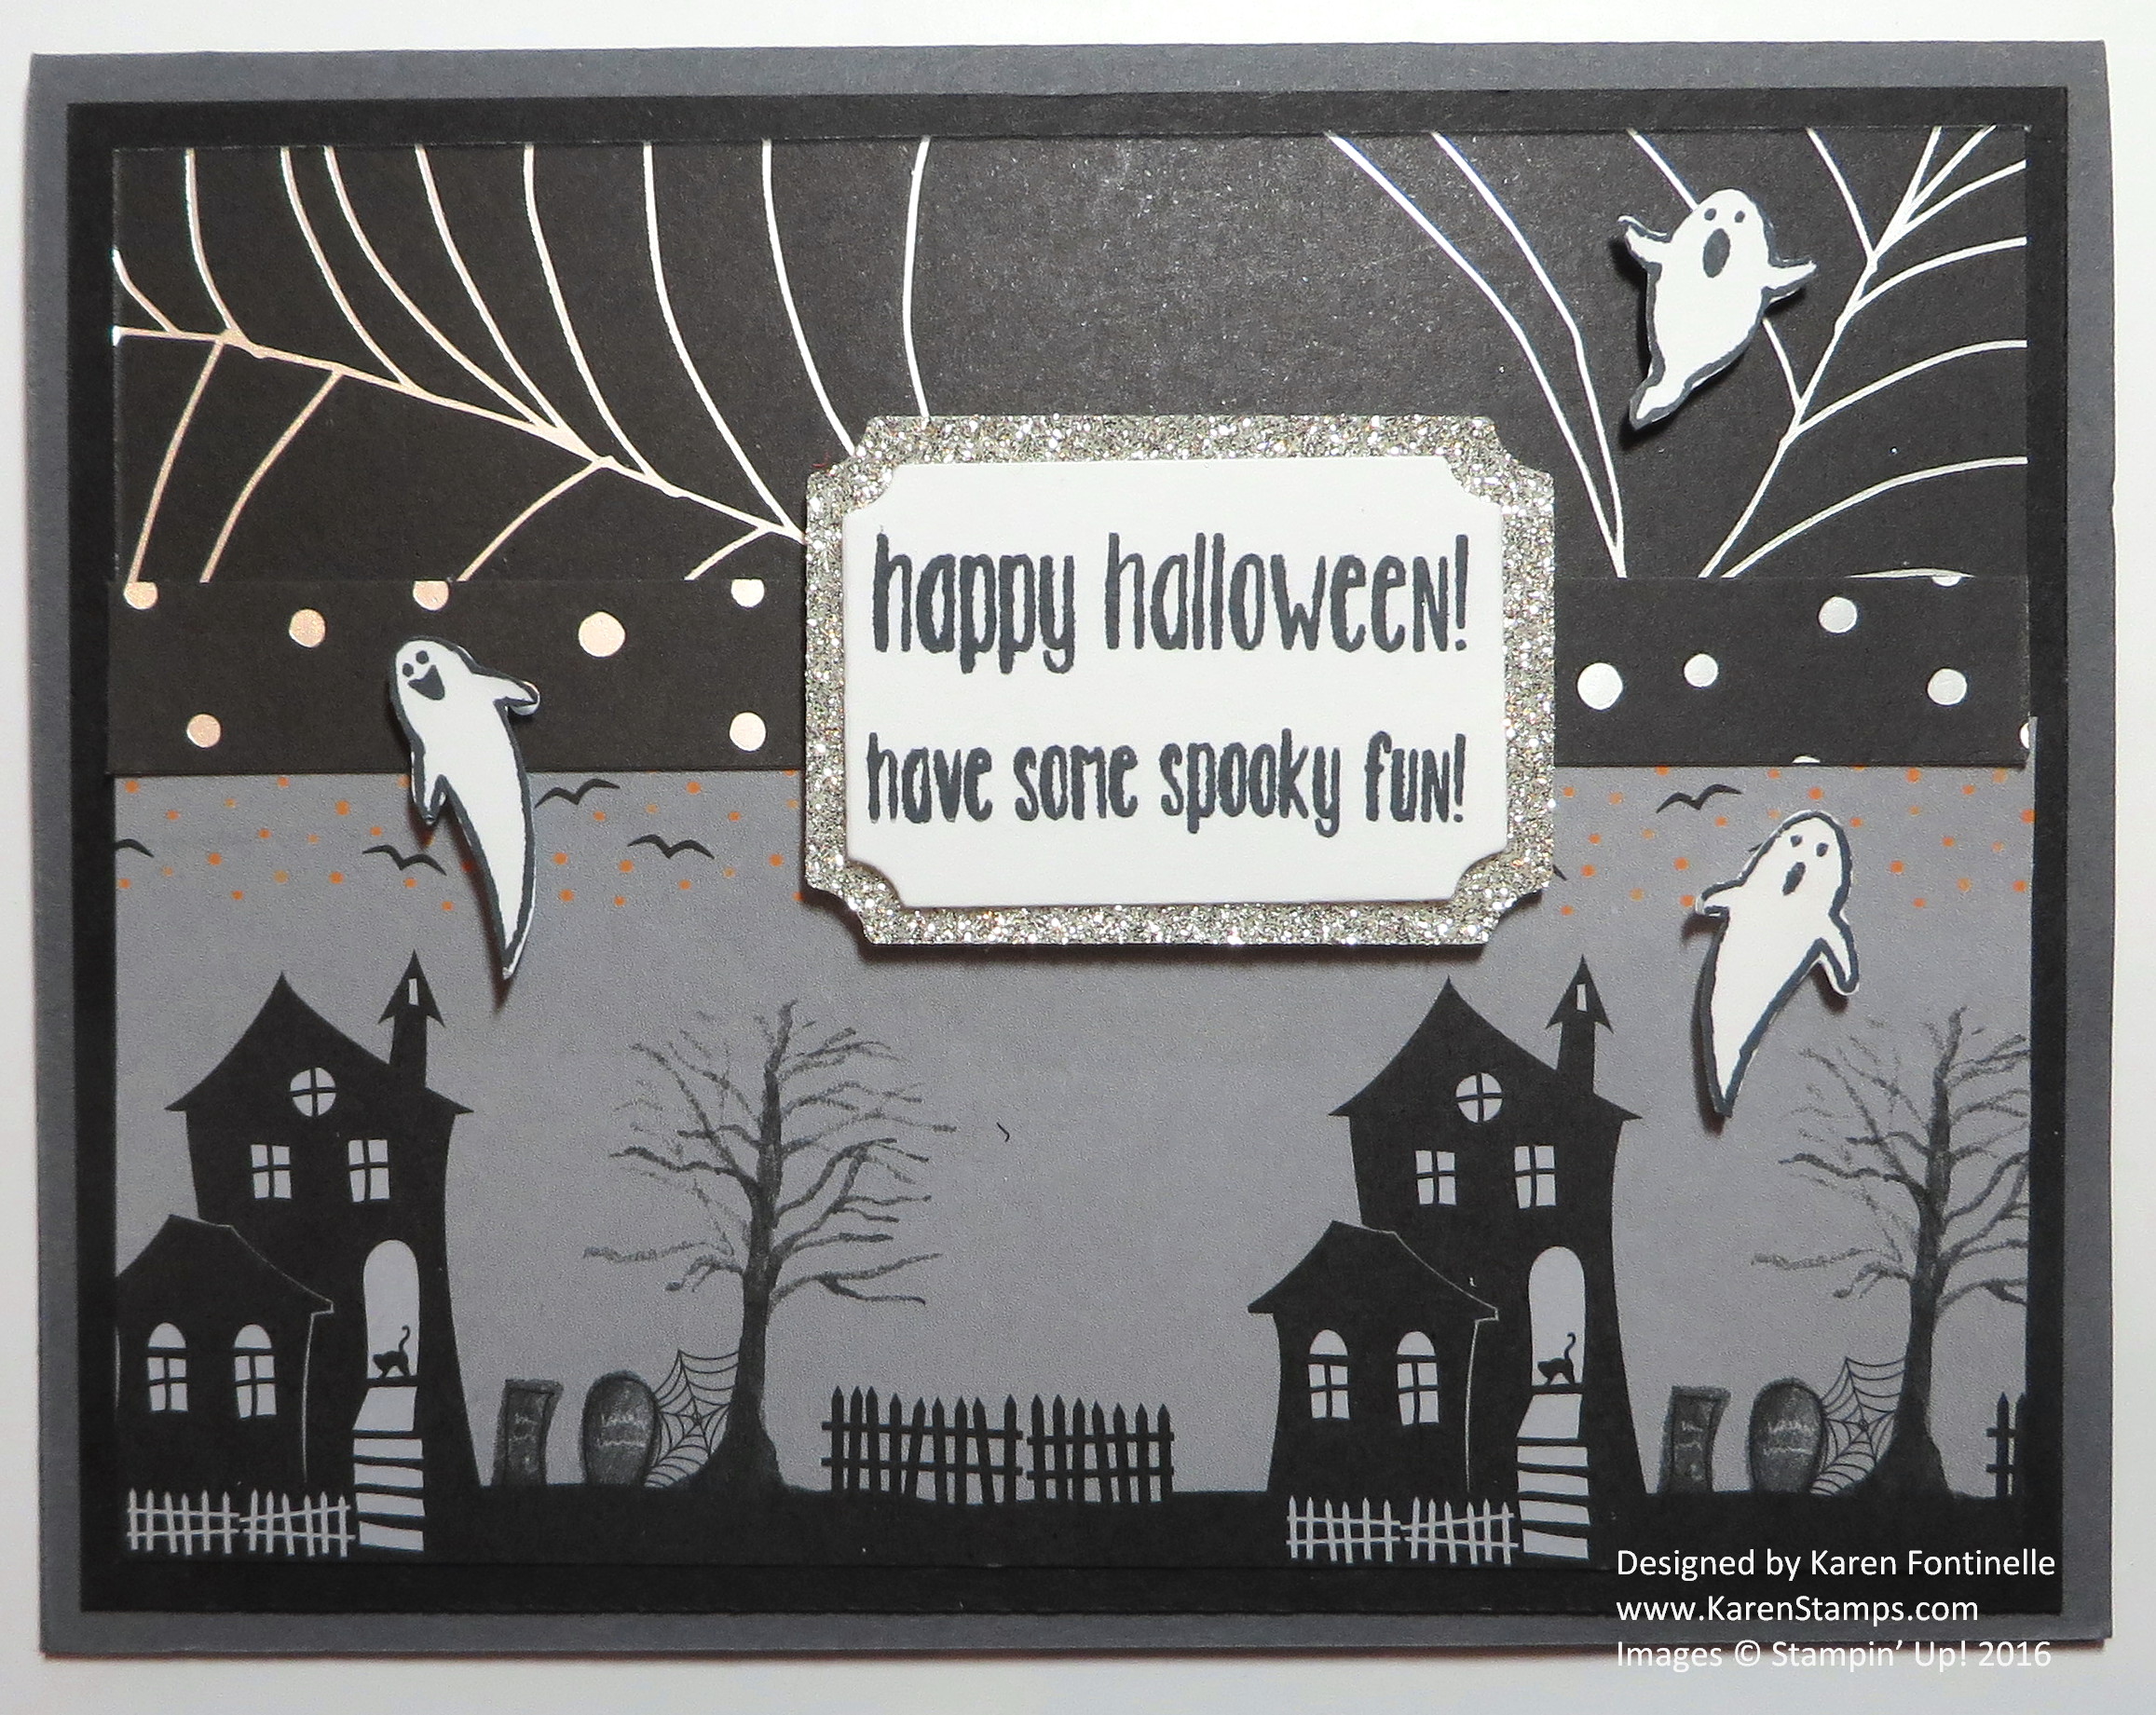
Make a spooky Halloween card with the Halloween NIght Specialty Designer Series Paper! This is a great set of papers for Halloween, with five papers with designs on both sides and then one each of two different designed sheets with silver foil.

To begin the card, I wanted to use the patterned paper with the spooky houses on it. I cut a strip which you see at the bottom of the card. Then I played around with the spider web silver foil paper and added that at the top.  Finally I decided I might as well use a narrow strip of the other foil design paper with the silver dots. Since I had the Spooky Fun Photopolymer Stamp Set handy, I stamped the three ghosts and just cut them out quickly by hand with my Paper Snips scissors. I don’t think I could stamp and craft without my Paper Snips!  I think the three little ghosts, popped up on tiny pieces of Stampin’ Dimensionals, are really fun!

For the greeting, I used two of the stamps in the Spooky Fun stamp set and die cut with the Tags & Labels Framelits Dies using the Silver Glimmer Paper for a layer behind the greeting.

And that’s how you make a fun, spooky Halloween card for Halloween night! Make some Halloween cards and send them to you friends!

If you need any of these supplies, just shop at the Stampin’ Up! Online Store!

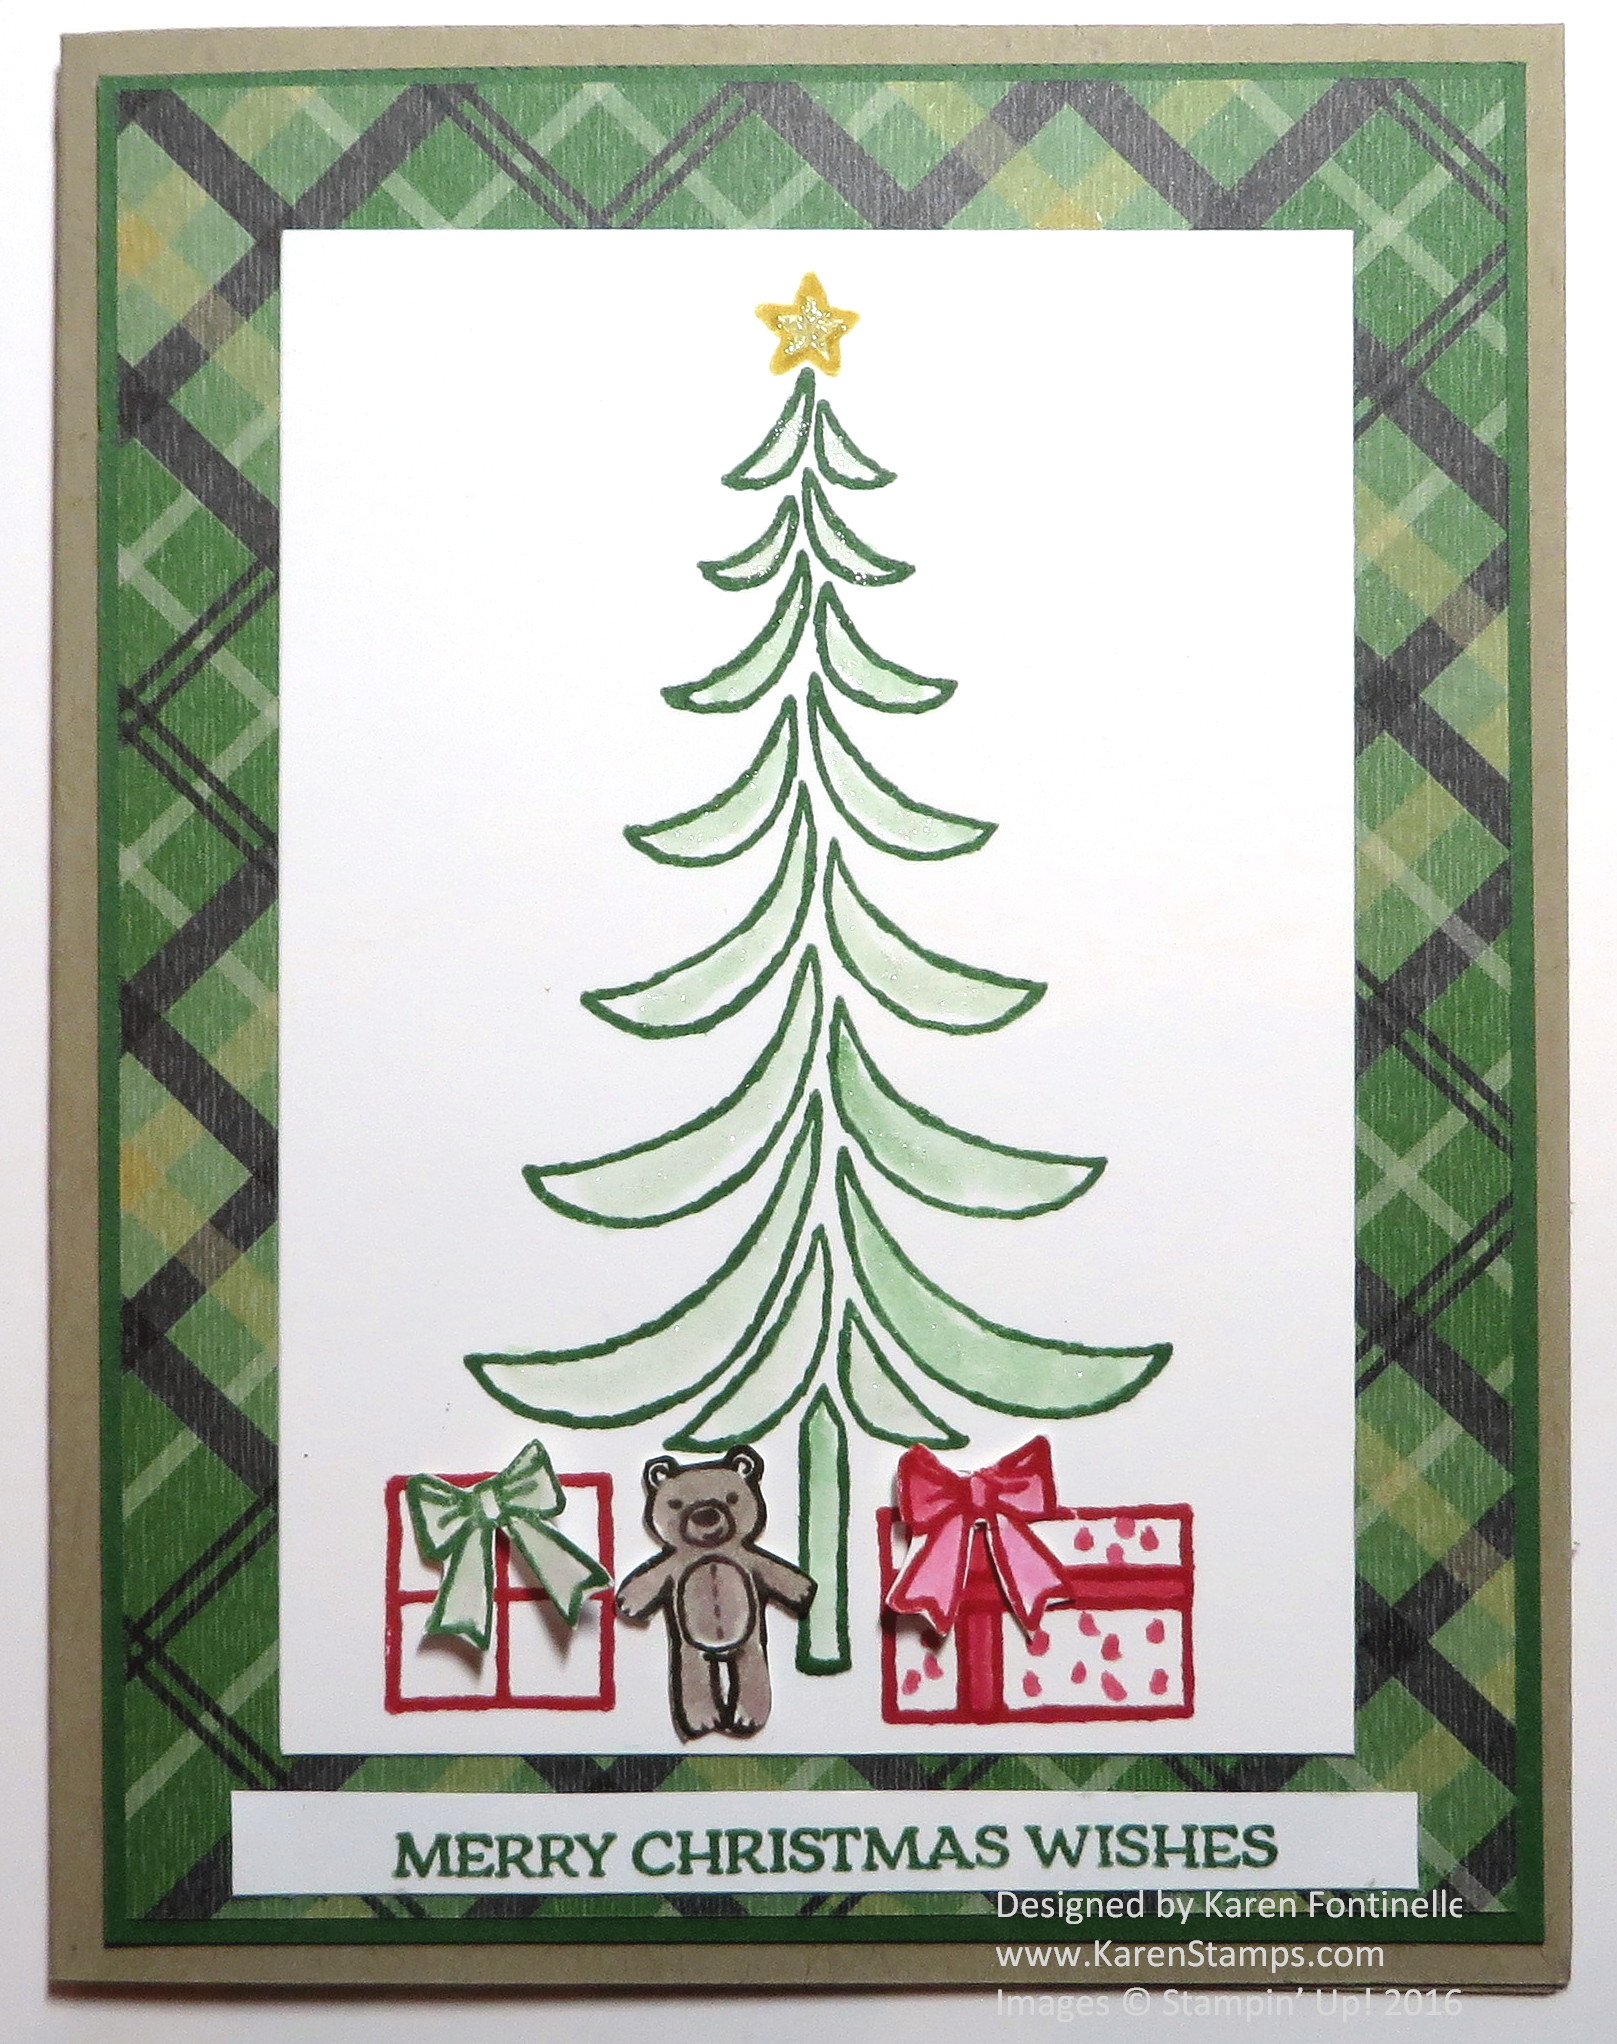
Santa’s Sleigh Modern Christmas Tree Card

Santa's Sleigh Modern Christmas Tree Card

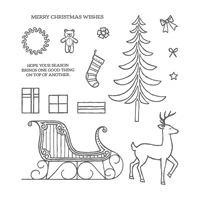
Yesterday I posted this card on my blog to draw attention to my 12 Weeks of Christmas holiday emails beginning, but today I thought I would tell you about the card Santa’s Sleigh Modern Christmas Tree Card itself.  The reason I bought this stamp set, Santa’s Sleigh, was for the sleigh and the reindeer and the beautiful framed art in the Holiday Catalog on page 24. But I haven’t gotten around to playing with those yet!  However, I have seen a lot of pretty cards made with this modern looking Christmas tree. Of course it wouldn’t have to be a Christmas tree, it could be any tree!

The card base is Crumb Cake, but Early Espresso is also a coordinating color with the designer paper, Warmth & Cheer Designer Series Paper Stack.  I love this paper stack and you certainly will be able to use it during the winter past Christmas!  If you have any left by then! The designer paper is layered on a piece of Garden Green. I was trying to keep this card super simple since I was in a rush, but after I stamped the tree and the packages, I thought it would be fun to color in a little bit and cut out the bows for the packages and pop up the little teddy bear. I also used the Clear Wink of Stella Glitter Brush on the tree branches, although it doesn’t show up in the photograph.  I used the Gold Wink of Stella Glitter Brush on the star at the top of the tree.  The greeting is in the stamp set and I just cut a very narrow piece of paper after it was stamped so it would fit on the front of the card!  Just stamping this card gave me ideas for other cards.

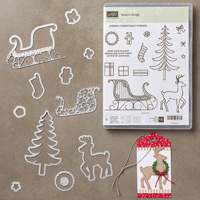
You can get this Santa’s Sleigh Photopolymer Stamp Set and the matching framelit dies in the Santa’s Sleigh Bundle and save 10%!

If you would like to make some cards and many other projects with this Santa’s Sleigh stamp set or Bundle, you can shop at the Stampin’ Up! Online Store HERE!

12 Weeks of Christmas Holiday Emails Begin Today! Sign Up Now!

Santa's Sleigh Modern Christmas Tree Card

Today is the day!  My weekly holiday emails, the 12 Weeks of Christmas, begin this afternoon at 1:00 pm Central Time.  Do you like to get new ideas for projects?  I love seeing more and more ideas! Almost as much as I love stamping and making them!

If  you would like to receive a holiday idea each week between now and Christmas (can you believe it??) for Christmas cards, handmade Christmas gifts, and finally gift bags and tags with which to wrap your gifts, then join my Stamping With Karen Mailing List by signing up in the red mailing list box in the upper right of my blog!

These holiday emails are a gift to my subscribers. In the past I have gotten a lot of positive response from the ideas, and it is wonderful to hear from everyone.

The only way to see these ideas is to be a subscriber and get my 12 Weeks of Christmas emails, so sign up before 1:00 pm Central Time today to get the first one! They will go out every Wednesday for 12 weeks! They will not be posted on my blog, Facebook, Instagram or anywhere else.  Just for my subscribers.

Okay, stop reading and go fill out your first name and email in the sign up box at the top! You even get a gift when you sign up! If you are already receiving my email newsletters, then you don’t need to do anything.  You’re on my list!

Join my Stamping With Karen mailing list today and receive the 12 Weeks of Christmas holiday emails!

Less Than 24 Hours Until My 12 Weeks of Christmas Holiday Emails Begin!

!2 Weeks of Christmas Banner


Do you love to get ideas for handmade Christmas cards, holiday gifts, gift wrap ideas and holiday tags?

If so, then you will want to be on my Stamping With Karen mailing list!  In less than 24 hours, I will begin sending out my 12 Weeks of Christmas Holiday Emails, and the only way you can get them is to be on my mailing list!

Sign Up in the red Mailing List sign up in the upper right corner of my blog!

Every week on Wednesday at 1:00 pm Central Time you are going to receive via email a holiday project idea complete with instructions and list of supplies. We will start with Christmas cards, then some gift ideas, and finally wrapping ideas, bags and tags.  You can copy these ideas or use them for inspiration to come up with your own creations!

The 12 Weeks of Christmas emails are a gift from me to my newsletter subscribers! I appreciate your loyalty and interest and hope that you enjoy these extra holiday ideas! These projects will not be seen on my blog, Facebook page or anywhere else, just in this special email. By the end of twelve weeks, you will have twelve wonderful holiday projects that you can complete or be inspired by!

If you would like to receive these 12 Weeks of Christmas Holiday Emails, you must be subscribed to my mailing list by October 5th at 1:00 pm Central time or you will not receive these great projects!

Sign up in the red Mailing List Box in the upper right side column of my blog! You will also get a free gift just for signing up!

*If you already receive my regular newsletters, then you are already on my list and will be getting the 12 Weeks of Christmas emails. You do not need to do anything!

I hope you will join us for 12 terrific holiday ideas! There’s nothing I like better than looking for more and more ideas!

Stamping with Karen 12 Weeks of Christmas

Best Tips and Tricks for Using Fast Fuse Adhesive by Stampin’ Up!

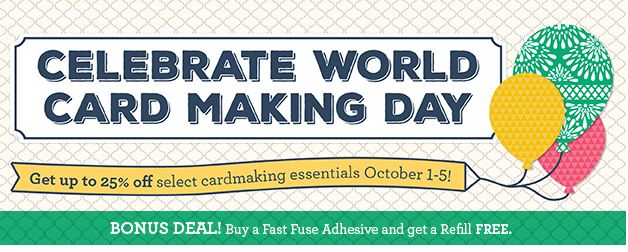
Celebrate World Card Making Day Stampin' Up! Specials

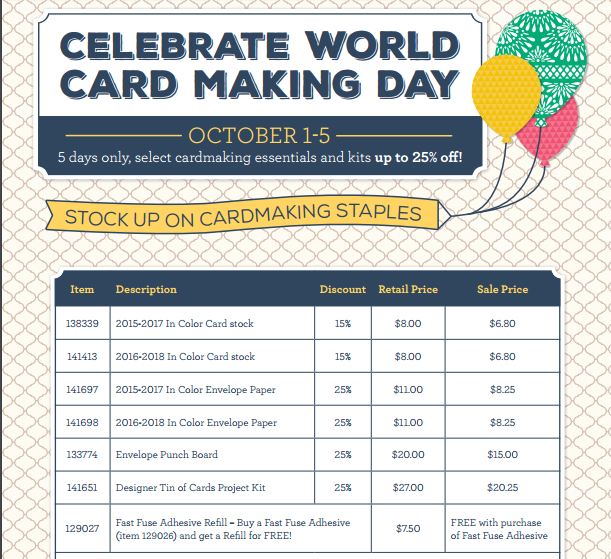
Stampin’ Up! has special offers for you to celebrate World Card Making Day except the specials last through Wednesday, October 5th! One of the deals is to buy a Fast Fuse Adhesive and get a refill FREE (a $7.50 value!)! Fast Fuse works great where you want a strong hold, like making a box yourself!

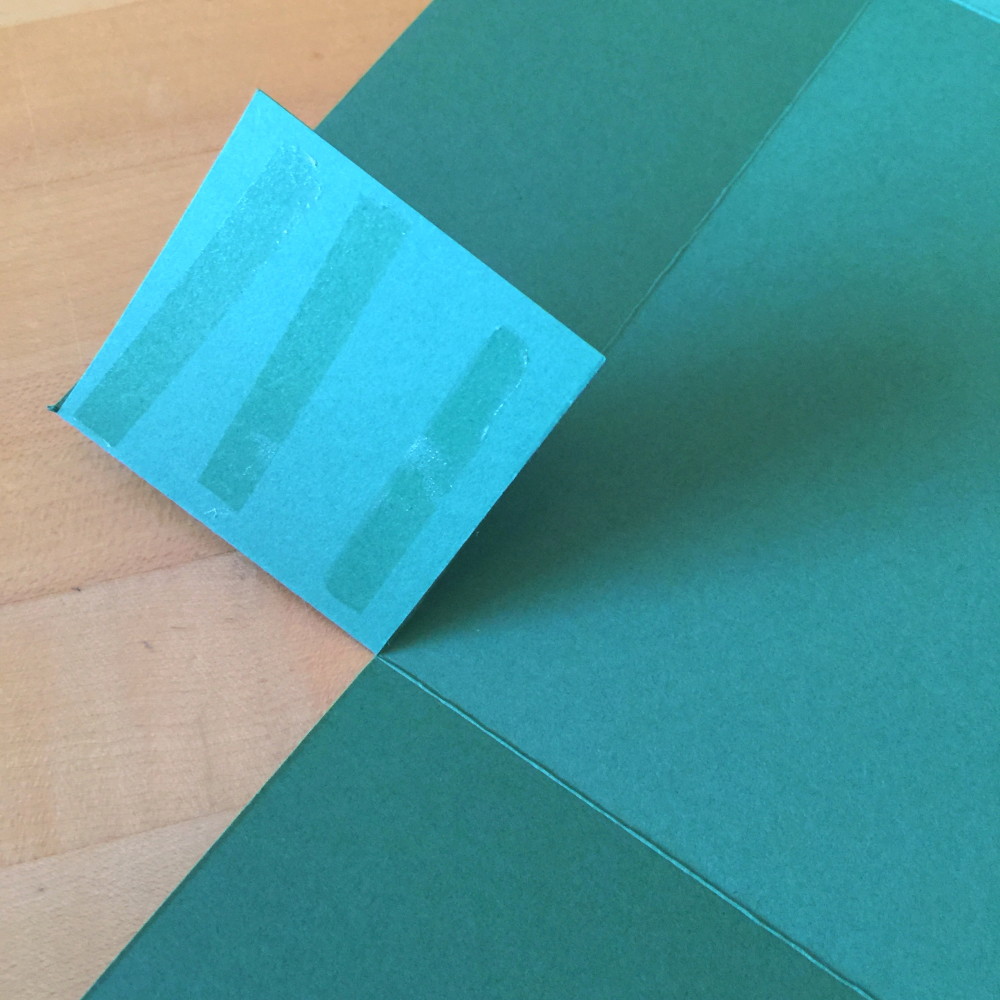
Fast Fuse Adhesive for Box

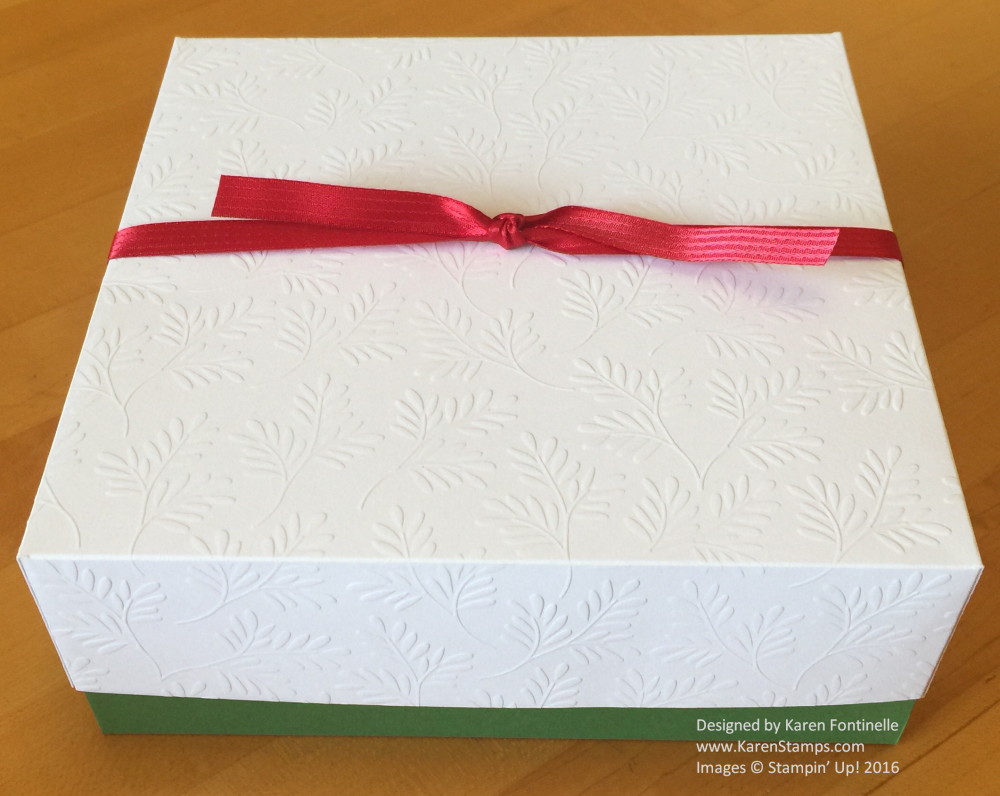
Handmade Box Embossed Paper


When Stampin’ Up! first came out with Fast Fuse a few years ago, I did not have much luck with it, admittedly! I probably ruined a few rolls of adhesive before I got the hang of it, and even then, I didn’t always have the hang of it!  If it worked for me, it was probably just luck. But then I watched some videos online and kept playing with it, and now I can say I really like Fast Fuse!  I probably even use it more than I use SNAIL Adhesive.  So if you have had the same experience and written off Fast Fuse, I would urge you to watch these videos below and see if you can pick up some tips you may have forgotten or never knew about how to use Fast Fuse.

This first video shows the basics of using Fast Fuse and how to fix it if the adhesive has “snapped back” from not breaking at the end of your adhesive line. She says to not open the case!  Even now I sometimes have to roll that little applicator to get the adhesive back in place or pick off the gooby stuff aroun the opening on the case. But otherwise, it works fine and these things are an easy fix.

This second video is Donna Griffith from the Home Office showing how to make a box out of cardstock, which is a great video anyway, but later in the video she also gives tips about using Fast Fuse. If you only want to see that part, skip to about 6:40 in the video. (But I think watching how she makes this cute box is well worth your time and enjoyment!)

Donna suggests not putting your finger on the top of the Fast Fuse case like we are used to doing with SNAIL. I’m not positive that you can’t use it with your finger on top, but use a light pressure. I have been trying to remember to NOT put my finger on the top like Donna suggests. Just try it and see what you think. It was good for me to find that first video above again and listen to how this adhesive really works, even if you have been using Fast Fuse. It’s a good review.  I think Fast Fuse works well when you want a really good “stick”. But since it does stick so well, there’s no playing around when adhering your two things.  If you need a little time to move one layer or image around to get it just right, then you might prefer the Multipurpose Liquid Glue which allows for a little bit of repositioning before it sets up.

Here are all the other #WCMD Special Offers from Stampin’ Up!

World Card Making Day Stampin' Up! Discounts

So many great things to shop for at Stampin’ Up!  Check out these World Card Making cardmaking essentials through October 5th, the Designer Series Paper Buy 3 Get 1 Free Offer, the Holiday Catalog, the Clearance Rack and more!  Just click HERE to shop Stampin’ Up! Online!

Happy #WCMD World Card Making Day! Celebrate With Stampin’ Up! and Make a Handmade Card!

World Card Making Day Discounts

Today is World Card Making Day so celebrate with Stampin’ Up! and choose a few things discounted for the occasion!

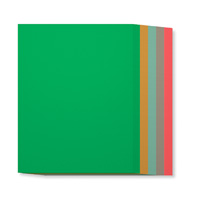
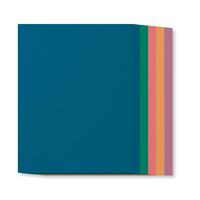
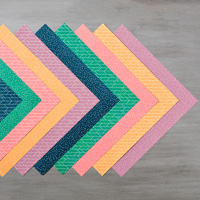
Check out the In Color cardstock!

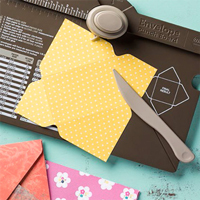
And you might like the In Color Envelope Paper to make your own envelopes with the Envelope Punch Board to match your beautiful cards!

Here is a video about the Envelope Punch Board!  You can make more things than envelopes, too!

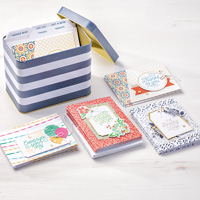
And the Designer Tin of Cards Project Kit is on sale!  If you need lots of cards, get this kit, enjoy making the cards, and you will be set for awhile! And we should all be sending more cards!

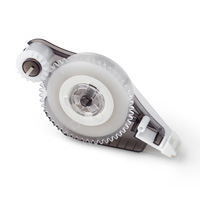
And last but not least – Buy one Fast Fuse Adhesive and get a refill free (a $7.50 value)!

Don’t forget!  Select Designer Series Papers are on a special all during October beginning today!  Buy 3, Get One FREE!

Designer Series Paper Sale List of PapersShop Stampin’ Up! for all these great stamping and papercrafting supplies!!

Happy World Card Making Day! Be sure to make a card for someone today and mail it!! #WCMD


Sign Up for Stamping with Karen “12 Weeks of Christmas” Holiday Card and Project Ideas

Gingerbread man and woman for Christmas holidays

Christmas Is Coming!

Do you need ideas for handmade Christmas cards, gifts, wrapping and tags?

If you do, then join my Stamping With Karen mailing list today to receive my special holiday newsletter every week up until Christmas! Sign up in the red Mailing List box in the upper right!

I’m excited to announce that I will begin sending out my annual 12 Weeks of Christmas holiday emails one week from today on Wednesday, October 5, 2016!  Every week you are going to receive via email a holiday project idea complete with instructions and list of supplies.  We will   start with Christmas cards, then some gift ideas, and finally wrapping ideas, bags and tags.

The 12 Weeks of Christmas emails are a gift from me to my newsletter subscribers! I appreciate your loyalty and interest and hope that you enjoy these extra holiday ideas!  These projects will not be seen on my blog, Facebook page or anywhere else, just in this special email. By the end of twelve weeks, you will have twelve wonderful holiday projects that you can complete or be inspired by!

If you would like to receive these 12 Weeks of Christmas holiday emails, you must be subscribed to my mailing list by October 5th at 1:00 pm Central time or you will not receive these great projects!

Sign up in the red Mailing List Box in the upper right side column of my blog! You will also get a free gift just for signing up!

*If you already receive my regular newsletters, then you are already on my list and will be getting the 12 Weeks of Christmas emails. You do not need to do anything!

The 12 Weeks of Christmas emails always get a positive response, so I hope you will join us at Stamping With Karen for this gift I love to send to my newsletter subscribers!