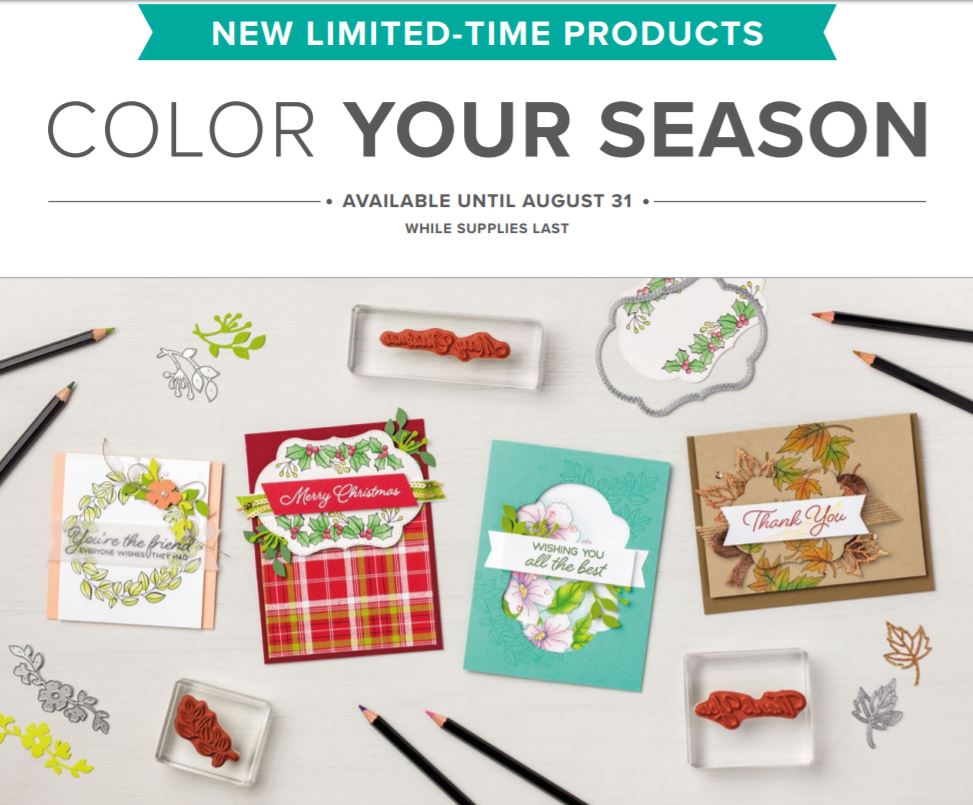
One of my favorite things to do since I first learned about Stampin’ Up! and stamping was coloring with Watercolor Pencils. We had a set of Watercolor Pencils back 16 years ago or so when I started stamping as a customer, but they were not the exact Stampin’ Up! colors. They went away for years, then they were brought back in an assortment of Stampin’ Up! colors. Of course, for us stampers, one assortment is not enough! We need more colors! So during the month of August, you can buy a second assortment of colors of Watercolor Pencils! These pencils will likely be in a future catalog, but if you want them now, you better purchase them in August so you don’t have to wait!
I decided to make my card using the Oh So Eclectic Stamp Set and Stazon Ink to stamp three flowers to later color. The leaves are stamped in Granny Apple Green, stamped off once first. The card base is Flirty Flamingo Cardstock with a layer of Whisper White. When I was finished, I stamped the little images around in the empty spaces of the card with Flirty Flamingo Ink. Then I tied on a piece of Crumb Cake Twine from the Nature’s Twine assortment to embellish the card. The greeting is from the same Oh So Eclectic Stamp Set.
I love the Watercolor Pencils because you don’t have to be really precise. Notice how I colored in the flowers rather sloppily in the photo below! Just lay down some color. You can always go back and add more or mix two colors, whatever you like.

Then, use a Blender Pen or Aqua Painter to smooth out the coloring. On Whisper White Cardstock I prefer the Blender Pen (used lightly) so that the paper doesn’t pill from too much moisture. For more serious watercoloring, use Shimmery White Cardstock or even better, Watercolor Paper.
Here is a closer look AFTER I used the Blender Pen to smooth out the colors.
 The original set of Watercolor Pencils has 13 colors: Basic Black, Basic Gray, Bermuda Bay, Calypso Coral, Daffodil Delight, Early Espresso, Melon Mambo, Old Olive, Pacific Point, Pumpkin Pie, Real Red, Rich Razzleberry, Whisper White.
The second assortment, Watercolor Pencils Assortment 2, have 10 colors: Balmy Blue, Cajun Craze, Cherry Cobbler, Coastal Cabana, Crushed Curry, Flirty Flamingo, Garden Green, Gorgeous Grape, Granny Apple Green, Night of Navy.
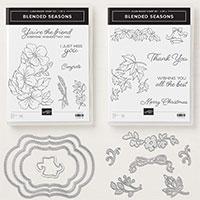
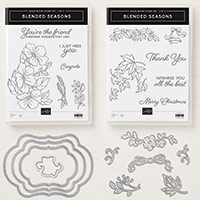
Watercolor Pencils are a great inexpensive way to have a lot of colors at hand for coloring. Be sure to pick up this second assortment during August to avoid a wait! Also check out the Limited Time Blended Seasons Bundle and save 10% on both the stamps and dies. (The Watercolor Pencils are not included in this Bundle.)
I know you will have fun coloring with the new Watercolor Pencils and trying different techniques!
BONUS DAYS with every $50 purchase!