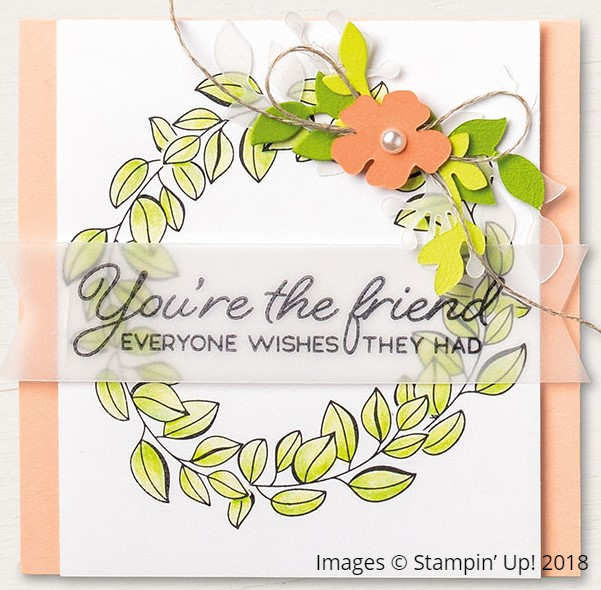
This Color Your Season Flower Card is just one beautiful card you can make with the Color Your Season Suite of products, a limited-time offer! And you know what, Friday, August 31 will be the last day to purchase the stamp set, framelit dies, or the Bundle. There is also a new selection of Watercolor Pencils that may (or may not) be available in a future publication. These are separate from the Bundle, but you will want them in your collection because they are the real Stampin’ Up! colors!
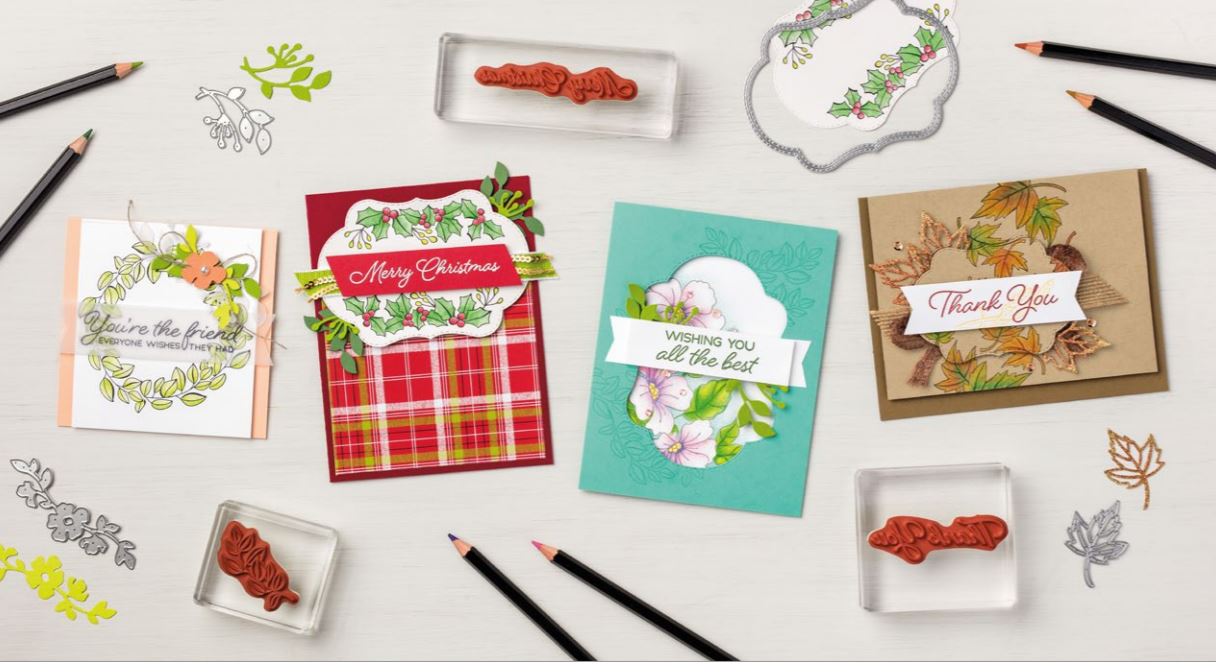
Get in the mood to create something full of colors and seasons! Introducing the all-new, limited-time Color Your Season products:
- Blended Seasons Stamp Set, an exclusive 10-piece wood- or clear-mount stamp set with images for every season!
- Stitched Season Framelits Dies, a coordinating stitched die that includes stitching on both the positive and negative images!
- Watercolor Pencils in 10 new colors! Note: These Watercolor Pencils may be available in a future publication.
- Please note: The Bundle includes the stamp set and dies only. It does not include the Watercolor Pencils.
I’ve seen so many beautiful samples created with this set. And it covers all four seasons! You could be making Christmas cards right now with this Suite!
Just be sure to purchase by August 31 or it will be gone!
SHOP THE COLOR YOUR SEASONS SUITE HERE!
Remember, it’s Bonus Days still going on this week at Stampin’ Up! With every $50 you spend during August, you will receive a $5 Bonus Coupon to use in September! And in September, you will be shopping the Holiday Catalog after Sept. 5th so those coupons will come in handy!
Be sure to add these limited-time products to your order through Friday, August 31 so you can have fun and color your season with many pretty cards and projects.