Happy July! A great way to celebrate the month of July is to take advantage of the Stampin’ Up! Designer Paper Special Offer!
Just buy 3 packages of these select designer series papers from Stampin’ Up! and get 1 more package FREE!
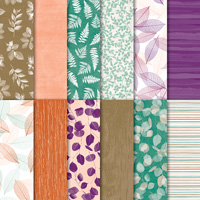
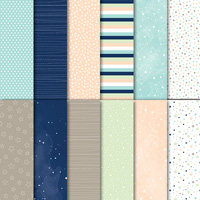
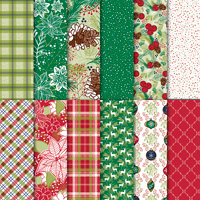
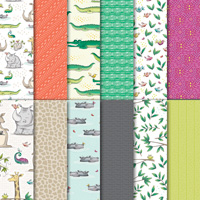
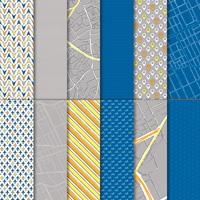
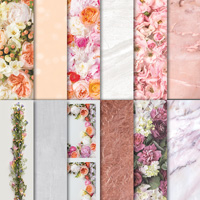
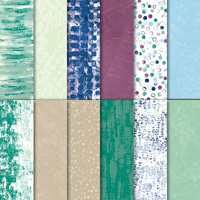
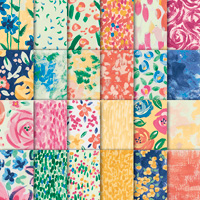
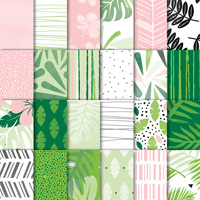
Here are the papers to choose from!

Click to View Chart!
You will find these designer series papers on pages 188-191 of the new Stampin’ Up! Catalog. Remember, even if you only like a certain paper a little bit, it will be 10X better in person! There’s no way the photographs of the paper can look as good as they do in real life! That’s what everyone says if they see the paper I have in person compared to what they see in the catalog!
Check out all the Designer Papers Online HERE!
Here are the details:
- Dates: July 1-31, 2018
- Only Designer Series Papers listed in the table below qualify for this promotion. You may mix and match papers from any of the listed papers.
- There are no ordering limits on this promotion.
- Designer Series Paper ordered with Stampin’ Rewards is not eligible for the promotion.
- This promotion does not apply to Starter Kits.
- In Online ordering, when three qualifying Designer Series Paper packs are entered, a prompt to add a free Designer Series Paper will appear in the merchandising section.
- In the online store, if a customer orders four packages of the same qualifying Designer Series Paper, they will need to enter three together and then order the fourth free item separately.
- Ordering deadlines:
Online : July 31, 2018; 11:50 PM (MT)
Check out the papers here! Just click on each one!

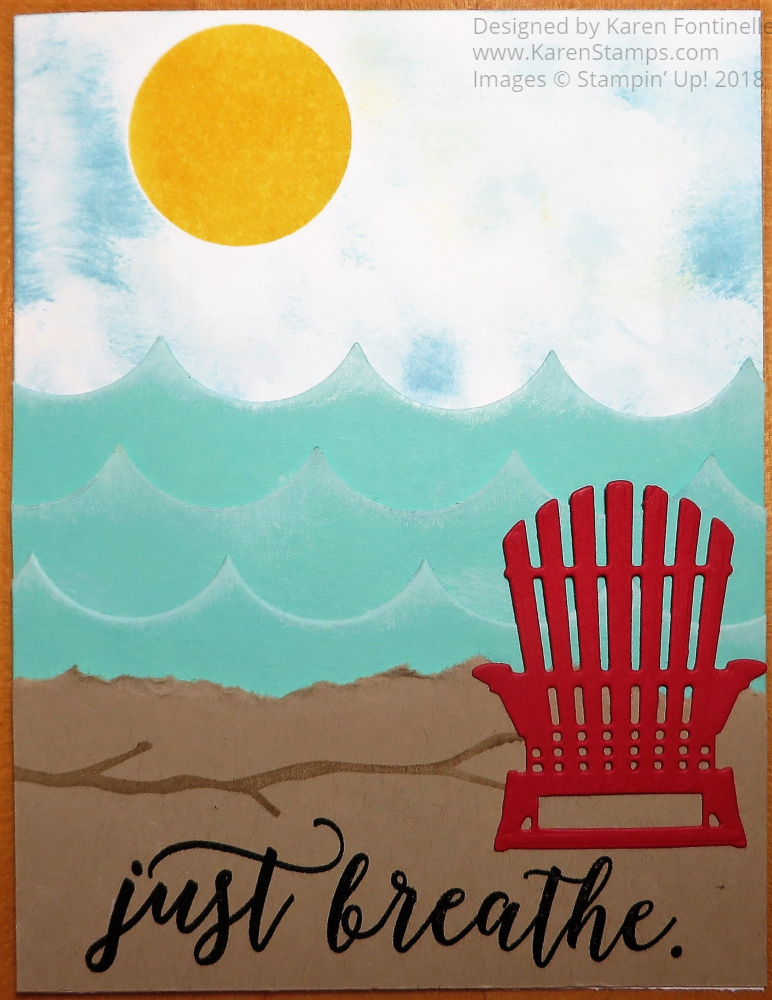
Just think about all the projects you could make with more designer series paper and cardstock! Don’t wait until the end of the month! Order as soon as possible so you can get stamping! Make a list and then place your order for the Stampin’ Up! Designer Series Paper for July!