Category Archives: Big Shot

Stampin’ Up! Weekly Deal June 17 2014

Stampin' Up! Weekly Deal June 17 2014

Here are the current Stampin’ Up! Weekly Deals for the week of June 17, 2014, good through Monday June 23. Be sure to check them out while you are placing your order for the newest merchandise in the new Stampin’ Up! Catalog. Also, check the Clearance Rack and time you are ordering and see if any new items have been added.

Remember, the new photopolymer stamp set Calling All Heroes is available under “New Arrivals” in my Online Store.  Mine just came last night!  I will try to get a sample made and post it for you soon!

Calling All Heroes Stamp SetHave fun checking out the Stampin’ Up! Weekly Deals and all the fun and new products from Stampin’ Up!  Go to my Stampin’ Up! Online Store now!

Make a Gift Box with the Stampin’ Up! Hamburger Box Die

Coastal Cabana Hamburger Box Die

I finally got around to playing with the new Stampin’ Up! Hamburger Box Die for the Big Shot. I made this one with Coastal Cabana card stock and a partial belly band with a piece of Lullaby Designer Series Paper. The greeting is from the new stamp set Something to Say. I thought the heart needed a little something so I used the little flower punch in the new Itty Bitty Accents Punch Pack to make a little flower with one punched out of the Coastal Cabana card stock and one punched out of the designer paper. If you can poke the center of the flowers, it will cause the petals to pop up a little making it 3D. I put a little Pearl Jewel in the center. And for a little more bling, I added some individual sequins from the Sequin Trim.

The box is not big enough for a double cheeseburger from Whataburger, but maybe it would hold a slider! It is smaller than you think but makes a nice gift box for a Hostess cupcake, a few small to medium size cookies or even any other gift.  You can decorate the inside of the box, the inside of the lid, tie it with ribbon, put a belly band around it, or stack a couple together as you see in the new catalog on page 17.

Stampin’ Up! has a video to show how to make the box and give you some ideas!  Watch it below.

Shop Online at my Stampin’ Up! Store at your convenience!

Make a Punch Art Bunny Easter Card

Punch Art Bunny Easter Card

There are so many cute ways to make punch art Easter bunnies. Here is one you can make easily with the Oval Collection Framelits Dies and just trim to fit on your card! I used three sizes of the framelits and for the Easter Bunny face and ears and the Small Oval Punch for his cute little nose! I drew in his eyes and whiskers by hand with a black marker. His rosy cheeks are made with Blushing Bride Ink and a Sponge Dauber. For the inside of his ears I used a Melon Mambo gingham pattern in the Gingham Garden Designer Series Paper. The layer on the card is a piece of the pretty Coastal Cabana pattern in the Retro Fresh Designer Series Paper. The Easter greeting is stamped with the Easter stamp in Teeny Tiny Wishes, one of the handiest stamp sets you can own! It is cut out with the Bitty Banners Framelits Dies.

Try your hand with your punches or framelits and see what kind of cute Easter bunnies you can make for your Easter cards or Easter decorations!

Shop for all your Stampin’ Up! supplies at my Online Store HERE.

High Fashion for the Oscars at the Academy Awards

Academy Award Fashions 2014

When we watch the Academy Awards or any of these glamorous awards shows, most people are pretty interested in what outfits the stars are wearing on the Red Carpet! I’ve been busy with my Stampin’ Up! Dress Up Framelits making fancy dresses that I’m sure we will see the stars wearing tonight!!

Oscar Dresses for the Red Carpet

Here are some more Red Carpet dresses for the Oscars tonight!  Which one do you like?

Dresses for the Academy Awards

Who are you wearing tonight??!  Gold is in so do you think we’ll see lots of gold on the Red Carpet?  This was like playing with paper dolls!

Have fun at the Oscars!  Check out the fashions!

Stampin’ Up! Weekly Deal February 11 2014

Stampin' Up! Weekly Deal February 11 2014

Here are the new Weekly Deals from Stampin’ Up! for the week of February 11 2014. That Artisan Label Punch is a good one.  I would snatch that up. Of course ribbon and ink is always good and might as well get any Big Shot supplies while you can on discount!  Just click on the image above to go to my Online Store page. Check out the other items from Stampin’ Up! by looking at the categories in the left sidebar of the store.

Don’t forget about the ongoing Sale-A-Bration promotion going on at Stampin’ Up!  Simply purchase $50 or more in current products and choose a free product from the Stampin’ Up! Sale-A-Bration Brochure!  Who doesn’t want free stamping stuff?!

New downloads released for My Digital Studio today, also! Check these out! Click on the image below! Just image a scrapbook page with the beautiful Watercolor Wonder Designer Series Paper! And if you’re looking for St. Patrick’s Day decorations, check out the Luck O’ the Irish Ensemble!

My Digital Studio Downloads Feb 11 2014

Check out the Stampin’ Up! Weekly Deal at my Online Store! Why not get some current discounted stamping products and add them to your Sale-A-Bration order?! Just get to $50 in merchandise and earn a free product!  No limits!  Buy $100 in product, get two free Sale-A-Bration products.  Buy $150 and get three free Sale-A-Bration products PLUS $25 Hostess Dollars to choose more items!  Let me know if you have any questions!  You can put in your order online HERE yourself or I can do it for you!  I’m happy to help!

Spiral Flower Originals Die…Lovely to Own!

Spiral Flower Originals Die

At Stampin’ Up! Leadership 2014 last week, I was able to see the Spiral Flower Originals Die in person and see the flowers made with it. Now I want to order it! They were showing the die and a ton of flowers made with it for demonstrators to see up close and personal. The Stampin’ Up! employee I was talking with said each flower will turn out different according to who made it and how tightly or loosely you roll it up. It is suggested you use your Bone Folder after cutting out the flower to loosen up the paper fibers to make it roll easier.  The die, like other dies of this kind, are not just for paper either!  You can use other materials, such as fabric, so think of the possibilities! Just roll it with your fingers or around a pencil or skewer, however you want to do it.  You can leave the center as it comes out or push it down and put a button inside or rhinestone or something.

After Leadership there was a public event and some Stampin’ Up! Demonstrators were ‘demonstrating’ at booths. One was doing these paper flowers so here are some photos and ideas:

Spiral Flower Die Rose Tin

Spiral Flower Die Rose Lollipop

Spiral Flower Rose Heart Wreath

To add the Spiral Flower Die #129379 to your next order, just go to my Stampin’ Up! Online Store!  You could have a table full of flowers in no time for spring!

Fun Making Christmas Gift Boxes

Extra-Large Kraft Gift Box with Gift Bow and Tag

‘Tis the season (or almost!) for making pretty gift wrap boxes for the holiday gifts we have shopped for or handmade for our friends and family. Why not get a head start with the Stampin’ Up! Extra-Large Gift Boxes?  They come three in a package and are one of the Weekly Deals, if you order by tonight. Just fold them up into their box shape and start decorating!  It needn’t be elaborate, unless you want it to be. Here I have just adhered pieces of the Season of Style Designer Series Paper to the top and sides of the box.  On the top, I layered it on a piece of Cherry Cobbler card stock but the sides are just the designer paper.  And before I put the Christmas tag on, the decorated box could be for any other occasion, not just Christmas! Also on the Weekly Deal, ending Monday November 18, is the Gift Bow Bigz L Die. Grab it for a discount today and you can easily make the double bow like on the top of this box. It probably only took me about ten minutes to decorate this box!  Nothing could be simpler!

For the little tag in the corner of the gift box, I used one of the MANY tags in the Season of Style Designer Journaling Tags package in the Holiday Catalog. I chose one and made a little card to layer it on and stuck it on the top of the box.  Now all I have to do is write the “to” and “from” inside when I see what gift is going in the box! Of course I had to add a little bling with two small Rhinestone Jewels on the snowflakes. You can use these die-cut printed tags for scrapbooks, photo albums, even cards.  You’ll enjoy playing with them!

Don’t delay, check out the Weekly Deals ending today! You’ll probably want all the items! But even if you miss the sale, they are still good values to have.

Go to my Stampin’ Up! Online Store and get your order in!  Let me know if you have any questions! From the Home Page of my store, be sure to check all the categories in the left sidebar. Don’t forget the Clearance Rack either!

Extra-Large Kraft Gift Box with Gift Bow

Baby Circle Flip Card

Baby Circle Flip Card

Have I said before that I think you will love the Circle Card Thinlits Die for making cards?  I needed a baby card for a little boy and thought the Thinlits Die would make a cute card! The paper I used is retired (Nursery Nest), but of course you could use any paper of your choice.  The stamp set I used is also retired, unfortunately.  I loved the Easy Events stamp set because it was so versatile for many occasions. I loved the little duck so I had to use it for this card.

The Thinlits Die practically makes the card for you!  Just decide what to put for the focal point on the front of the card in the circle and probably a greeting for the circle on the other side inside the card.  Add a little designer paper if you like or do some stamping on the plain card stock.

Baby Circle Flip Card Inside

If you are game to try the new Thinlits Dies, just contact me or shop online at my Stampin’ Up! Online Store HERE.

New Deals from Stampin’ Up!

Here’s a new list of Weekly Deals from Stampin’ Up! good today through next Monday!

Wk Deal Nov 5(1)

Click to enlarge 

Adorning Accents Textured Embossing Folder Item # 125601
Regular Price: $8.95 US/$10.95 CAN
Discounted Price: $6.71 US/$8.21 CANAutumn Accents Die Item # 127812
Regular Price: $21.95 US/$26.95 CAN
Discounted Price: $16.46 US/$20.21 CAN

Cherry Cobbler Grosgrain Ribbon
Item # 132135

Regular Price: $8.95 US/$12.50 CAN
Discounted Price: $6.71 US/$9.37 CAN

Wk Deal Nov 5(2)

Click to Enlarge

Cupcake Punch Item # 121807
Regular Price: $16.95 US/$22.95 CAN
Discounted Price: $12.71 US/$17.21 CAN

Day in the Life Kit MDS Download 
Item # 128876
Regular Price: $14.95 US/$16.50 CAN
Discounted Price: $8.97 US/$9.90 CANDress Form Pop N Cuts Item # 130100

Regular Price: $21.95 US/ $26.95 CAN
Discounted Price: $16.46 US/$20.21 CAN

Weekly Deal Nov. 5

Click to Enlarge

Simply Created Goody Gear Pumpkin Pie
Item # 132792

Regular Price: $4.95 US/$6.95 CAN
Discounted Price: $3.71 US/$5.21 CANRhinestones Large Item # 129324
Regular Price: $4.95 US/$6.50 CAN
Discounted Price: $3.71 US/$4.87 CAN

Just visit my Online Store HERE or use the links above to order any of these great supplies that you NEED!  Especially when they are on sale!  One week Only!

A Pop-Up Birthday Card for My Son

Pop Up Birthday Card

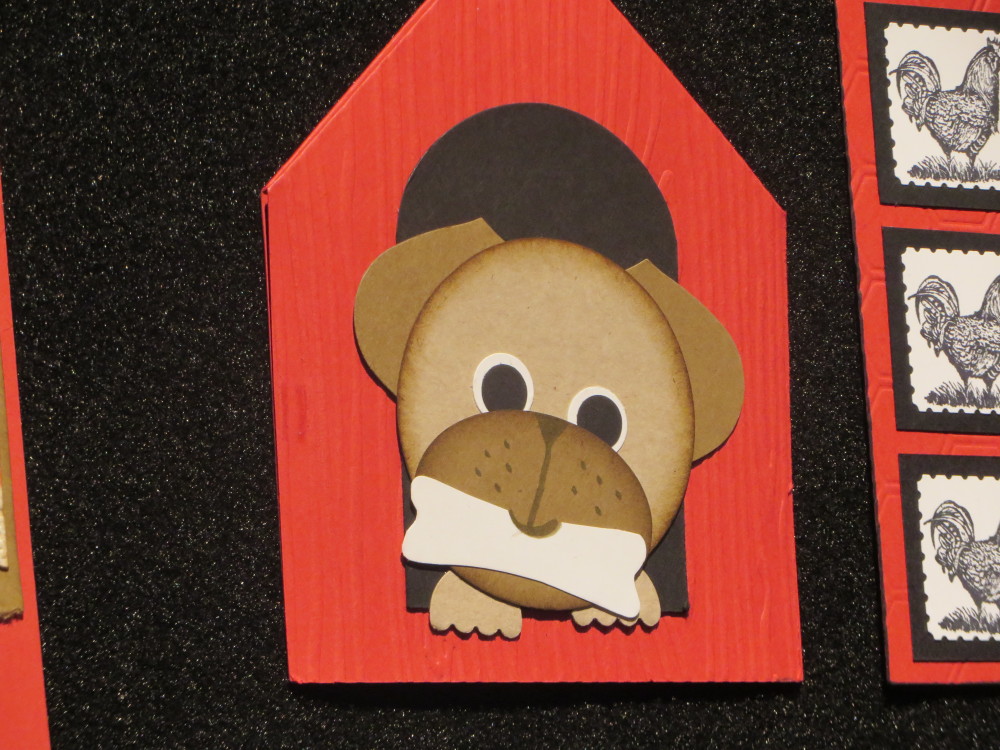
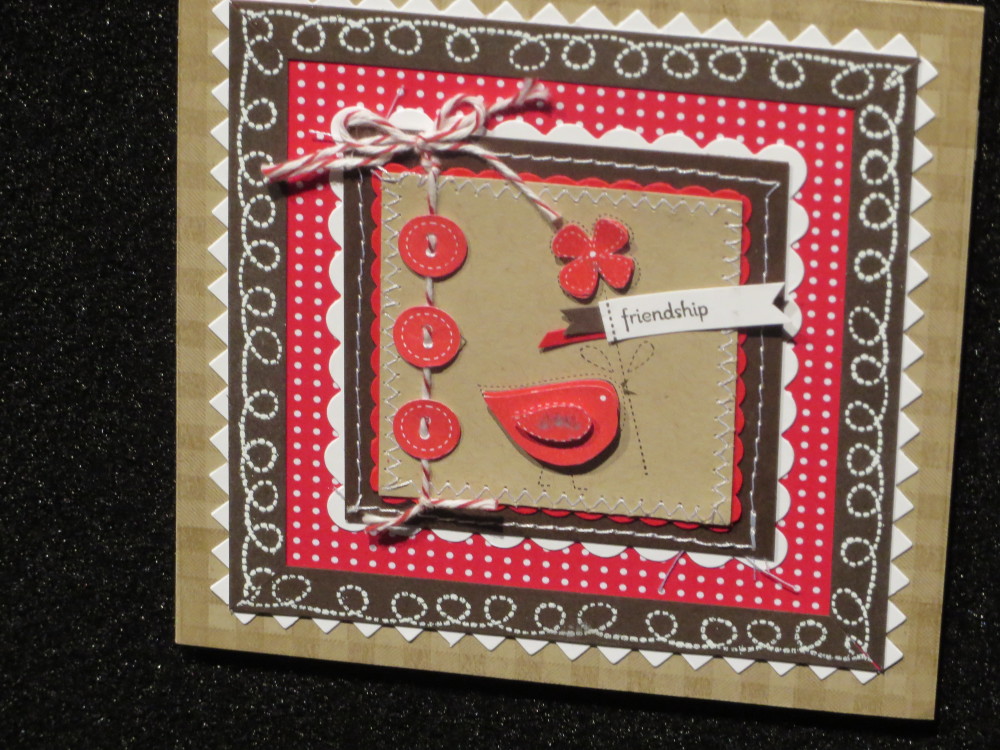
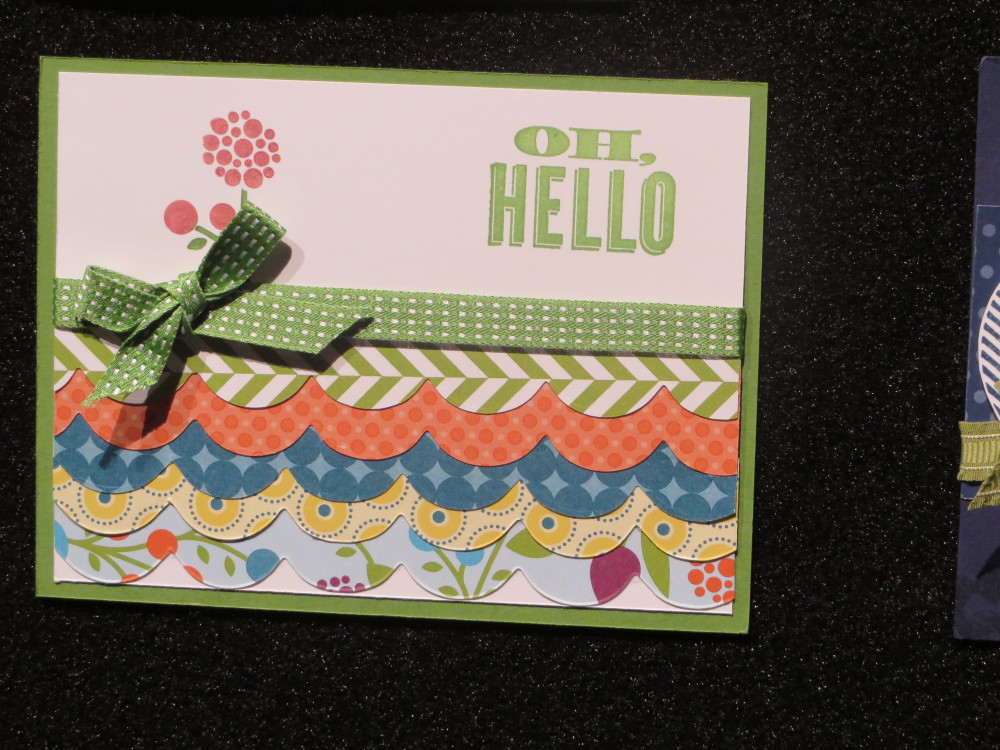
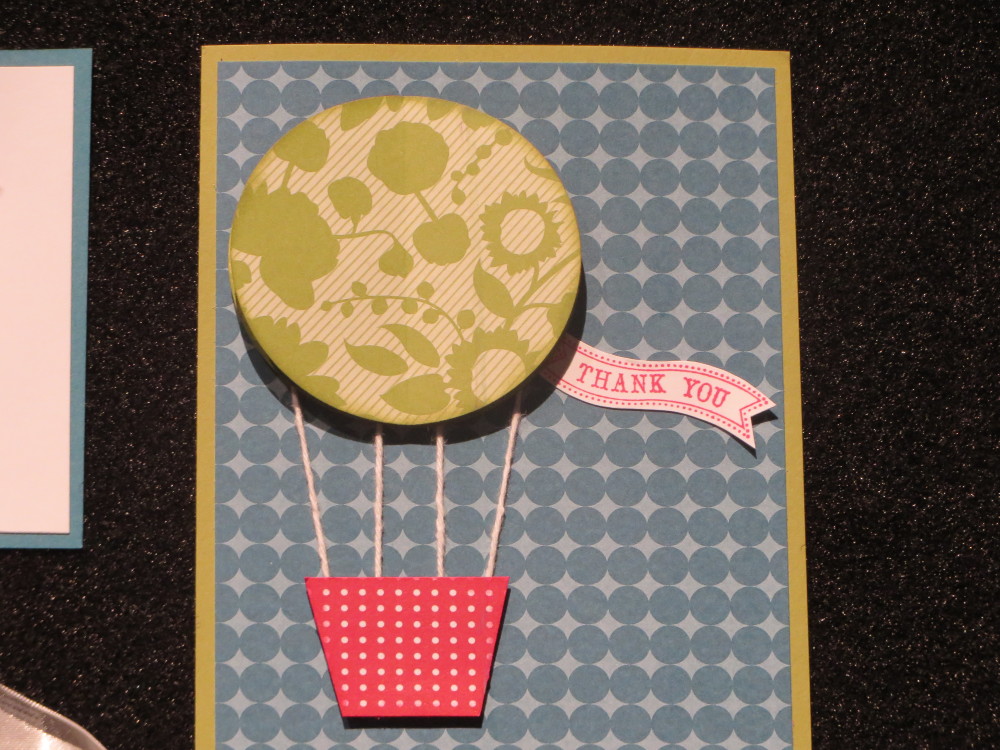
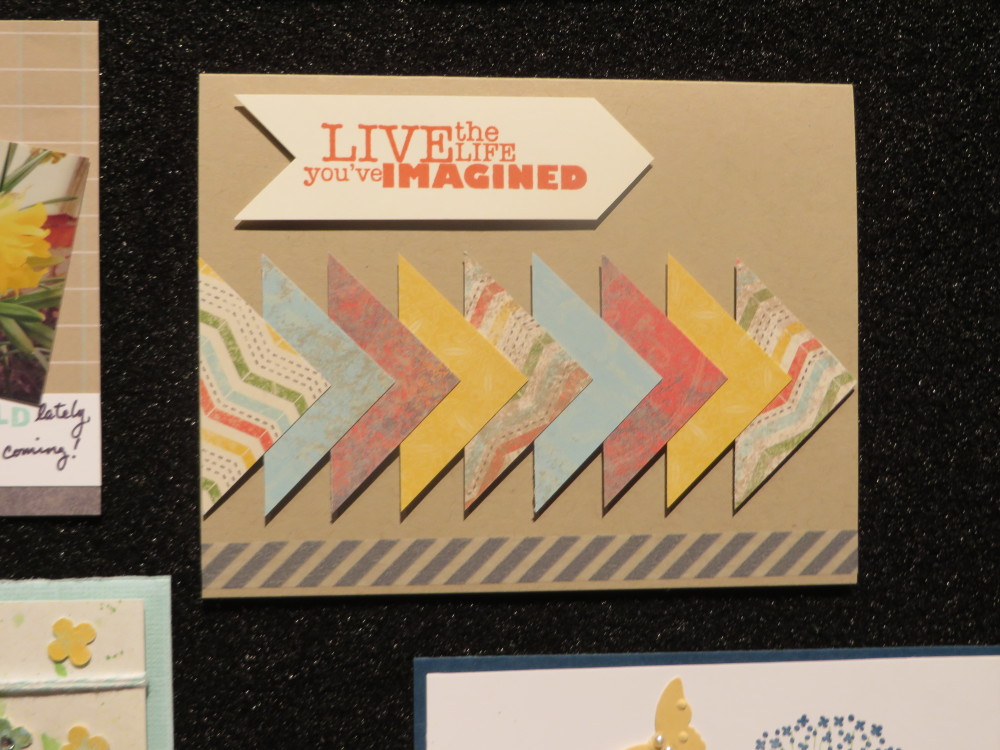
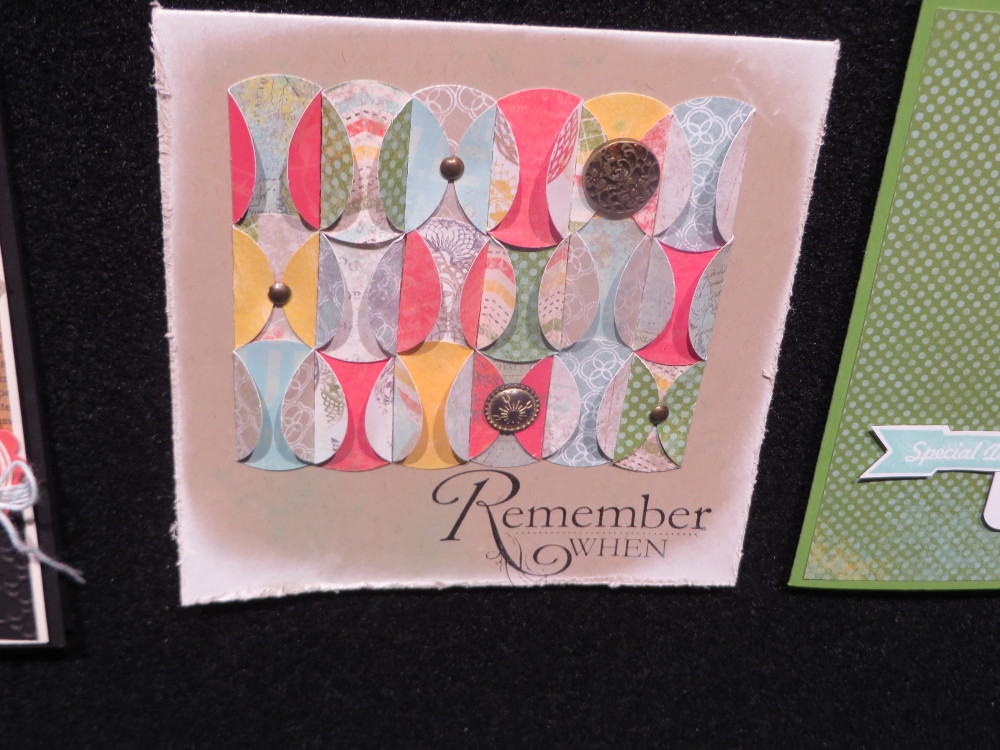
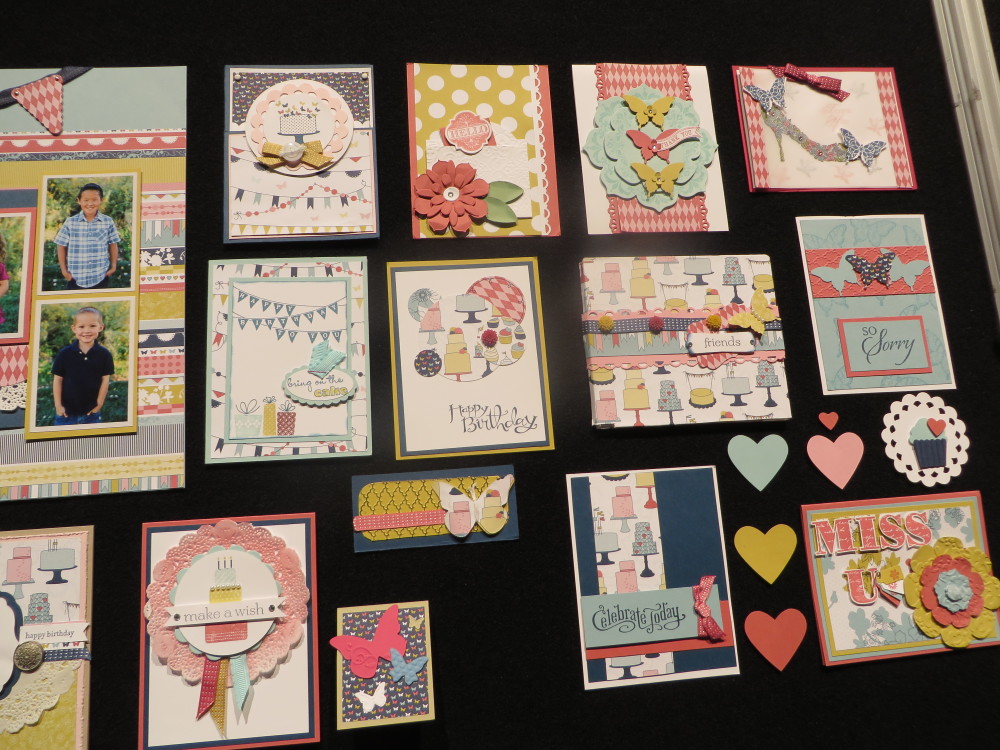
Lots of days I can have or see hundreds of ideas for cards and  stamping projects I want to make, but sometimes when I need a card for someone special it’s like I’ve never stamped before and can’t think of a thing to make.  Does that ever happen to you?! Sometimes I can look around in all the usual inspirational places and not see anything I like, just because I NEED something right then.

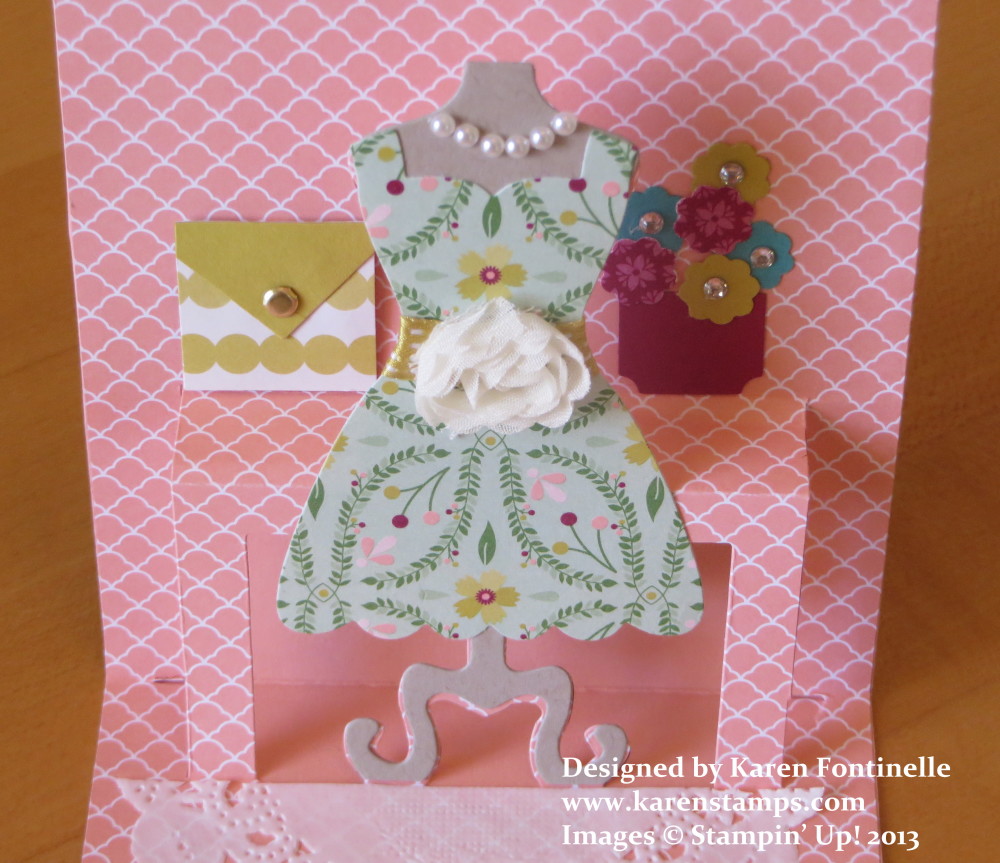
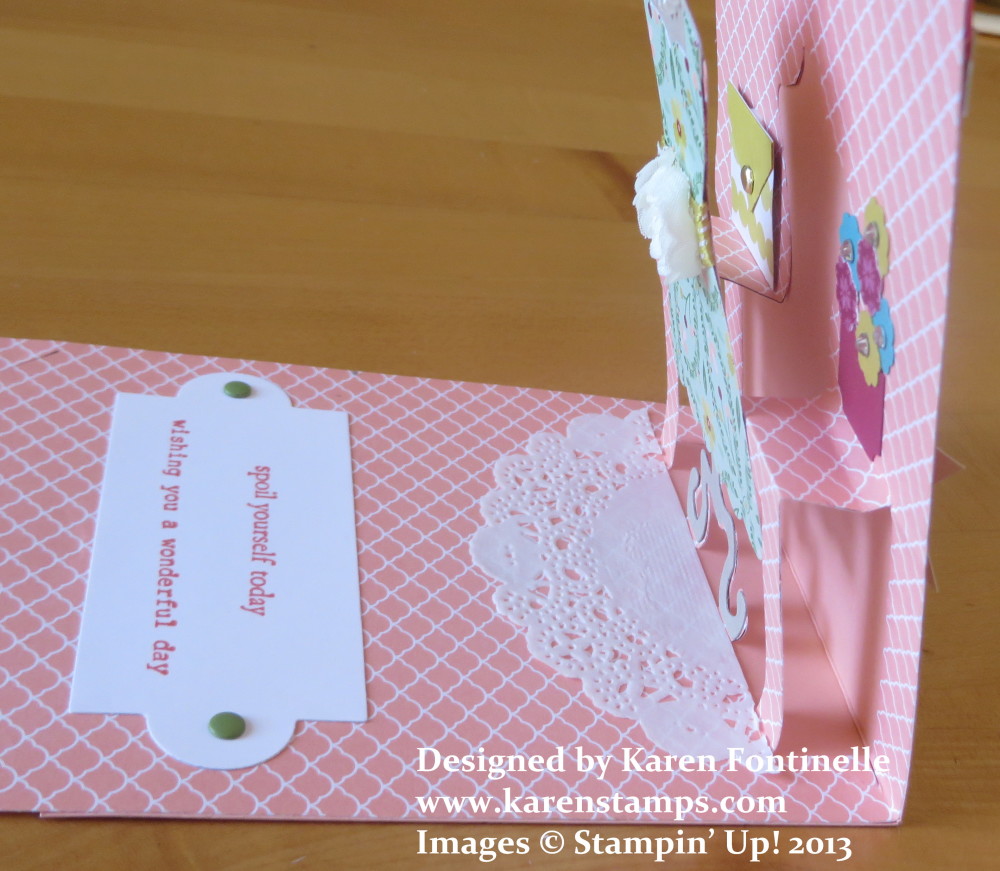
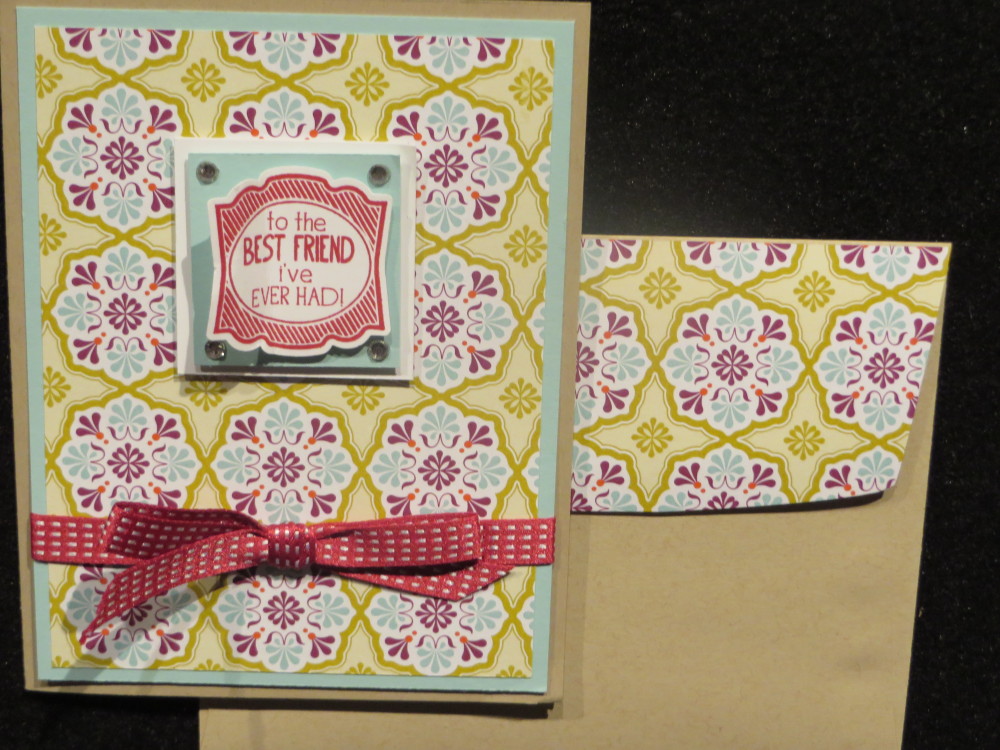
Cards for guys always seem a little harder to come up with, although they really shouldn’t be. Often it’s just a matter of changing the color or the paper or using less bling or more texture. Anyway, when I needed a card for my son for his birthday I found this one at StampingSchool.com. I used the “You’re Amazing” greeting on the front of the card from the stamp set You’re Amazing and used the Big Shot and the Apothecary Accents Framelit to cut it out. Love, love, love the little Candy Dots and the Candy Dot Brad Bases (or the Candy Dots by themselves!). While the sample I was copying used a more feminine designer series paper, I changed it to our current Sweater Weather Designer Series Paper.

Pop Up Birthday Card Inside

The inside of the card is a pop-up!  And it’s made the old-fashioned way, with two little strips of paper making a box shape on each side of the card hidden by a front panel that you can then add things to so that it pops up. I copied the sample pretty closely except for the greeting and the designer paper. Then if you like you can stick a gift card, check or cash in that opening or even engineer it to have a pocket, or any other design along the pop up portion!

This was a good male birthday card to make.  It could be for anyone, but the Sweater Weather Designer Paper makes it look like fall and more masculine.  With a whole pack of paper, you can choose any of the patterns and know they will look good together because Stampin’ Up! has done all the work of coordinating colors and patterns.  And did I mention that I love the Candy Dots??!!!

To order any of these supplies or papers or stamps, just go to my Stampin’ Up! Online Store.

*****************************

And it is Day 4 of Digital Scrapbooking Days over at Stampin’ Up! website for My Digital Studio! Choose this Modern Medley Overlays Kit digital download for 50% off today only! Click on the image below for more information and to shop for this download.

Modern Medley Overlays Kit

Click Image

Visit the website www.mydigitalstudio.net (you do have to sign in) for more information about using this download and tons of information about My Digital Studio.

Teddy Bear Baby Card on Teddy Bear Day

Teddy Bear Punch Art Baby Card

Today is Teddy Bear Day so here is a Teddy Bear punch art baby card. Teddy bears are named after President Theodore “Teddy” Roosevelt.  The name supposedly came after a 1902 hunting expedition where Roosevelt was offered the opportunity to shoot a young bear but refused.  A cartoonist illustrated the incident and the larger bear was later redrawn as a cuddly cub. The whole story became famous and a toymaker brought out a cute stuffed bear and named it “Teddy’s Bear”. The teddy bear, of course, has become a staple with babies and children and even adult collectors.

My teddy bear is made with some punches, but also some hand-cutting was involved! Actually, I also used some of the new Circle Framelits.  It’s good to sponge the edges of the pieces with ink before you assemble so that they stand out more. My bear is made with Soft Suede and Crumb Cake card stock and adhered to a layer of Marina Mist on a Whisper White card base. The Marina Mist is embossed with the popular Perfect Polka Dots Embossing Folder.

Do you have a favorite teddy bear?  Get it out today and celebrate Teddy Bear Day!

New Circle Card Thinlits Die Halloween Card

Circle Thinlits Halloween Card

I LOVE the new Circle Card Thinlits Die! And I loved making this first Halloween card of the season for me!  I didn’t even know what, exactly, I was going to make so actually what I came up with was a pleasant surprise!  I knew I would start with a card base of Basic Black card stock with some Witches’ Brew Designer Series PaperThen I got out my new Halloween stamp sets in the Stampin’ Up! Holiday Catalog to see what I could use. I decided to stamp the flying witch in the stamp set  Halloween Hello on a piece of Summer Starfruit punched with the 1 3/4″ Circle Punch.  It is layered on a scallop circle die cut which comes with the Circle Card Thinlits Die and that is layered on a 2 1/2″ Circle Punch  of Champagne Glimmer Paper.  The die also comes with a small star die but for this card I used the star punch in the carryover punch pack from last year’s Holiday Catalog, Merry Minis Punch Pack #126882.

The Halloween greeting on the front is part of a stamp in the Halloween Bash Stamp Set in the Holiday Catalog.  I covered up the top part I did not want to ink up with a part of an old business card and inked the bottom part with Versamark.  Then I embossed it with White Stampin’ Emboss Powder.

For the inside circle, I thought a surprise was in order since it is a Halloween card and what could be a better surprise than a ghost!  Do you know how I made that ghost?  Just use the Stampin’ Up! Owl Punch! Snip off the feet of the owl and turn him upside down!  You could punch out some eyes and mouth but I just used a black marker.  The “Boo” is handwritten with the brand new White Stampin’ Chalk Marker in the Holiday Catalog.

Circle Thinlits Halloween Card

Here is a close-up of the focal point of the card. The scallop circle die cut does not come with the holes in the scallops.  I wanted more of the Glimmer Paper to show through so I grabbed a hole punch in my stash and punched those holes. I had also considered doing some doodling with the Chalk Marker.  So whatever works for you!  The Summer Starfruit circle is also sponged with some Pumpkin Pie ink and even a little bit of Gumball Green.

Circle Thinlits Halloween Card

I hope you enjoyed my first Halloween card.  You know the fall season is fast approaching!

Go to my Stampin’ Up! Online Store and check out the products in the Holiday Catalog and get yourself in the mood!  I’m sure you will want and enjoy the new Thinlits Dies, too!

Pop’ N Cuts Dress Form and Card Base Birthday Card

Pop n Cuts Birthday Card

These Pop’ N Cut Dies were introduced in the Stampin’ Up! Spring Catalog and honestly, I didn’t pay much attention to them.  I think I had already added so many things to my order that by the time I got to their page in the catalog I wasn’t interested. I didn’t take any time to see what they were about, although I did order the Dress Up Framelits Dies.  Those seemed easy enough.

But then as so often happens, I started to see really cute things other people made and also watched some videos made by the designer of the dies, Karen Burniston. That’s when I put them on my next order!  The shape of the Card Base Pop’ N Cuts Die is a Stampin’ Up! exclusive, made with the decorative edge and made so you can tuck it into the slits to close. You can use just this without the pop up portion.

Pop n Cuts Birthday Card Inside

The pop up portion is easy to do once you get the hang of it. You want to be careful not to fold things that shouldn’t be folded.  In order to get the pop up going, it works best if you get your fingers behind that table part and then you will see and feel where the score lines are and how to get the pop up to pop up!

Dress Form Pop n Cuts Inside Card

Once you get the pop up popped up, you can adhere it to the card base.  Just be careful to see where the adhesive should go and shouldn’t go.  I haven’t gotten the hang of that yet! Even though I think I’m being careful, I always get adhesive where it shouldn’t be!  But as long as you pay a little bit of attention, you’ll be okay!  Then you can embellish and decorate your card however you like on the inside and on the front!

Pop n Cuts Birthday Card Side View

This is what the pop up looks like from the side.  You want to get that rectangle shape from the side.  That’s how you know you have it right!  Once you get that shape, then the rest will take care of itself.

These Pop’ N Cut dies are easy enough to use and fun besides!  You can also trim that dress shape off the pop up and add another piece of card stock for a gift card holder or for a message or other design.

Here are the Pop’ N Cuts dies I used plus the framelits:

Just go to my Stampin’ Up! Online Store any time! Just think what magical cards you can make with the Pop’ N Cuts Dies!

More Stampin’ Up! Convention Display Board Samples

Just a few more I chose from my photos!  Enjoy!

Stampin' Up! Apron Dress Up Framelit Die

Stampin’ Up! Apron Dress Up Framelit Die

Paper Doily Die Card

Paper Doily Die Card

Beautiful Embossed Pumpkin Card

Beautiful Embossed Pumpkin Card

Sample Cards

Sample Cards

Fall Inspiration Cards

Fall Inspiration Cards

Doggie in the Dog House Punch Art Card

Doggie in the Dog House Punch Art Card

Summer Smooches Cards

Summer Smooches Cards

Cute Red Bird Card

Cute Red Bird Card

Oh Hello Scallop Tasteful Trim Card

Oh Hello Scallop Tasteful Trim Card

Make an easy hot air balloon card!

Make an easy hot air balloon card!

Epic Day Designer Paper Triangles

Epic Day Designer Paper Triangles

Hello Card with Epic Day This and That Designer Paper

Hello Card with Epic Day This and That Designer Paper

Cupcake Punch Birthday Card

Cupcake Punch Birthday Card

Apothecary Accents Framelit and Epic Day DSP

Apothecary Accents Framelit and Epic Day DSP

Epic Day This and That Designer Paper

Epic Day This and That Designer Paper

Cute Little Embellishments to Make

Cute Little Embellishments to Make

Yellowstone Natl Park Scrapbook Page

Yellowstone Natl Park Scrapbook Page

Patio Party Designer Paper

Patio Party Designer Paper (Retired)

Cork board

Cute little cork board

Label Love

Label Love Stamp Set and Artisan Punch

3D Box


Modern Medley Houndstooth Petite Purse

Modern Medley Black Houndstooth Petite Purse

Use the new Stampin’ Up! Modern Medley Designer Series Paper to make a stylish purse with the Big Shot and Petite Purse Die! This is one of the new designer papers in the current Stampin’ Up! Annual Catalog. I added an edging of the new Stampin’ Up! Strawberry Slush Ruffle Stretch Ribbon. This is really pretty ribbon in one of the new Stampin’ Up! In Colors and SO easy to work with because of the stretch.  You will love it! Before I added the ribbon, I snipped off the little tab that would insert into the slit in the front of the purse in order to fit the ribbon. I also added an embellishment from the In Color Boutique Details package. These look like buttons without the holes! This one is a Strawberry Slush color.  I adhered it with a couple of Mini Glue Dots. In order to hold the purse flap closed, I adhered a small piece of velcro on the flap and on the purse so that it can be opened and closed.

This purse is very small but can be used decoratively or to hold a few little favors, perhaps a couple of chocolate nuggets or candies or some other little gift.  The die is easy to use. The paper is scored and easy to fold into the purse shape.  The little handle is a separate piece on the same die that cuts out at the same time.  I have attached it to the purse on the sides with Silver Mini BradsWhen designer paper is used, it may be difficult to see the score lines but using the die as a guide as to where the score lines are, you can easily feel them and then fold them.  It all works quite nicely.

If you are looking for a way to make cute little gift containers or party favors, this Petite Purse Die will make your job easy and fun!

You can find the Big Shot and all the dies, etc. to use with it as well as beautiful designer series paper at my Stampin’ Up! Online Store.  Don’t forget to take advantage of the special offer on Designer Series Paper this month!