
Talk about a quick & easy card to make! This Sincerely Noted Ephemera Happy Birthday Card is it!! I only added one extra thing that you could eliminate if you didn’t want to do ANYTHING extra. Just make a basic card with designer paper and slap on an ephemera greeting! That’s it. Now, usually we like to add more elements and sometimes fancy things up quite a bit. But if you are a beginner or you are in a big hurry to beat the mailman, this very basic card is just fine!
Let me give you the “detailed” instructions! Make a card base with Basic White cardstock. Adhere a 4″ x 5 1/4″ piece of the Everyday Essentials Designer Series Paper. This package of paper has no particular theme, as most of our designer papers do, but instead is a variety of patterns in soft, easy-to-use colors in lots of ways. I bought it because I loved the little floral paper with pink flowers, but I also liked the stripes and the notebook paper pattern. You’ll find this paper in the new Stampin’ Up! catalog in the Mix & Match section with the ephemera. It’s a good package of paper to have for when you want something neutral or subtle.
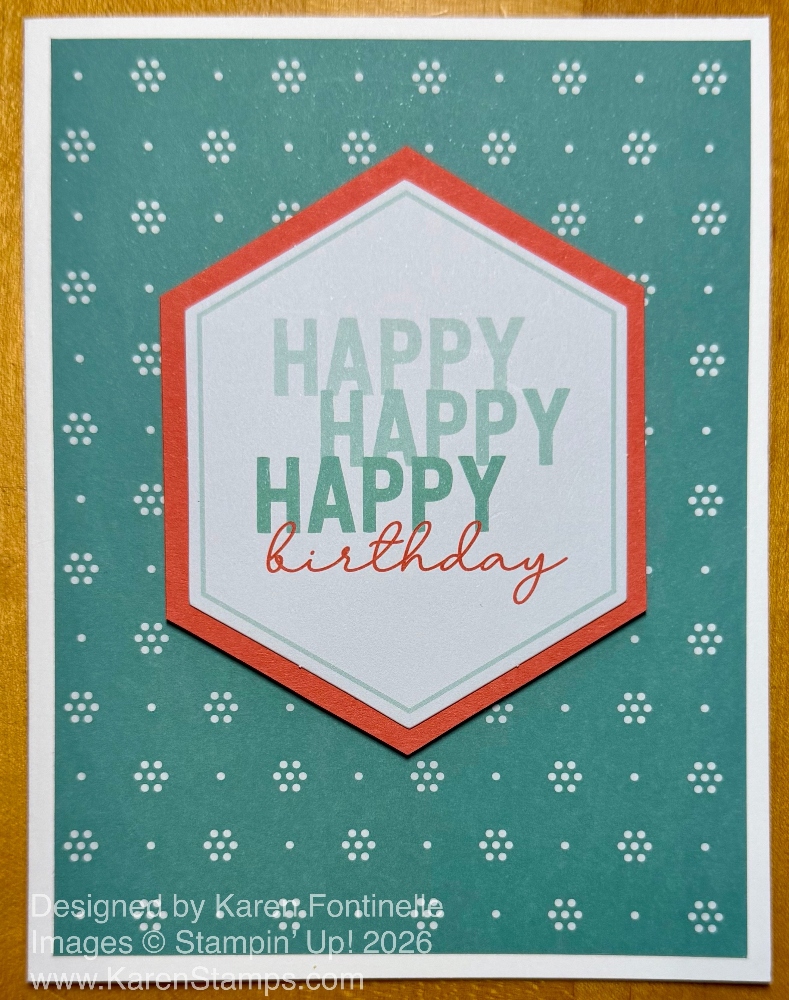
For the greeting, no stamping! Not that we don’t love stamping, but sometimes you want something quick that will still look very nice. This greeting is from the Sincerely Noted Ephemera Pack. There are quite a few packs to choose from in the catalog plus older ones in the Last Chance category, maybe on a slight discount. They are fun to use as well as being quick and handy! For this card, I chose the “Happy Happy Happy Birthday” piece. These even have adhesive on the back if you peel off the backing, which makes them like stickers. If you have difficulty removing the backing, just use adhesive or Dimensionals.
To add a little more color to the card, I adhered the greeting onto a piece of Calypso Coral cardstock, one of the coordinating colors of the ephemera pack. Since the greeting is a hexagon shape, I cut around the edge, leaving a slight margin, to provide a colorful layer underneath. I just used a scissors; you could also use the Paper Trimmer. I think a larger scissors works better for something like this. You could also just use a square or rectangular piece of Calypso Coral as a layer if you didn’t want to cut it to match the shape.
That’s it! Card done! Just stamp or write a message inside to send!
Now if you got this far and want to embellish it a little bit, add some dots or gems or tie a little bow or knot at the bottom of the greeting with ribbon or linen thread.