Sympathy Card Made with Flower Shop Stamp Set

Sympathy Card Flower Shop Flowers

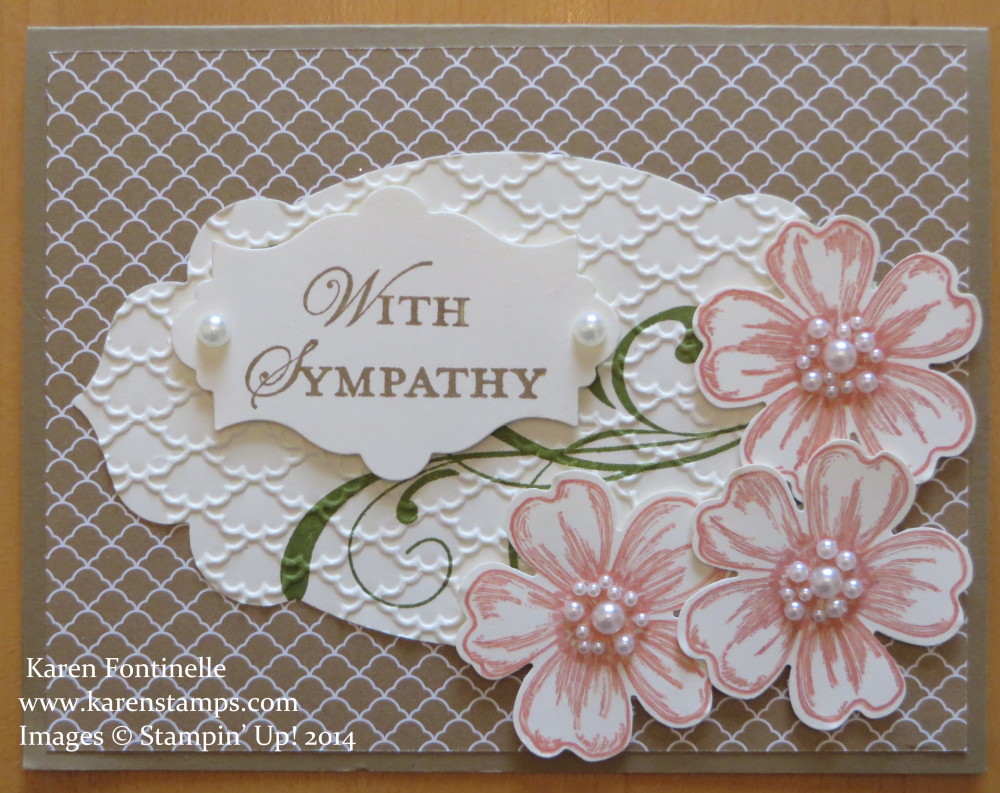
Sympathy cards are something we should all make to have a few on hand, because, unfortunately, we will need them now and then. This one is going to the daughter of my mother’s best friend. Our mothers had been friends since they were seven years old! I lost my mother many years ago and I know her friend missed her all these years. I remember them being on the phone almost everyday the years I was growing up. I remember “way back in the olden days” it was even a toll call for them to talk on the phone even though they only lived about fifteen minutes apart and in the same city! The night I met my husband I was struck by how much he looked like this lady’s oldest son!

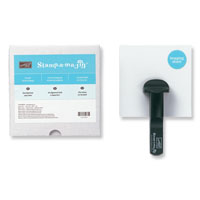
I found this card design on Pinterest I think, and meant to keep track of the lady’s name who made it, but I forgot. I was going to make my card slightly different, but hers was so pretty as is I only have minor changes, such as the greeting and the card base color. The card base is Soft Suede and the designer paper layer is a page from the 2013-15 In Color Backgrounds Designer Series Paper Stack (soft suede). I used two of the dies in the Apothecary Accents Framelits on Very Vanilla Paper. I stamped the flourish from the Everything Eleanor Stamp Set on the large framelit piece in Old Olive and then embossed with the Fancy Fan Embossing Folder. For the sympathy greeting I had to dig out my recently retired stamp set Loving Thoughts and used the Stamp-A-Ma-Jig to get the two words placed one above the other on the smaller framelit piece.

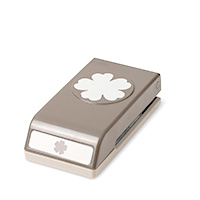
The flowers are stamped with the Flower Shop Stamp Set with Crisp Cantaloupe ink and outlined a little more with the Crisp Cantaloupe Stampin’ Write Marker since they were a little light. Not that hard, just use the thin tip. Punch out the flowers with the Pansy Punch. Then embellish with Pearl Basic Jewels.

This card would make a beautiful birthday card, get well, thinking of you – just change the greeting. When we lose someone, it is so comforting to hear from all the people in your life. Be sure to write a personal note inside, don’t just sign your name. I think making a handmade sympathy card for someone really shows you care.
Stampin’ Up! Star Framelits 4th of July Card

Stampin' Up! Star Framelits 4th of July Card

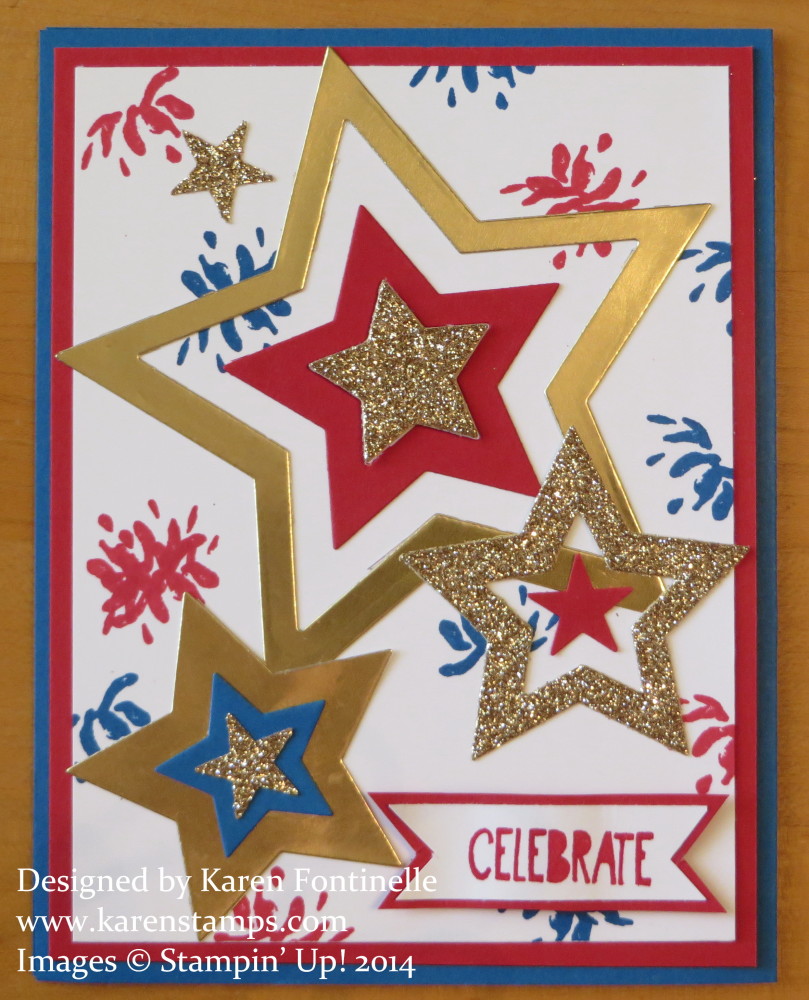
What says “4th of July” more than sparkly stars and fireworks?! These stars were cut out with the Big Shot and the new Stampin’ Up! Stars Framelits Dies plus the new little star punch in the Itty Bitty Accents Punch Pack.  The little “fireworks” in the background were stamped with the smallest petals in the Too Kind Stamp Set. The word “Celebrate” is from the Cupcake Party Stamp Set except I only colored the word “celebrate” with a Stampin’ Write Marker. And I love the Goil Foil paper and the Champagne Glimmer Paper for this card for the stars!

If you have time to play today with crafts, make something sparkly and/or red, white, and blue to celebrate our freedom and the birth of our nation!

I hope you have a fun and wonderful 4th of July!

Go see some fireworks!!

A Surprise in My Stampin’ Up! Box

Card in Stampin' Up! Box

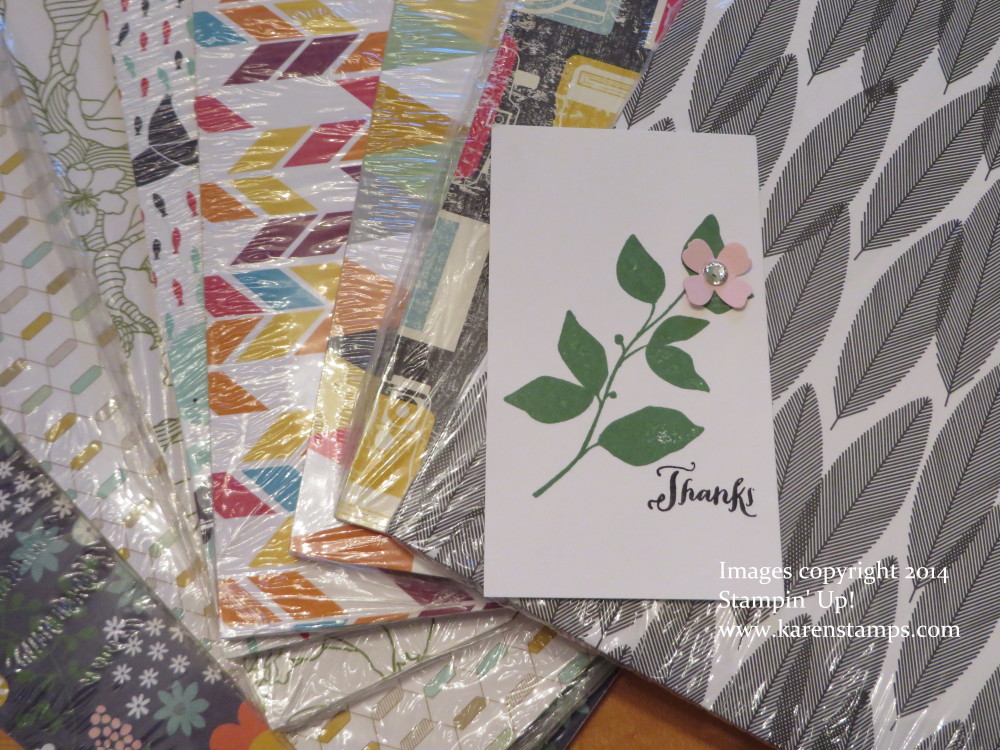
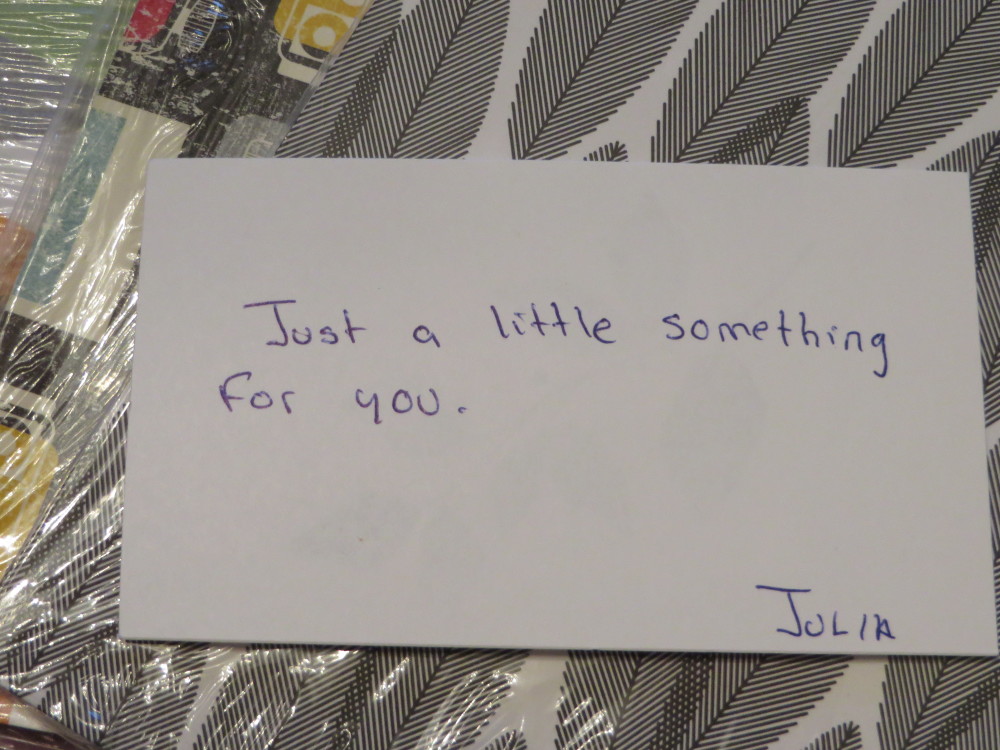
Normally I wouldn’t be posting this late in the evening, but when I opened my box tonight from Stampin’ Up!, this is what I found inside!!  A little handmade notecard!  I did a double-take and realized whoever packed my order had snuck in this little treat!  When I turned it over, it was a little note from “Julia” at Stampin’ Up!

Card in Stampin' Up! Box from Julia

Isn’t that just the nicest thing??!!!  We shouldn’t underestimate how much our handmade cards, notes, and projects mean to people. Who would think such a little piece of paper could bring such a nice feeling of surprise and happiness in one ordinary evening?!  I don’t know who Julia is, but she is obviously a special lady and special employee at Stampin’ Up! who loves what she does and shares what she loves!  Thanks, Julia!  Made my Stampin’ Up! order even more extra-special!

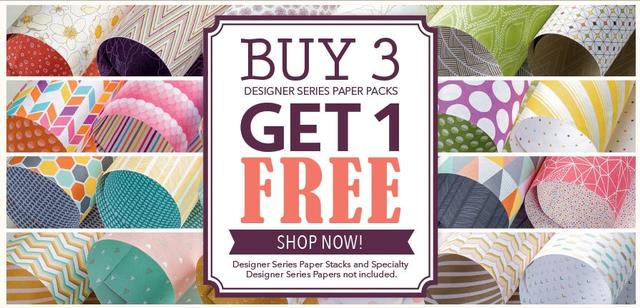
And yes, that is my order of Stampin’ Up! Designer Series Paper that is on sale during July, buy 3 get 1 FREE! (Specialty papers and Paper Stacks not included.)

Designer Paper Offer, Blendabilities, Weekly Deals – It’s a Sizzling July at Stampin’ Up!

Designer Series Paper Buy 3 Get One Free

During the entire month of July, when you purchase three Designer Series Paper packs, you’ll get one free. That’s like getting $10.95 off your purchase AND receiving an extra–did we mention FREE?– DSP!

  • There is no limit to the number of free Designer Series Paper packs you can receive. For each three purchased, you (or your customer) will receive one free.
  • To get your free DSP, enter it in your order separately from the three packs you’re paying for. For example, if you want four packs of the same type of paper, put in the three you’re paying for and enter the fourth as a separate item

These items don’t qualify for the offer:

  • Designer Series Paper Stacks
  • Specialty Designer Series Paper
  • Designer Series Paper from the holiday catalog preorder
  • Designer Series Paper ordered through hostess benefits

*******************************************************

Blendabilities Coloring Page

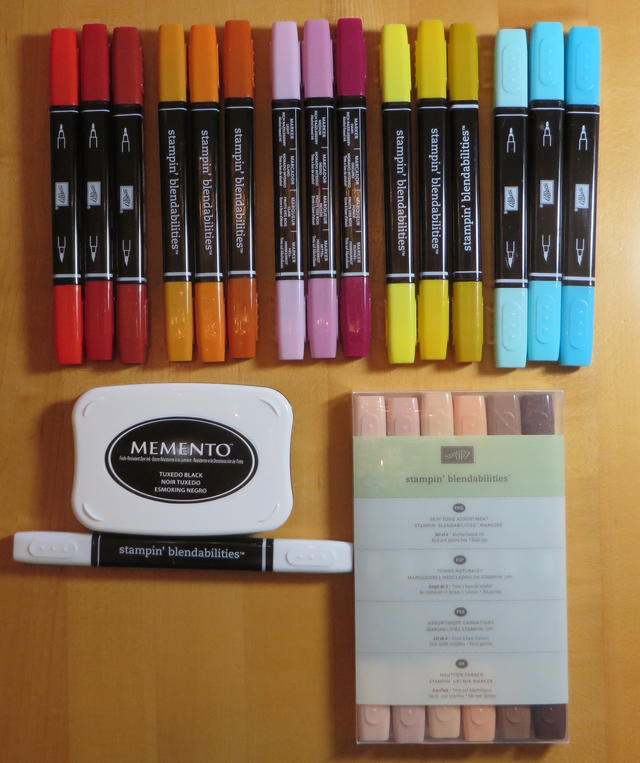
Stampin' Up! Blendabilities Markers & Memento Ink

  • Cherry Cobbler   (Item #130995 – $11.95)
  • Coastal Cabana  (Item #131000 – $11.95)
  • Daffodil Delight   (Item #130998 – $11.95)
  • Old Olive   (Item #130999 – $11.95)
  • Pumpkin Pie  (Item #130997 – $11.95)
  • Rich Razzleberry  (Item #131003 – $11.95)
  • Skin Tone Assortment (Item #129370 – $22.95)
  • Memento Ink Pad (Item 132708 – $5.95 )
  • Memento Ink Refill (Item 133456 – $4.95 )
  • Color Lifter  (Item 129369 – $4.95 )

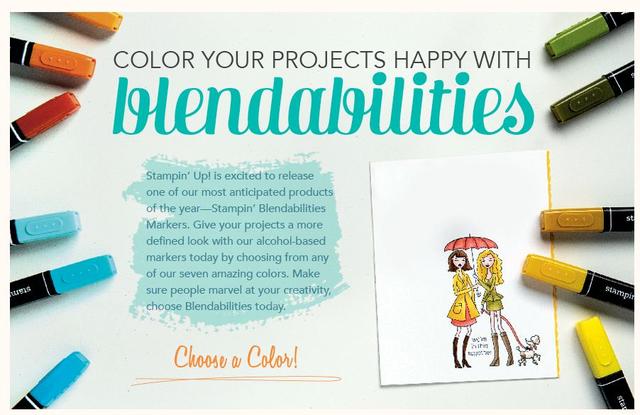
If you like “coloring in” when you are stamping and creating, then these Stampin’ Blendabilities are surely for you! And if you don’t, you might like it better when you get to use these markers! They have a different feeling than the regular Stampin’ Up! Markers (which are also great!) that I really like. If you like to be a little more artistic when you are coloring, I’m sure you will enjoy these new markers! Be sure to also purchase the Memento Ink (and I do recommend getting the refill as well) because that is the ink that works with the alcohol markers. The markers work best on Whisper White card stock. You will also want the Color Lifter with any set of colors, for cleaning up any stray ink and sometimes for helping with shading and highlighting. Email me at Karen@KarenStamps.com if you have any questions.

***************************************

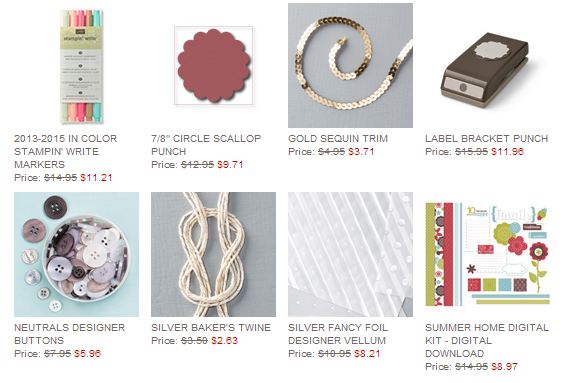
 Stampin' Up! Weekly Deal July 1 2014

Great Stampin’ Up! products on the Weekly Deals this week! You should want all of them if you don’t have them! These deals are available until Monday, July 7th.

Shop at my Stampin’ Up! Online Store for all these GREAT deals!!

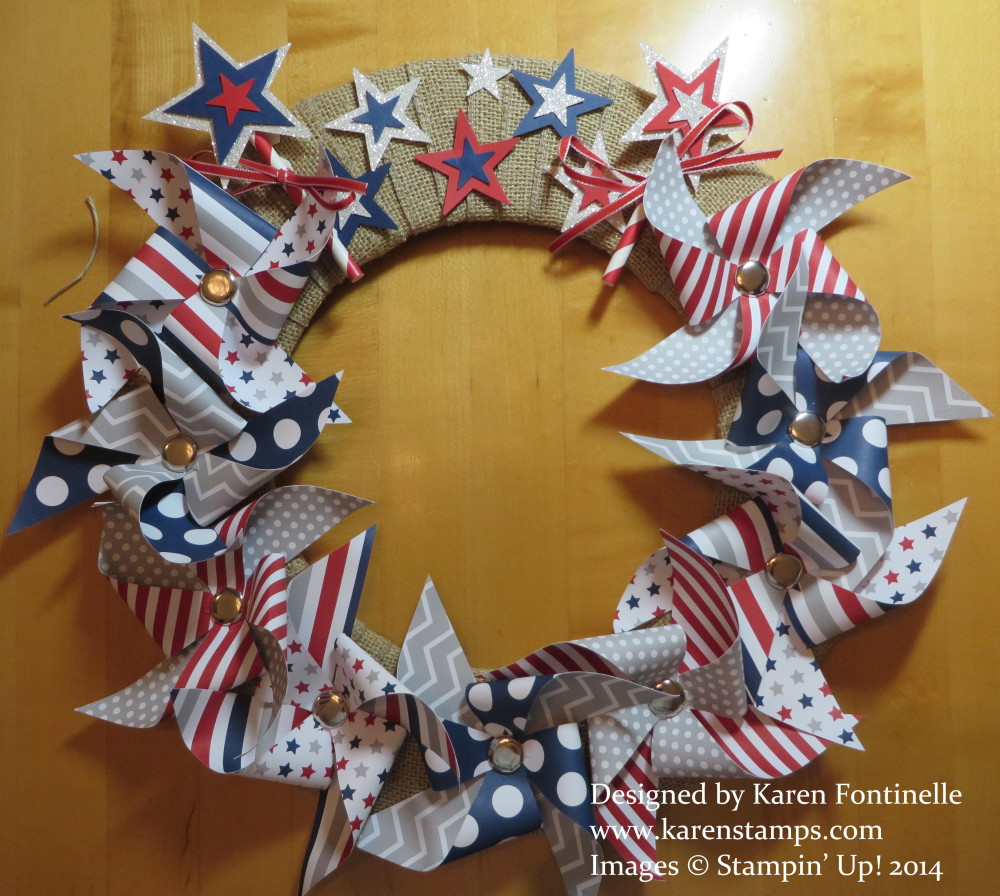
Paper Pumpkin Patriotic Pinwheel Wreath for the 4th of July

Paper Pumpkin Patriotic Pinwheel Wreath

The 4th of July is coming up on Friday and I love to have a few decorations for every holiday, like this Paper Pumpkin Patriotic Pinwheel Wreath. The June Paper Pumpkin Kit contained enough materials for 24 pinwheels, so I made some and put in a “bouquet” in my entry hall and also made a bunch of pinwheels but didn’t put them on the straws in the kit.  Instead I ripped apart my spring wreath I had made from the kit in the Occasions Catalog and reused this burlap ribbon-wrapped flat wreath as the base for my pinwheels. For the top I made some stars with the two retired star punches (wish I’d had the new Star Framelits!) and even hand-cut some larger stars. I just used some hot glue to adhere the pinwheels, but for the stars I put on later, I was too lazy to get out the hot glue and just used Mini Glue Dots or Stampin’ Dimensionals.

If you aren’t already a Paper Pumpkin subscriber, you might want to sign up as the kits have just gotten better and better! Paper Pumpkin is a monthly subscription to a papercrafting kit you receive in a bright red box in the mail! You can subscribe in prepaid subscriptions, if you would like to add them to your Stampin’ Up! order. OR you can simply sign up to receive a kit every month.  Once you are a Paper Pumpkin subscriber you have the option of purchasing certain past kits and refill packages while supplies last! Even though you missed getting this June kit, if you began a subscription to Paper Pumpkin, you could then purchase the Pinwheel Party refill kit (doesn’t include the stamps or ink).

There’s no risk! Try it out and pause your subscription if need be for a month or two and then restart. Or cancel at any time. Just decide before the 10th of any month before the kits ship. But I think you will enjoy getting that gift in the mail, just for you, with a quick and easy project of some kind inside (it’s not just cards!) with all the supplies you need except maybe adhesive.

Check Out Paper Pumpkin and Subscribe Today!

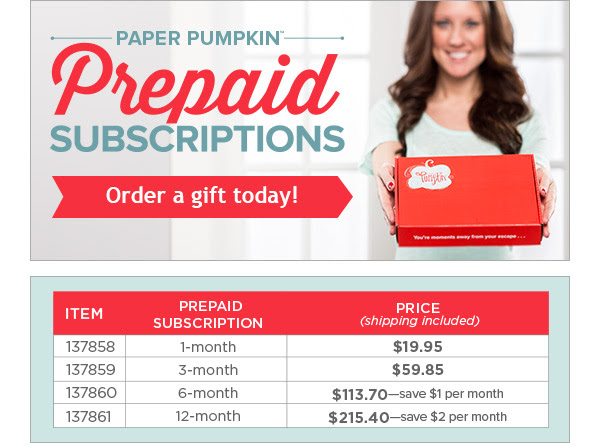
If you prefer a prepaid subscription, just add it to your Stampin’ Up! order using these order numbers:

Paper Pumpkin Prepaid Prices Chart

Let me know if you have any questions! I look forward to getting my Paper Pumpkin kit every month and know you will too!

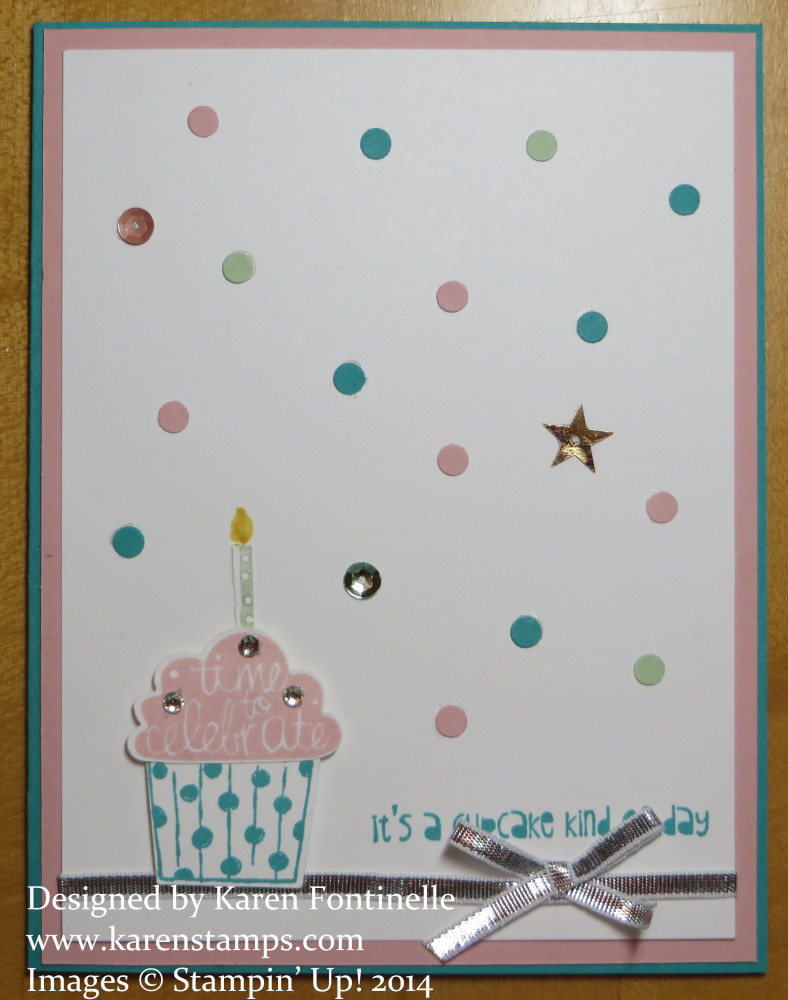
A Cupcake Party Birthday Card

Cupcake Party Birthday Card

For a fun birthday card, how about making one with the stamp set Cupcake Party?!  Add some punched dots confetti and In Color Sequins for some bling and pizzazz! You can also use the Cupcake Builder Punch to punch out the cupcake! No snipping required! If you already have the Cupcake Punch, you might as well get this stamp set to go with it!  I like the saying on this card, and it was a good opportunity to try out the new sequins! The Silver 1/8″ Ribbon really adds a special touch. It’s so sleek and shiny!

Be sure to sign up for my mailing list in the box in the right sidebar.  My July Stamping With Karen Newsletter will be coming out next week with projects to make and the latest Stampin’ Up! news. And get a free gift when you sign up and confirm!  Watch for that confirmation email and be sure to click on the link inside!

For the Birds Easy Card Colored With Blendabilities Markers

For the Birds Easy Card with Blendabilities Markers

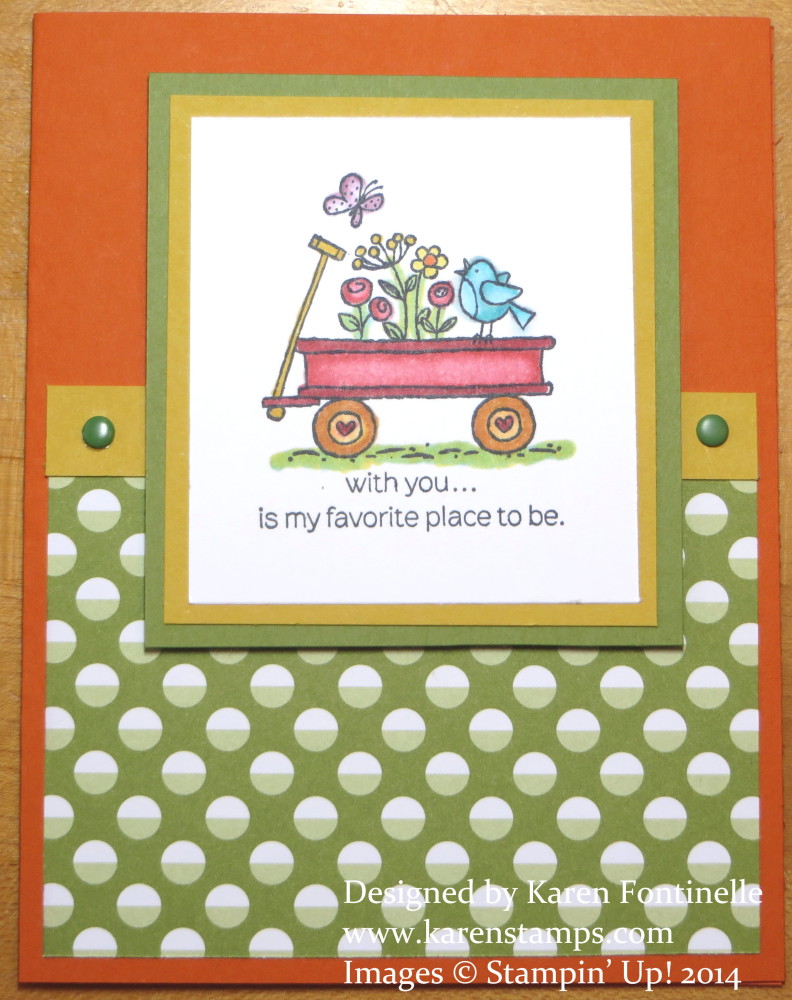
Sometimes when you need inspiration, just look through your stamp sets and see what strikes your fancy for stamping. When I saw the For the Birds stamp set on my shelf I decided that would be a fun and easy stamp set to use, and I could also color in with my new Blendabilities Markers. I just wanted to make an easy card with some of the new designer series paper. For the card base, I chose one of the new In Colors, Tangelo Twist and decided that the Sweet Taffy Designer Series Paper would probably work with that paper. I stamped on Whisper White with the new Memento Ink and layered that on Hello Honey and then on Old Olive. At the end I added a little strip of Hello Honey accented with Brights Candy Dots.

The Blendabilities Markers are not available quite yet but they will be in just a few days!! Tuesday, July 1st is when Stampin’ Up! will make these products available to customers:

  • Cherry Cobbler (item #130995)
  • Coastal Cabana (item #131000)
  • Daffodil Delight (item #130998)
  • Old Olive (item #130999)
  • Pumpkin Pie (item #130997)
  • Rich Razzleberry (item #131003)
  • Skin Tone Assortment (item #129370
  • Memento Ink Pad  (item #132708)
  • Memento Ink Refill (item #133456)
  • Color Lifter (item #129369)

Remaining Blendabilities Colors will be available August 1.

Don’t forget about the Stampin’ Up! Weekly Deals which end on Monday, June 30.

Shop anytime at my Stampin’ Up! Online Store!  Let me know if you have any questions or if you want me to put your order in for you!  I’m happy to do that.


Everything Eleanor Blendabilities Flowers Card

Everything Eleanor Blendabilities Flowers Card

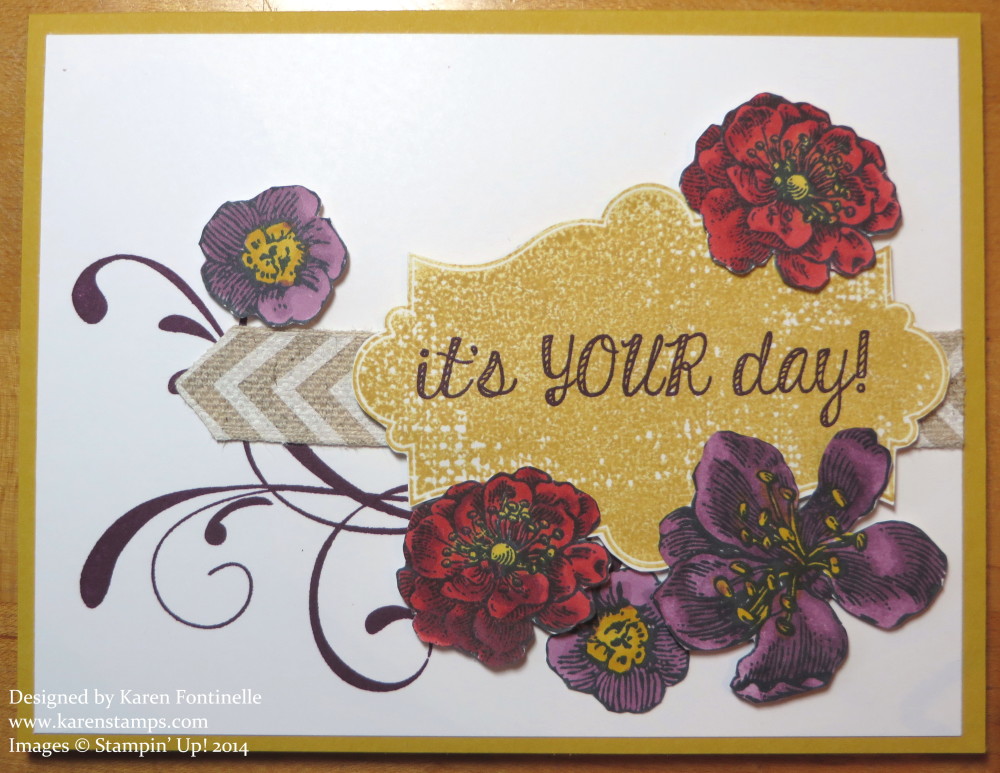
I was looking for stamps that were an outline image so I could practice with my Blendabilities markers, and I found the beautiful set Everything Eleanor that had some nice flowers I could color in. The flowers are stamped on Whisper White with Memento ink, which is recommended to use with the Blendabilities because they are alcohol markers. These flowers already had a lot of lines on them for shading so I only used two of the colors in the marker set, the medium and light shade. I cut each one out with my Paper Snips (a must have for cutting around images!) and popped up a few with Stampin’ Dimensionals. I also wanted to use the new In Colors so I stamped the swirl in Blackberry Bliss ink and the medallion with Hello Honey (stamped off once). The ribbon underneath is the Natural 5/8″ Chevron Ribbon. The greeting is stamped in Blackberry Bliss from the Fabulous Four Stamp Set.

Soon you will be able to play and color with the new Blendabilities Markers, too!  Stampin’ Up! says ordering will begin for customers on July 1st!  You won’t see them in the Online Store until July 1st.

In the meantime, you can check out all the Stampin’ Up! papercrafting products in my Online Store HERE.

Lovely As a Tree Christmas Card

Lovely As a Tree Christmas Card

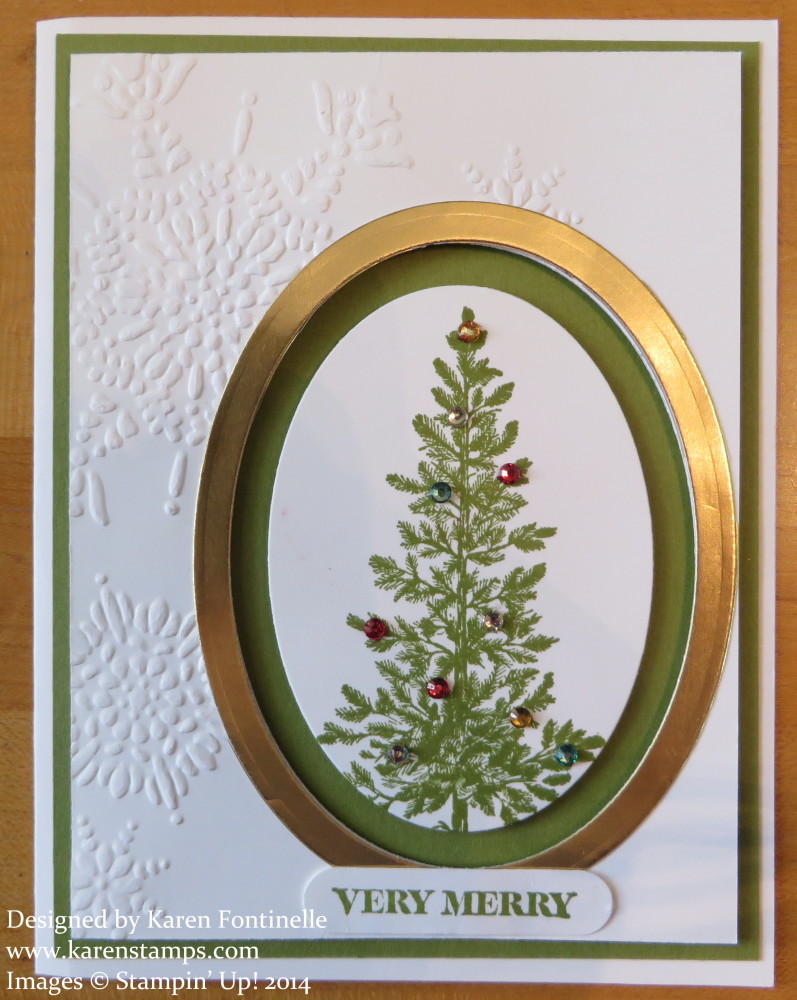
Today is June 25th which means Christmas Day is in 6 months! But really our Christmas preparations have to be done before that so we actually have less than six months to get ready for Christmas! Yes, that is still a lot of time that even I won’t take advantage of, I admit, but I did feel compelled to make a Christmas card today! Now we don’t have new Christmas sets in the Stampin’ Up! Catalog and we won’t get the Holiday Catalog until September, but I bet we all have stamp sets and accessories with which we can make Christmas cards starting today! I got an idea for this card on Pinterest, but I have always loved using Lovely as a Tree for Christmas cards! Lovely As a Tree is a classic stamp set, one that has been around as long as I have been a demo. In fact, it probably was one of the first stamp sets I owned. I also used the Northern Flurry Embossing Folder for the top Whisper White layer. I thought we needed snowflakes with a Christmas tree!

I stamped the tree with Old Olive ink and then die-cut it with the Ovals Collection Framelits Die, the third oval from the center. To cut the larger oval out of the Whisper White card front layer, I used the oval fourth from the center. Since that left a little bit of an embossing edge mark, I decided to cover it with a Gold Foil layer, which is cut with the fourth and fifth ovals. It turned out perfect and I think adds an elegance to the card! The Whisper White layer is popped up with Stampin’ Dimensionals as is the Christmas tree oval.

To decorate the tree, I colored Rhinestone Jewels with the new Blendabilities alcohol markers. The Blendabilities should be available to order from Stampin’ Up! on July 1st! Only six colors will be available, the same ones Demos were able to preorder, plus a few other items:

  • Cherry Cobbler (item #130995)
  • Coastal Cabana (item #131000)
  • Daffodil Delight (item #130998)
  • Old Olive (item #130999)
  • Pumpkin Pie (item #130997)
  • Rich Razzleberry (item #131003)
  • Skin Tone Assortment (item #129370)

In addition, the following accessories will also be available:

  • Memento Ink Pad (item #132708)
  • Memento Ink Refill (item #133456)
  • Color Lifter (item #129369)

There really wasn’t much space for a greeting on this card, but I did choose “Very Merry” from the new stamp set And Many More and used the Word Window Punch to punch it out.

Are you going to make some Christmas cards today to get a head start? If you find a design you like, like this Christmas card with Lovely As a Tree, make at least five cards the same. Make some more of another design another day.

Stampin’ Up! Is Special With It’s Specials!

Stampin'' Up! Weekly Deal June 24 2014

Click to view

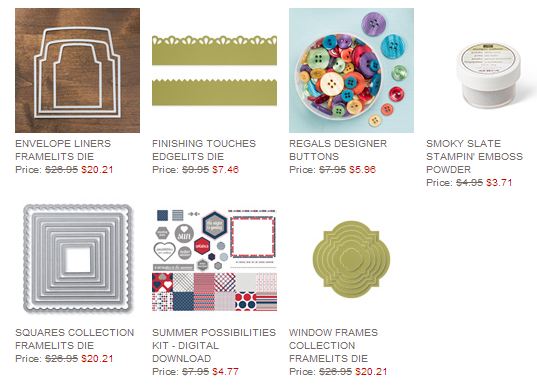
Here are the new Weekly Deals from Stampin’ Up! for the week of June 24 through June 30. Last ones of the month! If you are looking to add to your Big Shot collection, this is the week for you – Envelope Liner Framelits, Squares Framelits, and Window Framelits! And you might as well throw in some Regals buttons while you are at it!

Why not treat yourself, and maybe a friend or loved one as well, with a subscription to Paper Pumpkin, the papercrafting kit from Stampin’ Up! that comes to you in the mail every month! Add a prepaid subscription to your order (just write in the appropriate kit item number on your order) for one month, 3 months, or 12 months. You will receive an email with a special code to redeem your subscription. Do this before the 10th of July to receive the July kit! No idea what it is yet! There have rarely been “sneak peeks” of the kit so it is almost always a complete surprise when your kit arrives and you open it! It’s part of the fun, really! It’s a gift you give yourself!

Stampin' Up! Paper Pumpkin Prepaid Subscription

Just contact me if you have any questions.  Email me at Karen@KarenStamps.com.

Go check out those specials and all the other new products to order at Stampin’ Up! at my Stampin’ Up! Online Store!

Flower Patch Birthday Card

Flower Patch Birthday Card

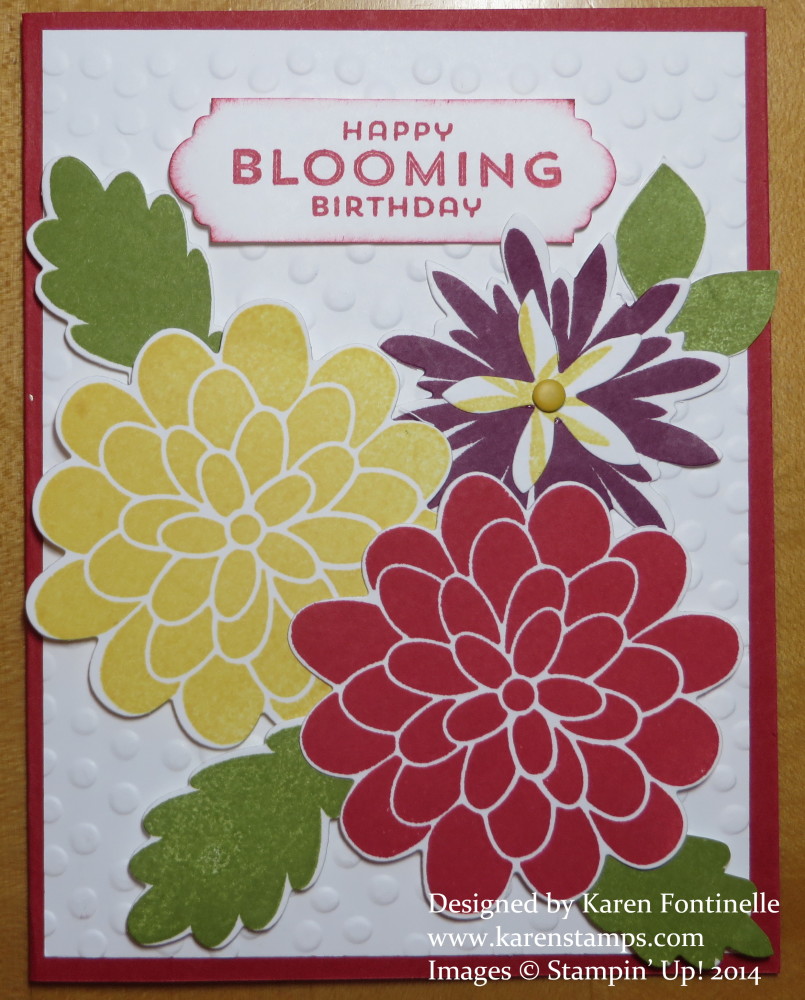
It was time to play with the Flower Patch stamp set and the Flower Fair Framelits Dies to make a birthday card. You can also purchase this stamp set and framelits in a bundle, the Flower Patch Photopolymer Bundleand save 15%! Now that summer is officially here, you are bound to be inspired by lots of beautiful flowers blooming and this set will be perfect to use in your projects. The framelits make it easy to cut out most of the stamped images. The greeting I used comes with the set, but to cut it out I used a framelit from the Apothecary Accents FramelitsI stamped the greeting on a narrow strip of Whisper White and centered the framelit over it so I could have a narrow piece but fancy ends. Rather than try to layer it, I lightly sponged the edges in Real Red just to make it stand out a bit from the Whisper White layer. The large Daffodil Delight and Real Red flowers are popped up with Stampin’ Dimensionals and the Rich Razzleberry flower just adhered right on the paper.

If you wanted, you could “bling up” this card, but for today I kept it simple except for the Candy Dot on the Rich Razzleberry flower!

For any of these stamps and stamping supplies, check out all the new products available in the Stampin’ Up! Online Store. Today is the last day for the current Weekly Deals, too!

Check Out Stampin’ Up!’s New Kits! Make Papercrafting Easy!

Stampin' Up! A Little Sumthin' Sumthin' Gift Box Kit

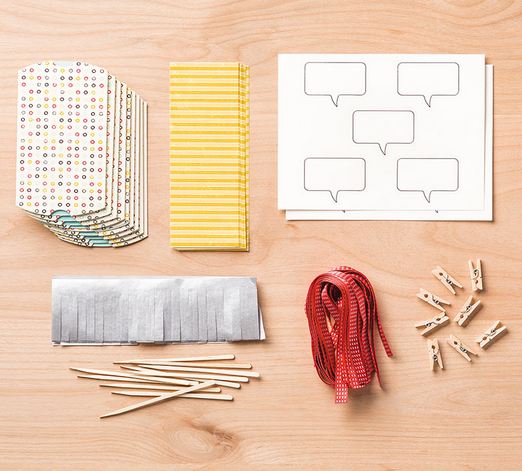
Stampin’ Up! has several new kits available to you to make papercrafting easy! For a small gift package, perhaps for a gift card, consider the A Little Sumthin’ Sumthin’ Gift Box Kit that comes with cute pillow boxes, good for men, women or children and all the supplies to jazz it up a bit!  Watch Sara Douglass in the video below explain the contents of the kit and how to assemble it! Good thing to do on a hot summer day!

And if you are into the chalkboard style of decorating you’ll be interested in the new Chalkboard Banner Simply Created Kit.

To purchase any of the Stampin’ Up Simply Created Kits, just go to my Stampin’ Up! Online Store!

Summer Begins Summer Solstice Sun Card

Summer Begins Summer Solstice Sun Card

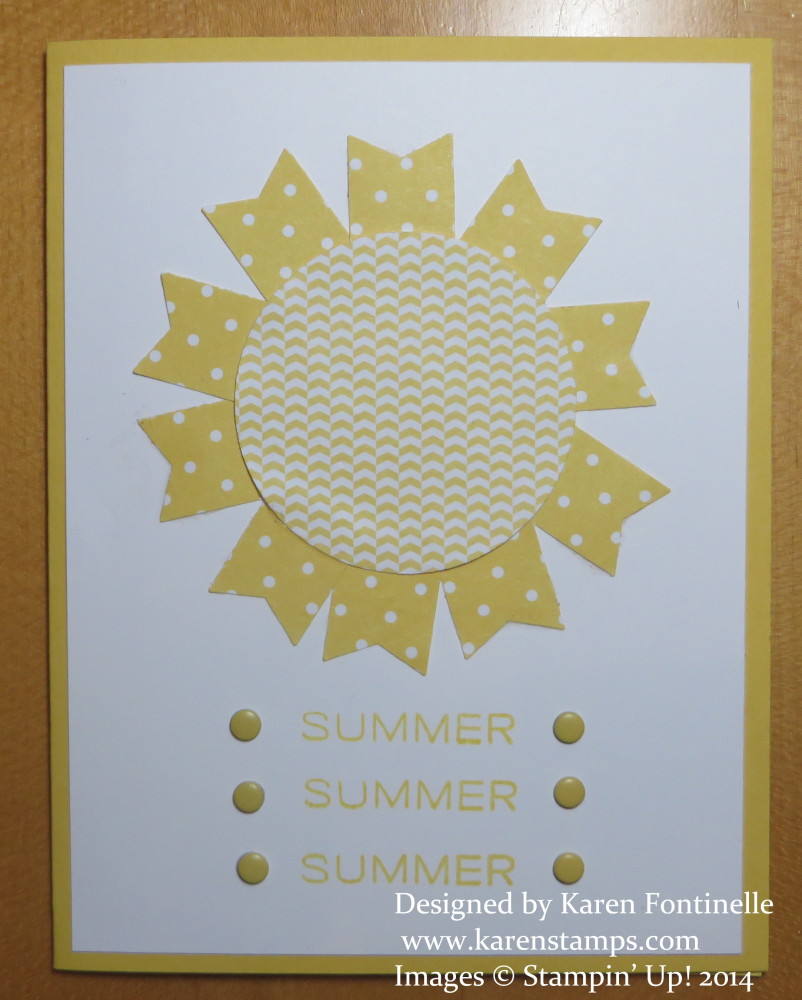
Today is the first day of summer, the Summer Solstice, the longest day of the year. Well, it’s not really any “longer” than any other day of the year, but it is the day with the most hours of daylight. If you walk outside here in Houston you will know that it is the beginning of summer because it is very hot and humid outside! (But then I can say that for most days in Houston!)

I decided to make a “sunny” card for the first day of summer.  I used our new 2″ Circle Punch for the body of the sun, punched out of Brights Backgrounds Designer Series Paper StackThen I punched more of the same paper with the Banner PunchThe polka dots are actually the opposite side of the pattern I used for the sun! The word “Summer” is from the new Project Life stamp set Day to Day.  And just for a little something, I couldn’t resist using some Brights Candy Dots on the front of the card!

Go enjoy the first day of summer 2014! And when you’ve had enough of the sun and heat, come inside and stamp since you have those extra minutes of daylight today!

Work of Art Hello Card

Work of Art Hello Card

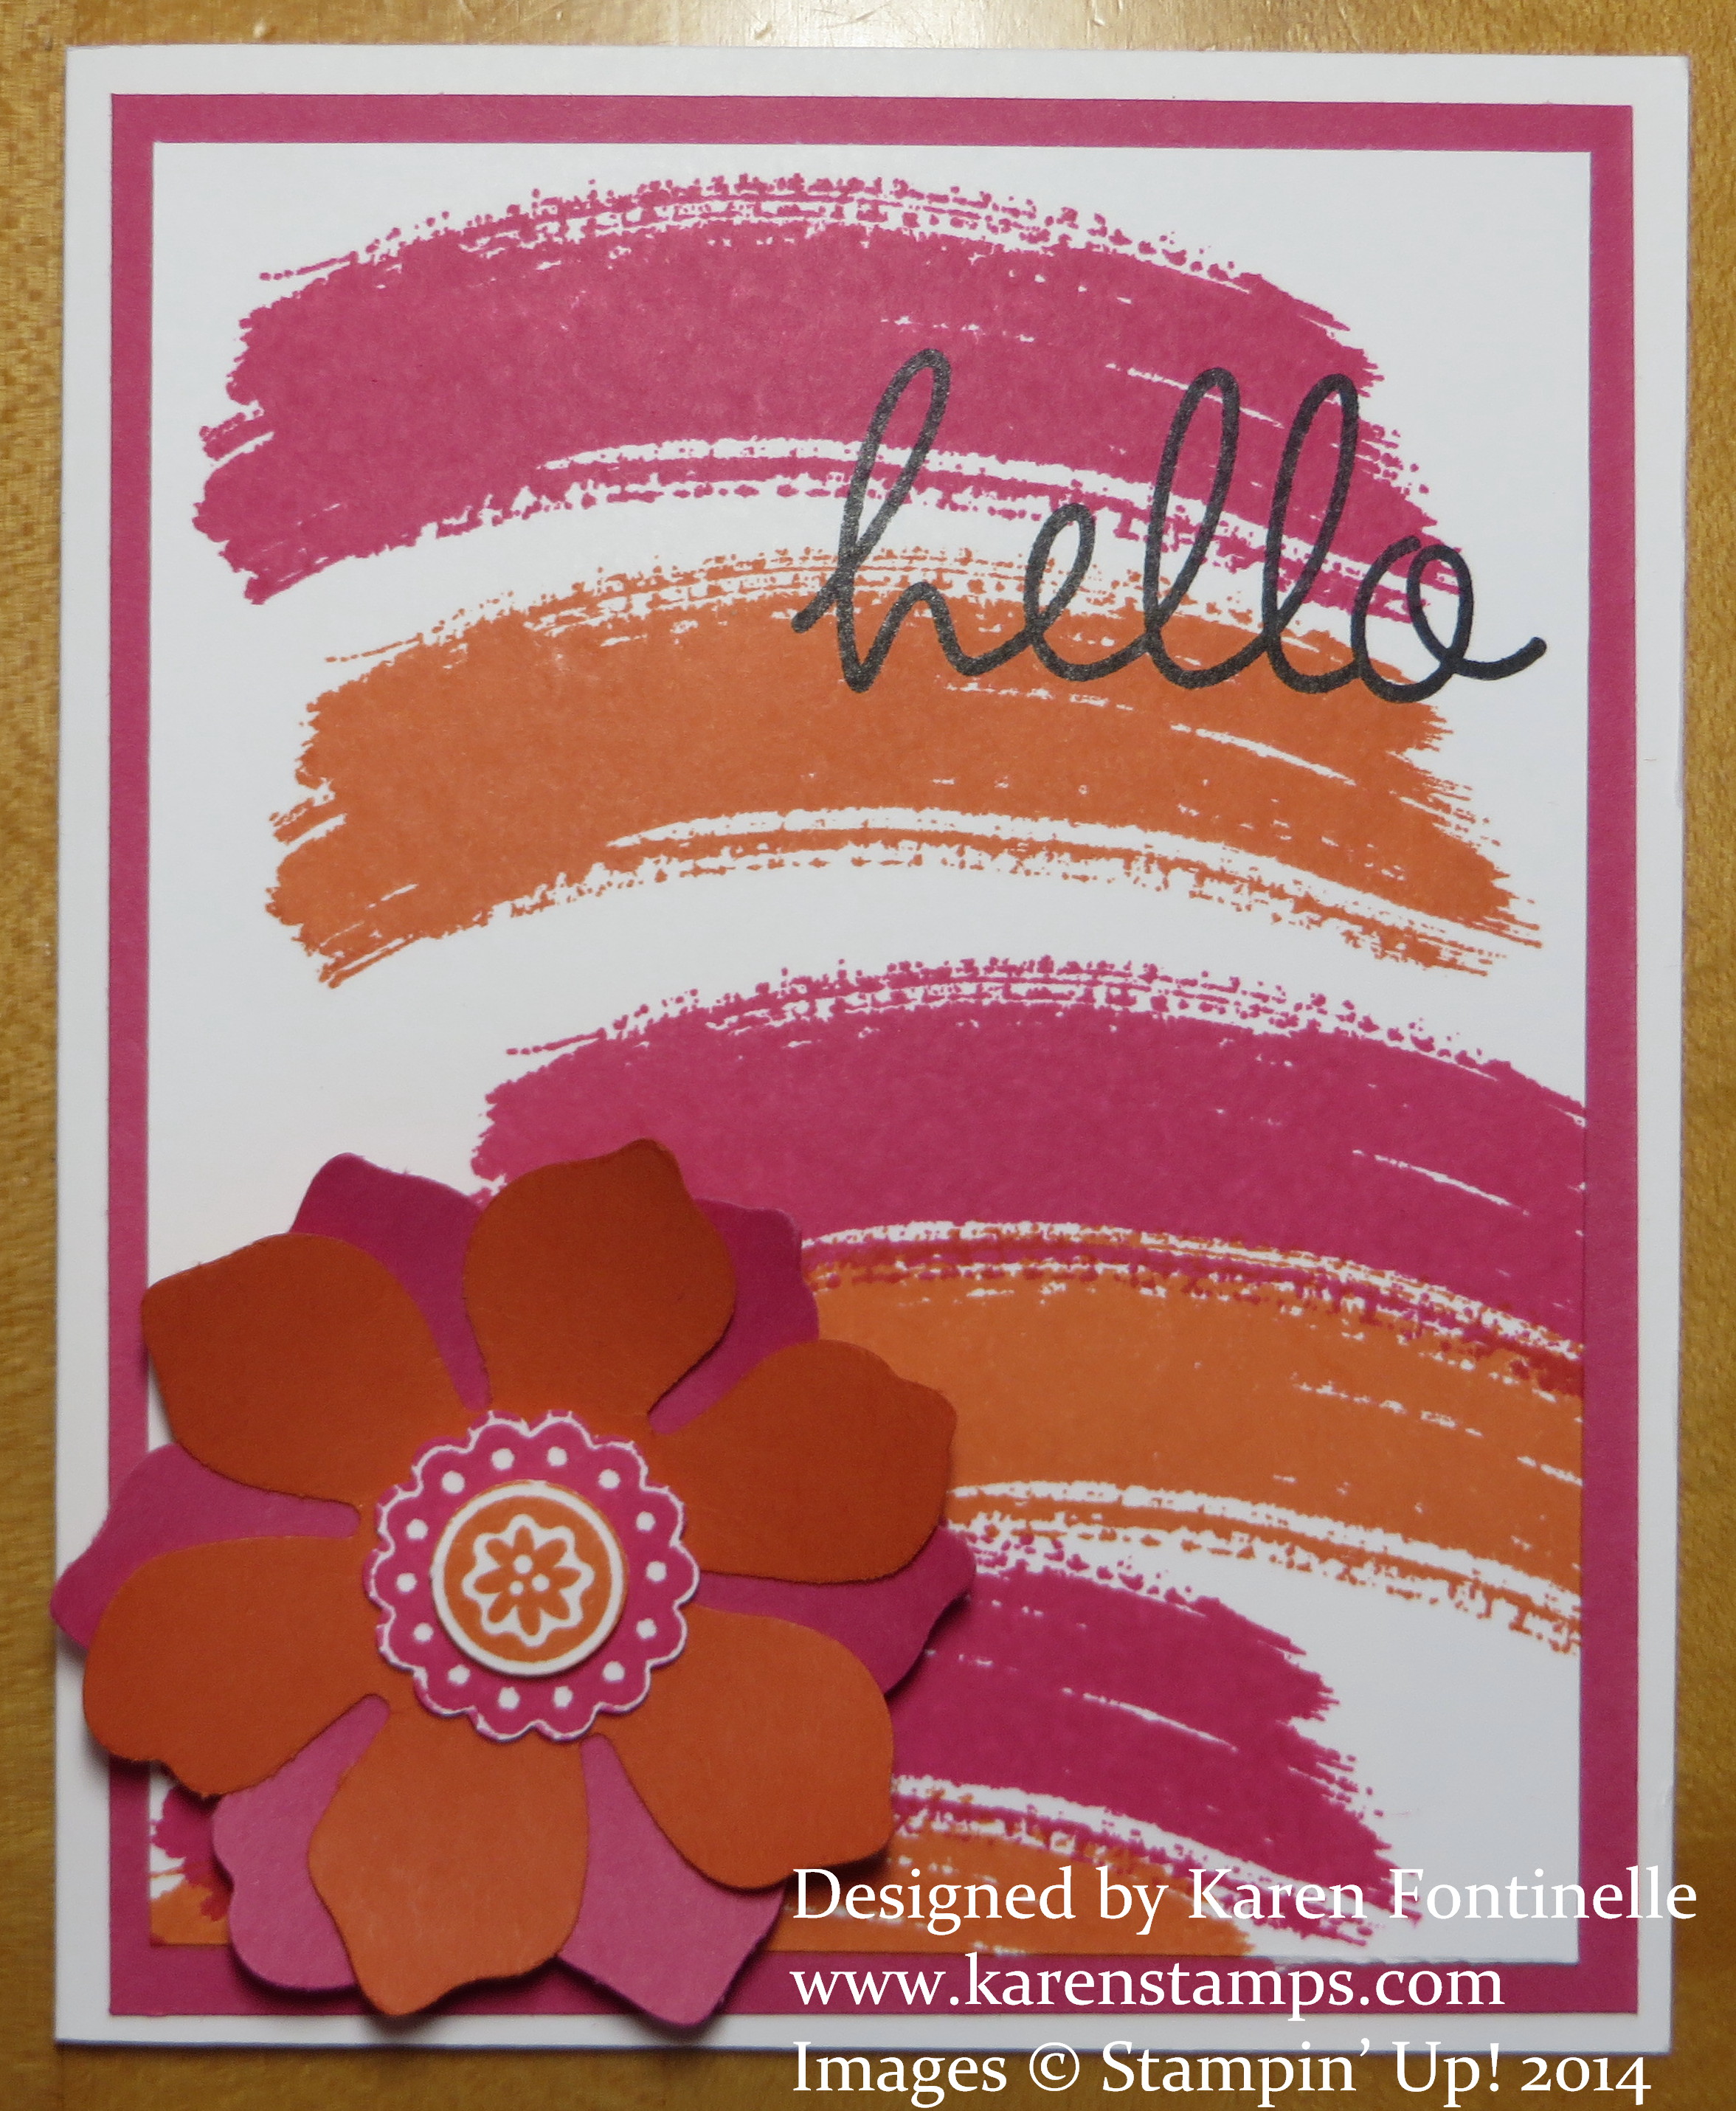
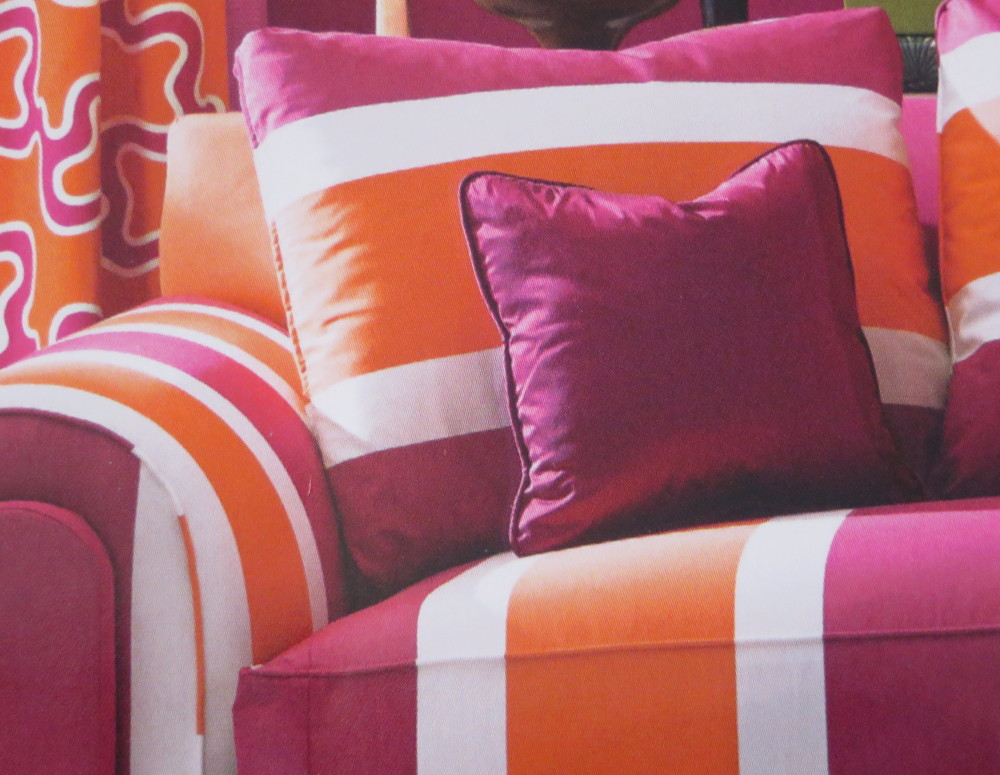
I saw an ad in the magazine the other day of a striped sofa in something close to these two colors, Melon Mambo and Tangerine Tango,  so I decided to use the Work of Art stamp set and the Hello stamp from the Hi There stamp set to make a card. The Work of Art stamps are so fun to play with – anything goes! You just feel free to create! I stamped the word “Hello” at the top and liked it so much I made another card, which you will be able to see later on my Facebook Page HERE. The flower is made with the new punch called Fun Flower Punch. Although the flower itself is only punched from card stock and not stamped first, I did stamp the flower image on the single wood stamp Bloom For You. twice, once in Melon Mambo and once in Tangerine Tango ink so I could punch out pieces for the center of the flower. I used the 1/2″ Circle Punch and the 7/8″ Scallop Circle Punch. Then I mounted those center pieces on the flower using Stampin’ Dimensionals to pop them up.

If you wonder where inspiration comes from, here is part of an ad I saw in a magazine of a striped sofa.  I think the one color was fuschia, but I used Melon Mambo. Just think of these three colors:  Whisper White, Melon Mambo, and Tangerine Tango. They are  a summery combination for sure! Make something with these three colors and brighten your day!

Colorful ad Inspiration

Get ready for summer! Stamp something bright and colorful!  You will find all the latest colors here at Stampin’ Up! in my Online Store!

Banner Banter 3″x3″ Gift Card

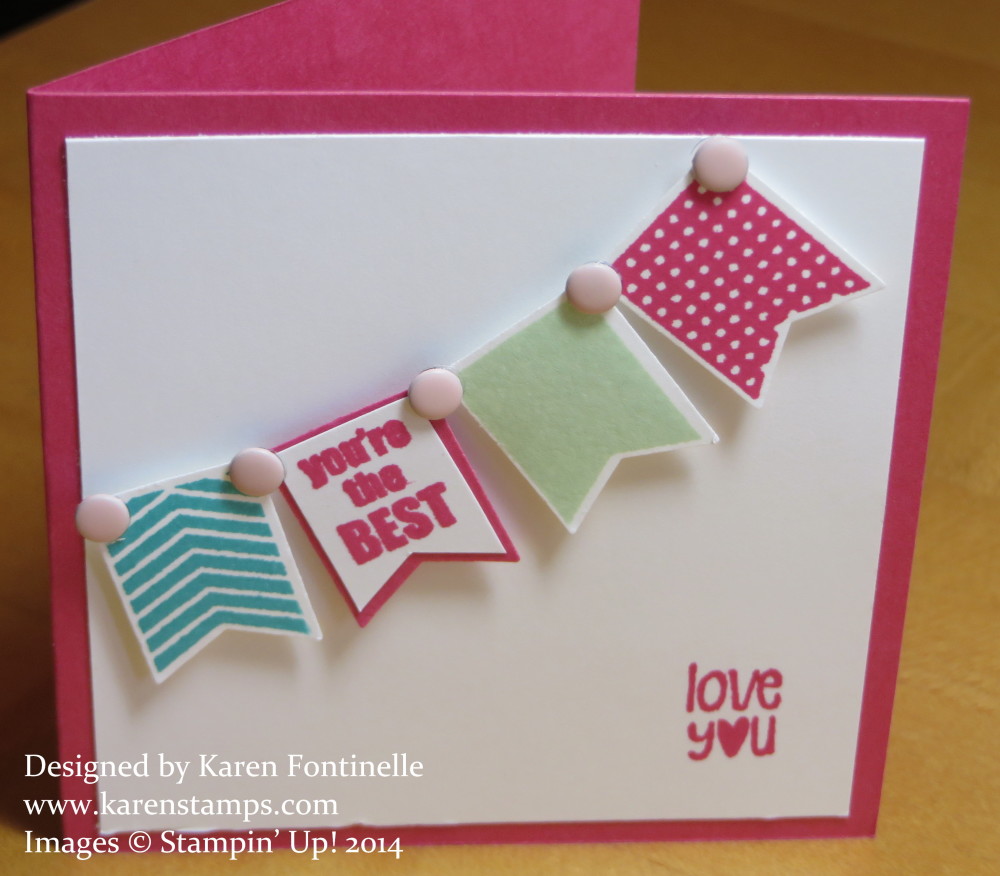
Banner Banter 3x3 Gift CardThis cute little 3″ x 3″ gift card or note card is made with the Banner Banter stamp set and the Banner Punch. It was fun and easy to make! Just stamp some banners in whatever colors you like (I used Melon Mambo, Pistachio Pudding and Bermuda Bay) and adhere to card.  I used Stampin’ Dimensionals to pop them all up.  You could adhere several straight to the card and pop one up, perhaps the one with the greeting. You could even stamp right on the Whisper White card layer. To make it look more like a hanging banner, I used Subtles Candy Dots(LOVE those things!)

If you already own the Banner Punch that you might have gotten free during Sale-A-Bration, I would definitely encourage you to purchase this stamp set to use with your punch.  I would also suggest that you purchase the wood-mount version of the stamp set because the stamps are small, and I think having them already mounted on the wood makes them easier to use.  But to each their own! It’s whatever you prefer!

One more tip – to mount the greeting on the banner on a background layer of card stock, I trimmed that down a little so it would fit on the punched banner. Since it was such a small piece, I just did it with my Paper Snips, and although not perfect, it is fine!  We have to let go of the perfectionism sometimes. No one I give this to will say, “You know, there is  a slight angle to your cutting on this greeting on the banner. Please take it away and make me a new one!”
If you did not choose a free Banner Punch during Sale-A-Bration, you can purchase one in the Stampin’ Up! Online Store HERE along with the Banner Banter stamp set. There is also another stamp set to use with this punch. It is called Itty Bitty Baby on page 81 of the Stampin’ Up! CatalogIt is absolutely adorable, but I had to pass it up (this time!).