Handmade Gift Box and Card For a Birthday–For Me!

Handmade Gift Box For a Birthday

I was so lucky to receive this handmade birthday gift box and card from my friend Jan recently! Such a happy thing to see after opening the mailing box! So many gifts now are given in gift bags, which are fine, so it was an extra treat to see a package to “open”! And of course my friend made it herself plus the card!  So pretty! She makes such beautiful cards and things!

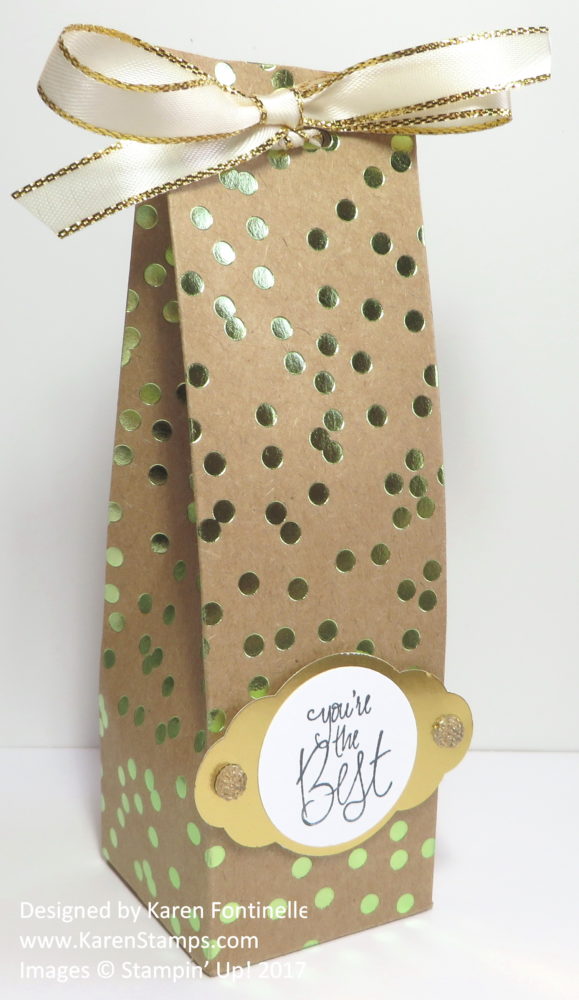
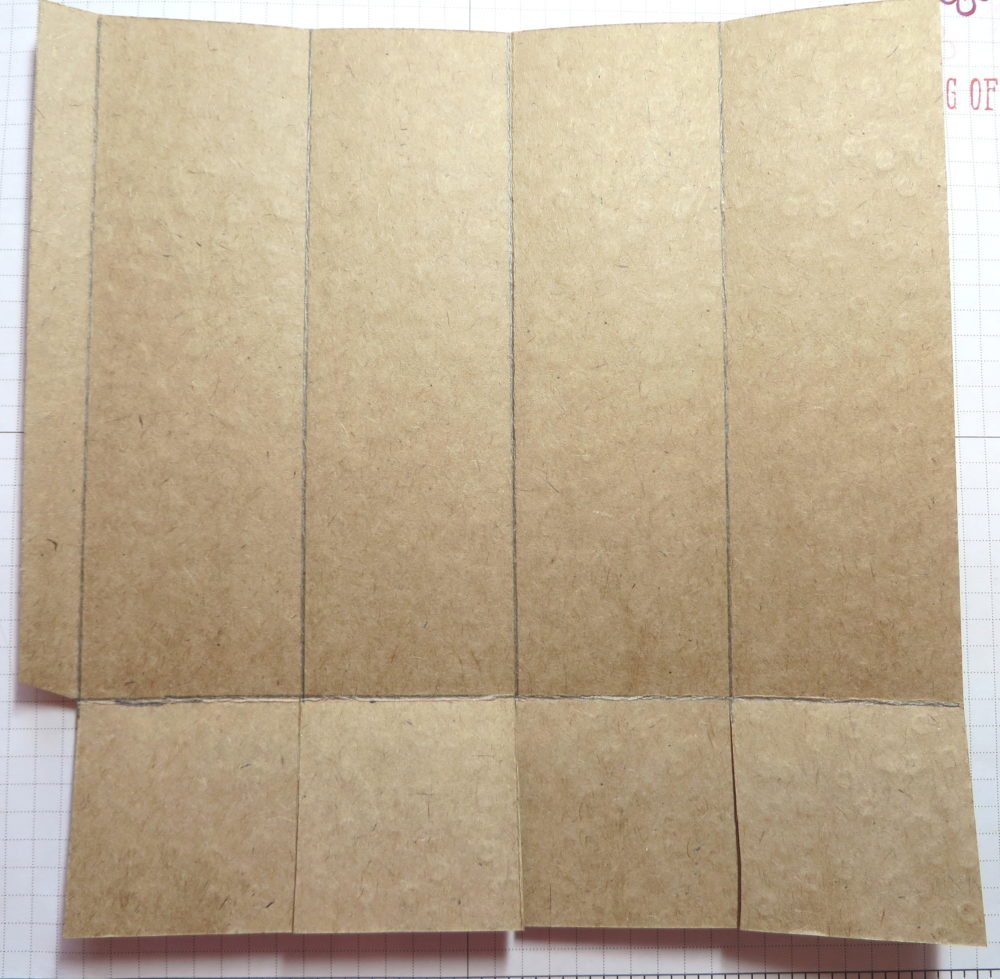
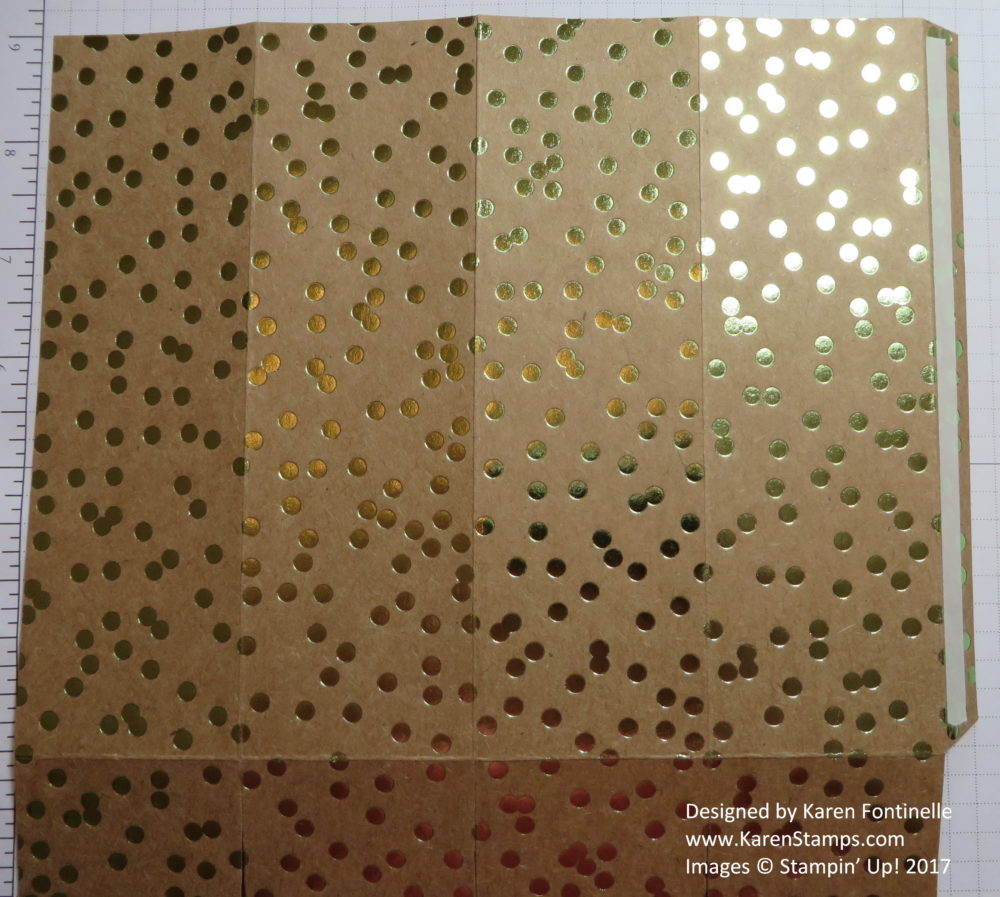
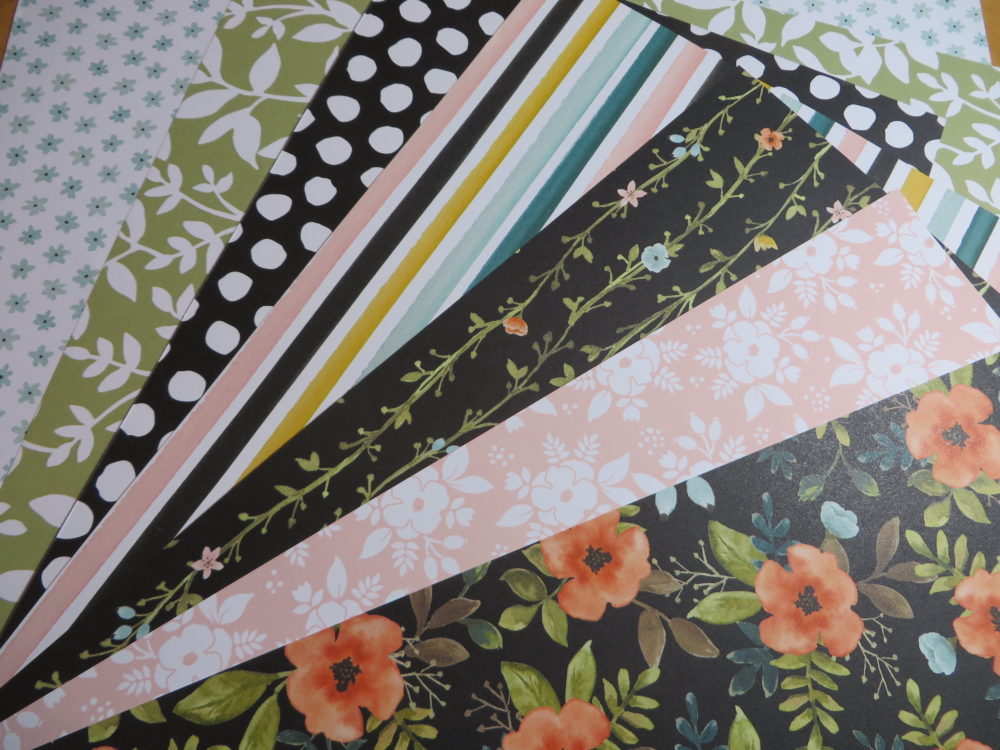
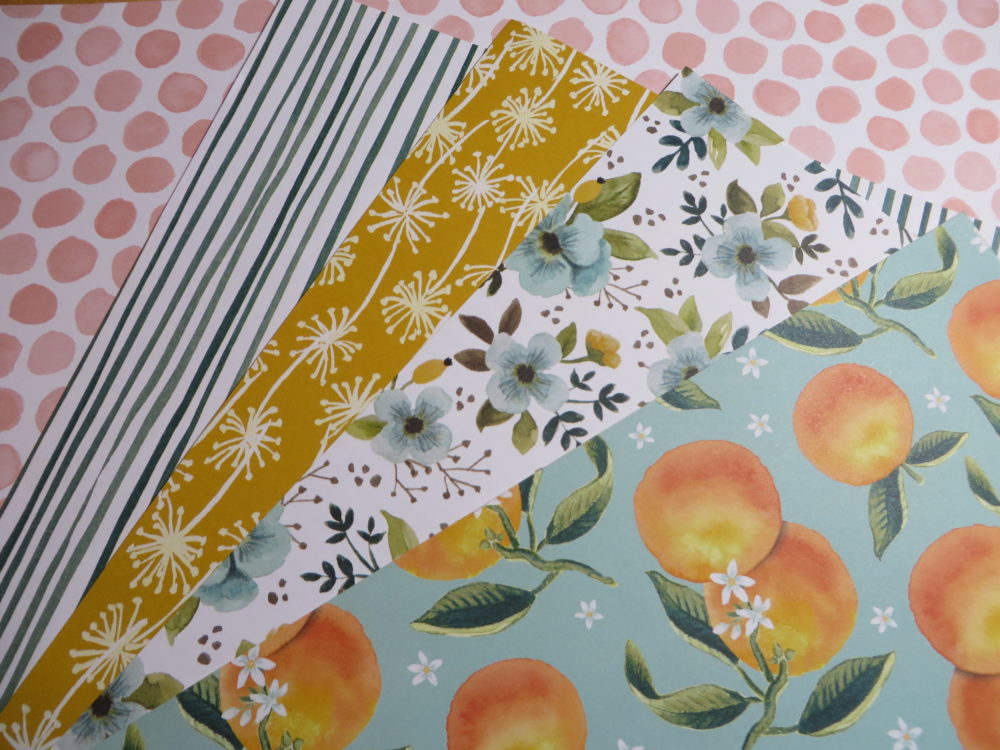
The box is made with the pretty Sycamore Street Designer Series Paper from Sale-A-Bration several years ago. There are lots of instructions online of how to make a box out of paper, very simple. You can find directions to a box I made recently in THIS POST.

The birthday card she made me is made with the stamps, dies, and stickers in the Eastern Palace Suite.  This suite was released the month before the new Stampin’ Up! Catalog came out, but of course it is still available now. You can make very pretty cards and projects with this group of products, and the stickers are such high quality and fun to use.

We made it through Hurricane Harvey just fine last evening and overnight. We’ve gotten almost 5″ of rain at our house in our rain gauge. It’s just the outer bands of rain from the hurricane, not anything like the people close to the eye had.  So it might rain lightly or more heavily for a few minutes and then let up. No heavy wind, maybe some light wind gusts, like we had last night when we tried to go for a walk after dinner and misjudged the radar! There was a tornado that struck at 1:00 am several miles from here in a very nice neighborhood with lots of young families, about fifty homes damaged. The pictures on TV look pretty horrible but I’ve heard only one minor injury. They say these tornadoes drop down quickly and go back up quickly, but this one looks like it was pretty strong.  As long as these bands of rain keep moving through and don’t stop over one location they think things will be much better.  Every break in the rainfall gives the water time to drain.  Still a mess and the storm can do whatever it wants, no matter the weather predictions, so who knows!  Our power just blipped off for a second last night but we are very lucky at this moment to still have power, internet and air-conditioning!

Here is a screenshot of the radar on my phone at 9:00 am today, Saturday Aug. 26. I’m the blue dot!

Hurricane Harvey Aug 26 9 am

That’s the hurricane update for now!  Keep your fingers crossed for us!  The worst is yet to come I think for our location and the city of Houston.

Wouldn’t you love to receive a beautiful handmade gift box and card like my friend sent me? Make one for your friend and send it!  It really only takes a little bit of time to make something like this and you know it will be very much appreciated! Love it, Jan!  And the gifts inside! Guess I should say……if you are curious….she sent me a cute candle in a little bottle with a birthday cake scent and a cute boxes of matches – which we may have to put to use this week!! – and a cute little Halloween decoration because she knows I love Halloween!

Don’t forget to use your Bonus Coupons before August ends!!

Enjoy your weekend if you’re not in Hurricane Harvey’s path!

Getting Ready For Hurricane/Tropical Storm Harvey

You may have heard about a horrendous storm about to hit Texas today!  What started as some disorganized broken up storm in the Gulf of Mexico is expected to turn into a Category 3 hurricane by the time it hits the south Texas shore. Houston won’t be in the direct path of the hurricane, but we will get the moisture pulled up, not to mention the storm is expected to possibly just sit in one spot for days and/or move along the coast toward Louisiana. This can bring TONS of rain and that’s never a good thing for us.

Almost all day yesterday I went to stores and checked our hurricane supplies, something you’ve got to have on hand for hurricane season. Except at the last minute, there’s always something else you think you have to have…… a few more batteries, more bottled water, cans of soup, snacks, etc.  Get out the ice chests. Fill the cars with gas, get cash, dig out the paper cups, plates and utensils. More to do today, like laundry, get ice, make sure the bills are paid.  Everything you might need or need to do beforehand JUST IN CASE you lose electricity, something happens to the water, and you have food to eat that doesn’t need cooking or can be cooked on the gas grill unless it is raining buckets of rain every minute.

So here is my checklist:

Batteries of all kinds: CHECK!
Storm BatteriesBottled Water:  CHECK!

Bottled Water

Nutrious, Non-Perishable Food:  CHECK!

Storm Candy

Okay, well, these were supposed to be fall craft supplies, but desperate times call for desperate measures!

Couple bags of ice! (with memories of our lemon refrigerator a few years ago and living out of our ice chests!):  CHECK!

ice

Canned goods and non-perishable foods and snacks!  CHECK!

Canned goods

Paper Plates, Cups, Plastic Utensils – most saved from previous hurricane prep!  CHECK!Paper Goods

Ice Chests Ready to Go!  CHECK!
Ice ChestFreezer Stocked with Food, Ice, and, of course, Blue Bell Ice Cream!  CHECK!

Freezer

Hurricane Harvey Reading Materials:  CHECK!

Stampin' Up Catalog and Holiday Catalog Hurricane Harvey Reading MaterialsHurricane Harvey Activities – Paper Pumpkin Kits:  CHECK!

Paper Pumpkin Boxes Stacked

Today we are getting bands of rain off the hurricane, nothing too bad, just a rainy day, but this is only the beginning!  It’s just going to rain and rain and rain and rain and rain…..and rain some more! Thank goodness for stamping!  I have plenty I can work on while it rains and rains and rains outside, and I can even do it if the electricity goes off!  I can still even use my Big Shot!

Keep your fingers crossed, not only for us, but for everyone along the Texas Coast. Sometimes these storms can not be as bad as predicted, but I have a feeling that isn’t going to be the case with this storm.  We’ll see. As long as my house stays dry, that’s really all I need through this.

This is a very late posting but storm preparations had to be done first. Now that I’ve had a rest, I can get busy on some other storm tasks.


Speaking of Paper Pumpkin, don’t forget about the great special offer on the September Kit! Join Paper Pumpkin by September 10th (but don’t wait that long or you’ll forget!) and use Promo Code HALFOFF0917 to get the September Kit 50% off!  No risk, no obligation to continue long term, although hopefully you will love the surprise each month in your mailbox and a project ready to go!  I saw a few hints about the September Kit and it sounds lovely!  Watch my Facebook Page and I’ll post the hints when I find them!

Paper Pumpkin Offer Sept 2017CLICK HERE TO JOIN PAPER PUMPKIN!

If I lose power or internet, I won’t be able to remind you about Paper Pumpkin and about using your Bonus Coupons from July!  You have to use those by August 31, which is Thursday. And it might still be raining here!

SHOP STAMPIN’ UP HERE!


Halloween Tiny Treat Boxes with Spooky Cat

Halloween Tiny Treat Boxes with Spooky Cat

How do you like these Halloween Tiny Treat Boxes with Spooky Cats?  I bet that one of the most popular items in the upcoming Holiday Catalog will be this Cat Punch! If you are interested, I would order it right away when the catalog comes out. What is really great, is that you can punch the cat right out of the Spooky Night Designer Series Paper!  You can also stamp and punch with the Spooky Cat Stamp Set!

If you are ordering in August, I would go ahead and order the Clear Tiny Treat Boxes from the Annual Catalog.  They are currently backordered, but yours will come as soon as they are resupplied, which will be faster than if you wait until they are back in stock and then order.  You get 16 boxes that are 2″ x 2″ x 2″ and are food safe!  And the cost is only $7.50. These are great for having on hand any time you need a little treat for someone or to hold a small gift.  You can decorate them however you like.  You will see this Halloween idea in the Holiday Catalog. I chose to just punch out some cats from the Spooky Night Paper and tie with some ribbon, plus I added a stamped greeting from the Spooky Cat Stamp Set.  So fun!  So many creative possibilities!

This is such a quick and easy Halloween treat to make and will be so fun with the new Cat Punch!!

Remember to use your Bonus Coupons that you earned in July by August 31.

I can’t believe how fast August is flying by!

Bonus Redeem

SHOP STAMPIN’ UP! ONLINE HERE!

Happy Halloween Pick a Pumpkin Card

Happy Halloween Pick a Pumpkin Card

This is my first Halloween card of the season and of the upcoming Stampin’ Up! Holiday Catalog, made with the Pick a Pumpkin Bundle.  I wondered if some of you were “on the fence” about subscribing to Paper Pumpkin, the papercrafting kit that comes to you in the mail once a month!  And then I thought about making a card with pumpkins on the fence!  You never know where inspiration will come from!  LOL!

New Paper Pumpkin subscribers can join and get the September Paper Pumpkin Kit for 50% off! Just use Promo Code:  HALFOFF0917. The only clue for September is that it is an “exceptionally beautiful kit”. That’s all I know, but if you like fall, there’s no reason not to try Paper Pumpkin at least for September because it is well worth the special offer price!  It is well worth the regular price, too, but might as well take advantage of a bargain I say!

Click HERE to Join Paper Pumpkin!  No risk, no obligation! Do it for yourself!

Now back to my Halloween card!  If you changed the greeting, this card could be any occasion. The card base is actually Crumb Cake, even though the front layers completely cover it up. I have a piece of Whisper White at the top on which I sponged some colors like Soft Sky, Pumpkin Pie, Rich Razzleberry to make an interesting sky. The greeting is stamped in Early Espresso ink and is from the new stamp set Spooky Cat.

The fence portion is the Hardwood background stamp stamped on Crumb Cake Cardstock with Early Espresso ink. To make the pickets at the top, I drew a pencil line across the top a little ways down so I knew how far down to cut.  Then I used my Paper Snips to just cut by hand. Very easy!  If you don’t own the Stampin’ Up! Paper Snips, you really need a pair, more than you know!  They can do things regular scissors can’t!  I love mine! I’ve mentioned this before, but in the large background stamps I do prefer the wood-mount.  I just think it gives them a little more strength to have them already mounted on the wood and they are ready to go. It also saves you from buying the largest acrylic block if you don’t have the whole set.

The pumpkins, stems and vines are stamped with the Pick a Pumpkin Stamp Set and die cut with the Patterned Pumpkins Thinlits Dies.  Now as I mentioned, if you buy them together in the Bundle (144670), you will save 10%. I also discovered that the pumpkin dies also fit some of the pumpkins in the Spooky Night Designer Series Paper if you would like to die cut some of those from the paper!

The pumpkin on the ground on this card with the die cut little stars is backed with a piece of Gold Glimmer Paper that I hand cut for a sparkly layer behind the stars!  Cute!

The Holiday Catalog will be out September 1, 2017! I believe customers are starting to receive the ones I ordered in the mail.  Some will take longer than others to arrive, just depends where you live and how long the postal employee sits in the back room and reads it first!  I do have some extras if you are new and are interested in Stampin’ Up! products. Just email me with your contact information. If you already have a Demonstrator you are working with, she will be able to provide you with a catalog.

Don’t forget!  Try Paper Pumpkin with the special 50% offer for September!  Don’t just sit on the fence and miss out!  To find out more about this offer, click HERE.

JOIN PAPER PUMPKIN!  USE PROMO CODE:  HALFOFF0917

Total Solar Eclipse of the Sun Greeting Card August 21, 2017

Total Solar Eclipse of the Sun Greeting Card August 21, 2017

Today is the total solar eclipse of the sun!  Finally, the day is here!  I thought I would commemorate the eclipse by trying to make some sort of card. Thankfully we now have Glossy Cardstock back at Stampin’ Up! because this was the perfect paper to use for my eclipse card!

The card base is Basic Black with a layer of Gold Foil. On the Glossy White Cardstock piece, I sponged on ink of various colors with pieces of a Stamping Sponge.  For the sun, I used the new Starburst Punch.  I actually punched a piece of a sticky note with the Starburst Punch when I started making the card and stuck it down on the clean sheet of glossy, then did all the sky colors around it.  That way the sun itself would not be colored. Next I took off that mask, and placed the negative of the sticky note over the Starburst shape on the card, carefully lining it up, and sponged in the sun with Crushed Curry ink.

For the moon covering the sun, I punched a 2″ Circle in another sticky note and used the negative over the sun for the mask and sponged on Memento Black Ink in the center of the sun inside that outline of the 2″ Punch.

The adirondack chair die cut is from the Seasonal Layers Thinlits Dies.  The little greeting is from the Eastern Beauty Photopolymer Stamp SetI die cut that and the gold foil layer with the Layering Circle Framelits Dies.

My son is off camping in Oregon on a ranch to experience the solar eclipse of 2017 in totality, so we are partly more interested in the eclipse because of that, but we would be interested anyway!  Just hoping for no clouds at the time of the eclipse today!

Hope you enjoy your eclipse experience!  Just be sure NOT to look at the sun for even a second! You can look online for many ways to safely experience the eclipse.

HAPPY ECLIPSE DAY!

Making a Z-Fold Card with Birthday Memories Designer Paper

Birthday Memories Z-Fold Card Open

Making a Z-Fold Card for a birthday is easy and with the Birthday Memories Designer Series Paper, your card will be so cute and fun! Z-Fold cards give an added dimension to cardmaking and thereby make you look like such an expert and professional! And yet, if they only knew, it is SO EASY!

To make the Z-Fold card base, just make a regular card. Then fold the front of the card base back on itself in half! In other words, score the front of the 4  1/4″ x 5 1/2″ card front at 2 1/8″ (in the middle of the 4 1/4″ card front) and fold the right side backwards toward the card fold. This is easy to see on the photo above. You can add whatever designer pieces of paper, if you want, to decorate the panels.

As you design the front square or rectangle which is the focal point of the card, consider what size the greeting on the inside of the card will be. You will want that focal point to cover the greeting when the card is closed. Once I decided on the size I wanted that focal panel to be and cut the pieces, I closed the card with the focal piece on top and lightly penciled in the outline of it on the Whisper White layer that was going to be inside the card so that I could see where I had to stamp my greeting inside the card.

As you can see, I used the Birthday Memories Designer Series Paper, which is such a happy and whimsical collection of papers. I don’t think we have had anything quite like it in the past.  I just love it!  The Birthday Delivery Photopolymer Stamp Set coordinates with the paper, and that is what I used to stamp the greeting on the fox’s banner and on the inside of the card. The other amazing product is the Birthday Friends Framelits DiesThese dies not only cut some of the stamped images, but also some of the images in the Birthday Memories Designer Series Paper.

You do have to have it all, you know you do!!  Get the Birthday Delivery Photopolymer Bundle and get the stamp set and framelits all at a 10% savings. Also order the Birthday Memories Designer Series Paper and if you like, get some embellishments you can use like ribbons or Balloon Honeycomb Embellishments.

You can see another birthday card I made with this set HERE in this post!

Be sure to use any July Bonus Coupons you have before the end of August!

Also, check the Clearance Rack as new products were added the other day!  Only available while supplies last!

Birthday Memories Z-Fold Card

Place your Stampin’ Up! order today so you can get your hands on this fun Birthday Memories Designer Series Paper, stamp set and dies and start creating!

SHOP STAMPIN’ UP! ONLINE HERE!

September Special! Paper Pumpkin Kit at 50% Off For New Subscribers

Paper Pumpkin Offer Sept 2017

This is a very special invitation to join Paper Pumpkin at an amazing introductory rate during our Fall into Savings promotion. Subscribe from August 11–September 10 and Stampin’ Up! will deliver September’s (gorgeous!) Paper Pumpkin kit straight to your door, complete with everything you need to make adorable, shareable projects—all for 50% off!

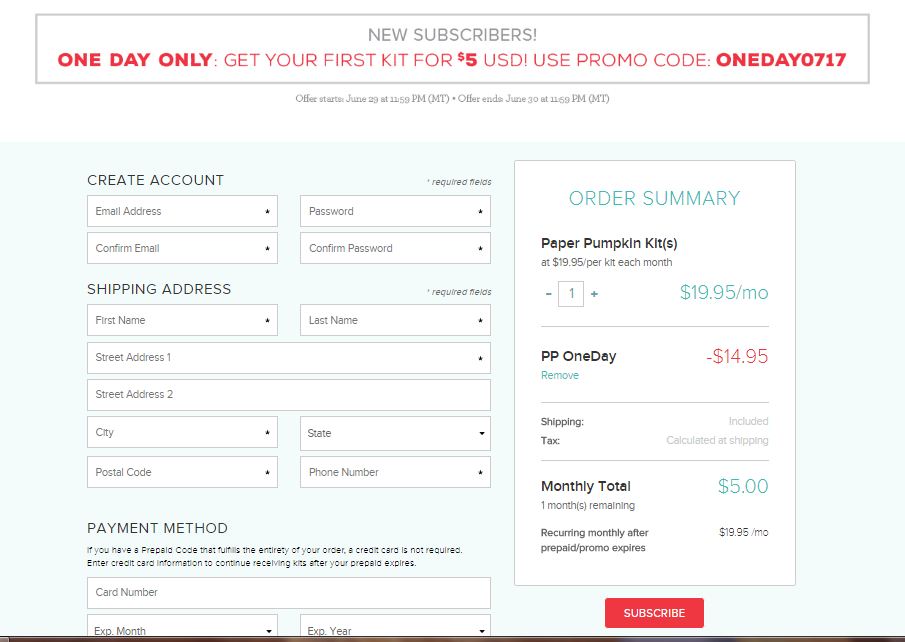
Just sign up using promo code HALFOFF0917 HERE by September 10.

  • Only new month-to-month subscribers qualify for the 50% discount.
  • To participate in this promotion, subscribers must join by Sunday, September 10, 2017 at 11:50 PM (MT).
  • The 50% discount only applies to the new subscriber’s first kit. After that, the price for each month’s kit will return to the regular price of $19.95 USD/$26.95 CAD.
  • New subscribers must visit paperpumpkin.com to join.
  • Enter the promo code HALFOFF0917 at paperpumpkin.com to subscribe.
  • No risk, no obligation.  Just cancel by the 10th of any month or simply “Skip” a month if you need to!

l

Don’t delay!  Go ahead and sign up today! Then your subscription will be ready to go when Stampin’ Up! starts shipping out the kits mid-September!  Yours will be ready to go! You’ll experiment the fun of receiving your Paper Pumpkin Kit in the mail one day and have everything you need in one box to sit down and craft!  Just for you!

JOIN PAPER PUMPKIN TODAY!  (click the link)

USE PROMO CODE:  HALFOFF0917

Quick and Easy Birthday Card with Birthday Memories

Birthday Memories Card in Red

Want to make a quick and easy birthday card?  Then reach for the Birthday Memories red print in the designer paper package and make a card like this one!  I love the color red, and I thought this card might be a different one than a person would expect using this designer paper and stamp set. Just a quick and easy, simple birthday card to make in a couple of minutes!

Start with a card base of Real Red Cardstock.  Layer with Whisper White with just a thin border to help the Real Red patterned paper stand out against the red card base. The Birthday Memories Designer Series Paper has so many pretty papers in it, although most are colorful and filled with child-like or vintage type images. But this plainer red paper caught my eye and I thought I would make more of a monochromatic card with no much fuss so the paper can stand out on its own.

The greeting is from the same suite, from the Birthday Delivery Photopolymer Stamp Set. I stamped it in Real Red on Whisper White and cut out with the Stitched Shapes Framelits Die. Then I layered it on a scalloped oval die cut from the Layering Ovals Framelits Dies.  The paper is the Silver Glimmer Paper.  I think I just as easily could have left the greeting without the glimmer paper layer underneath and it would have looked fine.  The ribbon wrapped around twice is the Whisper White 1/8″ Sheer Ribbon.  It’s always good to have some basic white ribbon on hand because you can use it on most any project.

Be sure to check out this wonderful, happy Birthday Memories Designer Series Paper.

Birthday Memories Designer Series Paper

Birthday Memories Designer Series Paper

Order this amazing suite of products, the Birthday Memories Suite .  Save 10% by ordering the Birthday Delivery Photopolymer Bundle which includes the stamp set and framelit dies.  Add on the Birthday Memories Designer Series Paper and you are good to go!  Add any of the extra embellishments if you like.

Remember to use your Bonus Coupons that you earned in July before the end of August!  They will expire August 31.

Check out the Stampin’ Up! Clearance Rack as new items were added yesterday, although many sold out right away, but there is still a selection and you might find good things to go along with the upcoming Holiday Catalog!

Shop Stampin’ Up! Online Today!


Stampin’ Up! Products Added to the Clearance Rack! Run, Don’t Walk!

Stampin' Up! Clearance Rack Banner

Stampin’ Up! announced this morning that new products have been added to the Clearance Rack!  New deals, up to 60% off!  The best will go fast so scoop up what you can quickly!

There are punches, framelits, ribbons, cardstock, designer papers……things that have retired but are now on the Clearance Rack!  Be sure to check it out and order as soon as you can because it’s usual for some things to sell out right away!

SHOP THE STAMPIN’ UP! CLEARANCE RACK HERE!


Stampin' Up! Clearance Rack

Use your Bonus Coupon Codes you earned in July!  They are only good through August!  After putting in your order, you will see a button that says “Manage Codes”.  Just click on that and follow directions to add your code(s).  Then check the total to make sure the discount went through.

Don’t forget the Paper Pumpkin special discount for new subscribers for the September Kit!

Paper Pumpkin Offer Sept 2017

Paper Pumpkin is a papercrafting kit all ready for you to sit down and craft!  It comes in your mailbox once a month and everything for the project is included in the box!  You receive an exclusive stamp set, an ink spot, and all the materials you need, often even adhesive!  Sometimes there are extra supplies left over that you can use on other projects.  Make what the kit offers or change it up!  A Stampin’ Up! video is available for every kit if you like to see the process in action. Directions are included, of course.  And new subscribers get an acrylic block for the stamps in their first kit!

Order Today!  JOIN PAPER PUMPKIN HERE!


Go Shop the Stampin’ Up! Clearance Rack New Deals Right Now!

Birthday Mini Treat Bag With Birthday Memories Die Cuts

Birthday Mini Treat Bag

Isn’t this Birthday Mini Treat Bag With  the Birthday Memories Die Cuts such a cute way to send your Happy Birthday wishes to someone?  I have always loved making these mini treat bags and putting a card inside. But now that we have the new designer paper and stamp set in the catalog that I used here, we can do many more fun things with the treat bag!

Did you see the Birthday Memories Designer Series Paper in the new Stampin’ Up! Annual Catalog?  It is so fun and cute and almost a little vintage looking!  Perfect for young children but really for anyone!  I don’t know who wouldn’t smile upon receiving a card made with pieces of this paper.  The only problem with the paper is that you will hate to cut into and use it!

What’s even better is that there are die cuts that match the designer paper! The Birthday Friends Framelits Dies  will cut out several of the images in the paper, like this foxy guy and his banner!  I also stamped on the banner with the coordinating stamp set, Birthday Delivery Photopolymer Stamp Set.  Lots of cute images in the stamp set as well.  If you want to save 10%, get the Birthday Delivery Photopolymer Bundle that has the stamp set and framelit dies together.  You WILL want both!

You’ll be able to use this Birthday Memories Designer Paper and Birthday Delivery Stamp Set for more occasions that just birthdays.  It will be cute for party favors, invitations, and many other projects!

Birthday Mini Treat Bag Inside Card

This is what the inserted card looks like.  I stamped the balloons and die cut with one of the framelit dies in the set.  I purposely made them stick up at the top off the card a little bit so when it is inside the card, you will see the edge of the balloons and know to pull out the card. You can see how you could easily make this into a birthday party invitation or some other congratulatory occasion.

And let’s not forget to mention the Mini Treat Bag Thinlits Dies!  These have been in the catalog before and I have so much fun with them!  To make the bag, there are two dies, one cuts the front of the bag and part of the back.  The other die cuts the other half of the back portion plus the fold that adheres to the front of the bag. It’s so simple, plus the die set comes with so many other fun pieces. I chose to make this mini treat bag simple by just adhering the die cuts from the Birthday Memories Paper on the front.  I could have done lots more embellishing, but I thought this was cute enough as is!  There are even other options to make besides a basic gift bag, such as I made in THIS POST.

Be sure to check out the Birthday Memories Suite in the catalog.  You can order the Bundle and Designer Paper plus any other embellishments that you want so that you can make some fun cards and projects like this Birthday Mini Treat Bag With Birthday Memories Die Cuts.

Shop Stampin’ Up! Online HERE!

Try Paper Pumpkin For 50% Off in September!

Paper Pumpkin Offer Sept 2017

This is a very special invitation to join Paper Pumpkin at an amazing introductory rate during our Fall into Savings promotion. Subscribe from August 11–September 10 and Stampin’ Up! will deliver September’s (gorgeous!) Paper Pumpkin kit straight to your door, complete with everything you need to make adorable, shareable projects—all for 50% off!

Just sign up using promo code HALFOFF0917 HERE by September 10.

  • Only new month-to-month subscribers qualify for the 50% discount.
  • To participate in this promotion, subscribers must join by Monday, September 10, 2017 at 11:50 PM (MT).
  • The 50% discount only applies to the new subscriber’s first kit. After that, the price for each month’s kit will return to the regular price of $19.95 USD/$26.95 CAD.
  • New subscribers must visit paperpumpkin.com to join.
  • Enter the promo code HALFOFF0917 at paperpumpkin.com to subscribe.
  • No risk, no obligation.  Just cancel by the 10th of any month or simply “Skip” a month if you need to!

l

Don’t delay!  Go ahead and sign up today! Then your subscription will be ready to go when Stampin’ Up! starts shipping out the kits mid-September!  Yours will be ready to go! You’ll experiment the fun of receiving your Paper Pumpkin Kit in the mail one day and have everything you need in one box to sit down and craft!  Just for you!

JOIN PAPER PUMPKIN TODAY!  (click the link)

USE PROMO CODE:  HALFOFF0917

Try Paper Pumpkin For 50% Off in September!

Paper Pumpkin Offer Sept 2017

This is a very special invitation to join Paper Pumpkin at an amazing introductory rate during our Fall into Savings promotion. Subscribe from August 11–September 10 and Stampin’ Up! will deliver September’s (gorgeous!) Paper Pumpkin kit straight to your door, complete with everything you need to make adorable, shareable projects—all for 50% off!

Just sign up using promo code HALFOFF0917 HERE by September 10.

  • Only new month-to-month subscribers qualify for the 50% discount.
  • To participate in this promotion, subscribers must join by Monday, September 10, 2017 at 11:50 PM (MT).
  • The 50% discount only applies to the new subscriber’s first kit. After that, the price for each month’s kit will return to the regular price of $19.95 USD/$26.95 CAD.
  • New subscribers must visit paperpumpkin.com to join.
  • Enter the promo code HALFOFF0917 at paperpumpkin.com to subscribe.
  • No risk, no obligation.  Just cancel by the 10th of any month or simply “Skip” a month if you need to!

l

Don’t delay!  Go ahead and sign up today! Then your subscription will be ready to go when Stampin’ Up! starts shipping out the kits mid-September!  Yours will be ready to go! You’ll experiment the fun of receiving your Paper Pumpkin Kit in the mail one day and have everything you need in one box to sit down and craft!  Just for you!

JOIN PAPER PUMPKIN TODAY!  (click the link)

USE PROMO CODE:  HALFOFF0917

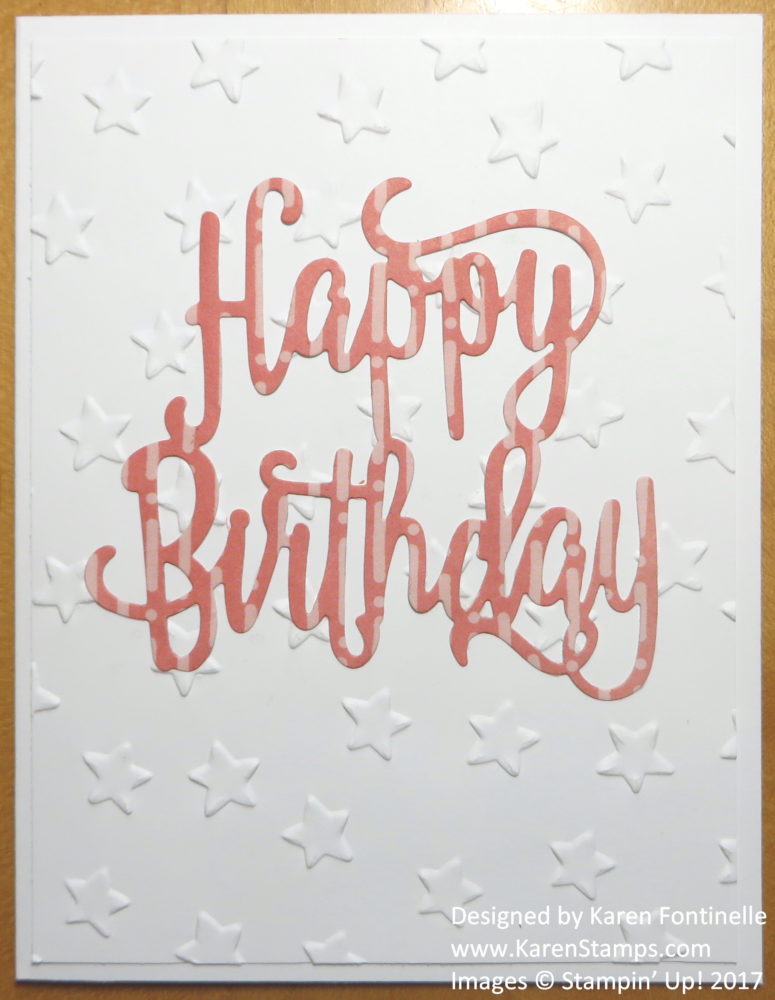
Happy Birthday Greeting Card Die Cut

Happy Birthday Greeting Card Die Cut

Today is MY birthday, but I have a friend who has a birthday tomorrow (and I don’t think she looks at my blog!) so this is the card I made for her! I was glancing through some cards I had made recently, and I LOVED a card I made with the Happy Birthday Thinlits Die and a watercolor background and I LOVED a card I made with this same Whole Lot of Lovely Designer Series Paper.  So I just combined the two ideas!

The card is made with Basic Black Cardstock so you do need to put a piece of Whisper White Cardstock inside so you can stamp or write a greeting or note. I glued a strip of this designer paper to the side of the Whisper White inside the card so I could decorate the inside a little bit. There is a layer of Powder Pink underneath the Whole Lot of Lovely DSP.

The greeting, of course, is just the Happy Birthday die cut!  I love the script, the size and everything about it!  Glue it down with just tiny dots of Multipurpose Liquid Glue or the Fine Tip Glue Pen.  Or try the new Multipurpose Adhesive Sheets.

I think the new Powder Pink 1/2″ Finely Woven Ribbon is just beautiful with this designer paper pattern and the card!  So soft and such a pretty pink!  I wrapped the strip of ribbon around the layer before adhering to the card.  Then I tied the bow separately with another piece of ribbon and attached it to that strip of ribbon with a few Mini Glue Dots . Sometimes that is easier than trying to tie a perfect bow with the whole piece of ribbon around the card!

I think this Whole Lot of Lovely Designer Series Paper is actually a whole lot of lovely!!  I suggest you put a package or two on your next order!  And if you ever make birthday cards (surely you do!) I would also get the Happy Birthday Thinlits Dies!

Since today is my birthday, I’m giving YOU the gift!  I’m celebrating all weekend (why not?!) so if you place a Stampin’ Up! order of $25.00 or more (before tax and shipping, of course!), I will send YOU a little grab bag of “stuff”!  And who doesn’t need more “stuff”?! Some might be new, some might be retired, but it will be a surprise! Order today through Sunday, August 13, 2017 at midnight.

SHOP STAMPIN’ UP! ONLINE HERE!


August Paper Pumpkin Kit: Join Today!

Paper Pumpkin August Mood BoardIf you want to receive the August Paper Pumpkin Kit in another week or so, join Paper Pumpkin today!  Today, August 10th is the deadline for the August Kit.

Usually each month is a surprise, but every now and then Stampin’ Up! gives us some clues or a sneak peek!  This month Stampin’ Up! has been giving us glimpses of the mood board they used for the August Paper Pumpkin Kit. You see the final one above.

Here is the clue from Stampin’ Up!:

” Navy baker’s twine and gorgeous coral ribbon are the perfect finishing touch to our August inspiration mood board. You don’t want to miss out on finding how these elements work with the rest of August’s coral-hued kit! Think warm CARDS and gifting! Share our finished mood board with a friend and subscribe at paperpumpkin.com before tomorrow, August 10th at midnight!”

Here is my direct link! CLICK HERE TO JOIN PAPER PUMPKIN TODAY!

Paper Pumpkin is the cute red box that comes in your mailbox once a month with a project inside designed to take you away! You deserve a few minutes of crafting time, with no preparation, no designing, no extra supplies needed.  Everything is included!  You get an exclusive stamp set with every kit and ink spot. With your very first kit you will also receive an acrylic block for mounting your stamps.  Directions are included and there is a video you can watch!  No risk, no obligation!  Cancel if Paper Pumpkin isn’t for you or just skip a month if you get too busy. Easy peasy!  Try it!

Paper Pumpkin Logo 2017

Click to Join!

Make a Christmas Card With the Carols of Christmas Bundle

Deck the Halls Cherry Cobbler Card

This is my first try at making a Christmas card with the Carols of Christmas Bundle. While I could have ordered it earlier in July, somehow with planning our vacation, going on vacation and getting back from vacation, I didn’t order it until the end of the month and just received it night before last. I had other things to do all day, and finally just before time to make dinner, I stopped and wanted to make a card with this new set, Carols of Christmas!

I pulled out my new Christmas paper in the Stampin’ Up! Annual Catalog. It’s called Be Merry Designer Series Paper.  If you are anxious to get started on Christmas cards and projects this month before the Holiday Catalog comes out, go ahead and order this Be Merry paper.  For this card, since Cherry Cobbler is one of the coordinating colors with the Be Merry paper, I chose Cherry Cobbler Cardstock for the card base. The patterned paper I chose was also Cherry Cobbler and to help it stand out a bit, I put a layer of Whisper White over the card base and the designer paper on top of that. I stamped the “Deck the Halls” greeting on a piece of Whisper White and decided to add the cute little ornaments to decorate.  These ornaments are very small, but adorable, so I was happy to use the Card Front Builder Framelits Dies to cut out the little bitty ornaments.

The ornaments are just placed above the greeting and I adhered a piece of Gold Metallic Thread to each one with either a Mini Stampin’ Dimensional (boy are they nice!) for the ones I wanted popped up or a Mini Glue Dot for the ones flat on the card. Then I draped the thread behind the top of the card held down with strips of Snail Adhesive.  I wanted something at the top so I decided on a piece of Cherry Cobbler 1/4″ Double-Stitched Ribbon.  After that, all the pieces were just glued down layer by layer with Fast Fuse Adhesive to hold real well.

Deck the Halls Cherry Cobbler Card CloseupI admit I wasn’t all that thrilled with this stamp set and bundle at first, or at least wanted to wait and see what was going to be in the Holiday Catalog.  As usual, as I saw some samples that other Demonstrators were making during our preorder opportunity, I knew I had to have it and placed it on my order!

You can make something simple, like my card today, or you can make some really fantastic cards and projects. I always say there is nothing too hard for even a beginner in stamping, as long as you have the materials and maybe someone to show you what to do! That’s just one of the many things I love about stamping! Nothing takes great SKILL, a person just has to know the techniques.

Carols of Christmas 2017

Get the  Carols of Christmas Stamp Set and the Card Front Builder Framelits Dies together in a Bundle and save 10%!  You will have something new from the Holiday Catalog before the Holiday Catalog comes out!  Then you can make a Christmas card With the Carols of Christmas Bundle like I have!

SHOP STAMPIN’ UP FOR THE CAROLS OF CHRISTMAS BUNDLE!