Author Archives: Karen Fontinelle

“Beautiful Baby” Card

Have a beautiful baby in your life to whom you need to send a card?  This stamp, "Beautiful Baby", is one you can get free with a $40 order on the "Get Connected" Stampin' Up! Promotion from the Occasions Mini.  This selection of stamps can be found on the last page of the Idea Book & Catalog.

Beautifulbabycard 

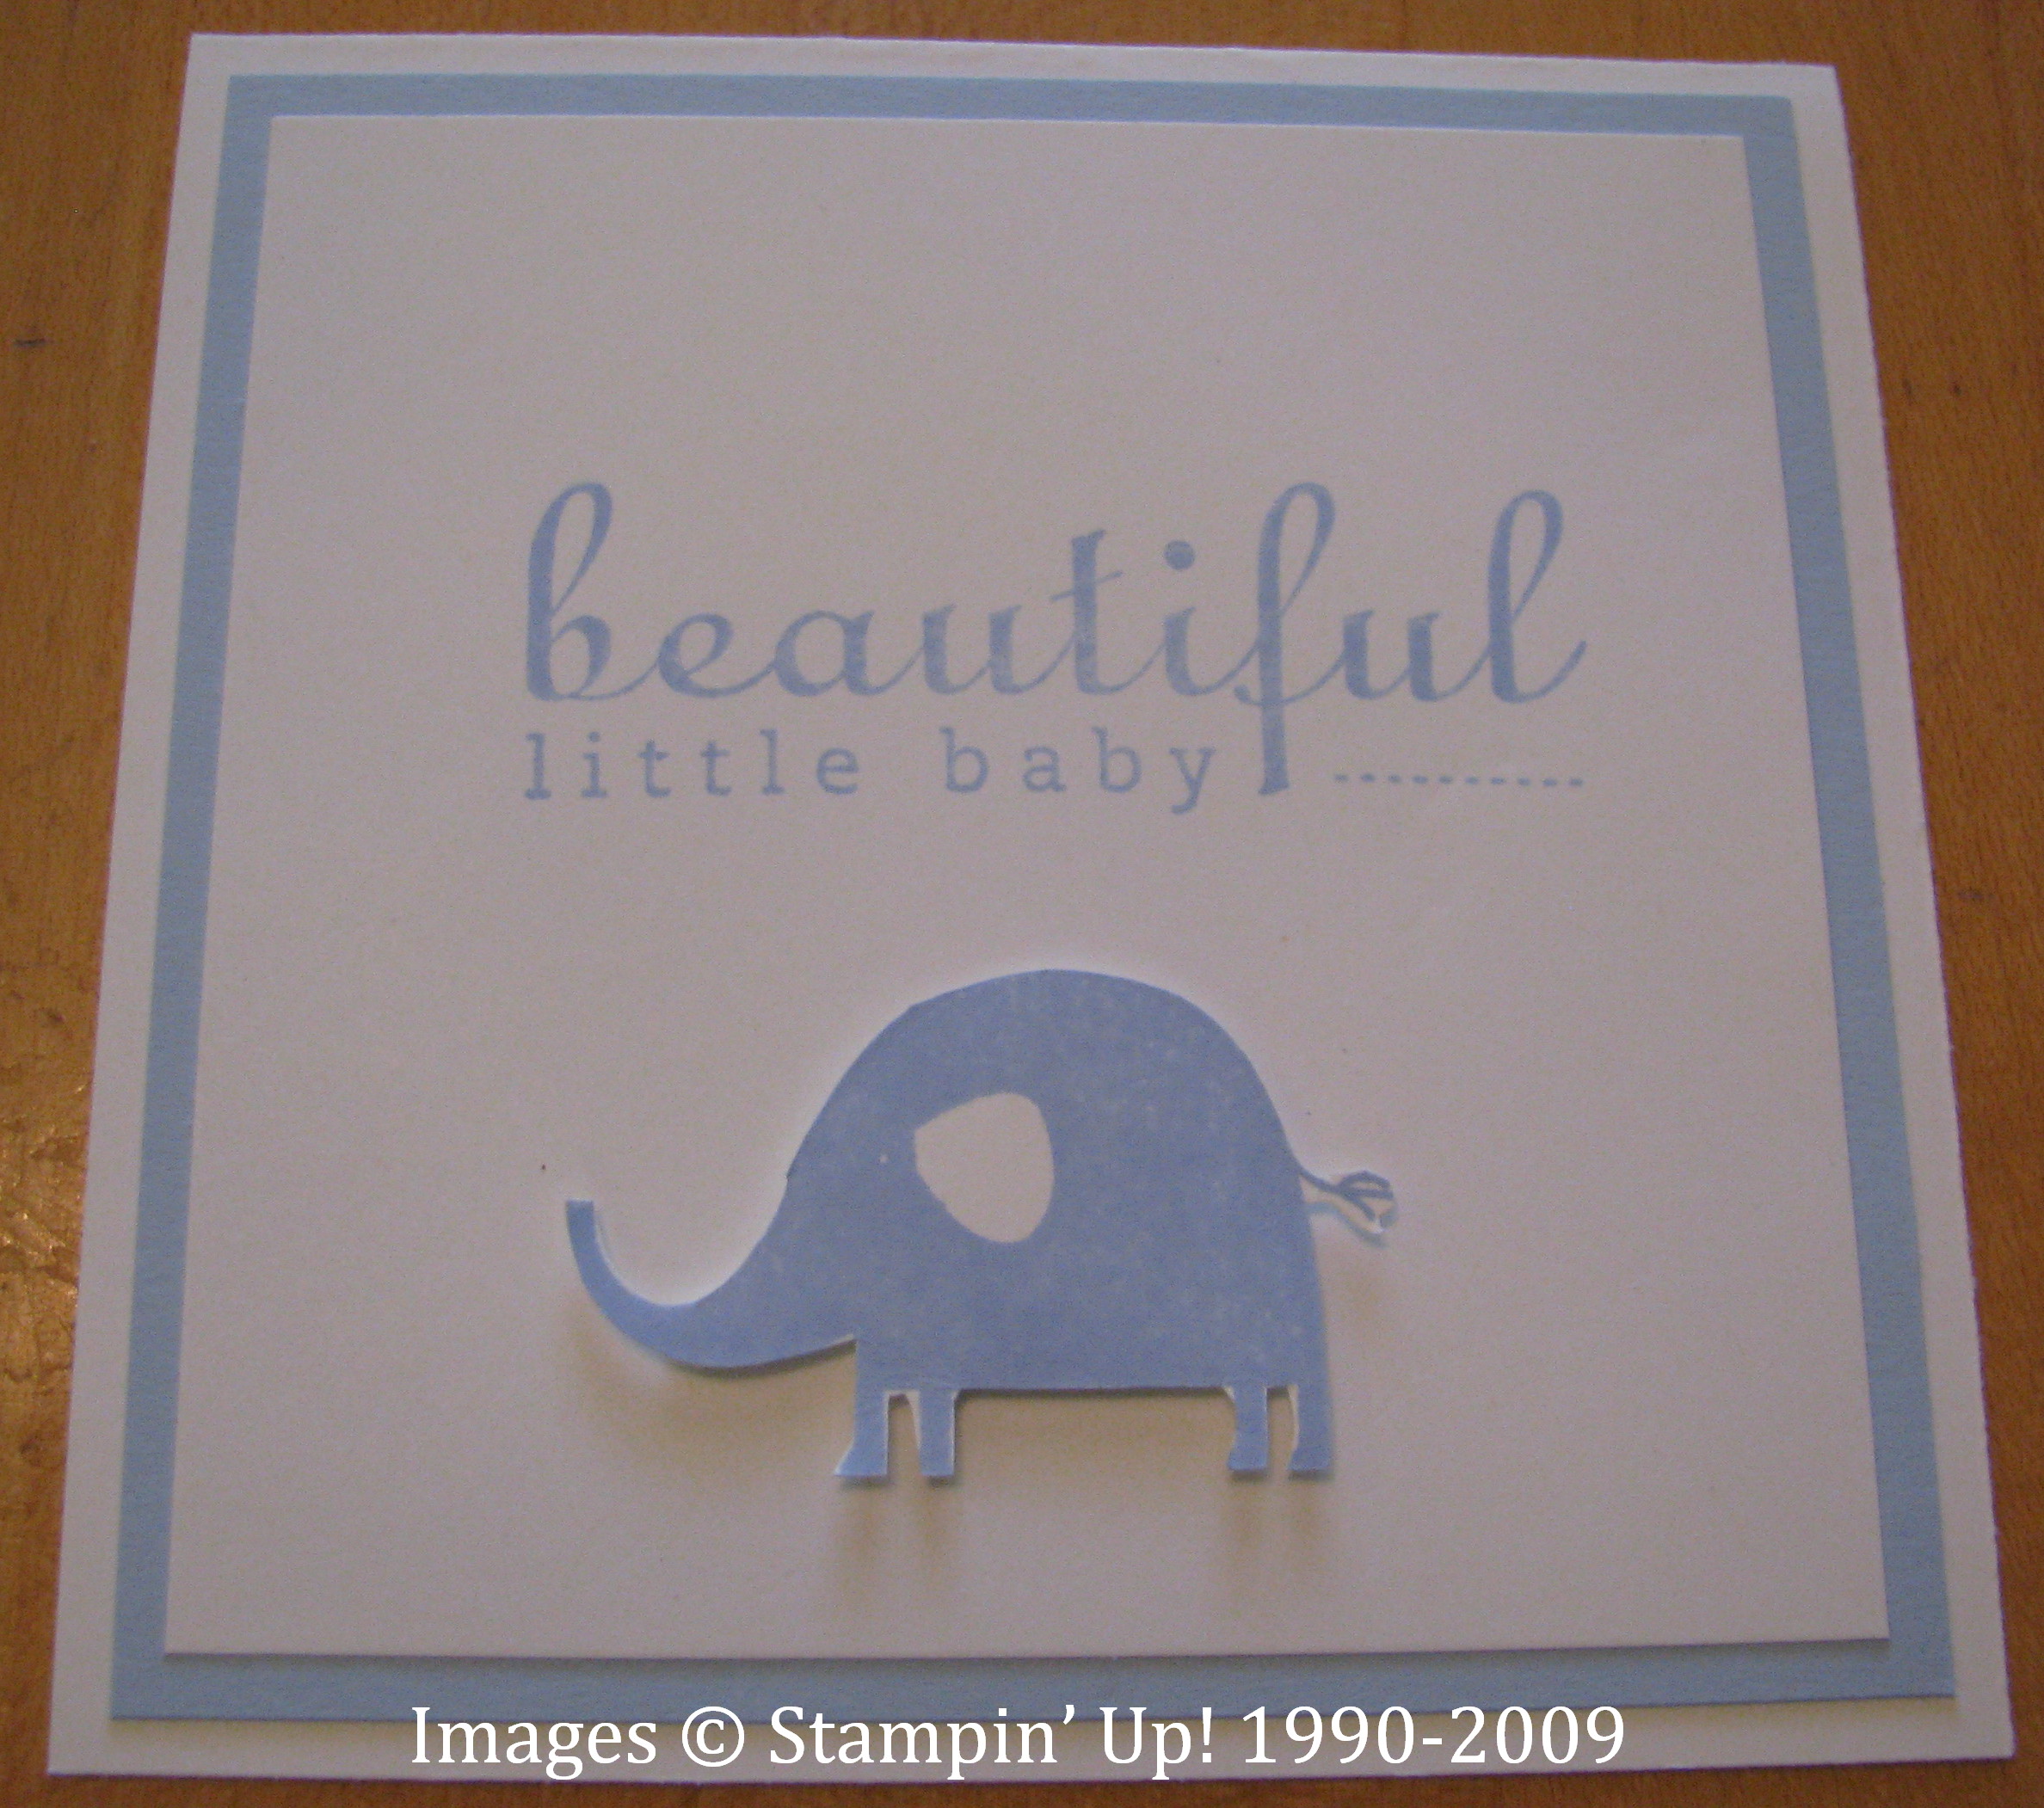
This card is 4 1/4 x 4 1/4 but you could make it any size.  Even smaller with just the words would be fine, perhaps a 3×3 with just the words stamped for a gift card.  The cute elephant is from "Nursery Necessities", cut out and adhered with Dimensionals.  I thought about putting little stars on the sides of the elephant or little blue buttons, but decided I liked the plain and simple look.  You could also just stamp the elephant on the card and not have to cut out.  Our paper snips scissors are perfect for intricate cutting like this.

This is the last few days for this promotion, so contact me soon if you want to place your order and get something FREE with "Get Connected"!

Be Sure You Are Connected Before April 30!

This is the last week for the Stampin' Up! "Get Connected" promotion!  Thursday is April 30th and the last day.  It is also the last day for the "3 Easy Payment Plan" on the Starter Kit. (Papers have to mailed in for this one so time is really short!!)  Check out both of these specials HERE.  I can help you with your order through Wednesday but on Thursday, if you wait until the last minute, you will most likely have to order online yourself….which of course you can easily do!  Just go to my website HERE and click on the Shop Now button in the upper right.  If you place the order yourself, be sure to put in your $40 worth of merchandise from the Occasions Mini (not the regular catalog….although after $40 from the mini you can add on any additional merchandise from the Idea Book & Catalog) BEFORE entering your free stamp from the "under $10" page.  Here is a link to the Occasions Mini.  It's a great mini with lots of new things, and it won't be hard to find $40 to place on your order!

Here is a card I made with one of the free stamps, Elegant Thank You,  and tomorrow I will post a card made with the Beautiful Baby stamp!

Contact me SOON to take advantage of this special.  You will love the choice of free stamps!  And you know you're going to want to order things in the new Occasions Mini anyway!  Might as well get something free!

Fun with a Tree on Arbor Day: A Rub On Tutorial

Happy Arbor Day!  This just shows that any holiday is a good day to make a card!  And with Stampin' Up! a "tree" holiday is an easy one because we have some great stamp sets with trees.  "Lovely As A Tree" is an old one but still very much loved.  A new stamp set I think is very fun is "Branch Out"….you can stamp any color leaves and it comes with the cutest little accessories to place on or around the tree if you want.  "Thoughts and Prayers" has a beautiful tree in it.  "Trendy Trees" is another cute set!

Today I chose to play with the new "Bright Delights" rub ons on page 172 of the Idea Book & Catalog.  You will notice that they are the only set in color!  Rub ons are so much fun you can hardly stop with one once you get started!  I made this card using only rub ons, no stamping.  It only took about ten minutes.  So easy!

BrightDelightRubons

                                  Bright Delights Rub Ons


TreeRubon 

Cut out the rub on you want to use from your sheet.

Treecard 

Remove the backing sheet, place the rub on on your cardstock and rub with the "tool" (popsicle stick!).  You can almost see the image change just a tiny bit.  Peel rub on off carefully peeking underneath to make sure you didn't miss a spot.

Treecard2

Cutting Your Patterns

When you find a pattern that you like for a project, do you usually place it on your cardstock, trace around it, and then cut it out?  Here is a way to make that process easier!  This was a tip in our demonstrator magazine, "Stampin' Success" and is a way I have been using patterns.

1. Print your pattern, but rather than cutting it out and tracing around it, just lightly adhere the whole pattern page to the cardstock you will be using.  Dotto is good for this or if you must use tape, stick it first onto your clothing to take off some of the "sticky" and then use it.  Adhere it also within the pattern area so it won't move as you cut.

2.  Cut out both the pattern and the cardstock at the same time.

3.  Leaving the pattern on, score both sheets if you need to using your bone folder or other scoring tool.

That's it!  Take the pattern off carefully and your project is ready to assemble!

Sign up to be a Demonstrator and get the "Stampin' Success" magazine FREE every month (let me tell you how we all look forward to receiving our magazines!) as well as access to a special pattern and template area on the Stampin' Up! website on the "Demo side"!


Get Stamping on Earth Day!

TrendyTrees

                       Trendy Trees and Walk in the Park Designer Series Paper

Today, April 22, is Earth Day, a day to think about how we take care of the planet.  If you would like to celebrate Earth Day with some paper crafting and stamping, here are some ideas:

  • Recycle a tin can by covering it with Designer Series Paper and using it for a desk accessory. (See page 151 in the Idea Book & Catalog!)

  • Use some soda cans as the cutting material in your Big Shot and see what kinds of projects you can come up with.  Yes, you can cut open Coke cans (use your Craft and Rubber Scissors)  and flatten and run through your Big Shot with the steel rule dies.

  • Cut an empty cereal box into the shape of a magazine holder you would buy at the store and cover with cardstock or Designer Series Paper.
  • Stamp a beautiful nature card and send it to someone.
  • Use plastic containers maybe from a restaurant carryout order  to store your glitter or embossing powder.

    Have fun with this!  You're bound to think of many other ideas.

  • Get Ready for National Scrapbooking Month in May

    Someone asked me to make a picture frame as a gift for a friend with a new baby.  That idea evolved into making a scrapbook page that could be framed.  There are 12×12 scrapbook page frames available in the stores.  Here is the project; I should have photographed it before attaching the photos, so I just covered them with paper!

    May is National Scrapbooking Month so think about what scrapbooking projects you could work on!

    NateMadisonpage 

    This page uses paper and ribbon from Sale-A-Bration, but you can substitute something current that suits your photo colors or theme.  The chipboard letters are from On Board Timeless Type.  You can find a selection of chipboard on pages 182-3 of the Idea Book & Catalog.  Really fun to work with!  I embossed the little "Baby" tag with silver.  The name "Madison" was spelled out with the die cut letters from the Big Shot die "Naturally Serif".  If you need any of these supplies to make a similar project, just go to my website and click on "Shop Now".

    Window Sheet Cards Are In!

    These "Clearly Thanks" Printed Window Sheets in the Occasions Mini on page 10 are so popular right now!  You must get yours so you can play, too!  You get two sheets with four printed images……just cut them apart in fourths for cards or smaller pieces for whatever kind of project and you're set to go!  Here is my version of the card shown in the mini:

    FabFriendWindowSheet 

    Recipe:

    Stamp sets:  Oval All and Great Friend (both Occasions Mini)

    Ink:  Baja Breeze, So Saffron

    Paper:  Baja Breeze, So Saffron, Whisper White, Tangerine Tango, Walk in the Park Designer Series Paper (Occasions Mini)

    Accessories:  Scallop Oval Punch (Occasions Mini), Large Oval Punch, Printed Window Sheets, Button Latte Designer Buttons

    Tip:  Purchase the Oval All stamp set, the Scallop Oval Punch, the Walk in the Park Designer Paper, and the Printed Window Sheets from the Occasions Mini and you will have a $40+ purchase from the mini with which to take advantage of the "Get Connected" Promotion and choose a free stamp from page 208 of the Idea Book & Catalog…..and those are great stamps!

    Flowerpot Card

    These cards are all the rage now!  Pull on the flowers and your greeting goes on the tab inside.  This sample was made with the stamp set "Petal Pizzazz", which required lots of cutting, but was fun nonetheless.  The bird adds a cute touch, made with the Birds and Blooms die cut.

    FlowerPotCard

    Fun Lingerie for a Rainy Saturday

    You're probably wondering what that title could possibly mean!  Just sharing a card I made by request for someone who had seen my previous bra and panty card HERE.  These were popular on Splitcoast about a year ago, at least that is where I first saw them.  Just cut out the template on the fold of your card base, then use the template again to make the "fabric" however you want.  On this card I embossed stamping from "Doodle This" which makes it look like lace on the red cardstock.  This time we have the Eyelet Border punch which I used to make the lace on the top of the bra and some black grosgrain ribbon for the straps.  I used one of the "Fleurettes", the new crocheted-look flowers, and a Rhinestone brad from the Pretties Kit.  You could also easily use one of the Pretties flowers for your decoration.

    BraCardMichaela 

    And for the backside:  Again, embossing for the lacy-look, some black grosgrain ribbon, and a little heart "tattoo"!

    Bracardback 

    Have fun with this project!  Lots of different ways to "style" this one!

    For the Graduation “Star”

    I have to say I made this card up myself, this morning, so it can't be too hard!  The card is 4×4, so cut your base cardstock 4"x8" and fold in half.  Then your Whisper White layer is 3 3/4" x 3 3/4".  You could do this card in whatever colors match your school or personality!  After embossing the word "Congratulations" from the set "Hugs and Wishes" in gold, I just punched out some stars with our two star punches on pages 184-5 in the Idea Book & Catalog.  You can punch out the little star first, then place your Large Star punch around the small punched out star and punch and get the star with the little star in the middle.  Or you can layer the solid stars.  Just play with it!  You can even just stamp the Congratulations in black or another color rather than emboss.  Have fun!

    Graduation Congratulations Card Stars

    Fun Explosion Box

    Do you need a fun little gift?  Make this easy Explosion Box and either add some photos yourself or let the recipient add their own!  This one is for my niece.  I love the "Lovely Letters" monogram to use on notecards and gifts such as this.  The Designer Paper I used is Candy Lane.  Love that paper!

    ExplosionBox 

    ExplosionBoxopen 

    If you add photos to this you can add journaling on the blank corners.  Or just stamp some pretty things or embellishments to make a decorative item.

    Here is a tutorial on Splitcoast that will give you some instructions on how to make this explosion box:  http://www.splitcoaststampers.com/resources/tutorials/explosion_box/

    It's very easy to make.  You must kind of "squeeze" the box to fit into the lid so that it will "explode" when you take the lid off.

    “Get Connected” Thank You Card

    Need an easy Thank You card?  Take advantage of the Stampin' Up! "Get Connected Promotion"  from now until the end of April and choose this "Thank You" stamp as your free stamp when you order $40 worth of product (believe me, it's easy to do in this mini!) in the new Occasions Mini Catalog!  Check the back of the Idea Book & Catalog on page 208 for the Under $10 page to choose your free stamp with this promotion!

    ThankYou

    Get Ready for Christmas!

    I know, I know!  We just had Easter!  But are you making a few Christmas cards each month so that when December rolls around you won't feel so behind??!  Just do a little bit at a time and it won't be such a big job!

    Here's a very easy card, not even using a Christmas set…..the little medallion is from "Priceless".  The designer paper is retired but certainly you can use another current pattern.  The greeting is from "Holidays and Wishes".  Try your own version!  Just make five cards!  You can do another design next month!  Although this design is so easy, you'll probably want to make more!  Have fun!

    PricelessXmasCard

    Birthday Cupcake Card

    BDCupcakediecut 

    How about just a simple, sweet birthday card?  This was so easy to make with the Big Shot and the Big Bold Cupcake die.  Great way to use up some scraps, also, as you can use any colors you want with the die.  You can even make the cupcake sprinkles and the candles with the die.  This card is very simple, yet you could also jazz it up a little if you wanted to with some glitter or Crystal Effects on the sprinkles or candle flames, or some ribbon and a bow across the top.  I wanted the plain cupcake bottom die cut to look like a cupcake paper so I just took a marker and lightly drew in the lines to resemble the cupcake paper.  So fun to play with!

    BDCupcakediecutinside 

    And for the inside, just a Whisper White cardstock layer against the dark Close to Cocoa card stamped with the "Happy Everything" stamp set.

    If you are looking for information on the Big Shot, just click HERE.

    In Your Easter Bonnet

    EasterBonnet

                                Easter Parade

      In your Easter bonnet, with all the frills upon it,
      You'll be the grandest lady in the Easter Parade.
      I'll be all in clover and when they look you over,
      I'll be the proudest fellow in the Easter Parade.
      On the avenue, Fifth Avenue, the photographers will snap us,
      And you'll find that you're in the rotogravure.
      Oh, I could write a sonnet about your Easter bonnet,
      And of the girl I'm taking to the Easter Parade.

                                                ….Irving Berlin, 1933

                               Happy Easter!!!!