Author Archives: Karen Fontinelle

Save Money on Stampin’ Up! Products

Stampin' Up! Weekly Deal Feb 25 2014

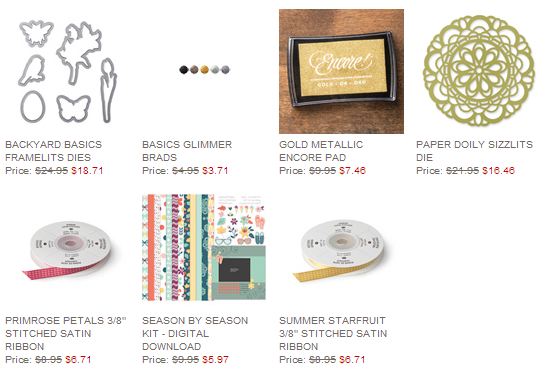
Save a little money on some Stampin’ Up! products this week in the new Weekly Deal! Every Tuesday Stampin’ Up! has been offering several products at a discount.  This special is good until the following Monday night.  Add these items to your order and when you reach $50 you can ALSO take advantage of Stampin’ Up! Sale-A-Bration and choose a FREE product from the Sale-A-Bration Brochure!

Here are some tips for these products!

  • The Backyard Basics Framelits Dies coordinate, of course, with the Backyard Basics Stamp Set, available in wood- or clear-mount. There is also a Bundle, too, if you prefer which includes the stamp set and framelits.
  • You might like to use Clear Embossing Powder with the Gold Metallic Encore Pad. You can use the ink without being embossed but if you touch the stamped image you might get a dab of ink on your finger, although the image itself doesn’t smear.
  • The Paper Doily Sizzlits Die is beautiful but a little more labor intensive, sometimes. Sometimes it depends on the amount of pressure exerted in your own Big Shot. It may help to place a piece of wax paper on the die and then the card stock which helps the pieces come out. Or just use your Paper Piercing Tool or something sharp to poke out the little pieces. But sometimes they don’t even all have to be poked out because sometimes/usually you are covering part of the doily with some other element. But it is a beautiful die and can add a lot to your project!

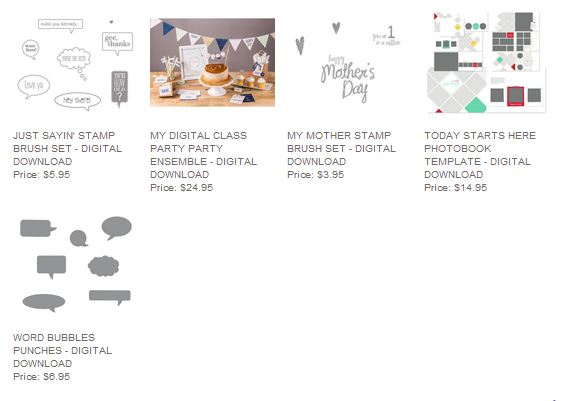
Also, today:  New My Digital Studio Downloads for February 25, 2014
MDS Downloads Feb 25 2014

I’m excited to see the Word Bubbles Punches and the Just Sayin’ Digital Stamp Brush Set included!  Click the link above to see all the downloads for this week.

Check out all these products and more at my Stampin’ Up! Online Store!
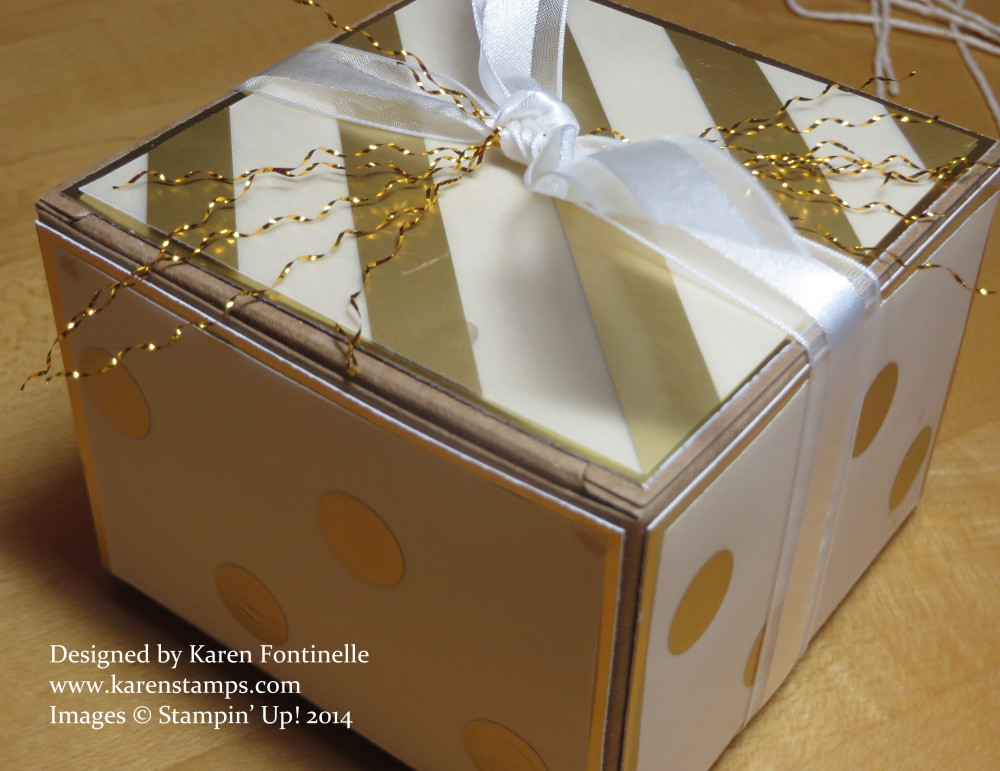
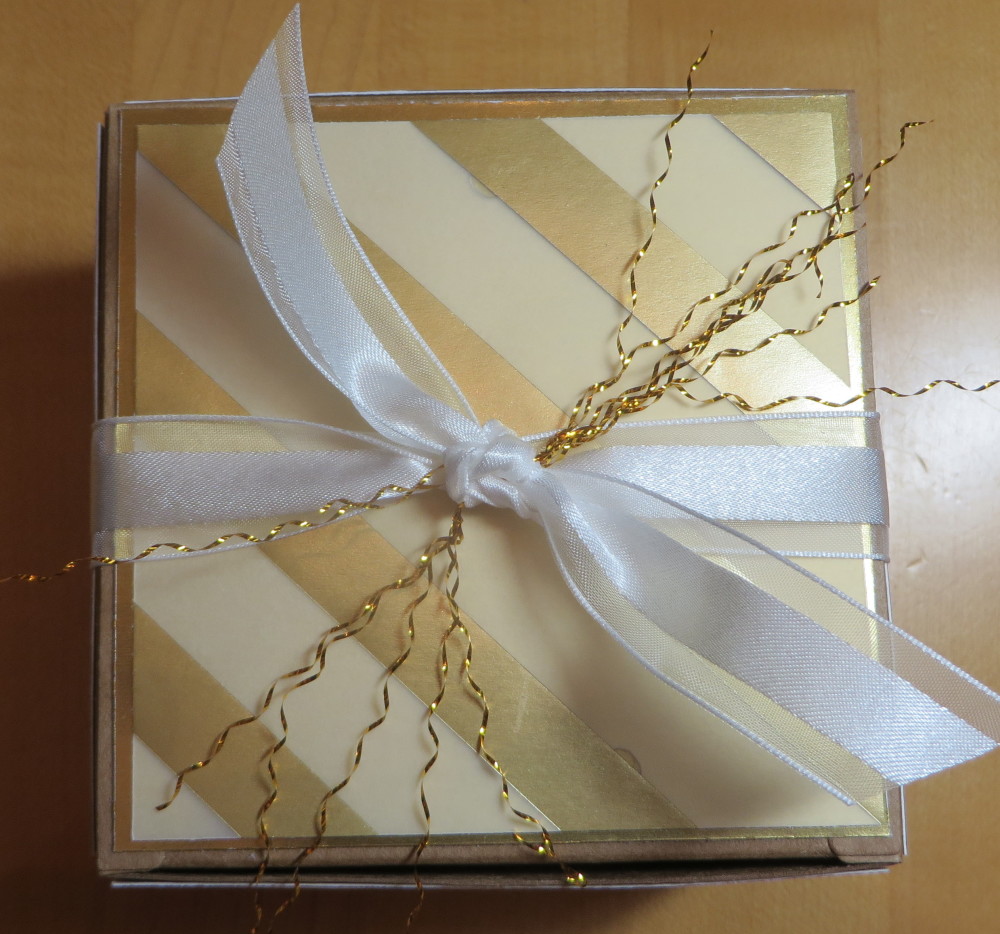
Gift Wrap Idea: Gold Kraft Gift Box with Gold Frizzle

Gold Gift Box with Gold Frizzle

Do you need a fancy gift wrap idea?  Use the Stampin’ Up! Kraft Gift Box and gold, gold, gold! Gold is IN these days so you might as well use it! I love these little Kraft Gift Boxes. They are 3 1/2″ wide on each side so perfect for a small gift or treat. I decorated this one first with a layer of Gold Foil on each side, cut just 1/8″ smaller on each side than the box. Then I layered a piece of Gold Fancy Foil Designer Vellum on each side (choose whichever pattern you like the best). I put a different pattern on the top.

Then to really jazz it up a bit, I put a little “frizzle” on the top! I didn’t know where I came up with that term or description, but it turns out “frizzle” does mean curl or kink or ringlets so I guess I was correct! Do you know where I got it?  From the Gold Baker’s Twine! The Gold Baker’s Twine is really just White Baker’s Twine with the metallic gold thread twisted around in it. Some people have even complained that when using the Gold Baker’s Twine, it came untwisted and frayed at the ends. But you can embrace that idea and untwist the gold thread from the white twine! Cut the Baker’s Twine into pieces several inches long each to make it easier.  Then gather your pile of gold threads and tie onto a bow or knot. Very easy! I could have also added a piece of Gold Sequin Trim for some extra bling!

If you are looking for more gift-wrap ideas and haven’t signed up for my Mailing List yet, do it today and get your FREE GIFT, “A Dozen Creative Gift Wrap Ideas”. You’ll see the sign up box in the upper right corner of my blog!

Gold Gift Box Top with Gold Frizzle

Happy National Margarita Day!

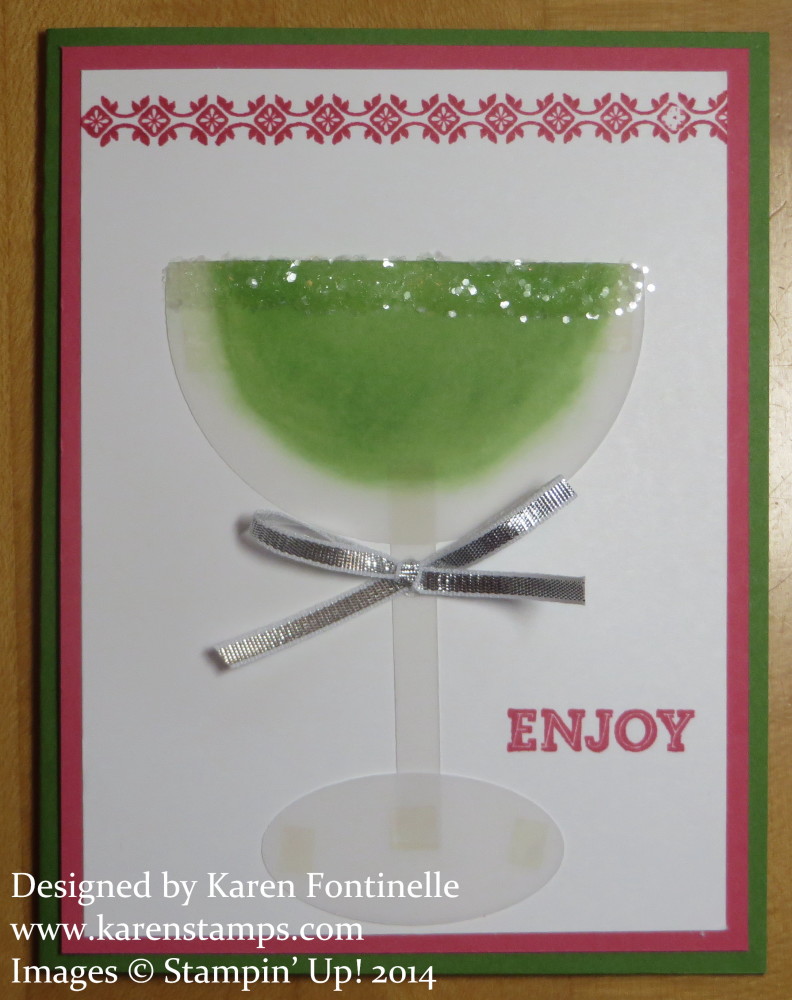
Margarita Card for National Margarita Day

I guess there is a day for everything and today is National Margarita Day! Move over George Washington! (It’s actually his birthday today, February 22.) I thought it would be fun to try making a margarita card using our Stampin’ Up! Vellum Card Stock. Just cut a circle for the glass, a thin stem from the scrap and punch a small Oval.  Cut off a portion of the top of the circle to make the shape of glass you want. There’s no good way to hide your adhesive under vellum so do the best you can. I used Sticky Strip.

To make the margarita glass, sponge on some green ink (I used Gumball Green) on the underside of the vellum. Make it as light or dark as you like. I left a border to look like the glass. For the “salt” on the margarita, I spread a line of Crystal Effects and sprinkled on some retired Stampin’ Up! Chunky Essentials Glitter that I had. You could also use Sticky Strip.

The border at the top is stamped with the Mosaic Madness Stamp Set.  The word “Enjoy” is from the carryover stamp set  Oh, Goodie! To jazz things up a bit I stuck on a cute little bow from the Silver 1/8″ Ribbon.

Now if you are not into margaritas, you can use the same technique to make a regular shaped glass of lemonade or punch or anything you want. Just color the backside of the glass with whatever color drink you want to portray – or even layers of different colors for a fancy drink!

You can shop at my Stampin’ Up! Online Store for any supplies you need!

Enjoy National Margarita Day by making a Margarita card and perhaps visiting your favorite Mexican restaurant for dinner tonight! I know my mouth is watering for some fajitas and enchiladas!

Use the buttons below if you’d like to share this Margarita with your friends!

Happy Watercolor Wonder Card with Silver

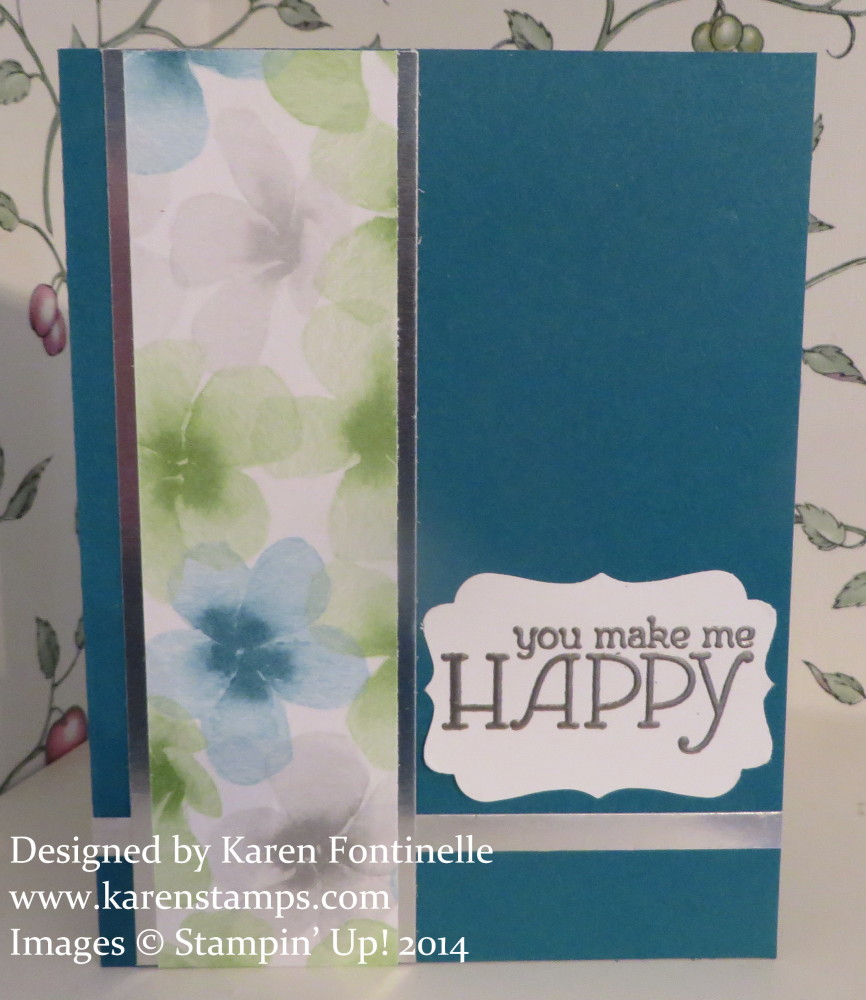
 Watercolor Wonder

Sometimes when you make a card, you don’t really know what design you are going to come up with! All I knew was I wanted to use the beautiful Watercolor Wonder Designer Series Paper and our Silver Foil SheetsI layered the flowery piece of designer paper on the strip of Silver Foil, but I had cut the foil too wide.  I trimmed it off and decided that scrap would look good going across the bottom of the card! I wouldn’t have thought of that ahead of time, it just happened.  So when you are making cards and projects, just play and see what you come up with!

For the greeting, I used the one in the stamp set Happy WatercolorTo match the Silver Foil Sheet I had used, I decided to emboss the greeting with Pewter Stampin’ Emboss Powder and the Heat Tool.

The card base is Island Indigo, which is one of the coordinating colors with the Watercolor Wonder DSP. You can look on the back of any package of designer paper and see what Stampin’ Up! colors coordinate with the paper. The catalog also lists them.

The watercolor look is IN so be sure to check out the Stampin’ Up! products in the Occasions Catalog! Order $50 or more and you’ll earn a free product from the Sale-A-Bration Brochure!

Go to my Stampin’ Up! Online Store today and place your order! Check the Clearance Rack, too!

Go For the Gold! Sale-A-Bration Good As Gold Card Kit!

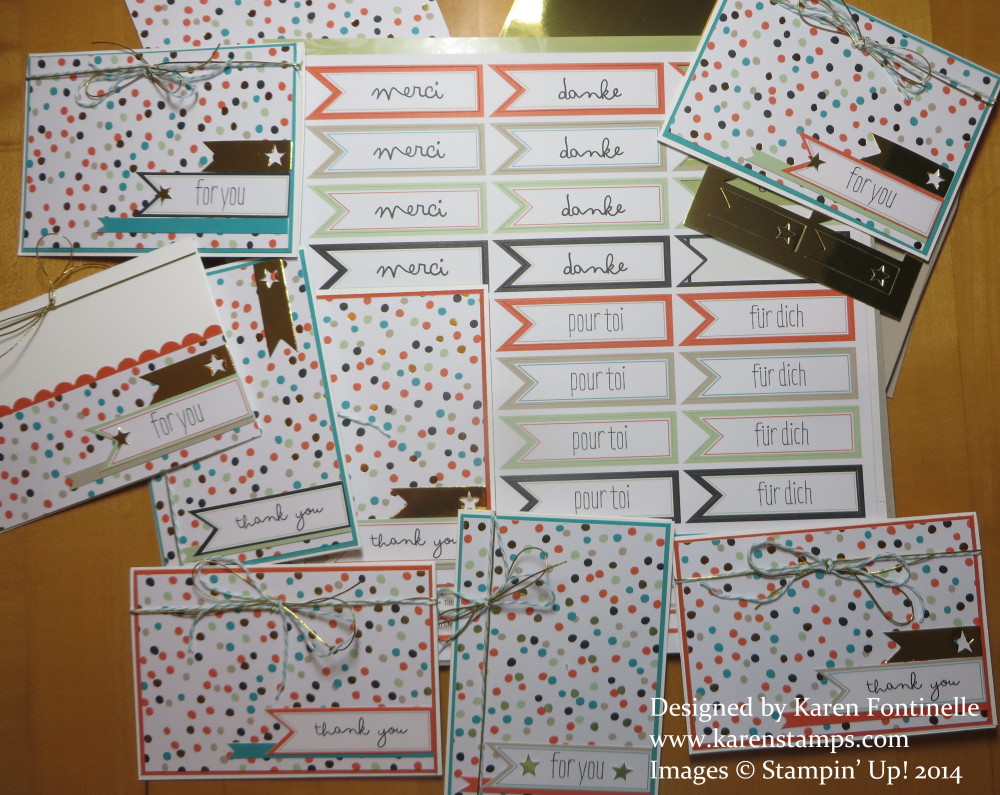
Good As Gold Card Kit for Sale-A-BrationDuring the Olympics, everyone is going for the gold and now you can, too, with the Good As Gold Card Kit, available FREE to you during Stampin’ Up! Sale-A-Bration when you make a $50 purchase in current Stampin’ Up! products! Its one of eleven items you can choose for FREE during Sale-A-Bration, the biggest promotion of the year from Stampin’ Up! Just shop online at my Stampin’ Up! Online Store or contact me with your order and for every $50 you spend you get to choose one free Sale-A-Bration product, no limits!  Spend $100, get two free items.  Spend $150, the magic number, and get three free SAB products PLUS Hostess Rewards! There are so many great Stampin’ Up! products to choose from, including some that are not even in the catalog. So be sure to check out ALL the categories in the left sidebar of my Online Store so you won’t miss a thing and get to choose your “gold” in the Sale-A-Bration Brochure!

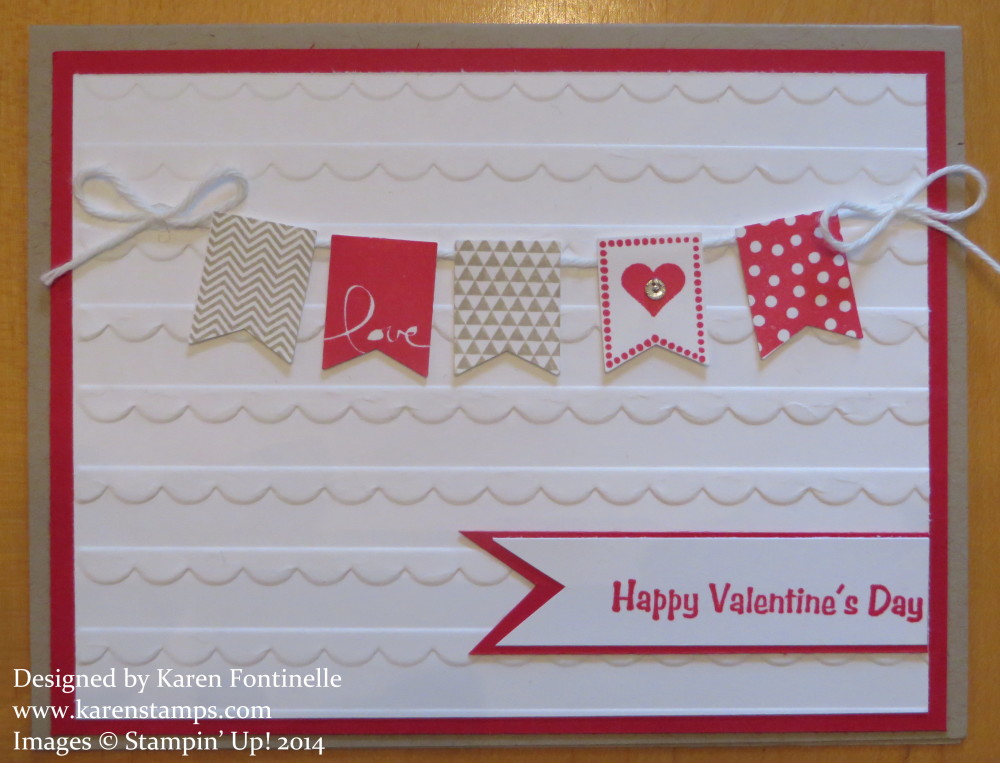
Banner Blast Valentine Card

Banner Blast Valentine Card

This Banner Blast Valentine card is made with a stamp set and punch you can get FREE during the Stampin’ Up! Sale-A-Bration Promotion!  And even though it has a heart and the word “love” on it doesn’t mean it is only for Valentine’s Day. You could make a little banner like this on a card for many occasions – birthday, anniversary, think of you, wedding, and more. Banners are really popular right now so why not use them on your cards and scrapbook pages?! This card also uses the Scallops Textured Impressions Embossing Folder in the Occasions Catalog for the background. You could change the greeting to any sentiment you wanted. The banner pieces are all stamped with the Banner Blast Stamp Set and then punched out with the Banner Punch, both available in the Sale-A-Bration Brochure. They are then just adhered to the card in line with the Baker’s Twine with Stampin’ Dimensionals.  You could also just use the Banner Punch to punch out any designer paper rather than stamping. So versatile and so easy!

Sale-A-Bration is the biggest promotion during the Stampin’ Up! year so don’t miss it! With every $50 purchase you get to choose a FREE product from the Sale-A-Bration brochure! You can purchase any current Stampin’ Up! products to qualify. The Bundles shown in the Sale-A-Bration Brochure are there as suggestions if people need ideas for $50 worth of product, but you are not limited to those choices. Sale-A-Bration runs until March 31.

Are you ready to have a Banner Blast in your card-making and scrapbooking? Use Sale-A-Bration to get a free stamp set and/or Banner Punch! Purchase anything you need from Stampin’ Up! in my Online Store HERE.

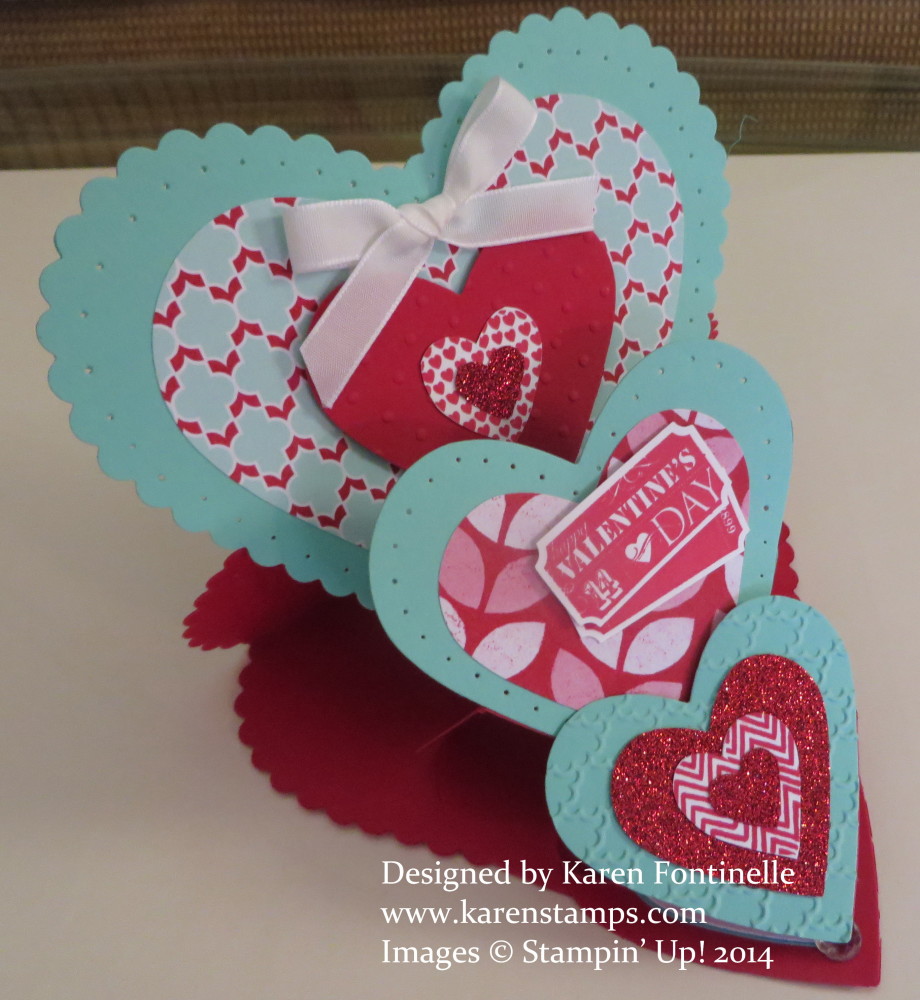
Triple Heart Easel Valentine Card

Triple Heart Easel Valentine Card

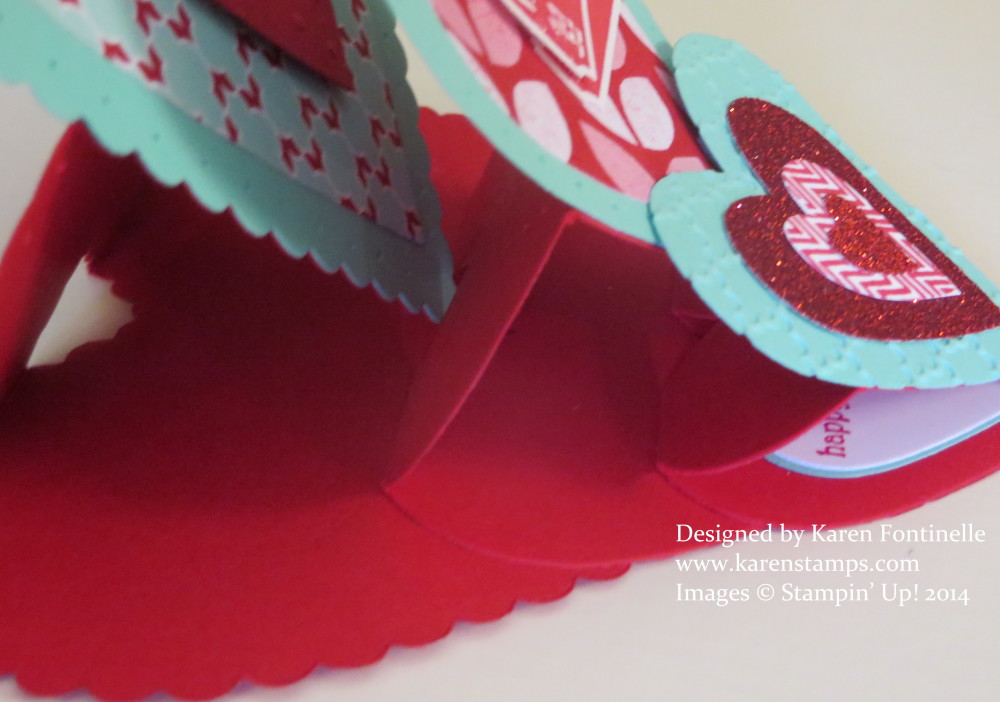
One of the cards I worked on this week is this Triple Hearts Easel Valentine Card. It’s not that hard to make but looks quite fancy and elegant! It’s best to work with the Hearts Collection Framelits Dies to cut out the hearts.  For the base of the card,cut out three sizes of hearts. The card stock should be folded in half and then the fold placed just inside the top of the framelit so the fold will remain when the rest of the heart is cut out by the die. The bottom of the folded heart will be the base and the top heart will be folded about in half. It remains open and the folded down part will hold another single heart. Adhere the three base hearts together spacing them the correct distance apart to fit in an envelope or just to be able to stand up the way you want them.

Triple Heart Easel Valentine Card base hearts

Once you have the base assembled, cut out the same size hearts ago, but just singles. Decorate the hearts how you like and adhere to the base hearts.  The whole thing can be folded down flat for mailing.

Hope you had a nice Valentine’s Day making, sending, and/or receiving valentines!

If you need some Hearts Framelits for your projects, please visit my Stampin’ Up! Online Store!
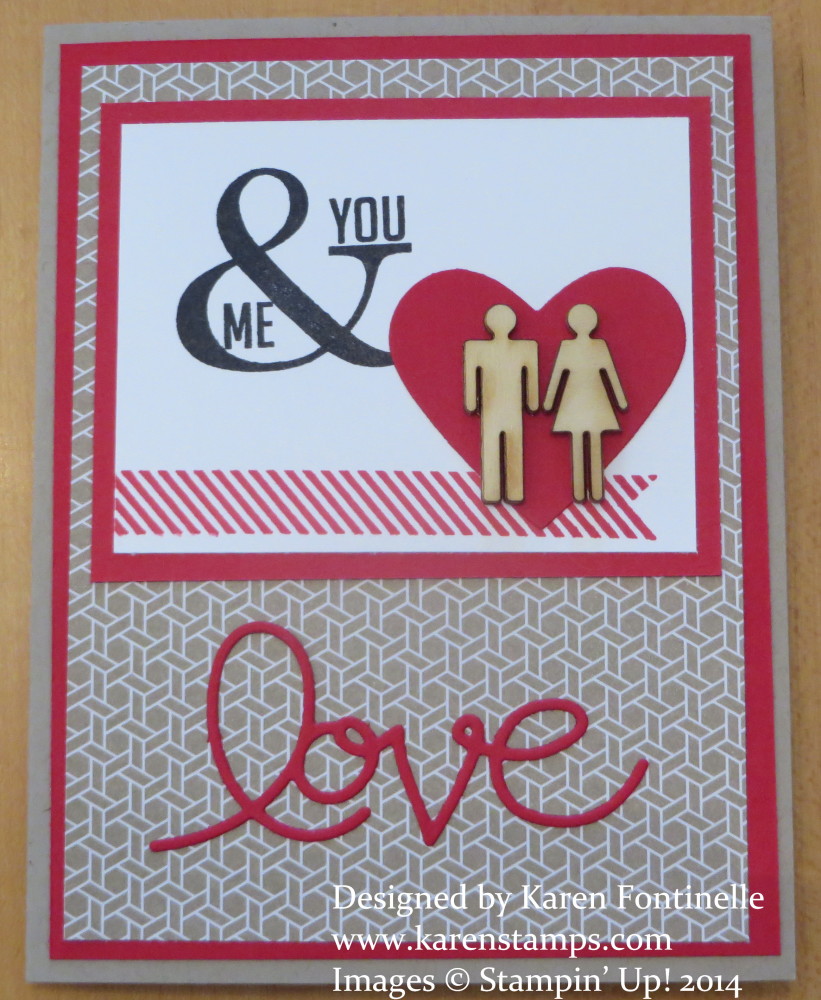
 

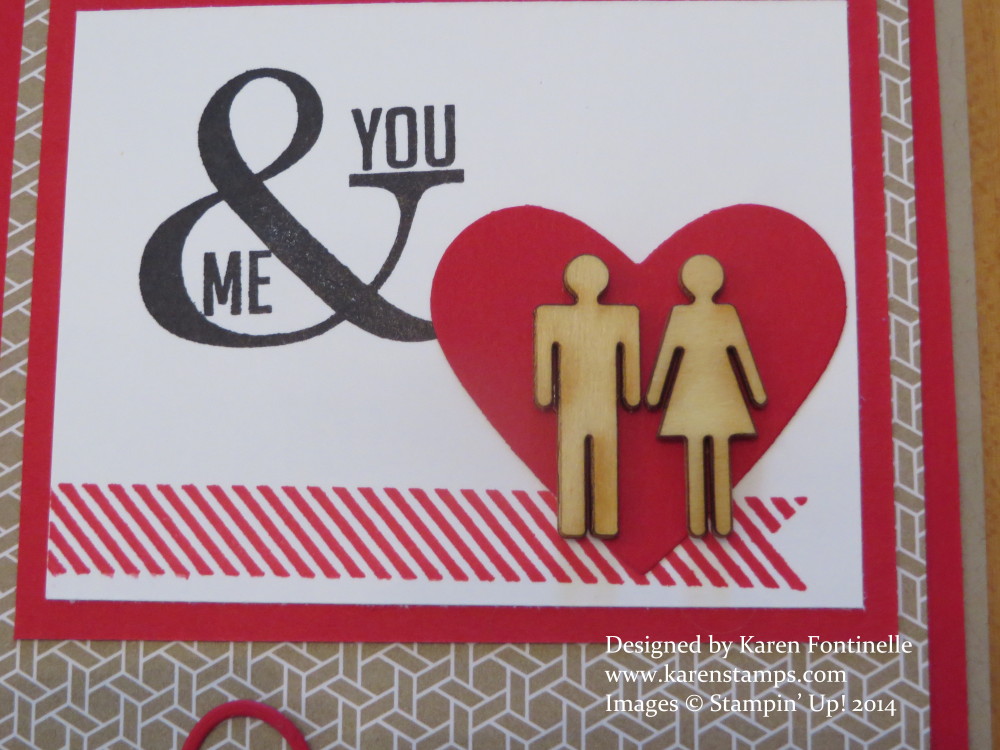
A Husband Valentine

Husband Valentine

Here’s the valentine I just made for my husband!  I guess you can say I work best under pressure! At the last minute! I got the idea to use the little wooden people that came in a Paper Pumpkin Kit.  What a cute little 3D embellishment especially for a man’s card!  The ampersand and sideways banner is from Perfect Pennants. The Real Red heart is die-cut with one of the Hearts Framelits. That background paper is from the Fresh Prints Designer Series Paper Stack.  The “love” die-cut is from the Expressions Thinlits that were in the Holiday Catalog and sadly NOT carried over!  What WERE they thinking??!  I’ll keep my fingers crossed that they reappear in the next Annual Catalog!

I hope you are having a great Valentine’s Day!  The bouquet of flowers has arrived, right? And your husband will be bringing home the box of chocolates and diamond necklace later, right? Well, if not, then you get a free evening of stamping!  Treat yourself!! One year I bought myself that purple bottle of Elizabeth Taylor perfume, whatever it was called, and had it gift-wrapped at the cosmetic counter…for myself for Valentine’s Day! Why not?!

Hope this card will inspire you if you need an idea for a husband Valentine!

Husband Valentine Close-up

Happy Valentine’s Day! Grab Some Ideas for Valentines!

Here are some Valentine ideas from the past! Perhaps if you don’t have the newest Stampin’ Up! products, you will find something here that you already have and can use today if you are a last-minute Valentine stamper and creator!

Last Minute Valentine’s Day Candy Treat Ideas

(click the link above to go to post)

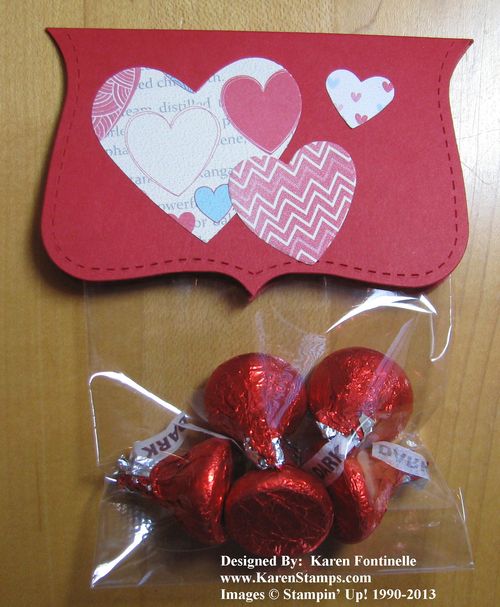
Valentine Top Note Candy Treat Bag

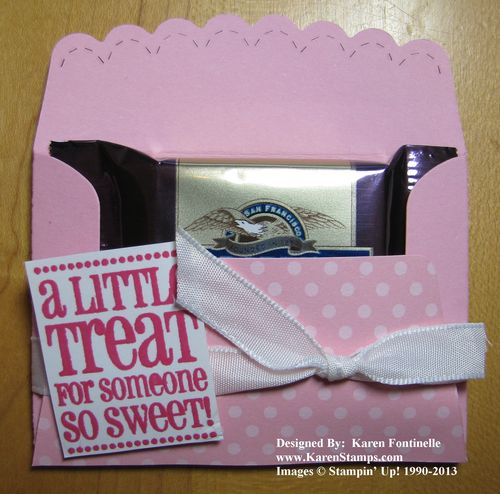
Valentine Scallop Envelope Candy Treat 

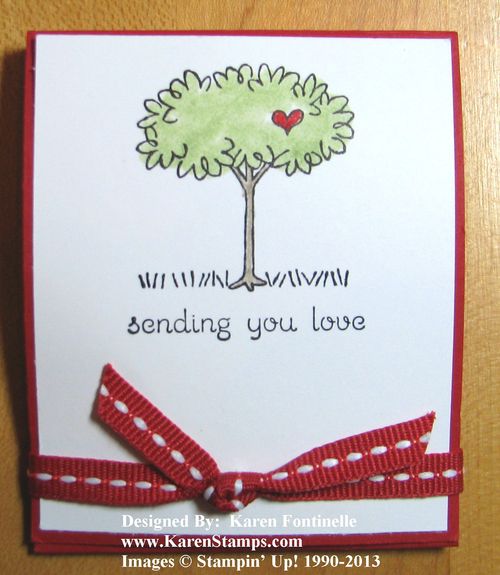
Valentine Candy Treat  Matchbook

 You Are Loved Valentine for Valentine’s Day

You Are Loved Valentine for Valentine's Day 

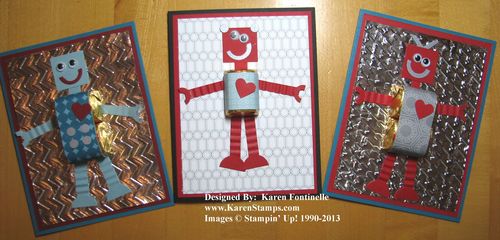
Robot Valentines for Kids 

Robot Valentines for Kids 

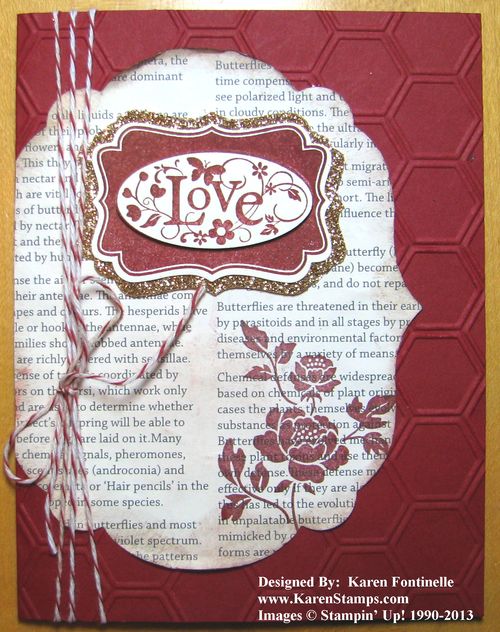
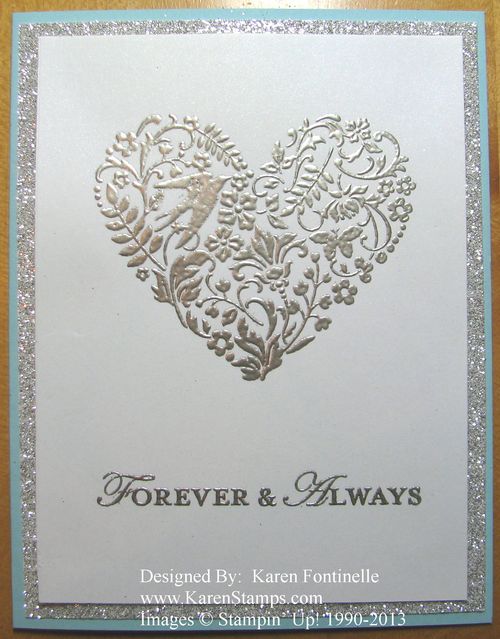
A Love Card

A Love Card for Valentine's Day 

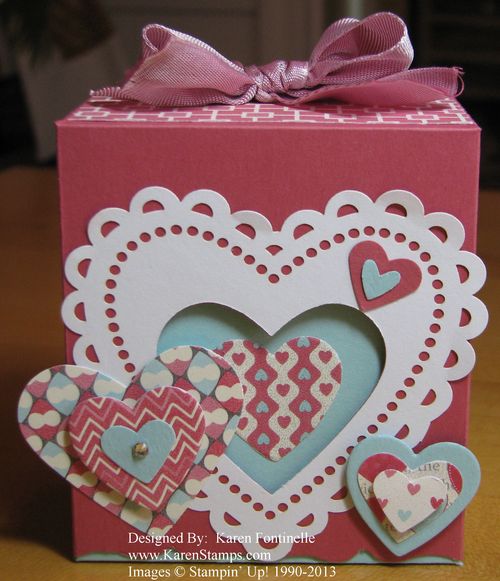
Valentine Fancy Favor Box

Valentine Fancy Favor Box 

And for more Valentine ideas just click HERE.

Have a Happy Valentine’s Day!


Make a Valentine Treat Box with Hearts

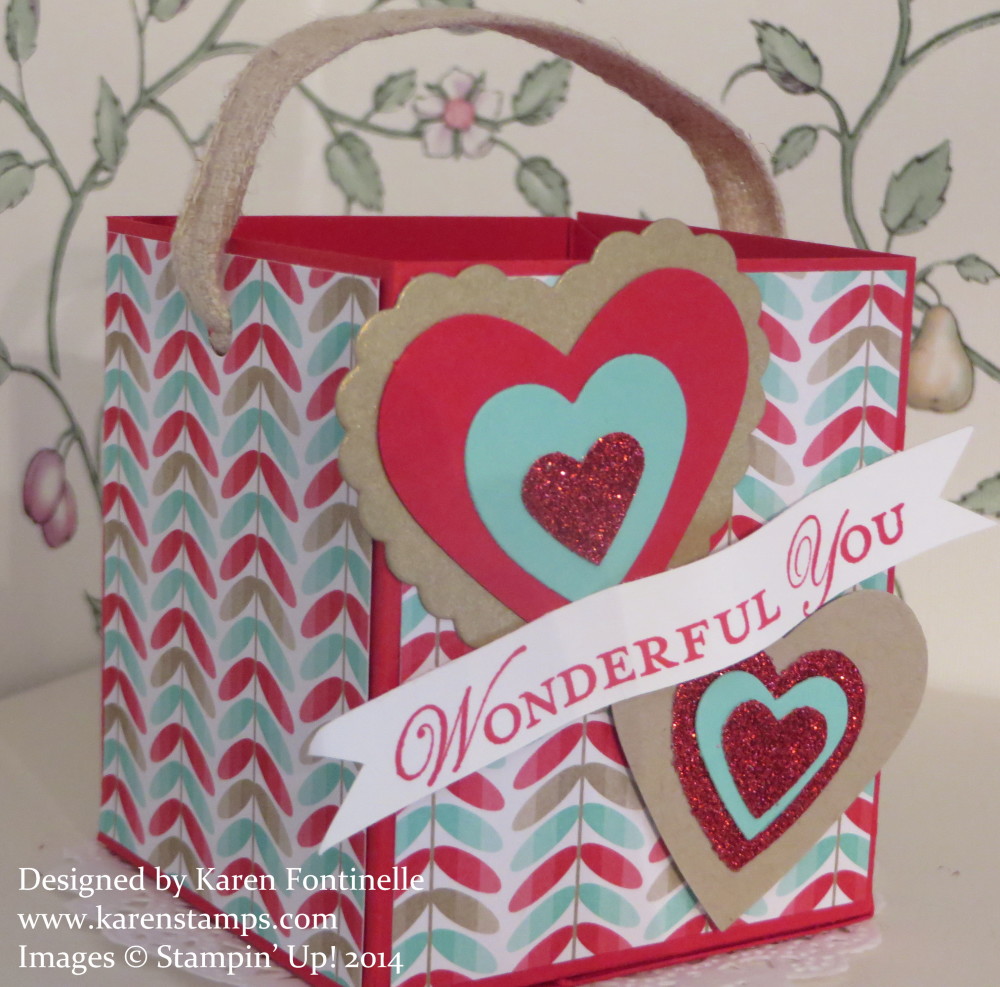
Valentine Box with Hearts

If you need to make a little Valentine gift box or Valentine treat box, here is an easy one to do You can vary the size if you want according to the size of paper you have. You just have to do a little math! If you want this box a little wider you would need to start with 12×12 paper. You could use designer paper if you don’t mind it a little less sturdy.

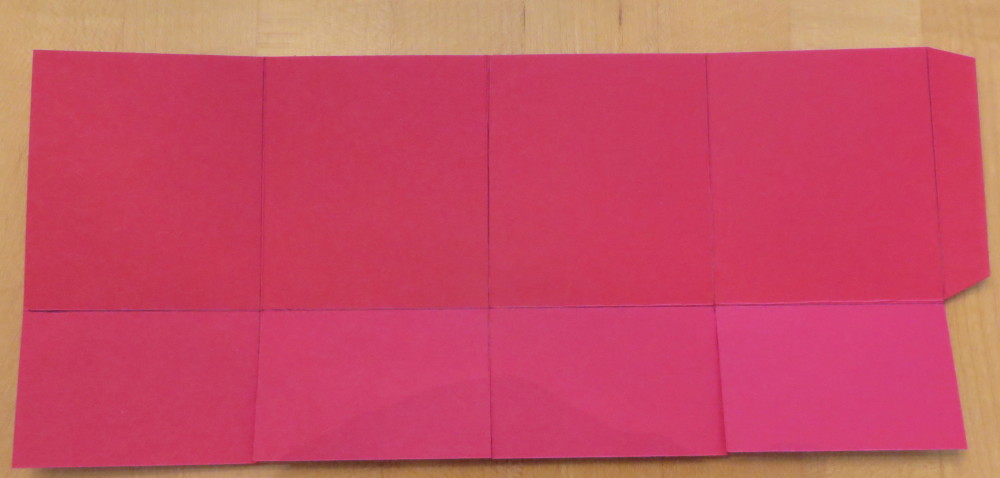
I cut my Real Red card stock 11 x 4 3/4. It is scored at 2 5/8″, 5 1/4″, 7 7/8″, and 10 1/2″. Turn the paper then and score at 1 3/4″. On the short side, cut the flaps up to the score line and trim off the 1/2″ tab on the end. See photo below. 

Fold on all the score lines and use your Bone Folder to get good creases. Figure out how you will fold the bottom flaps and where you will put the adhesive.  You can use Sticky Strip or the Tombow Multi-Purpose AdhesiveI put my Sticky Strip on the first bottom flap (side opposite the narrow tab) and the third one.

And to decorate the box, I used layers of the Fresh Prints Designer Series Paper Stack, 2 7/8″ x 2 1/2″. Can you see what I did wrong with mine?!  I glued them on upside down!  Sheesh!  But I bet if I gave this box to someone, they wouldn’t even notice!  So I just left it as is rather than risk tearing the paper to get it off! To decorate the front I just used various punched and die cut hearts and a banner I had already stamped but didn’t use the other day, with the greeting from Loving Thoughts. The ribbon handle is the 7/16″ Natural Trim Ribbon in the Annual Catalog.

Like this Valentine Treat Box? If you need any of these supplies for future projects (remember hearts aren’t just for Valentine’s Day!) feel free to visit my Stampin’ Up! Online Store for all the current Stampin’ Up! products. And when you spend $50 or more, you get to choose a FREE Sale-A-Bration product until March 31.

Make a Valentine Treat Bag with Scraps

Valentine Treat Bag with Hearts Tag

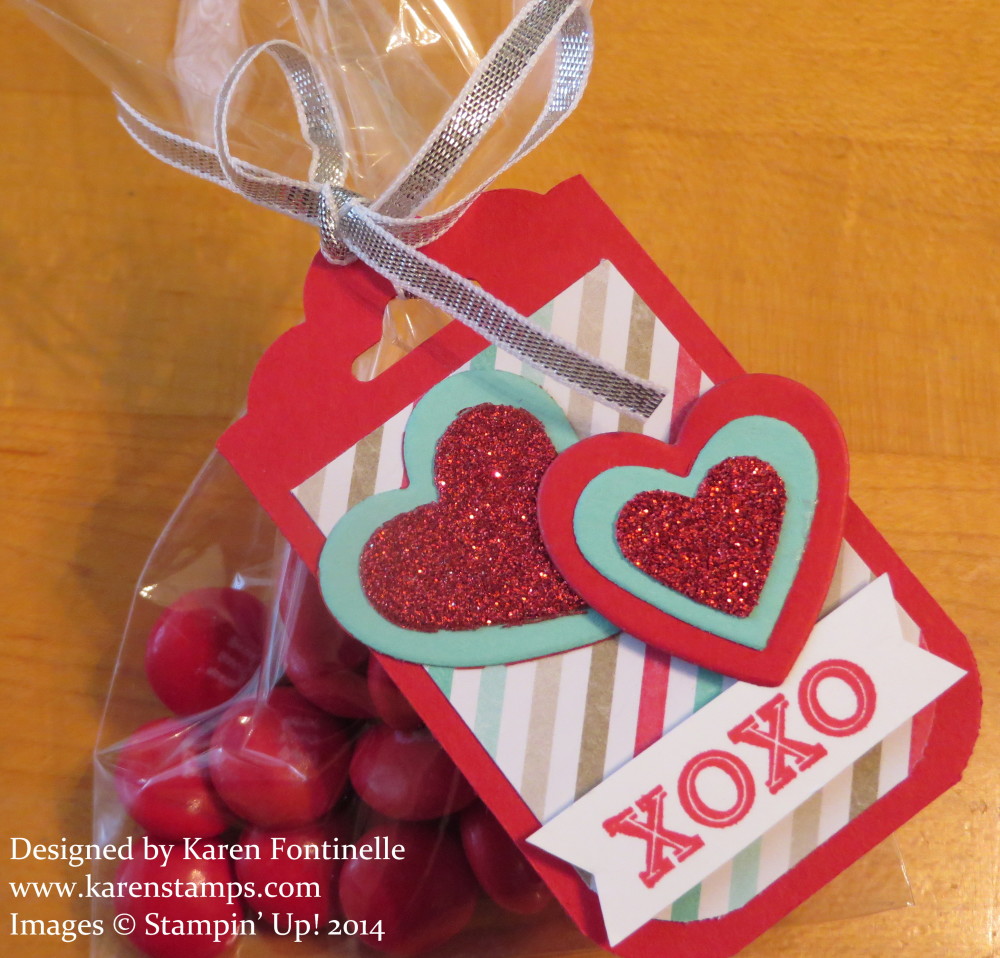
You might be getting ready to make Valentine Treat Bags of some sort for Valentine’s Day perhaps for your child’s classroom or their teachers or your friends, neighbors, co-workers or maybe your family! Maybe this tag will inspire you. Put the treat in a Cello Bag and make a tag from your scraps! You know you’ve got ’em!  I punched the tag with the new Scalloped Tag Topper Punch and then used scraps to decorate it. Now the tag is pretty narrow, only 2″ wide, as is, but for my small bag I wanted it even smaller.  You can trim your strip of paper narrower than 2″ and just be sure to center it when you put it in the punch so it will be even on both sides.  But since I had already punched it at 2″, I just trimmed off both sides, trying to make the top scalloped edge look symmetrical.  And it doesn’t have to be perfect! Then I rounded off the bottom edges of the tag to match the scallops at the top. It really gives the tag a nicer look.  The layer on top of the Real Red tag is from the Fresh Prints Designer Series Paper Stack. The “XOXO” is from the Oh, Goodie! Stamp Set, a carryover from the Holiday 2013 Catalog. That means you can still order it! And then I grabbed some die-cut hearts from the Hearts Collection Framelits Dies and the Hearts A Flutter Framelits and even the Small Heart Punch. Use whatever you have! Or even just cut some hearts by hand! They can be whimsical odd-shaped hearts! Tie on your tag with a piece of 1/8″ Silver Ribbon.

Here’s a tip for cutting a narrow banner. If the strip is narrow enough, stick the end in the new Banner Punch, free with a $50 purchase during Sale-A-Bration! You only want it to cut the one end, that”s why you don’t slide the strip in the regular way. This will punch just the end and that will make you little “flags” at the ends.

Using the Banner Punch To Make Flag Ends

Have fun making your Valentine Treat Bags and don’t forget to check your pile of scraps!

Stampin’ Up! Paper Pumpkin Free Markers Offer Extended!

HOT OFF THE PRESS TODAY!

Paper Pumpkin Free Markers Special Extended!

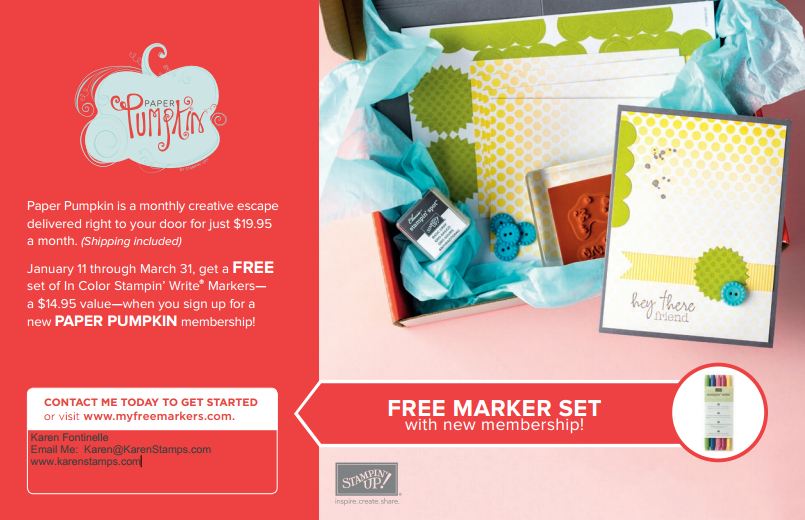
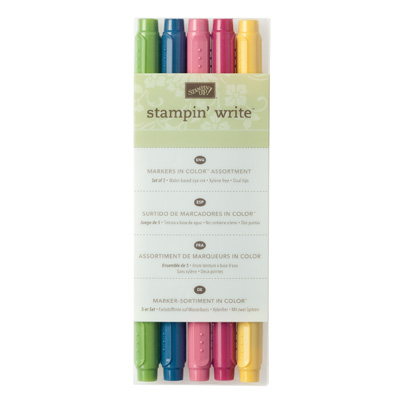
Just today Stampin’ Up! extended the special offer with Paper Pumpkin! Subscribe to Paper Pumpkin during Sale-A-Bration until March 31 and receive a free set of In Color Stampin’ Write Markers!  The markers will be sent with the subscriber’s Welcome Kit (pictured in the flyer above).  No coupon code required.

If you’re looking for a fun surprise in your mailbox every month, if you are a new crafter, if you want to make things but don’t know where to start, if you would like a special project to make with a friend or loved one (order two!), if you want to craft but don’t want to buy a lot of craft supplies, if you have every papercrafting supply under the sun but you still like to be surprised with something new to make in your mailbox — then Paper Pumpkin might be for  you!

Sign up for Paper Pumpkin today (only $19.95 a month including shipping!) and get your Welcome Kit and free markers in mid-March.  You will not be charged until the kit ships.  No obligation!  Cancel your subscription if you need to.  Better yet, just “Pause” it now and then if you must and continue on when you are ready.  The 10th of the month is the magic date to make any changes in your subscription for that month’s shipment. The kits are not always cards. They can be anything.  They are quick and easy and contain everything you need except adhesive. Stampin’ Up! has stepped up the kits recently so they are even a better value now!

Stampin’ Up! Weekly Deal February 11 2014

Stampin' Up! Weekly Deal February 11 2014

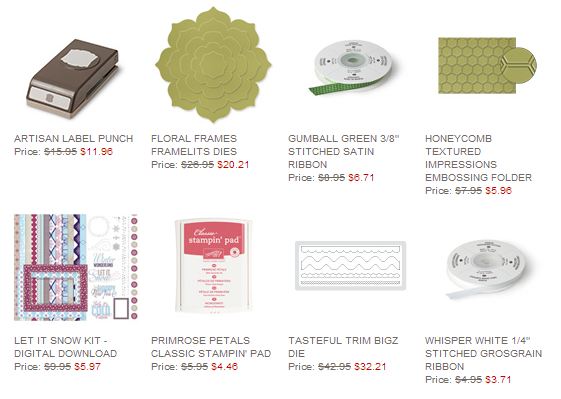
Here are the new Weekly Deals from Stampin’ Up! for the week of February 11 2014. That Artisan Label Punch is a good one.  I would snatch that up. Of course ribbon and ink is always good and might as well get any Big Shot supplies while you can on discount!  Just click on the image above to go to my Online Store page. Check out the other items from Stampin’ Up! by looking at the categories in the left sidebar of the store.

Don’t forget about the ongoing Sale-A-Bration promotion going on at Stampin’ Up!  Simply purchase $50 or more in current products and choose a free product from the Stampin’ Up! Sale-A-Bration Brochure!  Who doesn’t want free stamping stuff?!

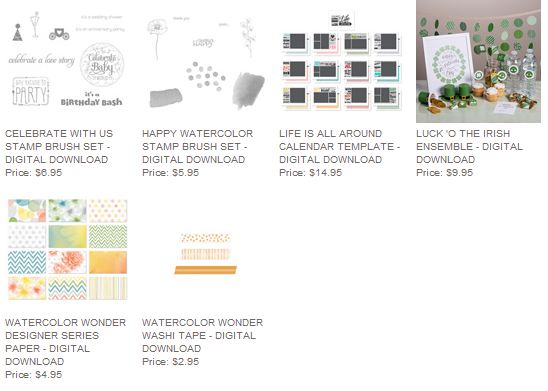
New downloads released for My Digital Studio today, also! Check these out! Click on the image below! Just image a scrapbook page with the beautiful Watercolor Wonder Designer Series Paper! And if you’re looking for St. Patrick’s Day decorations, check out the Luck O’ the Irish Ensemble!

My Digital Studio Downloads Feb 11 2014

Check out the Stampin’ Up! Weekly Deal at my Online Store! Why not get some current discounted stamping products and add them to your Sale-A-Bration order?! Just get to $50 in merchandise and earn a free product!  No limits!  Buy $100 in product, get two free Sale-A-Bration products.  Buy $150 and get three free Sale-A-Bration products PLUS $25 Hostess Dollars to choose more items!  Let me know if you have any questions!  You can put in your order online HERE yourself or I can do it for you!  I’m happy to help!
Cherry Cobbler Language of Love Valentine Card

Cherry Cobbler Language of Love Valentine Card

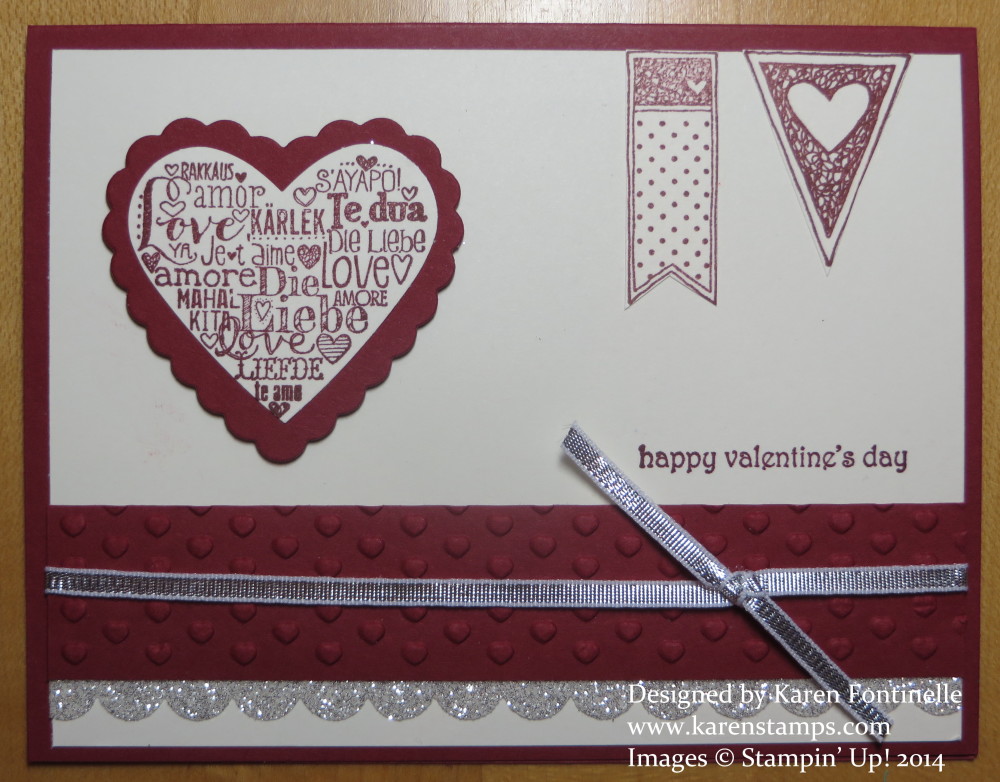
It’s just four days until Valentine’s Day! Are you making some valentines?  Better get started! Here’s one I had cut the pieces for and had partly ready the other day, but when I went to make it, I forget what my idea was! But I got out the Language of Love Stamp Set and went to work. Just stamping the heart with the words onto the Very Vanilla card stock didn’t look that great on this card so I stamped it again, punched out with the Full Heart Punch. Then I mounted that heart on a die-cut scalloped heart cut with the Hearts A Flutter Framelits Die. I really liked that. I also stamped the two banners in the Language of Love Stamp Set, cut them out, and adhered them to the top of the card.  For the greeting, I used the Teeny Tiny Wishes stamp, placed perfectly with the Stamp-A-Ma-Jig!

I used a Cherry Cobbler theme here, although I think I prefer Real Red. The embossed strip is made with the hearts folder in the Adorning Accents Embossing Folders with a Silver Glimmer Paper edge peeking out made with the Scallop Edge Border Punch. The Silver 1/8″ Ribbon was in the Holiday Catalog but also in the new Occasions Catalog.

  • Don’t forget!  Sale-A-Bration is going on through March 31!  Spend $50 on any current Stampin’ Up! merchandise and earn a FREE Sale-A-Bration Brochure!
  • Today is the last day to sign up for a Paper Pumpkin subscription and receive a FREE set of 2012-14 In Color Stampin’ Write Markers. Paper Pumpkin is a monthly papercrafting kit from Stampin’ Up! that comes in your mailbox! No risk and no obligation!
  • Today is the last day to order the current Weekly Deals from Stampin’ Up! Just go to my Stampin’ Up! Online Store to check them out!

Make a Valentine for someone today!

Hurry! Sign Up for Paper Pumpkin and Get a Kit in the Mail!

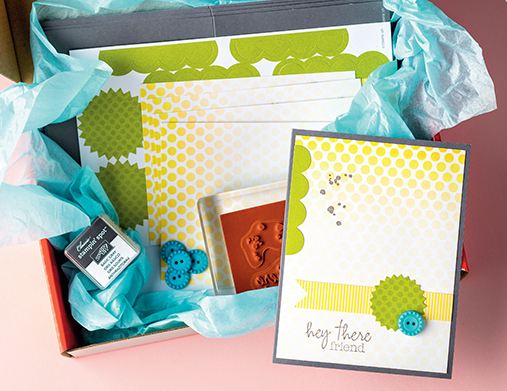
Stampin' Up! Paper Pumpkin Welcome Kit

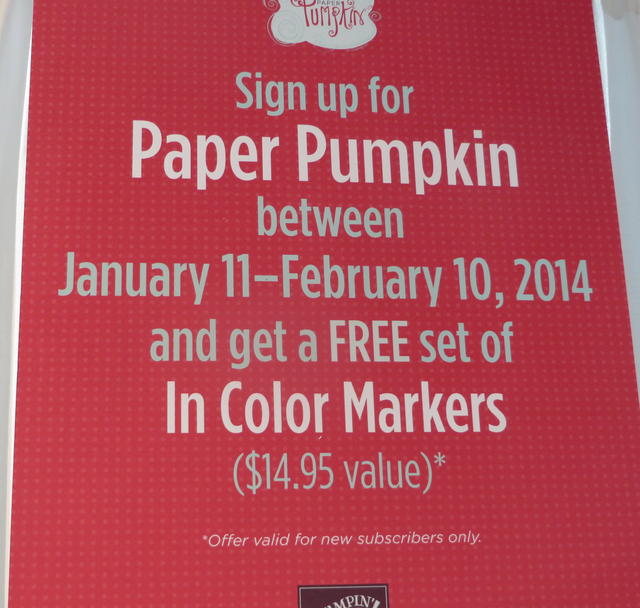
Don’t get so caught up in the Winter Olympics that you forget about the special offer from Stampin’ Up!, the papercrafting kit that comes in the mail, Paper Pumpkin!! Tomorrow is the last day – Monday, February 10th – for the special offer!  Subscribe to Paper Pumpkin and get a FREE set of 2012-14 In Color Stampin’ Write Markers!

2012-14 Markers

If you like a craft project with no muss, no fuss, easy and quick to do, and a surprise in your mailbox about mid-month, Paper Pumpkin is for you! When you first sign up, you receive the Welcome Kit pictured at the top of this page. This kit makes four cards and comes with stamps, ink, the materials you need plus a free Clear Block to mount your stamps and to use in subsequent kits. All you need to provide is adhesive. Use the ones you have already at home or I can suggest some quality ones from Stampin’ Up!  After the Welcome Kit you will begin receiving the same kit all the subscribers receive.

No risk, no obligation!  Sign up and cancel your subscription in a few months if you need to. Better to just “pause” your subscription (yes, you can do that!) so that you can continue on when you are ready.

The cost for Paper Pumpkin is only $19.95 per month, which includes shipping! Stampin’ Up! has even IMPROVED the kits since January! In fact, our January kit even came with an extra surprise in it! If you like to get mail like I do and if you like a surprise just for you, you’ll like Paper Pumpkin.  You can even order more than one kit if you have a friend, daughter, mother, niece, son, someone special you would like to craft with or treat.  Change quantities every month! Or better yet, have your friend sign up for her own subscription by tomorrow and you each get the free markers! The magic date to make ANY changes in your subscription is always the 10th of the month!

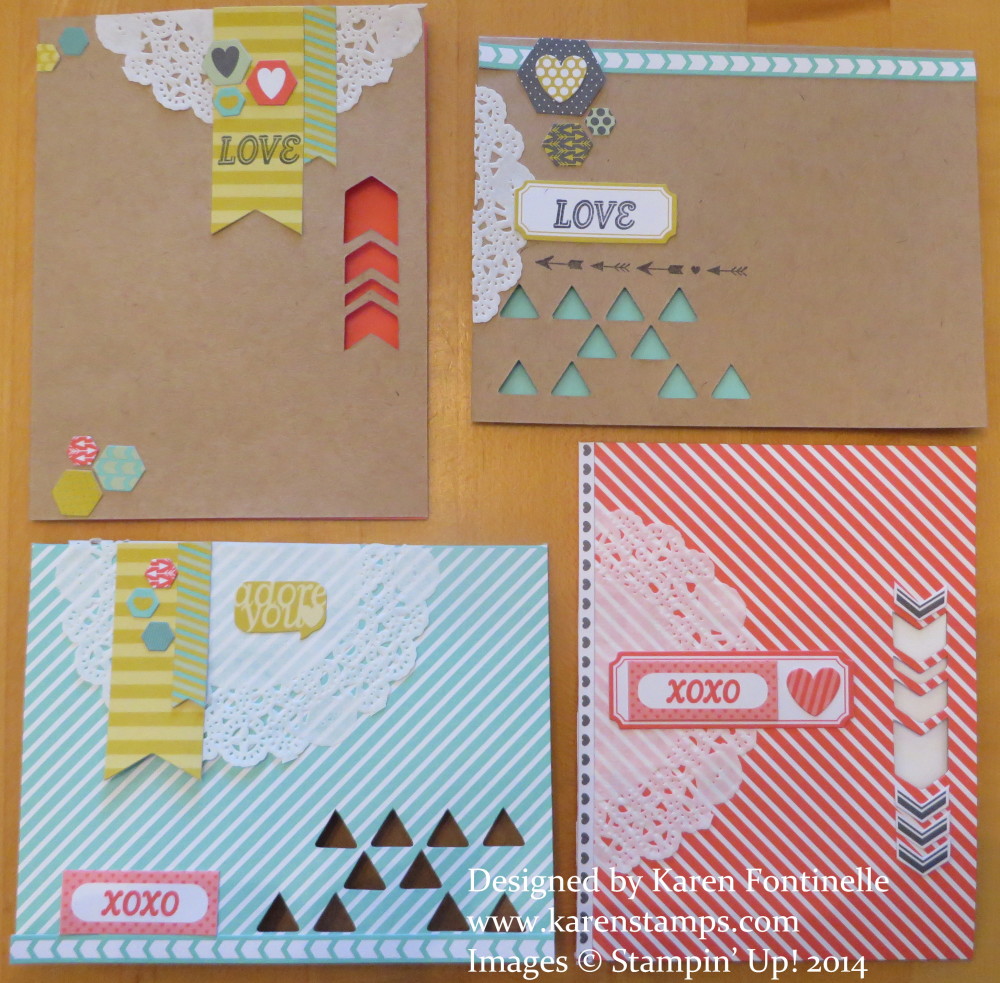
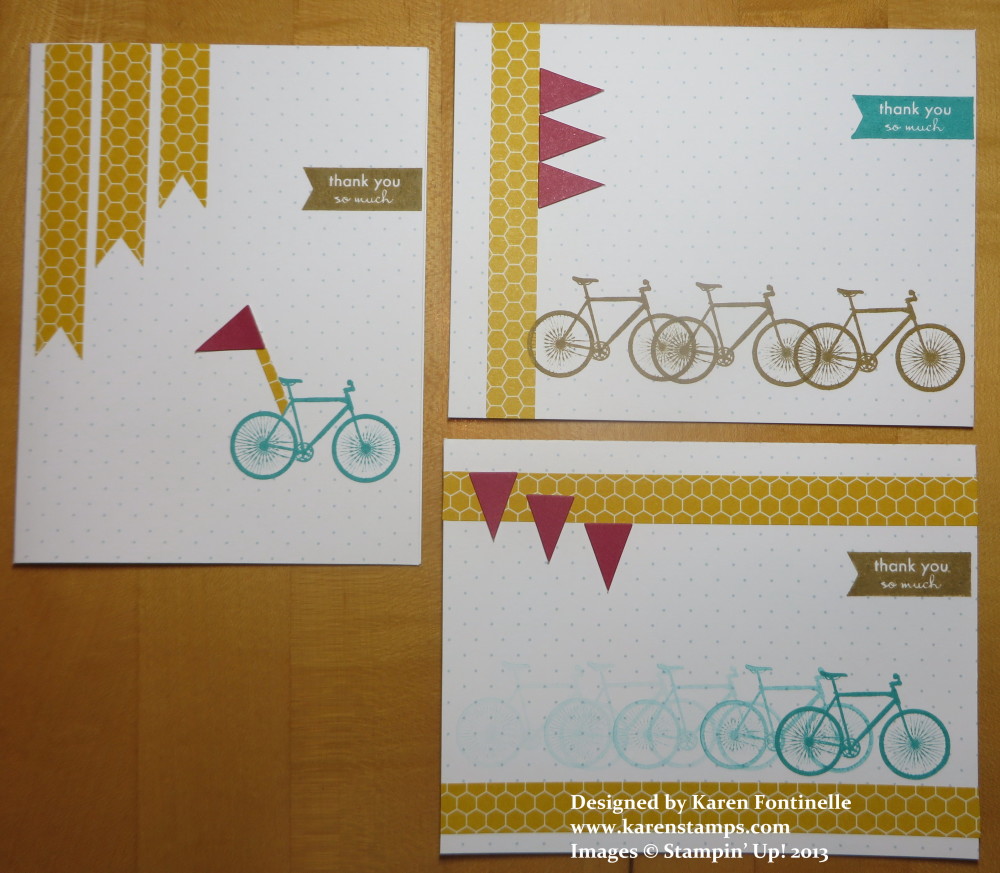
Here are photos of a couple of the projects I have received in my kits. You can follow the supplied instructions exactly or break out on your own and do your own thing!  Whatever you want!  It’s YOUR kit!

Paper Pumpkin Kit Jan 2014

August Paper Pumpkin Kit Extra Cards

Paper Pumpkin Leadership Incentive

You won’t find Paper Pumpkin in the Online Store.  You must go to this Paper Pumpkin Link to sign up! Once to get to that page, click on the “JOIN” button in the upper-right corner.  Let me know if you have any questions or need any help signing up!  Just email me at Karen@KarenStamps.com.