Category Archives: Valentine

It’s February! Valentine’s Day is Coming!

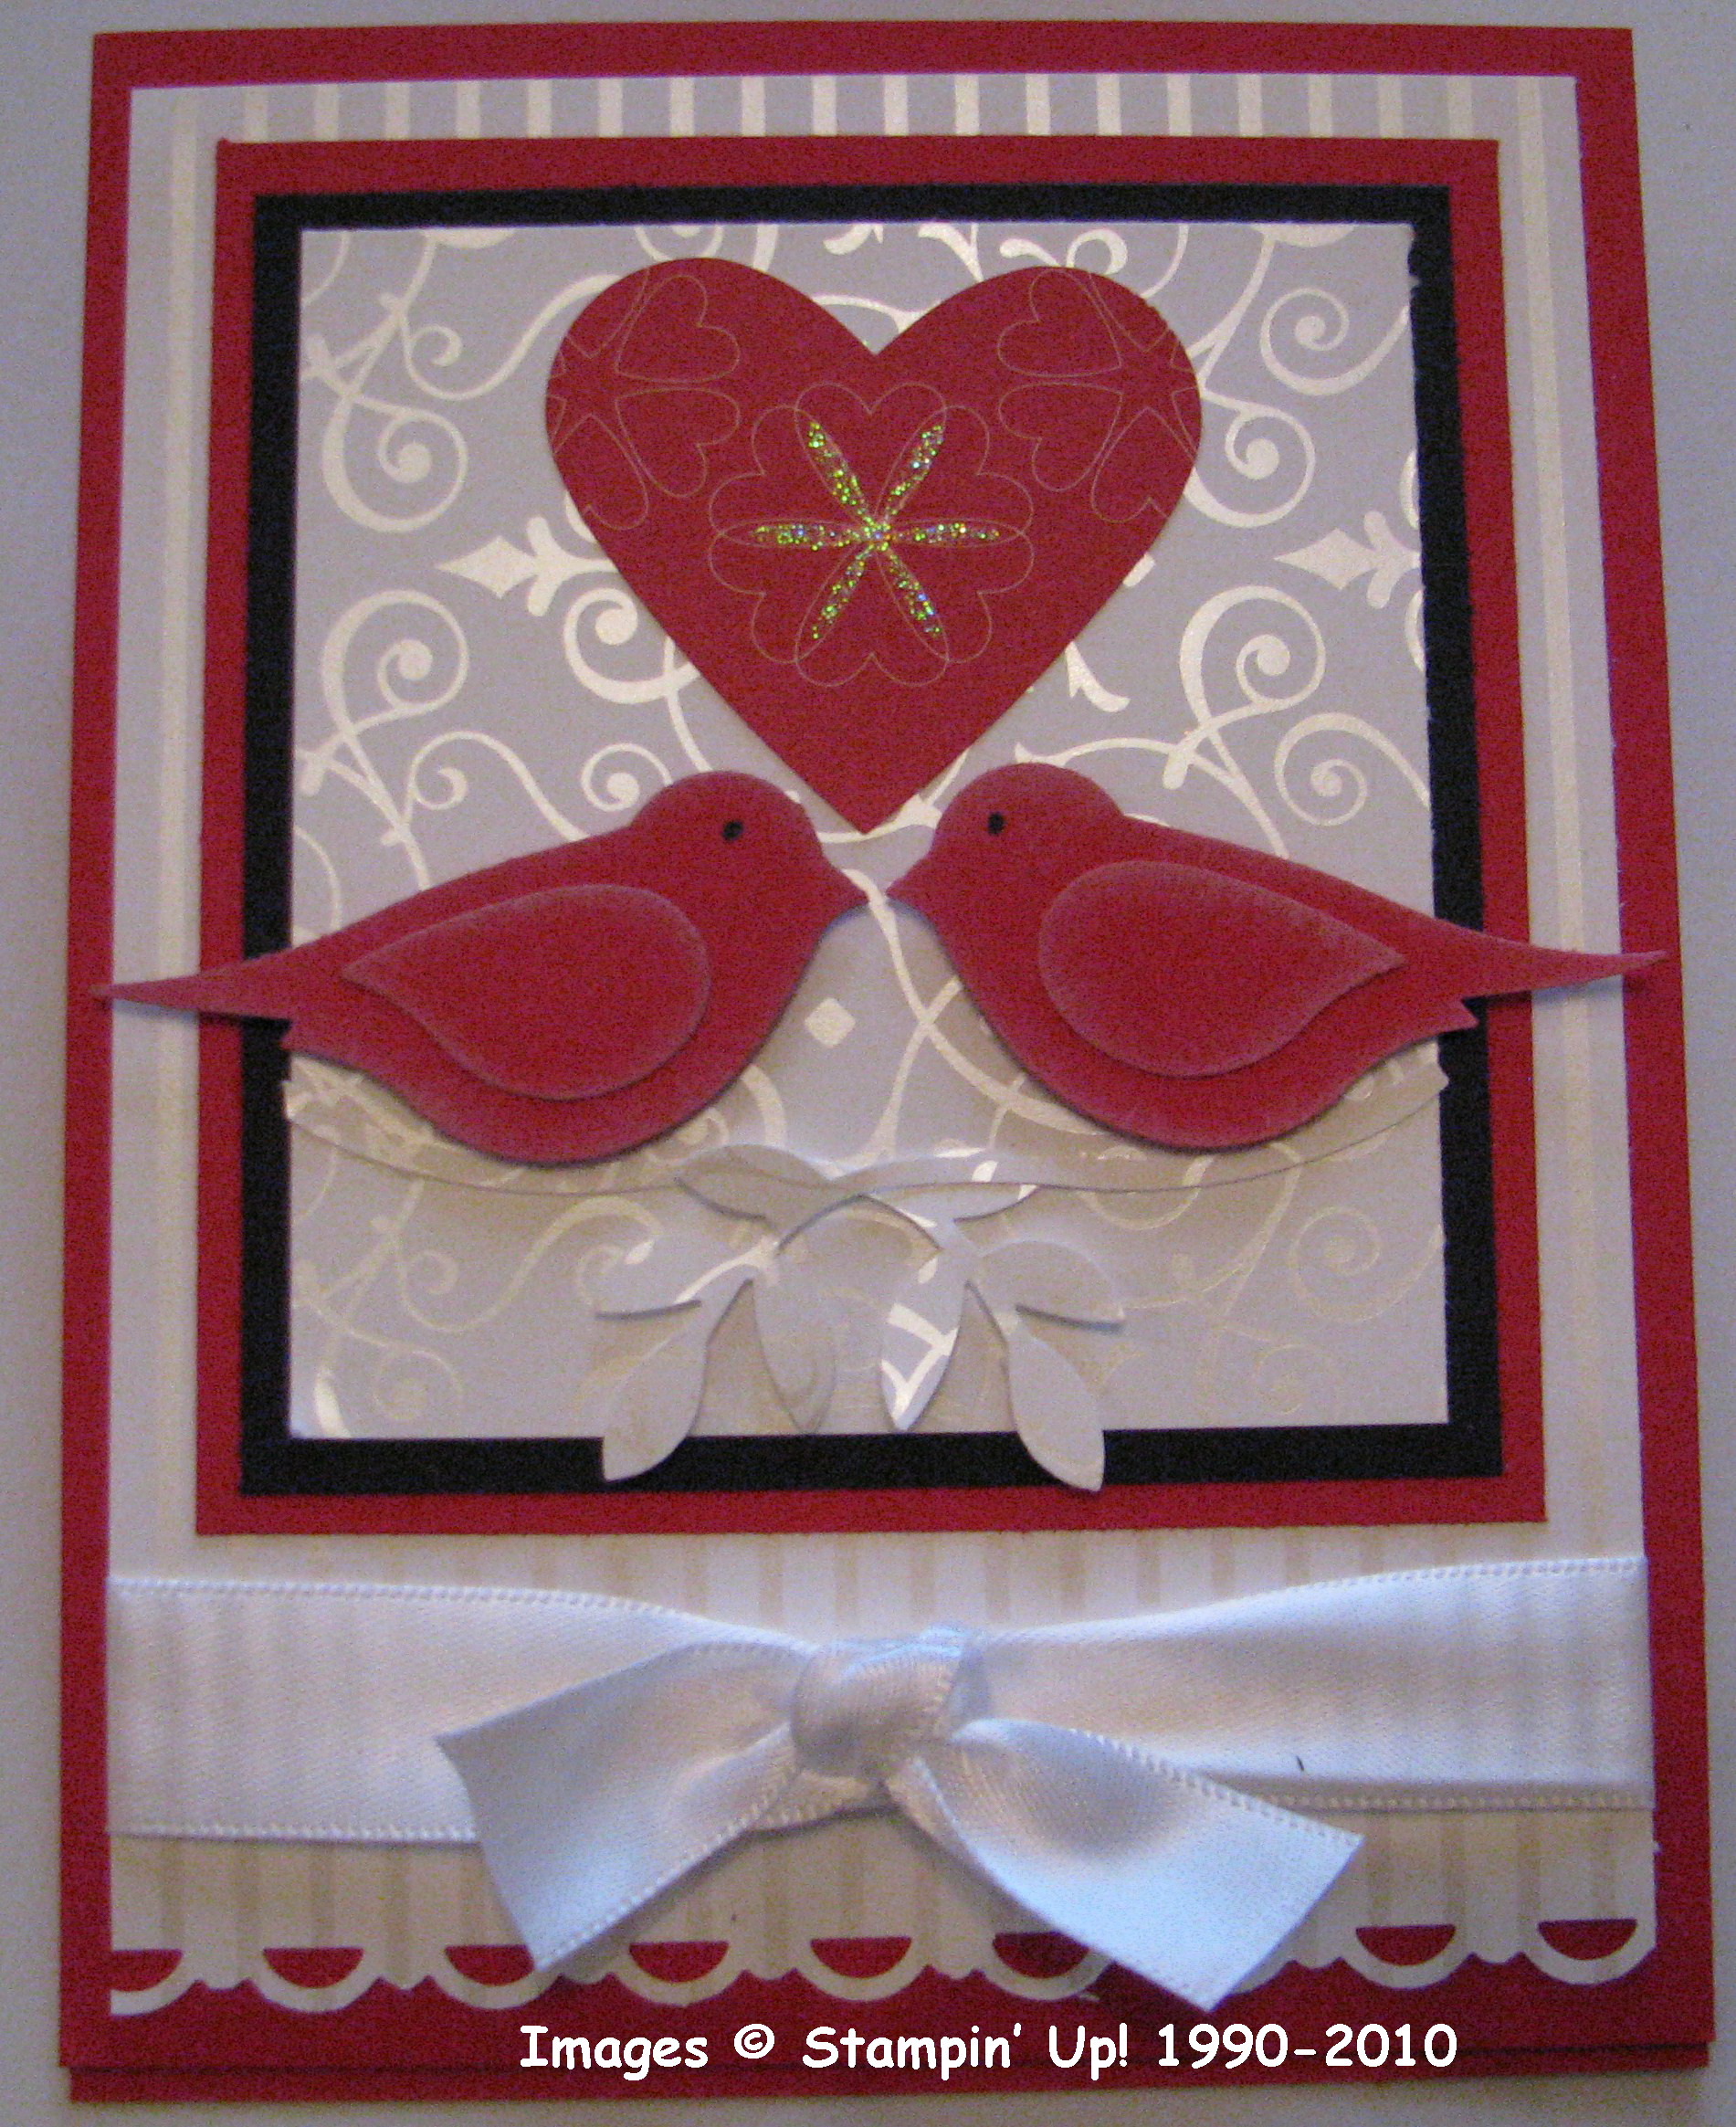
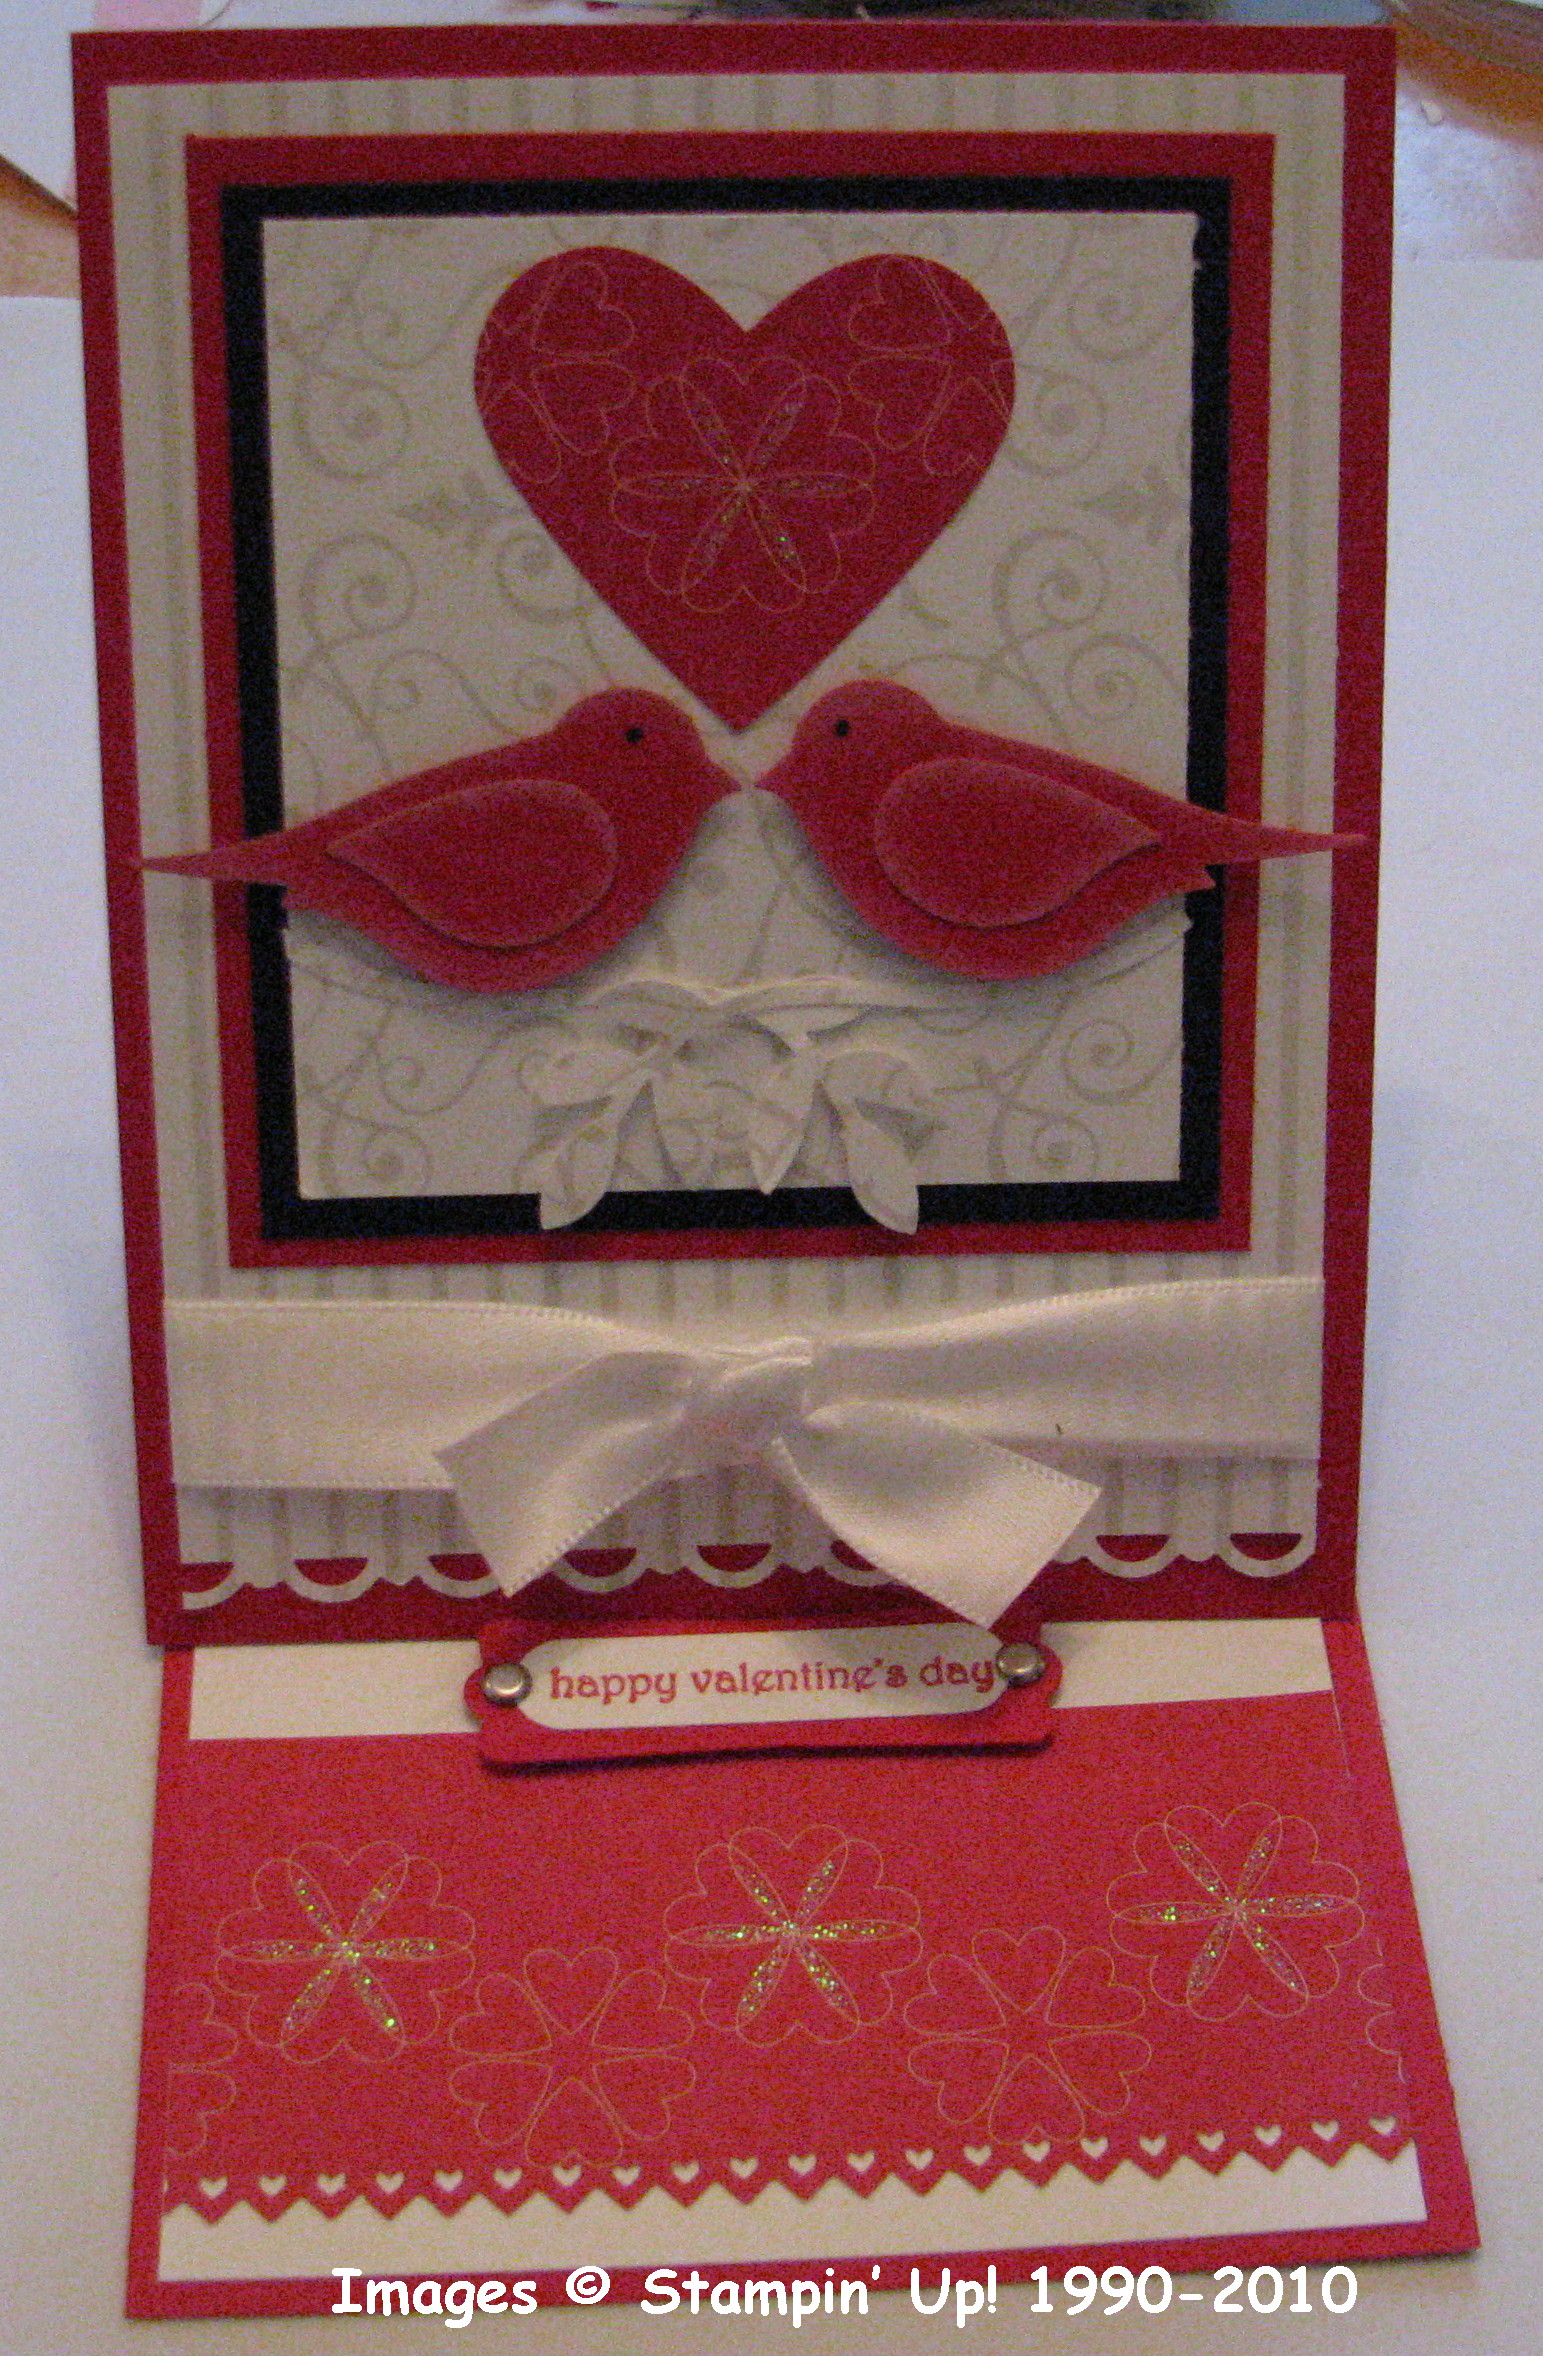
Here's a Valentine inspired by a card in our Stampin' Success Magazine for demonstrators.  The sample card was a dark brown background with 3/4" circles punched and then decorated.  I decided to try making something similar with hearts!

Heart to Heart Punch Valentine

I just used the Heart to Heart Punch #119881 to punch the same heart nine times out of the current designer series paper.  Then each heart is decorated with one of the Itty Bitty Punches, Red Glimmer Paper, brads, rhinestones, bitty buttons, or pearls!  Just do what looks good to you!  For a tiny sentiment, I used one of the Love Impressions Rub-Ons #121886. The Red Glimmer Paper #121790 is so fun to use I punched a strip with the Scallop Trim Border Punch #118402 and stuck on a little bow with the 1/8" Taffeta Ribbon.  A really fun valentine to make and lots of room for creativity!!

If you need any paper and punches to make your valentines, it's time to order today!  Just click HERE!
 

Love Impressions Rub-Ons

Stampin' Up! was kind enough to send us demonstrators a sheet of the Love Impressions Rub-Ons #121886 as seen on page 8 of the Occasions Mini Catalog.  These are a little different than previous rub-ons in that they are on a plastic material which is a little sturdier.  Here are two cards I made with them!  Order a package of Love Impressions Rub-Ons and you're ready to make some valentines!

Love Impressions Rub-Ons


This card is stamped with the tree from Valentine Defined in the Occasions Mini.  I inked it up with Pink Pirouette and then colored certain hearts with a Stampin' Write Real Red Marker and the trunk with Early Espresso.  The "Love You" is the rub-on!

Love Impressions Valentine

This card uses lots of the Love Impressions Rub-Ons!  The hot air balloon and clouds on the Whisper White piece are rub-ons as are the white clouds and the tiny red hearts on the pink area of the card.  I used some Love Impressions Specialty Designer Series Paper #121780 on the card plus a strip of the BEAUTIFUL Red Glimmer Paper #121790.  The Love You is rubbed on a piece of scrap Whisper White and punched out with the new Medium Oval Punch #120908….from the Holiday Mini, but still available for order!

Petal Cones for Valentines

The new Petal Cone Die #121810 in the new Occasions Mini Catalog is really a fun new thing to own!  I almost passed on it at first, but then I started to see the cute projects other demonstrators were making with it, and now I'm very glad I own it!  The possibilities are endless!  It can be used for any occasion, just vary the colors and embellishments.  Here are some of the Petal Cones we made at my recent stamp camp!

Red Valentine Petal Cone

 I applied strips of the Love Impressions Specialty Designer Series Paper #121780 to the sides and stamped some hearts with VersaMark #102283 on the sides of the cone from the set Love You Much #113756 in the Stampin' Up! 2010-11 Idea Book & Catalog.

Pink Valentine Petal Cone

Here's one my customer made in pink with a different pattern of the same paper.  So soft and pretty!

Blue Valentine Petal Cone

And here's one someone else made in blue for her little son, stamped with Early Espresso ink and stamps from Valentine Defined and Love You Much, with a red Glitter Paper heart on the top flap!

With Sale-A-Bration going on, now is a good time to purchase those Big Shot dies (and maybe the Big Shot!) so that you can also earn "free stuff"!  Check out the Sale-A-Bration Mini Catalog HERE.

Easy Valentine Pouch

I've often told you, as demonstrators, one of our favorite things is our monthly Stampin' Success Magazine we receive from Stampin' Up! Every issue has business tips for us and many new projects including ones easy enough to demonstrate at workshops.  If you've ever considered being a Stampin' Up! Demonstrator but thought you wouldn't know what to do, this one resource alone would be enough to teach you, inspire you and give you plenty of ideas!

The Valentine Pouch shown in the January 2011 issue of Stampin' Success caught my eye and was fun and easy to make.  I changed the colors from green in the sample to Real Red.  Surprisingly, the pouch is actually made from a Medium Crumb Cake Envelope #107297.  Just seal the envelope on the back, then use the Scallop Edge Border Punch #119882 to punch one side of the envelope, which will become the top of your pouch.

Valentine Envelope Pouch

Valentine Envelope Pouch back


Just stamp with the set "Valentine Defined" from the new Occasions Mini Catalog, apply a strip of designer series paper, and tie a ribbon around.

I'm sure you can see how easy it would be to switch things up a bit…..if you don't have the Crumb Cake envelope, use one you do have.  Don't want to use an envelope?  Use Crumb Cake card stock and make a card base instead of a pouch.  Have some Mini Lunch Sacks leftover from the Holiday Mini? Use those!

Now you can figure out what to put inside….some wrapped candy bars or other little treats, some notecards to match, a pull out tag or card…..the possibilities are endless!  After Valentine's Day, make the same thing but change the colors and change the greeting and make it for a birthday or Easter or new baby or anything!  Simple and cute idea! Let me know if you make one!

A Valentine

Valentine Defined Hearts


This is a card I made while making projects and samples for my most recent stamp camp.  I used the stamp set in the Occasions Mini, "Valentine Defined" on page 9.  If you don't already own this stamp set, you should put it on your next order (especially with Sale-A-Bration!)!  We used it on several cards at my stamp camp and everyone loved it.  The Framed Tulips Textured Impressions Embossing Folder #121809 is used on the border of this card, and I can tell you all my stampers really loved this embossing folder, too.  I liked the simple, soft elegance of this card and didn't even want to add a layer under the greeting, which I had punched with the Decorative Label Punch #120907.  

Here is how I made the card.  The card base is Pink Pirouette with a layer of Basic Gray on top.  The quarter piece of Whisper White card stock was embossed in the Framed Tulips Folder; however, to make it fit on top of the Basic Gray layer, it had to be made smaller so it is actually trimmed inside one of the embossed lines around the outer edge.  Then I very lightly sponged the embossed edge with Pink Pirouette ink.  The stems and hearts are stamped with the Valentine Defined set, inked with Certainly Celery marker on the stems and Pink Pirouette marker on the hearts.  You have room to stamp 2 1/2 times going across the card.  The greeting is from Grateful Greetings #116511 and punched with the Decorative Label Punch.  You could sponge some Pink Pirouette ink around the edge of the label if you wanted.  Change the greeting and you can have a card for any occasion!

If you need any of these stamping supplies, you can place your order at my Online Store here or by clicking on the red Online Ordering button in the upper-right of my blog.

Eat Chocolate Stamp Set

The Eat Chocolate stamp set in the Occasions Mini is really a fun one…..at least if you are a chocolate lover like me or if you know a chocolate lover!  You can make some kind of chocolate holder or gift box and use any of these sayings in the set perfectly! Wouldn't these be cute for Valentine's Day or really any time?!

Eat Chocolate Chocolate Holder

Chocolate Holder Inside

I even copied myself to make these!  I came across this post from 2009 with the same little chocolate holder.

Here are the directions in case you don't go back to that post:

Base is 2 3/4" x 9 5/8".

Score at 2 3/4and 3;   6 1/4 and 6 1/2.

Fold up and then open back up.  Use your Word Window Punch on the bottom flap, inserting as far as you can, a little to the right and then punch again the same hole but a little to the left.  That gives you an opening big enough for the Ghirardelli Chocolate Square.  Then flip the flap up and adhere, preferably with Sticky Strip, just at the top.  Insert chocolate and tie the ribbon around to close!  Very easy, very adaptable, and very cute!

These are very easy to make and so fun choosing one of the Eat Chocolate sayings to use!

Here are a couple others ones I made also:

Chocolate Holder

Eat Chocolate little chocolate holder

Valentine Chocolate Holder

If you need this stamp set, "Eat Chocolate" and any other stamping supplies, just visit my Online Store.  With a $50 purchase, you can choose a FREE product from the Sale-A-Bration brochure!


More Stampin’ Up! Valentines on Display!

And here are a few more Valentine ideas for cards that I photographed at the Stampin' Up! Convention last summer in Salt Lake City. Stampin' Up! puts up row upon row of display boards of all kinds of stamping projects, and it is always a pretty popular area as you can imagine!  It's best to find an off-time to photograph all these displays!

Images copyright Stampin' Up! 1990-2010

Stampin' Up! Valentines

Stampin' Up! Valentines

Stampin' Up! Valentines

Stampin' Up! Valentines

Stampin' Up! Valentines

Stampin' Up! Valentines

Stampin' Up! Valentines


Valentines on Display at the Stampin’ Up! Convention 2010

While I am still waiting to get my furniture all moved back now that the Christmas tree is down so that I can stamp a little easier, I thought I would share some photos from the Stampin' Up! Convention displays last July.  I've told you before that every single thing about a Stampin' Up! Convention is fun, but if I were only allowed to look at the display boards there, even if I never got to stamp a thing, I would be in heaven!  I love all the ideas!!  Here are some of the ideas for Valentine's Day cards and scrapbook pages and projects that I'm sure you will enjoy!

Images copyright Stampin' Up! 1990-2010

Stampin' Up! Valentines

Stampin' Up! Valentines

Stampin' Up! Valentines

Stampin' Up! Valentines

Vintage Valentine

Stampin' Up! Valentines

Stampin' Up! Valentines

Stampin' Up! Valentines

Stampin' Up! Valentines

Stampin' Up! Valentines

Stampin' Up! Valentines

Stampin' Up! Valentines

Stampin' Up! Valentines

Stampin' Up! Valentines

Catching Up with Stampin’ Up!

I hope everyone had a wonderful Christmas as we did with our children home.  No white Christmas here in Houston, although we did get a rainstorm and colder weather on Christmas Eve.  Then the weather warmed up a bit and now today is a rainy, stormy day.  Good day to stay in and maybe bake some Christmas cookies that I didn't have time for earlier!  And maybe to get back in the swing of things and start posting again on my blog!

Let's see what is going on in the Stampin' Up! world………

  • Last day to order from the fabulous Holiday Mini Catalog is January 3rd!  Check it over again and make sure you have everything you want before it is gone!  You can place an order HERE online yourself at my Online Store or you can contact me with your order and I'll place it for you.
  • If you are ready to move on to Valentine's Day, get a jump start with the "Filled with Love" Promotion.  Click on that link to read all about it!  You can shop for it HERE.
  • The Occasions Mini Catalog will have all new things for spring!  It begins January 4th.  Perhaps you have received your copy in the mail over the holidays.  Make sure you pull it out of your Christmas cards and holiday mail and sit down and savor it!
  • Sale-A-Bration is coming!!  Stampin' Up!'s biggest promotion begins January 25, 2011.  More information coming soon!  Contact me if you want to book a fun workshop with your friends where everyone can get a free Sale-A-Bration product with a $50 purchase!

Filled With Love Bundle from Stampin’ Up!

It may almost be Christmas time, but crafting and stamping thoughts are beginning to turn to Valentine's!  Stampin' Up! is offering this special Filled With Love promotion for you!

Promotion dates: December 17, 2010 – January 24, 2011

Since Valentine's Day is the second biggest holiday for sending cards Stampin' Up! is offering you an exclusive package of Designer Series Paper perfect for creating cards for family, friends, classmates, and more!

From December 17, 2010 through January 24, 2011, get a FREE package of Bitty Buttons–a $4.95 value–when you purchase an exclusive Filled with Love Bundle. Click on the photos below to read more!

Filled With Love Promotion

Description 

Wood-Mount Item  Wood-Mount Price  Clear-Mount Item  Clear-Mount Price 

Filled with Love Bundle
Contains the Filled with Love Set* and Love Patterns Designer Series Paper Pack 

124380  $32.90  124381  $26.90 

Lleno de Amor Bundle
Contains the Lleno de Amor Set* and Love Patterns Designer Series Paper Pack 

124382  $32.90  124383  $26.90 

Plein d'amour Bundle
Contains the Plein d'amour Set* and Love Patterns Designer Series Paper Pack 

124384  $32.90  124385  $26.90 

Love Patterns Designer Series Paper Pack (non-bundled)
12 sheets total: three 12" x 12" sheets of two double-sided designs in Real Red and Pretty in Pink 

124156  $9.95  —  — 

 *Featured on p. 43 of the 2010 Holiday Mini Catalog

**Note that the free package of Bitty Buttons is not included with the package of exclusive Love Patterns Designer Series Paper only.

Click HERE to shop for any Stampin' Up! products you NEED!  

Valentine Easel Card

It may be past Valentine's Day, but really you could use this card for other special occasions, like an engagement or wedding….or just extra-special card.  It is called an Easel Card because while it folds flat like any card, it can be propped up as if it were on an easel for display.  And what a great idea to be able to display your handmade card!

EaselCard1
EaselCard2 

EaselCard3

It's easy to make this card…….just make a regular card front…this one is 

5 1/2" x 4 1/4".  For the base, make it twice as long as the card front (in this case 11"" and the same width (in this case 4 1/4").  Fold that base in half (at 

5 1/2") and then fold one of those halves in half (in this case 2 3/4").  Then you adhere the card front to the front of that 2 3/4" portion…..you'll see when you fold it!  Decorate the base, putting a little something popped up that can act as a stopper for your card front.  And there you go!

Some Supplies on this card:

The beautiful Bride Specialty Paper #115669

Sending Love Specialty Paper #117153…..comes glittery!

Extra Large Two-Step Bird Punch #117191

Full Heart Punch #113693

Word Window Punch #105090 and Modern Label Punch #116630

Beautiful White Satin Ribbon #114616

New Pinking Hearts Border Punch #117649

New Sale-A-Bration Scallop Trim Border Punch #118402 (free with a $50 order!)


Please contact me if you have any questions about making this card and visit my online store if you want to order the stamping supplies!


Easy Valentine Candy Treat Bag

Easy Valentine Candy Envelope Treat Bag 

This was a very easy little Valentine treat bag to make and you can fancy it up as little or as much as you want!  I went back to an older technique of using an envelope!  Take a Stampin' Up! envelope (#107301) (once you use a Stampin' Up! envelope you won't want to go back to those plain ones!!), seal it, then punch down the sides with the Tag Punch (#105934) to form the handle. Wheel the envelope (or stamp) to decorate.  I used the I "Love" Love Jumbo Wheel (#117084) in the Occasions Mini.  I decorated with some ribbon, a punched out heart and a little border with the new Scallop Trim Border Punch (#118402) in the Sale-A-Bration Mini (get the punch FREE with a $50 order!)  Fill with some candy and you've got yourself a nice little Valentine treat! 

If you're ready to place your $50 or more Sale-a-Bration order and get some free products, just email me!

“I Heart Hearts” Valentine Treat Bag

Splitcoaststampers puts out a tutorial every week and this treat bag cover was from last week.  It's very easy and you could vary the dimensions according to whatever your own treat is.  I cut the Real Red card stock at 3 3/8" x 10 1/2" and scored at 4", 4 1/2", 5", and 9".  Then just accordion-fold what will be the base of the treat holder and fold the top flap over.  Fill your cello bag with your treat, attach with a little SNAIL to the inside, punch some holes for some ribbon to tie through if you want, decorate the front and you are done!

 TreatBag

TreatBagInside1

To decorate the front of my Treat Bag I used the I "Heart" Hearts Stamp Set in the Occasions Mini Catalog.  If you want to know you are doing some good while you are stamping, purchase this stamp set and Stampin' Up! will donate $2.00 to the American Red Cross for Haitian Relief. Already 6694 stamp sets have been sold as of a couple days ago.

Valentine Pencil Bug

Last Saturday I had the pleasure of stamping with a troop of ten Girl Scouts, ages 7-8 and this was one of the projects we did!  I'd seen these around on the internet and thought they were so cute!  The one I first saw was made by another demo, Janet Wakeland.  

These Valentine Pencil Bugs/Caterpillar?? are so easy to make!  Just take a 12" strip of card stock or designer paper, score at 1/2" at the beginning and end, and every inch in between.  You will them punch a hole in the center of each inch space along the strip.  Now no hole punch I had was big enough to fit a pencil through so I punched several times to make the holes larger.  The strip looked pretty messy when I got finished, but once you shove the pencil through, the messy punches don't show!  Perhaps the new Small Heart Punch would work, but the hearts would be sideways unless you could accordion-fold and then punch two layers at a time.  I can't FIND my heart punch at the moment so I can't try it to be sure!  After punching the the holes, accordion-fold on all the score lines and insert the pencil (or you could use a Pixie Stix!)  To make the head, just punch a 1 3/8" circle and make a face however you like….you could use wiggly eyes.  The antennae were made from various swirls from the Tulipe Die for the Big Shot.  Just adhere the head to the 1/2" section at one end of the paper strip.

ValCaterpillar


Red Mini Milk Carton

Here's the first mini milk carton I made.  So cute for Valentine's Day in red or any time!  You can add any kind of decorations to them that you like!  I used the beautiful Sending Love Specialty Designer Series Paper, the Butterfly Punch, some flower stems from the Pretties Kit for its antennae and a Library Clip to hold the box closed.  Check out the Mini Milk Carton Die (#117310) in the Occasions Mini Catalog!

MilkCarton