Valentine colors are red and pink, but sometimes it is nice to change it up a little. I love this Mini Milk Carton Die for the Big Shot (#117310) that is available in the new Occasions Mini Catalog on page 23. The milk carton is made with Almost Amethyst card stock. The medallion is a stamp from the set Love You Much (#113756) and punched out with the Scallop Circle Punch (#109043). The center is stamped twice on Whisper White card stock, the center punched with the 1" Circle Punch and then the little heart colored in and cut out with a scissors. After mounting the medallion on the side with Dimensionals, run a ribbon around the carton and tie a knot on the side. Very easy! Close the top with a Library Clip or maybe a brad so it can be opened by the gift recipient. You can also open the top like a real milk carton!
Category Archives: Valentine
Sweetheart Treat Cups
Just in time for Valentine's Day, Stampin' Up! is offering these Heart Treat Cups to use on your Valentine and other projects along with the Full Heart Punch….and they both coordinate with the Sweetheart Stamp Set. You can choose the Sweetheart Stamp Set in either wood-mount or clear-mount!
Full Heart Punch
113693 $15.95
IB&C page 186
Heart Treat Cups* (12)
120435 $2.95
Sweet Treat
Padded Envelopes (3)
116911 $2.95
Occasions Mini page 21
Contact me with any questions or to place your order!
Lots of fun projects to make with these products!!
Glittered Fifth Avenue Floral
Today I came across the Valentine card my husband gave me and remembered that I always wanted to use it as inspiration for a stamped card. Here is the Valentine:
Everyone lately has been playing with this gorgeous stamp set, Fifth Avenue Floral, and the coordinating Textured Impressions Die for the Big Shot. Although it isn't how I originally thought I would "copy" the valentine card, this is what I came up with:
I think it was the "glitteriness" of the sequins on the card that made me think about using the new "Fine Supernova Stampin' Glitter" on page 180 of the Idea Book & Catalog. I first embossed with the "Manhattan Flower Textured Impressions Die" on page 202 (which is pretty enough by itself on any paper!) and then used the "2-Way Glue Pen" to trace all the lines of the embossed flowers (okay, that takes a little patience and you can't do it perfectly, but you can do it!) I sprinkled on the Pink Supernova Glitter, shook it off, and then went back in to touch up a few missed spots. This glitter is very fine, so it is a little difficult to get it completely off your paper where you don't want it. I found a small watercolor brush to work pretty well. As you can see, there are still some specks of glitter. But I think after awhile it will probably drop off. The sentiment is from "Great Friend" in the Occasions Mini.
Here is the inside of the card since the card base is Basic Black:
I just stamped the flower with Pink Passion ink.
The "Manhattan Flower" die was not available until March in the new Idea Book & Catalog, so you may have overlooked it. You will really want to put it on your next order because it is a beauty!
Fun Lingerie for a Rainy Saturday
You're probably wondering what that title could possibly mean! Just sharing a card I made by request for someone who had seen my previous bra and panty card HERE. These were popular on Splitcoast about a year ago, at least that is where I first saw them. Just cut out the template on the fold of your card base, then use the template again to make the "fabric" however you want. On this card I embossed stamping from "Doodle This" which makes it look like lace on the red cardstock. This time we have the Eyelet Border punch which I used to make the lace on the top of the bra and some black grosgrain ribbon for the straps. I used one of the "Fleurettes", the new crocheted-look flowers, and a Rhinestone brad from the Pretties Kit. You could also easily use one of the Pretties flowers for your decoration.
And for the backside: Again, embossing for the lacy-look, some black grosgrain ribbon, and a little heart "tattoo"!
Have fun with this project! Lots of different ways to "style" this one!
February Swaps
Here are the swaps I received from my friends in our little demo group. We all made the cute box with the scalloped flower on top, but that warrants its own post! I just have to understand better how to put the pieces together.
The card with the 3-D flowers was made with "Doodle This". The flowers are cut out and then the petals are turned under and adhered to the card. Very cute! Also, the card closes by tucking underneath the word "Joy". The very cute Valentine truck is stamped with "Loads of Love", a set I don't own but see the cutest things made with it. Of course the card itself is made with the Top Note die for the Big Shot (both, a must have!) with a Jumbo eyelet in the corner. The pink box is made from two Scalloped Envelopes made with the Big Shot. I love in the photo below how she attached a tab to the bag of candy inside! And the other little box was a tutorial on Splitcoaststampers recently….so cute! You can fit 4 Hershey Nuggets or even Ghirardelli Chocolates in it and the tab of the lid fits behind the scallop on the front rather than going inside the box. Thanks, ladies…..another fun get-together!
Happy Valentine’s Day! XOXOXO
This morning when I turned on my computer and the Google page came up, I saw they had turned the two O's in "Google" into an "X O" for Valentine's Day. This inspired me to create this Valentine, which took less than five minutes! I used the Contempo Alphabet, the Heart to Heart Punch for just the smallest heart stuck inside the "O" and the sentiment from "A Happy Heart". The colors are Riding Hood Red and Whisper White.
Have a Happy Valentine's Day!
Valentine Ghirardelli Candy Holder
This is a little Valentine candy holder that I found somewhere. I stamped the Pink Pirouette card stock with Versamark for that watermark look, but my pad was rather dry and it barely showed up. I decided to try embossing and that's how I ended up embossing with Iridescent Ice and it gave my candy holder a very sparkly, glittery look! I used the Love You Much hearts, and stamped them again on Whisper White and punched out with the Heart to Heart punch. The pink taffeta ribbon is very pretty or the pink grosgrain.
Base is 2 3/4" x 9 5/8".
Score at 2 3/4and 3; 6 1/4 and 6 1/2.
Fold up and then open back up. Use your Word Window Punch on the bottom flap, inserting as far as you can, a little to the right and then punch again the same hole but a little to the left. That gives you an opening big enough for the Ghirardelli Chocolate Square. Then flip the flap up and adhere, preferably with Sticky Strip, just at the top. Insert chocolate and tie the ribbon around to close! Very easy, very adaptable, and very cute!
Valentine Candy Card
Valentine's Day is right around the corner! Here are some very quick and easy treat holders to make. I made six of them easily yesterday for my nieces and nephews. I found the idea on Angie Juda's website. This one I made for the boys using Sahara Sand card stock for the base, "A Happy Heart" stamp set, Riding Hood Red 5/8" striped grosgrain ribbon, the Heart to Heart Punch and "Holidays and Wishes" for the Valentine greeting on the front.
Just start with a strip of card stock 8 1/2" x 4 1/4". Score at 3" and 6 1/4".
Use your Slit Punch to punch a slit on each side of the middle part to hold a bag of candy.
Your layer or decoration on the front can be anything you want it to be, any size. The ribbon keeps the candy holder closed. You could even just stamp the front of it and not put an additional layer on the front. This could also be used as a gift card holder. So there you go, use it for more than one season or occasion.
And here is another version for the girls.
What would I have done with the "Love You Much" stamp set? I loved it from the first moment I saw it at the Stampin' Up! San Antonio Regional.
Hope you will have fun making some easy candy holders for your Valentine!
Valentine Candy Holder
Here's an idea I have seen many other stampers make. I love using my Big Shot, and this paper cone is made with the Scallop Circle die cut. I used Pink Pirouette card stock and stamped with Red Riding Hood ink with the hearts from the set "Love You Much". I gently rolled the paper into a cone shape, punched two holes and put the ribbon through. You can also add a little glue to hold the bottom edge. Tombow Multi Purpose Glue (in the green bottle!) works great for this. Just hold it for a second until it adheres. These candies are Hershey Nuggets wrapped in Candy Lane Designer Paper. Love doing those! Wouldn't your valentine love getting this little gift?! You can shop for any of these Stampin' Up! products by contacting me or by going to the online store! And don't forget about Sale-A-Bration!
Also, when you go to my Demo Website you can watch a great video about the Big Shot! Jaron Winder, a multi-talented Stampin' Up! employee, will show you several projects using the new Big Shot dies. Jaron isn't "just" an employee, he really is a stamper and makes fabulous projects. He put on a fantastic demonstration at the San Antonio Regional that I was able to attend. And the man can sing!
Here are some other Valentine items.
Who Would Have Thought Target Mailboxes Would Be So Much Fun?!
When this Target mailbox craze started, I would have thought we would all make our Valentine mailbox that one year and then we'd be on to something else. But it seems like we still haven't gotten our fill of them! They make such great gifts, for any occasion, as well as great projects in stamp camps and classes. I found one more mailbox in my stash and wanted to decorate it for Valentine's Day. Hope you have found your Target mailboxes! Put some little cards or candy inside and you have yourself a great Valentine gift!
Here's what I used:
Bella Rose Designer Paper (love it!)
Love You Much Stamp set
Best Wishes and More Stamp set (heart on the front)
White Gel Pen
Ribbon: 5/8" Riding Hood Red Striped Grosgrain, Pretty in Pink Taffeta, Whisper White 1/4" Grosgrain
Eyelet Border Punch, Trio Flower Punch, Heart to Heart Punch, Circle punches, Scallop Punch
Naturally Serif Alphabet Decorative Strip for the Big Shot ("Be Mine")
Rhinestone Brad
Everything is available online at www.karenfontinelle.stampinup.net. Click on the "Shop Now" button to go to the online catalog. Don't forget to add your Sale-A-Bration products for every $50.
Have fun making a Valentine or gift for someone you care about!
A Monday Valentine
If you haven't done it yet, it is really time to get out that paper, scissors and glue and start making valentines! Valentine's Day is Saturday, Feb. 14th. Who do you know would love a handmade card from you? Think back to your childhood and how much fun it was to make valentines from construction paper and doilies! Stampin' Up! provides much better materials than those, but the idea is the same.
I was looking through some old magazines of cards and saw something that gave me this idea. I also wanted to use the new Stampin' Up! cardstock "Taste of Textiles" on page 156 of the catalog. These papers are quite different and this white one is absolutely beautiful! The picture does not do it justice. It would look beautiful on a wedding card. The other papers are Vellum with Not Quite Navy Polka Dots, Black Linen Texture, Bronze Metallic, Printed Kraft and Close to Cocoa Pin Stripe. Be sure to check them out! They are made in Italy!
To see the paper in the online catalog, just click on the link above, click the Shop Now button and then click on Paper in the left column and Specialty Paper.
I used the Heart to Heart Punch on pages 184-5 of the catalog to punch just the smallest punch. The greeting is from "Holidays and Wishes".
Valentine Stamp Camp
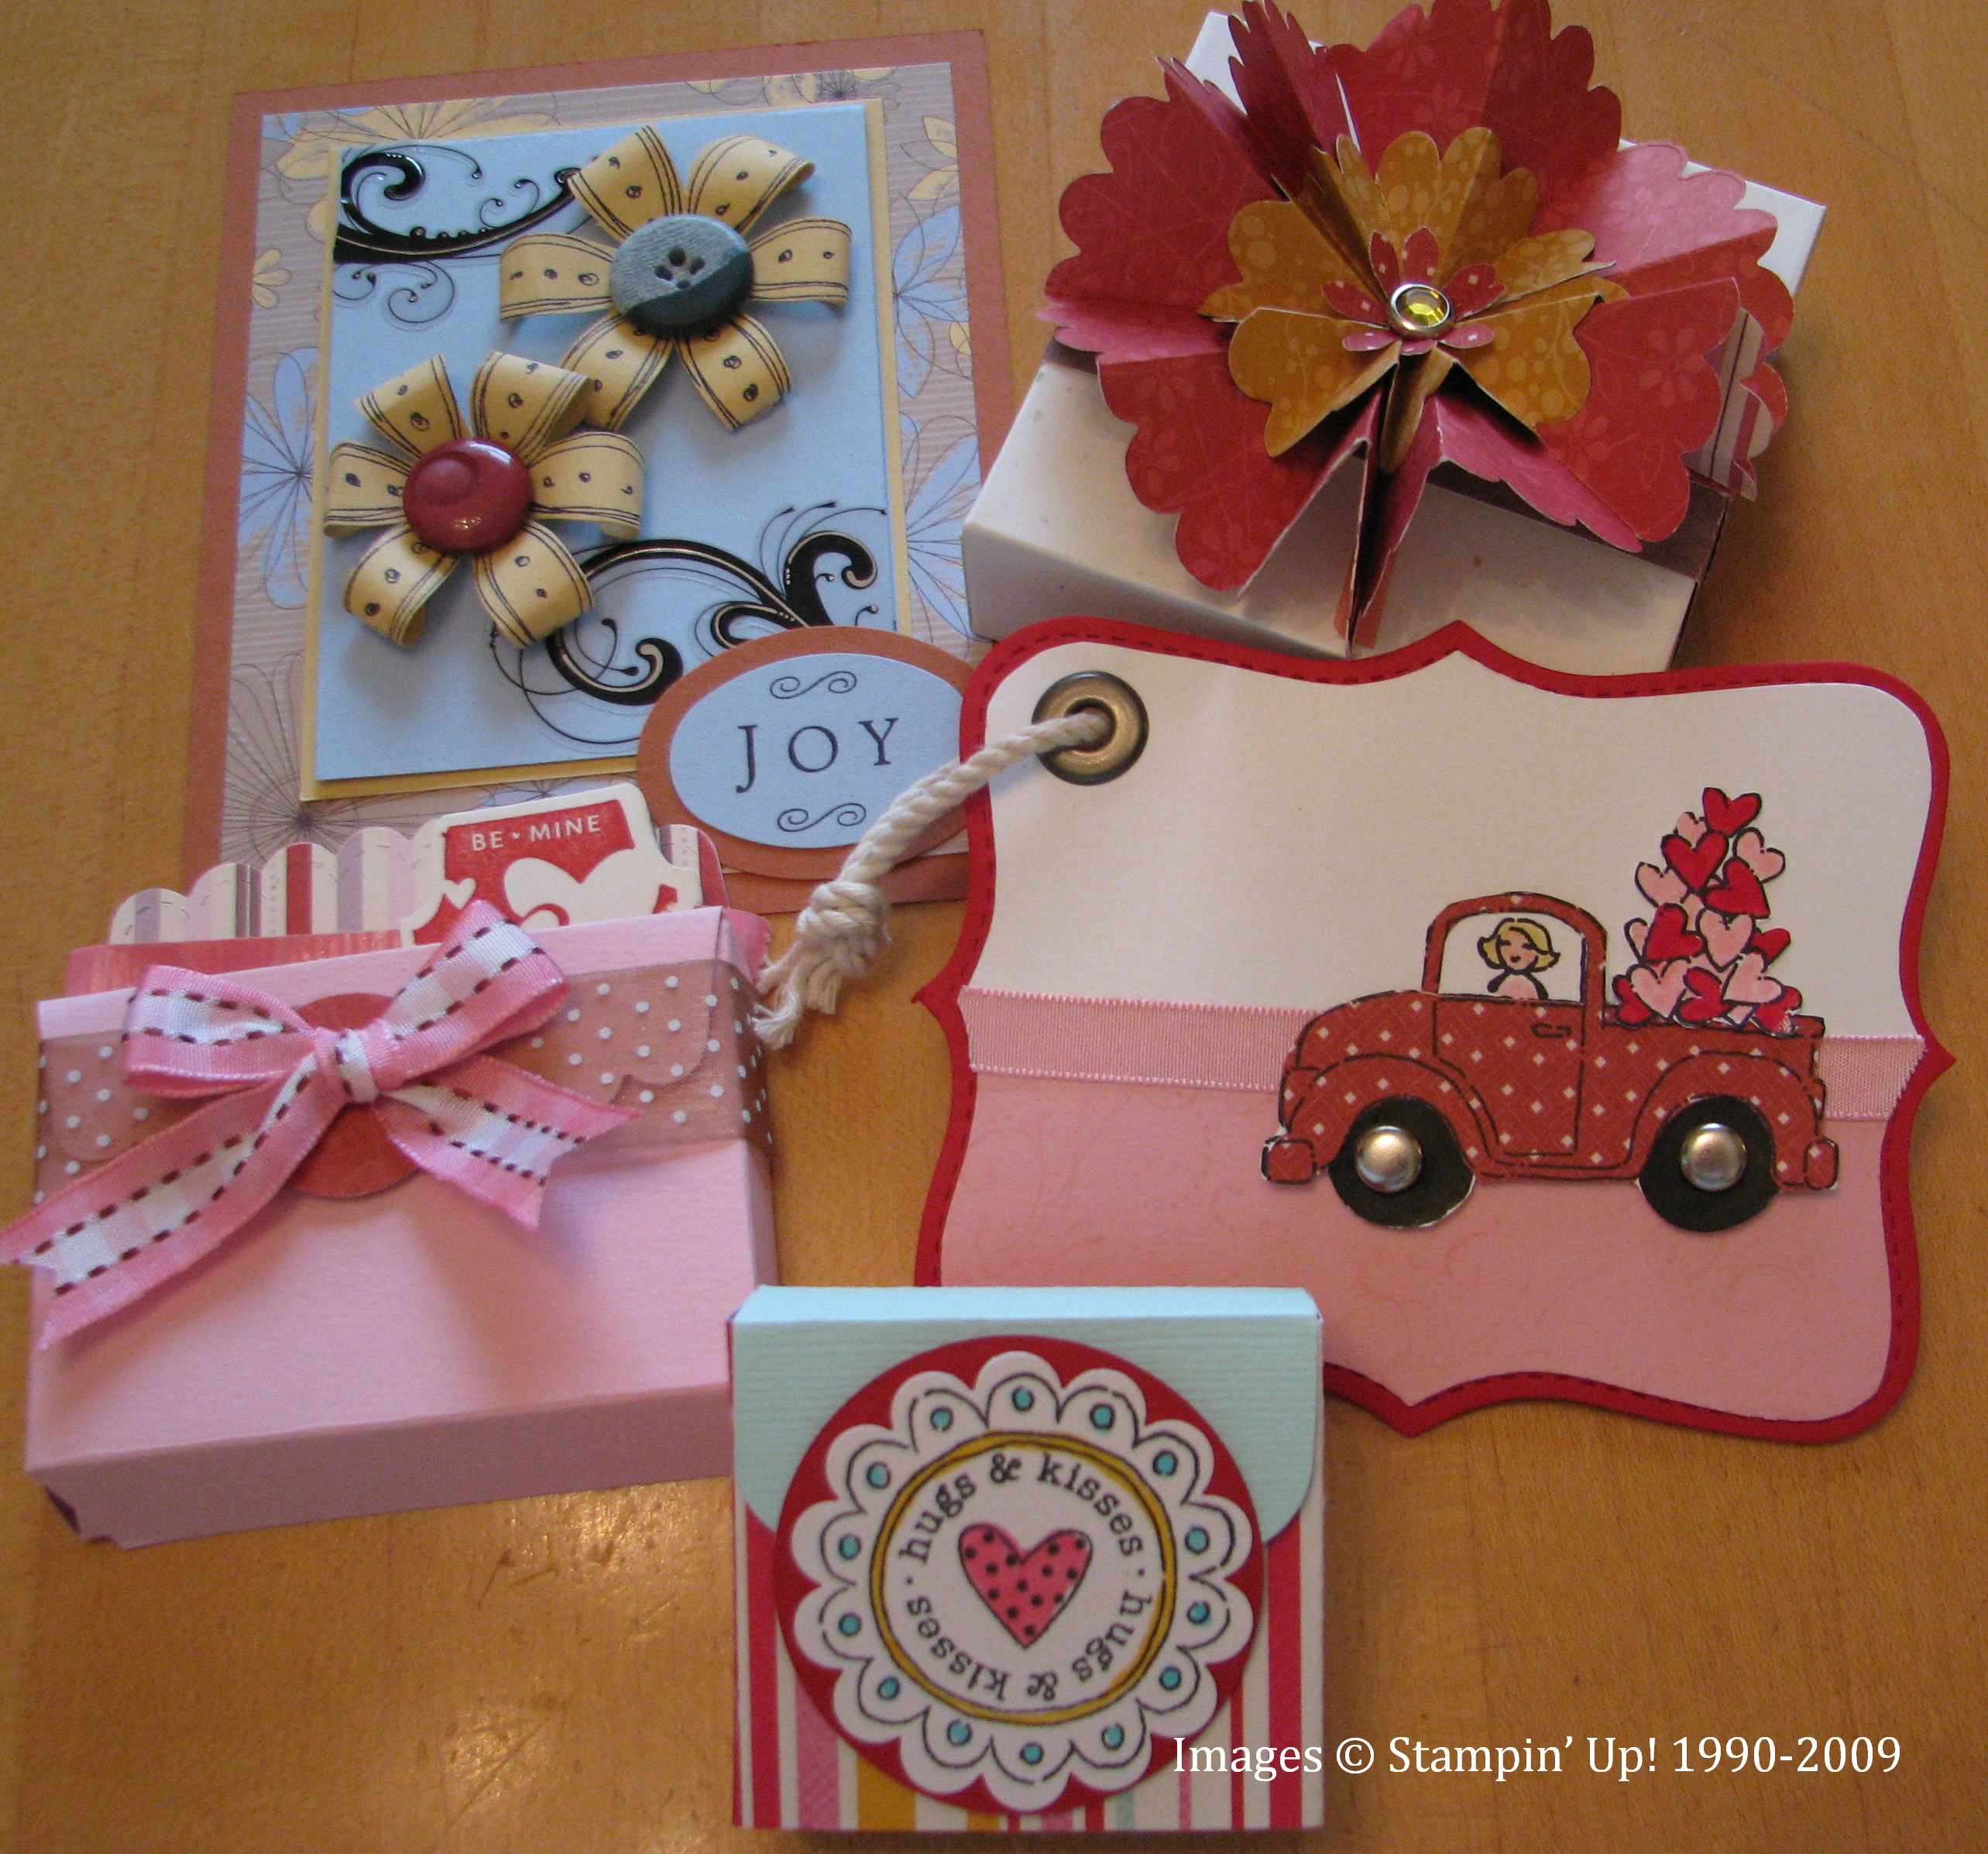
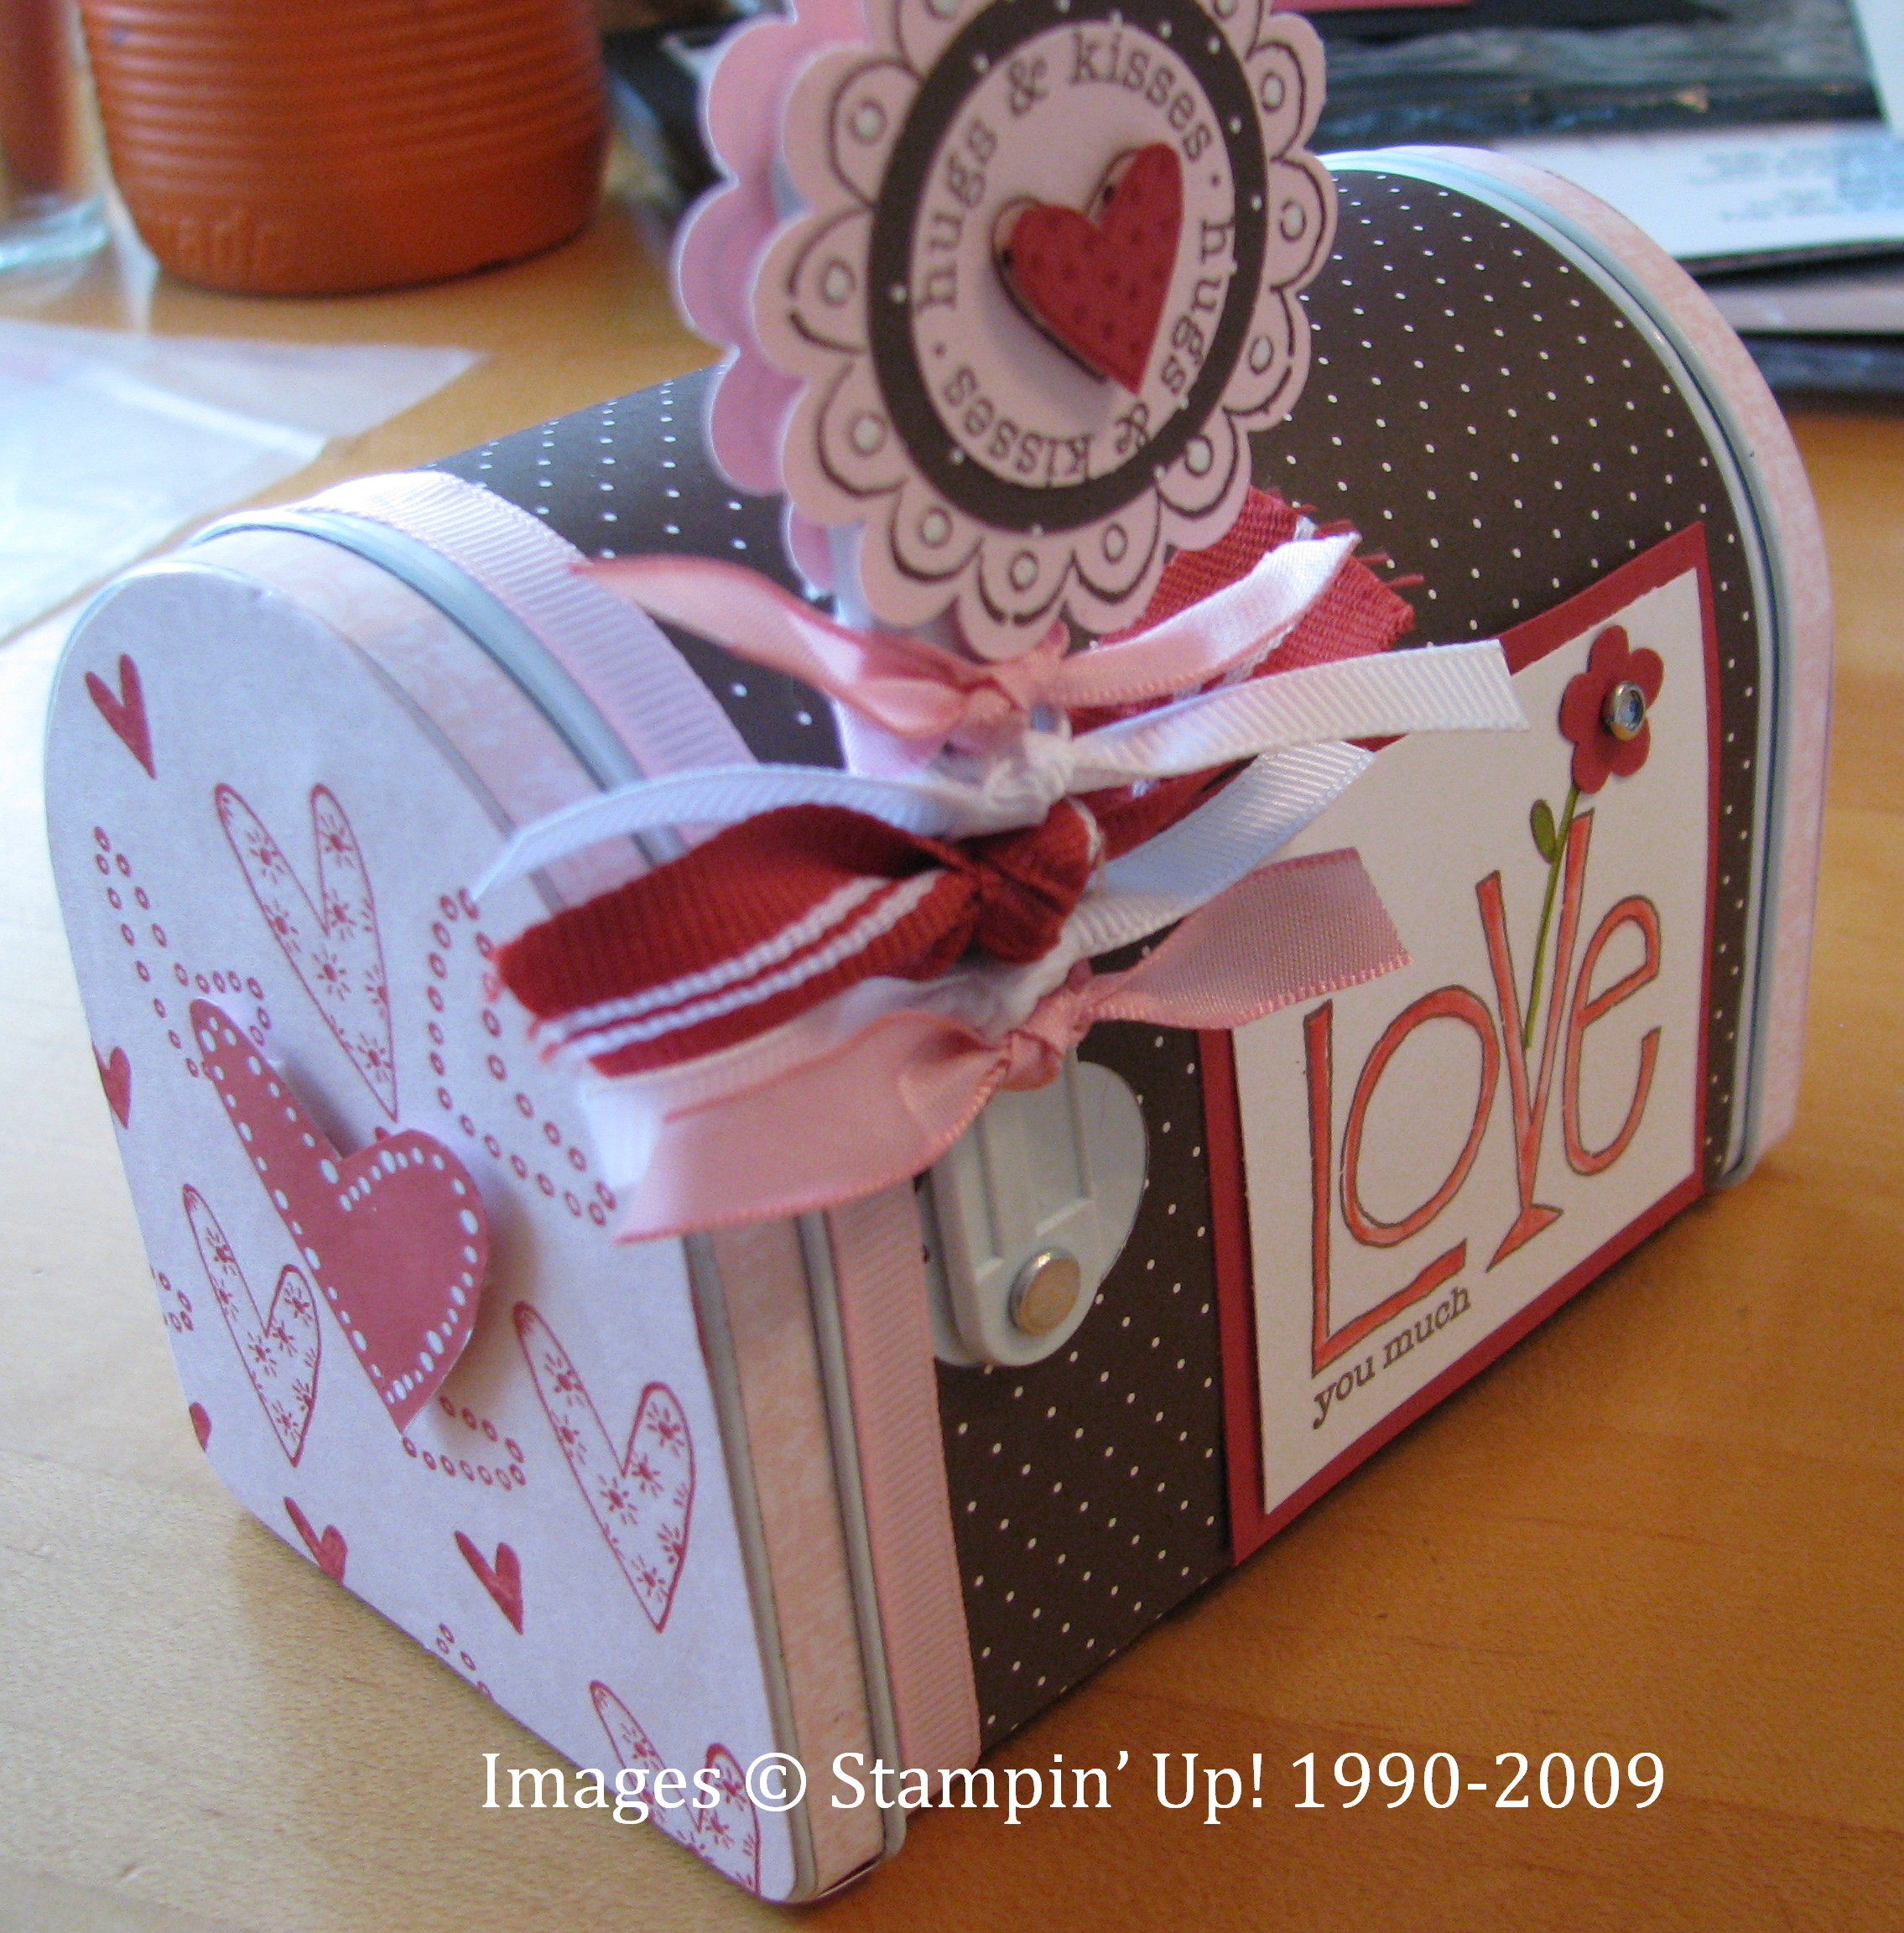
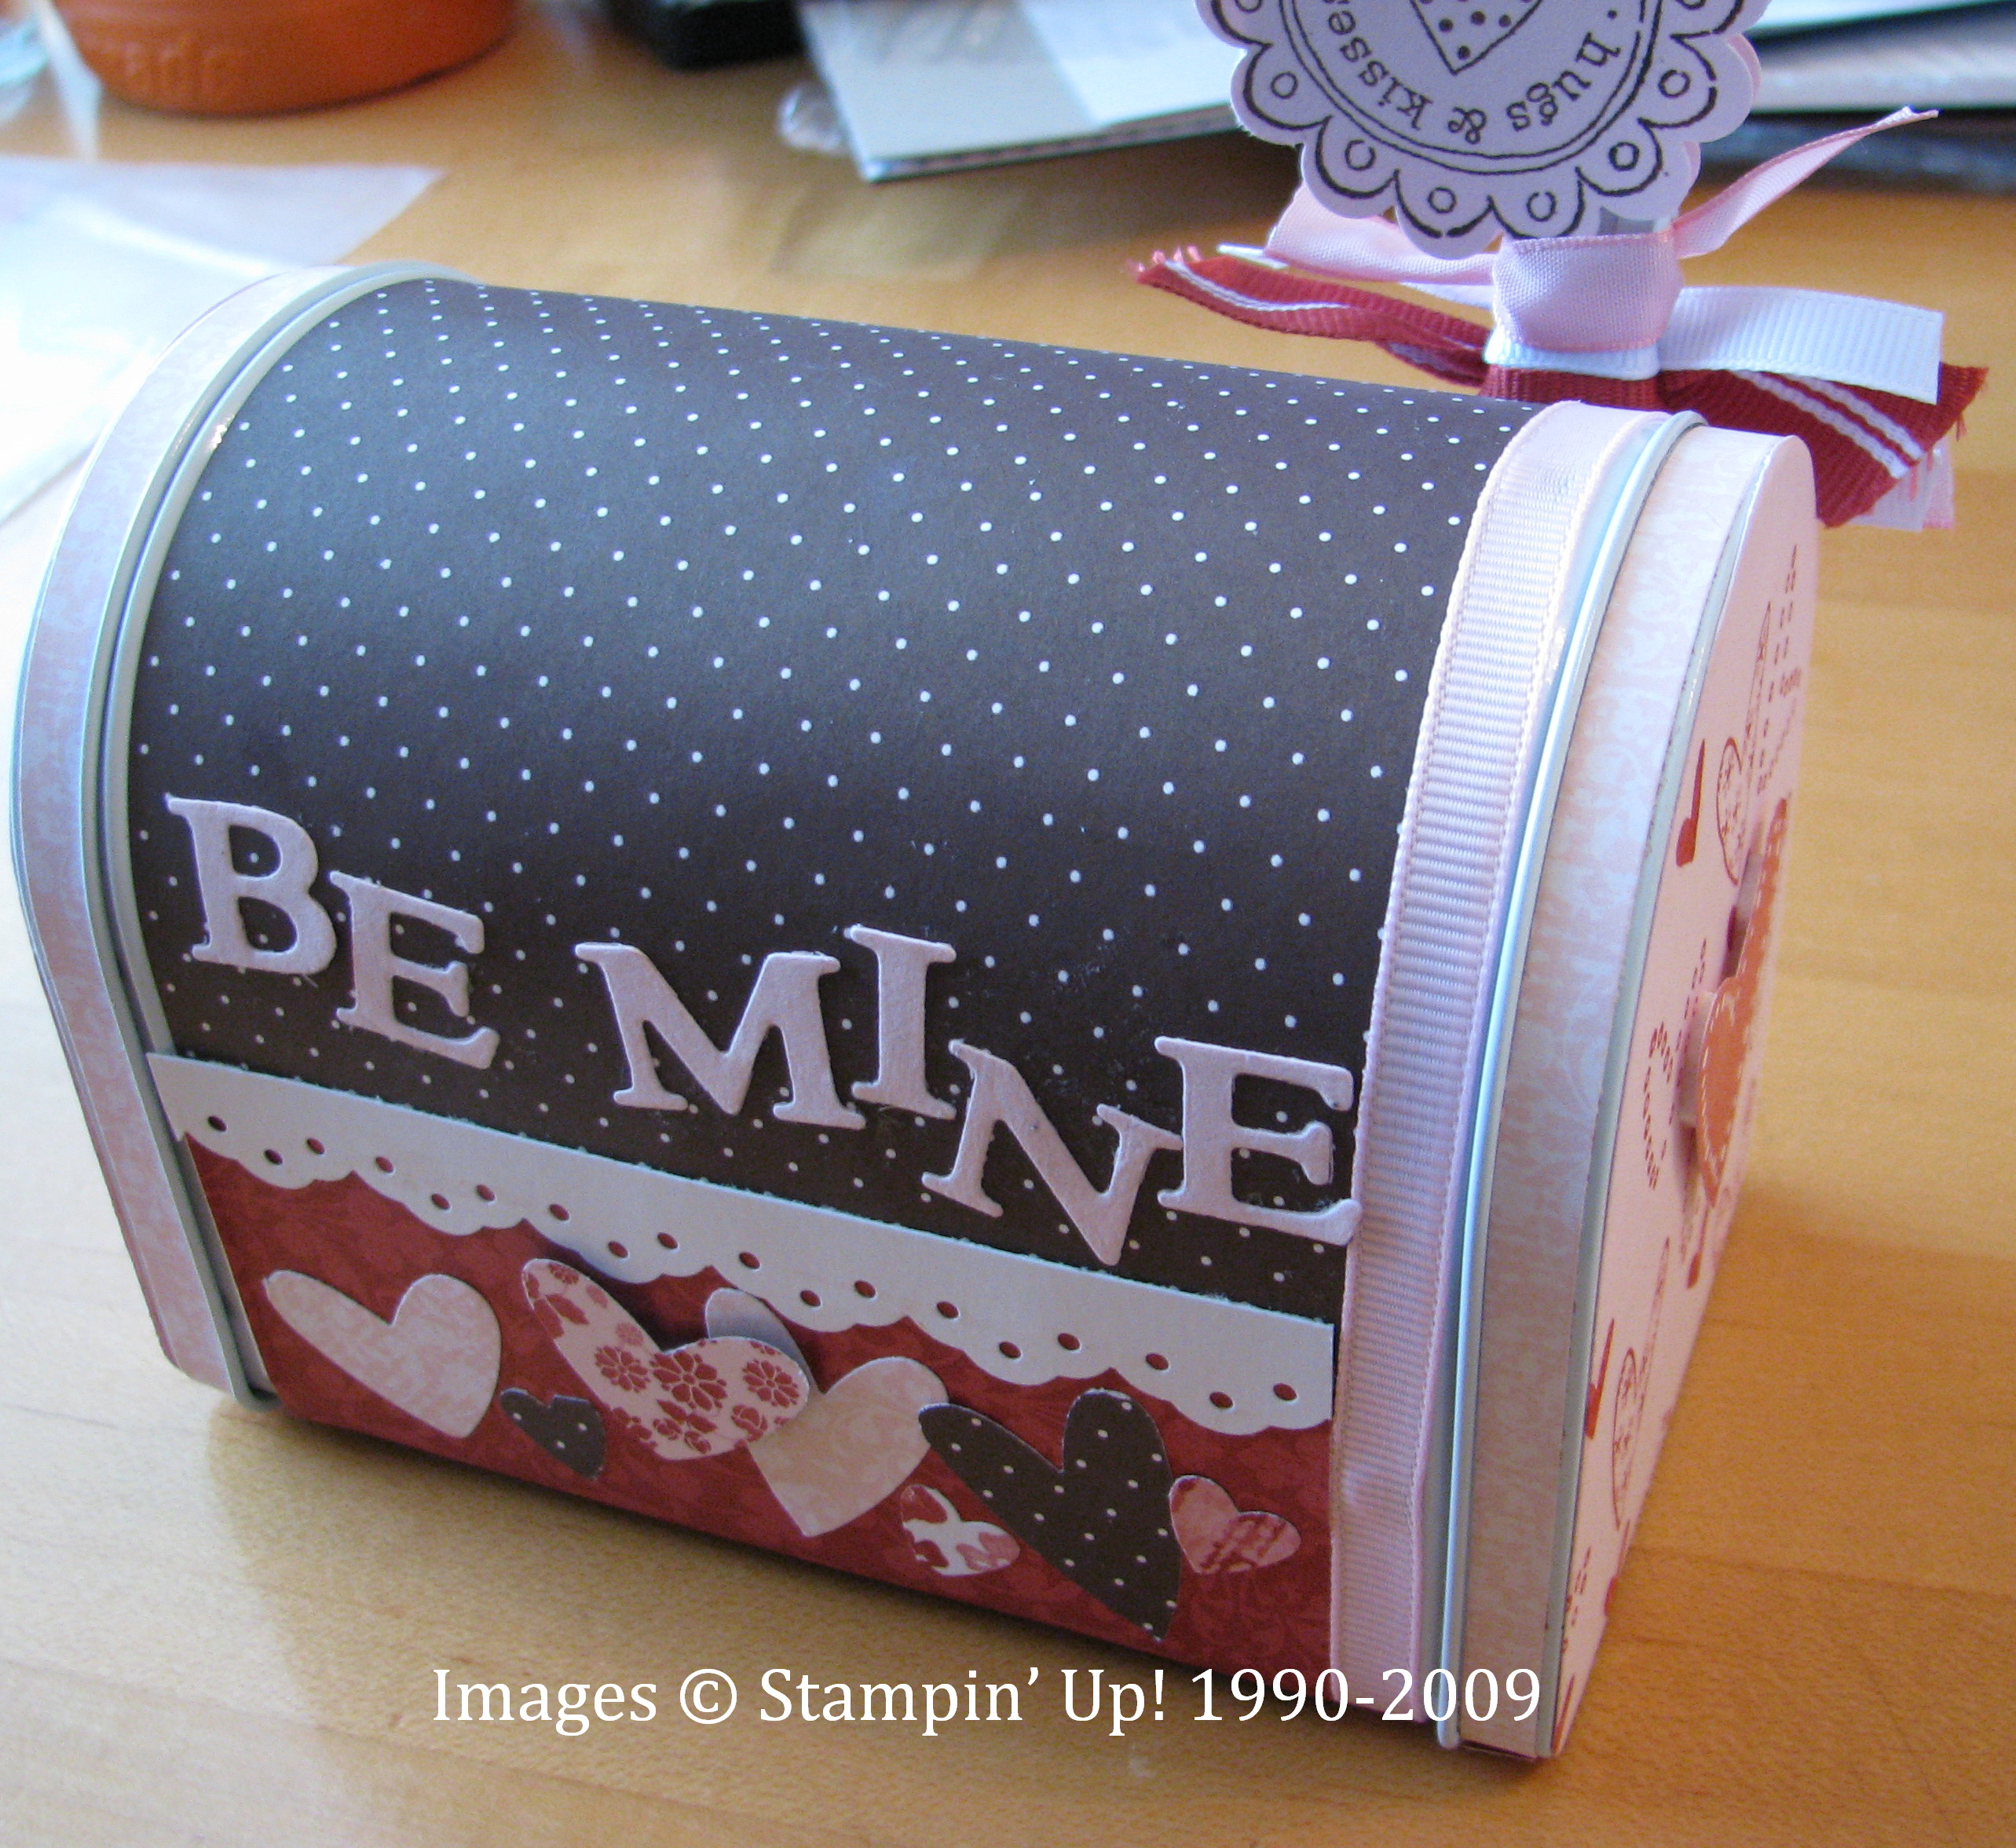
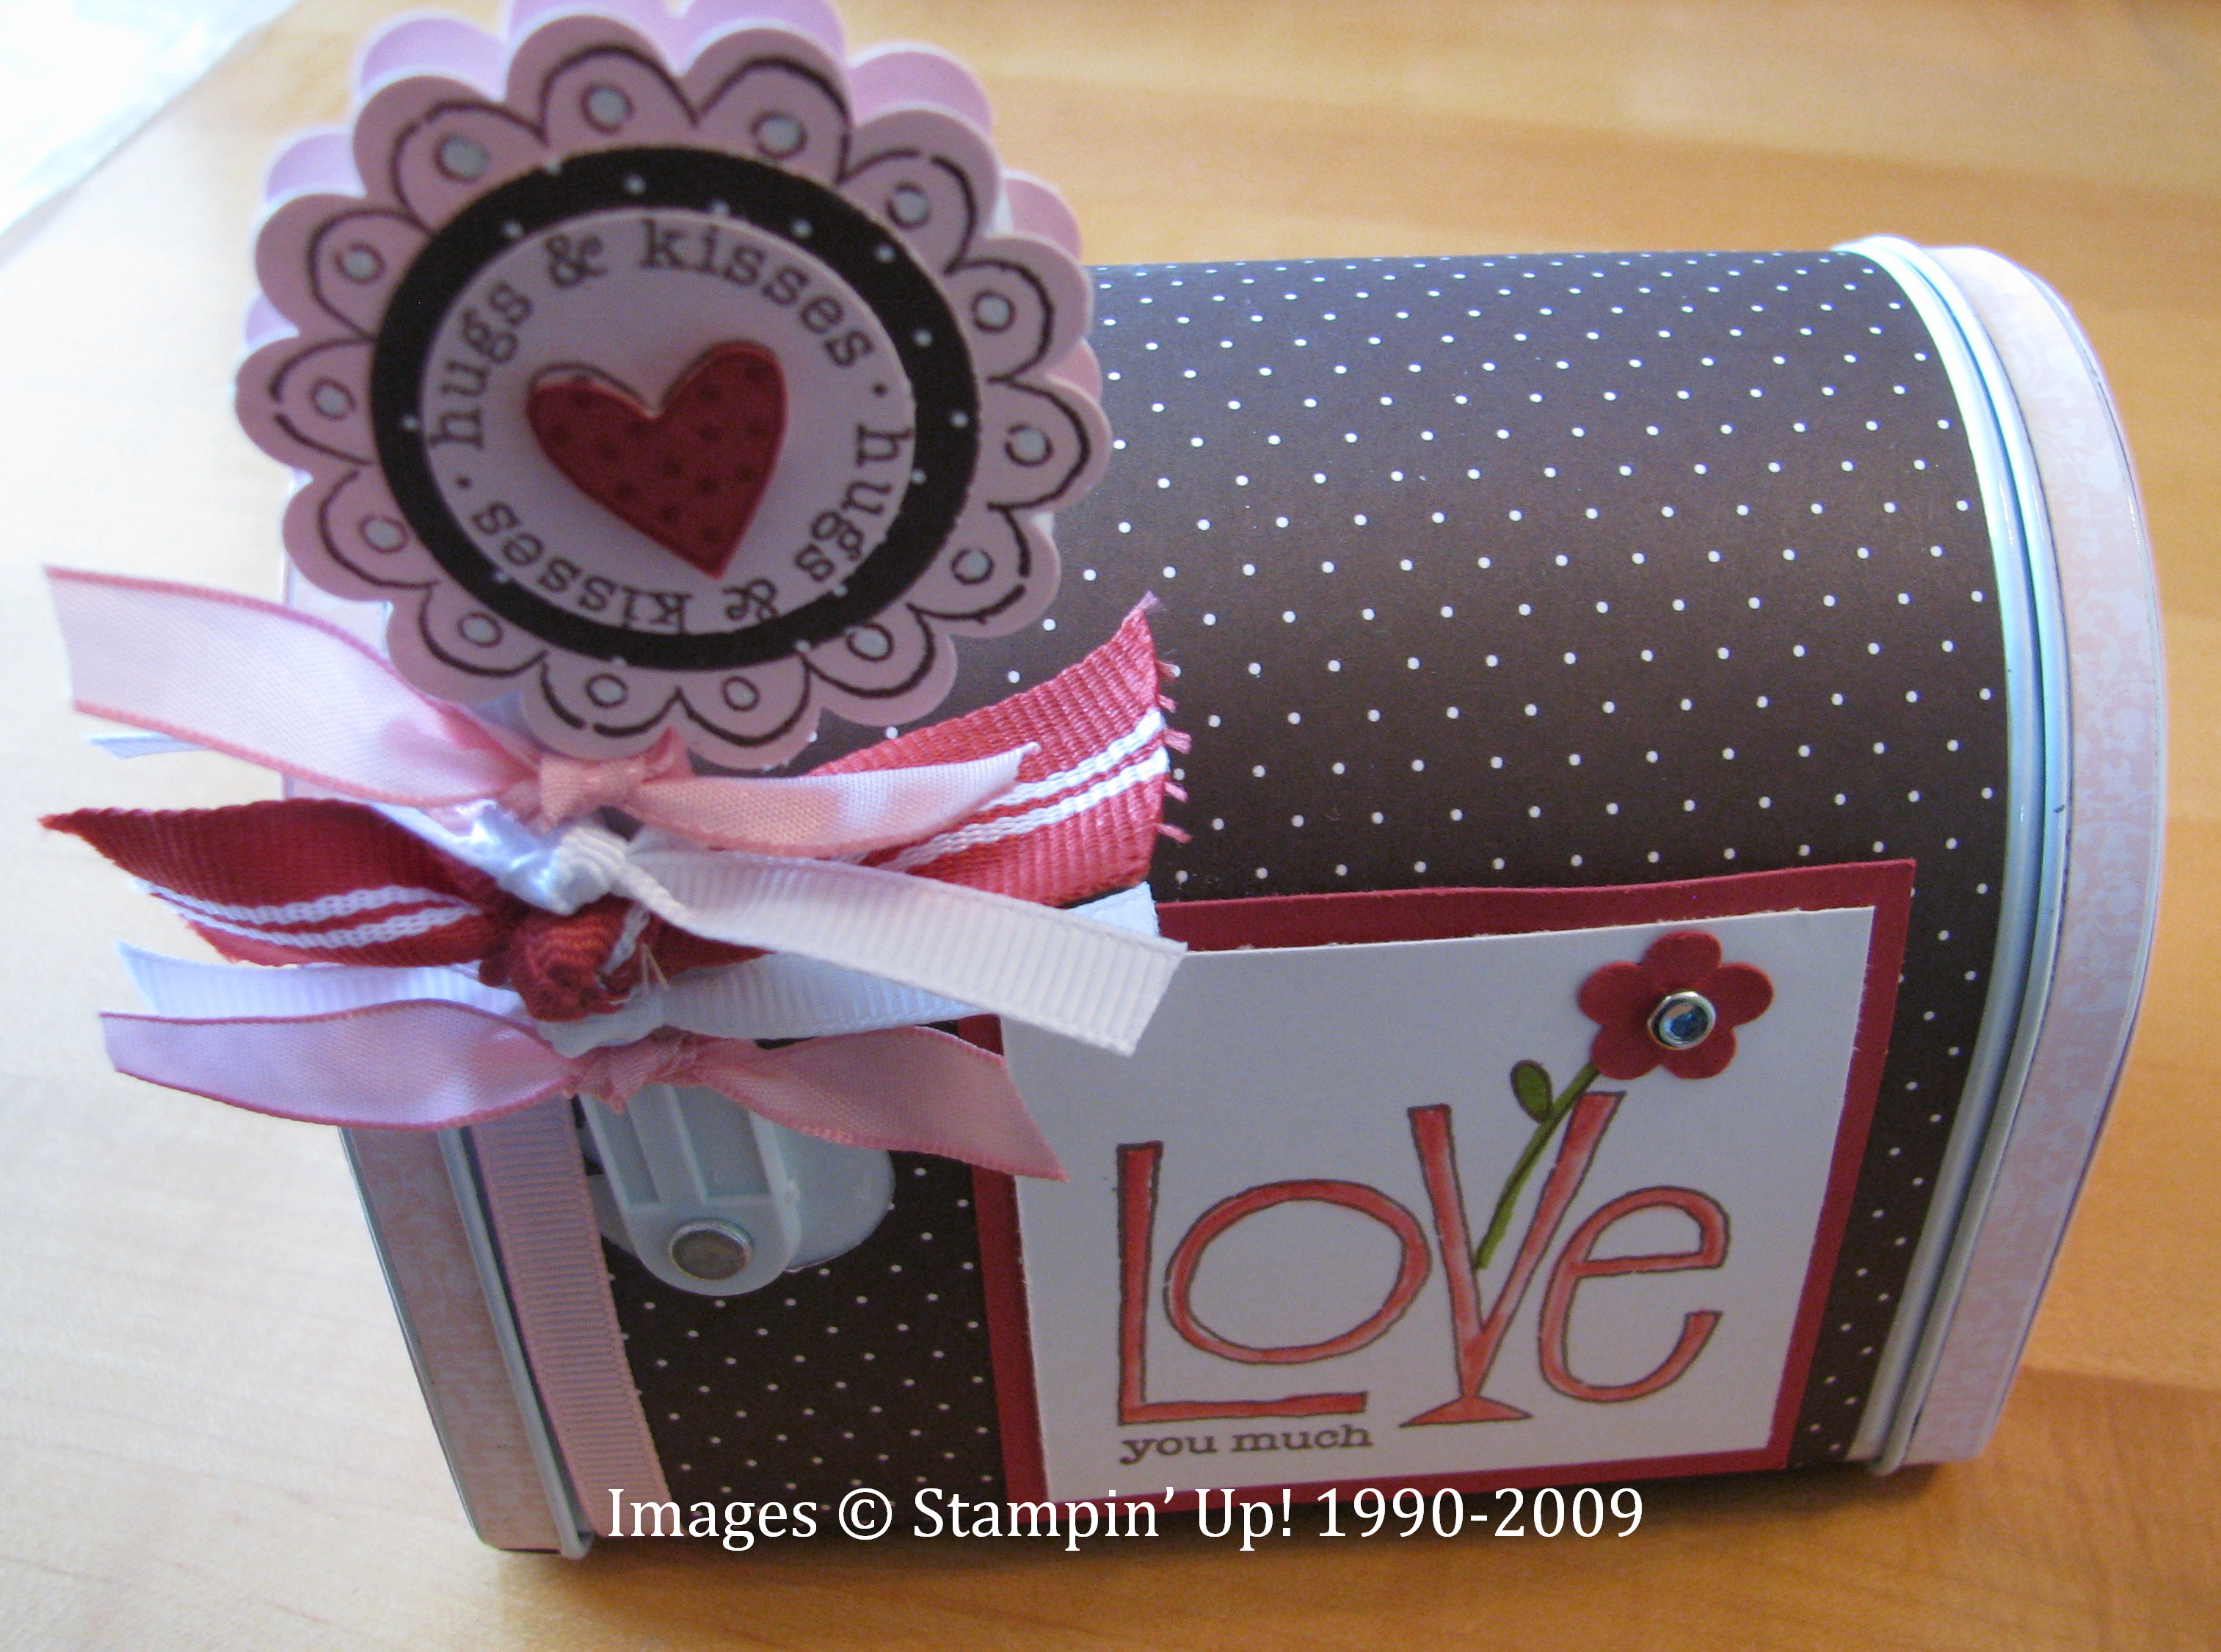
These are the projects we made at my Valentine Stamp Camp last weekend!
If you missed this one, I hope you can make the next one!
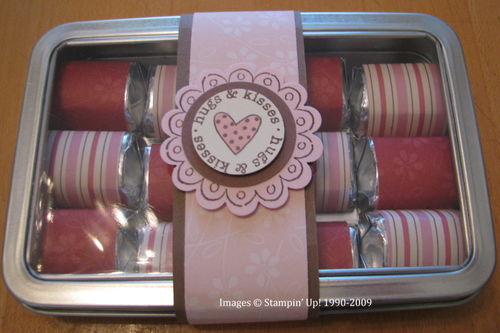
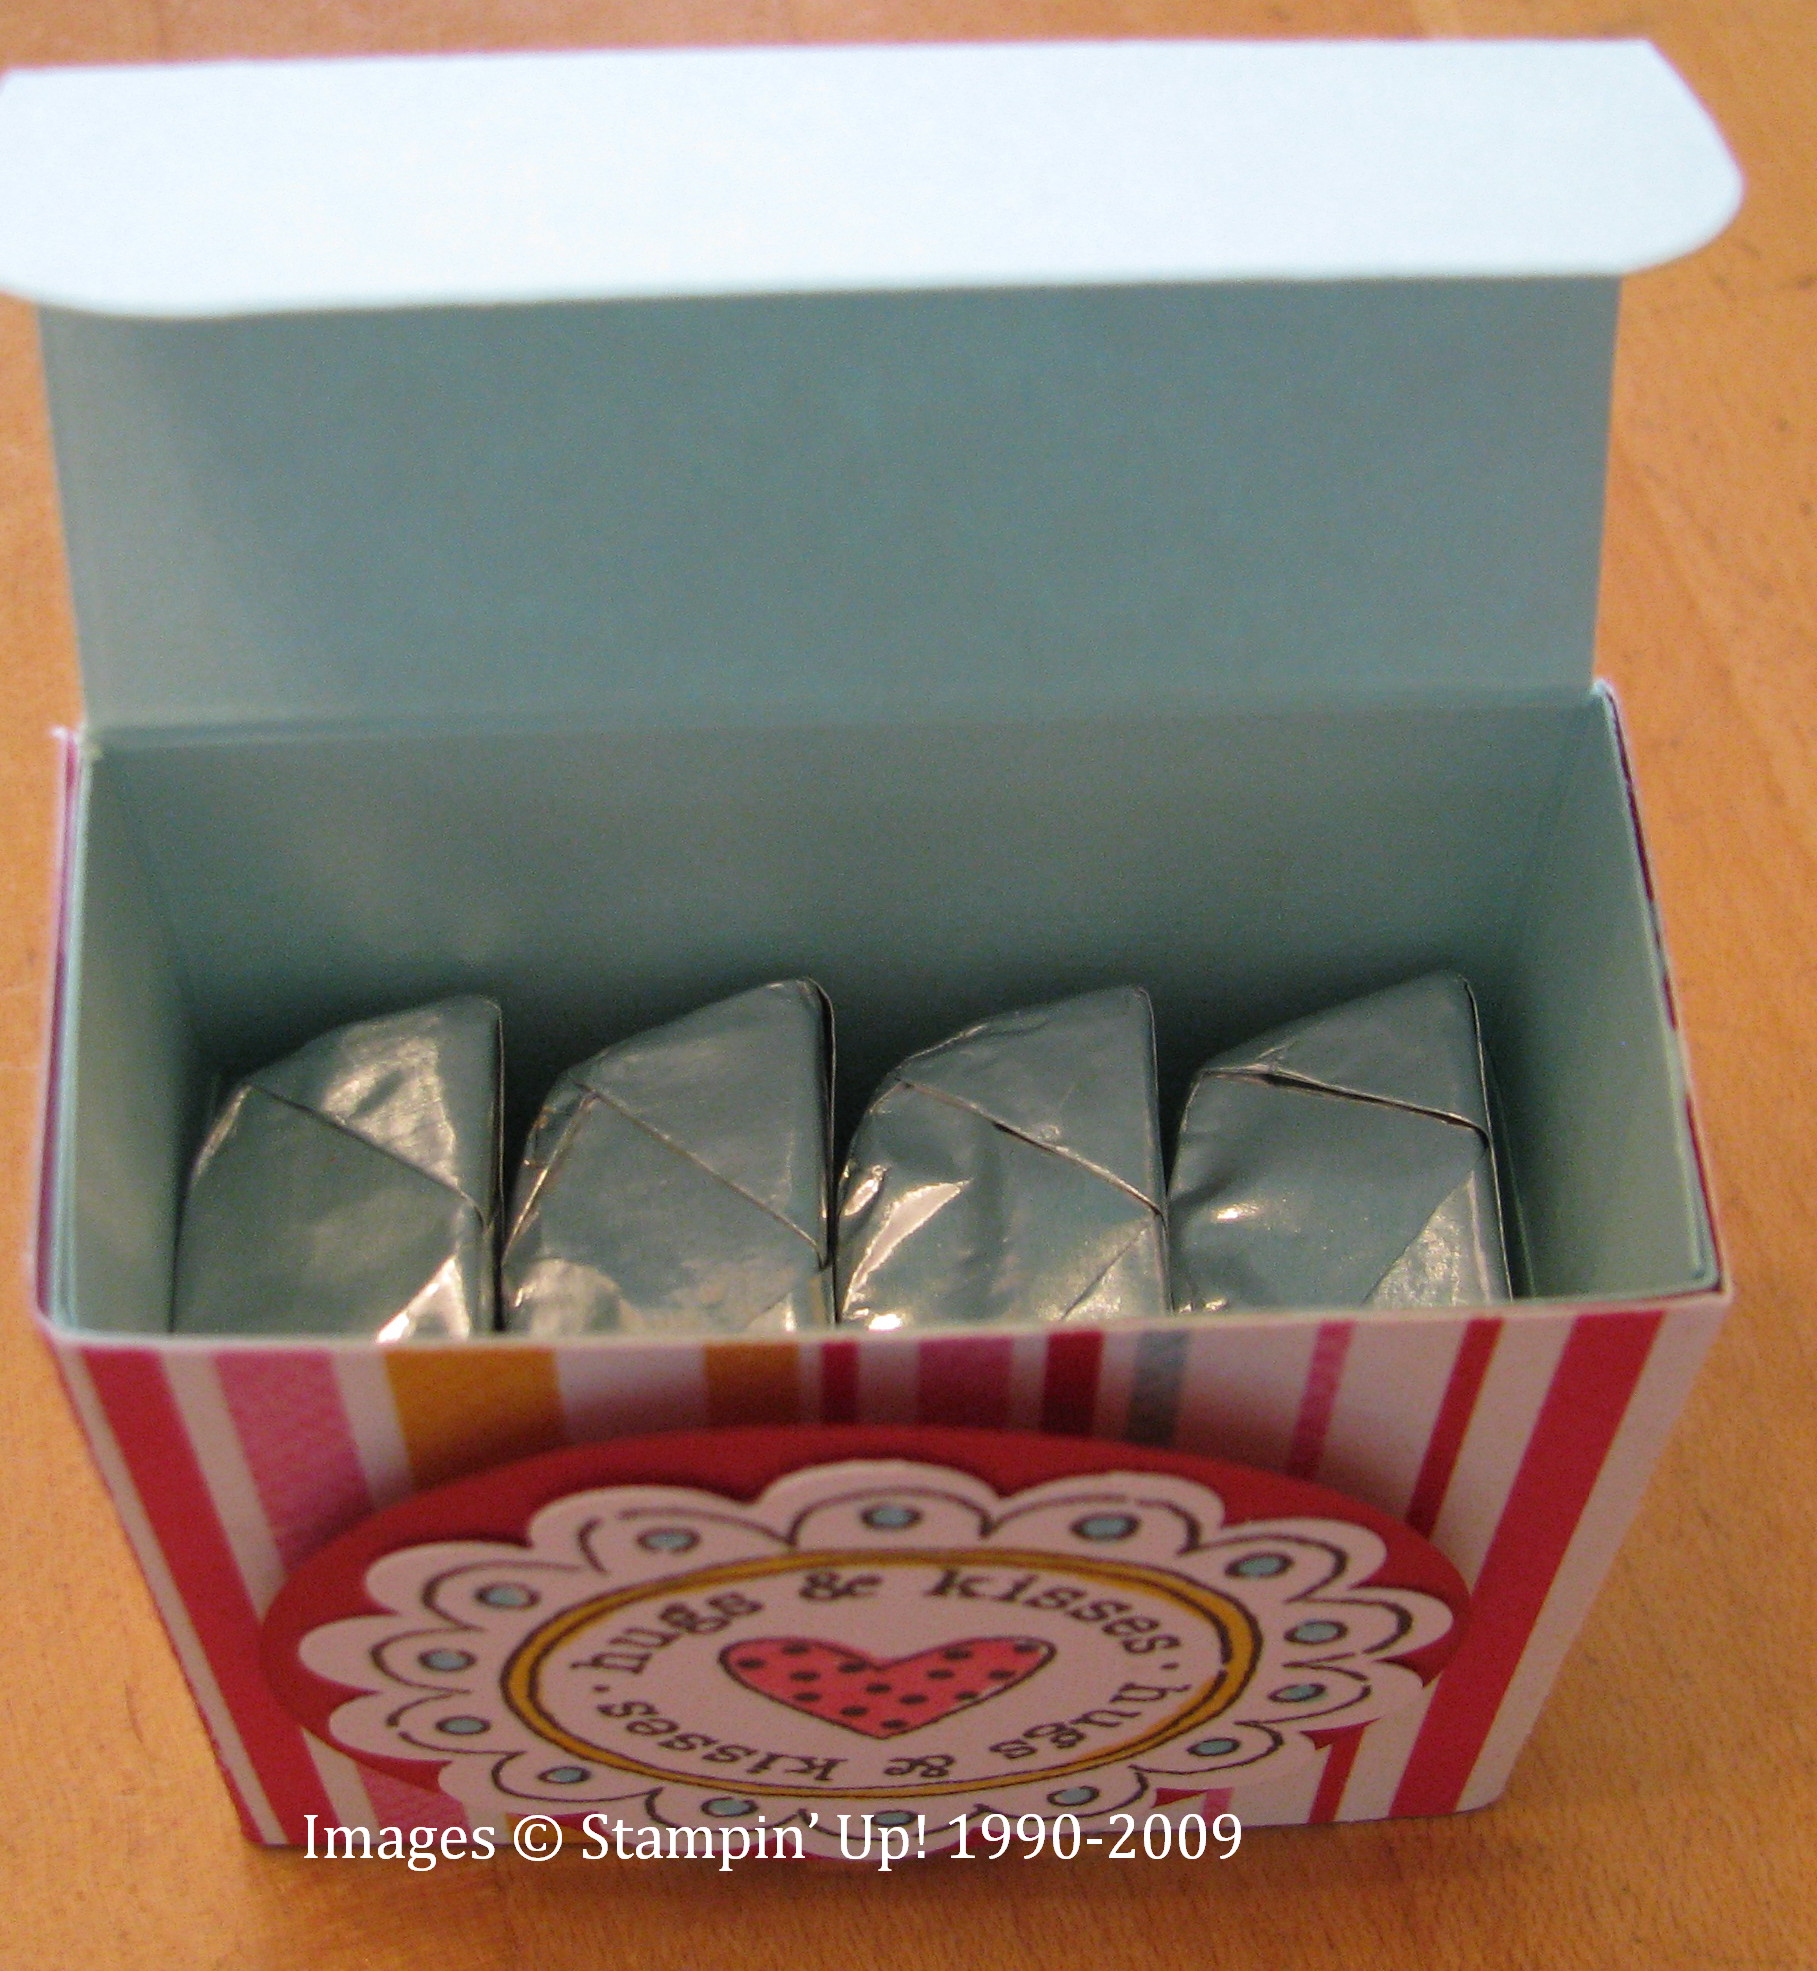
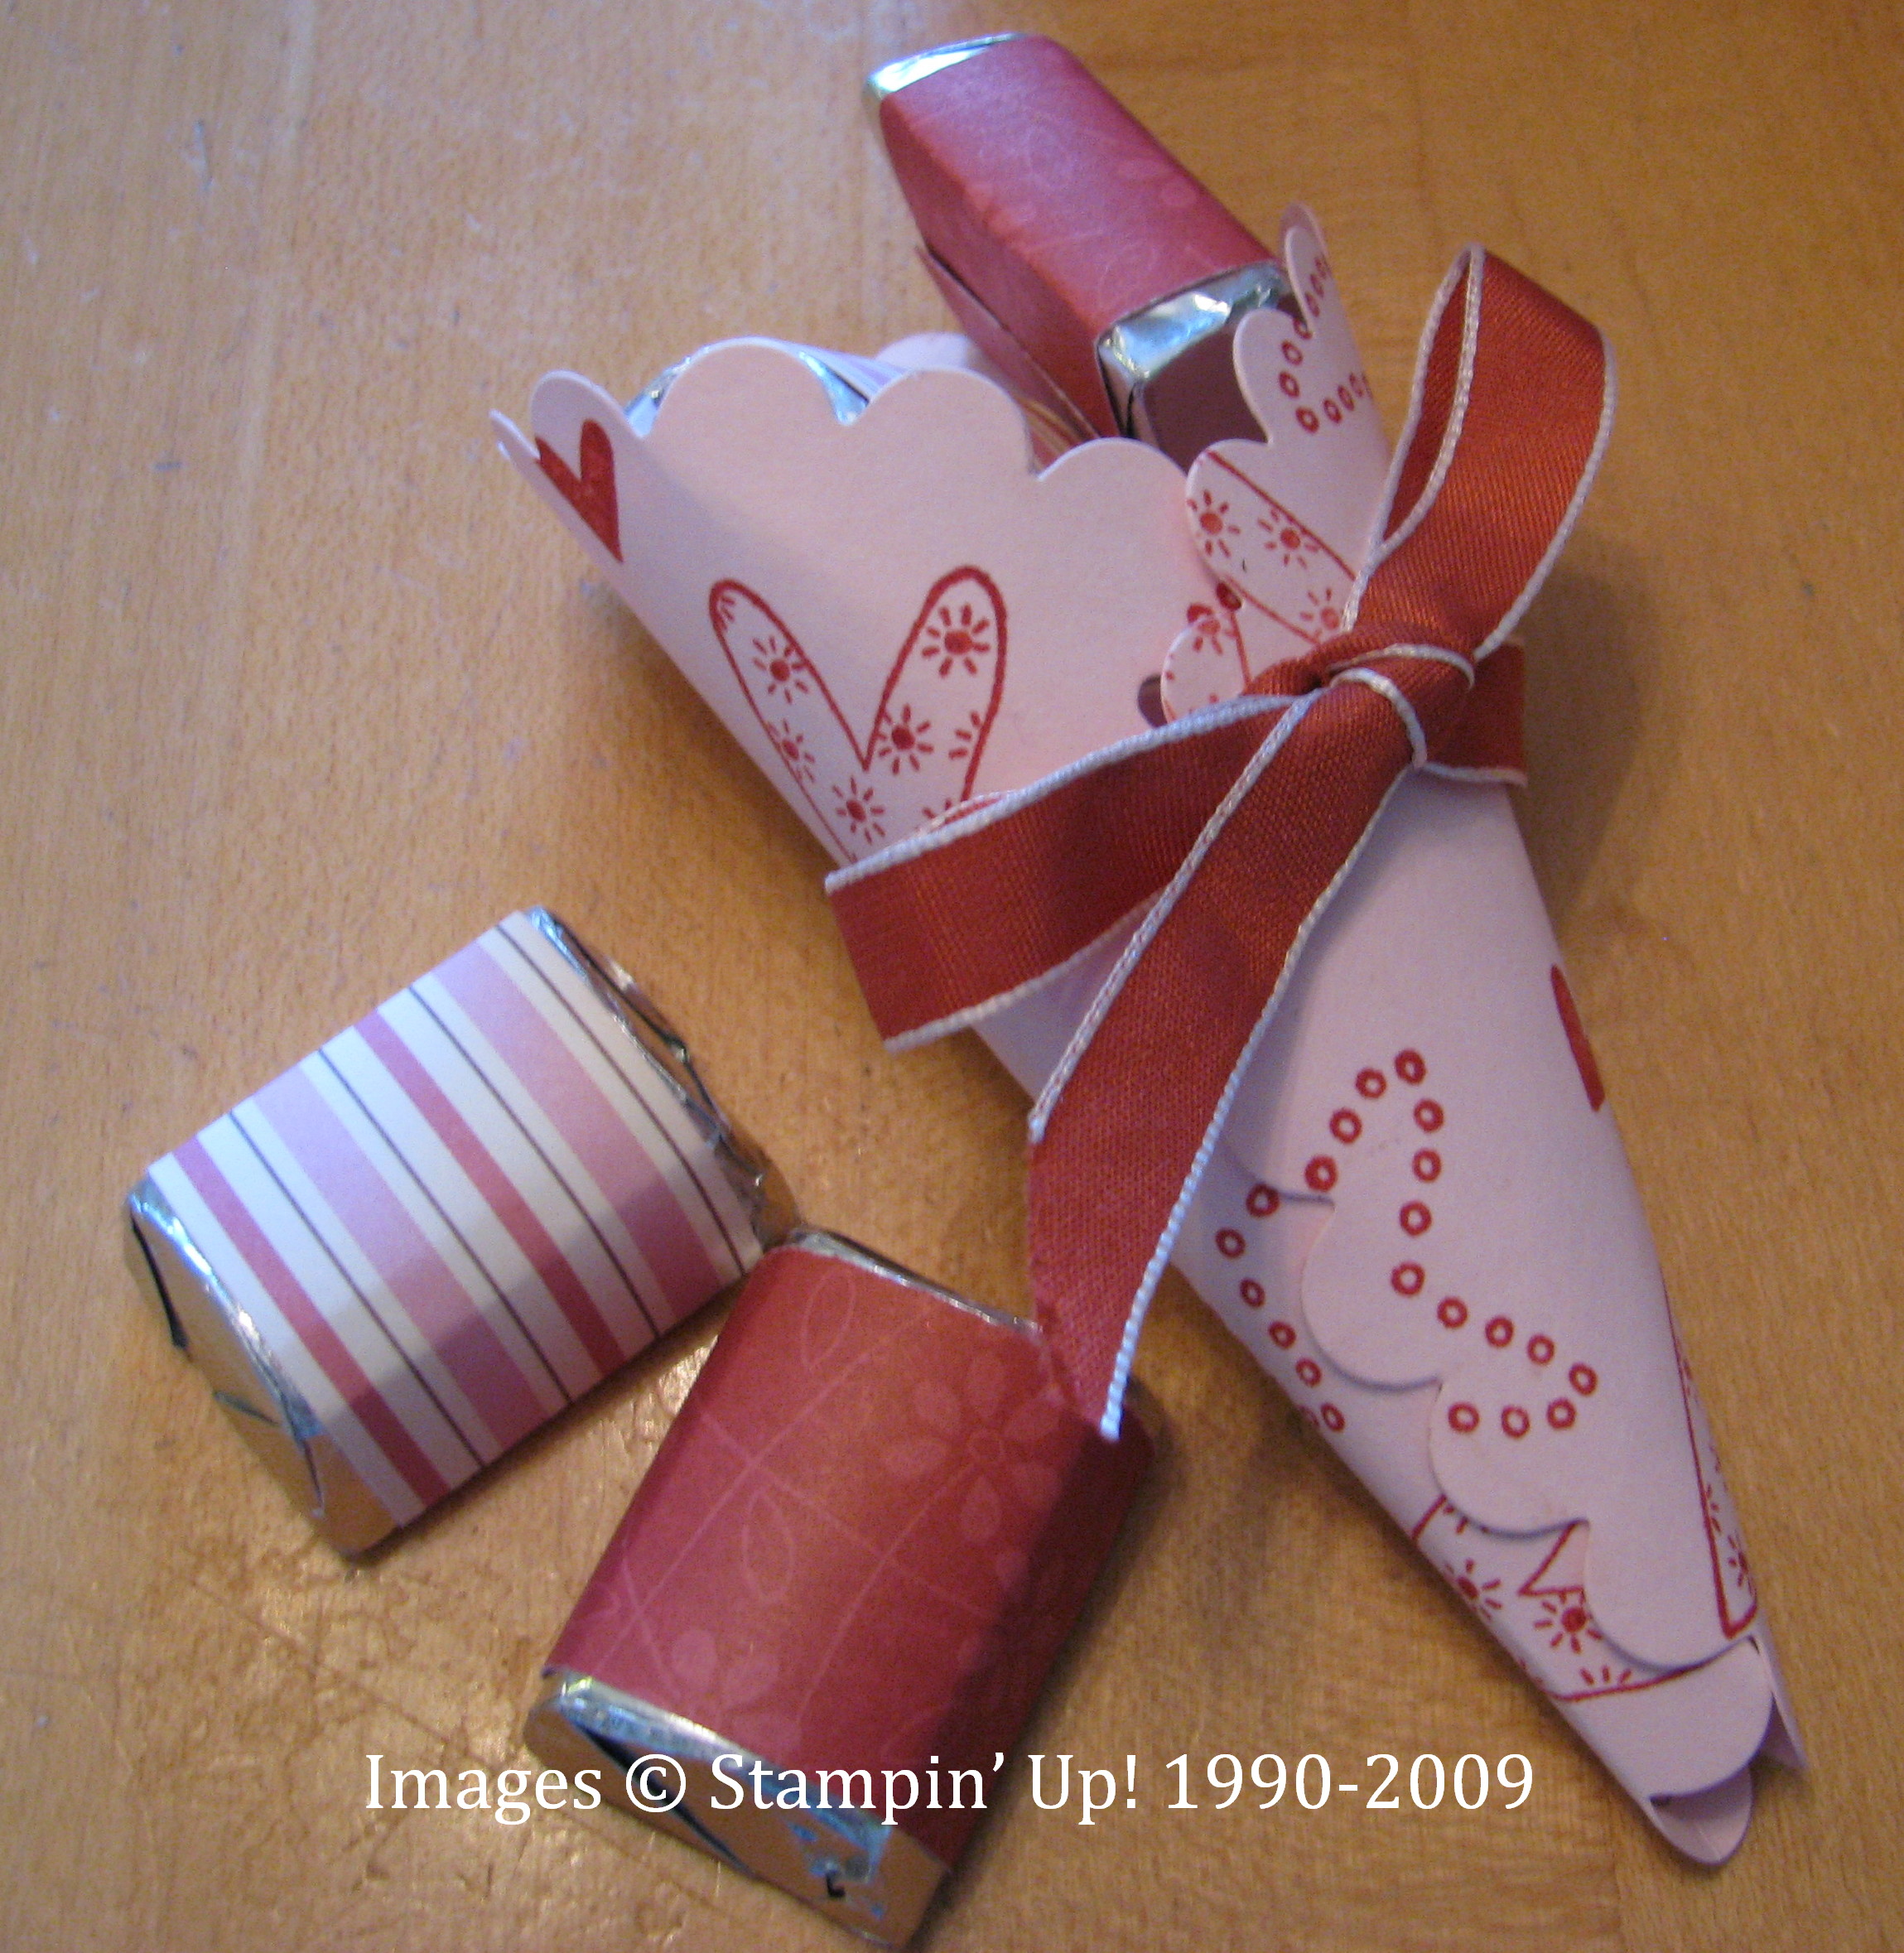
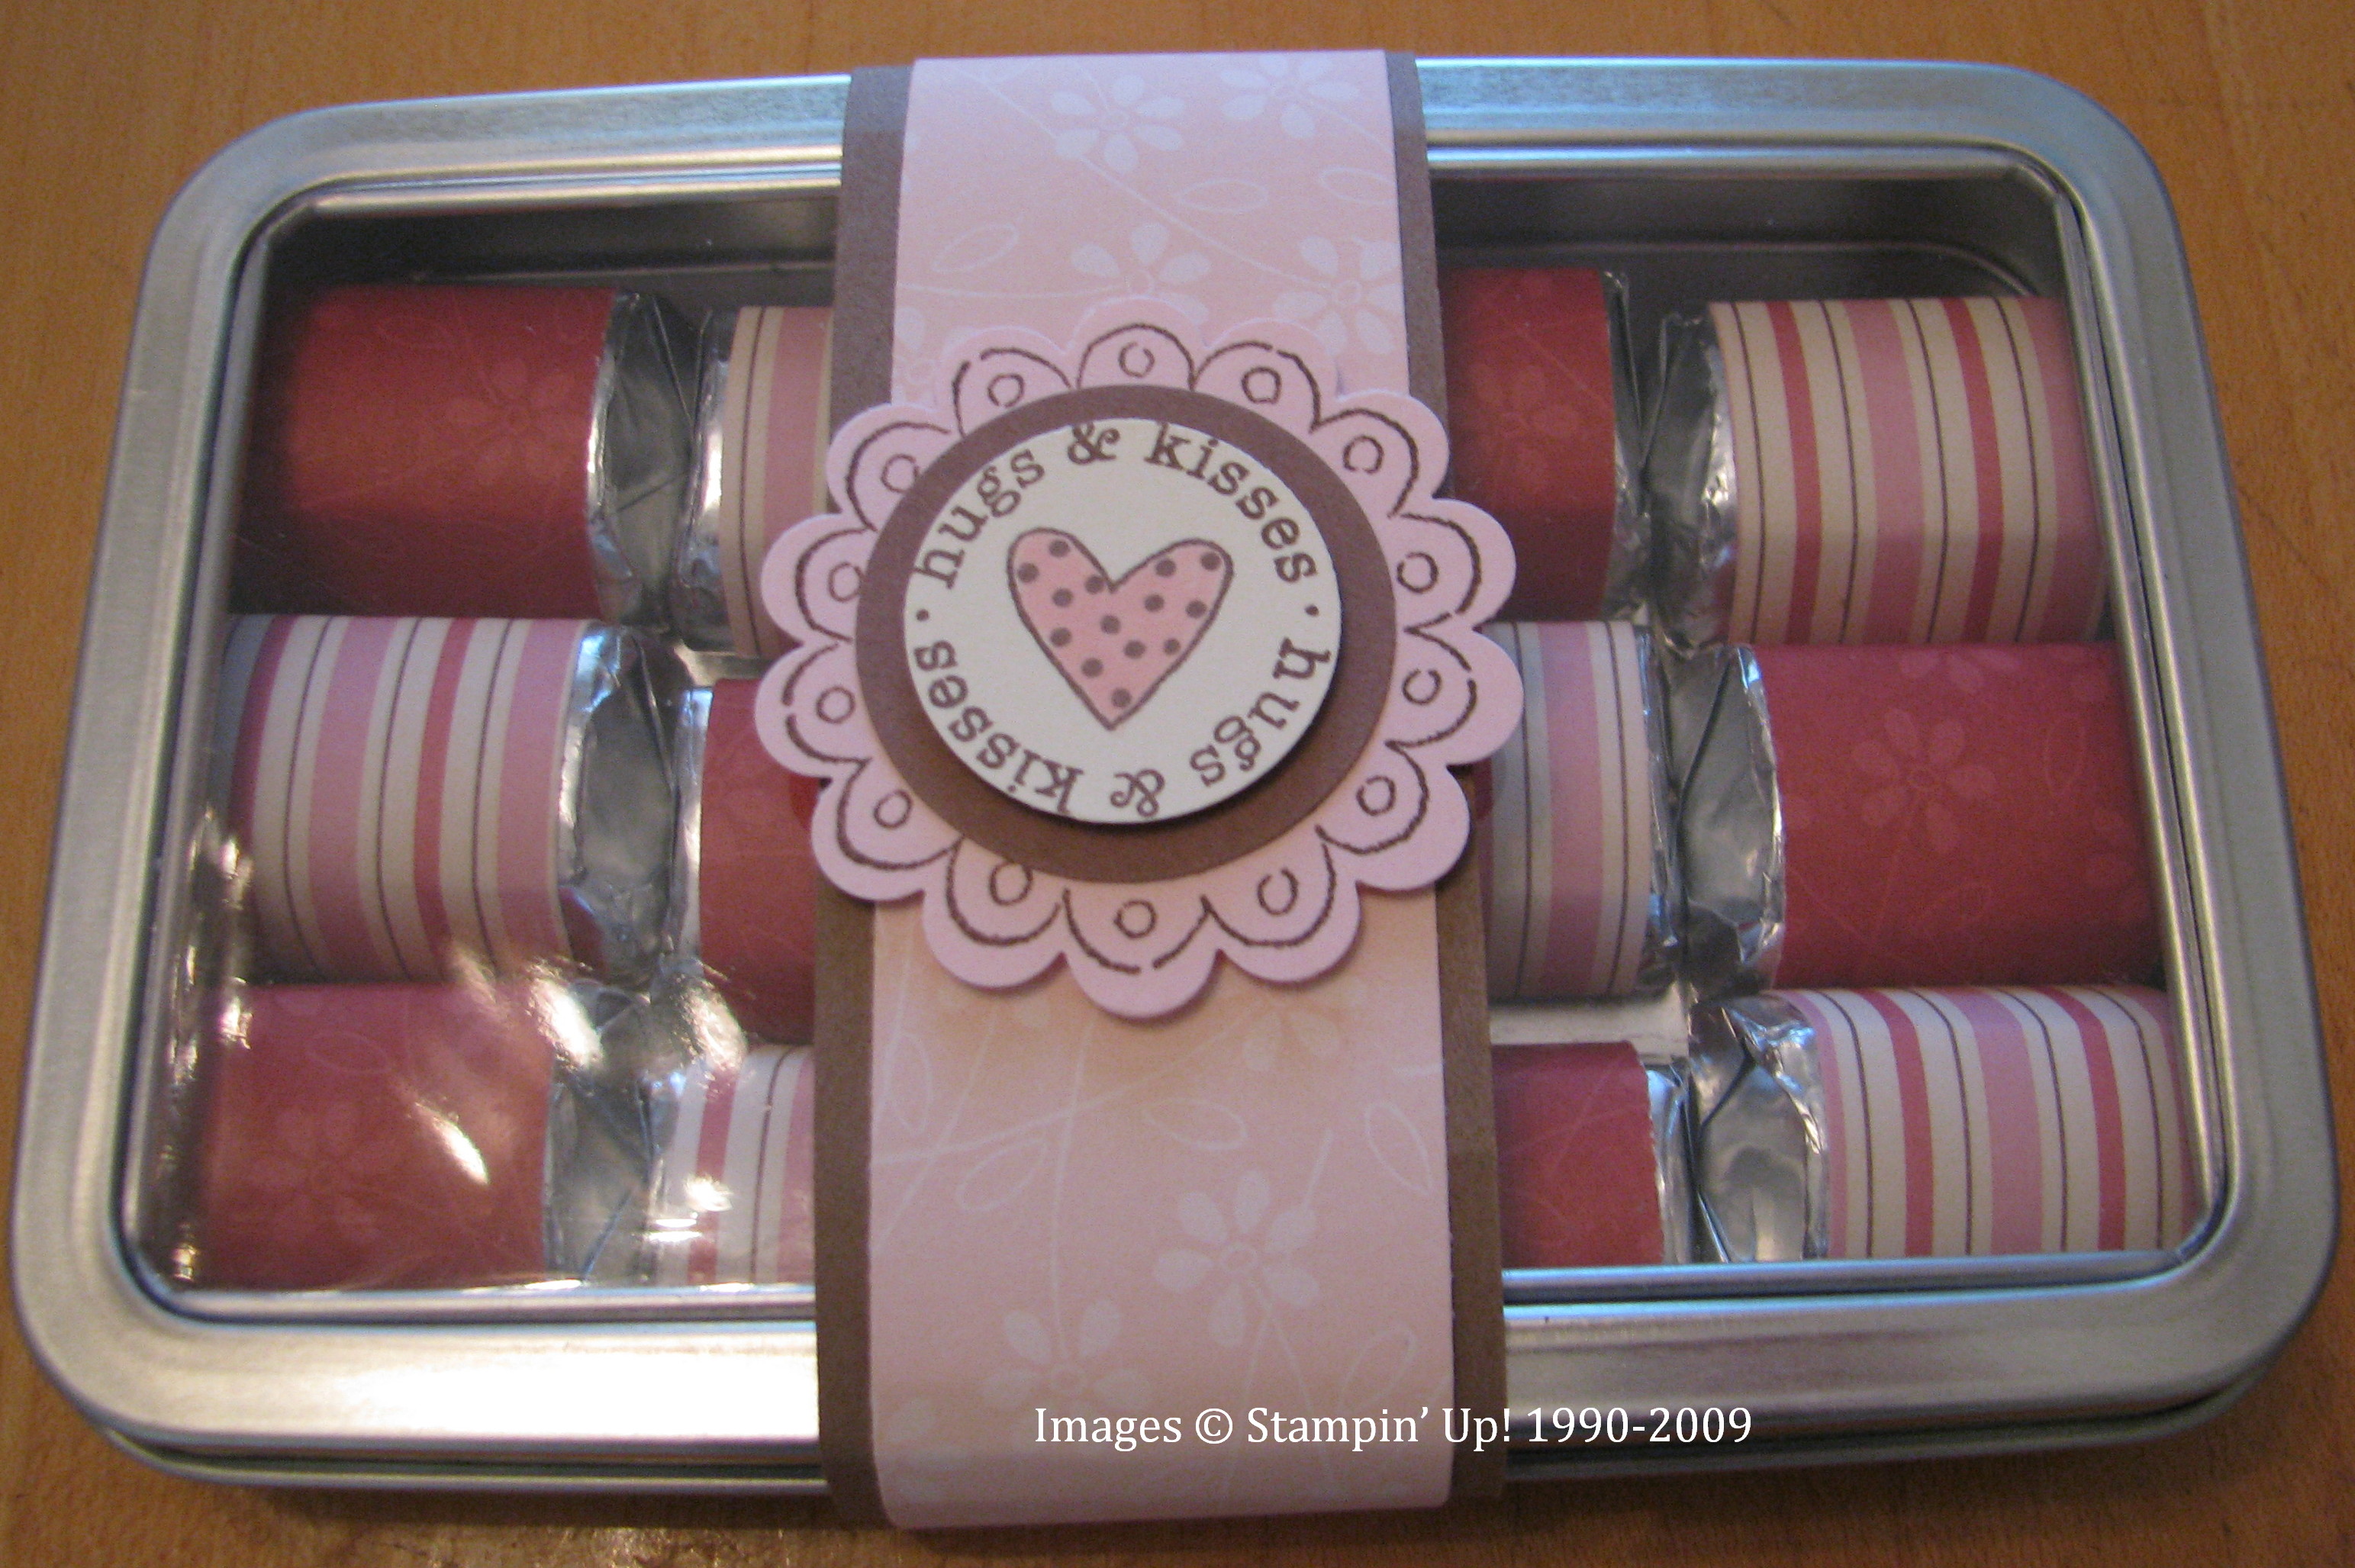
Love, love, love making these nugget tins! They are SO easy and SO cute when you get finished, no matter how you decorate your tin. Just take a strip of Designer Series Paper approximately 1" x 3" and wrap around a Hershey's Nugget. You can use Sticky Strip. I used a dab of SNAIL to hold the paper on the top of the nugget, then used the Tombow Multi Purpose Adhesive (in the green bottle) to hold the ends of the paper (just a small dab). The scallop on the belly band is stamped with the Love You Much stamp set. You could also just tie a pretty ribbon around and attach a tag or even use a rub on on the clear top. So cute!
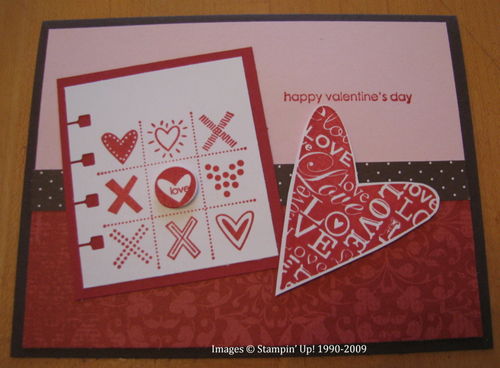
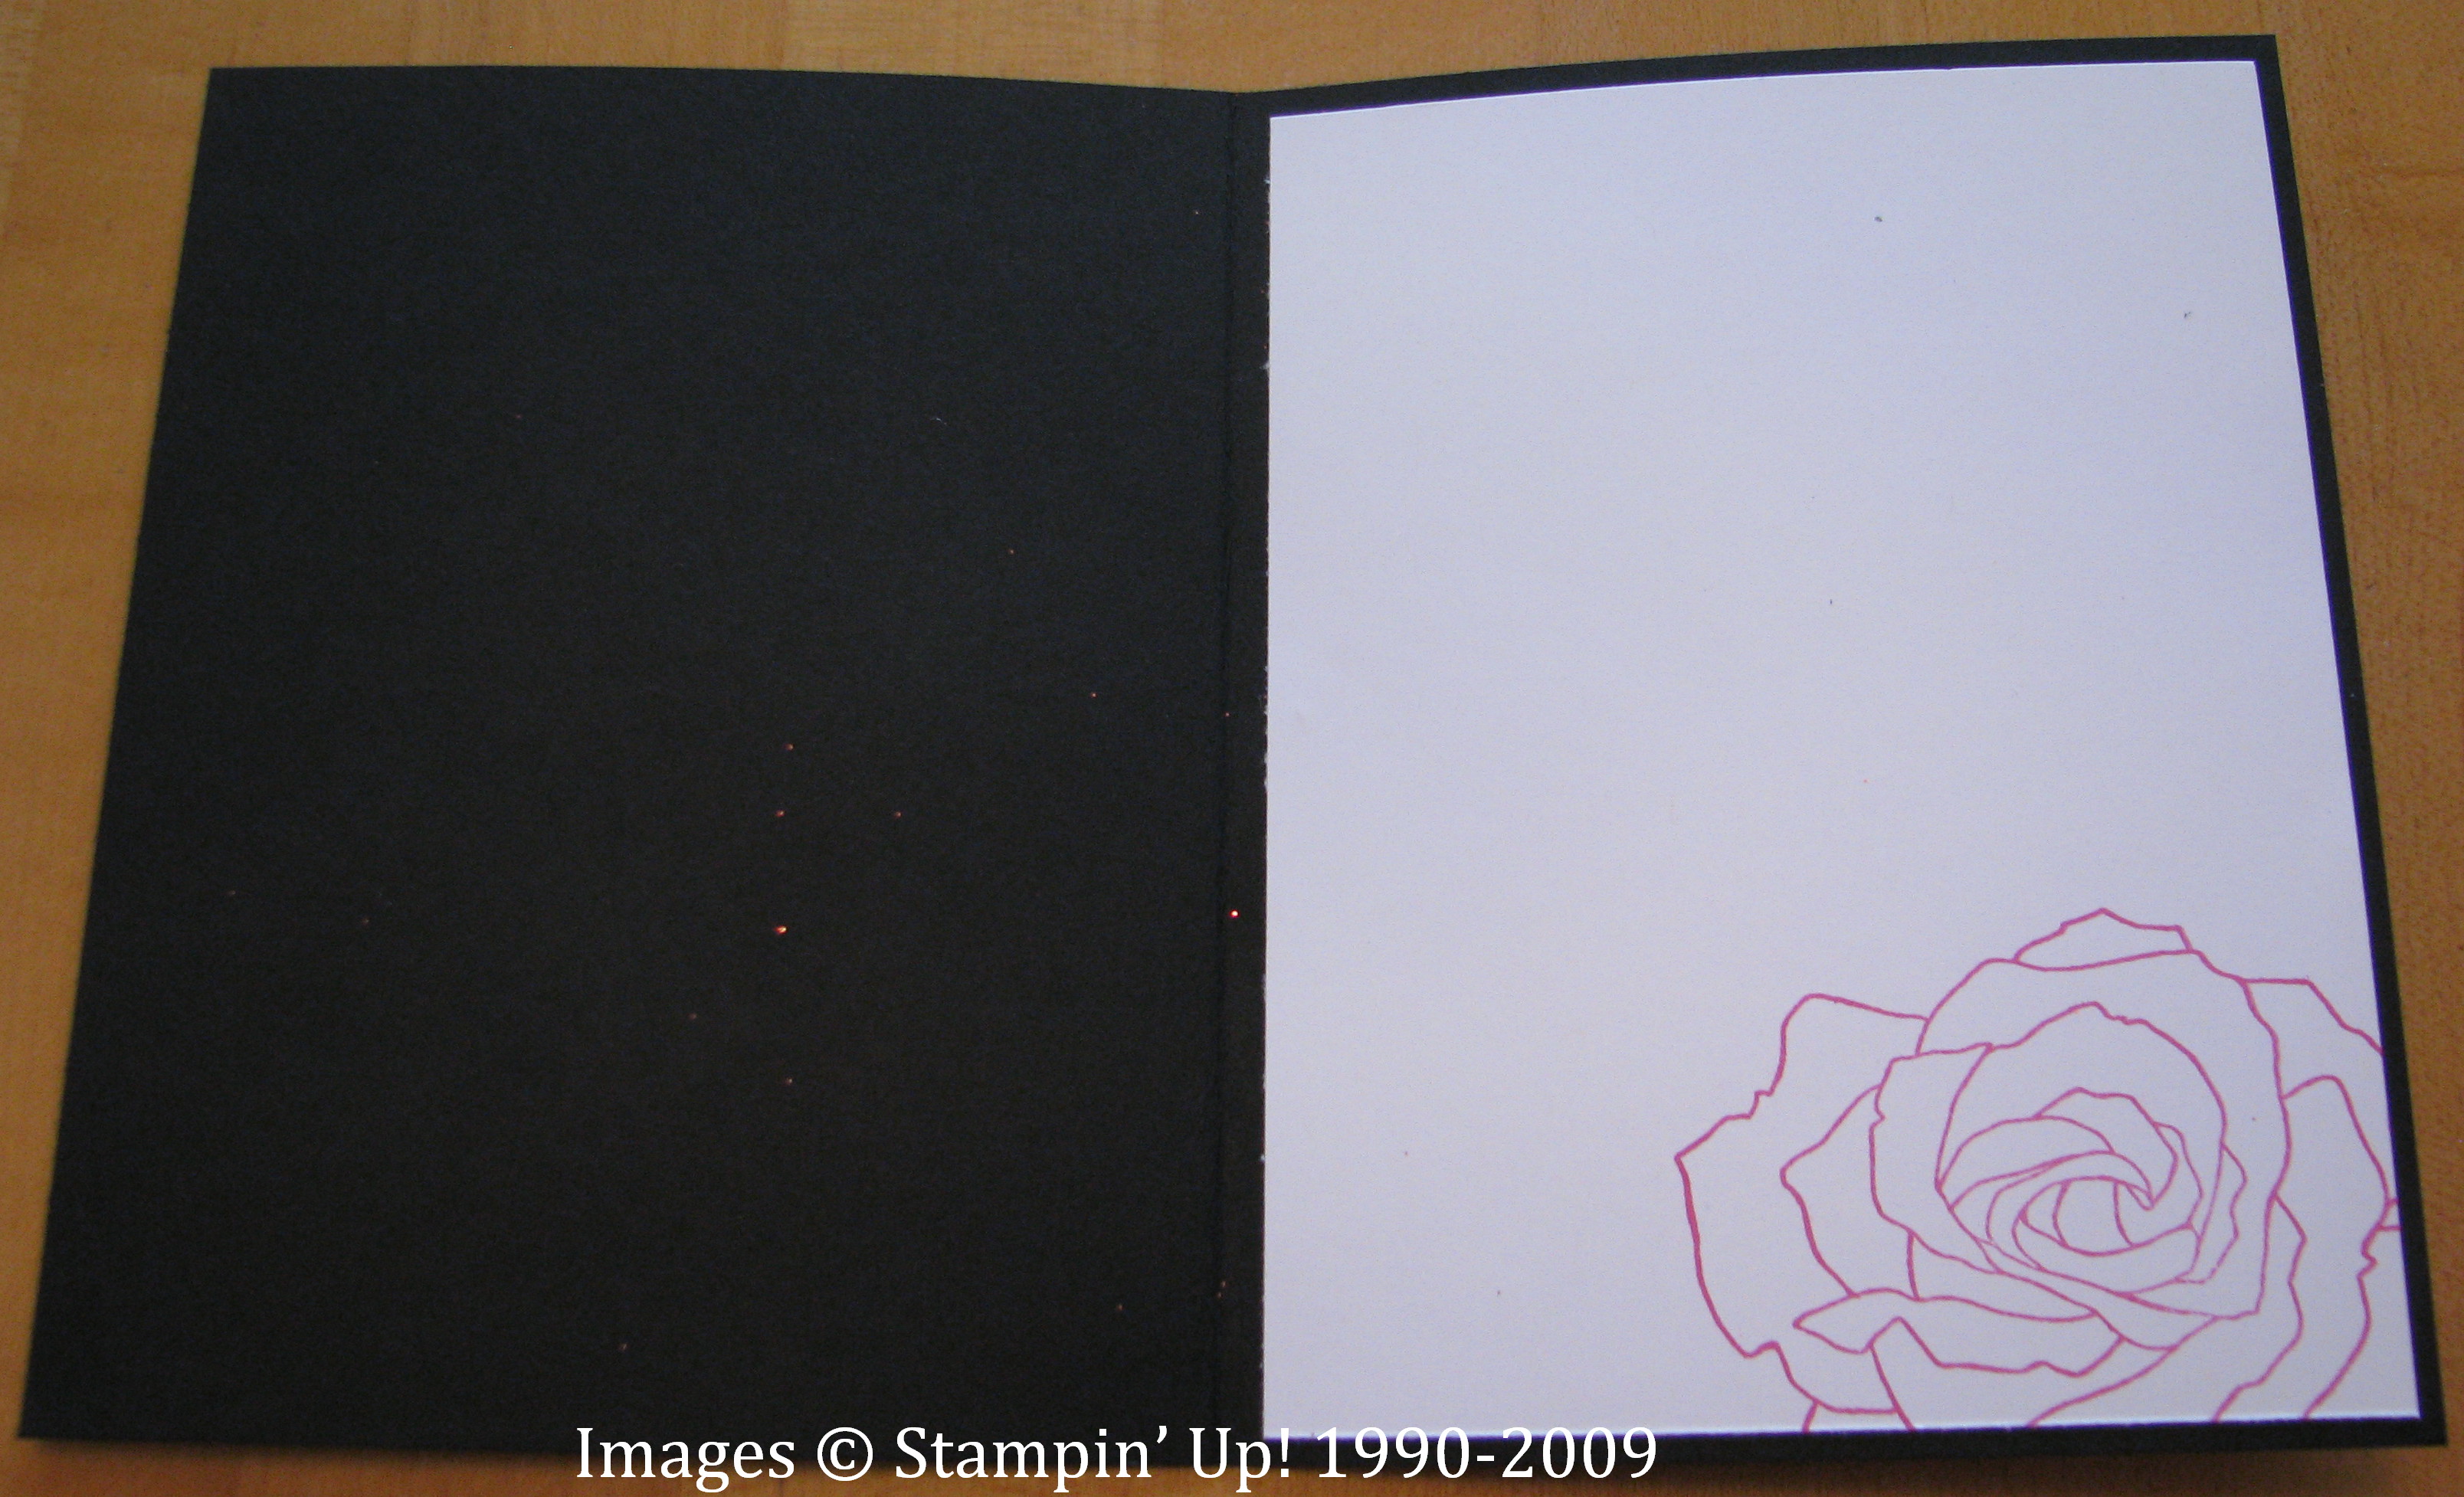
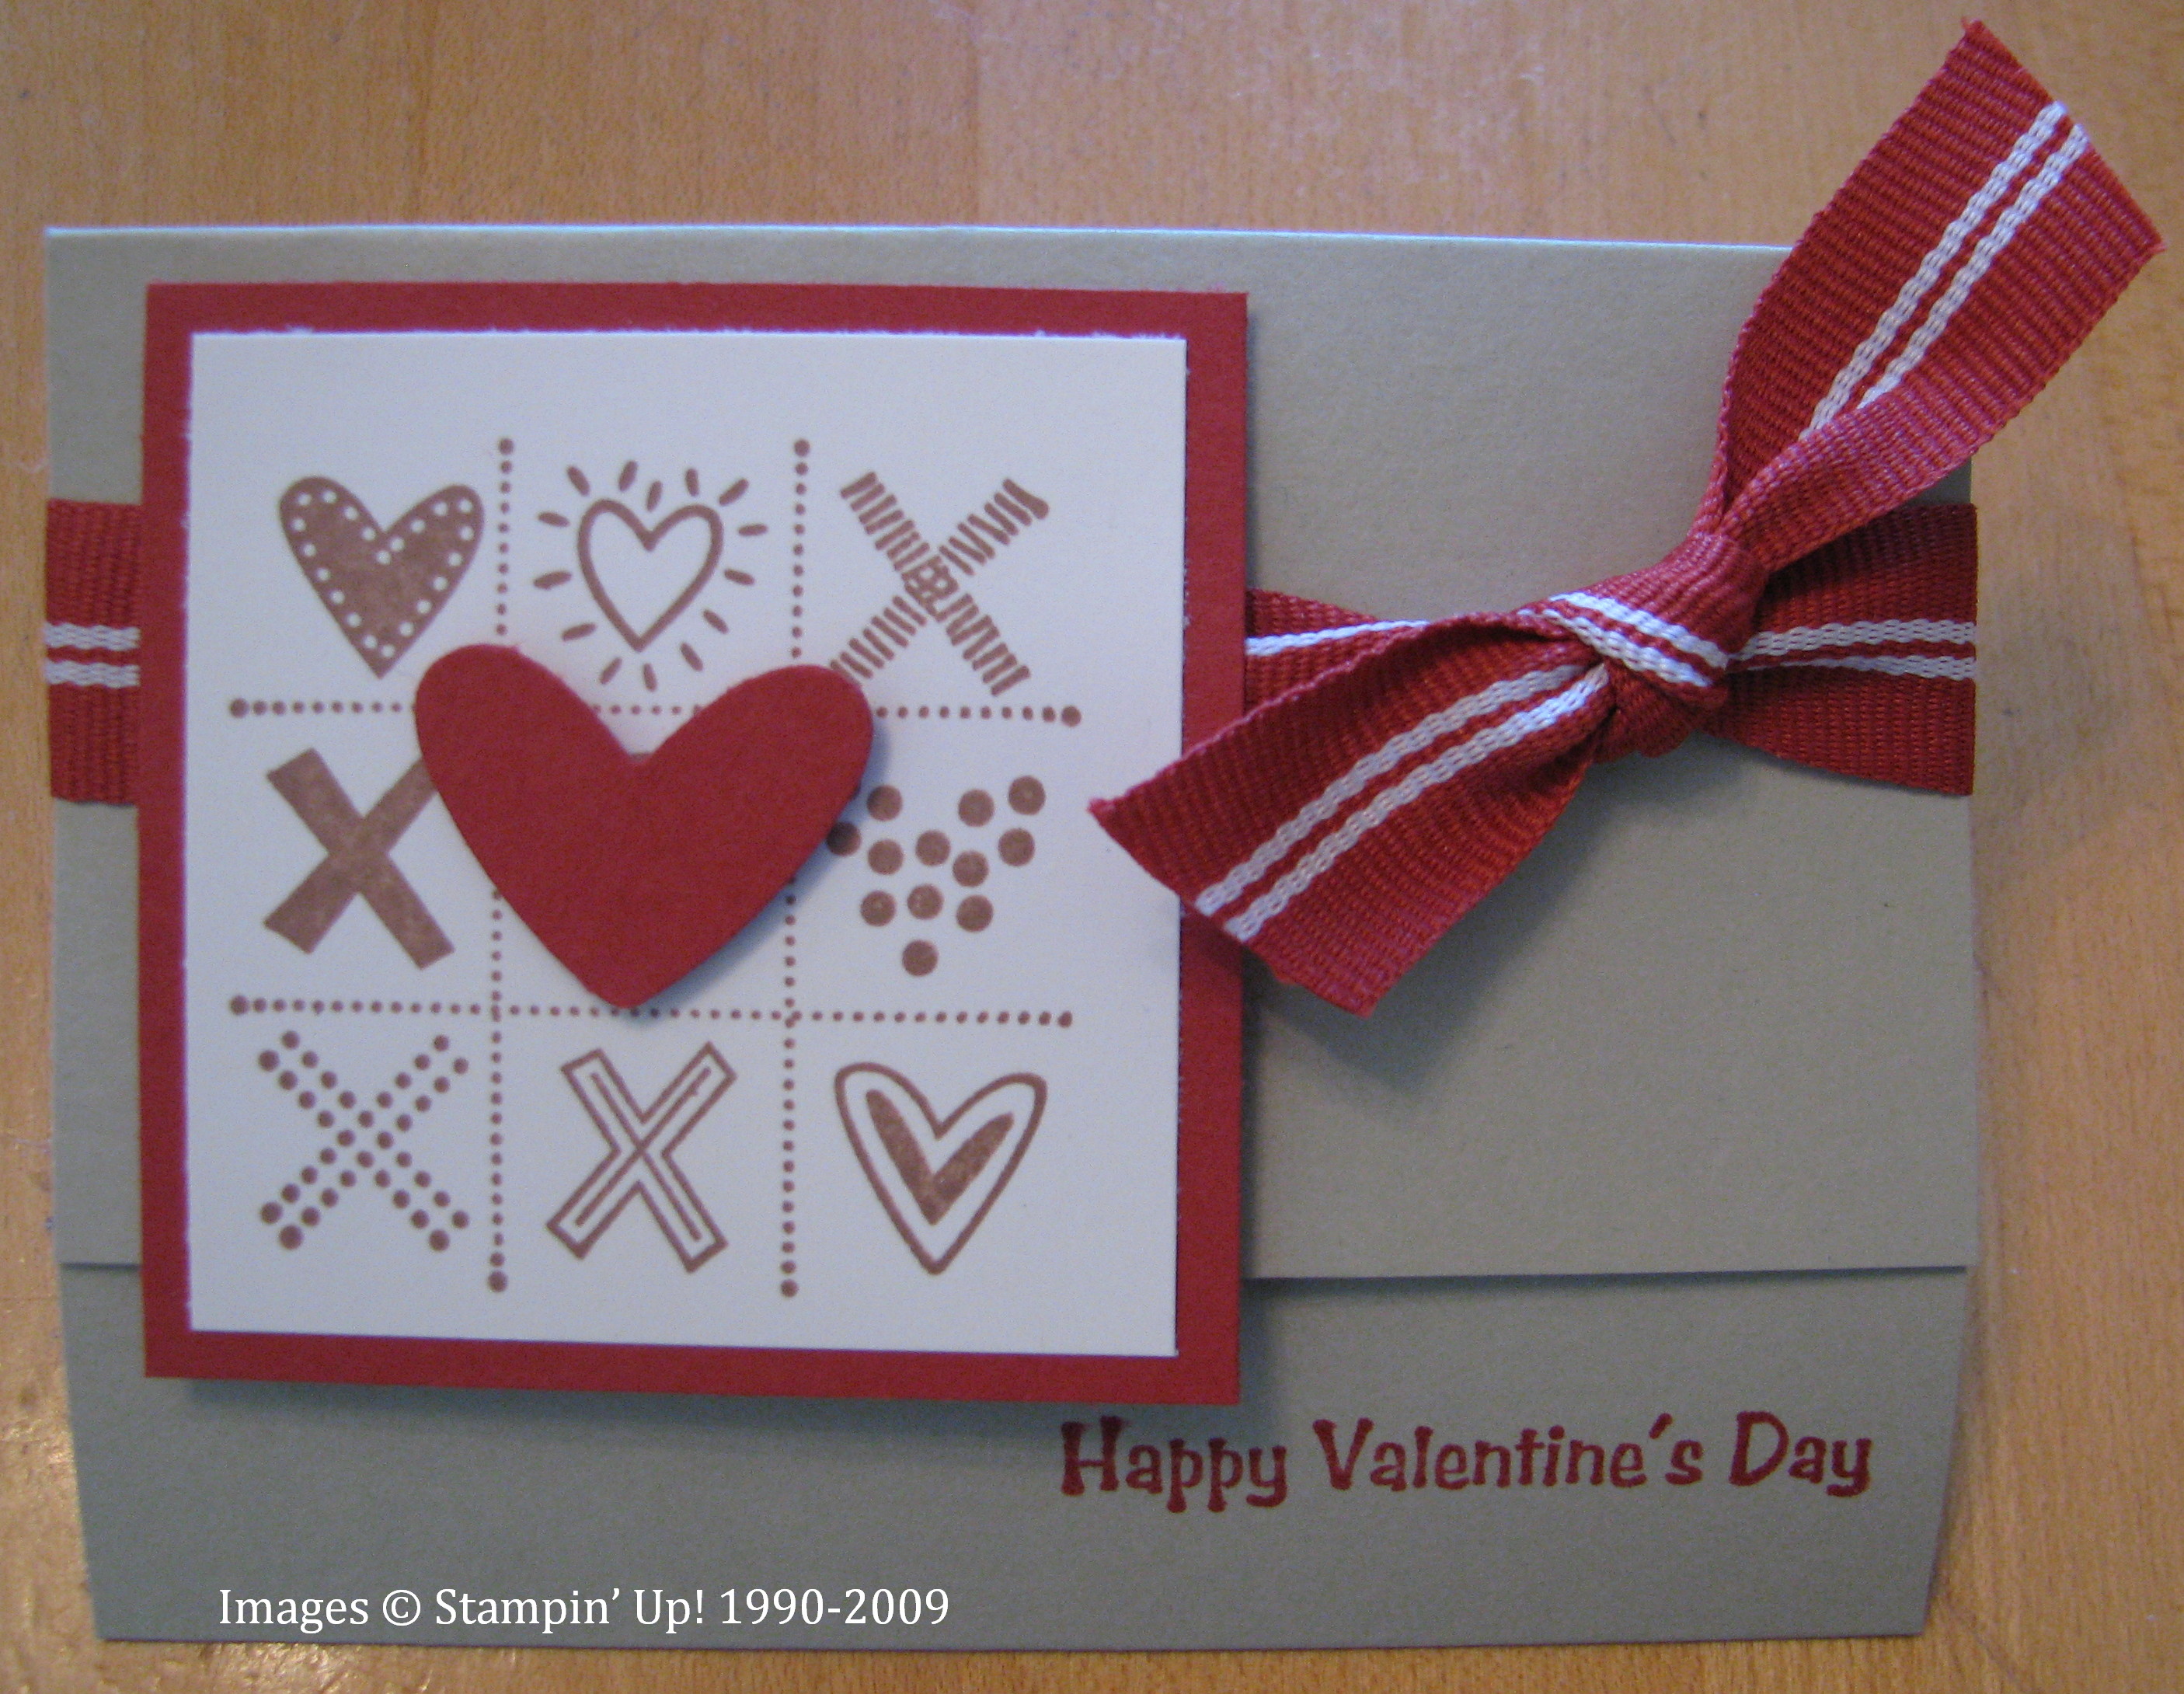
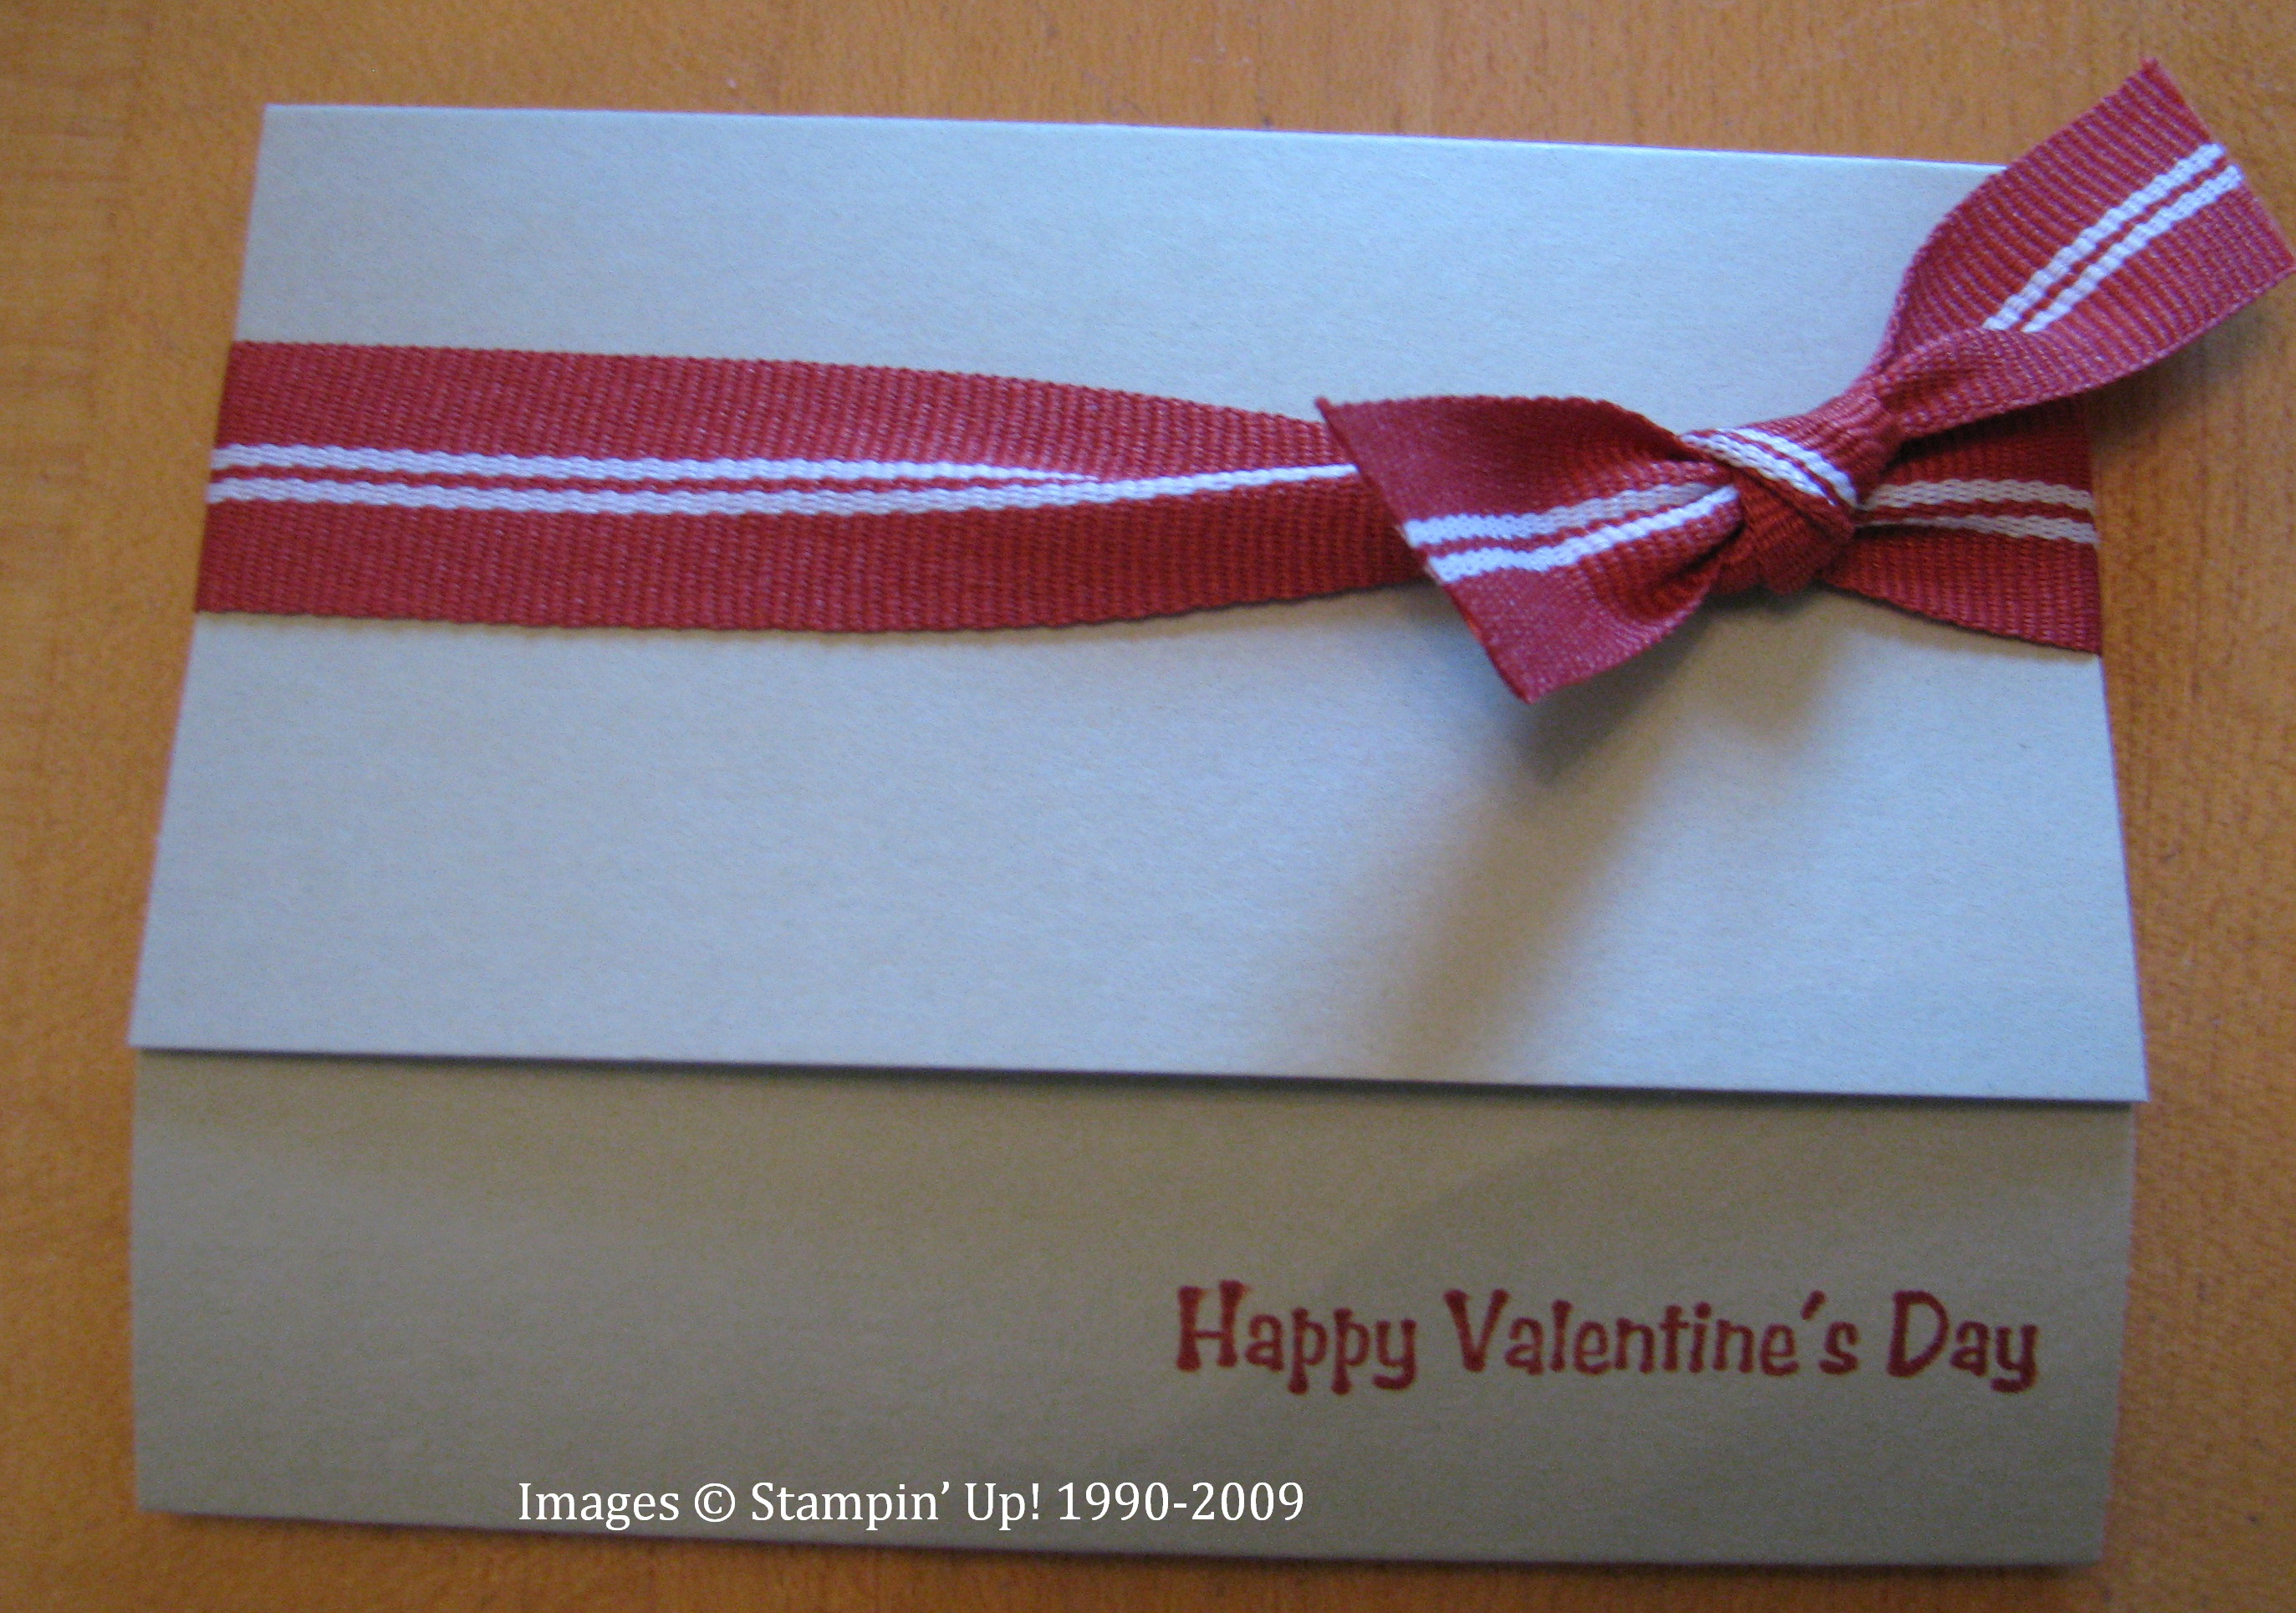
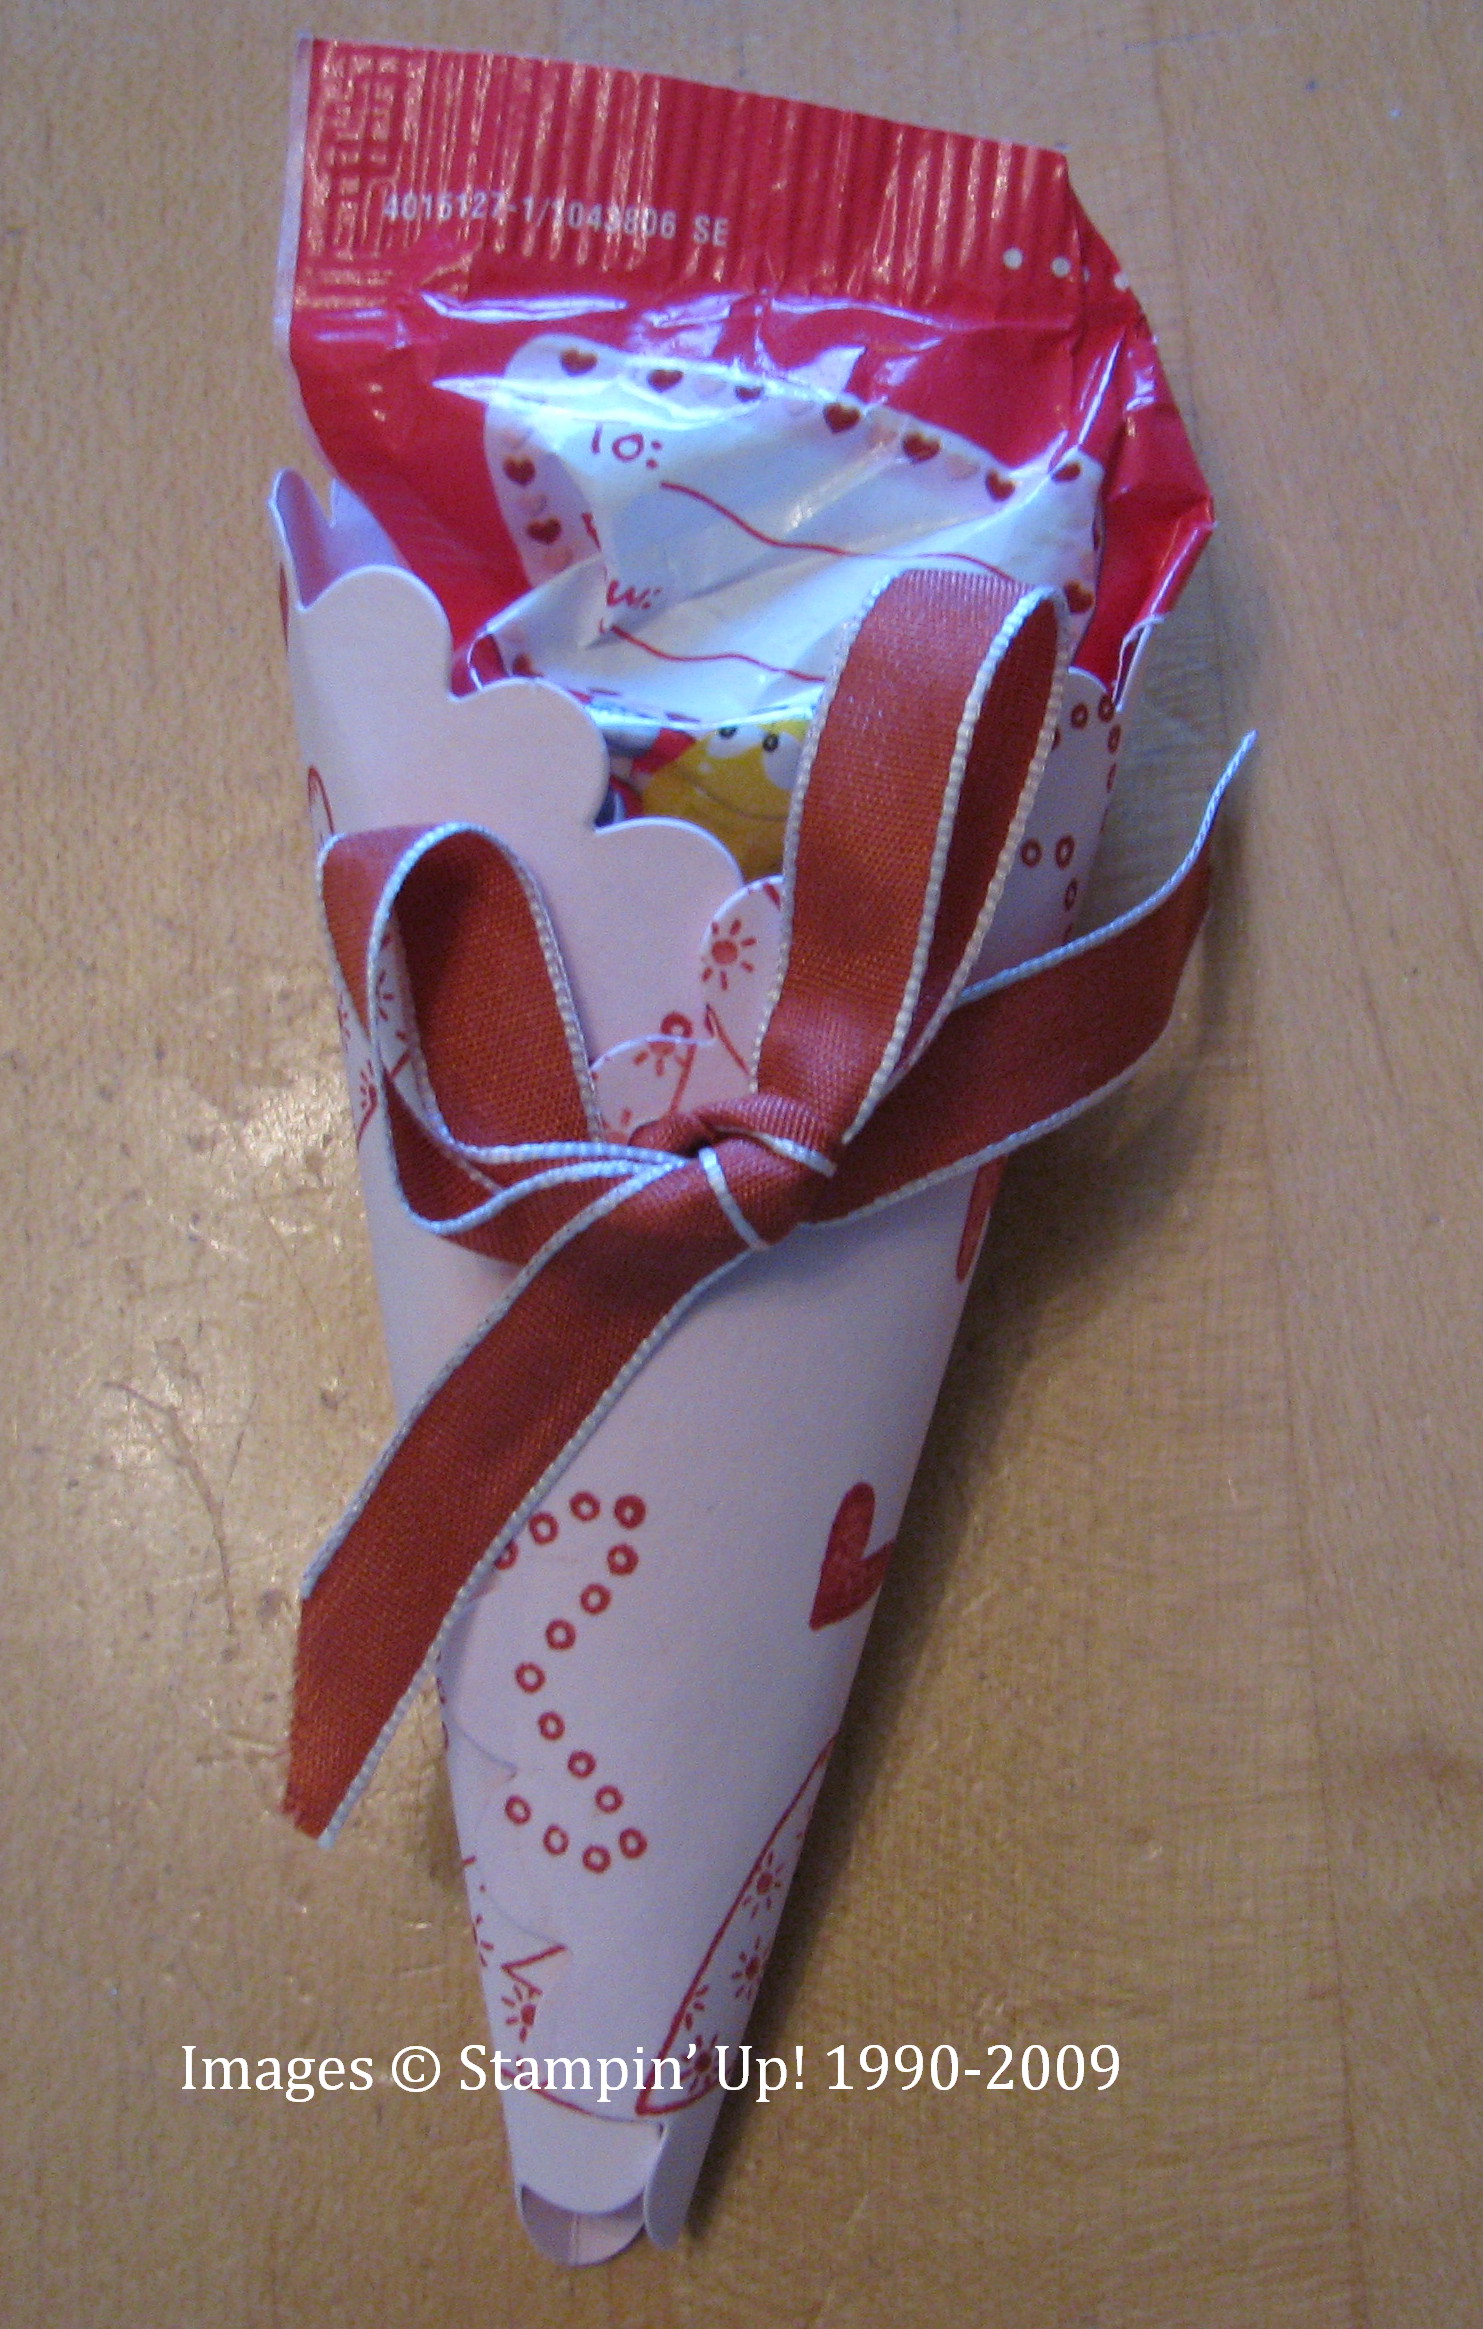
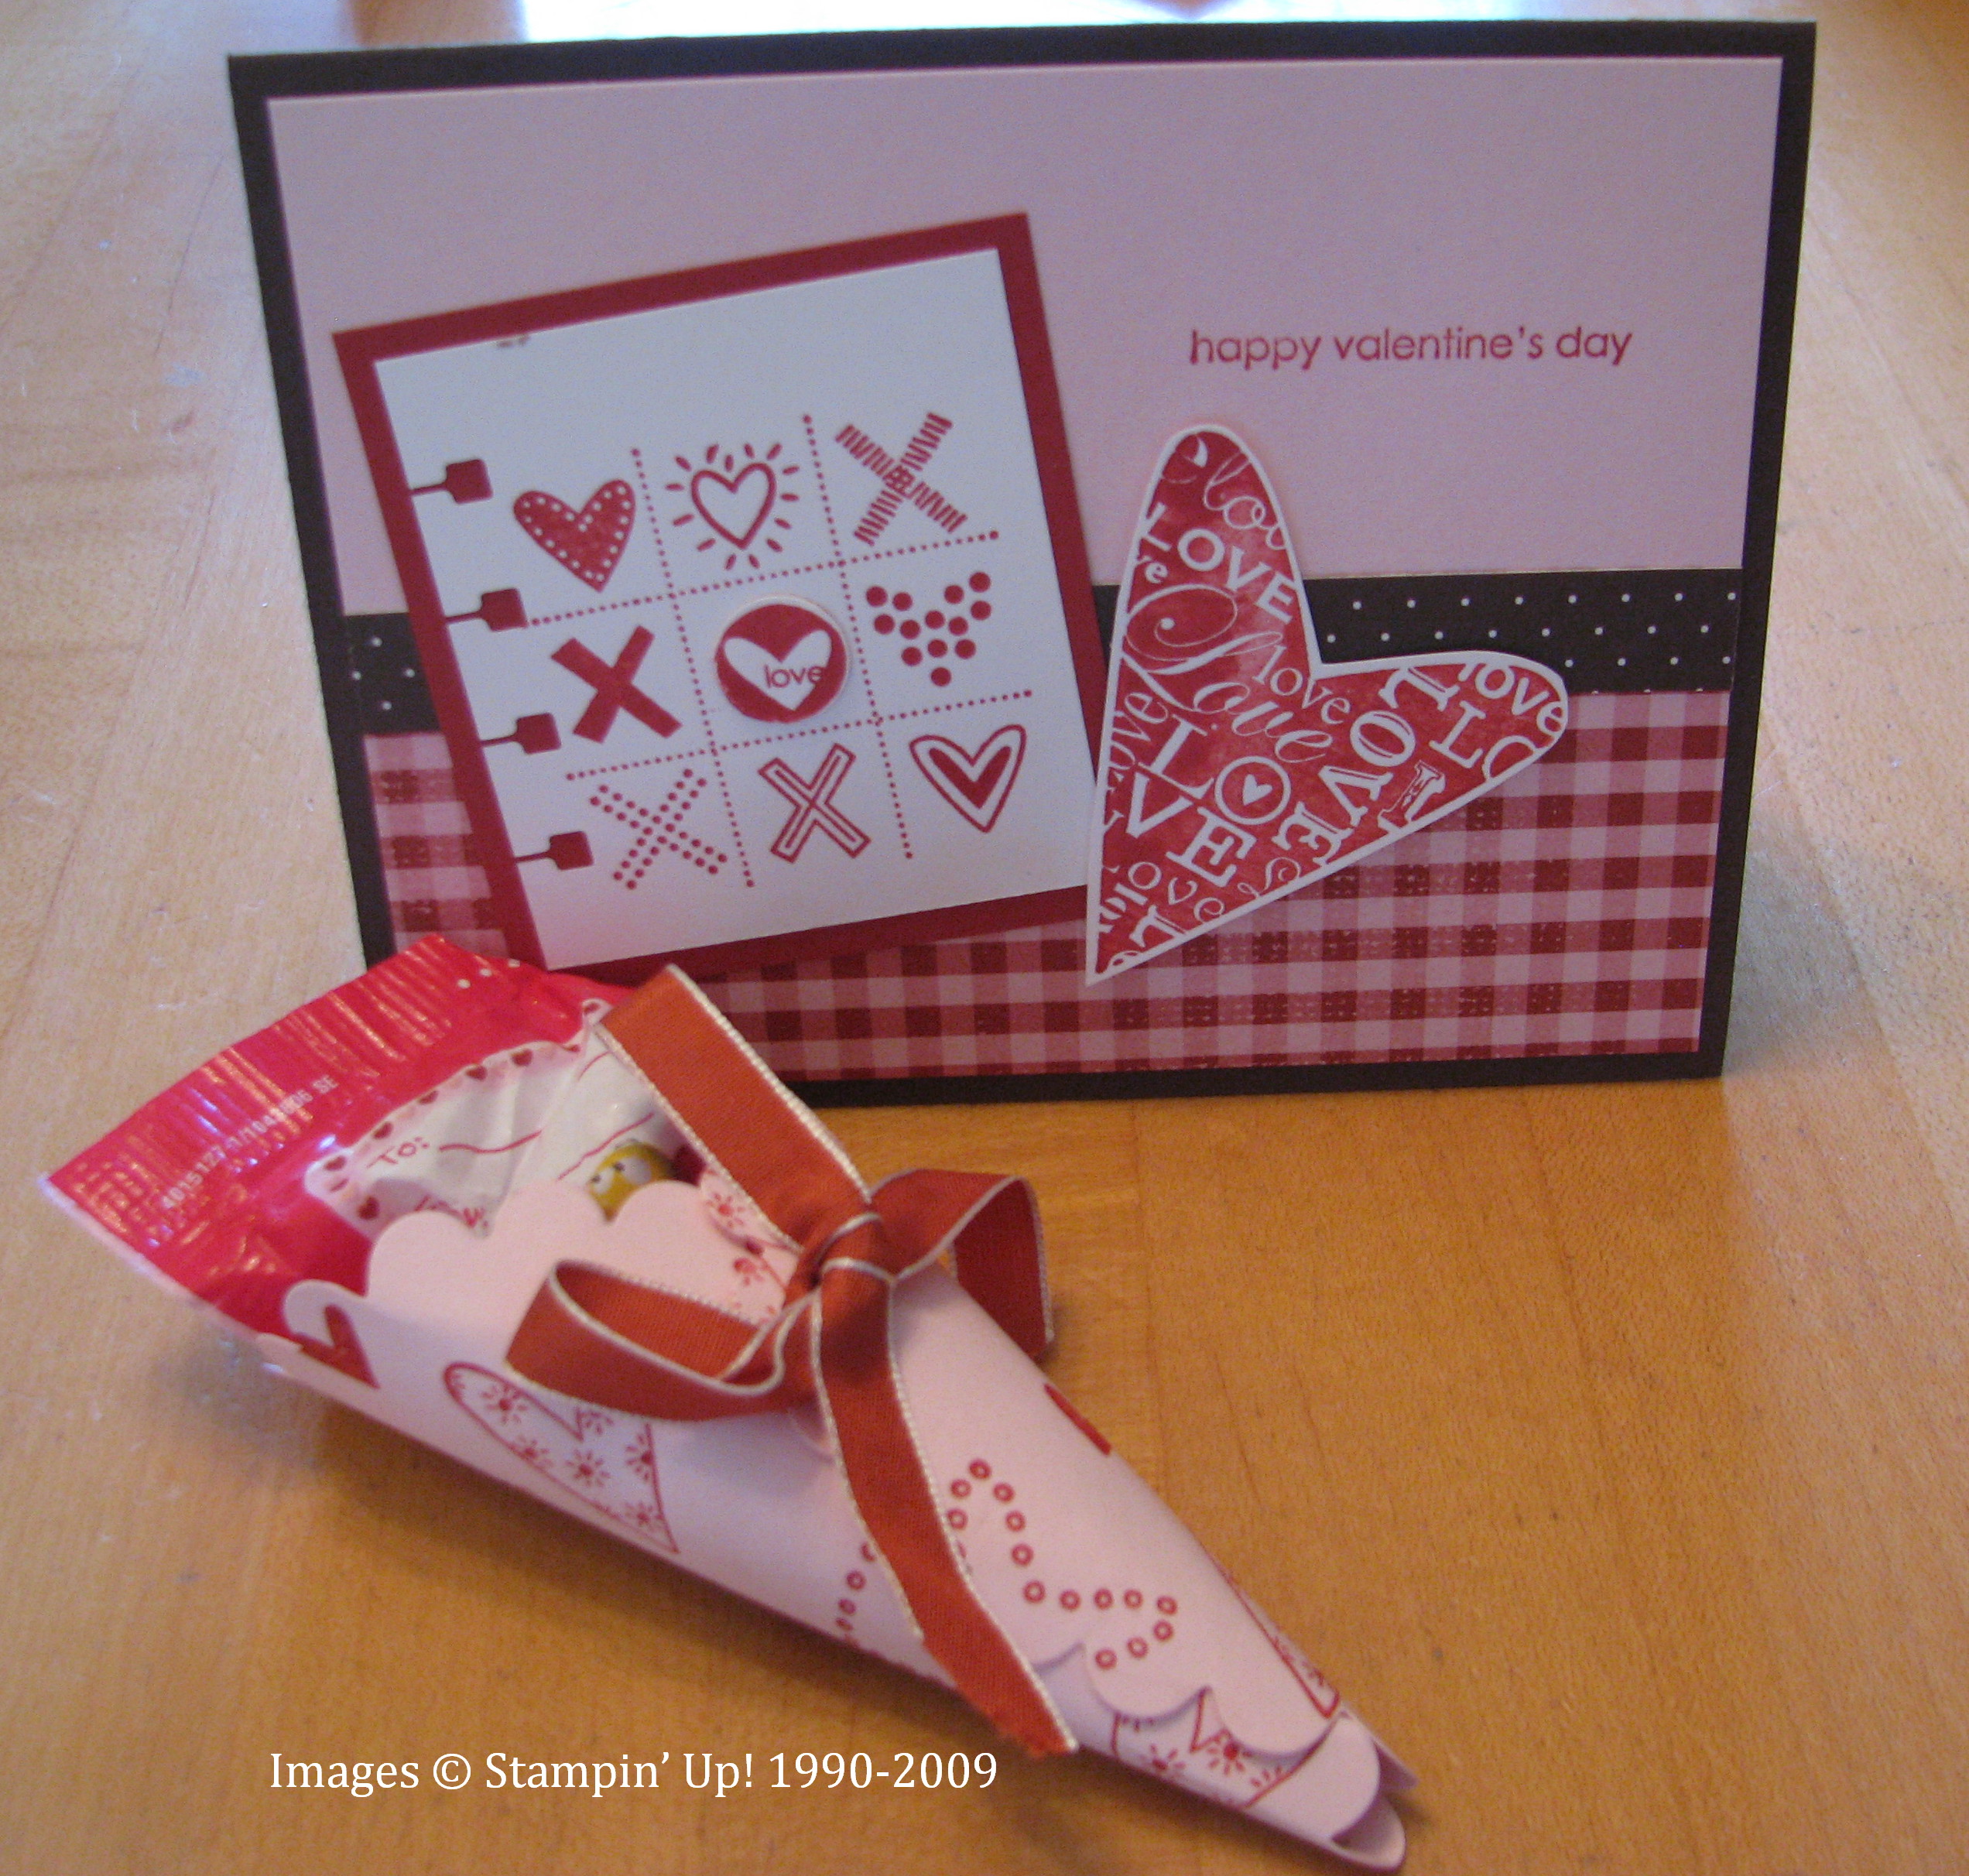
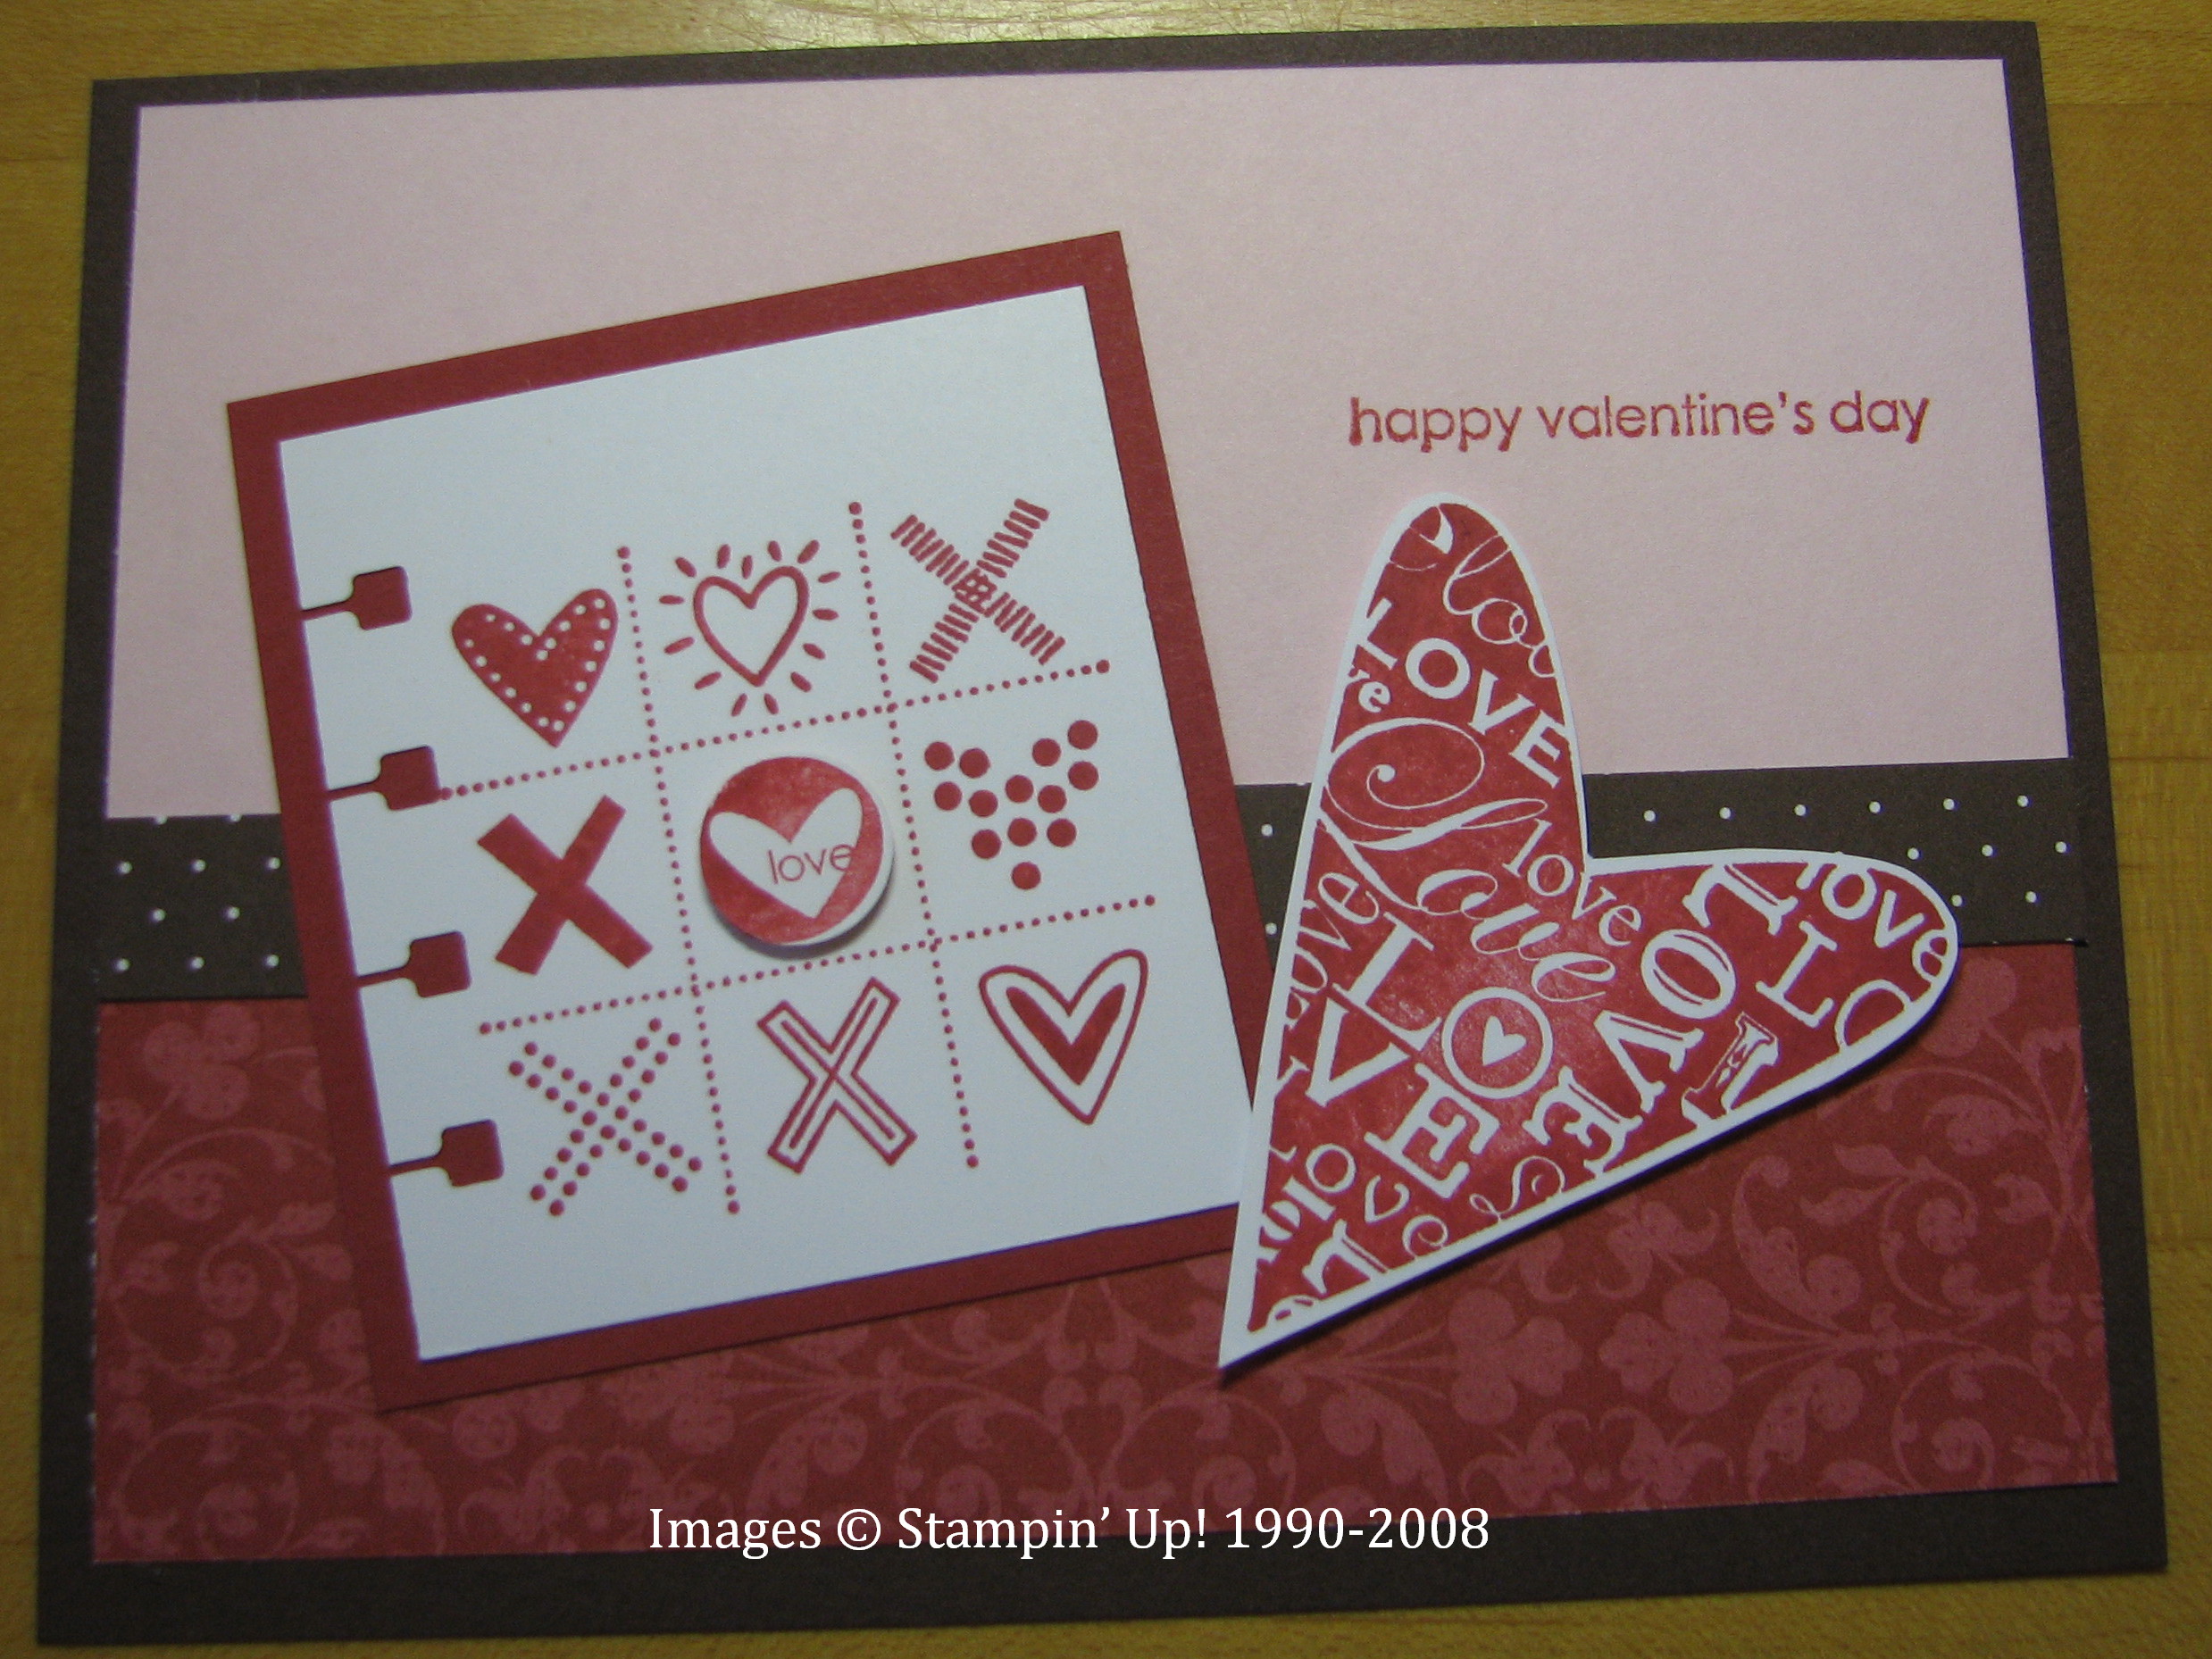
This is the same card I made for swapping at the SU San Antonio Regional with the stamp set "A Happy Heart". I used the Spiral Punch and the Bella Rose DSP.
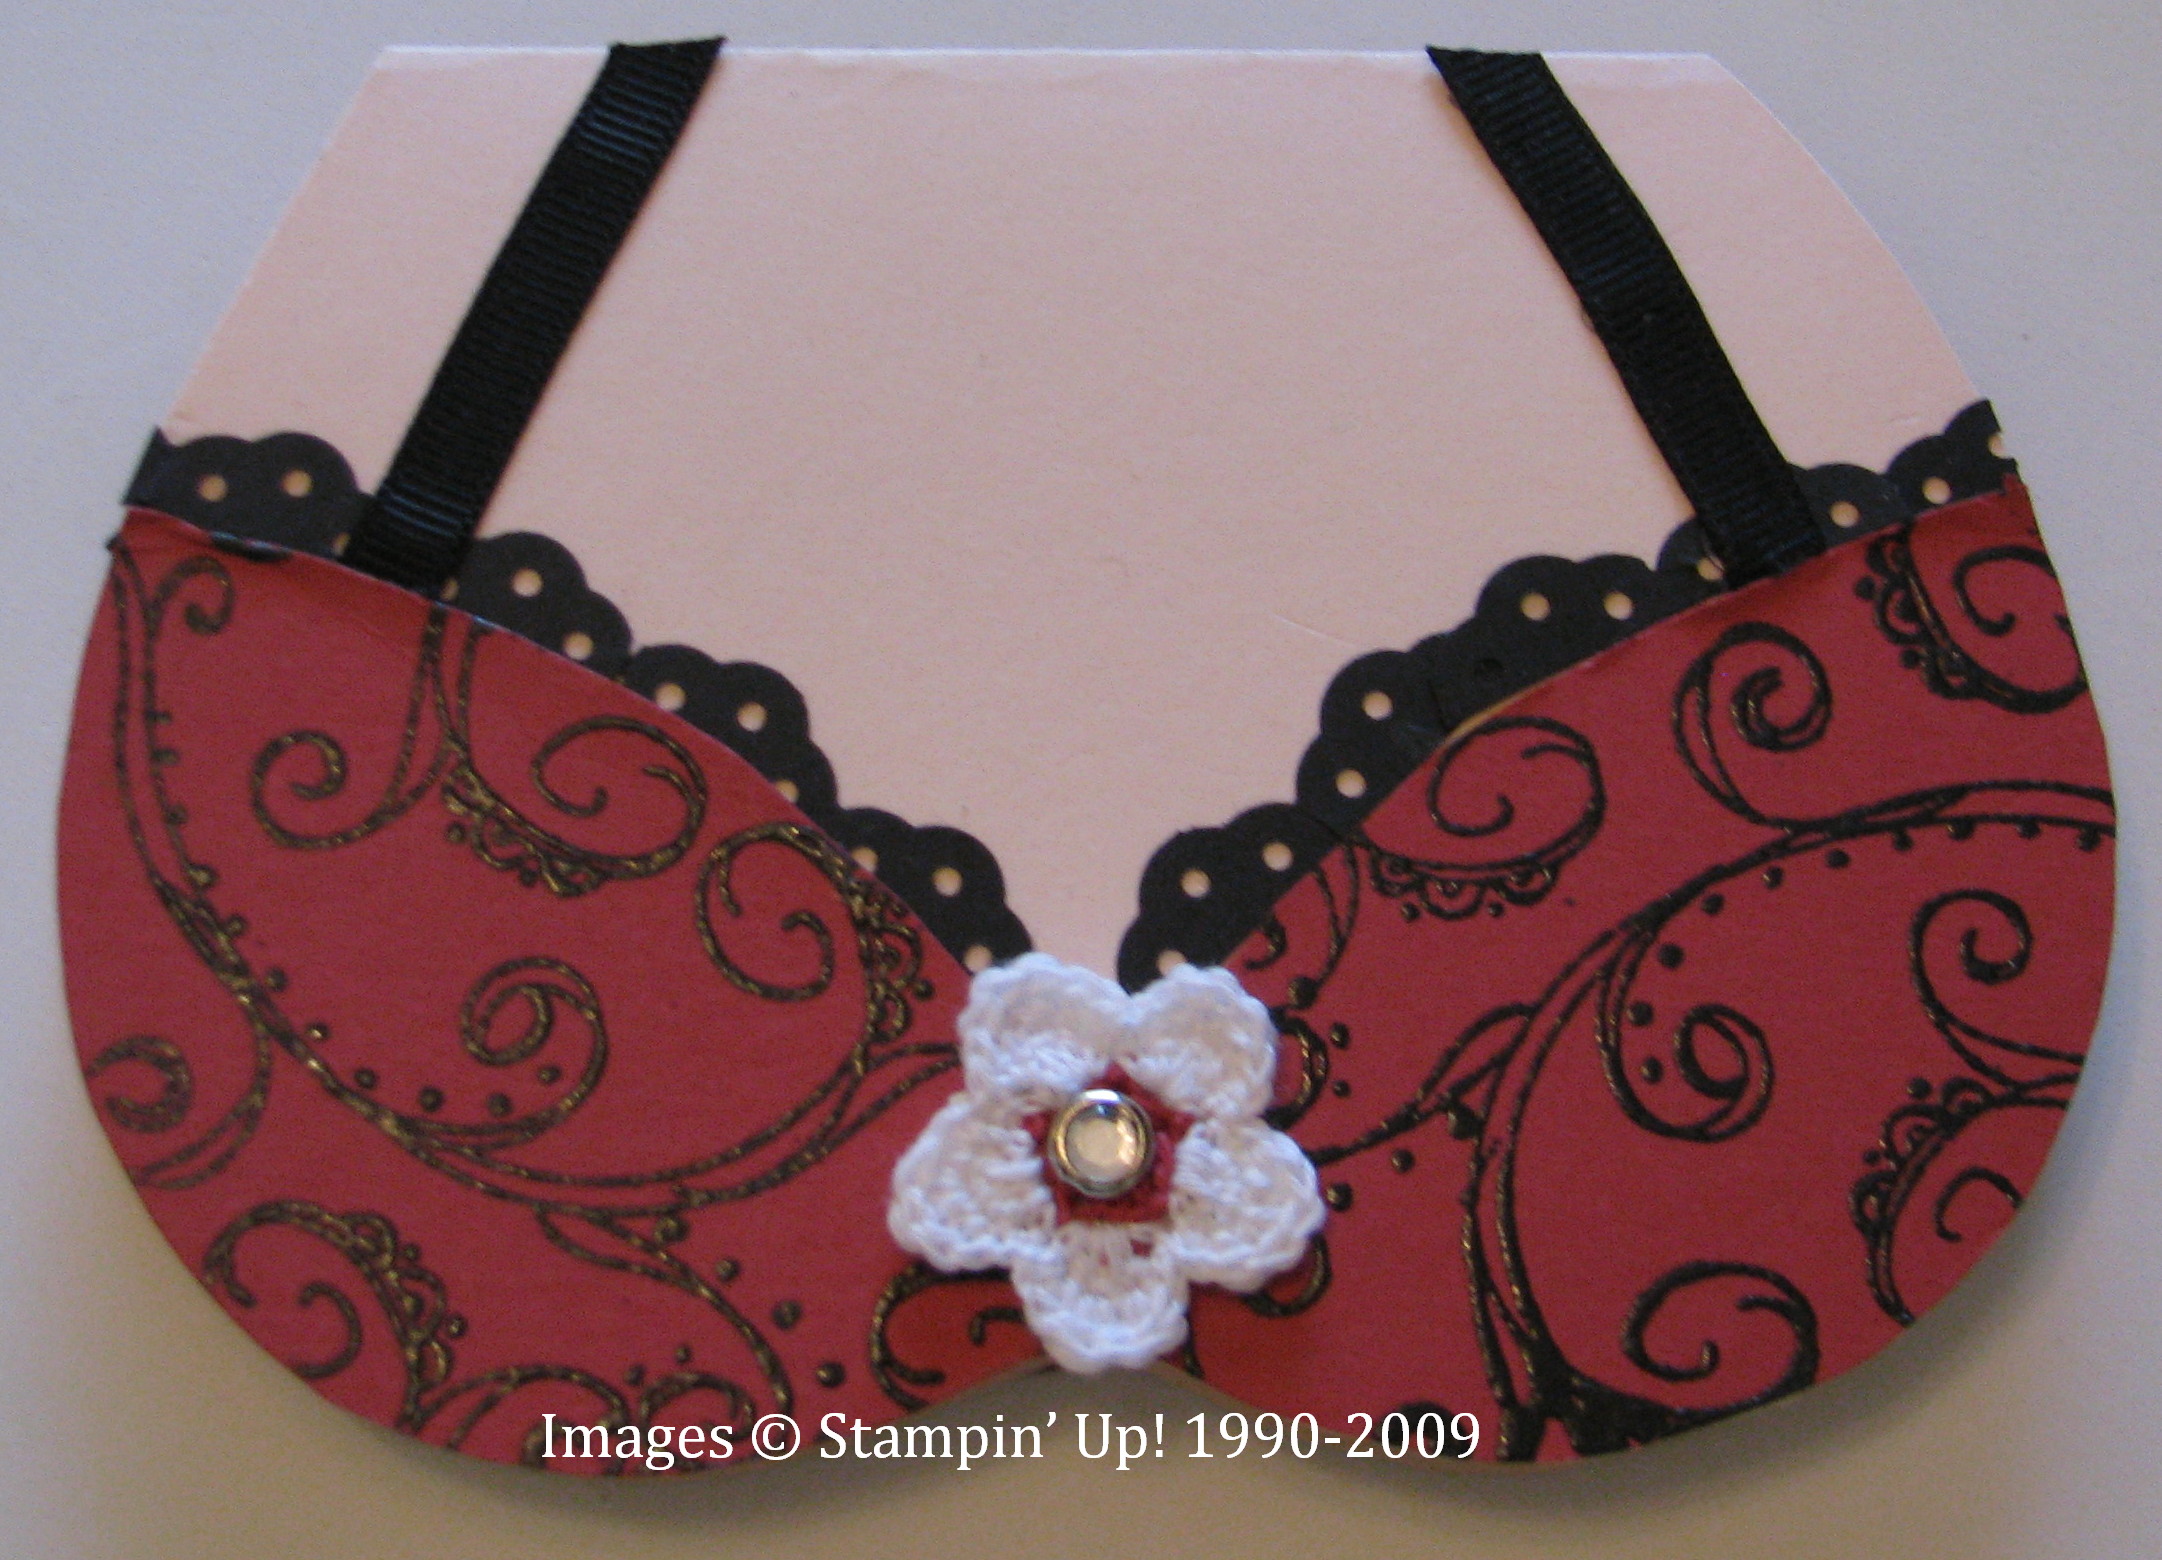
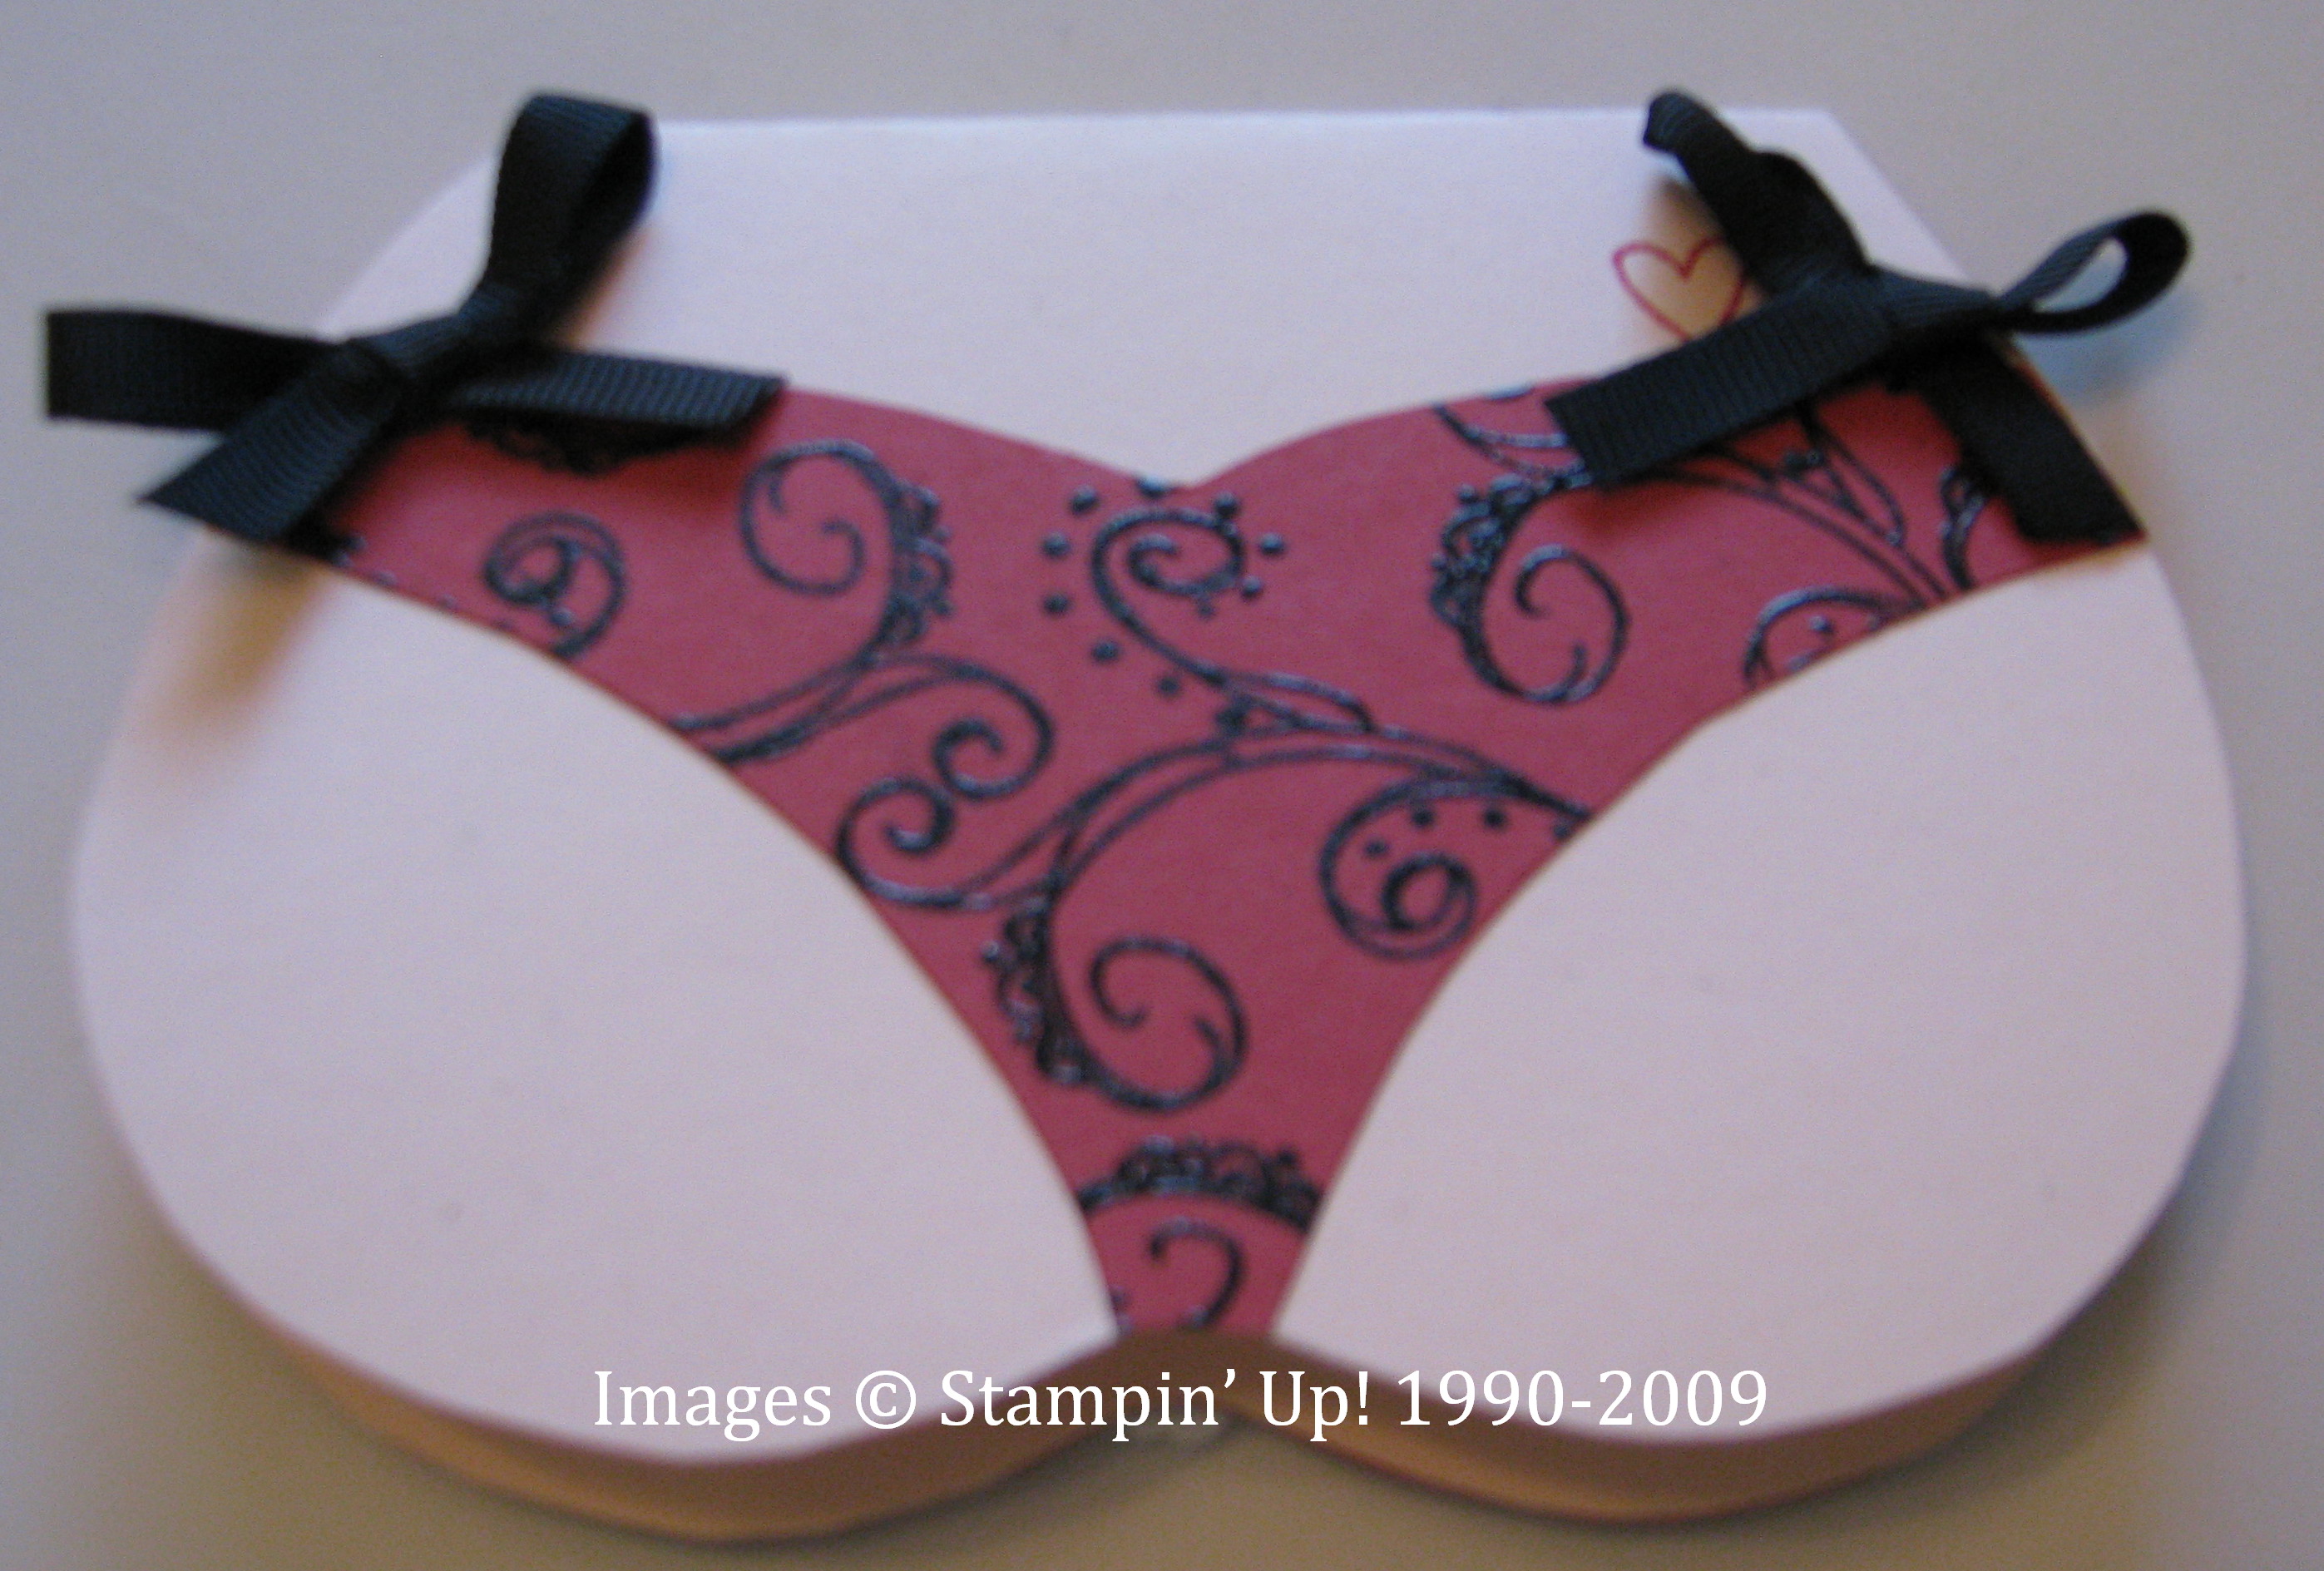
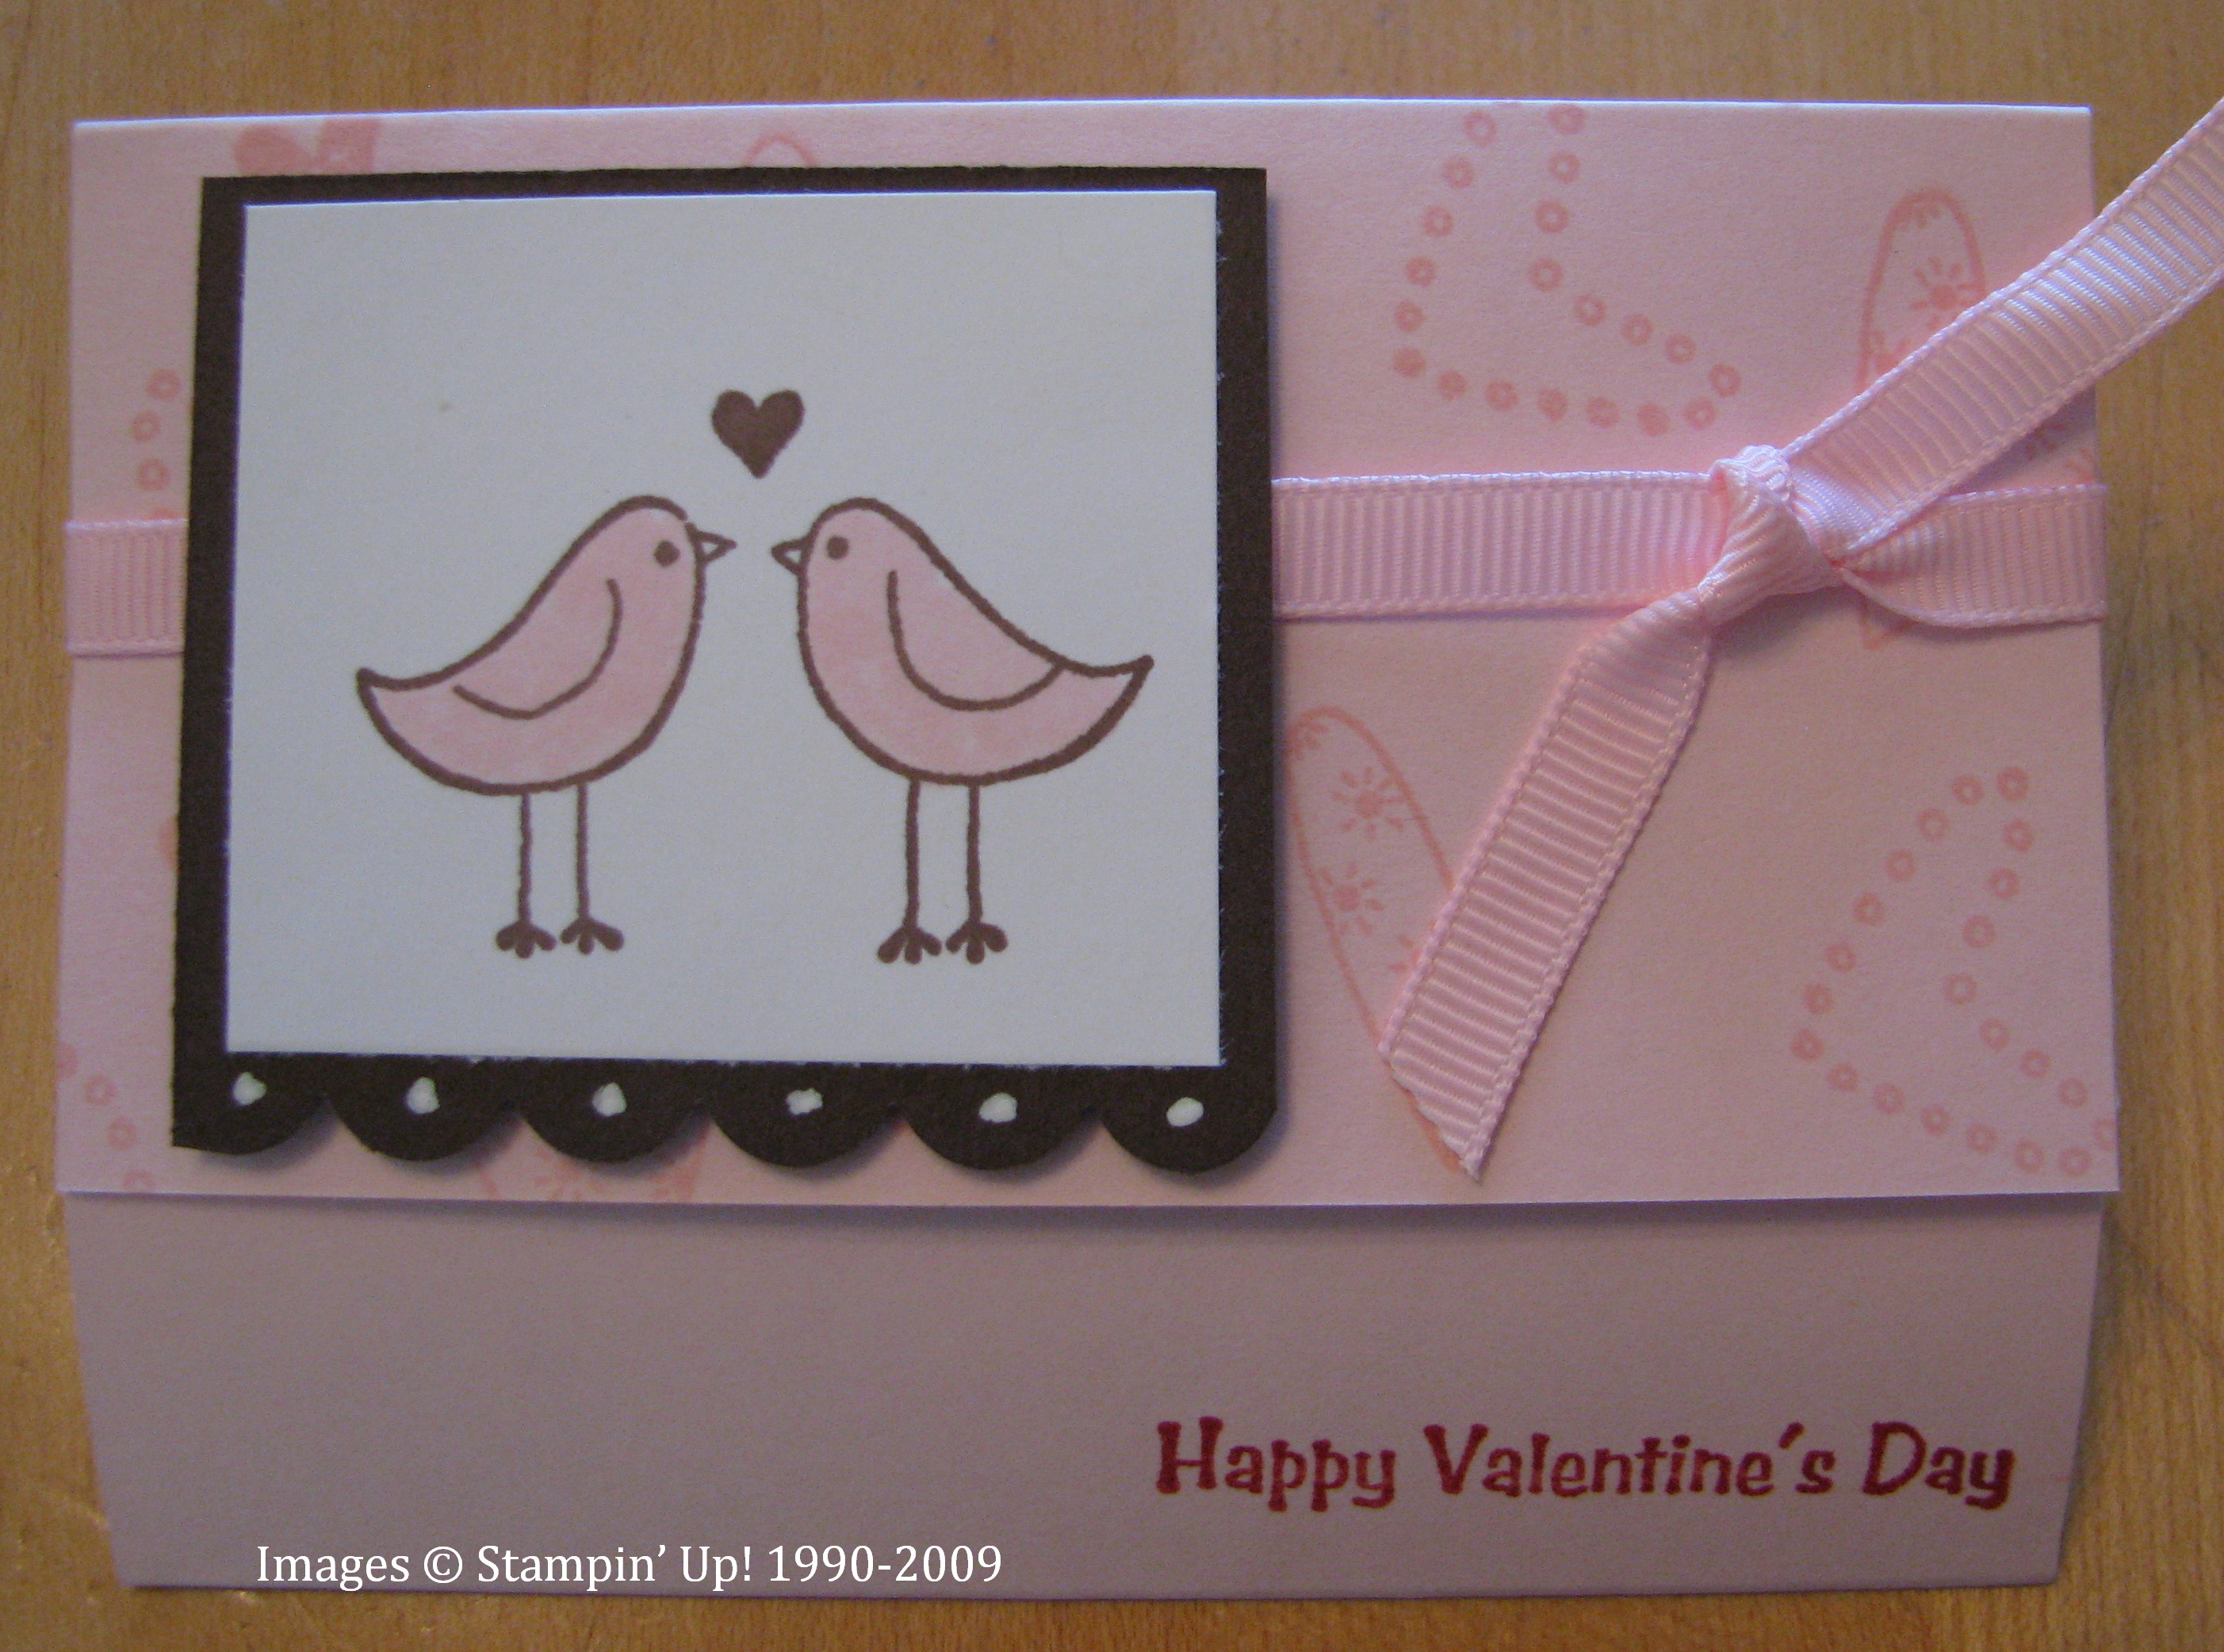
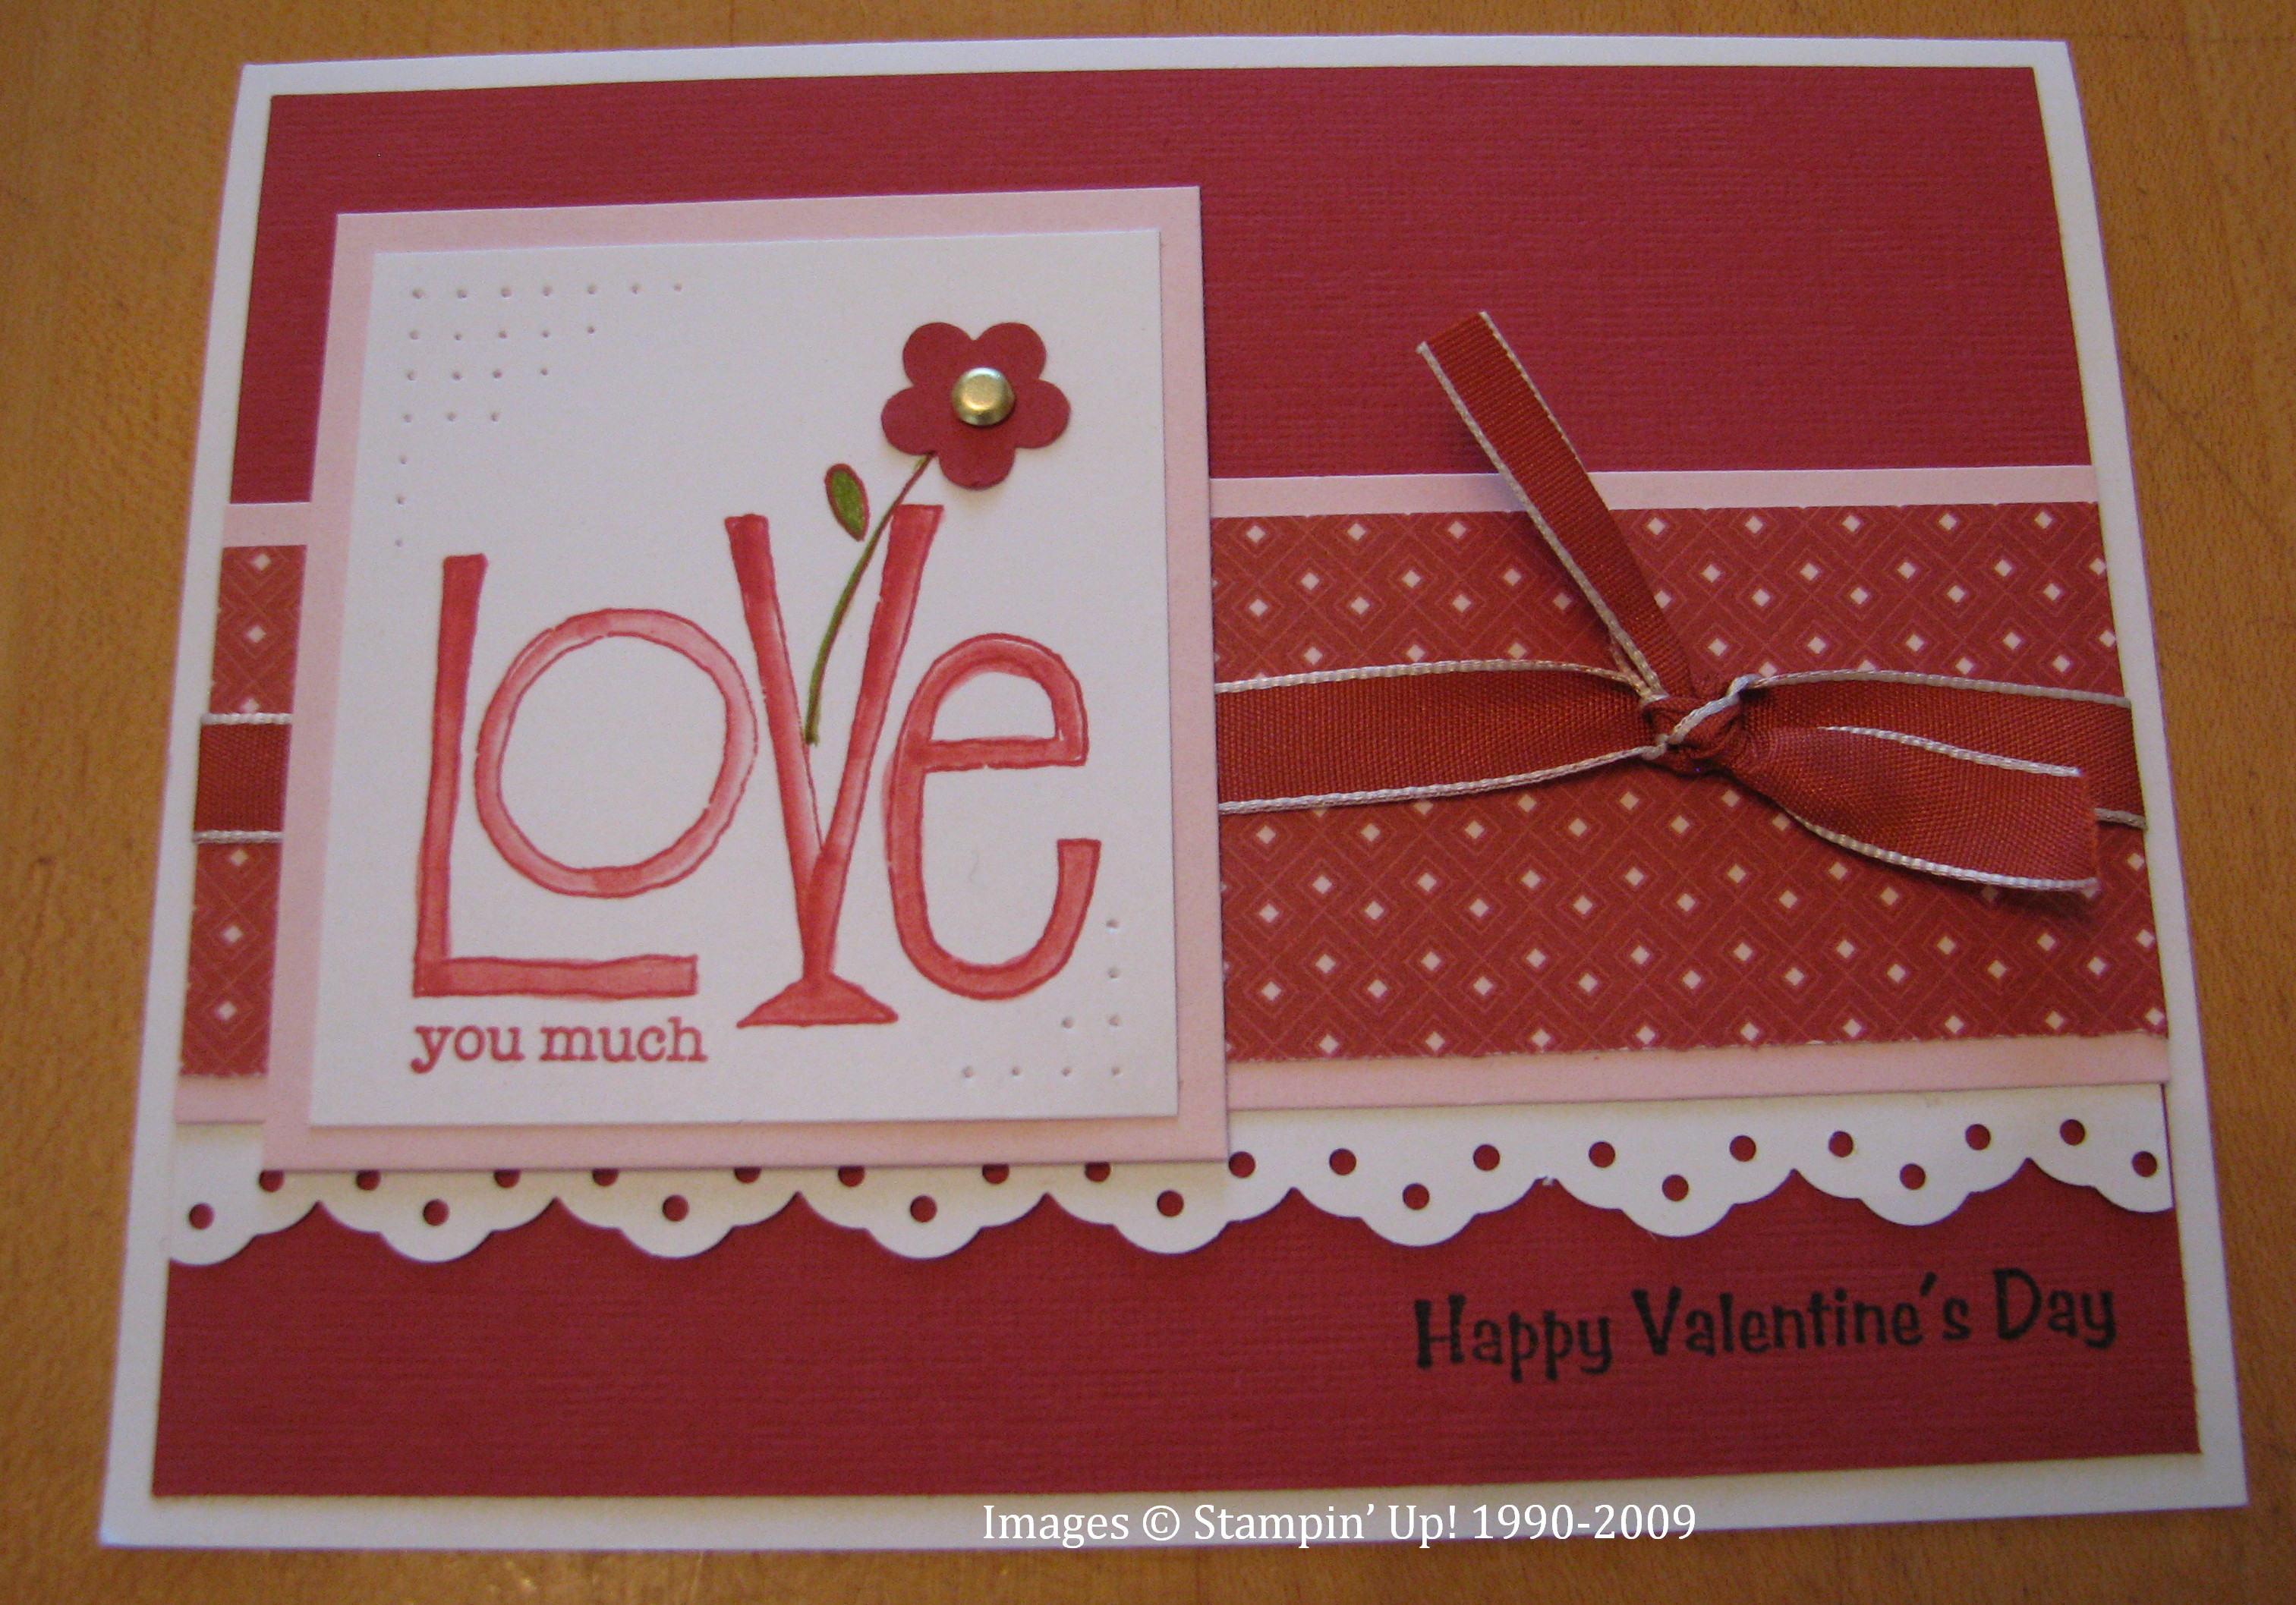
This Valentine I copied from one made by Wendy Janson.
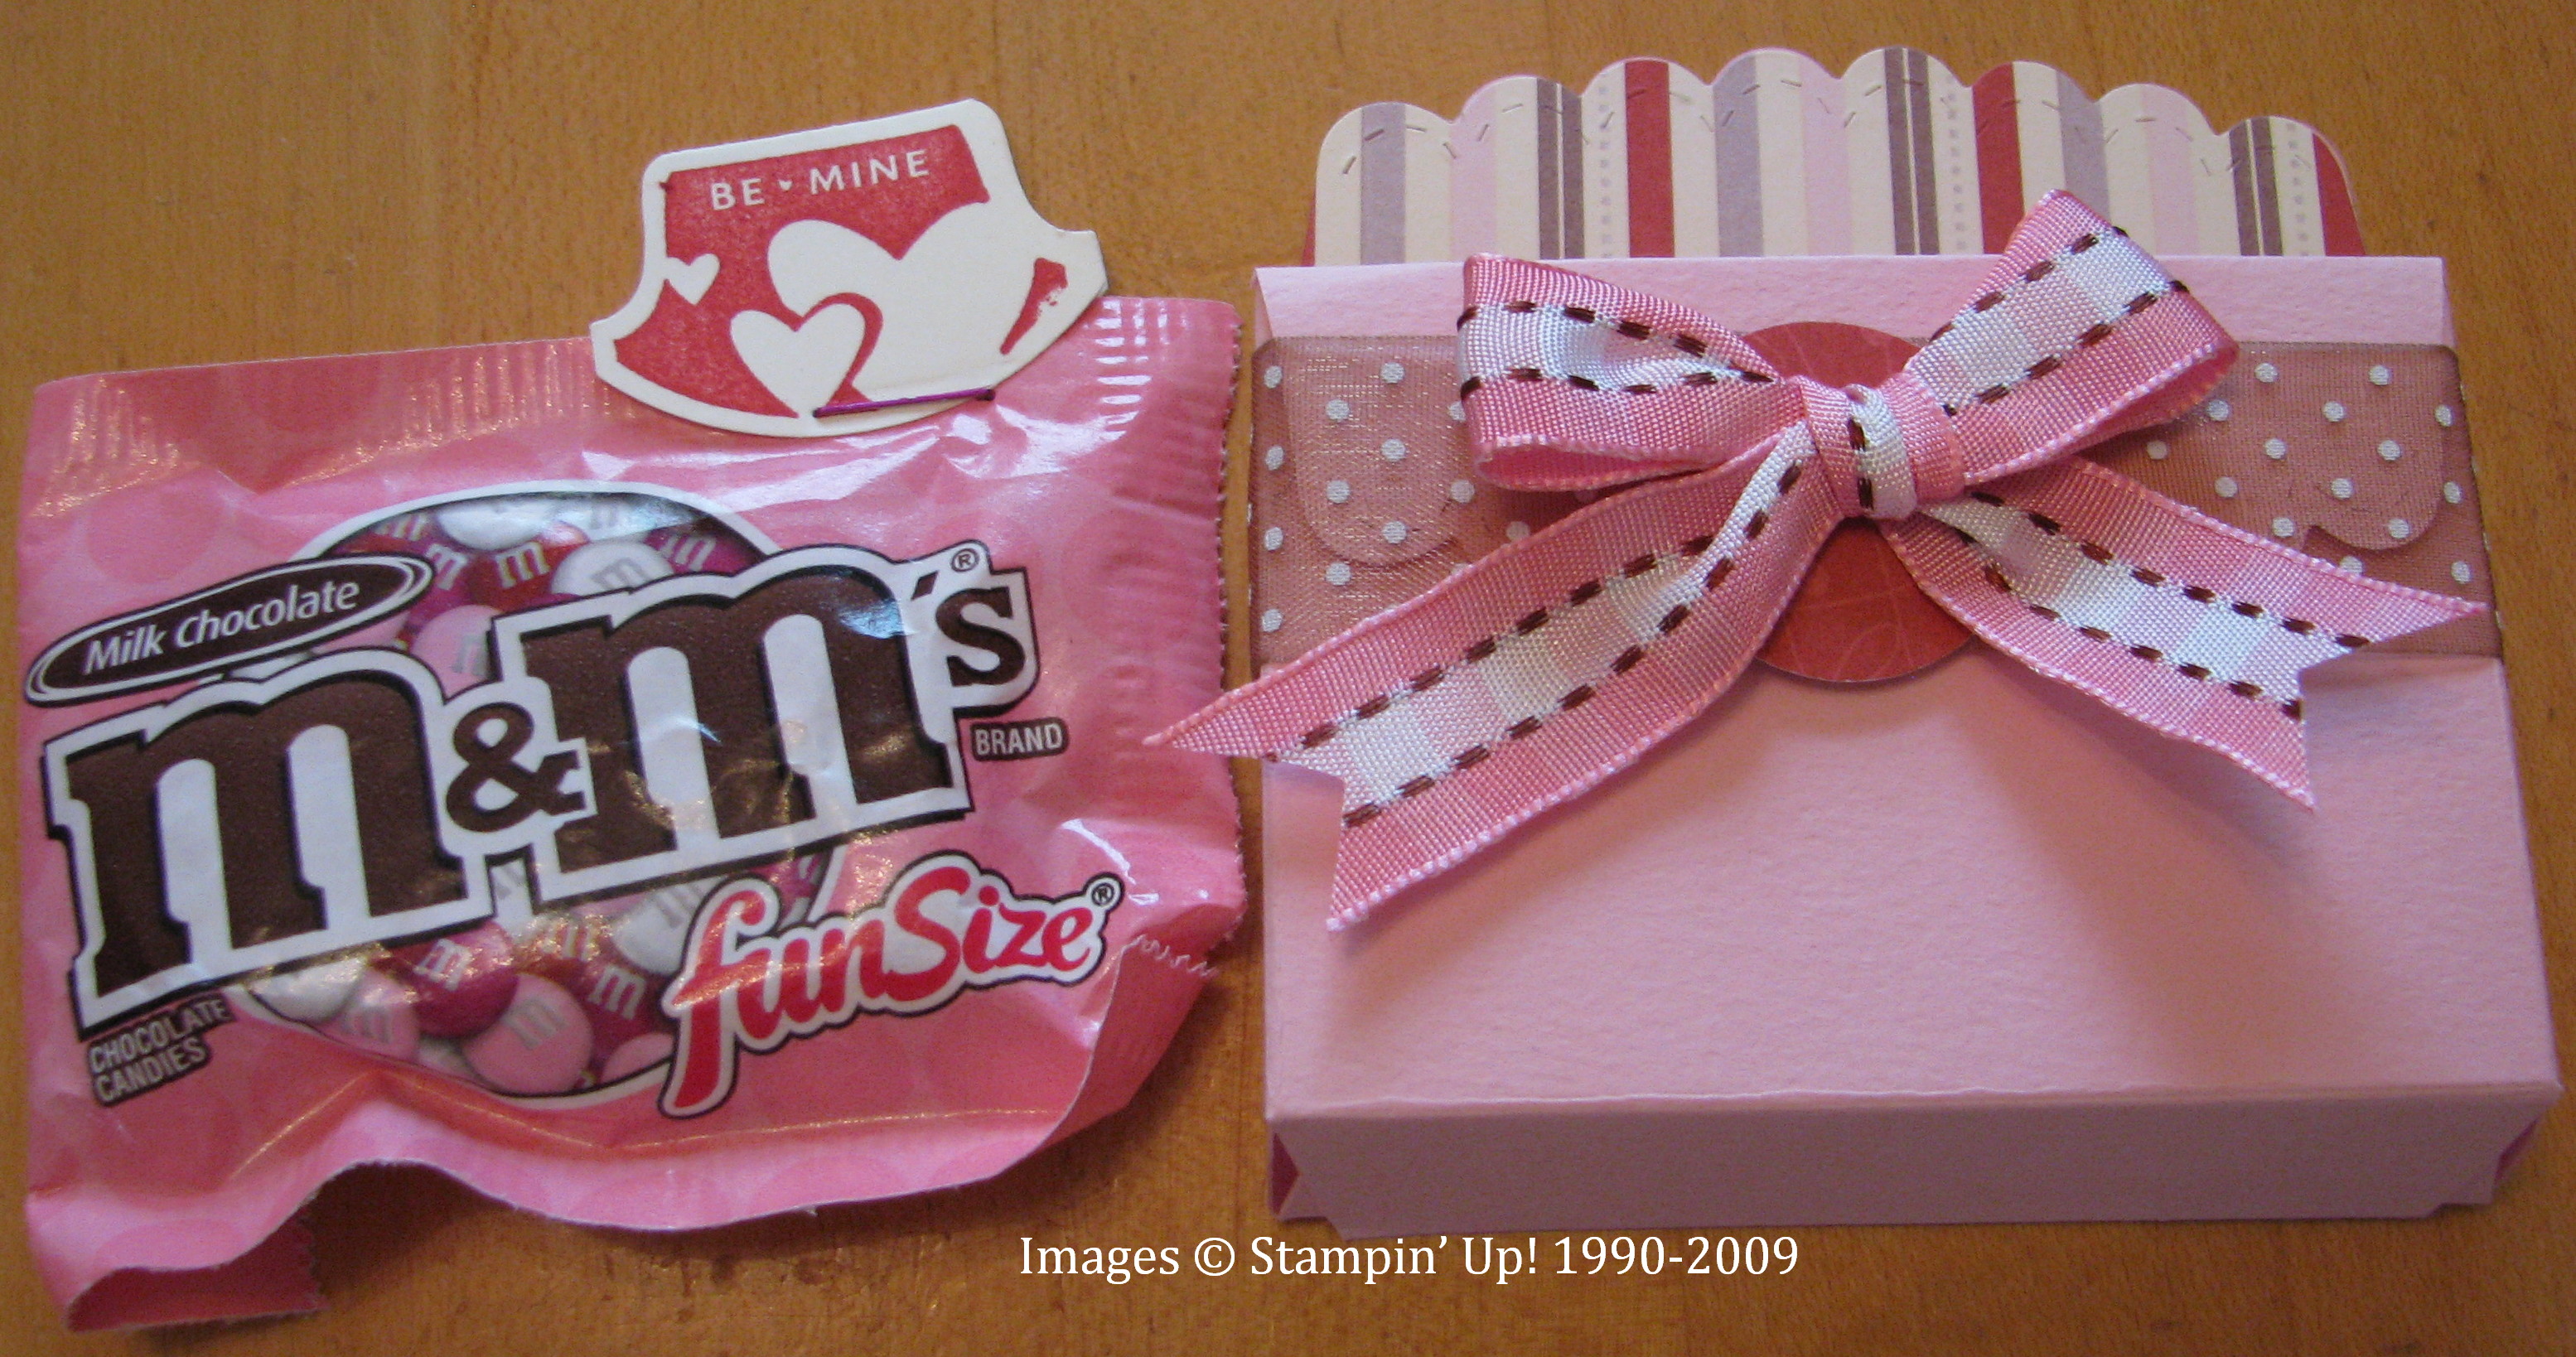
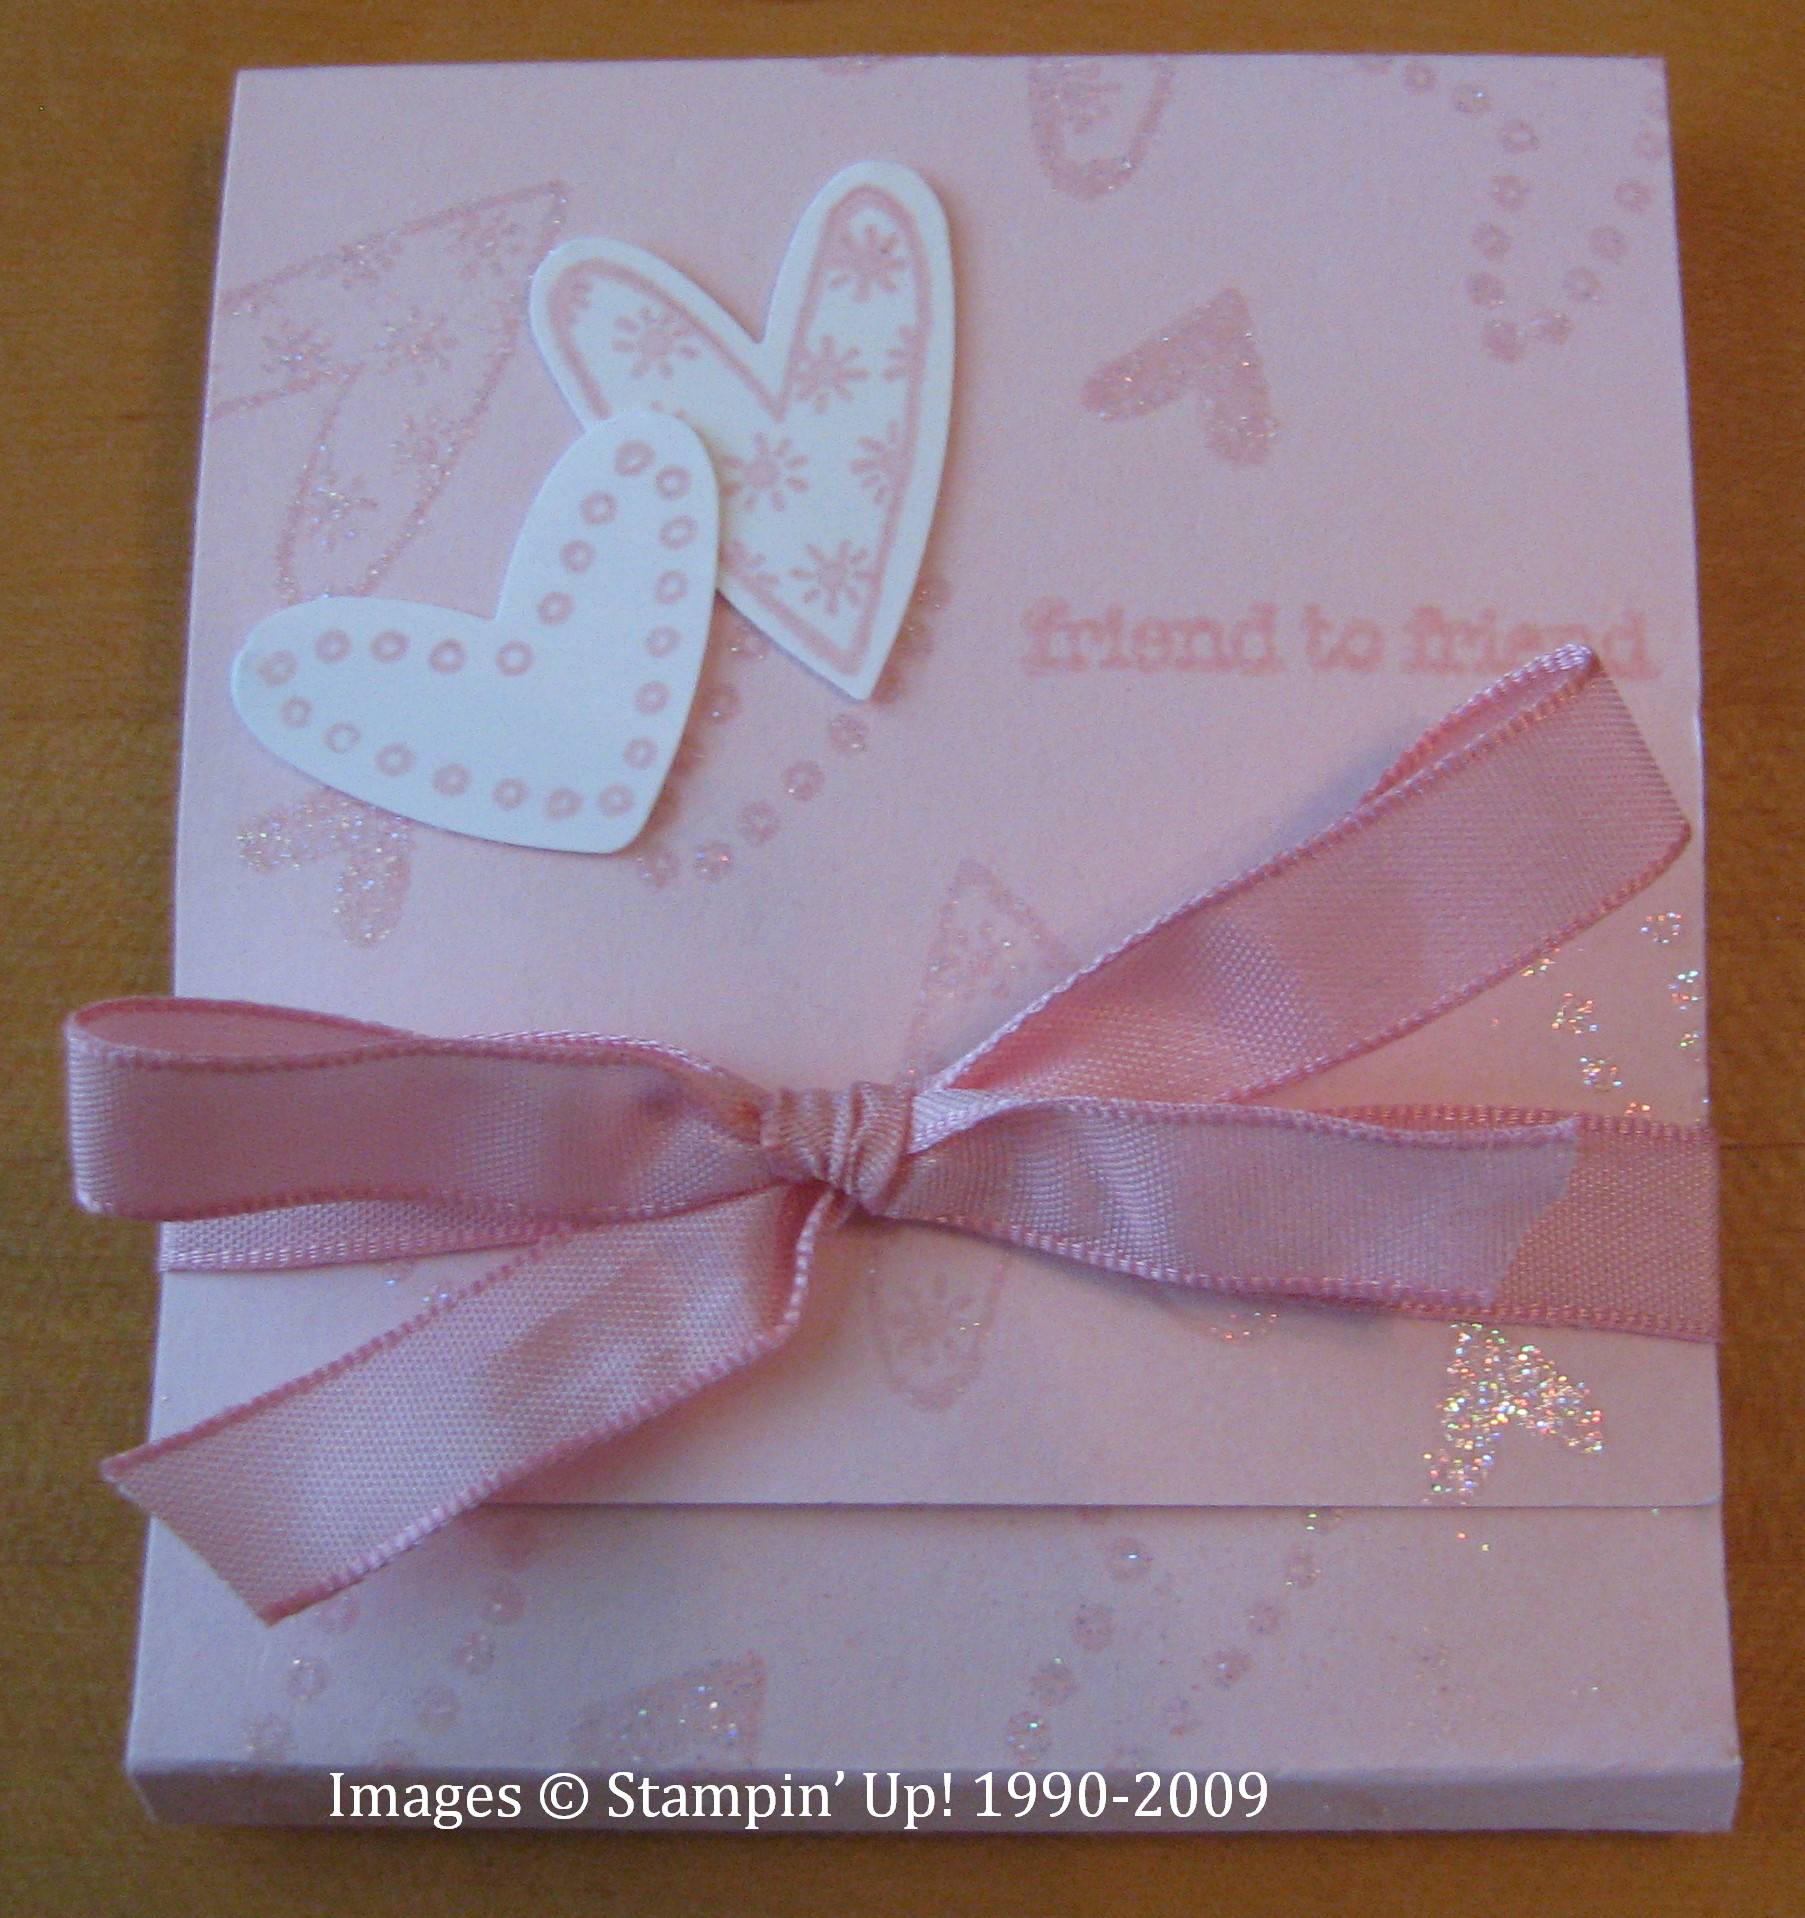
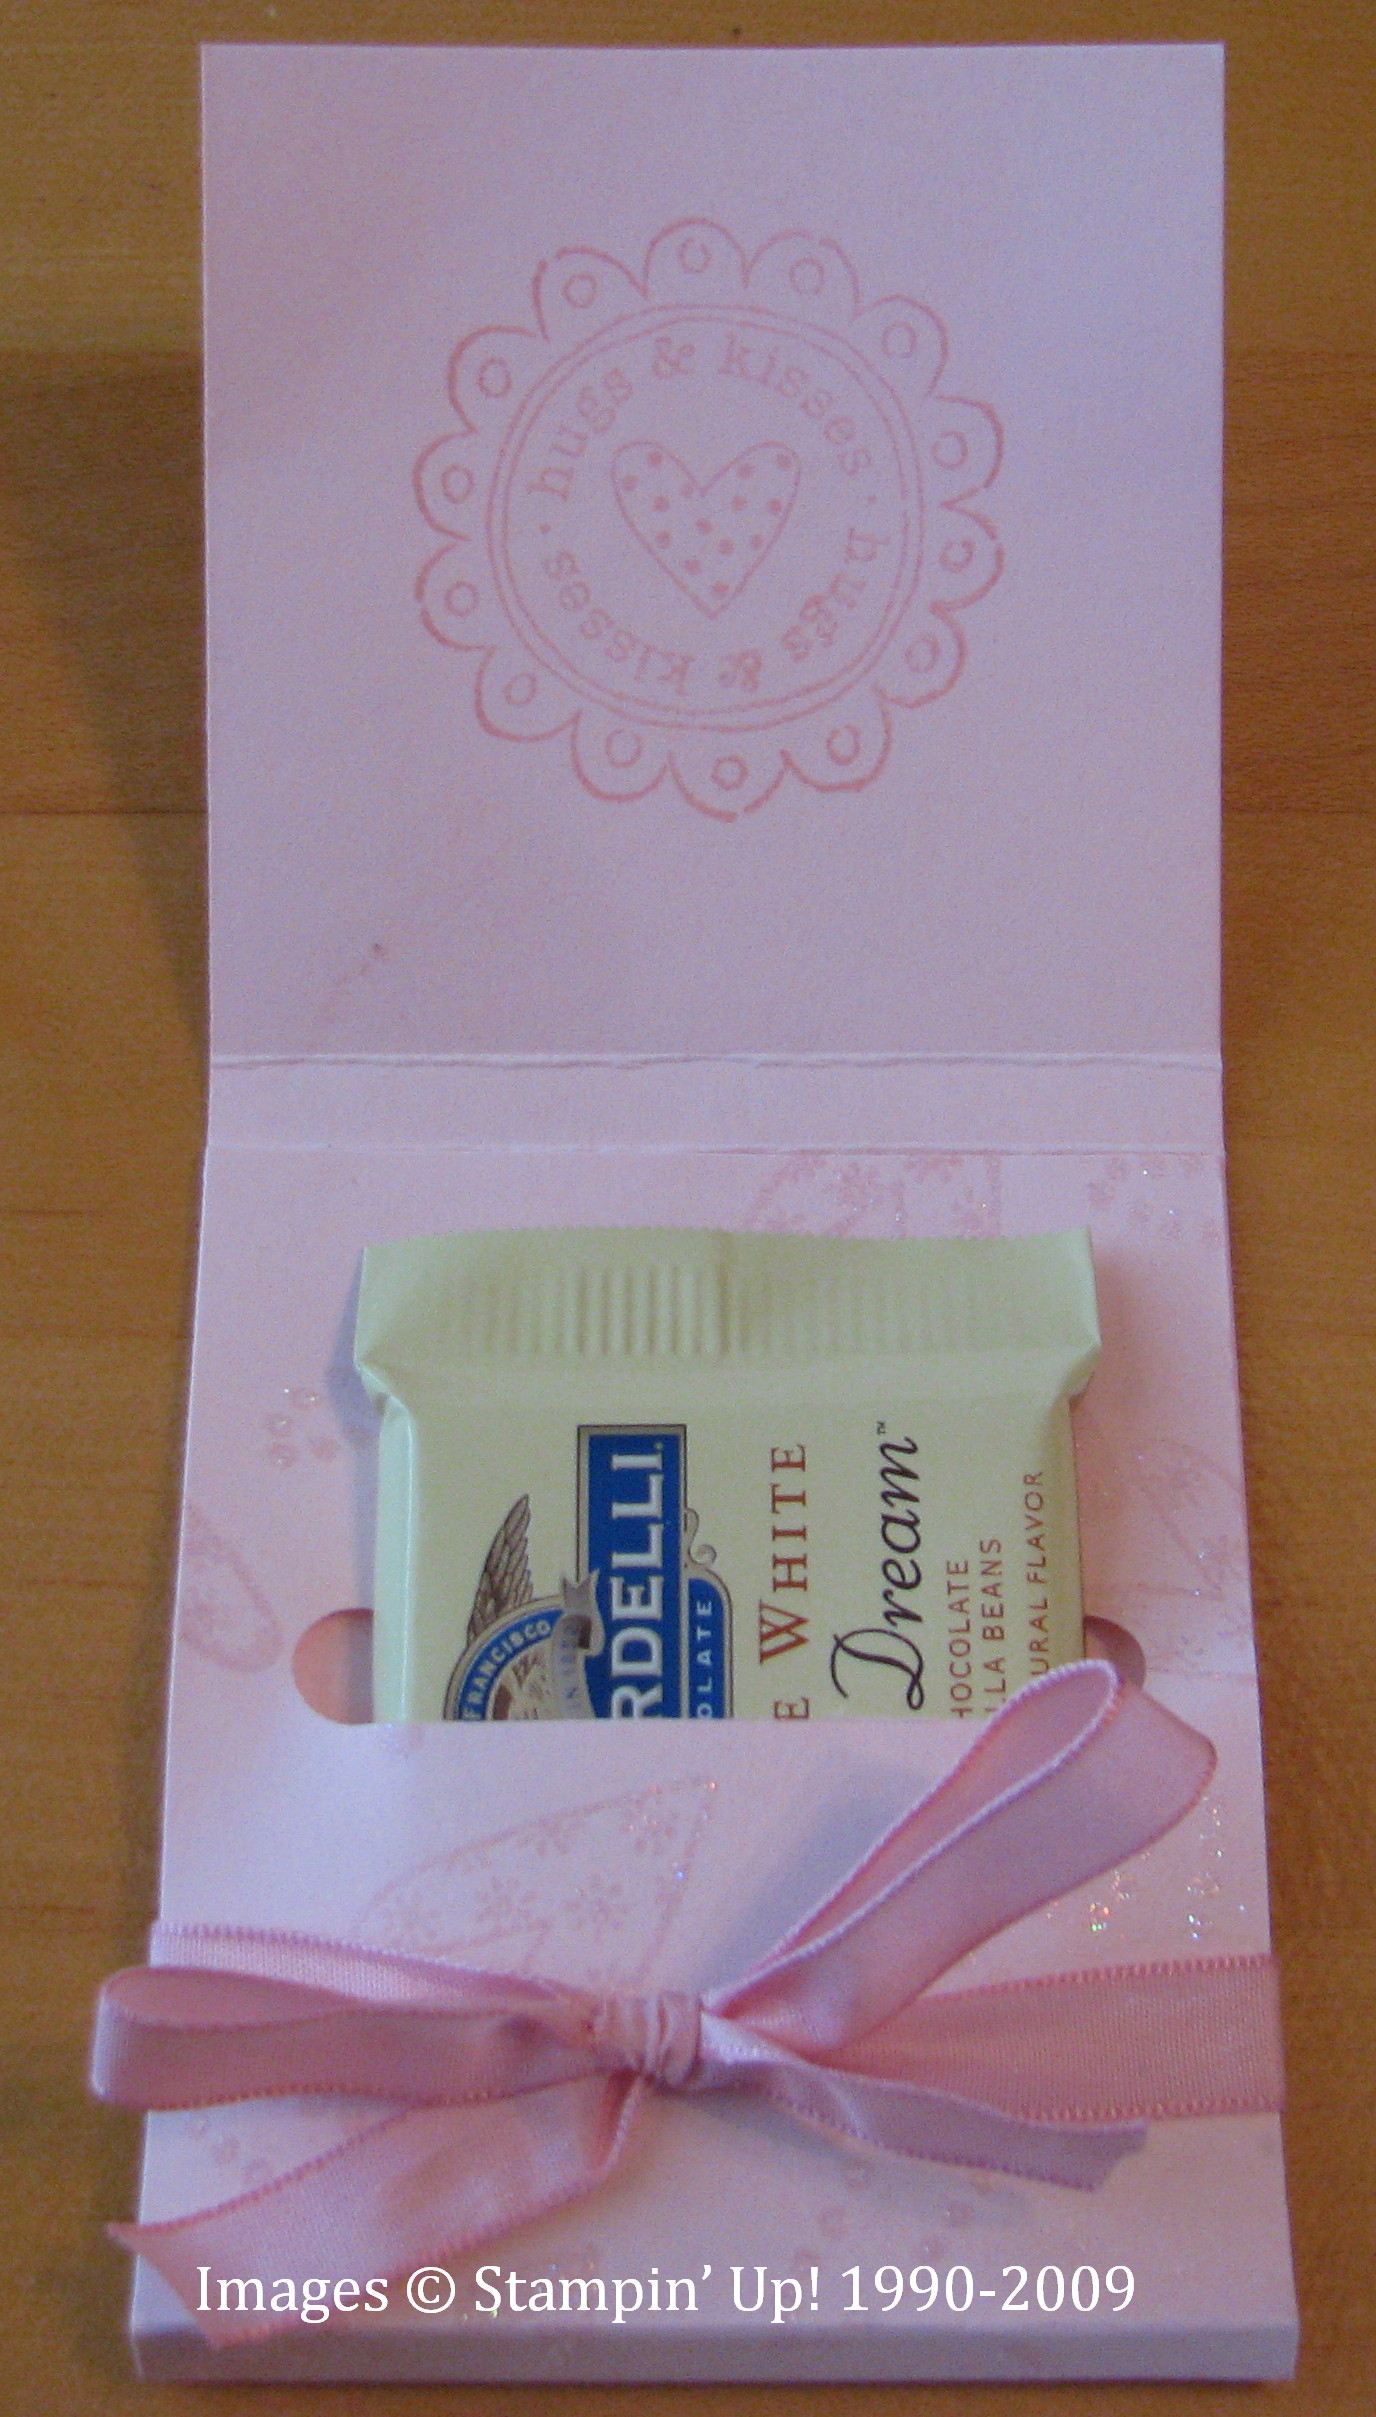
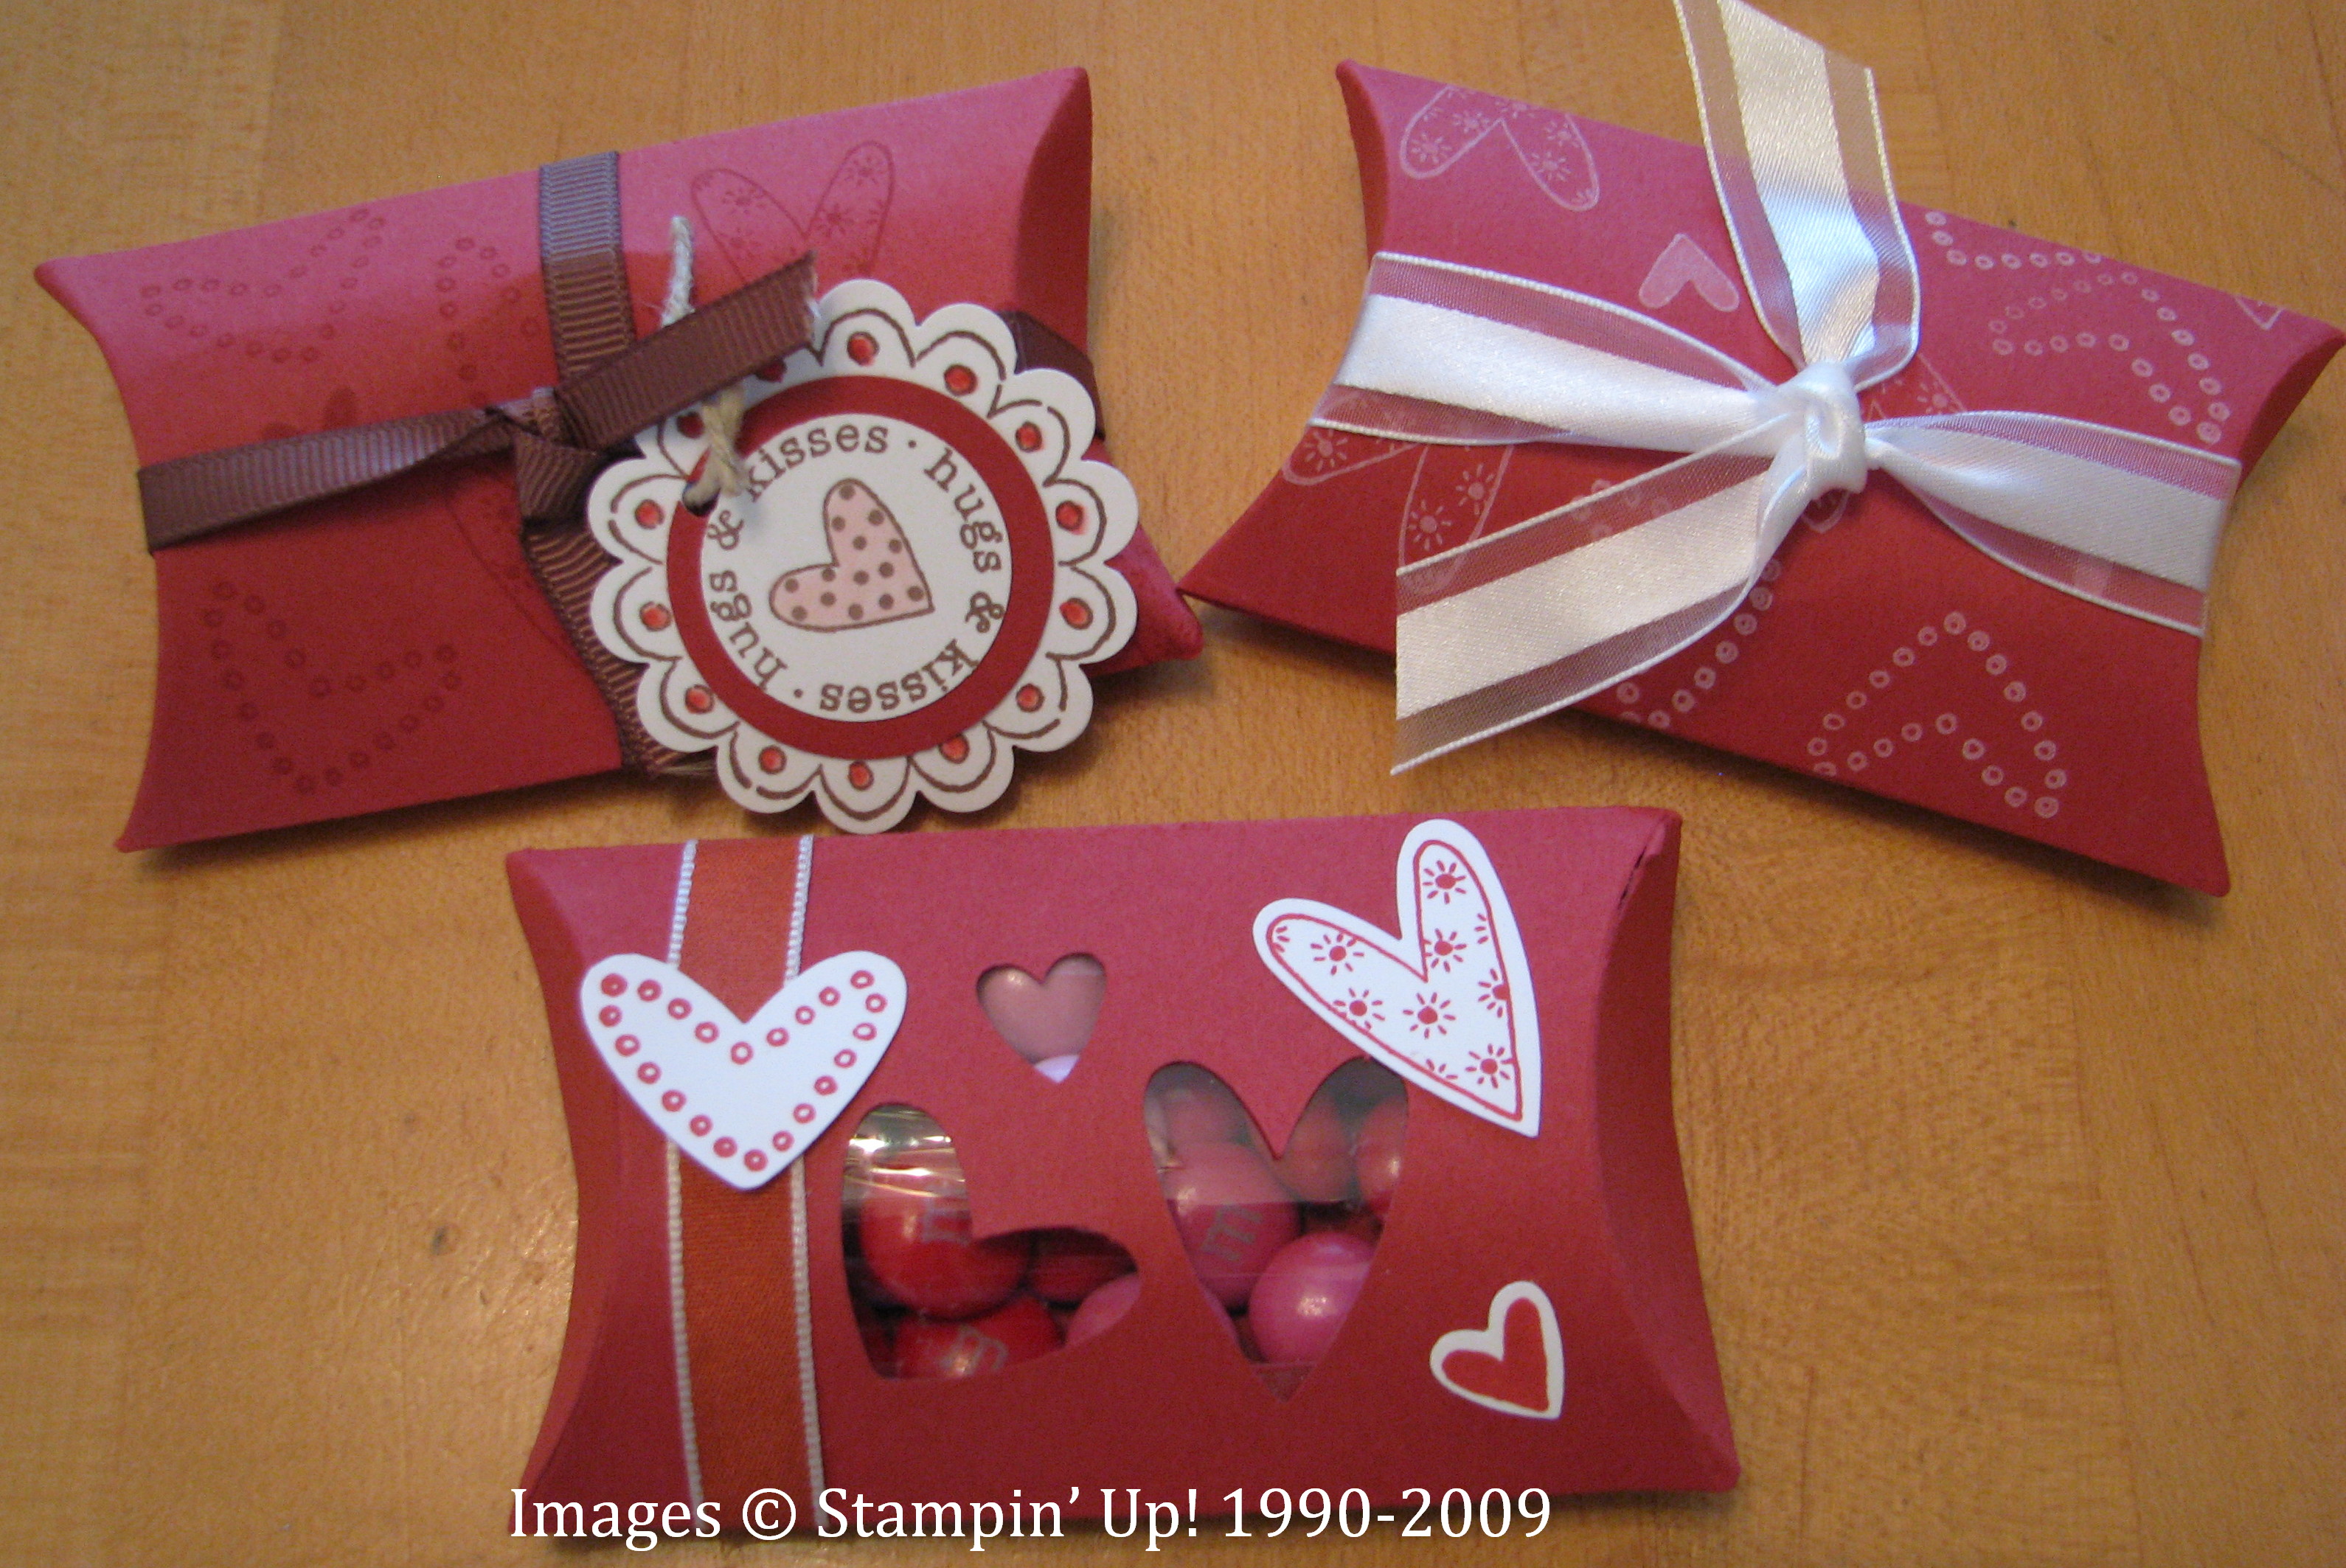
Here are some pillow boxes made with the Big Shot and Pillow Box die. The one we made at the stamp camp I punched out with the Heart to Heart Punch, then adhered a piece of transparency inside the pillow box. We stamped more hearts with the Love You Much stamp set, punched out with the Heart to Heart Punch and then decorated the pillow box. These were fun to make. I love my Big Shot!
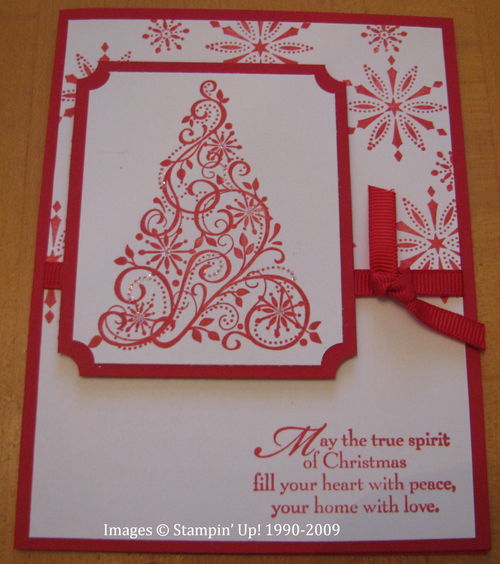
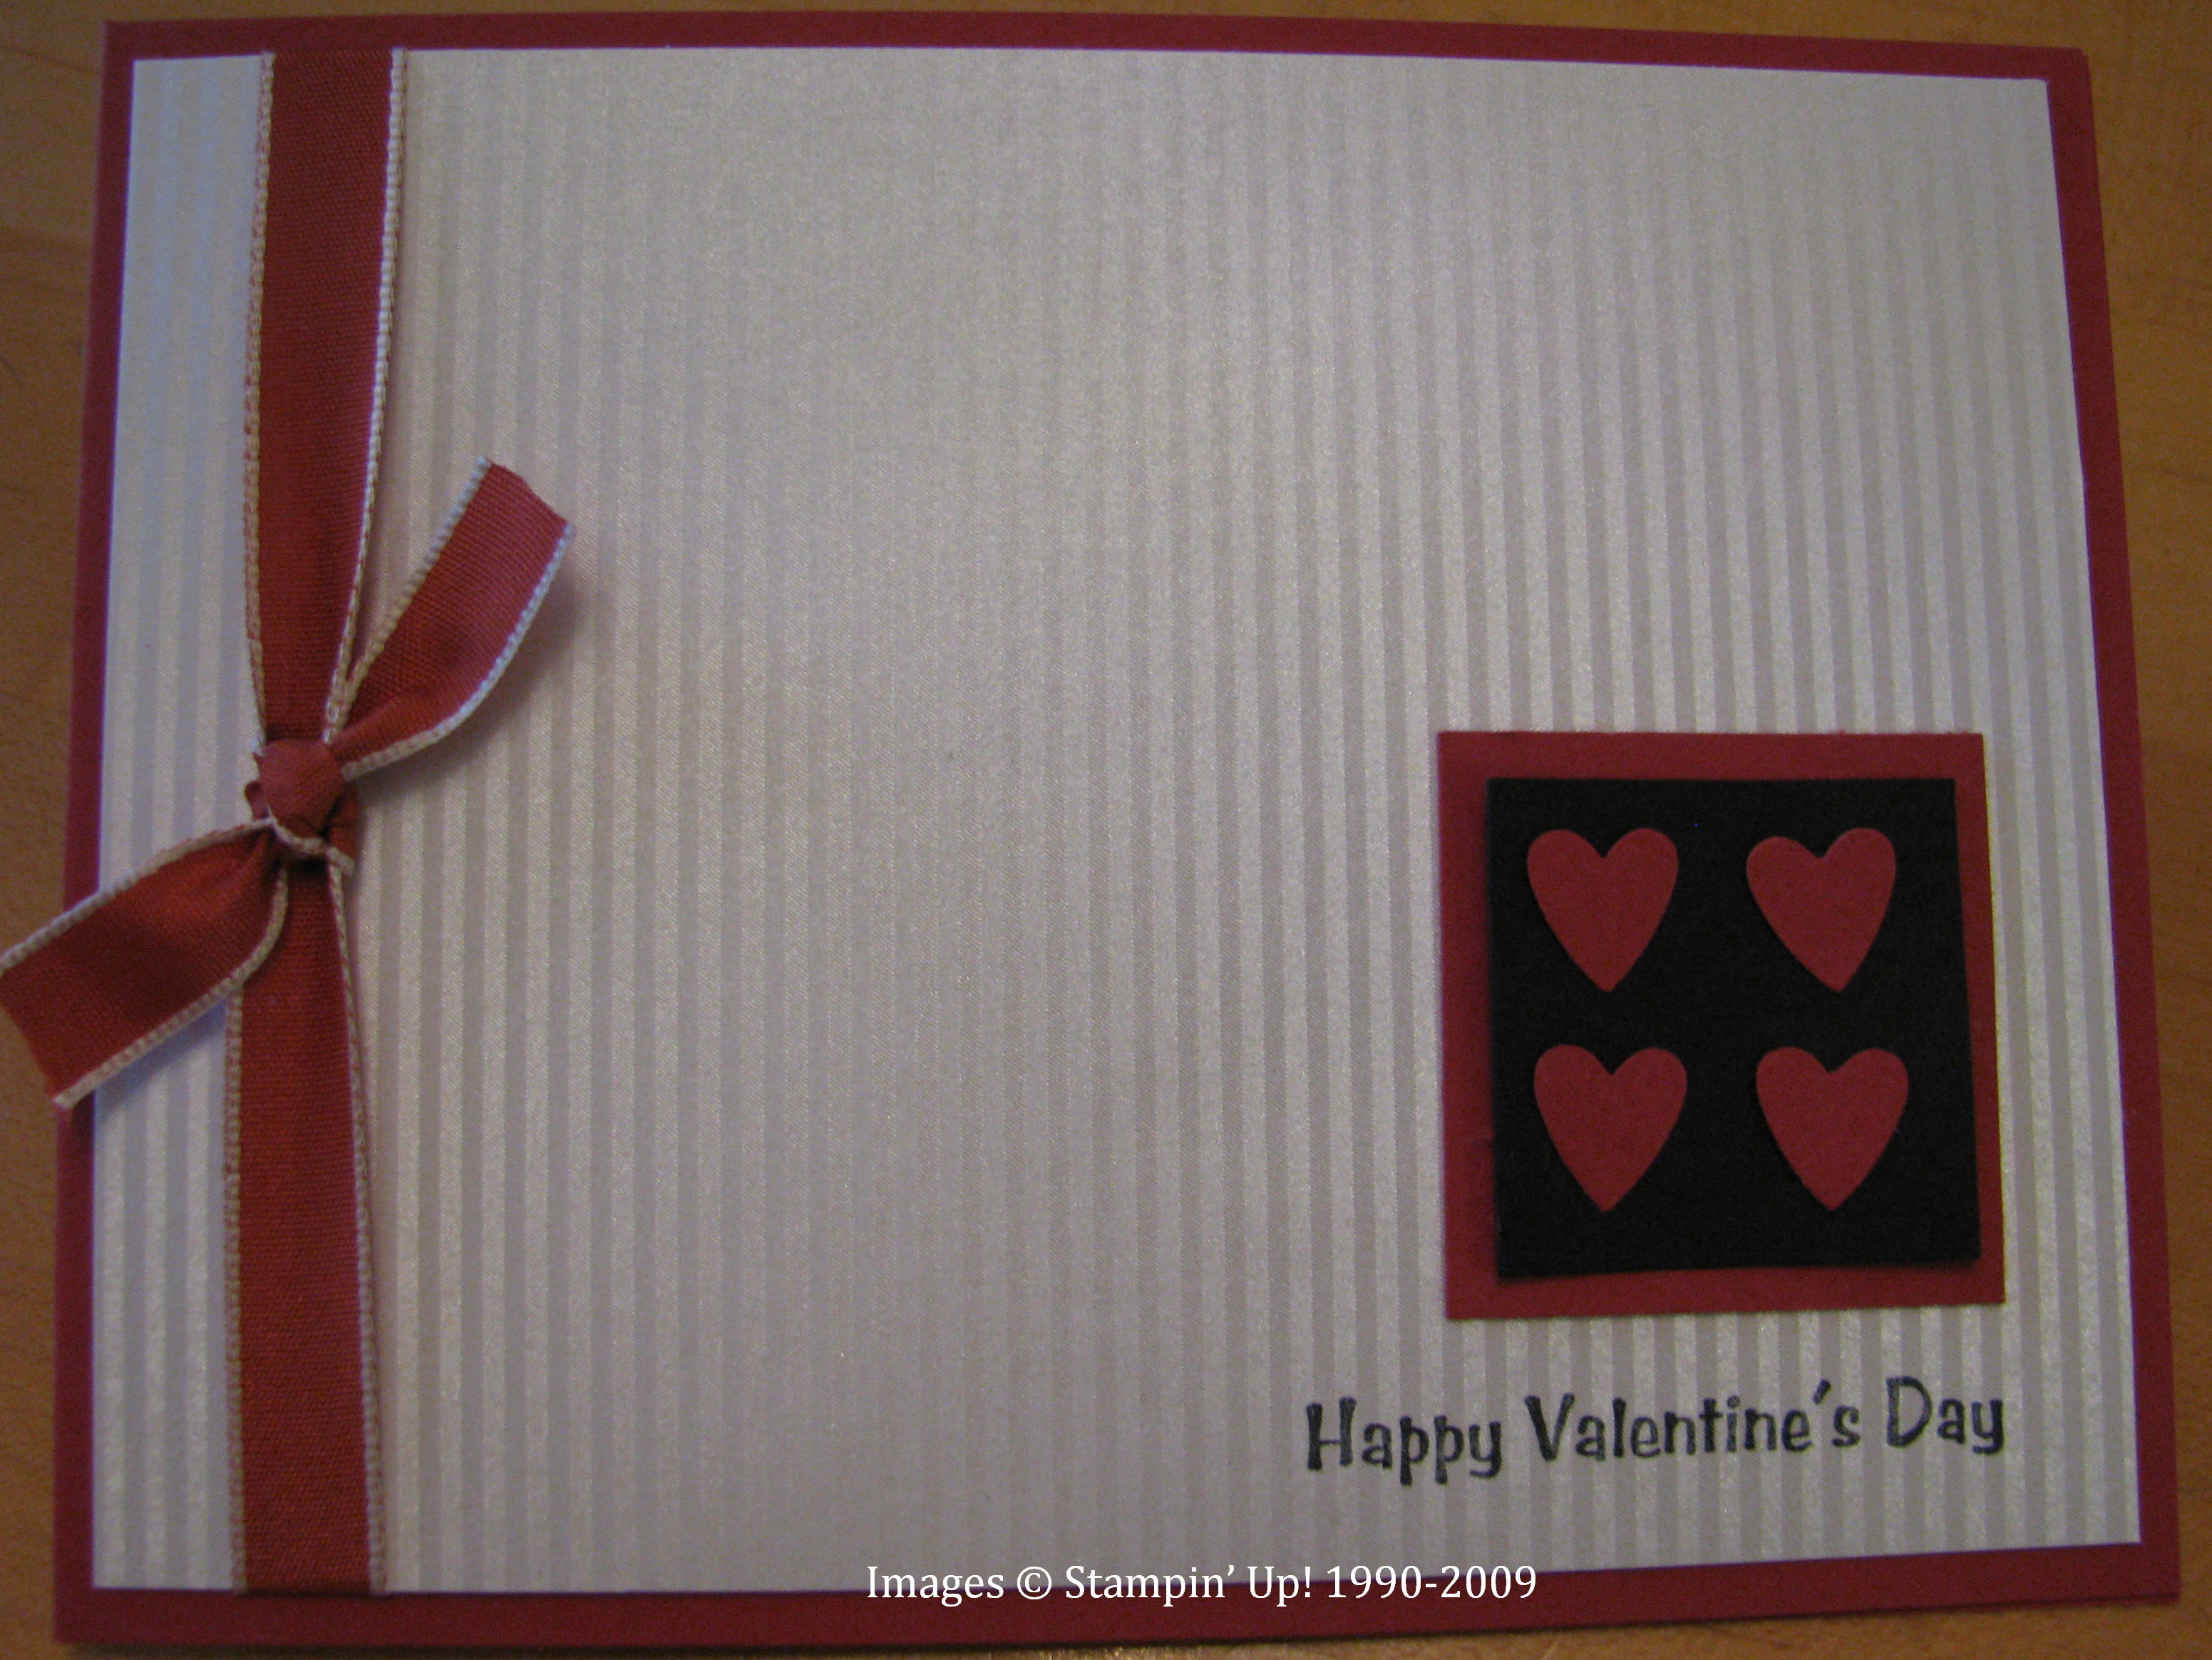
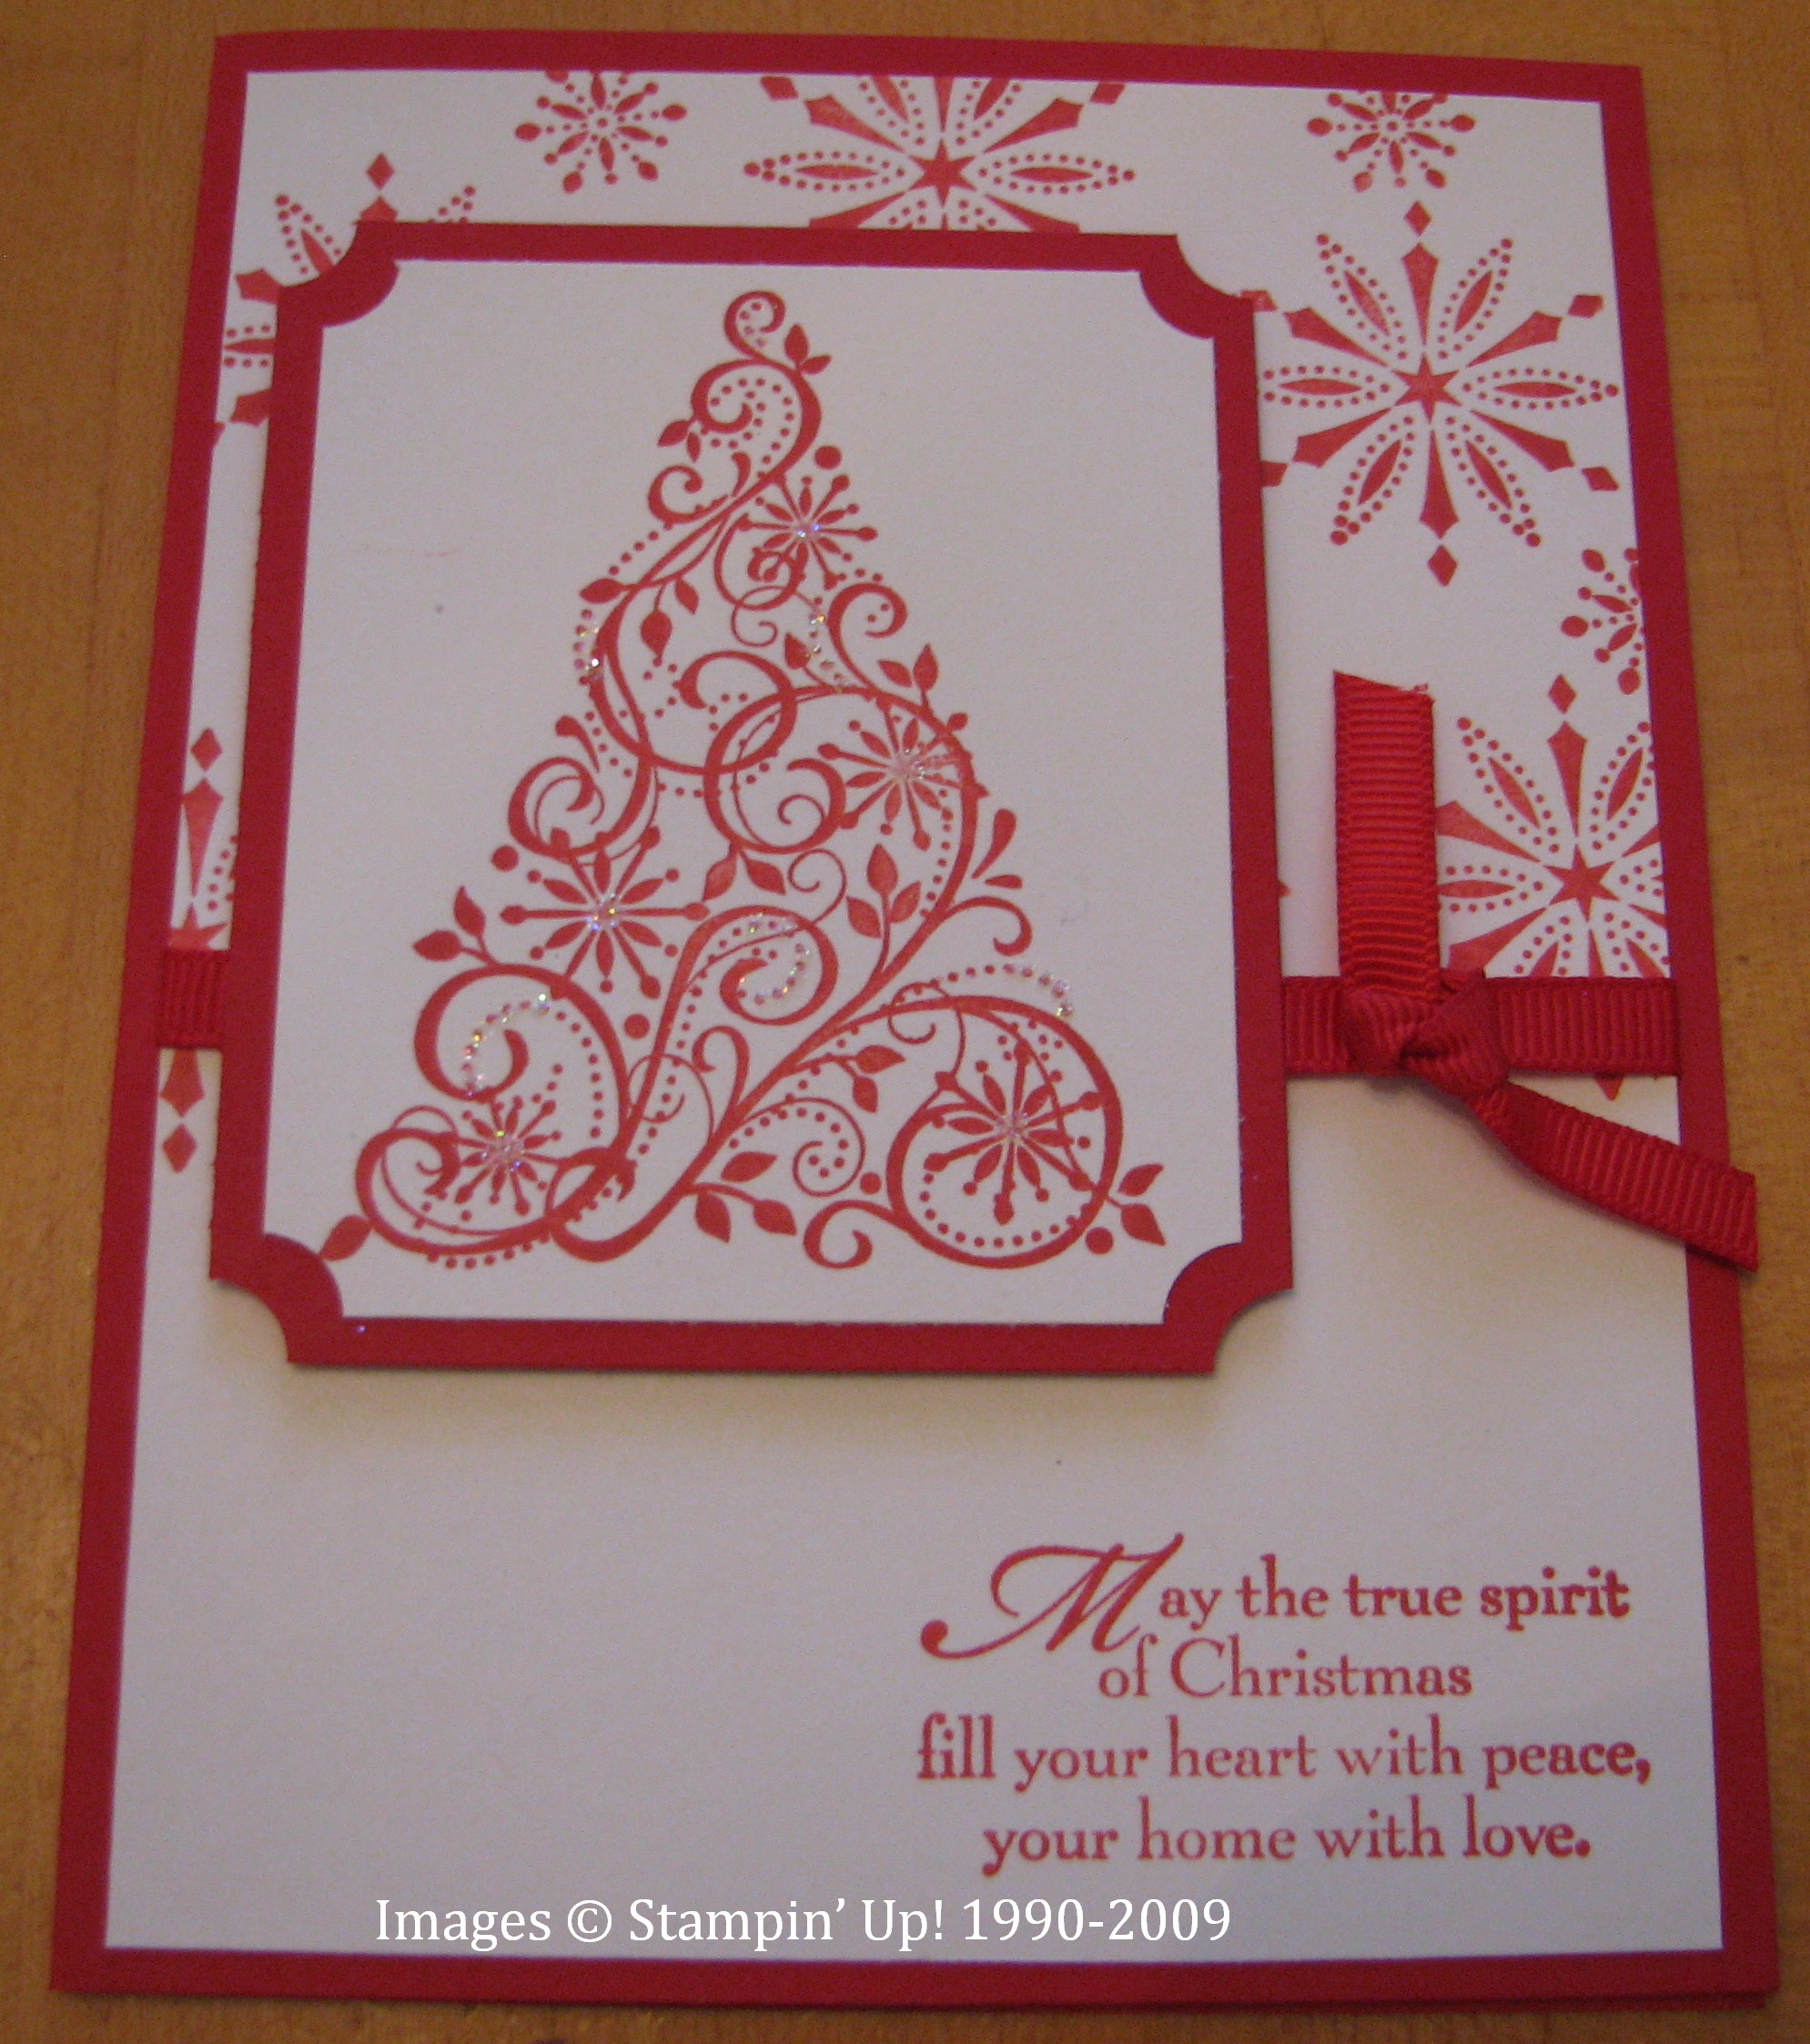
And if you think I am crazy, or that your eyes are playing tricks with you, yes, that IS a Christmas card you see! This is in keeping with my challenge to myself to start on Christmas EARLY!! We used the Snow Swirled stamp set to make this card and put the tiniest bit of Dazzling Diamond Glitter on the snowflakes on the tree. The Christmas card design was one I found by Caroline LeBel and just loved. So simple yet so elegant. I used Real Red on that card as I was afraid I was running out of the Riding Hood Red Ribbon and wanted to use the Real Red Grosgrain.
This month if you place an online order through my website www.karenfontinelle.stampinup.net you will receive a FREE Spring-Summer 2009 Idea Book & Catalog. Also, keep in mind that Stampin' Up!'s famous "Sale-a-Bration" promotion has begun! With every $50 purchase (before shipping and tax) you may choose one Sale-A-Bration item FREE in the Sale-A-Bration Mini Catalog. There are four stamp sets, one set of ribbon, and one set of Designer Series Paper to choose from! Contact me anytime if you have questions or would like to place an order or schedule a workshop to earn your free Hostess Benefits!
A Love You Much Scrapbook Page
It didn’t take too much work to figure this one out, I just copied the page from the Love You Much Bundle flyer, except that I used Bella Rose Designer Paper instead of the Candy Lane (would hate to use too much of the new paper, you know!). I used a 6×6 piece of Riding Hood Red In Color cardstock and stamped the hearts from Love You Much on the background in Riding Hood Red Ink. I also could have used Versamark for the same subtle effect. Then I adhered two strips of the Bella Rose paper to the bottom third. You can do whatever size strips you like, mine were about 1 3/4 x 6 and 1×6 with the bottom one overlapping the top one about 1/4″. You wouldn’t have to overlap since the ribbon goes across the two pieces anyway. I used my white gel pen to free-hand some dots across the top of the paper border. Then it was a chance to use one of my metal-edge tags for a change. This is the largest one. (If you don’t have the metal-edge tags, you can get the same effect with gray or silver cardstock for the bottom layer and your stamped layer on top). I stamped on a scrap piece of Whisper White paper rather than the tag itself, just in case of a mistake! The new large circle punch….1 3/4″…. fits that tag perfectly. In order to get that little red heart above the birds, I kind of stamped the top part of the stamp with Riding Hood Red and the rest in black, punched that out with the big circle punch and adhered it to the tag, right over the white part that is already there! Then I stamped the birds again with Stazon black….now either you can do this on Whisper White and color in your birds whatever color you wish, stamp them on colored cardstock, or stamp them on Designer Paper….then cut out carefully (without the legs!) and adhere them to the tag, right over the stamped birds with Dimensionals. I also used Dimensionals to adhere the tag to the scrapbook page.
Now if 6×6 isn’t your size, either enlarge the page to start with, or make this 6×6 piece and add it to your larger page.
If you ever thought you wanted to be a Stampin’ Up! demonstrator but weren’t “creative” enough, this shows you that you can copy, copy, copy! Stampin’ Up! is even getting better and better at providing ideas for us demos and even to you customers, so don’t let creativity stop you! Read all about becoming a Demonstrator here. You can even sign up online now, just contact me for my special password! You’ll have your Demo number in moments!
I Love “Love You Much”!
I first saw this set on display at the San Antonio Regional and I loved it. Now I am finally getting some time to stamp some things with it. Here are little 3×3 notecards I made. Such an easy and fun set. Of course if you order the "bundle" (click here) you get the stamp set "Love You Much", the Heart to Heart punch and the Candy Lane Designer Paper, all for 20% off retail price during January. (See THIS post) The paper had been so popular it was backordered for awhile but I think it is going to be available this coming week. If you ever try to order online and have difficulty, contact me because if something is backordered, the online ordering will not take the order. I would still be able to put it in for you on the regular system.
A Valentine Mailbox
Whenever I see these mailboxes, I think about the excitement they caused a couple years ago when they appeared in the Target dollar spots! As soon as they were found and stampers began altering them and posting pictures online, other stampers just went wild all over the country for these little mailboxes! Target probably wondered what in the world was going on as their dollar spots were stalked, phone calls made to the stores checking on inventory and deliveries, and shopping carts filled up with how ever many mailboxes could be found! It was Target Mailbox-Mania…..and I'm not sure it is over yet! Apparently this year's mailboxes are starting to show up in Target dollar spots and are silver! However, I still have plenty of white and red ones in my closet so I don't need silver ones (unless, of course, someone posts something with a silver one that is so darn cute I can't resist!). They ARE nice for gifts…..you can stamp notecards to put inside or fill with candy or a little gift. Actually, years ago my friend Chris sent me a red Christmas mailbox, personalized, that I always put out on my table with the lid open and candy canes laying inside.
Here is my most recent Valentine mailbox using the oh-so-cute Love You Much stamp set!
I used the Bella Rose Designer Paper on this mailbox.


