
Next weekend is Easter, believe it or not! If you need some little Easter baskets for a little treat for someone, a dinner table favor, or just a little home decor, try this basic easy basket patterns! Decorate however you like once you know the way to make the basket!
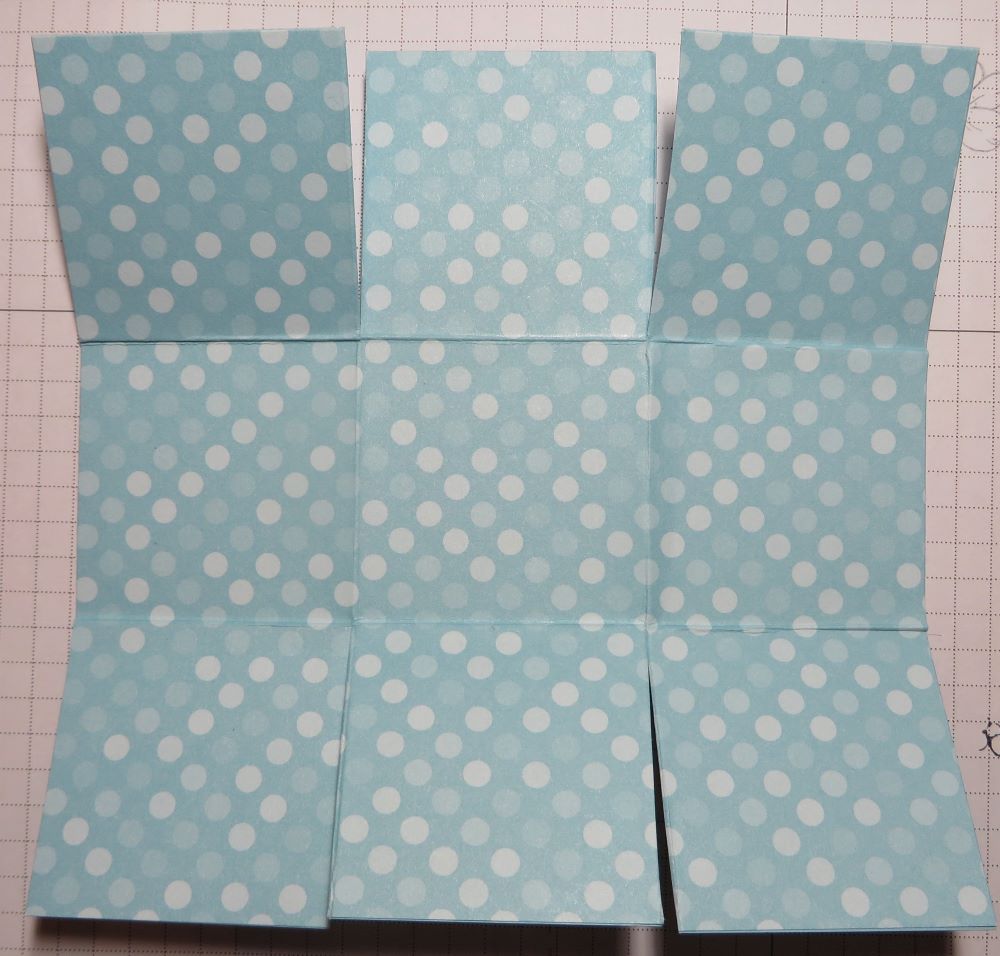
I used the same pattern for both baskets. Just start with a 6″ x 6″ square piece of paper and score like a tic tac toe. Score at 2″ and 4″, then turn and score at 2″ and 4″. Cut on the two vertical score lines up to the horizontal score line. Do the same on the opposite side. See the diagram below. Cut a handle of about 8 1/2″ x 1/2″.
Crease and fold all score lines. If you like, round all four corners. Or you can leave them as is. Form the paper into a basket and use brads or glue to hold the sides and handle together. The handle goes in between the two side flaps and the center flap. That hides it a little bit on the inside. (If you think of it ahead of time! Or it can just be glued to the inside of the basket.)
Decorate the basket with designer series paper or stamping or whatever you like.
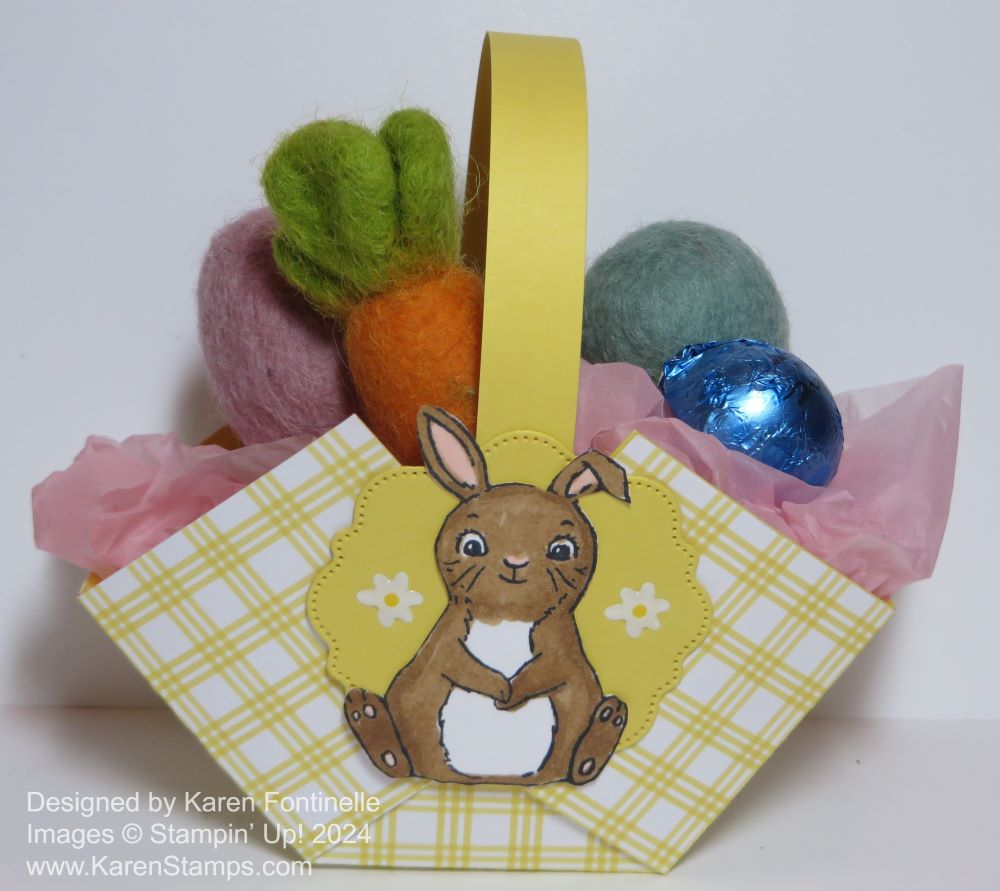
For the basket in the photo at the top I cut a 6″ x 6″ piece of Daffodil Delight cardstock and the plaid pattern in the Bee Mine Designer Series Paper. I glued them together so the whole front of the basket would have the yellow plaid design.
After assembling the basket, I stamped a bunny in the Easter Bunny Stamp Set (retiring soon!) and colored in with Stampin’ Blends. For the bunny, I used Light Pecan Pie and Petal Pink for the ears. I cut out the bunny and layered him on a diecut from the Thoughtful Expressions Dies. It’s cute-shaped label with a stitched look around the edge. It will retire soon also. I also added two of the Adhesive-Backed Hearts & Flowers Embellishments.
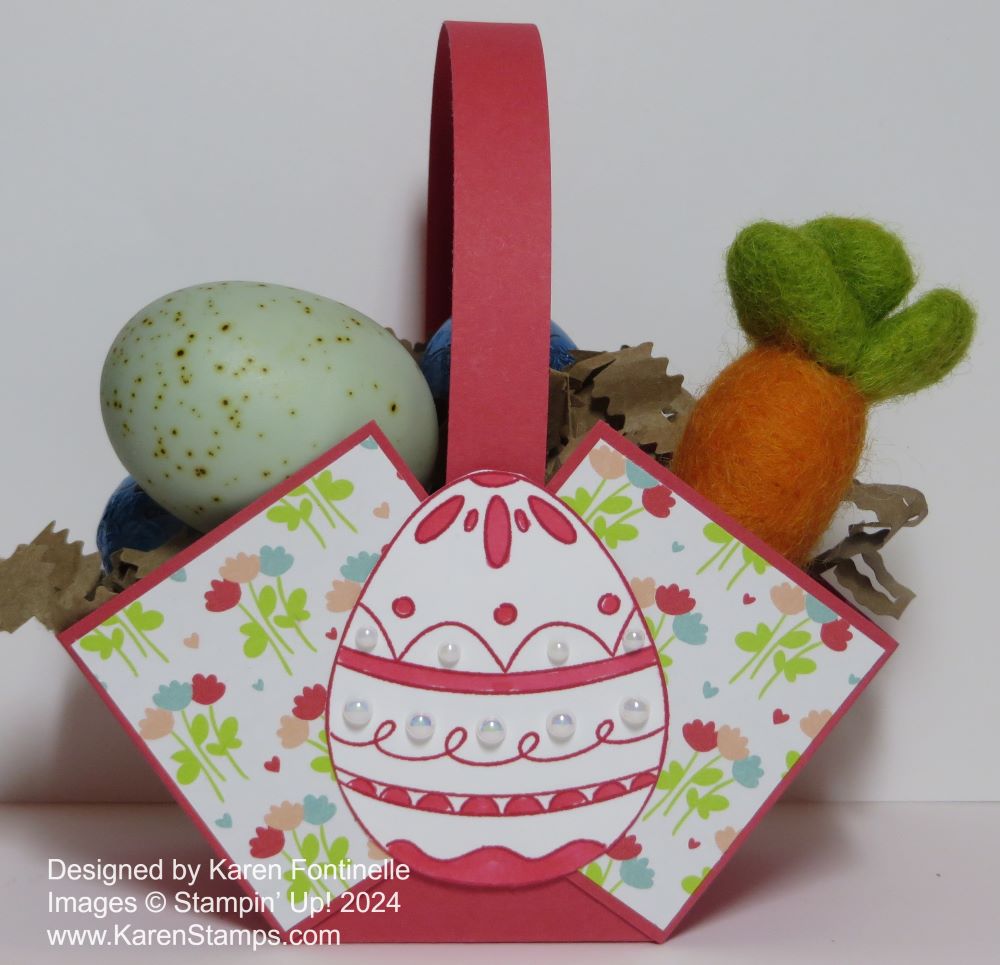
For this basket I used Sweet Sorbet cardstock, but added the cute little flowered paper in the Bee Mine Designer Series Paper cut in squares to decorate each side, front and back. Since each square is 2″ x 2″, I cut the DSP at 1 7/8″ x 1 7/8″ .
The Easter egg is in the Excellent Eggs Stamp Set (retiring) and to keep it all simple, I stamped it with Sweet Sorbet ink, then colored in just parts of the egg with the Light Sweet Sorbet Stampin’ Blend marker. I cut out the egg by hand, although there are dies if you like. After adhering it to the basket, I added some Iridescent Pearl Basic Jewels in two different sizes. Very easy!
If you want to check out some other baskets I have made, look HERE and HERE.
You will be surprised at how easy these little baskets are to make. You can make them for other occasions, not just Easter or spring!