Category Archives: Thanksgiving

Gift Wrap Ideas With Cellophane Bags


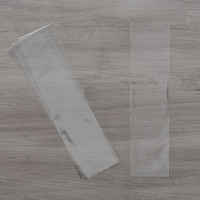
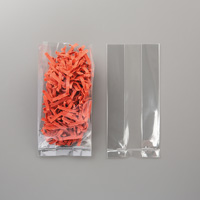
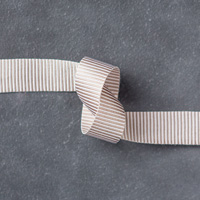
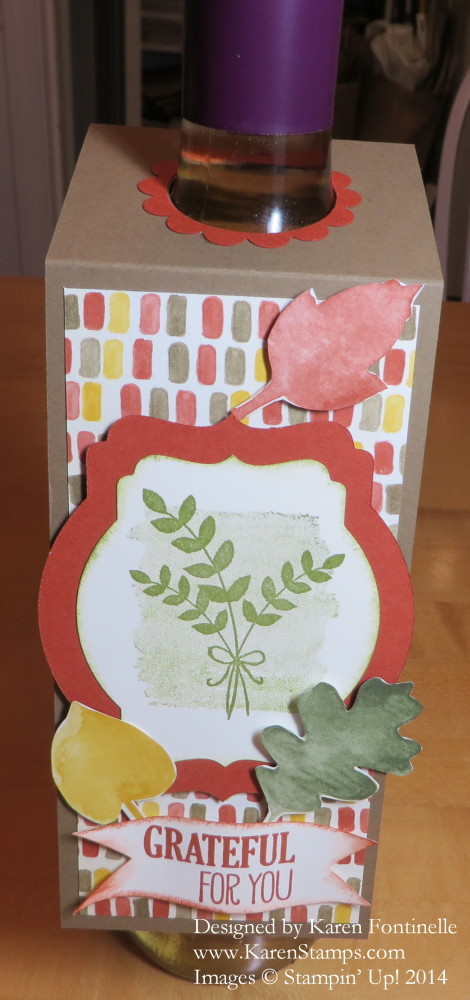
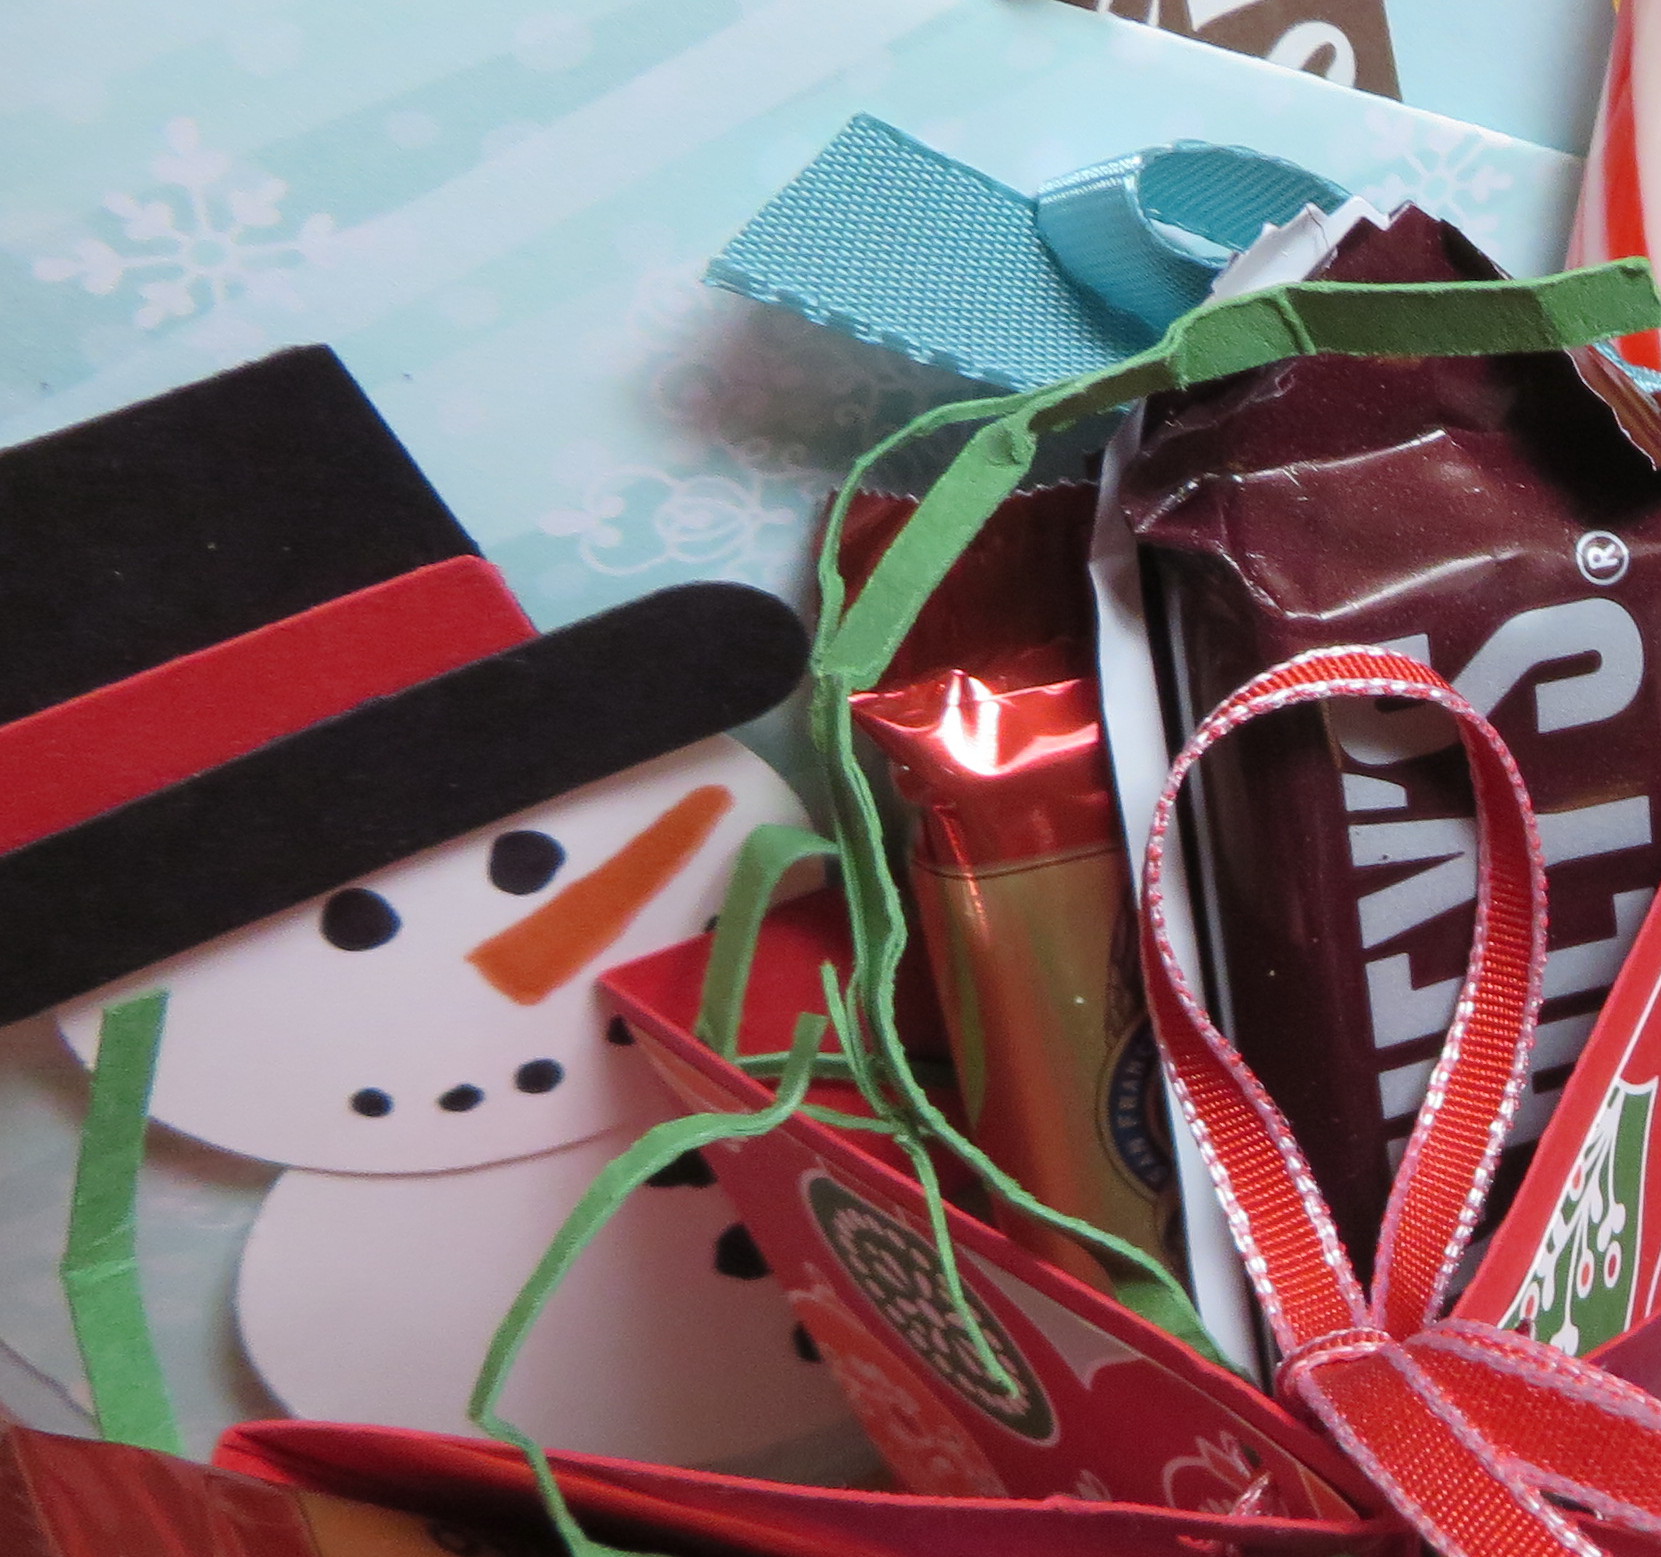
Enjoy this video from Stampin’ Up! and get wonderful gift wrap ideas and maybe just gift ideas themselves using the 6″ x 17″ Gusseted Cellophane Bags.  These are pretty large bags, given the 17″ length, so you can stick a large gift or treat inside! Think about when you are ready to make special treats for the neighbors or a group of friends, wouldn’t these bags be perfect to use for your holiday mix, special bread or cake, bag of cookies or candy, bottle of wine, and more? Just put your gift inside,  tie with a pretty ribbon and add a cute tag! If you don’t want the bag quite so long for a smaller gift, just cut off some of the length.

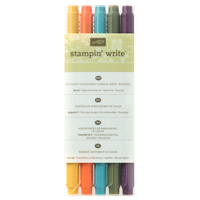
For another gift presentation when you want the gift to be hidden, just wrap pretty tissue paper all around the gift and insert it in the cello bag! You can also stamp on the outside of the bag if you use Stazon ink.

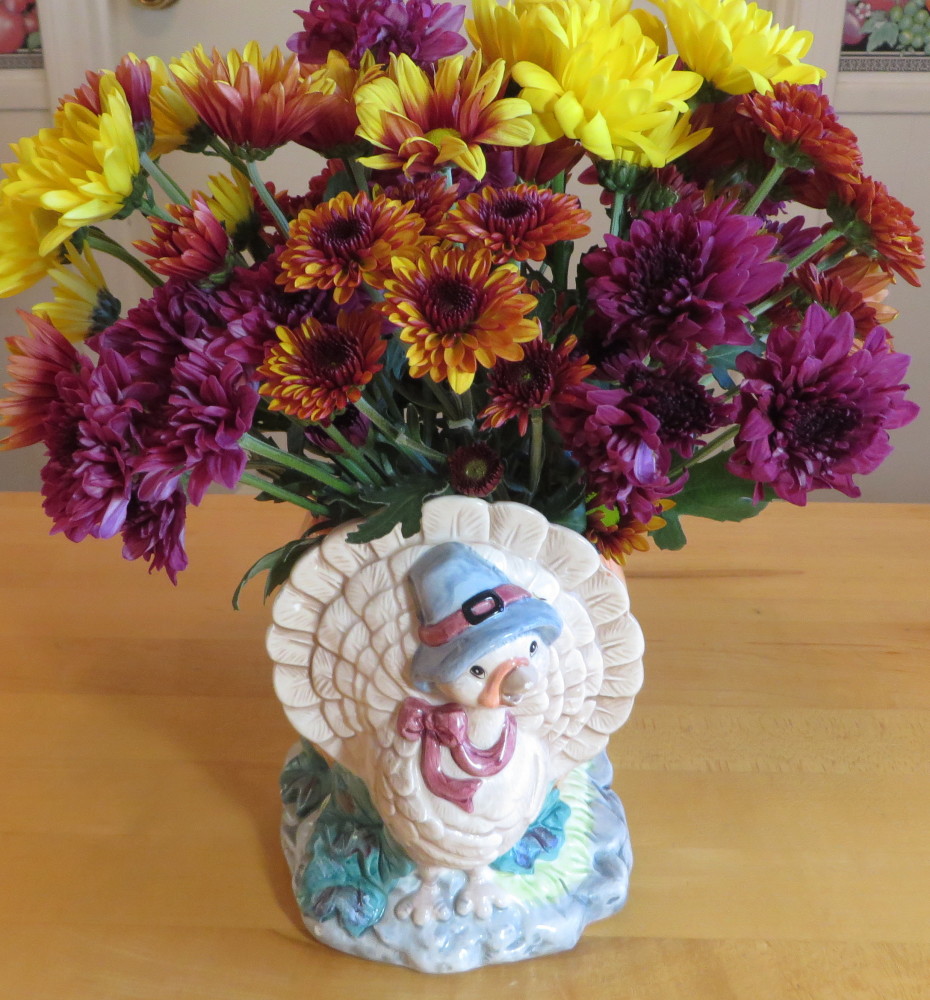
Remember, presentation is everything!! No matter what the gift, a big part of the thrill will be how you wrap and present the gift, and we stampers have all kinds of materials and ideas to make that the best part!

6x17 Cellophane Bag Gift Wrap

6x17 Cellophane Bags

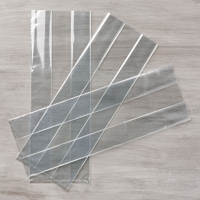
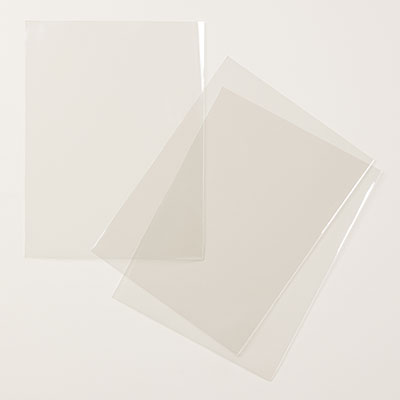
Stampin’ Up! also carries other sizes of cellophane bags. These are nice bags, completely clear and crisp, not that kind of thick, cloudy, cheaper looking kind of bag you can sometimes buy at other places.

The Stampin’ Up! Holiday Catalog Is Ready For You!

Holiday Catalog 2016 Banner

Today is the day!  It’s September 1st (can you believe it?!) and the Stampin’ Up! Holiday Catalog is LIVE!

SHOP THE HOLIDAY CATALOG HERE!

VIEW THE HOLIDAY CATALOG HERE!

Special Offers Week 1

AND Special Offers September 1-7! (Kind of like the old Weekly Deals!) Add these to your order!

New offers Sept. 8 and Sept. 15 also. Don’t know what they are yet, though!  You will love the Enamel Shapes!  Think about the Metallic Enamel Shapes, the star shapes, for the tops of Christmas trees!Stampin' Up! Holiday Houses

Go check out the Stampin’ Up! Holiday Catalog now!  Let me know what you think! If you do not have a Stampin’ Up! Demonstrator you are working with currently, contact me and I would be happy to mail you a catalog!

Shop All Things Stampin’ Up!


For Your Viewing Pleasure: Holiday Catalog Videos by Stampin’ Up!

What could be more fun that watching videos using some of the new products in the Stampin’ Up! Holiday Catalog?!  Usually these are saved until after the catalog goes live, but this year Stampin’ Up! has released them early for all of you!

This new Holiday Catalog is so full of new products that 10 videos don’t even cover everything! But you will get a good idea while you wait for your catalog to arrive! One of my customers told me she received her catalog today so they must be on their way!

Once you watch the video above, the next one will appear.  But if you want to see the page where all the videos are or choose which ones you want to watch, just click HERE.

The new Stampin’ Up! Holiday Catalog goes live on September 1, 2016. Amazingly, August is half over so September is not far behind! It won’t be long!

If you are new to me and aren’t working with a Demonstrator currently, just email me with your contact information and I would be happy to mail you a catalog when they come out. Email me at Karen@KarenStamps.com.  You will love this catalog!!  It will be online Sept. 1st as well.

If you can’t wait until September 1st to order, you may want to become a Stampin’ Up! Demonstrator yourself!  We Demonstrators have been able to do a pre-order and you could too!  It only takes minutes to sign up!  Join the Stampin’ Up! family!  Let me know if you have any questions I can answer for you!

Enjoy the Stampin’ Up! Holiday Catalog videos!!

For All Things Thanksgiving Card

For All Things Thanksgiving Card

I am thankful to be a Stampin’ Up! Demonstrator for many reasons, perhaps the main one being the people I have met through the years, even customers who I have never met (yet!) in person.  My customer, Louise, sent me this beautiful card that she made for Thanksgiving with a sweet note inside. She probably didn’t know, but this For All Things Stamp Set has been one of my favorites since it came out last year. Not only do I love getting mail (who doesn’t?!) but in this day and age of so much junk mail, to get a real card, handmade, made my day! So never doubt what mailing one of your cards to someone might mean.

You may be very busy with Thanksgiving preparations, company coming, traveling yourself, or  who knows what, but don’t forget to take some time for yourself and check out the Stampin’ Up! Online Extravaganza! It’s Stampin’ Up!‘s answer to all the Black Friday sales! But it lasts for a week, so when you get time, check it out before Monday, November 30.  And on Monday is another Flash Sale! It’s all on the list HERE! Products are available while supplies last. At least you don’t have to go out and fight the crowds to order from Stampin’ Up! You can order online or contact me if you would like me to put your order in for you.

Online Extravaganza 2015

And if you aren’t on my Mailing List yet, there’s time!  Sign up right now, my special 12 Weeks of Christmas email with a new holiday project goes out this afternoon at 1:00 pm! Just put your name and email in the sign up box in the upper right.

Christmas Mailbox

And if you would like to meet the wonderful people who are or will become stampers and papercrafters by becoming a Stampin’ Up! Demonstrator, check out the information HEREThink about it and we can talk about it after Thanksgiving if you wish! The spring Occasions Catalog will come out in January and there will be the special Stampin’ Up! promotion called Sale-A-Bration so lots of excitement and you can get in on it early if you are a Demonstrator!

If you are already one of my mailing list subscribers, check your Inbox this afternoon for Week 9 of the 12 Weeks of Christmas!

Have a Happy Thanksgiving!

Thanksgiving Pumpkin Box

Embellished Pumpkin Box

Do you need some table favors for your guests at your Thanksgiving table or a little something to take to a hostess? If so, you might try this Thanksgiving Pumpkin box or something like it. You can put a little treat in the little open box behind the “pumpkin” on the front.

Here is where I got the inspiration for this project!  My friend gave me this little pumpkin box holding some pumpkin soaps and right away I said, “I could make something like this!” and she said, “I’m sure you could!”

Pumpkin Box with Soaps

So I got busy and figured out how to make the box that was going to be the base behind my pumpkin on the front. Here are the measurements I came up with for the size I was using, but feel free to modify for your project:  Cardstock 5 1/2″ x 6 1/4″. With the 5 1/2″ side at the top of your scoring tool, score at 1 1/4″ and 4 1/4″. Turn the cardstock so the 6 1/4″ side is at the top of your scoring tool.  Score at 2 1/2″ and 3 3/4″.  Crease all the scored lines so you can see how the box will go together.  Then cut as indicated in the photo to make the side flaps.  Apply adhesive and make your box. Actually, I intended for my box to be a little wider but must have made a boo-boo on the math!  But it is okay as is.  You can adjust yours.

Pumpkin Box Scored Piece

Just assemble the box, very simple to do with some good glue, like the Liquid Multipurpose Glue or Tear & Tape I added a handle and just stapled it on with my Stampin’ Up! Handheld Stapler, just for fun.

Pumpkin Box Assembled

I used my Big Shot and one of my Oval Framelit Dies to cut five ovals, all the same size from this pattern in the Into the Woods Designer Series PaperIn order to make each oval stand out a bit without making extra layers, I just sponged Tangelo Twist ink around each edge of the oval.

Pumpkin Box Ovals

I adhered the outer ovals to the box directly and the rest were popped up with Stampin’ Dimensionals.

To finish the pumpkin, I cut a little stem in green, just by hand and glued it to the top of the pumpkin. Then I added some 1/8″ Gold Ribbon and Gold Sequin Trim to the handle just for fun!  I also stamped a Thanksgiving from the Teeny Tiny Wishes Stamp Set and just glued it on like a little banner.

Look around at things you have at home or see in a store or in a catalog and think about how you can make it your own creation by papercrafting! You never know when inspiration will hit! Put a little treat in a cello bag and put it in this Thanksgiving Pumpkin Box!

Shop Stampin’ Up! Online!


Thankful Gift Bag

Thankful Gift Bag

The other day I had pulled out a past gift bag project as inspiration for something else I was making with a friend, and looking at that project inspired me to make this Thankful Gift Bag. So you never know where inspiration will strike!  I updated this gift bag by using the Gift Bag Punch Board. At first, though, I had pulled out the Gift BOX Punch Board and was wondering why this bag was not likely to come out right as I started to use the wrong punch board!! I wasted a few pieces of paper on that one!  Anyway, it’s easy to make a gift bag with the Gift BAG Punch Board.

You choose the size bag you want by the measurement you want on the bottom of the bag. Then you can make it any length (tallness) you want. This is a very basic bag with Soft Suede Cardstock. I think I would have liked it more with a little stamping or embossing, but sometimes plain is okay too. The tag on the front is stamped with a greeting from the Thankful Forest Friends Stamp Set in the Stampin’ Up! Holiday Catalog.  I used different colors of Stampin’ Write Markers to color in the stamp with multiple colors.  Just remember to “huff” (breathe) on the stamp after coloring with markers to remoisten the ink before you stamp. Then I stamped the acorns in the For All Things Stamp Set  (a beautiful fall stamp set from last year, still current, in the Annual Catalog).  I cut out a couple of the acorns and adhered them to my greeting, which was die cut with the Big Shot and the Deco Labels Collection Framelits.

Use this Thankful Gift Bag to tuck in a little gift for a hostess when you go out during the holiday season.

Gift Bag Punch Board

Thankful Forest Friends Animals Card

Thankful Forest Friends Animals Card

I absolutely love this Thankful Forest Friends Stamp Set, especially the cute animals, so today I made this Thankful Forest Friends Animals Card! After stamping the card, there wasn’t much room for a greeting, but I managed to fit one on.

The card base is Soft Suede, cut 6″ x 6″ and folded in half to be 3″ x 6″. The top layer is Very Vanilla. The animals are stampin in various brown inks, Soft Suede, Early Espresso and Cajun Craze for the fox. The leafy garland with acorns I colored in with various Stampin’ Write Markers. The grass is from the Sheltering Tree Stamp Set and I overstamped the blades of grass over the grass stamp. The greeting is also from the same stamp set.

You may think this stamp set is for Thanksgiving, but just think what cute baby cards you can make with these animals! Or make some cute scrapbook pages for baby or outdoor adventures!

Don’t forget to check out the Stampin’ Up! Weekly Deals!  Today is the last day for these.

Stampin' Up! Weekly Deal Nov 3 2015

If you need some stamps or accessories to make a card like my Thankful Forest Friends Animal Card, just click HERE to shop at Stampin’ Up!

Thankful Forest Friends Thankful for You Card

Thankful Forest Friends Thankful for You Card

As long as I had my supplies out after decorating a bag in THIS POST, I decided to make this Thankful Forest Friends Thankful for You Card. I used to always say when you make one card, go ahead and make three cards of the same.  You’ll be able to use them eventually and you won’t have to get all the stuff out again.

This card uses the Thankful Forest Friends Stamp Set which I just ordered recently and I do absolutely love! The animals are so cute for any occasion and the words are great for Thanksgiving and any other thankful time!  Just don’t ink up the acorns and leaves if you want to send it in the summertime! Use markers to ink up only the words!

I don’t know what the term is or if there is one, but I had never tried the “staggered paper” look before.   Maybe it should be called tipsy paper, I don’t know! Usually I like things straight and even, but I thought I would live dangerously and stack these layers differently today! It’s okay, not sure I love it, but it’s okay and something different.  Maybe I will grow to love it! The designer paper is the beautiful Into The Woods Designer Series PaperThis stamp set and paper pack are both available in the Stampin’ Up! Holiday Catalog. This paper originated with one of the Stampin’ Up! artists handpainting these designs and then Stampin’ Up! did all their magic to turn it into our designer paper. This paper really is gorgeous! Just remember, every Stampin’ Up! paper is more beautiful in person, no matter how good it already looks online!

For a little interest, I pulled some threads out of the  1 1/4″ Burlap Ribbon.  Just cut off a length that you want to use, cut off the selvage edge on one side and you will be able to fray the ribbon to get however many strands you want to use as its own embellishment.  I used this Burlap Ribbon so much I had to order more! You might not think you would use it a lot, but you will! Burlap is so on trend right now and has been for awhile.

My card still needed a little something, so I stamped the little leaf stamp in the background with Versamark Ink.  Versamark has many uses, one being matching the card stock that you are stamping on.  You could get the same look if you stamped on the Tangelo Twist card stock with Tangelo Twist ink – and sometimes I do that as well!  Versamark Ink is also used in heat embossing.  I think the Versamark stamping gave the background and the card just a little something that it needed.

You don’t need to make this exact Thankful Forest Friends Thankful for You Card, you can also use the same basic design to make any other card. Try it!

Click to Shop Stampin’ Up!

Thankful Friends Thanksgiving Gift Bag

Thankful Friends Thanksgiving Gift Bag

How about using some of those bags you are hoarding and turning them into gift bags such as this Thankful Friends Thanksgiving Gift Bag?! It’s so easy and fun and makes good use of the excess we all have around our house.

I was cleaning my house getting ready for company and just happened to notice how there were grocery bags and other store shopping bags stuck in a basket on a shelf in the utility room plus a whole grocery bag in itself filled/stuffed with all kinds of miscellaneous bags just sitting there on the floor.  These are the kinds of things you just live with until company is coming and then you (hopefully) notice them. I started pulling out bags and bags and bags and realized we certainly did not need to keep this many on hand (although my husband might disagree, just in case!). And while I had these bags pulled out, I separated out some of the smaller bags with the handles, like you can also buy at the craft store, and decided to do some decorating.

I love this Holiday Catalog stamp set, Thankful Forest Friends. I only recently ordered it because, of course, I can’t order everything the first time around! The animals are so cute and the greetings are perfect for Thanksgiving.  You will also be able to just ink up the words on the “Thankful for You” stamp and use that for any occasion, not just Thanksgiving.

This bag had the name of the store printed on the front, so that determined how wide my paper was going to be in order to cover it up, which was 4 inches.  The bag is 8″ wide. I used the Into The Woods Designer Series Paper and chose Old Olive as the back layer. Every package of designer paper comes with a list of coordinating colors so that makes matching easy.

I colored the greeting stamp with several Stampin’ Write Markers to get the various colors. Just breathe (huff) on the stamp after coloring on it with markers to remoisten the ink, then stamp. Next I used the Deco Labels Collection Framelits and the Big Shot to cut out the greeting and the layer underneath. You could add ribbon and other embellishments, but I kept it quick and simple.

So go through your bag stash today and pull out the ones you can turn into gift bags for free! And your house will look a little neater too!  If you need this beautiful paper or stamp set I used to make my Thankful Friends Thanksgiving Gift Bag  to take to your hostess this Thanksgiving, just visit the Stampin’ Up! Online Store or contact me to put your order in for you!

Stampin’ Up! Online Shopping HERE!

Punch Art Turkey Thanksgiving Card

Punch Art Turkey Thanksgiving Card

Is it too early for a punch art turkey card?! Probably not because Thanksgiving will be here before we know it!  Once I put up my Halloween decorations I know I will continually be changing them out through Christmas.  It all happens so fast!  Happy November!

Two years ago I made a punch art turkey Thanksgiving card, and I thought maybe it was time for an update. You can view it HERE. I made this card the same way, just used the current new paper, Into the Woods Designer Series PaperI only recently got this paper (even a Demonstrator can’t have it all!) and let me tell you, it is gorgeous!  I could barely stand to cut into it and punch pieces for my card!

To make the turkey body, I used the 2 1/2″ Circle Punch. The turkey head is the 1 3/8″ Circle Punch. The feathers are made with the Large Oval Punch and the Scallop Oval PunchAnd where would any project be without using the Owl Builder Punch?!  I used the Owl Punch for the turkey feet and for the turkey eyes.  The beak is hand cut from a scrap and the waddle is punched with the heart in the Itty Bitty Accents Punch Pack. The greeting is from the well-used Teeny Tiny Wishes Stamp Set and punched with the Word Window Punch.

This may be a  wild and crazy looking turkey, but that’s okay because I made it myself and used some beautiful paper! I played around with the feathers and placement and finally I was satisfied with it.  If you don’t feel right about your design the first time, just keep playing, move things around, change the colors, it will come!

You might enjoy this Stampin’ Up! video with the artist of these beautiful papers!

To purchase this beautiful Into the Woods Paper or any of the other supplies I used to make this Punch Art Turkey Thanksgiving Card, please visit my Stampin’ Up! Online Store HERE.

Sara Douglass Shows the Season to Season Wreath and Witching Decor Kit


Sara Douglass, daughter of Shelli Gardner, Founder and CEO of Stampin’ Up!, appeared on a local Utah TV show and showed how easy the Season to Season Wreath Project Kit is to assemble and use for multiple occasions. She also shows the completed Witching Decor Project Kit (the witch hat that I love!!).  I always enjoy when Stampin’ Up! makes a TV appearance!

Listen to the cute little reporter! She sounds pretty excited with these projects, but I don’t think she has stamped before! Wouldn’t we all love to get our hands on her at a workshop and show her all about stamping and papercrafting?! It’s always fun to see a new person’s eyes light up when they discover the fun of stamping!

If you would like to watch the Stampin’ Up! videos about assembling these two project kits, here they are!


I hope you enjoyed those! The kits in the Stampin’ Up! Holiday Catalog this year are just fantastic!  I hope you will choose at least one to make!

I’m happy to mail you the current Stampin’ Up! catalogs if you do not have a Demonstrator to help you yet! Just email me your contact information at Karen@KarenStamps.com.

To shop for the Season to Season Wreath Kit and the Witching Decor Project Kit, as well as all the other wonderful Stampin’ Up! products, just visit my Stampin’ Up! Online Store HERE or let me put your order in for you if you prefer!

New Stampin’ Up! Weekly Deals, Clearance Rack, & Holiday Catalog

Here are the new Stampin’ Up! Weekly Deals, available while supplies last, until Monday September 7, 2015. Don’t miss out! Great embellishments for your cards and projects in the Candy Dots and Rhinestones, of course! Both are adhesive-backed so all you do is stick them on!  Any Washi Tape is fun to use, and the White Seam Binding Ribbon is always useful!


Clearance Rack Banner 2015

Be sure to check the Clearance Rack before you finalize any orders. You never know what you will find. Stampin’ Up! plans to add new items next week! But if you think ahead to the holidays, right now you can stock up on the pretty Cherry Cobbler Sheer Linen Ribbon (more than half off!), the Real Red Satin Ribbon, the Mossy Meadow Satin Stitched Ribbon for some green,  and the Extra Large Gift Boxes are handy to have on hand for gifts! And there are many more things, but those items jumped out at me as something you can use soon – and all the time, really!

Stampin' Up! Holiday Catalog 2015

And of course, in case you missed it, the Stampin’ Up! Holiday Catalog went live yesterday!!  If you need a catalog (USA) please email your contact information to Karen@KarenStamps.com.

Check out all the fantastic Holiday Catalog products in my Stampin’ Up! Online Store! .

Have a Happy Thanksgiving Day!

Turkey Centerpiece and Flowers

This is my favorite Thanksgiving decoration, my turkey from years ago.  I bought a floral arrangement in this turkey one year at the grocery store and really loved the turkey.  Every year I would take it back to the grocery store to have them put flowers in it for Thanksgiving. More recently I have just been buying a bouquet of fresh flowers and making my own arrangement.  Flower arranging is not one of my skills, but I do love my turkey and I love having fresh flowers to look at.

Have a Very Happy Thanksgiving Day!


Thanksgiving Wine Bottle Tag

Thanksgiving Wine Bottle Tag

If you are going out for Thanksgiving dinner on Thursday and want a little something for your hosts, make a quick and easy tag for a wine bottle you are taking to them or some other beverage of choice! Or just make the tag portion to accompany some other hostess gift.

The tag is made with a base of Brown Sugar card stock, cut at 2 7/8″ x 8 1/2″ and scored at 2 3/8″. Punch a hole to fit over the bottle (sample uses 1 3/8″ Circle Punch) and if you like, also punch out a 1 3/4″ Scallop Circle to fit around the punched hole.  Layer the tag with a piece of the beautiful Color Me Autumn Designer Series Paper. I also love the stamp set  For All Things and stamped the images on the Deco Labels Framelits die cut piece and the greeting just on a scrap of Very Vanilla which I hand-trimmed in a banner shape and sponged with some Cajun Craze ink. The leaves are just cut out of some of the Color Me Autumn DSP!

Keep the Stampin’ Up! Online Extravaganza in mind that will be going on this whole holiday weekend and on through Tuesday, Dec. 2.  Don’t forget the Doorbusters on Monday, Dec. 1st!

Click HERE to see the Extravanza PDF.

And for any order placed during the Online Extravaganza, I will be sending you a Bonus Gift,  a PDF for some easy Christmas projects you will enjoy making!

Bonus

You can also add a Paper Pumpkin subscription to your order!  Just click HERE to see the Paper Pumpkin options that you can add to an order for varying lengths of time!

Paper Pumpkin Subscription Flyer Nov 2014

Click to Shop!

Have a Happy Thanksgiving!