If you don’t have the A Little Bit Festive Specialty Designer Series Paper with which to make this easy and pretty A Little Bit Festive Christmas Tree Card, you ought to put it on your Stampin’ Up! order today, the first day of FREE SHIPPING! Today, December 9 is the first of three days to get FREE SHIPPING with a minimum order of $75. It’s a good time to stock up on any basics you need and all the things you “want” out of the Holiday Mini Catalog and from the Last Chance Products List where you might be able to get a few things at a discount!
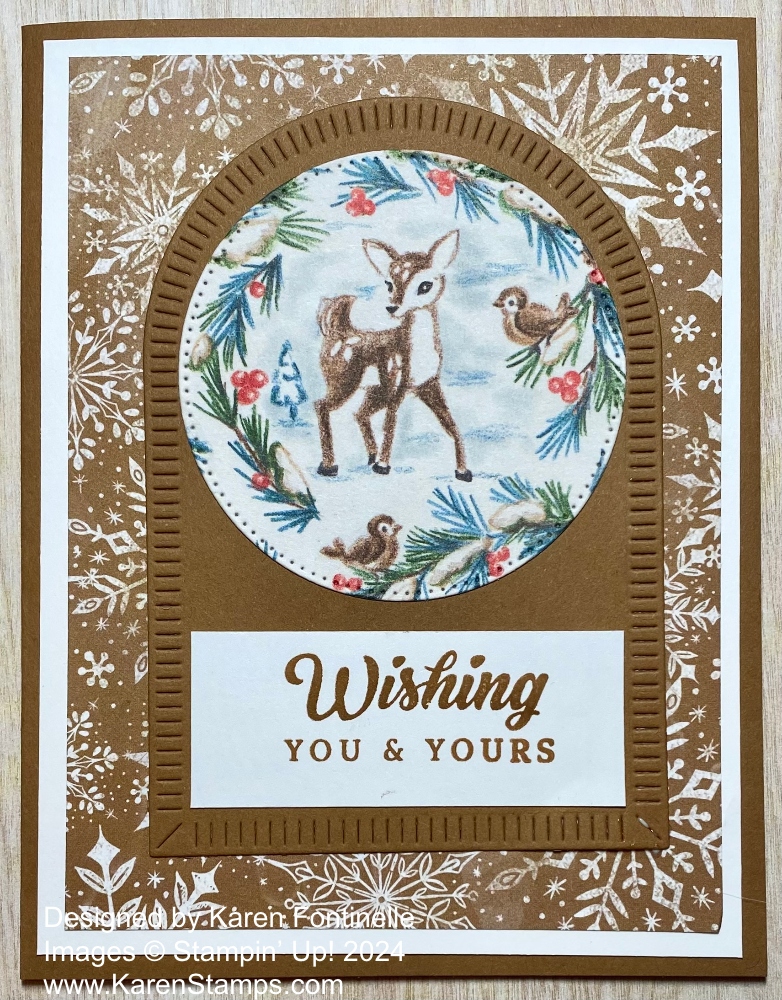
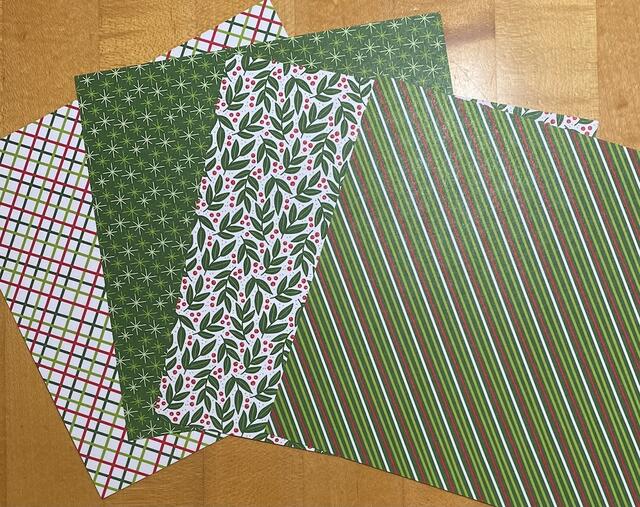
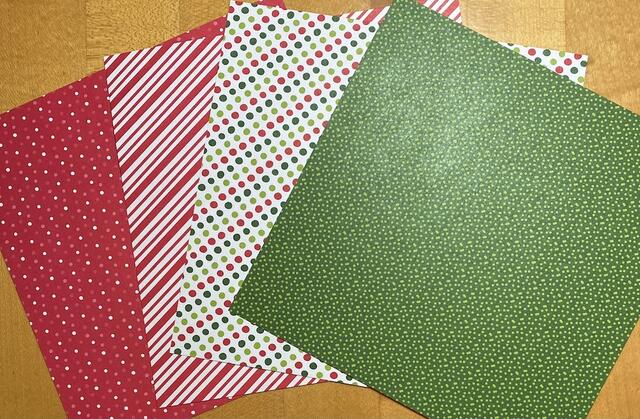
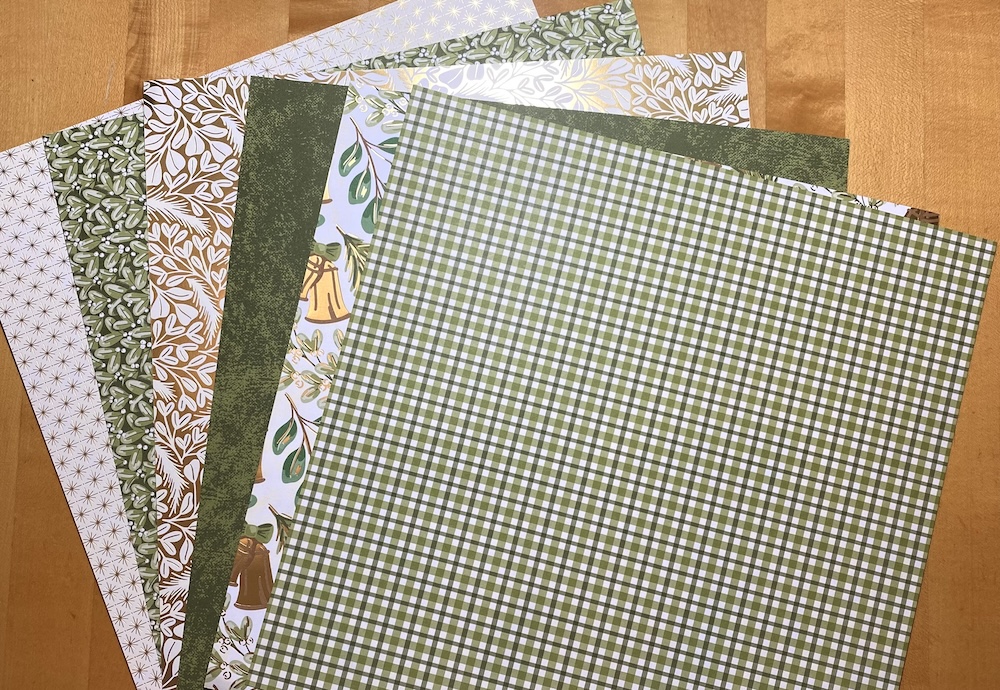
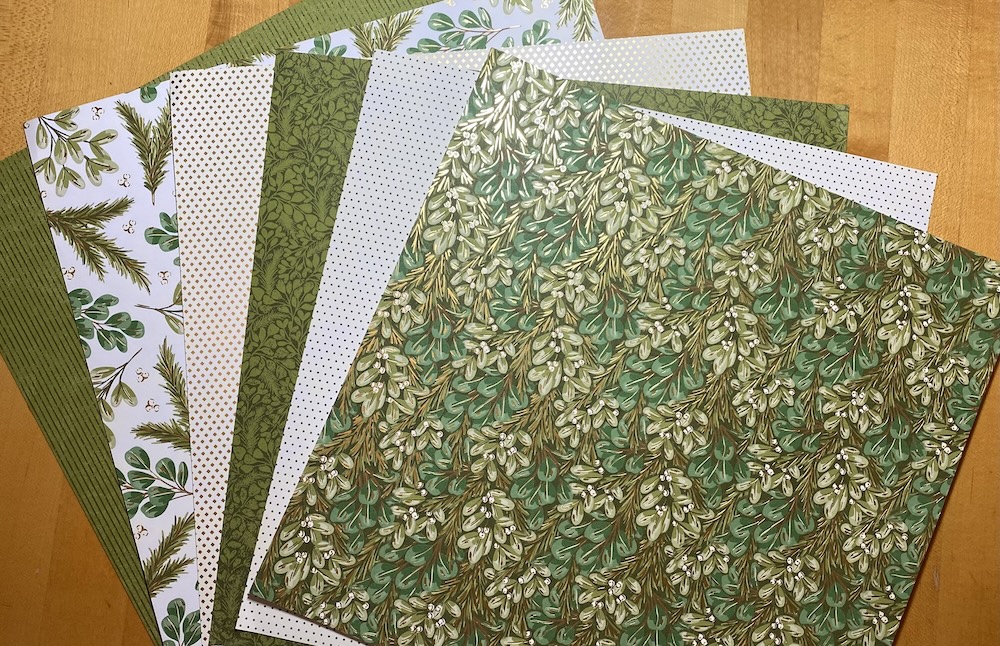
I actually forgot I owned this A Little Bit Festive Specialty Designer Series Paper! It must have gotten lost in the shuffle even though I’d used it a little bit when I first got it. The interesting thing about this paper is that it is three sheets of double-sided designer series paper and three sheets of holiday diecuts! That makes it really fun to use! One side of the designer paper is Christmas designs and the other side has generic patterns you can use any time. And not just any diecuts, really cute ones and some that are frames for card fronts or photos. It would be great for scrapbooking, cardmaking, and other Christmas projects.
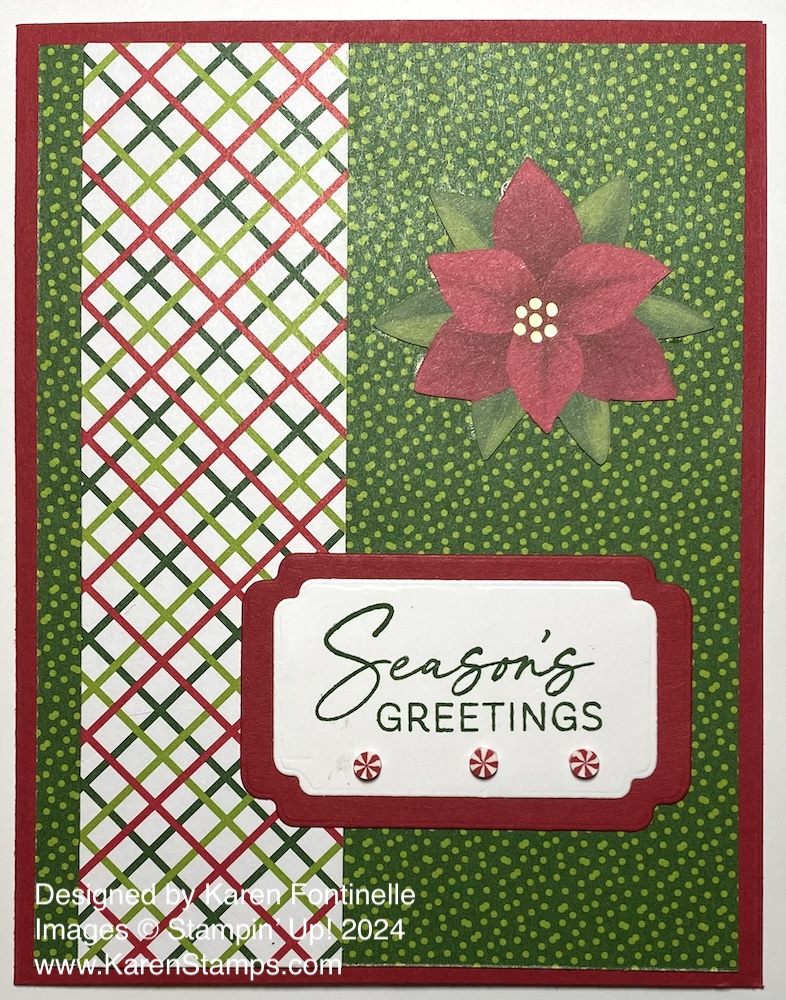
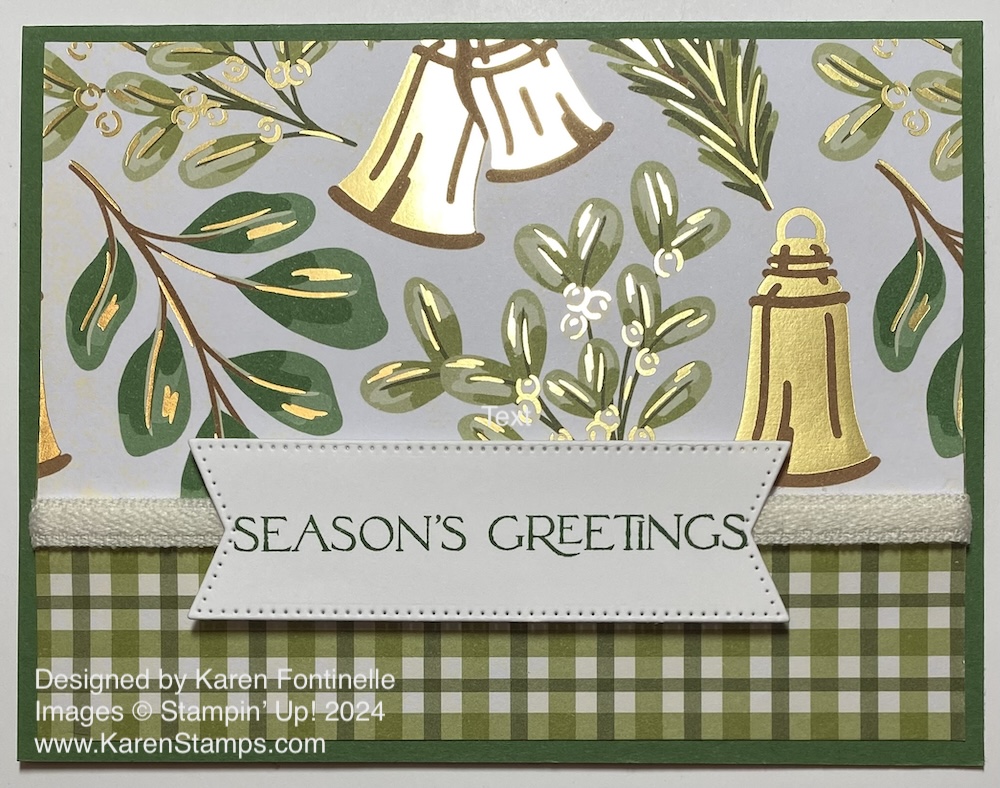
For this card (photographed on a Garden Green background), I started with a Real Red card base and a layer of Pretty in Pink cardstock to match some of the ornaments on the tree. The whole front panel of the card is in the A Little Bit of Festive package! It is so simple and pretty! I couldn’t find or think of a greeting that would fit on this card without interfering with the beautiful decorated tree until I found this very small rectangular diecut greeting in the Joyful Sayings Ephemera Pack. I placed it down at the bottom of the tree. Besides the colored ornaments on the tree, there are also gold foil accents on the tree, tiny dots plus the fancy star at the top. To this, I added five gems on the Christmas tree for a little more sparkle. These are the Pretty in Pink gems in the 2024-2026 In Color Shimmer Gems.
Don’t forget FREE SHIPPING December 9-11 this week at Stampin’ Up! with a $75 minimum order! Please be aware that depending on when your order is shipped (and there may be delays with a higher number of orders during these three days) your order may or may not reach you before Christmas. Some of you normally get your order in a couple of days and others take a week so take into account how long your order normally takes plus possible delays in getting the order shipped in the first place. Stampin’ Up! will be ready and working hard to get these orders out as fast as possible!
Also, don’t forget the new category of Last Chance Products which contains retiring Holiday Mini Catalog Products and also holds the Online Exclusive products, all of which are available while supplies last. This will also replace the Clearance Rack. This way things are in one place. Some retiring products are discounted and discounts may change during the time they are on the Last Chance list. Right now you can save 20% on the A Little Bit Festive Specialty Designer Series Paper that I featured with this card!
If you had already started an order before today, start over in your Cart. The free shipping offer is good on orders started today. For all the details, check out my blog post from the other day HERE.