Modern Medley Bitty Butterfly Card

Modern Medley Bitty Butterfly Card

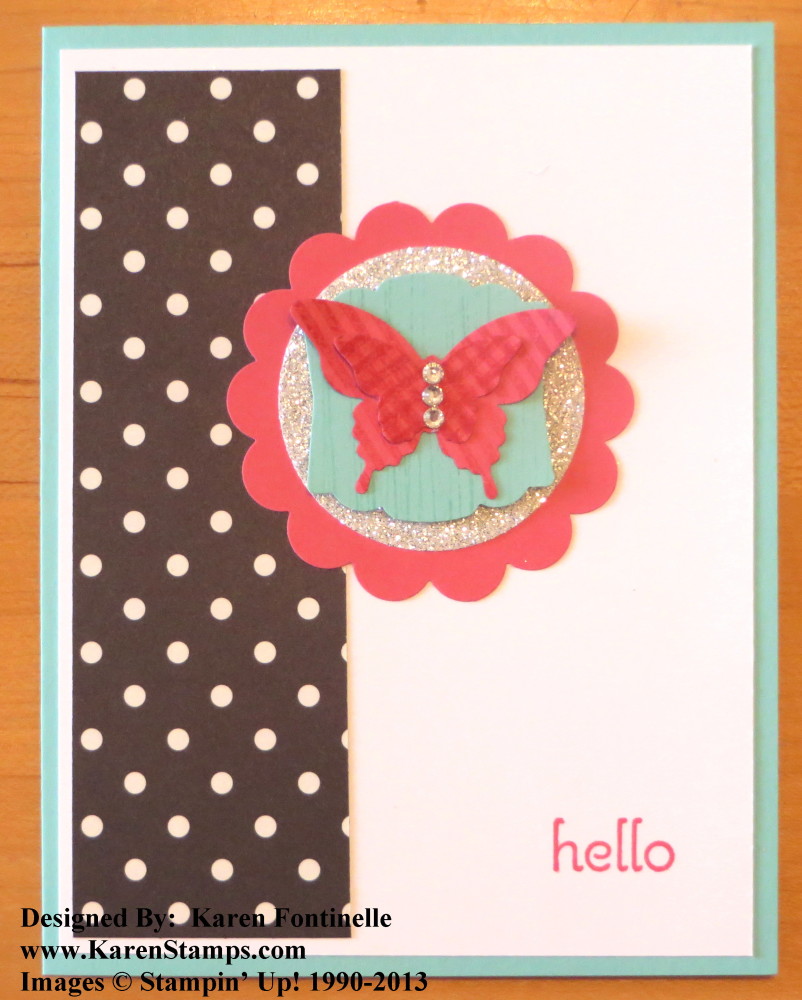
I was working on some cards with the Bitty Butterfly Punch, included in the Stampin’ Up! Butterfly Bundle  during the month of September. The Butterfly Bundle includes

* Papillon Potpourri Clear-mount stamp set and
* Bitty Butterfly Punch

Save 15% by purchasing the Bundle!

For this card, I used a piece of the Modern Medley Designer Series Paper layered on Whisper White on a card base of Coastal Cabana.  The butterfly is mounted on a piece of Coastal Cabana punched with the Artisan Label Punch. I very lightly stamped it with the lines from the Gorgeous Grunge Stamp SetIt just adds a tiny bit of something to the background. Then that punch is layered on a piece of Silver Glimmer Paper on top of a  2 3/8″ Scallop Circle Punch  in Strawberry Slush.

The butterflies are punched with the Bitty Butterfly Punch as well as the larger Elegant Butterfly Punch. I stamped both butterflies with the stamp from Gorgeous Grunge that has the diagonal lines in one direction. I only stamped that once on the Elegant Butterfly.  But on the Bitty Butterfly I stamped the diagonal lines once and for the second time stamped the lines perpendicularly and that made the crossed diagonal lines!  I love how it looks! And a few Rhinestone Jewels add a little bling to the butterfly!  The greeting is from the stamp set A Dozen Thoughts.

Today, as we all remember September 11th, perhaps we should each make a card for someone and send it. It can be to a loved one, to a friend, a neighbor, a teacher, a child, anyone. The act of making the card and sending it will make you feel good today to express your feelings to someone or just to say “hello” or “I’m thinking of you!”. And imagine the good feeling THEY will have in a day or two or three when they receive it as a surprise in their mailbox.

Check out the Butterfly Bundle from Stampin’ Up! today in my Stampin’ Up! Online Store. You’ll find that Bitty Butterfly Punch rather useful as well as the beautiful butterfly stamp set. You can put it on your order tomorrow with the newly available Magnetic Platform, which goes back on sale September 12th.
Teddy Bear Baby Card on Teddy Bear Day

Teddy Bear Punch Art Baby Card

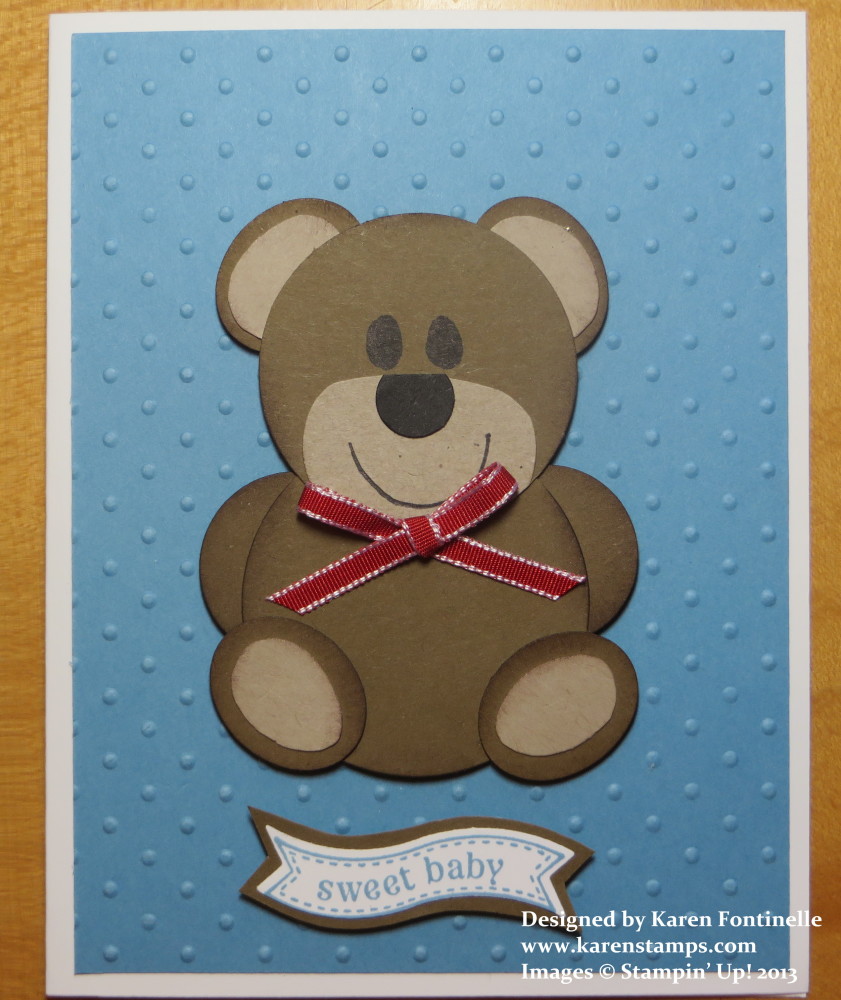
Today is Teddy Bear Day so here is a Teddy Bear punch art baby card. Teddy bears are named after President Theodore “Teddy” Roosevelt.  The name supposedly came after a 1902 hunting expedition where Roosevelt was offered the opportunity to shoot a young bear but refused.  A cartoonist illustrated the incident and the larger bear was later redrawn as a cuddly cub. The whole story became famous and a toymaker brought out a cute stuffed bear and named it “Teddy’s Bear”. The teddy bear, of course, has become a staple with babies and children and even adult collectors.

My teddy bear is made with some punches, but also some hand-cutting was involved! Actually, I also used some of the new Circle Framelits.  It’s good to sponge the edges of the pieces with ink before you assemble so that they stand out more. My bear is made with Soft Suede and Crumb Cake card stock and adhered to a layer of Marina Mist on a Whisper White card base. The Marina Mist is embossed with the popular Perfect Polka Dots Embossing Folder.

Do you have a favorite teddy bear?  Get it out today and celebrate Teddy Bear Day!

Make a Halloween Card with Scraps!

Halloween Card with Paper Scraps

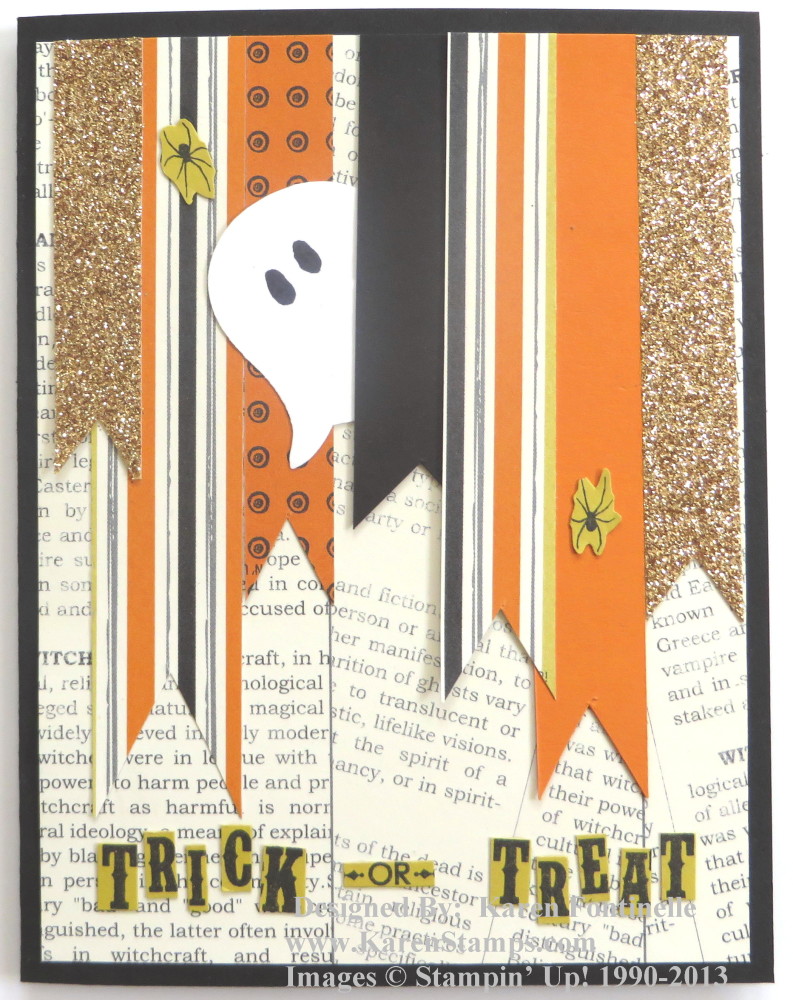
This Halloween card was primarily made with scraps after I had made another Halloween card! The background is a piece of the Witches’ Brew Designer Series Paper and the banners are scraps of the same designer paper, card stock, and the Champagne Glimmer Paper.  It was all just laying their on my table anyway!  I punched the ghost with the Owl Punch, cut off the feet, and turned it upside down.  I thought it would be funny for the ghost to be peeking out from the banners!

For the greeting, I stamped the Tags 4 You Trick or Treat image on Summer Starfruit card stock. And then I cut each letter apart with my Paper Snips!  I like the way it looks on this card!  And on that tag were two little spiders, so I cut out around those two spiders also….not super crazy but just around them.  For just using scraps, I like the look of this card.

Click on the link to go to my Stampin’ Up! Online Store if you need some Halloween paper and stamps!  The time is getting close!  You can view the Holiday Catalog items in the store or view the catalog HERE.

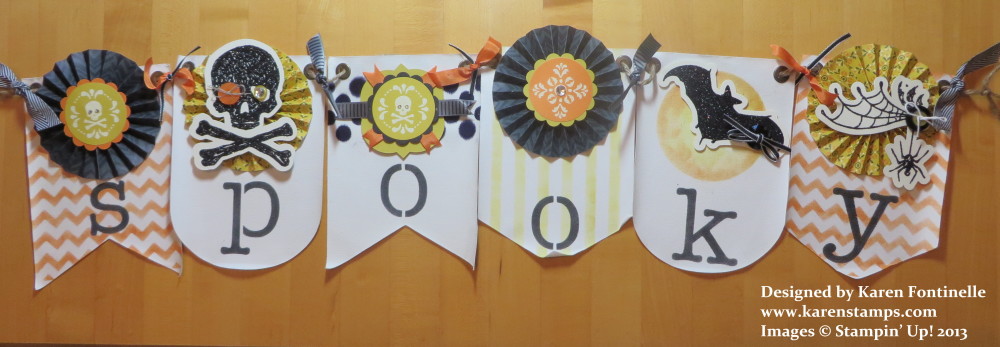
Simply Created Spooky Halloween Banner

Spooky Halloween Banner

One thing I easily passed up in the Holiday Catalog  was this Build a Banner Simply Created Kit.  But after seeing several banners created at the Stampin Up! Convention this summer, it was one of the first things to go on my next order!  The Build a Banner Kit has the canvas pennants with grommets and all the stencils.  All you need to do is decorate it!  To make that easy for you, purchase the Halloween Banner Simply Created Accessory Kit and you’ll have everything you need!

I found it worked well to use Sponge Daubers to dab on the ink from the ink pad over the stencils onto the pennants.  Most videos show using alcohol and reinkers sprayed on (lightly!) with the Spritzers, but some people were having trouble with that, and it just seemed easier and cleaner to use the sponge daubers.  I think the Black Stazon works better than the Basic Black, although then you have to scrub that Stazon off the stencil!

This might look like a complicated project, but I really found it pretty simple and quick.  I could have made two more rosettes on my own, but I mostly stuck with what came in the kit, although I used my own modifications a little bit.

Put these supplies to make a Halloween banner on your next order!  I’m sure you will enjoy making one!

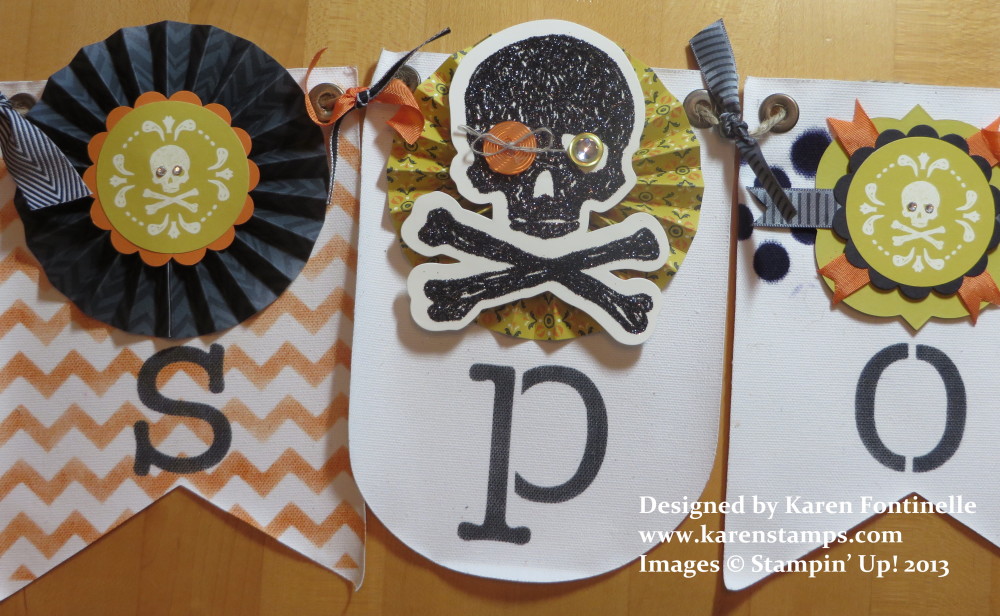
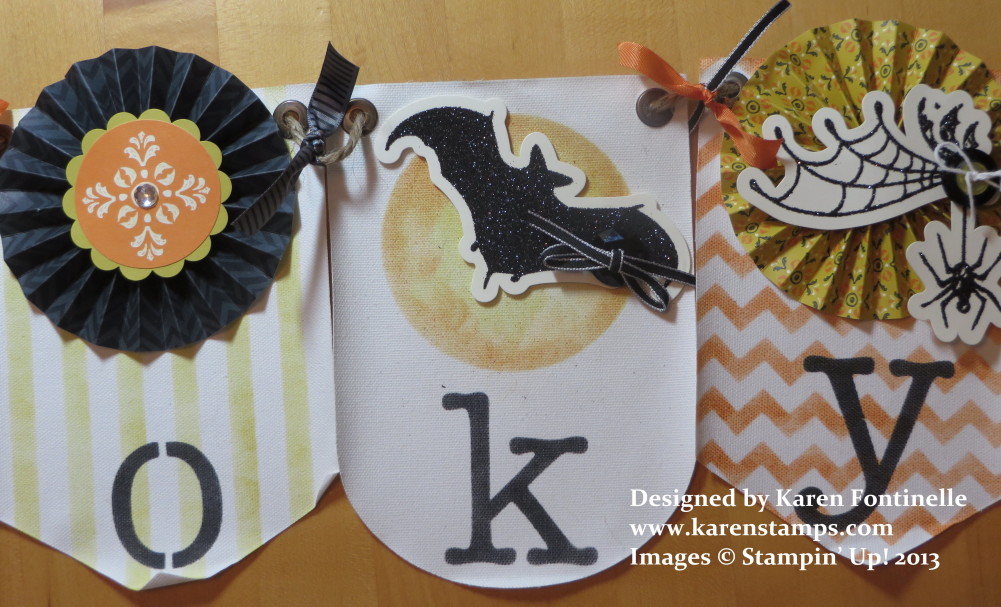
Here are some close-ups!  You can use your own imagination and decorate yours how you like.

Spooky Halloween Banner close-up

Spooky Halloween Banner Close-up end

Please order your supplies on my Stampin’ Up! website HERE or contact me with your order.

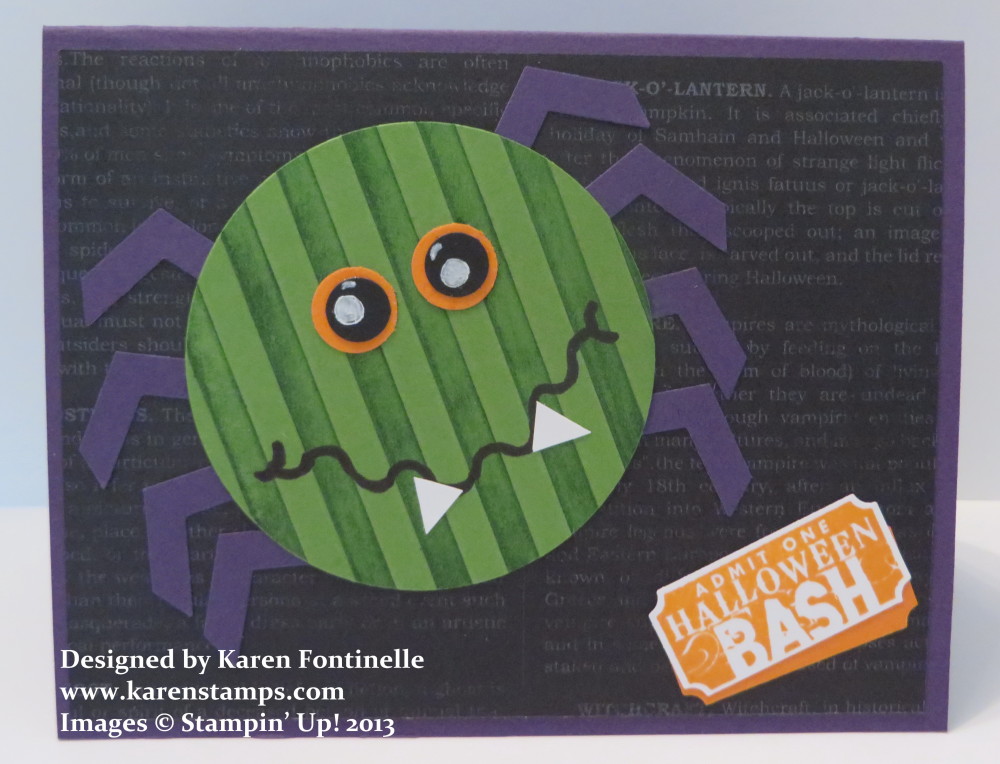
A Fun Spider Card for Halloween

Fun Spider on Halloween Card

You never know where creative inspiration will come from! I got an email advertising Halloween gifts. The designs on the items were so cute, and I thought, “I could make a card using that idea!” So here is a fun Halloween spider card!

The Halloween spider is made by cutting a Gumball Green circle with one of the Circle Framelits.  In order to get the stripes, I used a technique I’ve seen a million times but hadn’t tried myself. Before I embossed the circle with the Stripes Textured Impressions Embossing FolderI inked the inside stripes of the embossing folder with a darker green color, Garden Green. That made some of the stripes colored! It looked really neat when I took it out of the folder!  For the eyes, I punched two Pumpkin Pie circles and smaller Basic Black circles and colored in the whites with the Signo Gel Pen.  I hand-drew the squigly mouth with a black marker and just hand-cut two little triangles for his teeth. Do you know what the legs are?  They are punched from the new Chevron Border Punch!

The card base is Elegant Eggplant layered with a piece of the new Witches’ Brew Designer Series Paper.  For a little greeting I used a stamp from the Halloween Bash stamp set and punched out with the Ticket Duo Punch.  You could use this stamp and this card as a Halloween party invitation!  Since the card is such a dark color, I put a Whisper White layer on the inside and stamped with a another greeting from the same Halloween Bash stamp set.

It’s fun to spot something cute that you know you can duplicate or at least copy to some extent with your stamps, ink, and paper.  Keep your eyes open for ideas in unusual places for papercrafting inspiration!

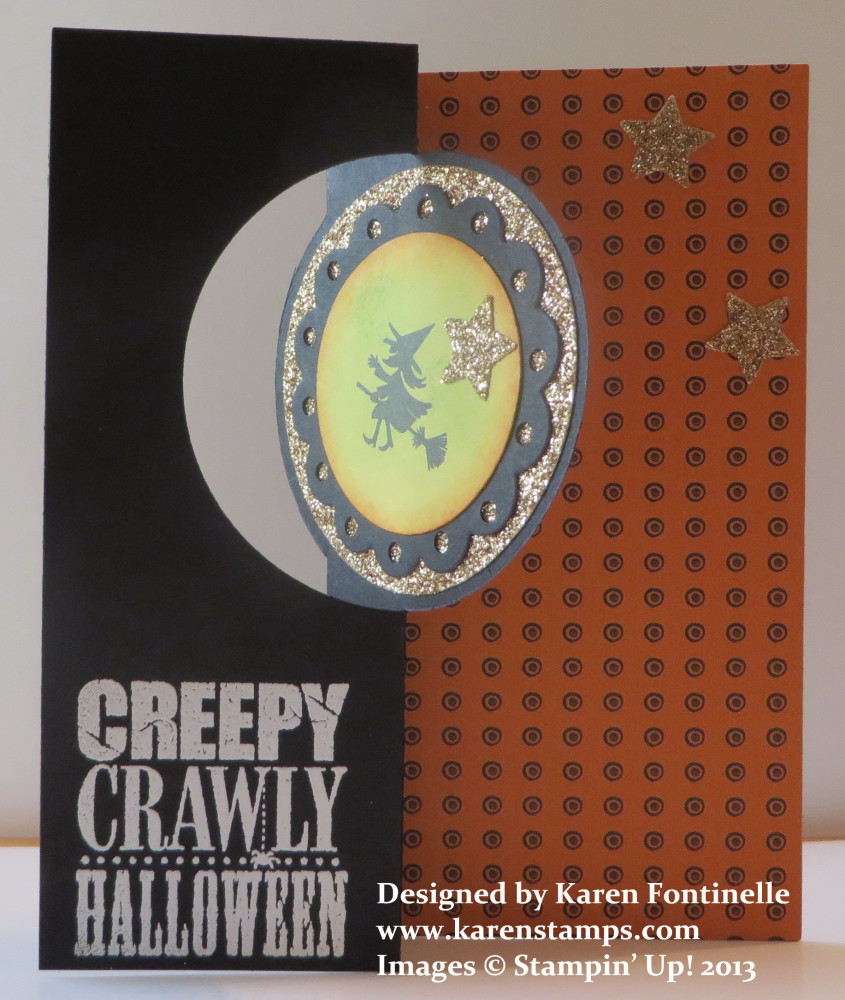
New Circle Card Thinlits Die Halloween Card

Circle Thinlits Halloween Card

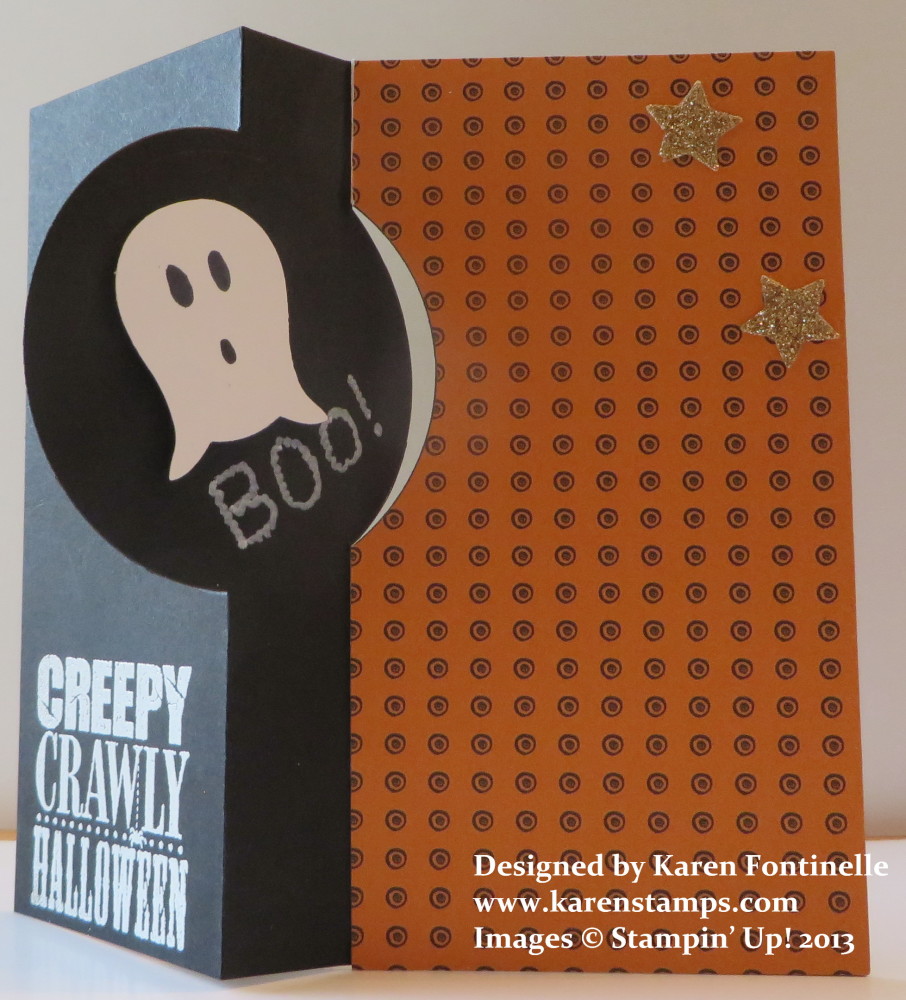
I LOVE the new Circle Card Thinlits Die! And I loved making this first Halloween card of the season for me!  I didn’t even know what, exactly, I was going to make so actually what I came up with was a pleasant surprise!  I knew I would start with a card base of Basic Black card stock with some Witches’ Brew Designer Series PaperThen I got out my new Halloween stamp sets in the Stampin’ Up! Holiday Catalog to see what I could use. I decided to stamp the flying witch in the stamp set  Halloween Hello on a piece of Summer Starfruit punched with the 1 3/4″ Circle Punch.  It is layered on a scallop circle die cut which comes with the Circle Card Thinlits Die and that is layered on a 2 1/2″ Circle Punch  of Champagne Glimmer Paper.  The die also comes with a small star die but for this card I used the star punch in the carryover punch pack from last year’s Holiday Catalog, Merry Minis Punch Pack #126882.

The Halloween greeting on the front is part of a stamp in the Halloween Bash Stamp Set in the Holiday Catalog.  I covered up the top part I did not want to ink up with a part of an old business card and inked the bottom part with Versamark.  Then I embossed it with White Stampin’ Emboss Powder.

For the inside circle, I thought a surprise was in order since it is a Halloween card and what could be a better surprise than a ghost!  Do you know how I made that ghost?  Just use the Stampin’ Up! Owl Punch! Snip off the feet of the owl and turn him upside down!  You could punch out some eyes and mouth but I just used a black marker.  The “Boo” is handwritten with the brand new White Stampin’ Chalk Marker in the Holiday Catalog.

Circle Thinlits Halloween Card

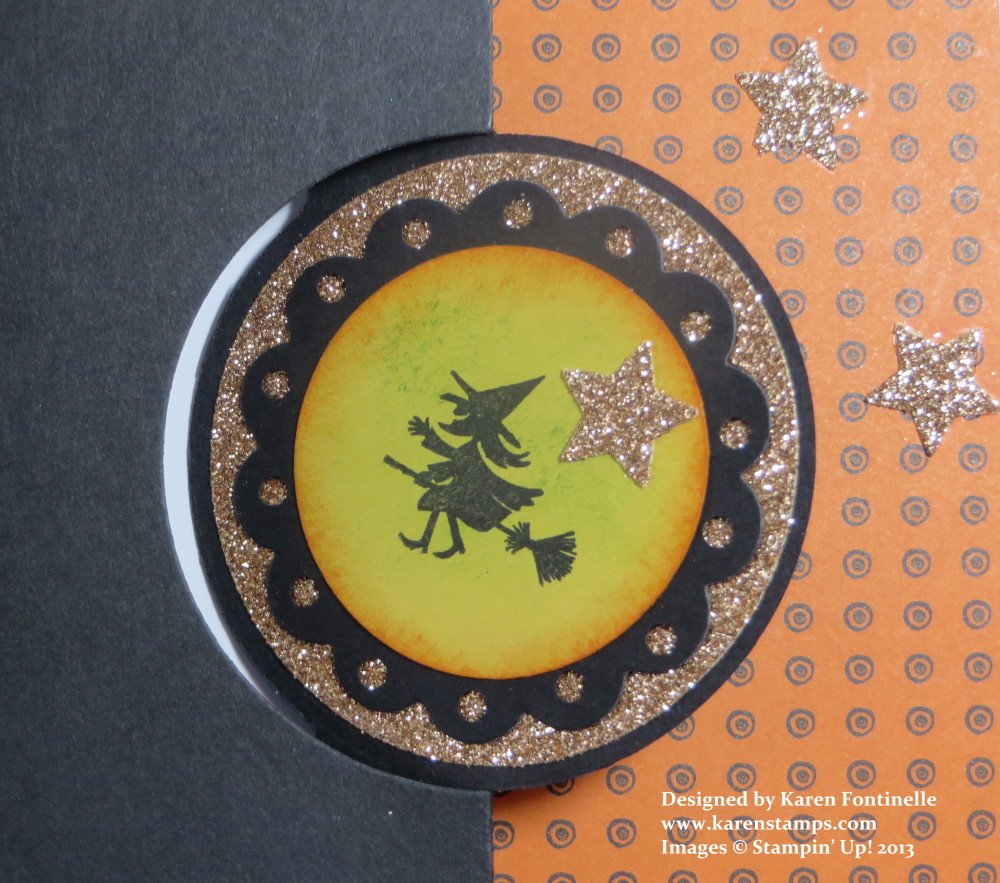
Here is a close-up of the focal point of the card. The scallop circle die cut does not come with the holes in the scallops.  I wanted more of the Glimmer Paper to show through so I grabbed a hole punch in my stash and punched those holes. I had also considered doing some doodling with the Chalk Marker.  So whatever works for you!  The Summer Starfruit circle is also sponged with some Pumpkin Pie ink and even a little bit of Gumball Green.

Circle Thinlits Halloween Card

I hope you enjoyed my first Halloween card.  You know the fall season is fast approaching!

Go to my Stampin’ Up! Online Store and check out the products in the Holiday Catalog and get yourself in the mood!  I’m sure you will want and enjoy the new Thinlits Dies, too!

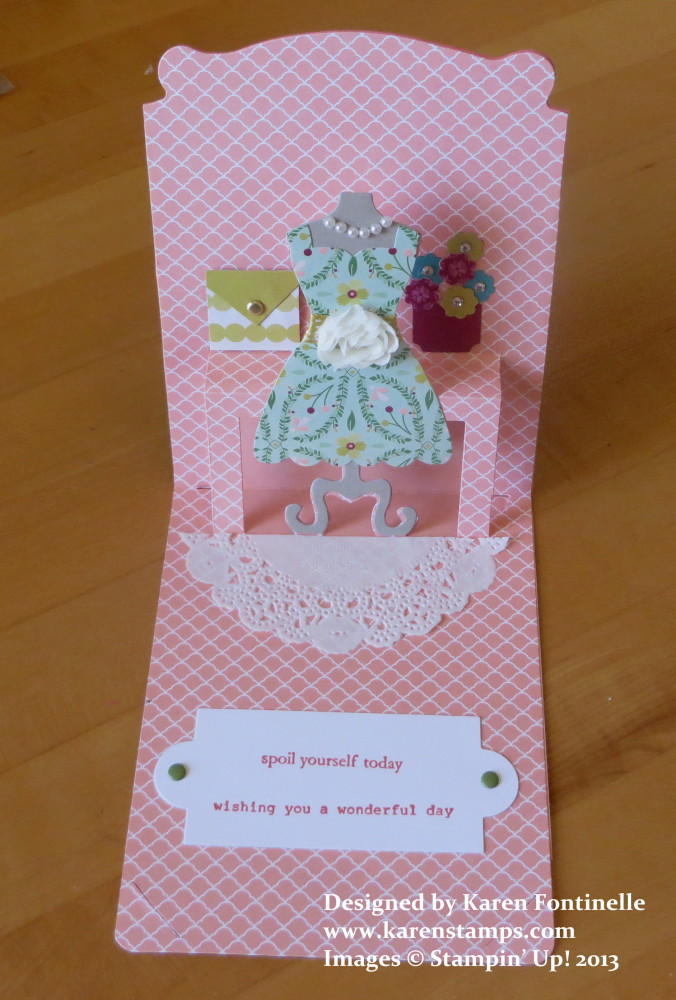
Pop’ N Cuts Dress Form and Card Base Birthday Card

Pop n Cuts Birthday Card

These Pop’ N Cut Dies were introduced in the Stampin’ Up! Spring Catalog and honestly, I didn’t pay much attention to them.  I think I had already added so many things to my order that by the time I got to their page in the catalog I wasn’t interested. I didn’t take any time to see what they were about, although I did order the Dress Up Framelits Dies.  Those seemed easy enough.

But then as so often happens, I started to see really cute things other people made and also watched some videos made by the designer of the dies, Karen Burniston. That’s when I put them on my next order!  The shape of the Card Base Pop’ N Cuts Die is a Stampin’ Up! exclusive, made with the decorative edge and made so you can tuck it into the slits to close. You can use just this without the pop up portion.

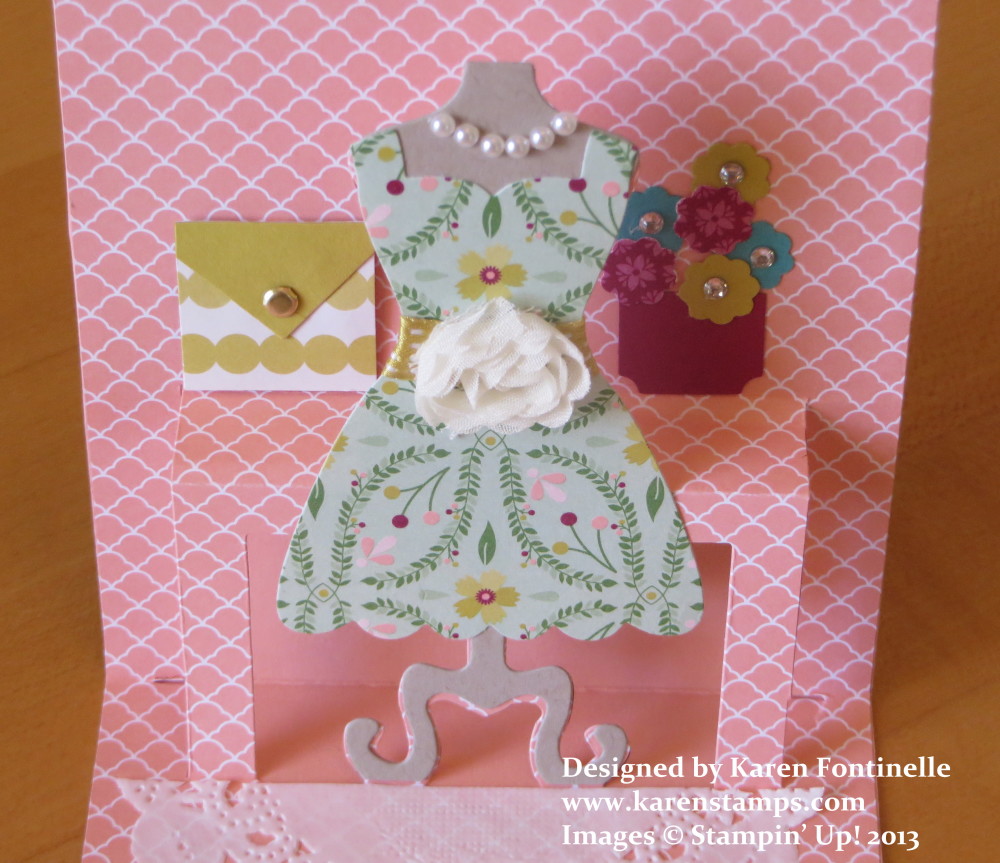
Pop n Cuts Birthday Card Inside

The pop up portion is easy to do once you get the hang of it. You want to be careful not to fold things that shouldn’t be folded.  In order to get the pop up going, it works best if you get your fingers behind that table part and then you will see and feel where the score lines are and how to get the pop up to pop up!

Dress Form Pop n Cuts Inside Card

Once you get the pop up popped up, you can adhere it to the card base.  Just be careful to see where the adhesive should go and shouldn’t go.  I haven’t gotten the hang of that yet! Even though I think I’m being careful, I always get adhesive where it shouldn’t be!  But as long as you pay a little bit of attention, you’ll be okay!  Then you can embellish and decorate your card however you like on the inside and on the front!

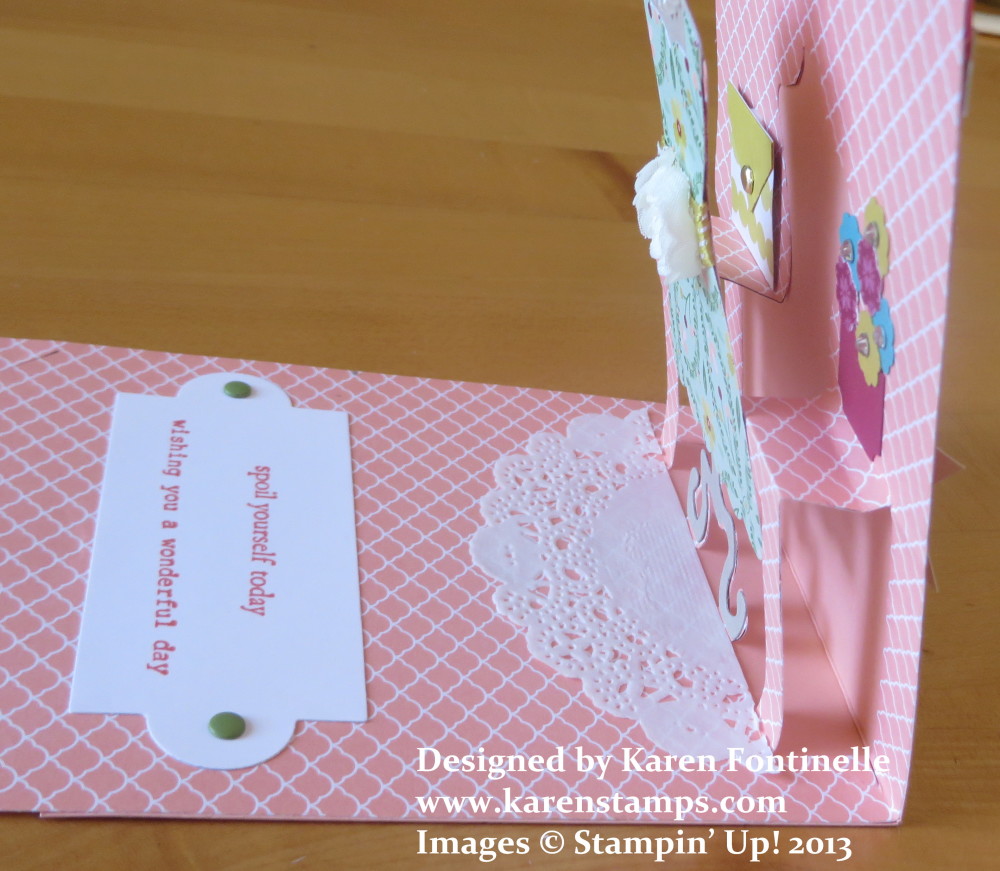
Pop n Cuts Birthday Card Side View

This is what the pop up looks like from the side.  You want to get that rectangle shape from the side.  That’s how you know you have it right!  Once you get that shape, then the rest will take care of itself.

These Pop’ N Cut dies are easy enough to use and fun besides!  You can also trim that dress shape off the pop up and add another piece of card stock for a gift card holder or for a message or other design.

Here are the Pop’ N Cuts dies I used plus the framelits:

Just go to my Stampin’ Up! Online Store any time! Just think what magical cards you can make with the Pop’ N Cuts Dies!

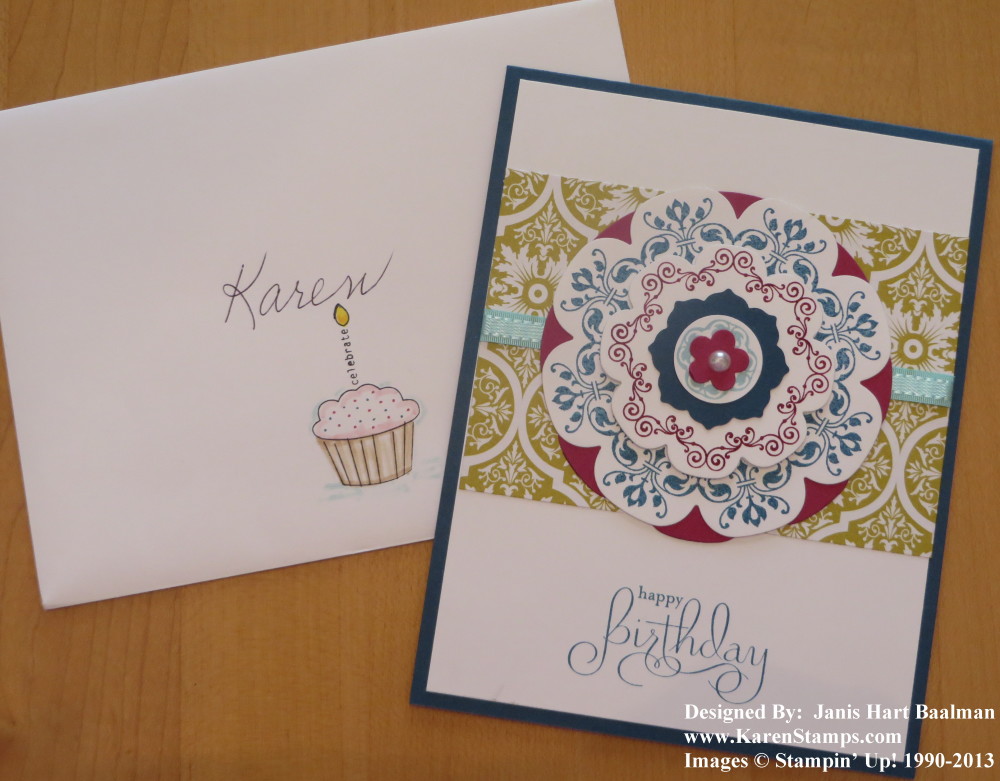
Daydream Medallions Birthday Card

Daydream Medallions Birthday Card

The Daydream Medallions stamp set I have thought is a beautiful one.  And this birthday card my longtime dear friend made for me for my birthday with Daydream Medallions is certainly a beautiful card. She always makes a beautiful card in a simple elegant style.

Don’t you love the cupcake on the envelope, too?! Always stamp something on your envelope! We don’t want to send a naked envelope! If that cupcake wasn’t stamped on that envelope, wouldn’t you just toss it out right away?

My friend also sent me a funny book with quotes about old age! My favorite one I’ve found so far is one by Ann Landers, the advice columnist. Let me first state that I did NOT turn 70! Just to be clear!!  But whatever decade below that it was, this describes exactly how I feel!

“Inside every seventy-year-old is a thirty-five-year-old asking “What happened?”

Maybe the essence of ourselves doesn’t age past thirty-five and that’s why we don’t feel as old as we get!

The book is called Old Age Is Always 15 Years Older Than I Am by Randy Voorhees if you need a funny gift for a middle-aged friend!

Gold Embossing on Modern Medley Designer Series Paper

Gold Embossed Blooming with Kindness Modern Medley Thank You Card

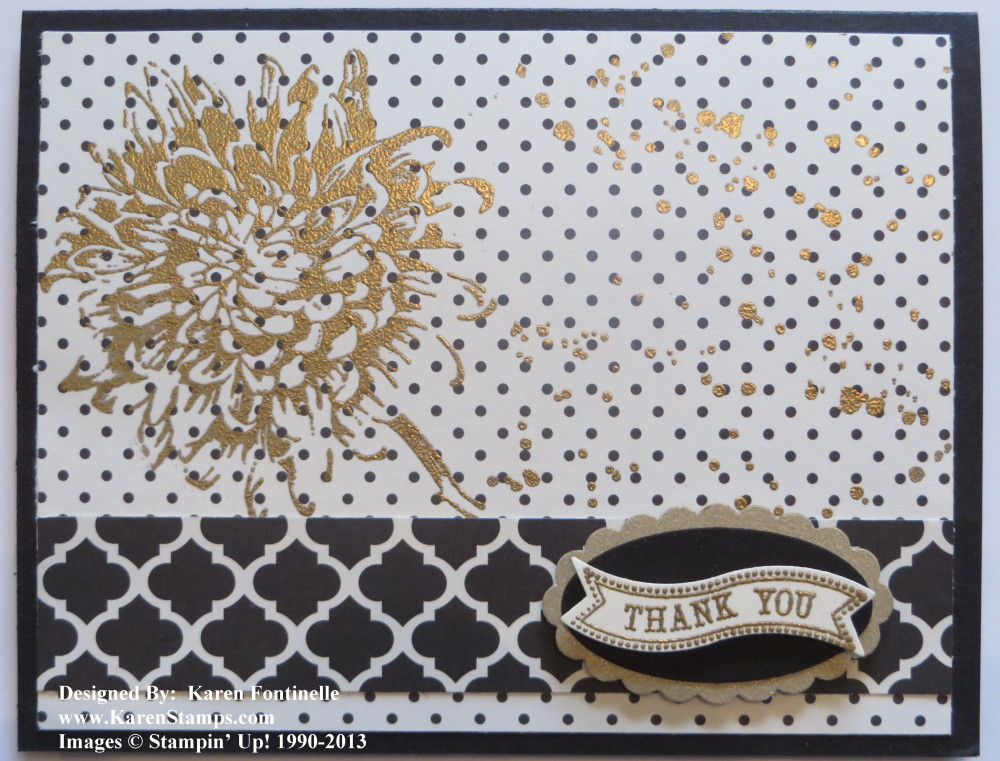
At the Stampin’ Up! Convention this past July, Pam Morgan from the Stampin’ Up! Home Office demonstrated on stage embossing in gold stamped images on the trendy Modern Medley Designer Series Paper.  I even won that Prize Patrol, winning Gold Stampin’ Emboss Powder and a pack of the Modern Medley paper!  Pam was using a lot of the images from Gorgeous Grunge, a stamp set we got free at Convention.  On this card I stamped the beautiful flower from Blooming with Kindness and added some of the small splatters from Gorgeous Grunge off to the side. Kind of different, but I think I like it! This time I purposely chose a light colored background thinking the gold embossing would show better, but I think next time I will try a dark background.

For a greeting I punched a piece of Brushed Gold card stock with the Scallop Oval Punch and layered a piece of black card stock punched with the Large Oval Punch.  On top of that is the sentiment embossed in gold from Itty Bitty Banners and die cut with the Big Shot and the Bitty Banners Framelits.

If you would like to try your hand at the magic of heat embossing, you’ll need a Stampin’ Up! Heat Tool and your choice of embossing powder!  It’s easy and amazing!

Shop at my Stampin’ Up! Online Store or email me with your order!

A Birthday Jar of Notes!

 Birthday Jar of Notes

My daughter, last weekend, did so many things to make my $%&^th birthday the best one I ever had! I’ll just say it was one of the milestone ones!  She took all the sting out of turning this age with all her surprises, the best one being her flying in from California and surprising me! In addition there was a beautiful birthday cake and a mother-daughter cooking class at our neighbor’s house. I couldn’t have imagined anything else, but she had one more surprise up her sleeve!

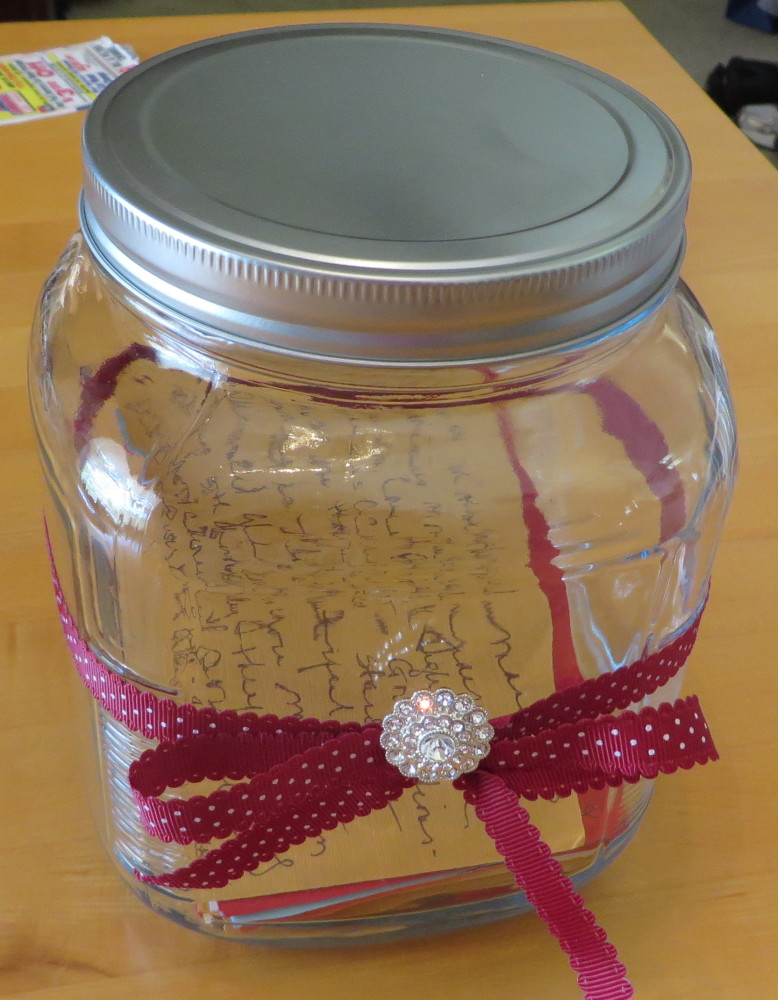
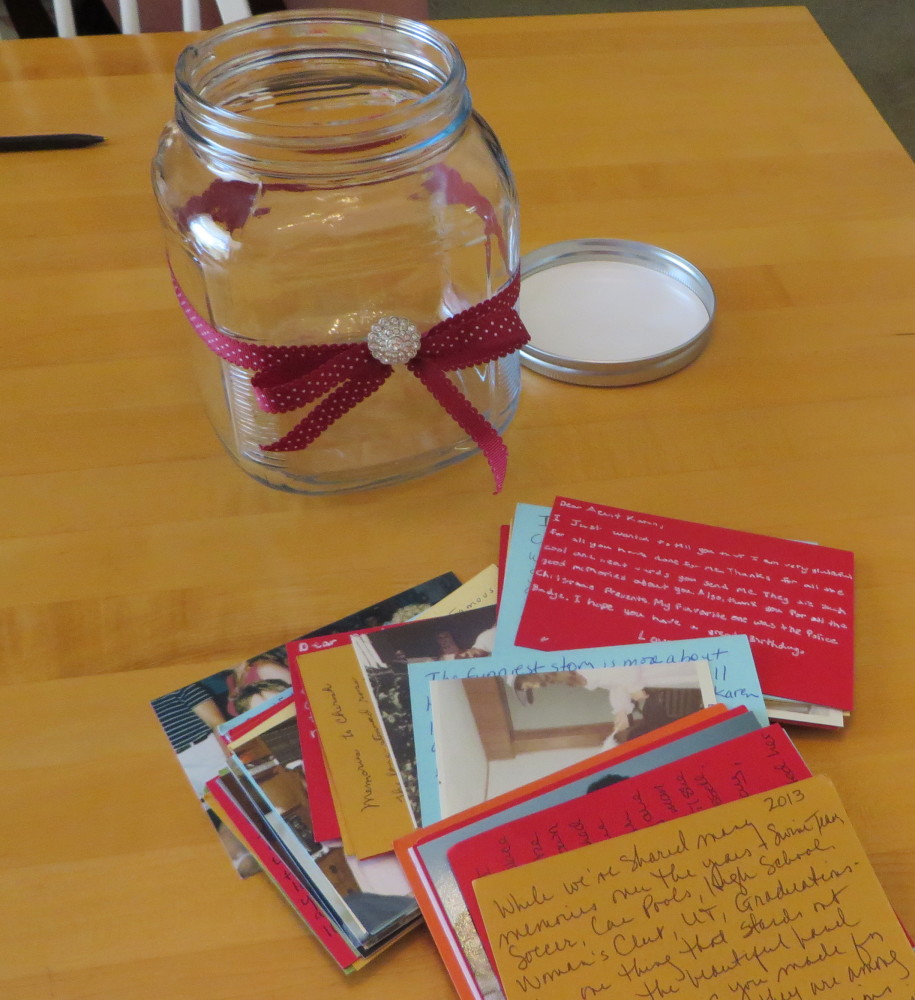
I don’t even quite know the FULL story, but apparently months ahead of time she contacted friends, neighbors, and relatives and sent them packets with colored note cards and asked them to write some special memory or story or birthday wishes to me or about me.  Then they sent them back to her and she put them all in this jar she decorated with a ribbon and button.

It was SO much fun to read all of them, see who they were from, and see the old photos some people included!  Even all 8 of my brother’s children wrote notes! My one long, long, long time friend and college roommate even copied excerpts from her diary when we were in college and about when I met my husband. My other equally long-time friend sent photos of when I was a bridesmaid in her wedding and our story about how hard we’ve laughed over all my Quilt Show purchases through the years (before stamping) that I would drag out when she visited. Some neighbors talked about all our activities with our kids through the years; swim team, Cub Scouts, even college graduations! My sister-in-law mentioned her visit when our girls were little-bitty and I bought them matching outfits. Not only were the memories and nice notes great, it made clear the connections I have with all these people, built up through all these years. If you are looking for an exceptionally special gift to give someone for whatever occasion, this idea is certainly it!!

birthday jar of notes


Surprises Galore for My Milestone Birthday

What a weekend and what a birthday! I went from not having anything special planned at all for my birthday except probably my husband and I going to a nice restaurant for dinner, well not probably, for sure!!

My one son emailed and said he and his brother were coming home for the weekend (they live about 3 hours away). On Friday he emailed again that he and his girlfriend were coming that night but Steven would come on Saturday, and Eric was staying over Monday and Tuesday, but Steven and Heather would drive back on Sunday. Ok.

Everybody arrived Friday night and Saturday at the designated times.  Steven’s car needed to go in the shop for a new battery and oil. Since my back had been acting up for two weeks as well as our new refrigerator, I hadn’t done any grocery shopping and didn’t. But Steven is sticking to his food allergy diet right now which means Mom needs to cook food at home so he doesn’t get any offending substance. Since my back was doing better I made a quick trip to the grocery store and bought some very nice beef tenderloin steaks and other stuff for a nice dinner. When I got the groceries put away, Eric told me he and his girlfriend were meeting a high school friend at 6:30. I thought that was a bit early and wondered how I was going to get this expensive dinner I’d just bought prepared very quickly so they could leave and besides, Steven’s car needed to be picked up at the shop.  But I’m pretty good at that so I got dinner made fairly quickly and as soon as they were finished eating they left, ignoring my suggestion to let their friend know they were going to be a little late rather than rushing through dinner. But moms are used to being ignored with advice.

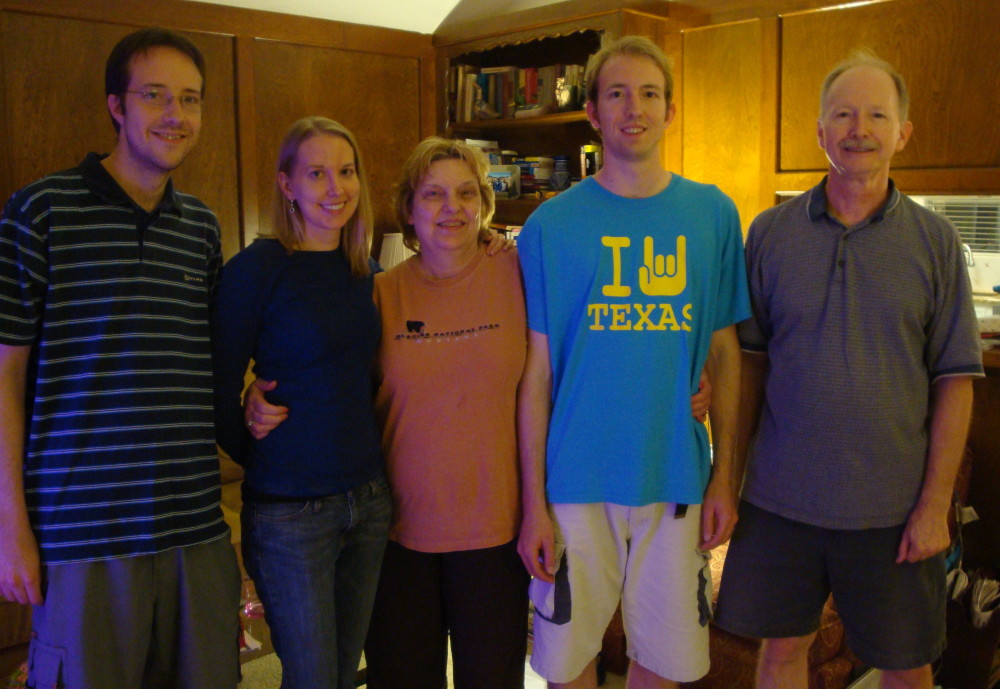
When Eric and Heather came back home, a little earlier than I expected, I looked up, and here was my daughter Amy who had flown in from California for my birthday!!  Eric had gone to get her at the airport, not visiting his friend! I haven’t had a surprise like that since my bridal shower! I was completely stunned! She usually isn’t home except at Christmas. And that was just the day before my birthday!

Fontinelle Family

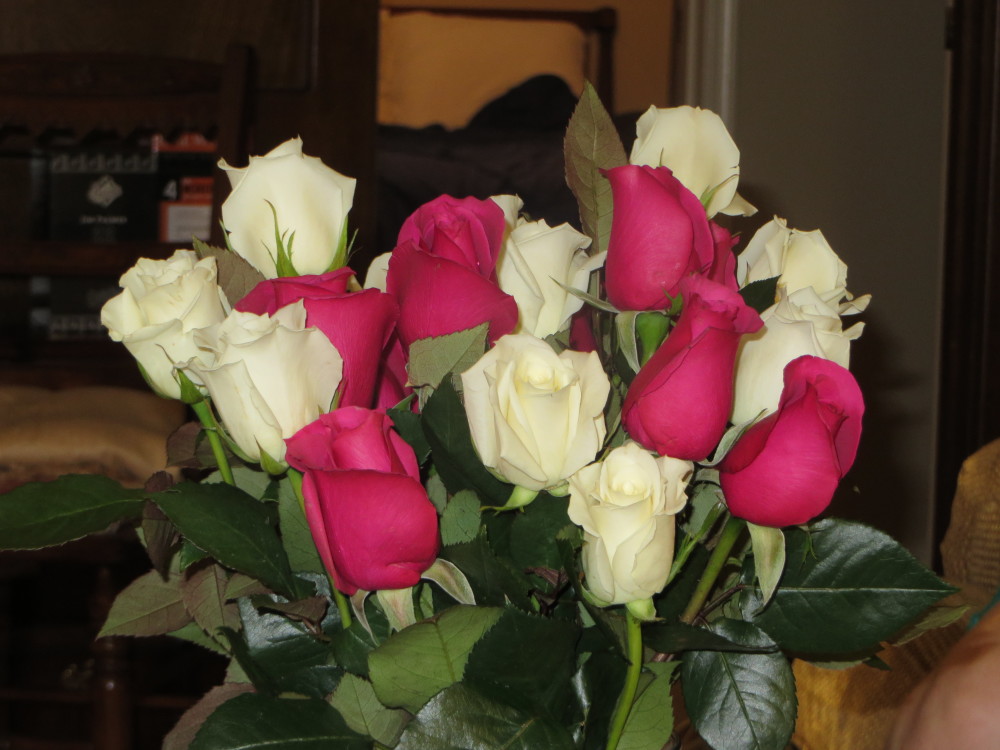
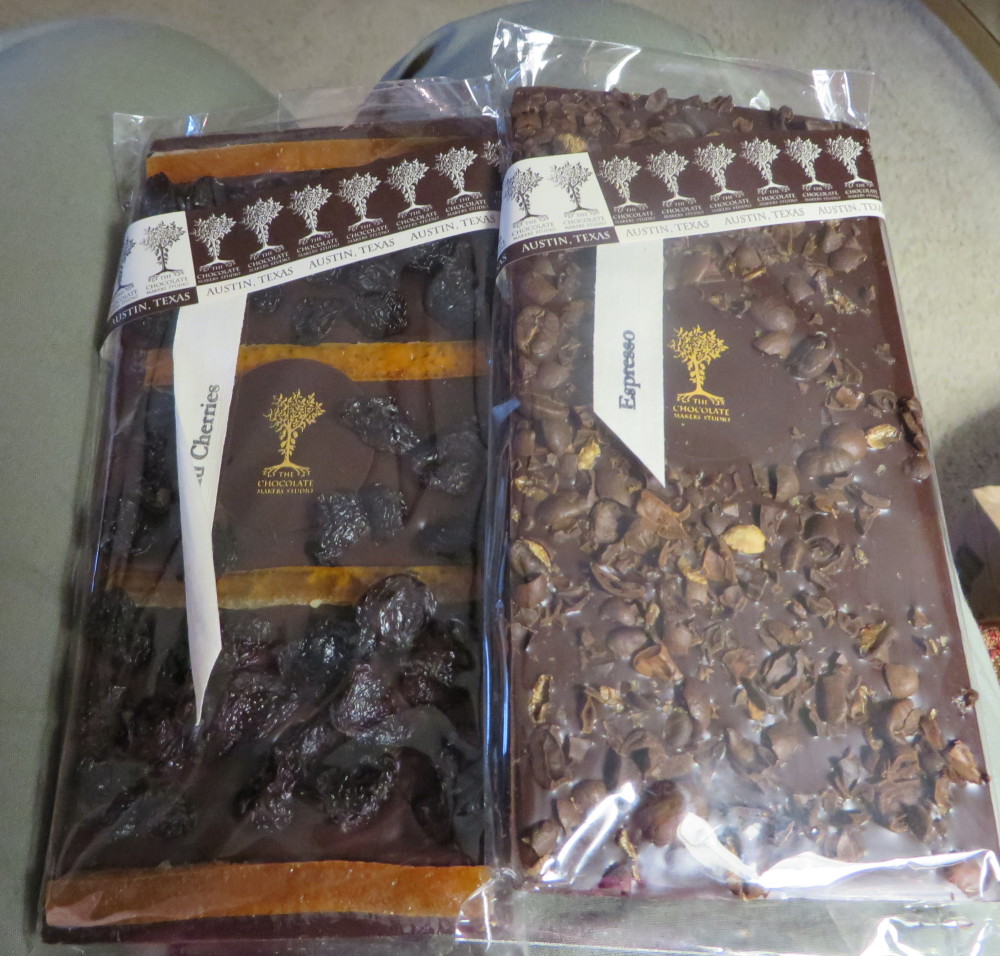
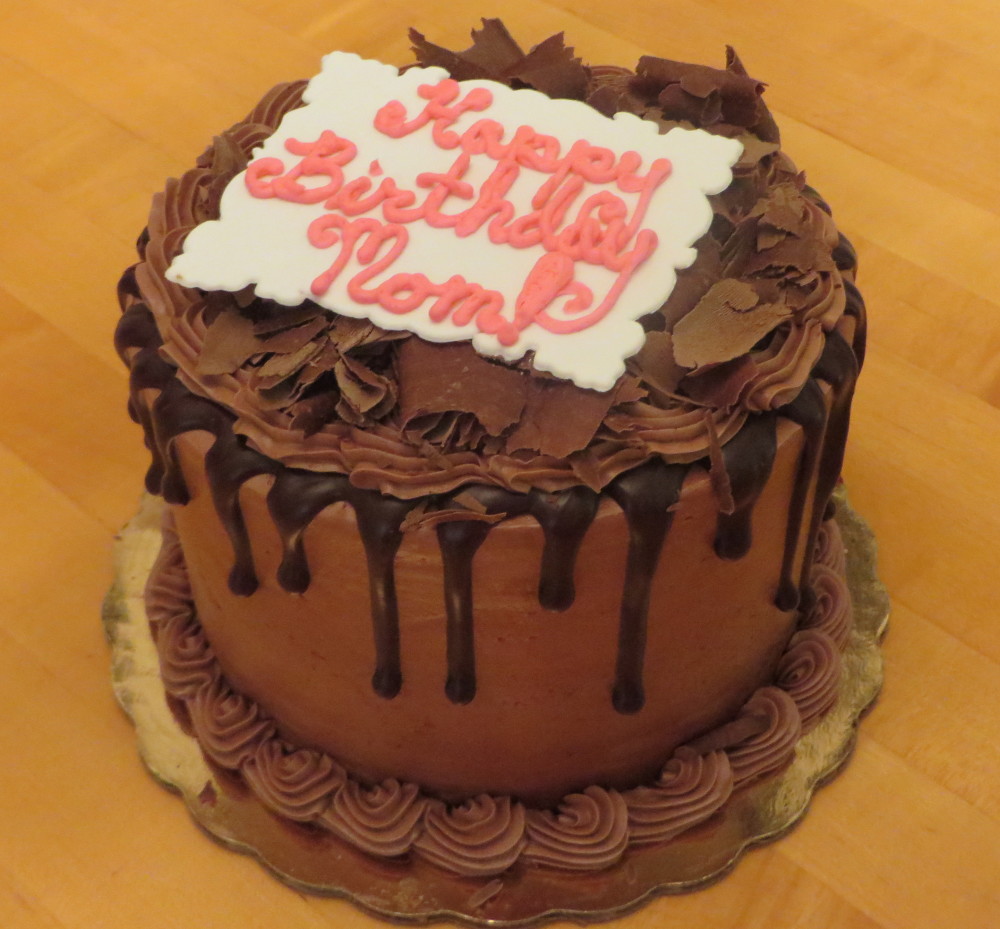
On Sunday besides birthday phone calls from friends and family, I got red and white roses from my husband, large fancy chocolate bars from Eric, fancy brownies Steven had baked himself, and and a beautiful chocolate birthday cake Amy had ordered from a really good bakery here.

Birthday Roses


Chocolate Bars


Birthday Cake

Cooking class photos are still on Amy’s camera so I don’t have them yet!

This was a birthday I’ll never forget and what could be better than spending it with all three children (plus my son’s lovely girlfriend!)! I would never have dreamed this big birthday was going to be so wonderful and memorable and fun!


Projects on Display at the Stampin’ Up! Convention

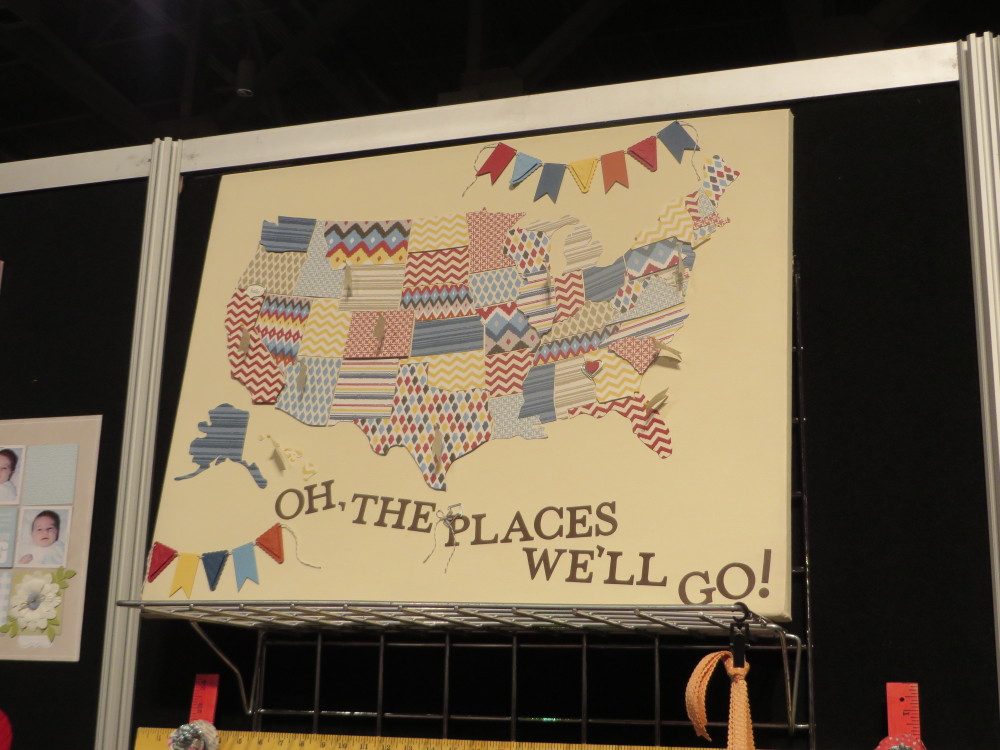
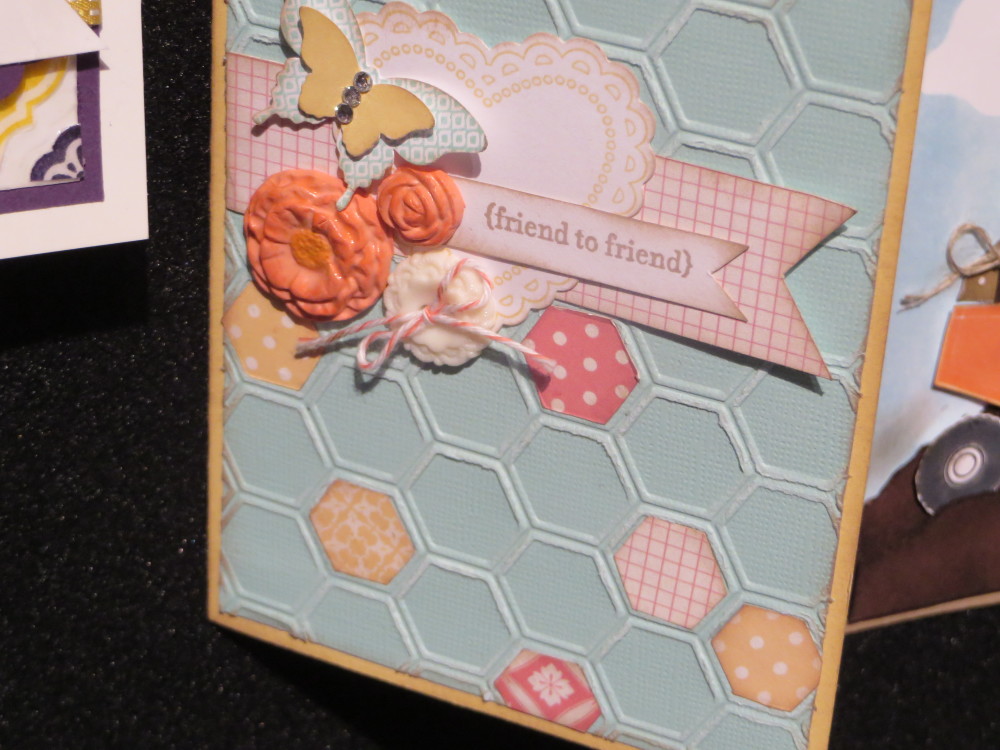
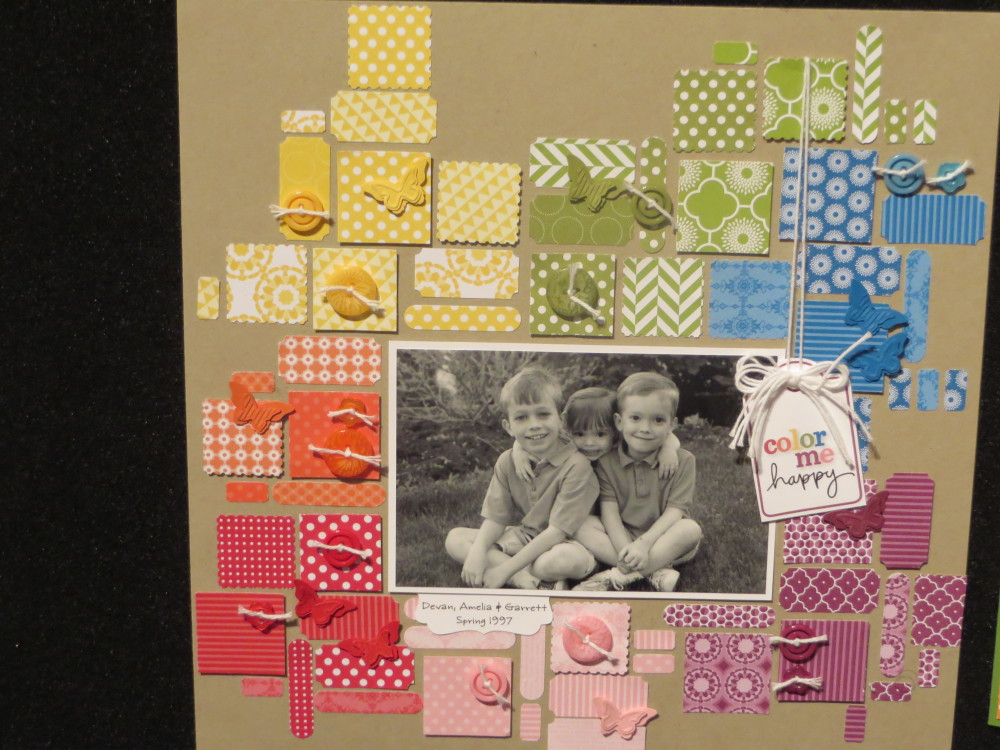
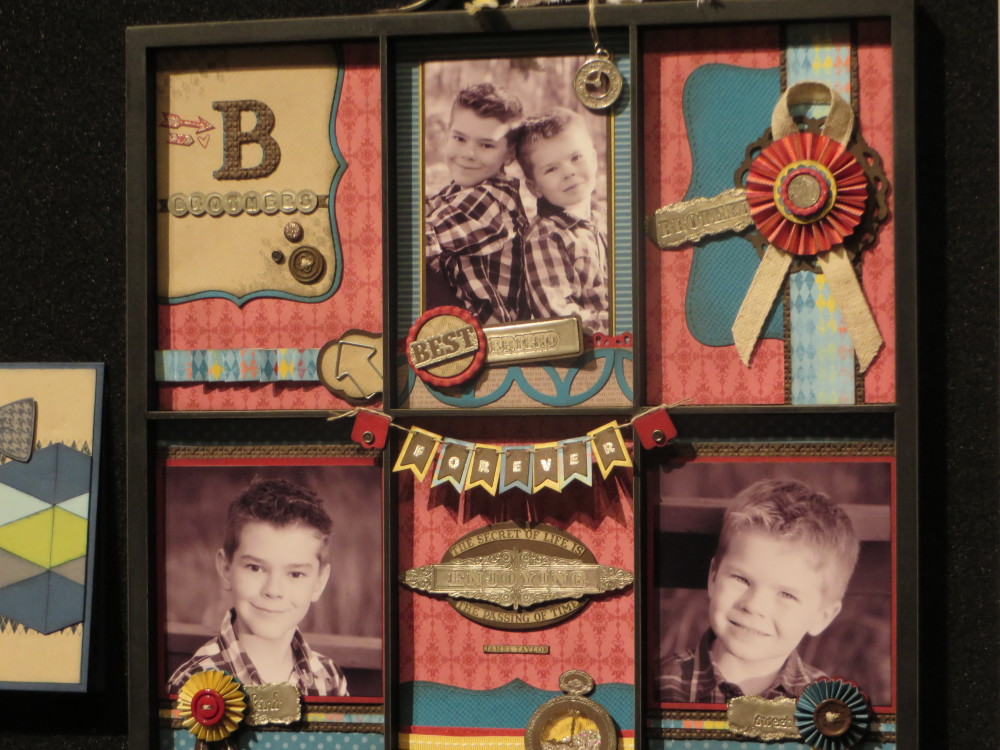
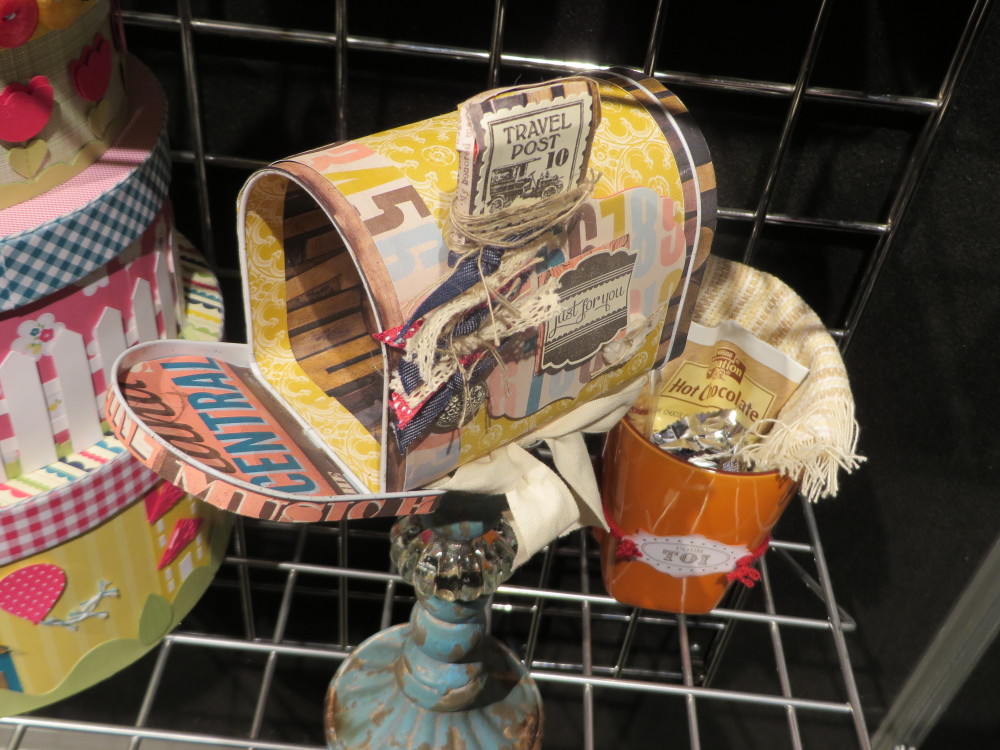
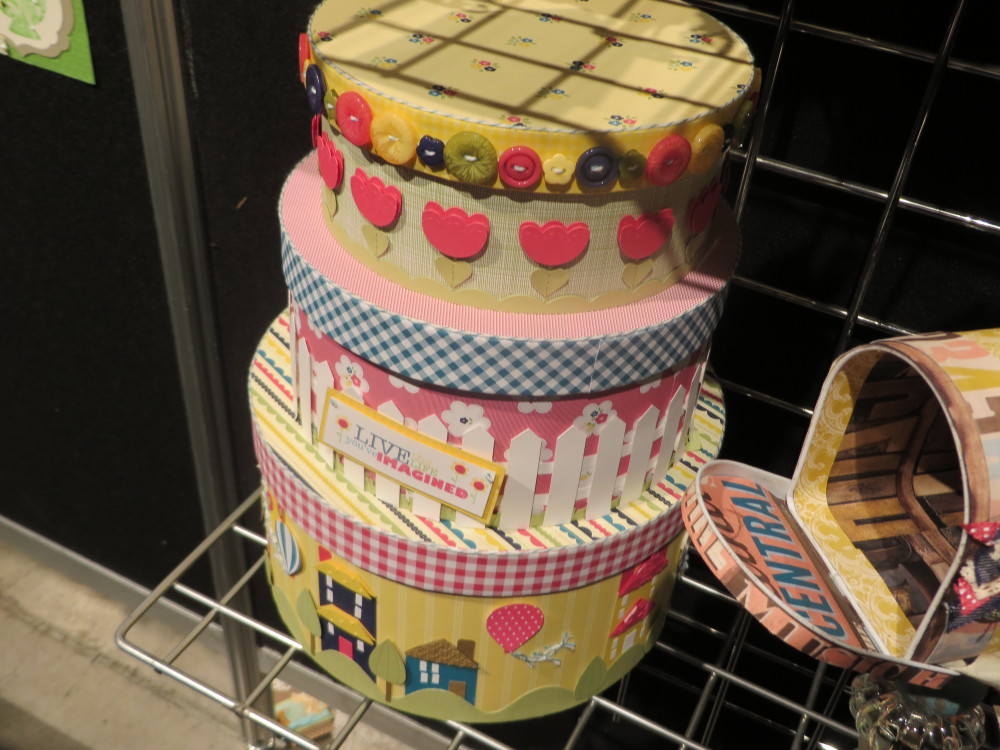
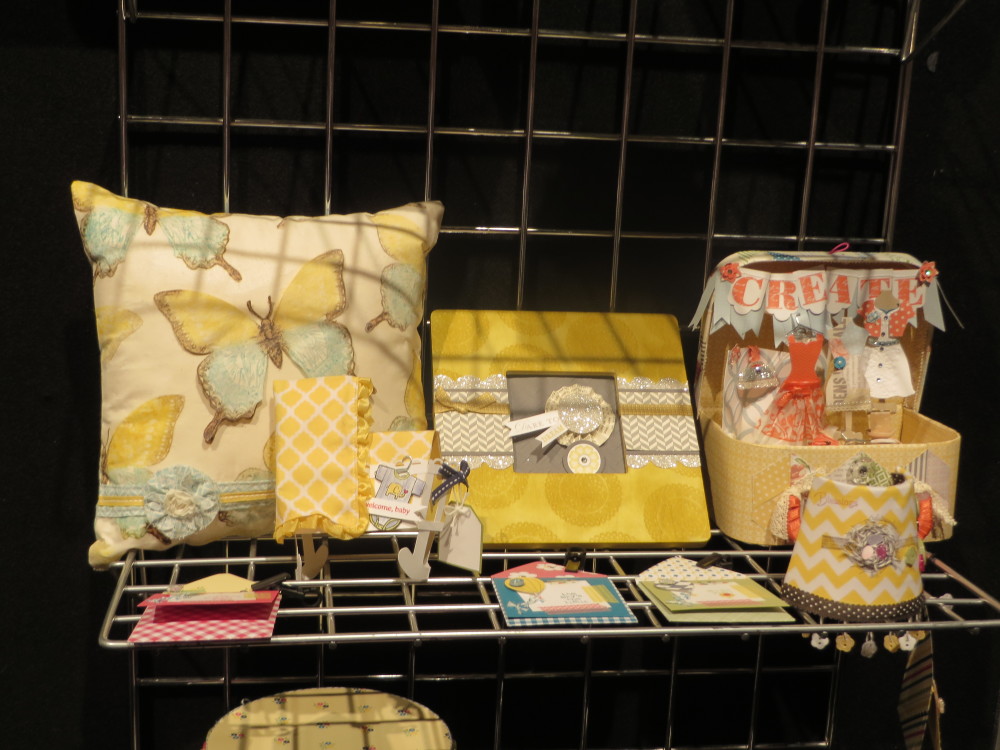
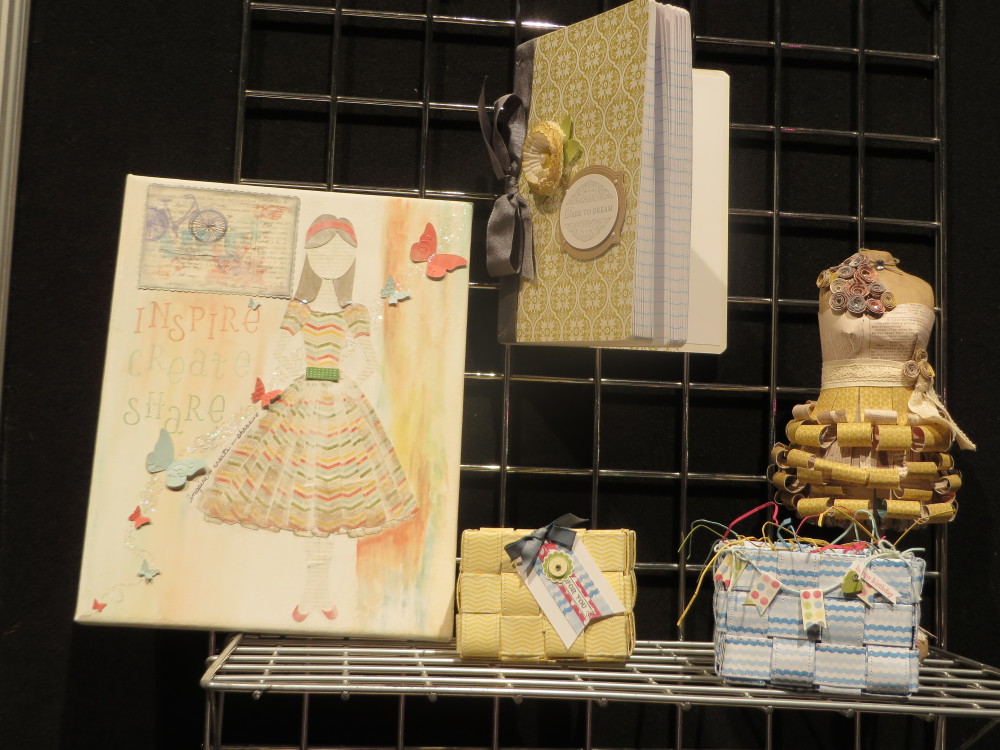
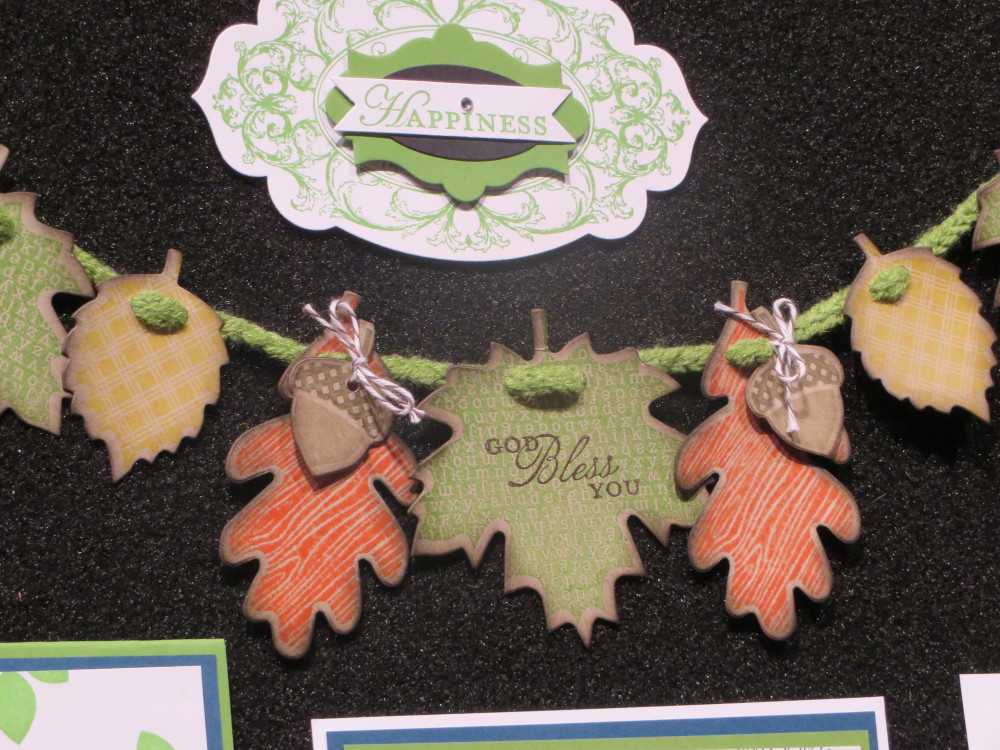
I can’t get enough of these photos I took of the display boards at the Stampin’ Up! Convention! Such creative projects and cards!  It’s amazing!  You should be able to click on each photo to enlarge.

USA MapImages copyright Stampin’ Up! 2013

Honeycomb Embossed Friend CardImages copyright Stampin’ Up! 2013

Designer Paper bits and pieces on a scrapbook page

Images copyright Stampin’ Up! 2013 

Altered Printer's Tray

Images copyright Stampin’ Up! 2013

Altered Tin Mailbox

Images copyright Stampin’ Up! 2013

Decorated Round Boxes

Images copyright Stampin’ Up! 2013

Convention display projects

Images copyright Stampin’ Up! 2013

Dressy Paper Projects

Images copyright Stampin’ Up! 2013

Fall leaf garland

Images copyright Stampin’ Up! 2013

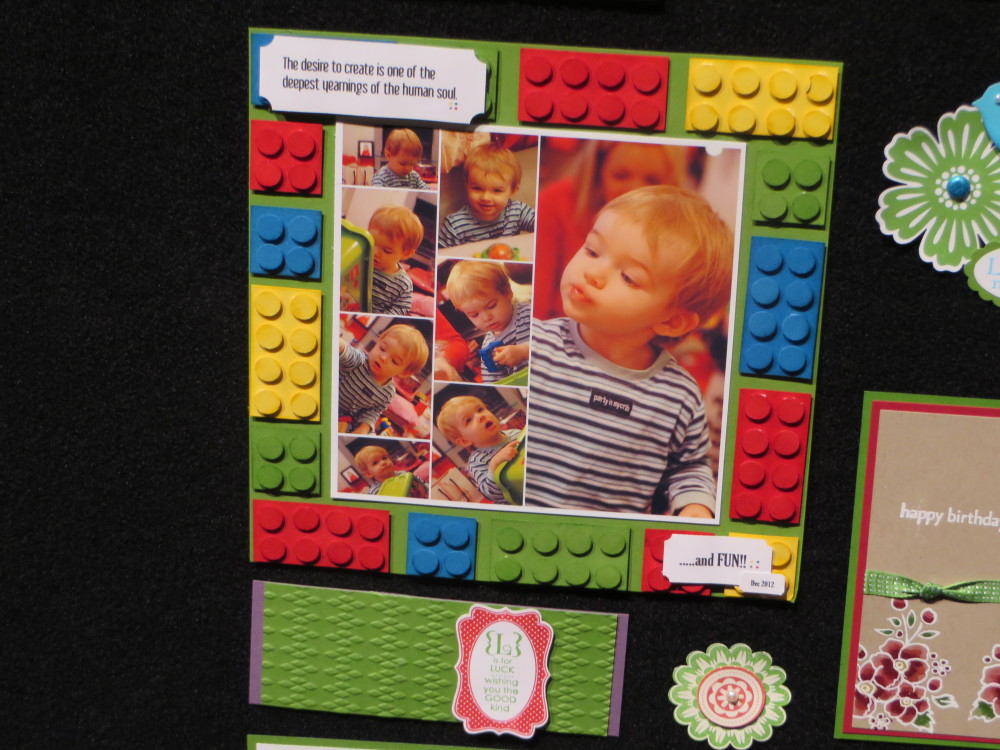
Lego Scrapbook page

Images copyright Stampin’ Up! 2013


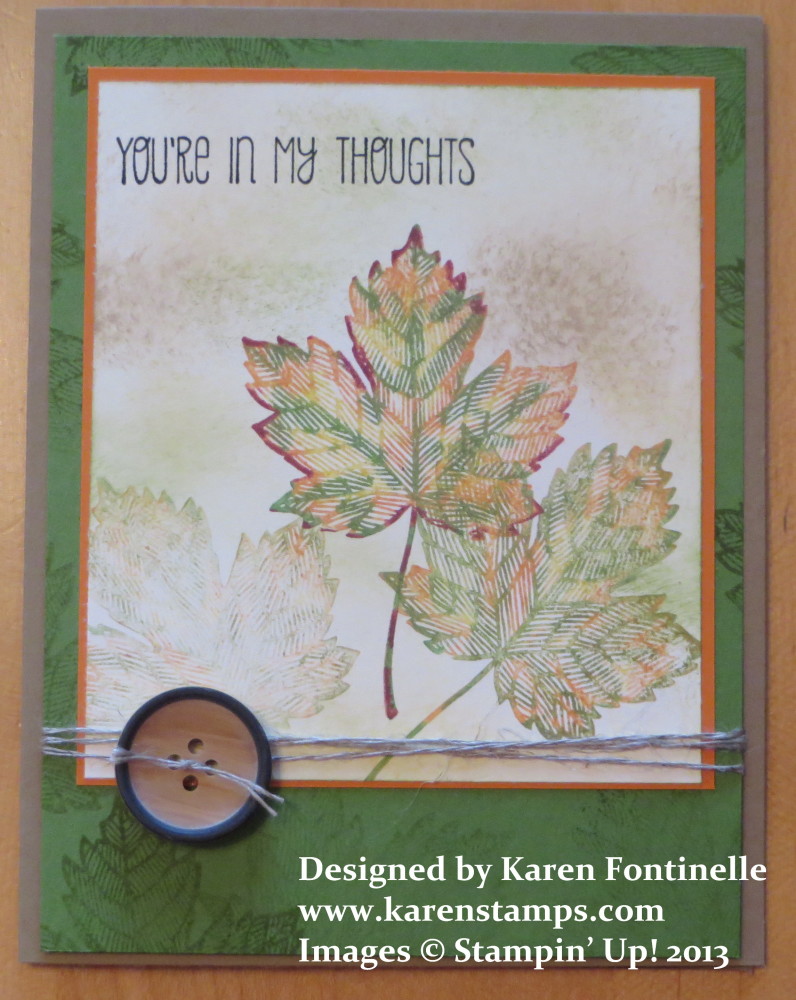
Magnificent Maple Fall Thinking of You Card

Magnificent Maple Fall Thinking of You Card

This leaf stamp on this Thinking of You card comes as a single stamp called Magnificent Maple in the Stampin’ Up! Holiday Catalog. I thought it was a beautiful leaf stamp, even though I have other leaf stamps.

I thought about calling this my Backache Card because I have done something terrible to my back, maybe putting it into perpetual spasm. I’m beginning to think that it is actually slowly getting better.  I couldn’t exist without ice packs right now! But Saturday night, after a miserable day, I was feeling mostly better, like magic! The first thing I wanted to do for my mental health was play with something from my new Holiday Catalog order.

This Magnificent Maple stamp seemed like the perfect stamp to make a simple card. Since the right colors of ink pads weren’t already on my kitchen table, rather than reach down to where the ink pad caddy is on the floor because of my back pain, I decided to just ink up the stamp with Stampin’ Write Markers. If you start with the lightest color and progress to the darkest you won’t mess up your markers. I believe I used Crushed Curry (or Daffodil Delight) for the yellow, Gumball Green, Pumpkin Pie, and a bit of Cherry Cobbler, just coloring in various areas of the stamp. When you use markers, you should “huff” or breathe on the stamp to remoisten the ink before stamping.  Obviously I stamped the center leaf full strength, inked up the stamp again but stamped off VERY lightly on scrap paper before stamping on my card for that lighter image. Maybe I stamped the lightest leaf on the left with what was left of the ink on the stamp.  It’s very light.

The card still needed something so I decided to sponge some color around the leaves. See those big sponged areas of Baked Brown Sugar? I wasn’t happy that I was sloppy and got the first big brown area when all I was trying to do was sponge a little soft subtle color around.  But since “there are no mistakes in stamping”, I decided to just add another big blob!  Make it look like I intended it to be that way! There’s almost always some way to fix a stamping boo-boo.

The greeting is from A Dozen Thoughts.  I put it at the top since I happened to stamp the leaves a little too low. And for a little extra interest I tied some Linen Thread around the panel and added a Natural Designer Button. I also stamped a few leaves in green on the Gumball Green card stock to add a little something around the edges.

So if you have back pain and it stops for awhile, go celebrate by stamping something!

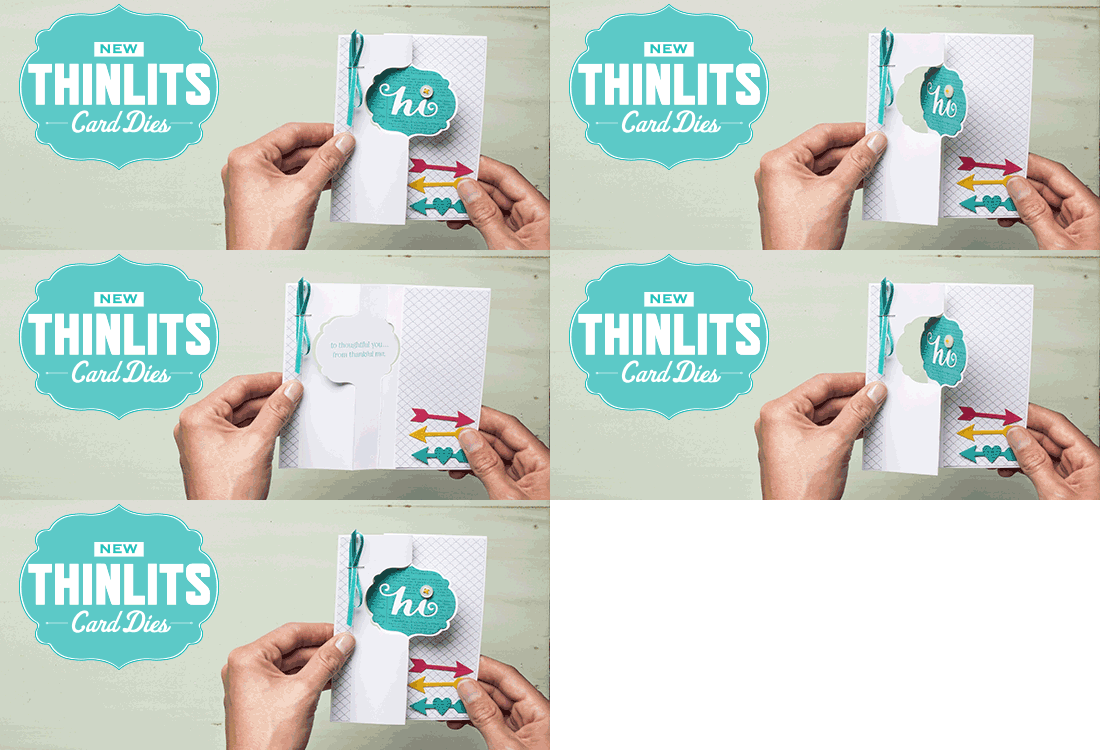
New Thinlits Card Dies from Stampin’ Up! Make Some Easy Flip Cards!

New Thinlits Card DiesOne of the exciting new Stampin’ Up! products introduced at the Stampin’ Up! Convention was the new Thinlits Card Die. There are two card dies available to create a card that flips! Instead of having to cut the design of this card by hand, now you can just use the new thinlit and your Big Shot Die-Cutting Machine.  Each die comes with extra die pieces that you can use to embellish and design your cards.

These Thinlits Card Dies were one of the Prize Patrols at Convention but they had not yet arrived at Stampin’ Up! so the prize winners had to wait until the next day to pick them up!  That’s how NEW these card dies are!!

Please enjoy this video and get the full idea of how to use them here:

http://youtu.be/CwdGSYeIn44

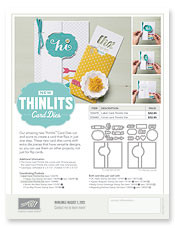
Click on the image below to read the flyer or print it off!

Thinlits Card Dies Flyer 2013

Click image to read flyer.

To order these new Thinlits Dies and other products you like from the Stampin’ Up! Holiday Catalog, please shop at my Stampin’ Up! Online Store here.  Or you are always welcome to email your order to me!

It’s Stampin’ Up! Holiday Time!

It may be August, but it is none too early to start thinking about the upcoming holidays!  And just in time is the Stampin’ Up! Holiday Catalog, chock full of creative ideas and new products! Now is the time for us crafty stampers to start working on all these projects we intend to do before each holiday and season and often run out of time to do!  Get an early start now with the Stampin’ Up!  Holiday Catalog!

Stampin' Up! Holiday Catalog 2013

Click catalog image to shop!

Holiday Catalog Flipbook

Holiday Catalog PDF

Holiday Catalog Stampin’ Supplies

Holiday Catalog Spanish Flyer

If you have a copy of the catalog, don’t forget to try out the new feature with your smartphone: little videos!

If you don’t have a Stampin’ Up! Demonstrator and would like a copy of the Holiday Catalog mailed to you, please contact me at Karen@KarenStamps.com.

Yes, you can place an order today, August 1st from the new Stampin’ Up! Holiday Catalog!

And there are even more goodies available starting today!  Check back later!