

I made this card, Delicate Dreams Angled Sending Smiles Card, a while back and I don’t think I ever posted it. But I think this Delicate Dreams Specialty Designer Series Paper is just beautiful! I saw a sample of a card like this with the angled bottom and thought “Oh, this will be easy to make!” but it didn’t go the way I thought it would. However, I made an easier version that I think will work for you.
The card base is the new Hydrangea Hue In Color. I think this paper was the one that gave away the new In Color before we knew what they were all going to be. I added a background layer of designer paper to the card base, this one with a Secret Sea background with bronze floral images.
For the focal point of the card, I cut a piece of the blueish floral patterned paper at 3 1/2″ x 4 1/2″. I used the Paper Trimmer to cut a portion off the bottom of that floral paper. You can really cut it at any measurement you want. In my mind, all I had to do was turn the paper I cut off over to the other side and adhere it right underneath the top angled piece. But that didn’t work out. I don’t know why I had such a difficult time with the geometry of this card, but I couldn’t get it to work how I wanted it to, so I came up with another way.
Instead of trying to cut the paper at the correct angle, I just cut the floral paper how I wanted it and then placed a regular size piece of the opposite side of that paper underneath the angle. The textured-look paper is cut at 3 1/2″ x 1 1/2″ and is just adhered underneath the angled floral paper.
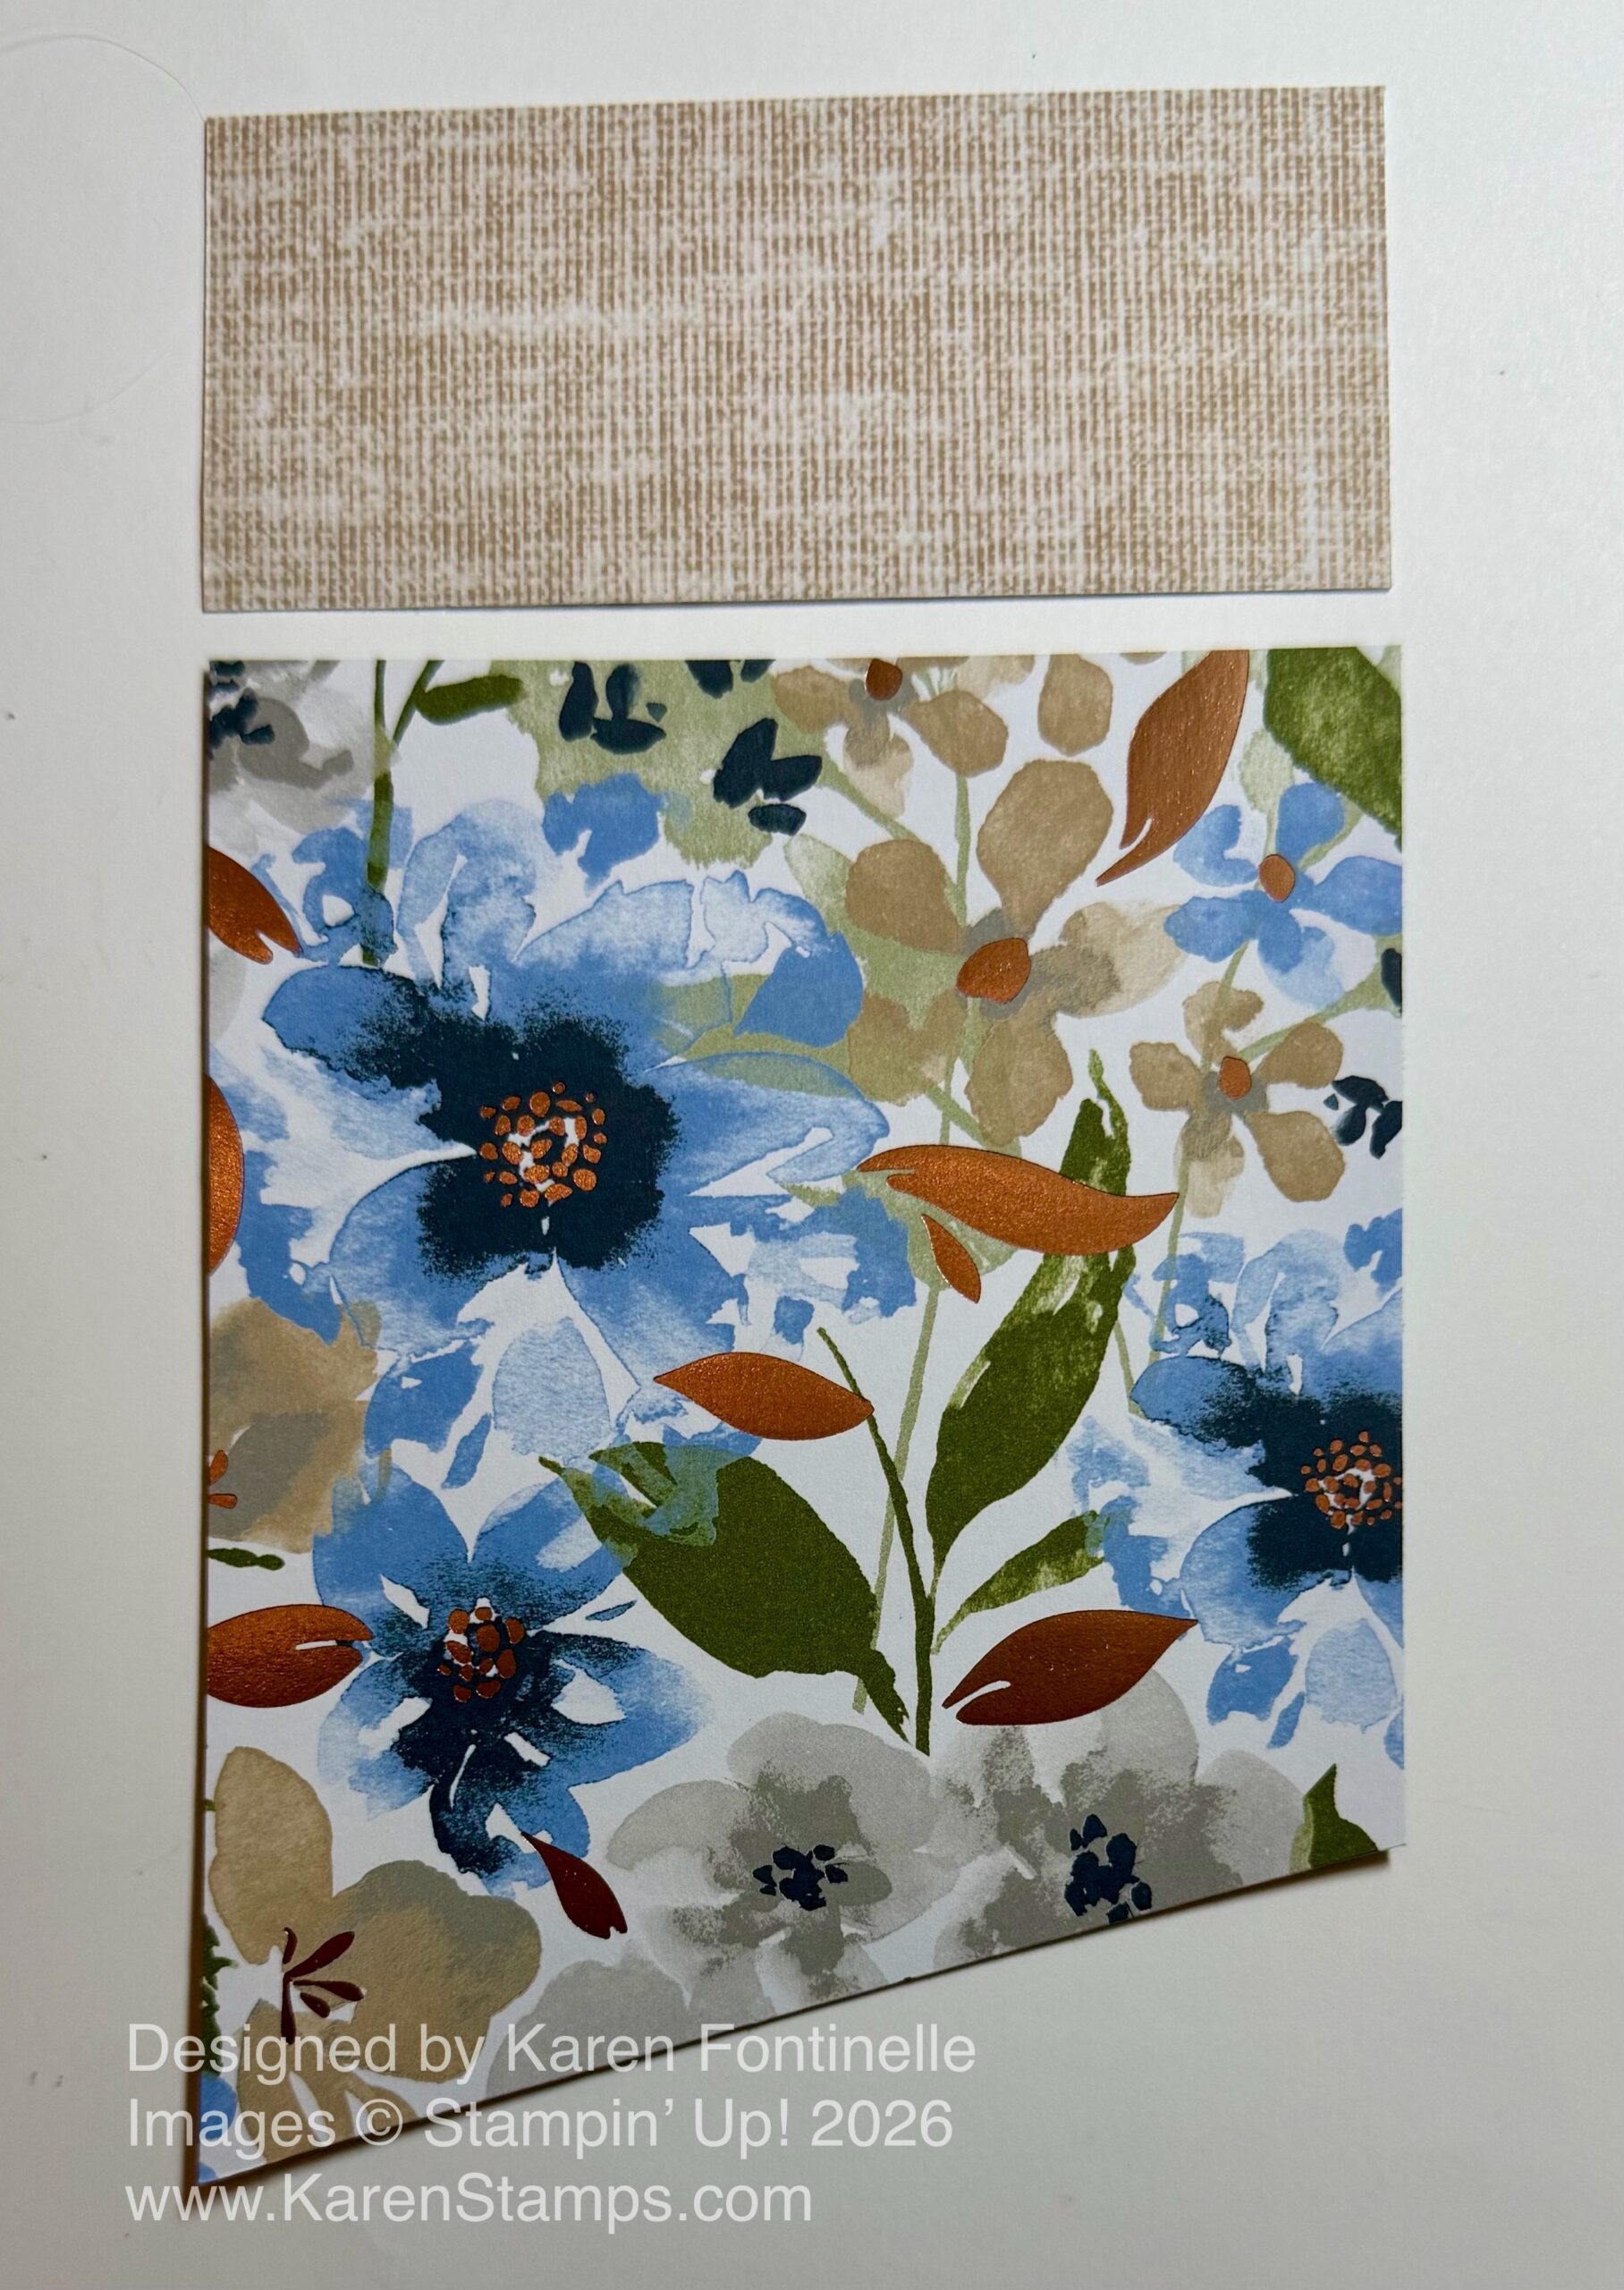
Here is what the two papers look like together on the backside. One is just a rectangle and the top part is the angled piece.
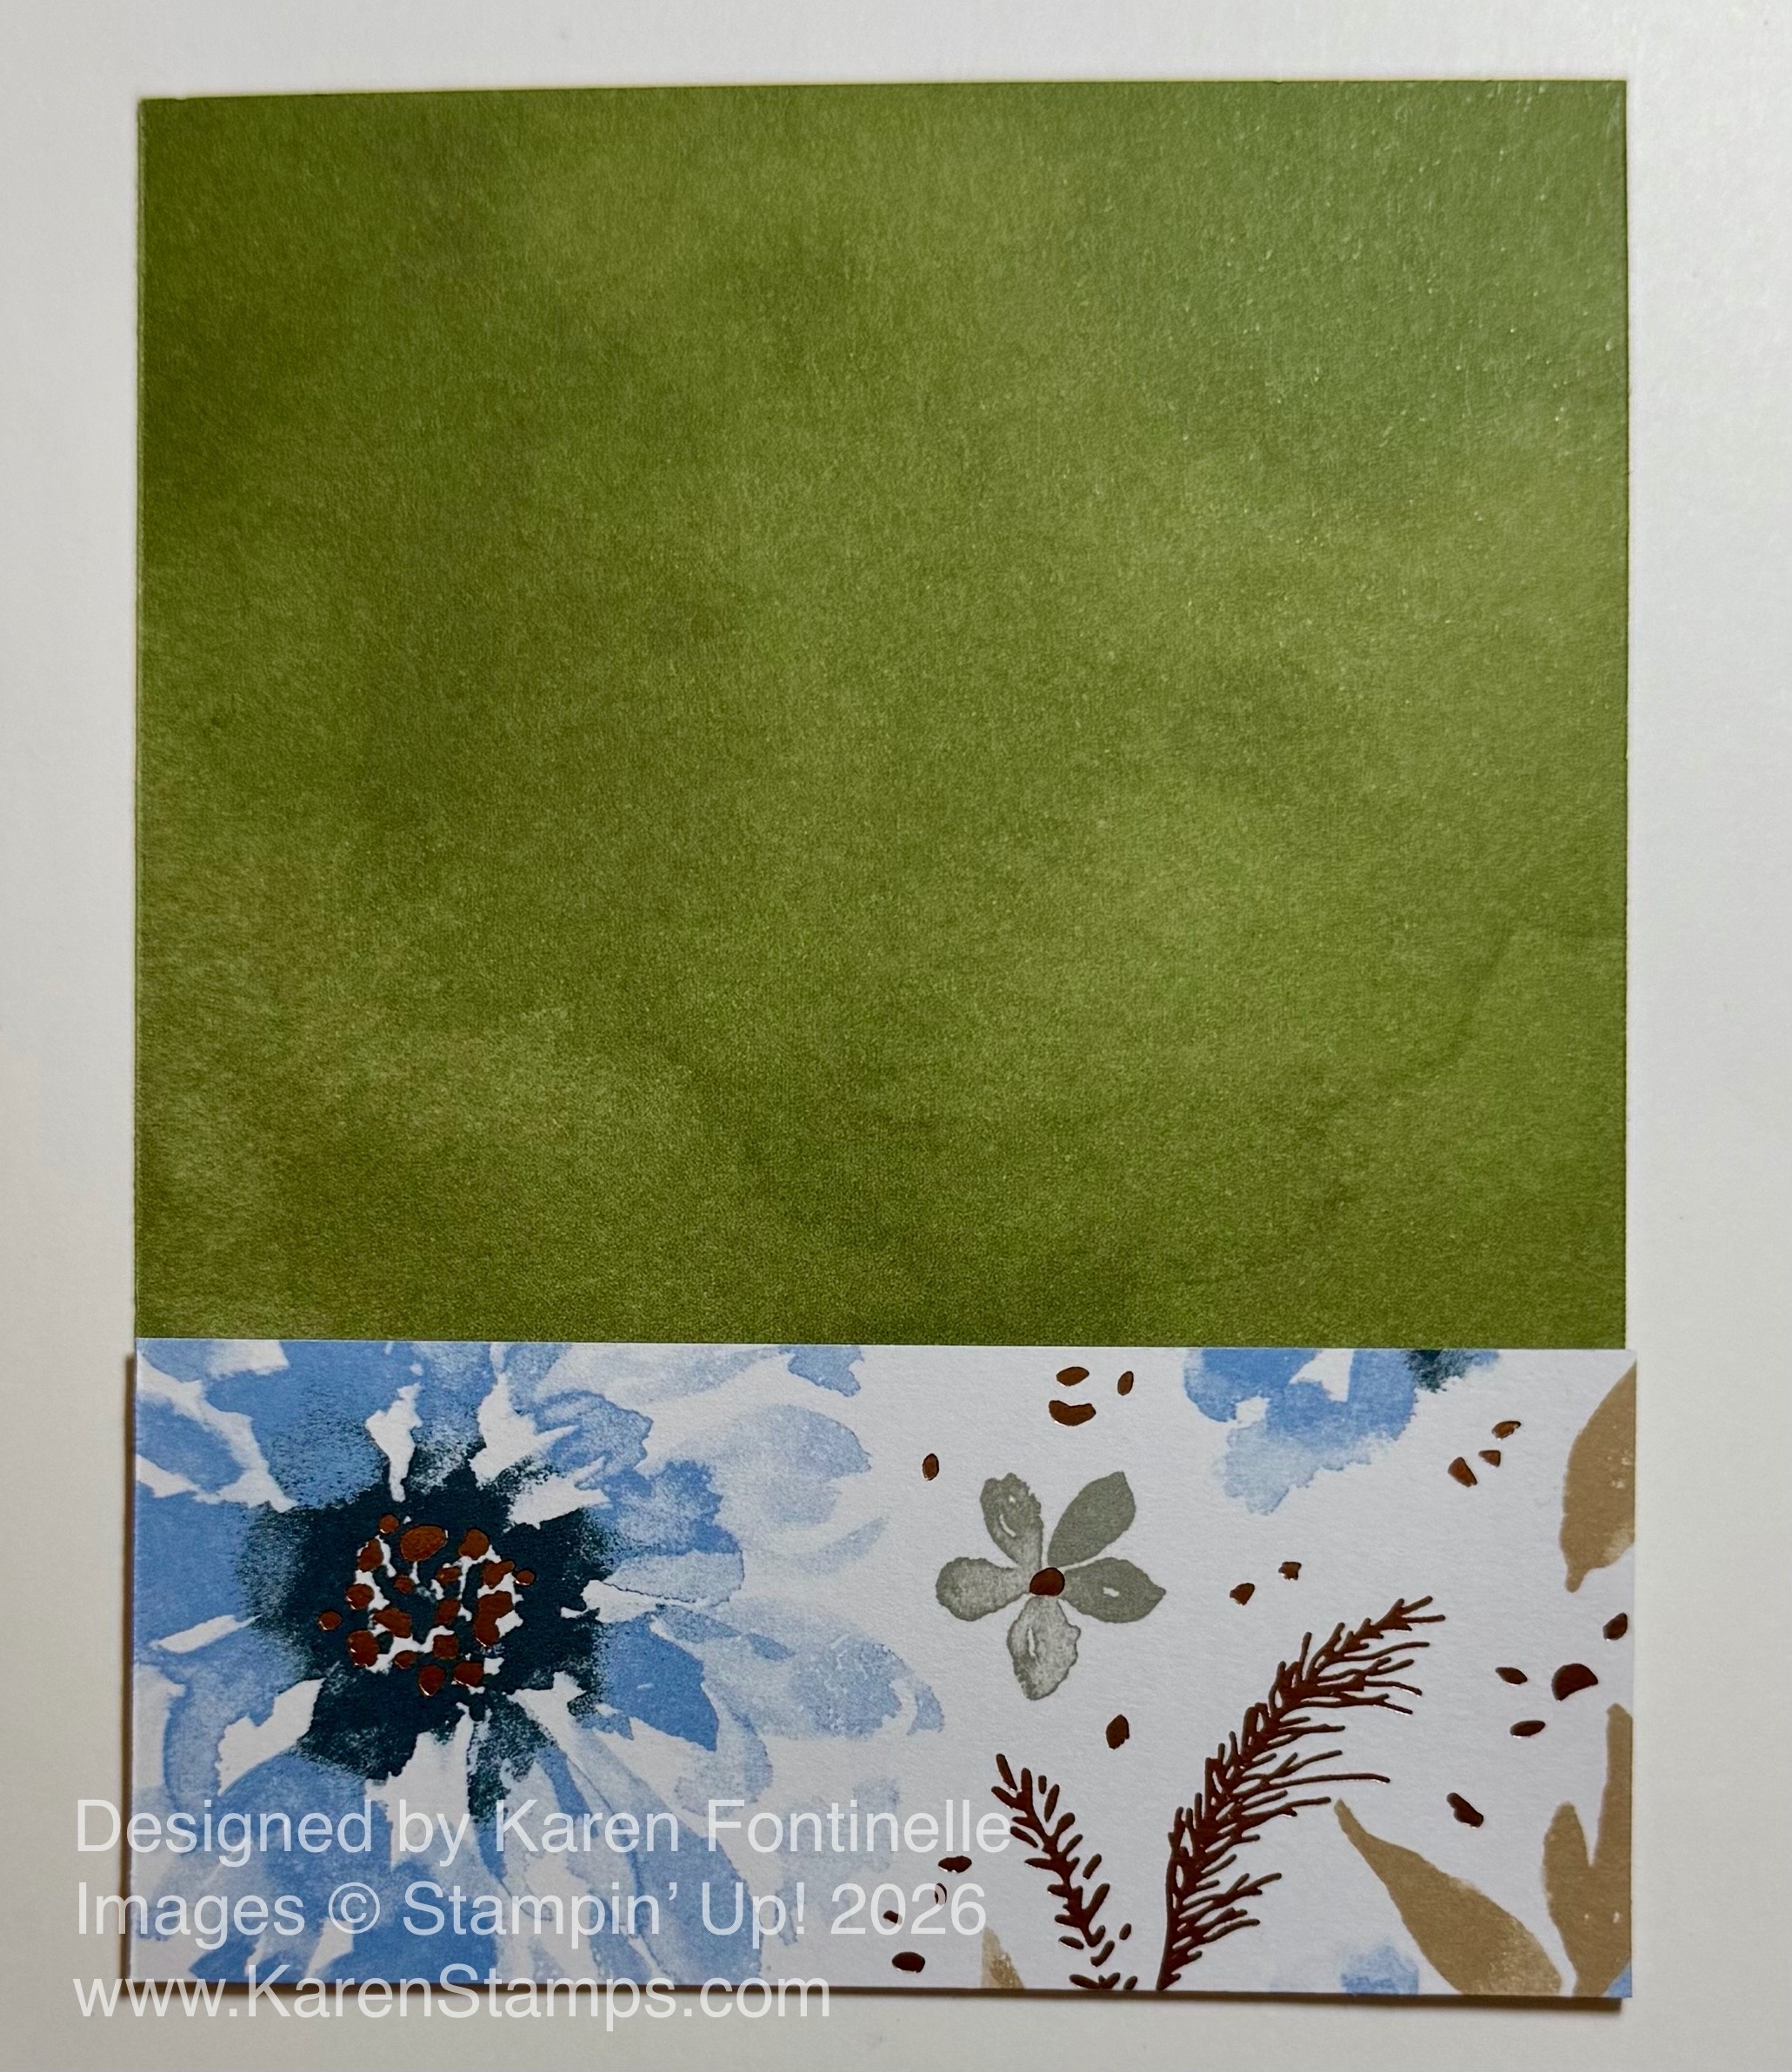
The greeting, in the Lovely Arrangements Stamp Set, is stamped with Secret Sea ink on a narrow scrap of Basic White cardstock with the ends angled to go along the seam underneath where the two papers meet up or overlap. You don’t have to try to cut the correct angle; just let the ends of the greeting extend beyond the card, then trim them off.
That’s all there is to this card. The beautiful paper does most of the work for you! You’ll find this paper and the entire Delicate Dreams Suite Collection in the Online Exclusives.