Tag Archives: Delicate Dreams Designer Series Paper

Delicate Dreams Angled Sending Smiles Card

Delicate Dreams Angled Sending Smiles Card

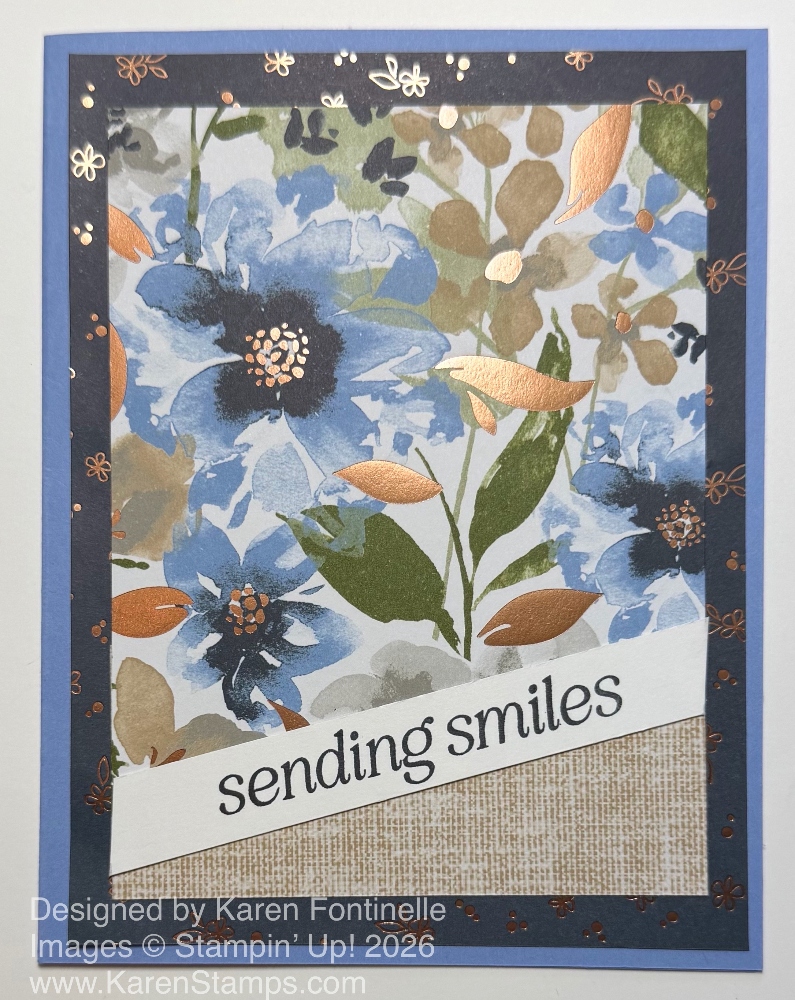
I made this card, Delicate Dreams Angled Sending Smiles Card, a while back and I don’t think I ever posted it. But I think this Delicate Dreams Specialty Designer Series Paper is just beautiful! I saw a sample of a card like this with the angled bottom and thought “Oh, this will be easy to make!” but it didn’t go the way I thought it would. However, I made an easier version that I think will work for you.

The card base is the new Hydrangea Hue In Color. I think this paper was the one that gave away the new In Color before we knew what they were all going to be. I added a background layer of designer paper to the card base, this one with a Secret Sea background with bronze floral images.

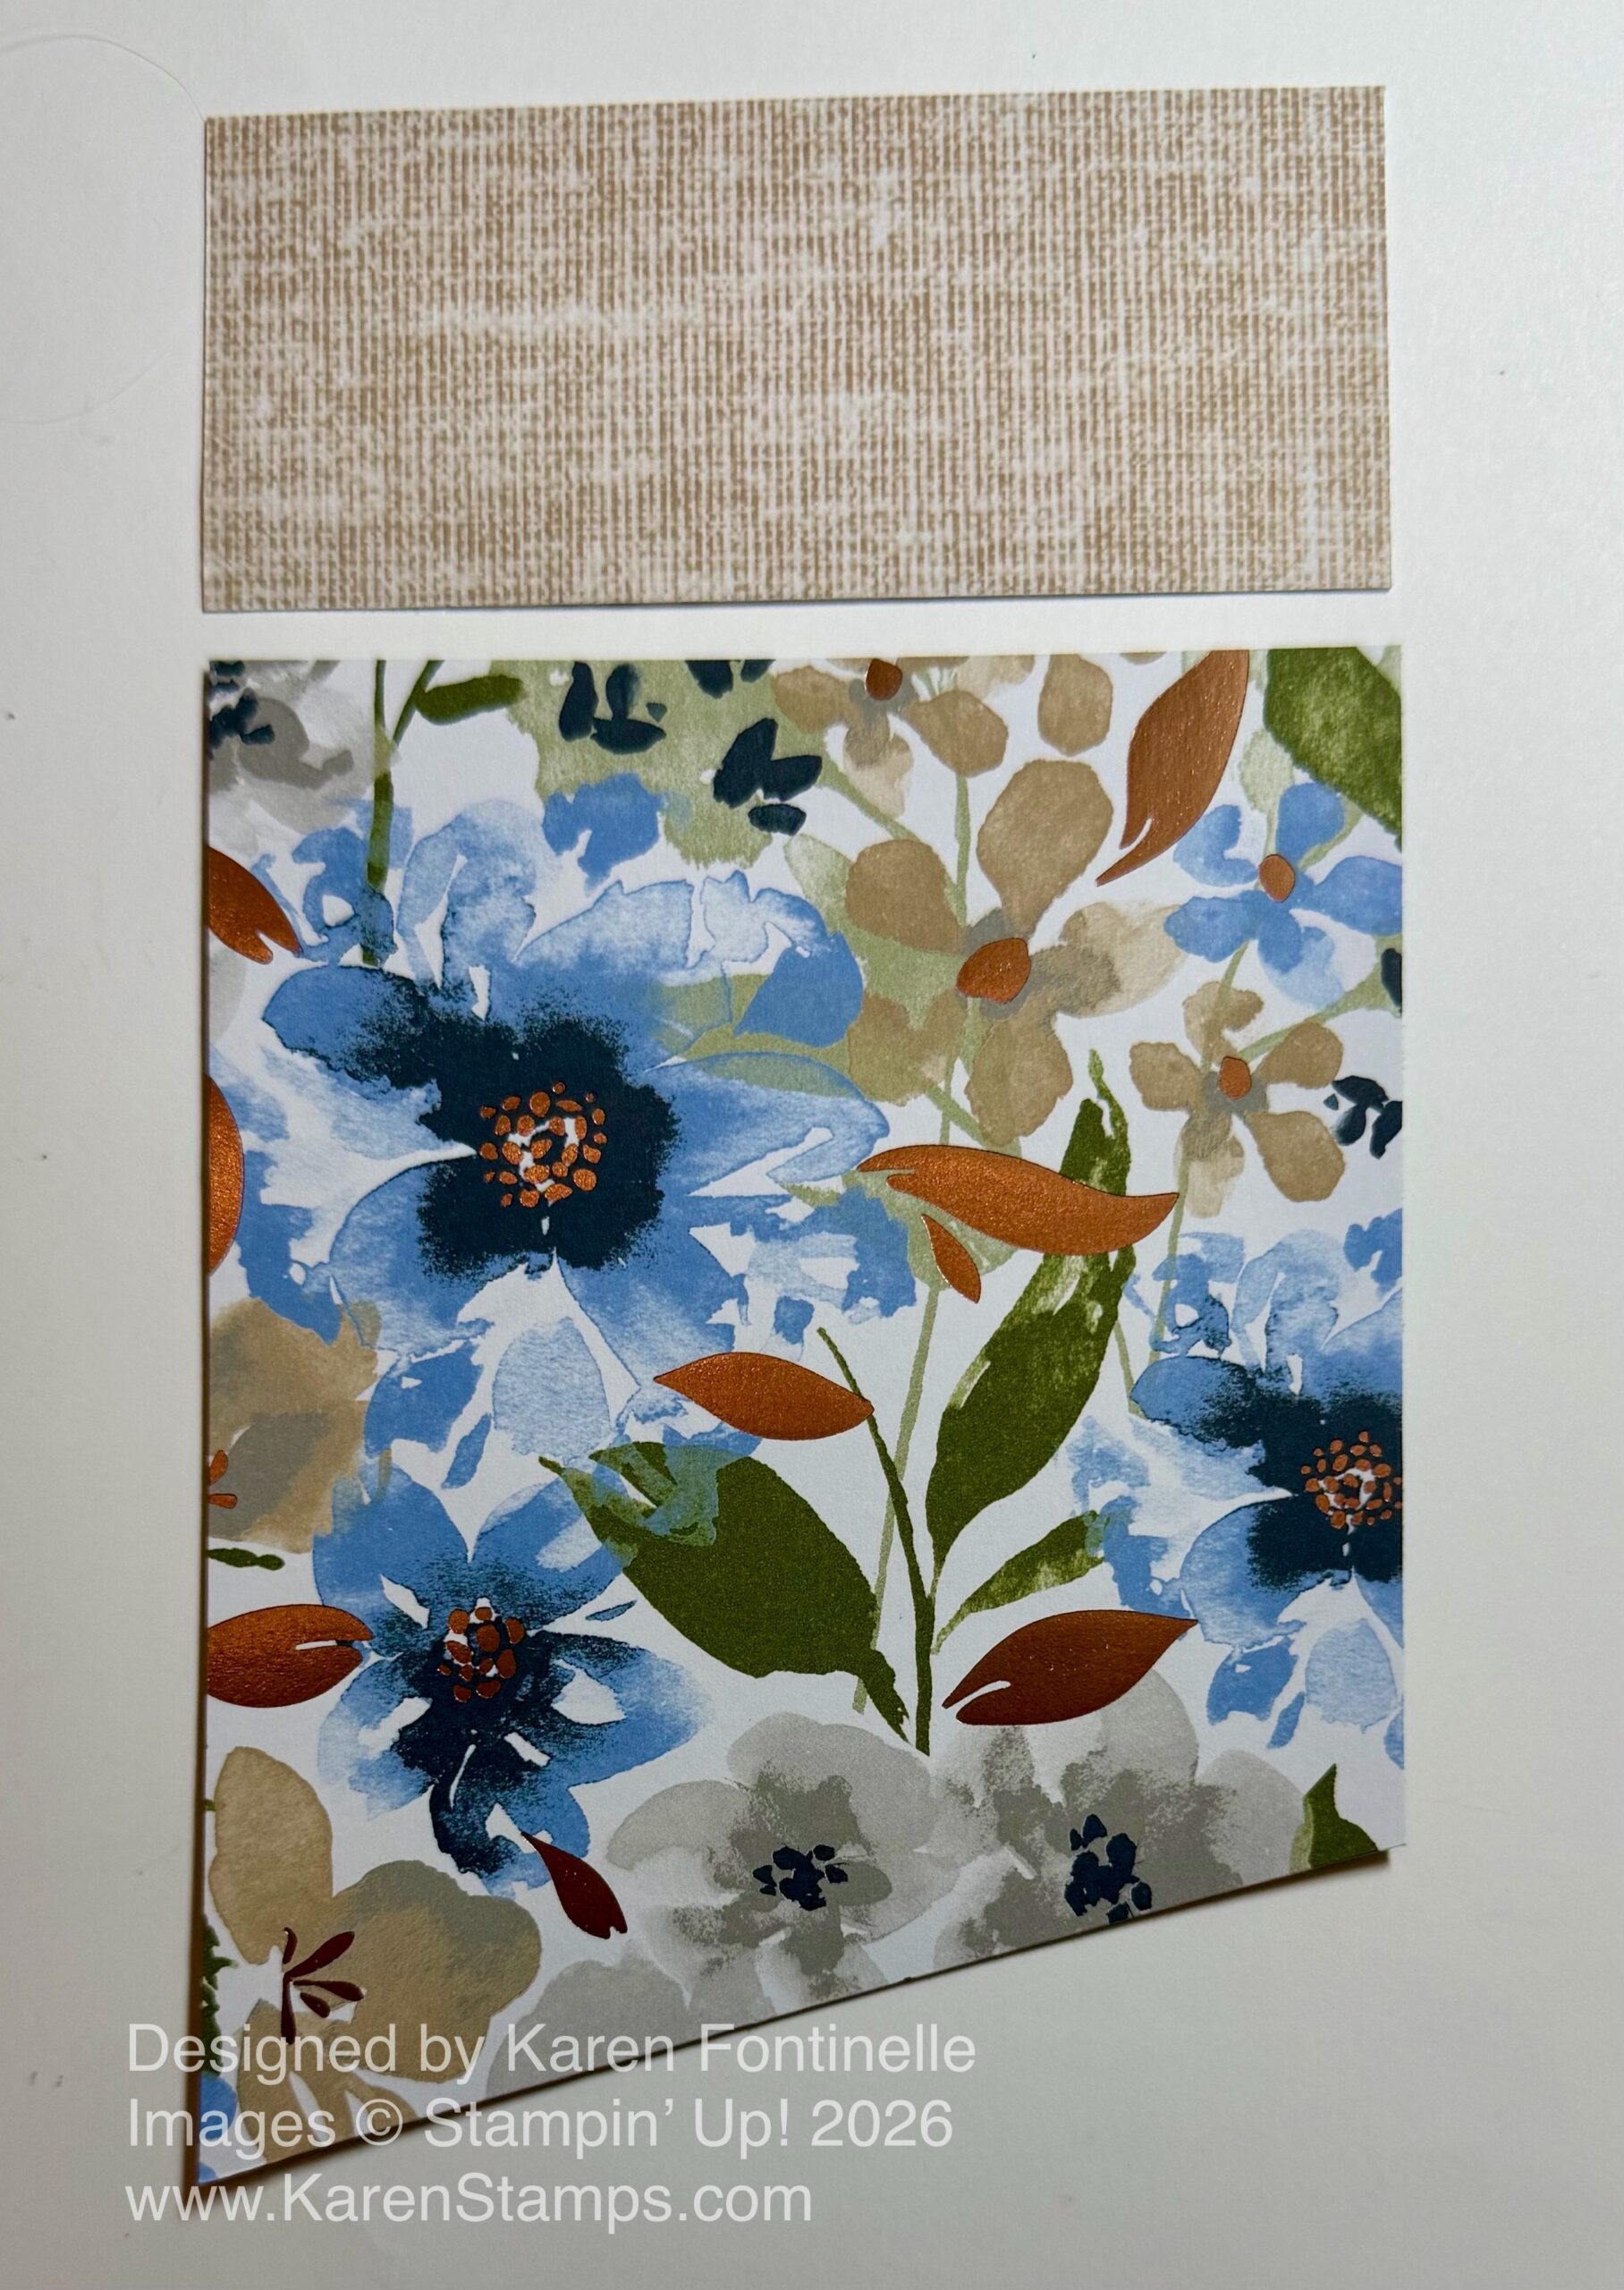
For the focal point of the card, I cut a piece of the blueish floral patterned paper at 3 1/2″ x 4 1/2″. I used the Paper Trimmer to cut a portion off the bottom of that floral paper. You can really cut it at any measurement you want. In my mind, all I had to do was turn the paper I cut off over to the other side and adhere it right underneath the top angled piece. But that didn’t work out. I don’t know why I had such a difficult time with the geometry of this card, but I couldn’t get it to work how I wanted it to, so I came up with another way.

Instead of trying to cut the paper at the correct angle, I just cut the floral paper how I wanted it and then placed a regular size piece of the opposite side of that paper underneath the angle. The textured-look paper is cut at 3 1/2″ x 1 1/2″ and is just adhered underneath the angled floral paper.
Delicate Dreams Angled Card Pieces

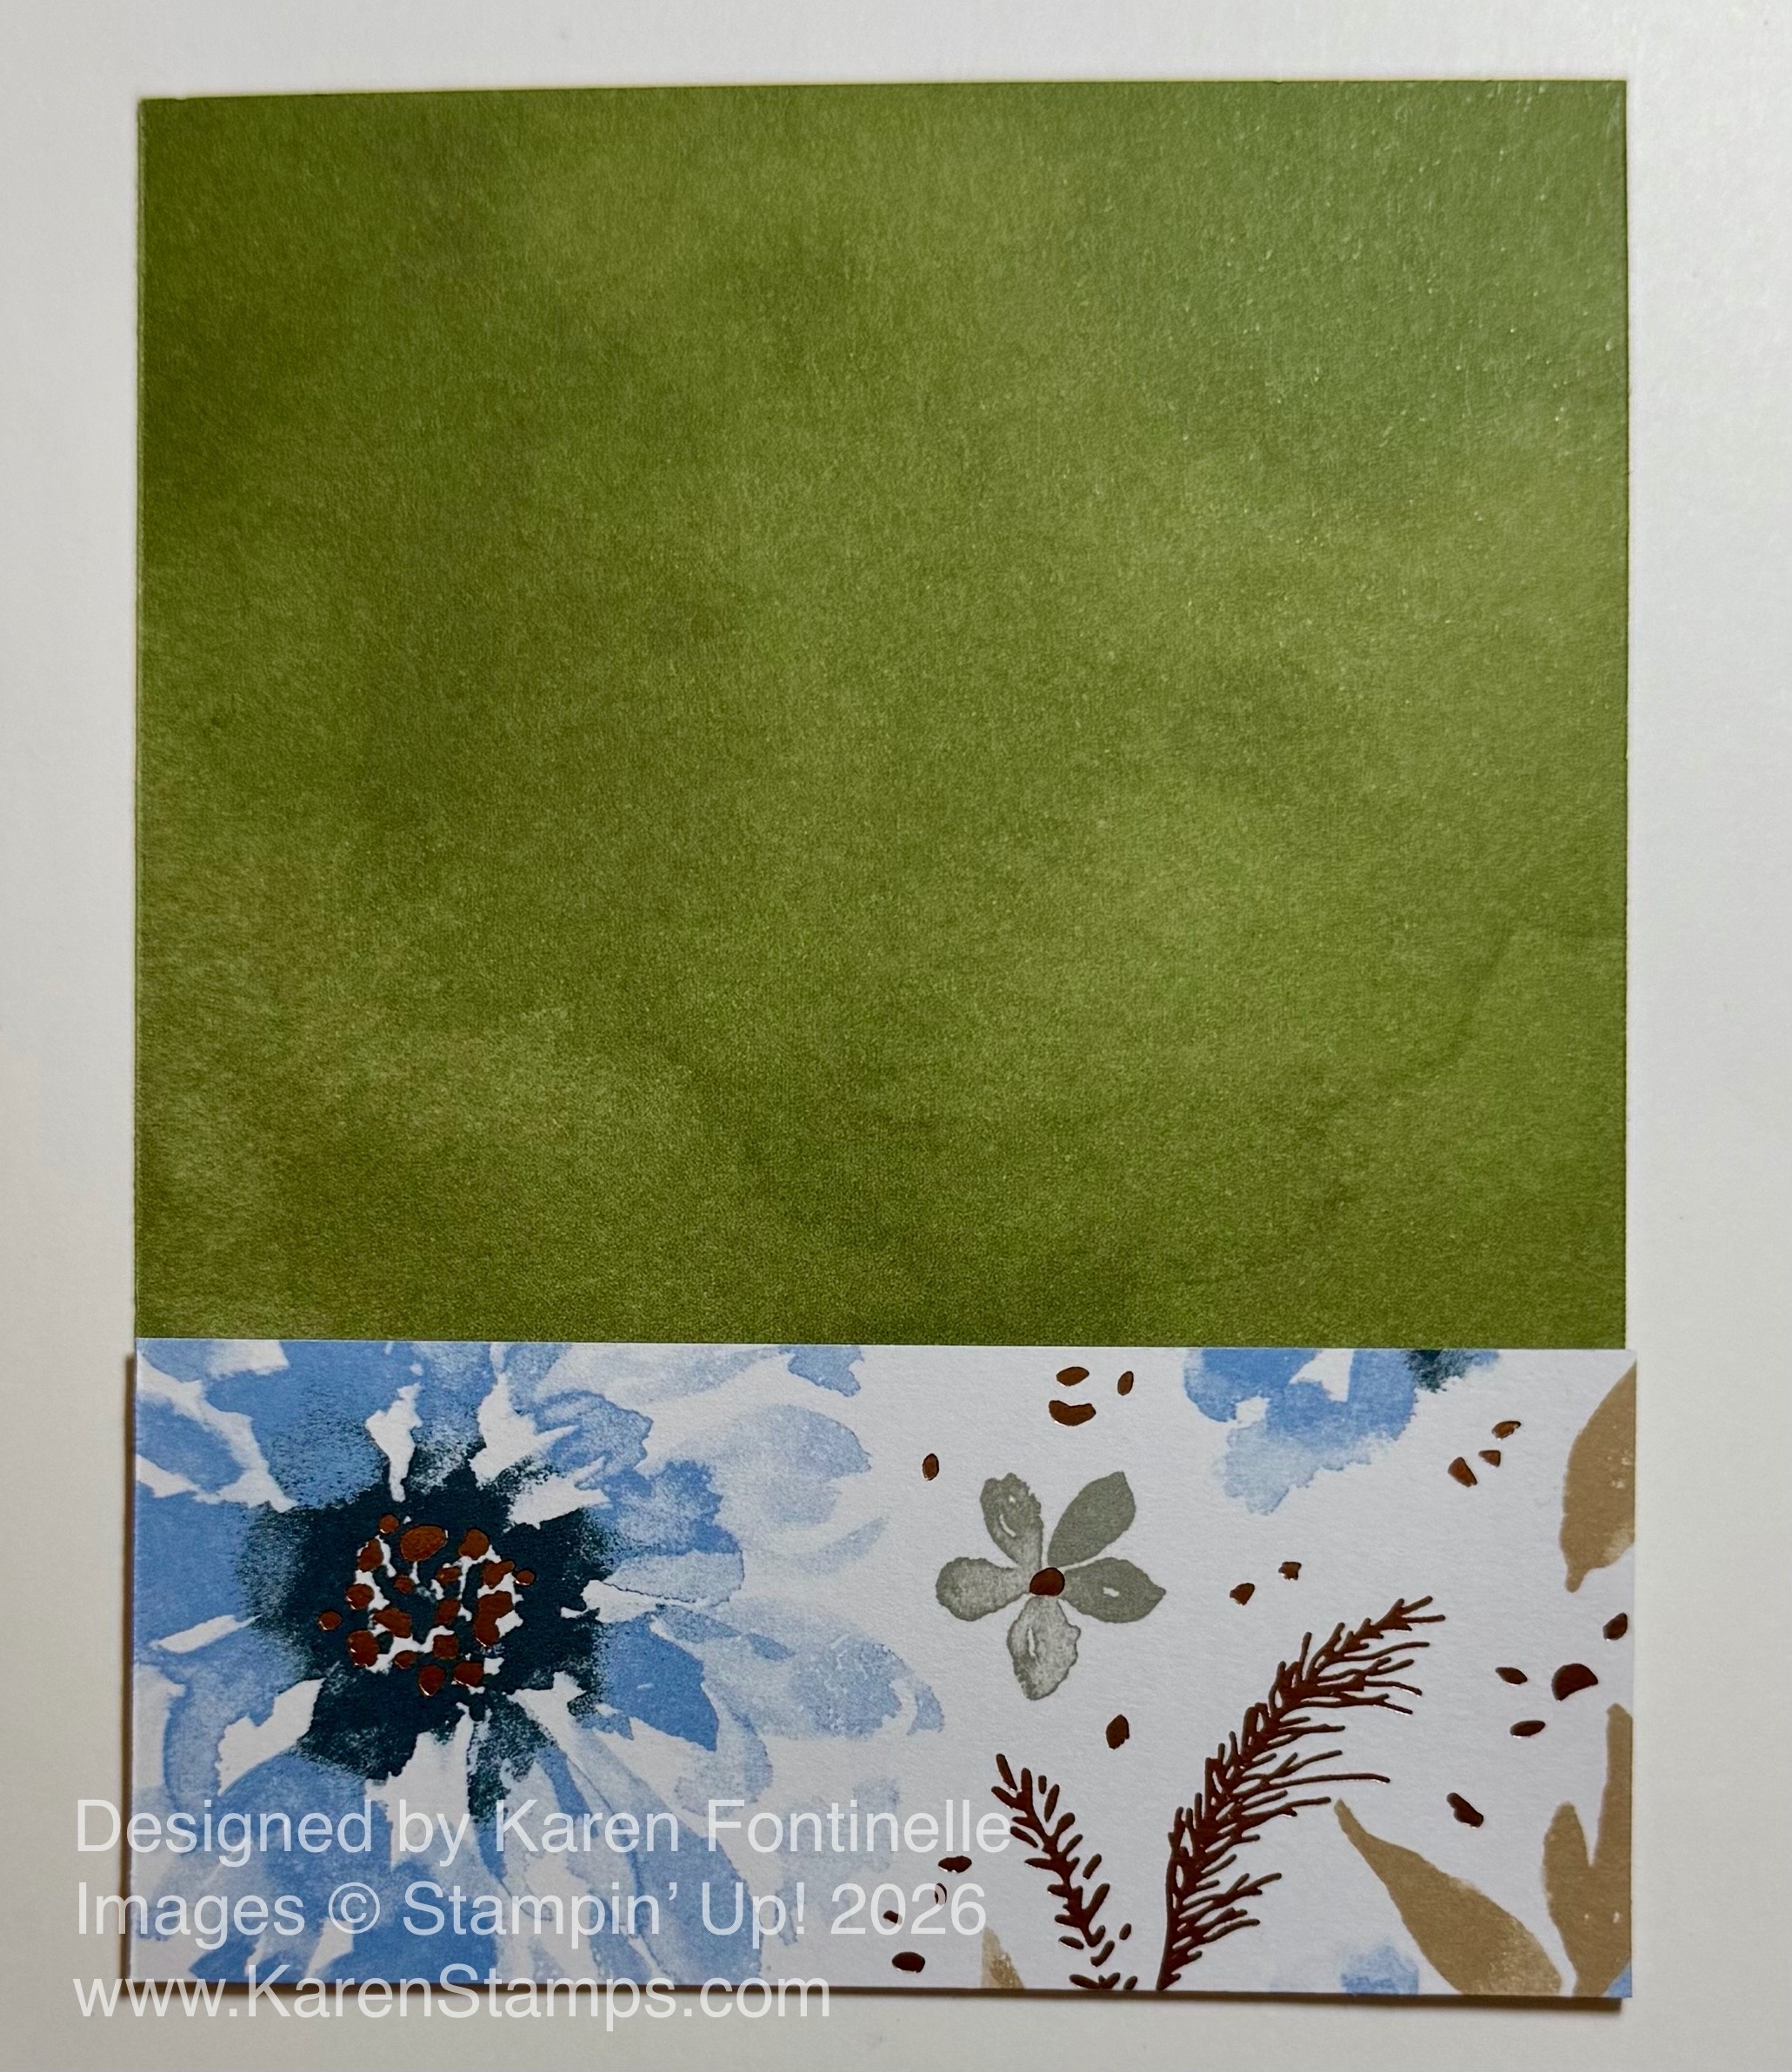
Here is what the two papers look like together on the backside. One is just a rectangle and the top part is the angled piece.
Delicate Dreams Angled Card Assembly

The greeting, in the Lovely Arrangements Stamp Set, is stamped with Secret Sea ink on a narrow scrap of Basic White cardstock with the ends angled to go along the seam underneath where the two papers meet up or overlap. You don’t have to try to cut the correct angle; just let the ends of the greeting extend beyond the card, then trim them off.

That’s all there is to this card. The beautiful paper does most of the work for you! You’ll find this paper and the entire Delicate Dreams Suite Collection in the Online Exclusives.
SHOP STAMPIN’ UP! ONLINE HERE!

Delicate Dreams Thank You Card

Delicate Dreams Thank You Card

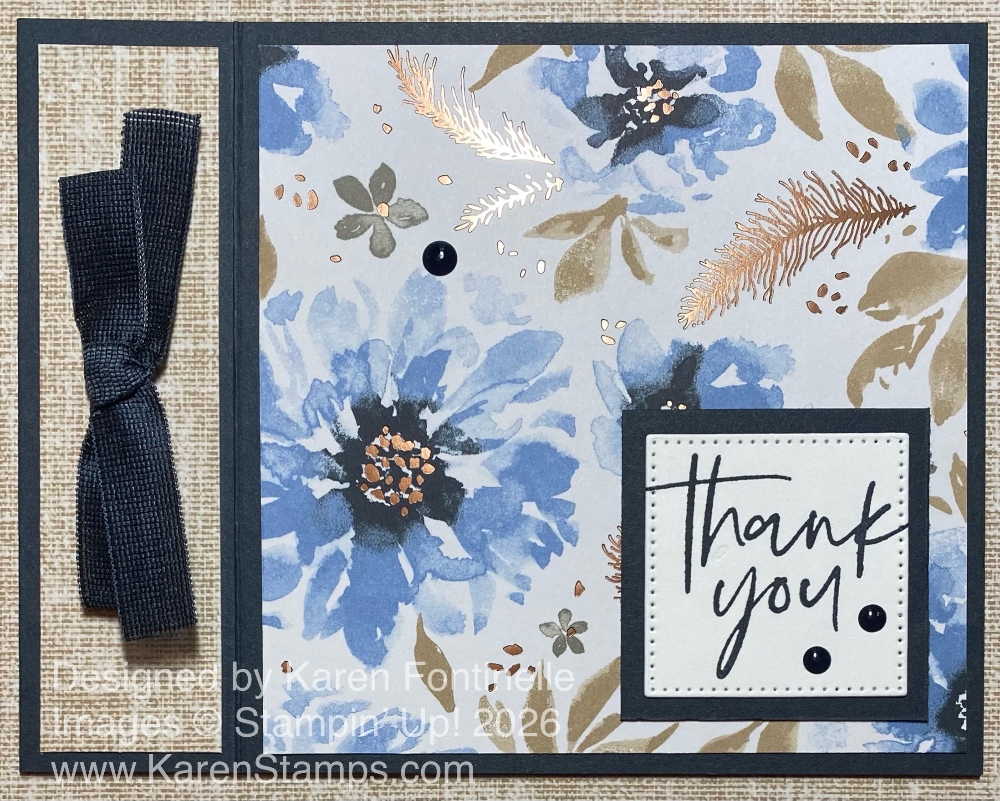
We have new Online Exclusives for March 2026 coming tomorrow, March 3, at Stampin’ Up! One of them is the Delicate Dreams Suite. This Delicate Dreams Thank You Card was made with the Delicate Dreams Specialty Designer Series Paper in the Suite. If you are a fan of blues, you will want this paper at least, with beautiful blue and Crumb Cake florals and foliage plus bronze foil accents on the papers. It is more beautiful in person than you can see in any photos.

I had the Book Fold card design on my mind when I looked at this paper and thought about what I wanted to make. As with most of our papers, it’s difficult to decide which pretty paper to use! For this design, I was able to show off both sides of one sheet of paper! One side has the large blue flowers, beige or Crumb Cake leaves, and the bronze foil foliage accents and flower centers, and the other side is the Crumb Cake linen-look pattern.

To make a book fold card, cut the full sheet of cardstock vertically at 4 1/4″, half the sheet. Then score horizontally at 5 1/2″ as you would for a normal card and also at 4 1/4″. This makes the extra fold line, which makes the card front open like a book, hence the name “book fold”.

Inside the card, if you want a white layer for stamping or writing a personal message, you can either cut a piece of Basic White (or whatever color you want) at 4″ x 4″ or 4″ x 5 1/4″ which will tuck under the book fold. Either way is fine.

On the front of the card, I adhered a 1″ x 4″ strip of the linen pattern on the book fold. The blue floral piece is 4″ x 4″. I could have run the ribbon around inside the book fold part, but to make it easy, I simply adhered a bow. This is the Secret Sea 3/8″ Faux Linen Ribbon in the Annual Catalog. I haven’t really used any Secret Sea products very much but this paper will get me using them in pretty ways.

For the greeting, I stamped “thank you” from the Fabulous Sayings Stamp Set. This was the Product of the Month for January and I think it is no longer available. It is stamped in Secret Sea ink and cut out with one of the Stylish Shapes Dies. For the layer, I wanted something small not to take up much room on the card, so I simply cut my own layer at 1 3/4″ x 1 3/4″ of Secret Sea cardstock. I added the Secret Sea dots from the Moody Palette Glossy Dots for little accents. There are Natural Matte Dots in the Suite that match perfectly if you would like to order those separately.

Here is the package of the Delicate Dreams Specialty Designer Series Paper.

Delicate Dreams Designer Paper March 2026

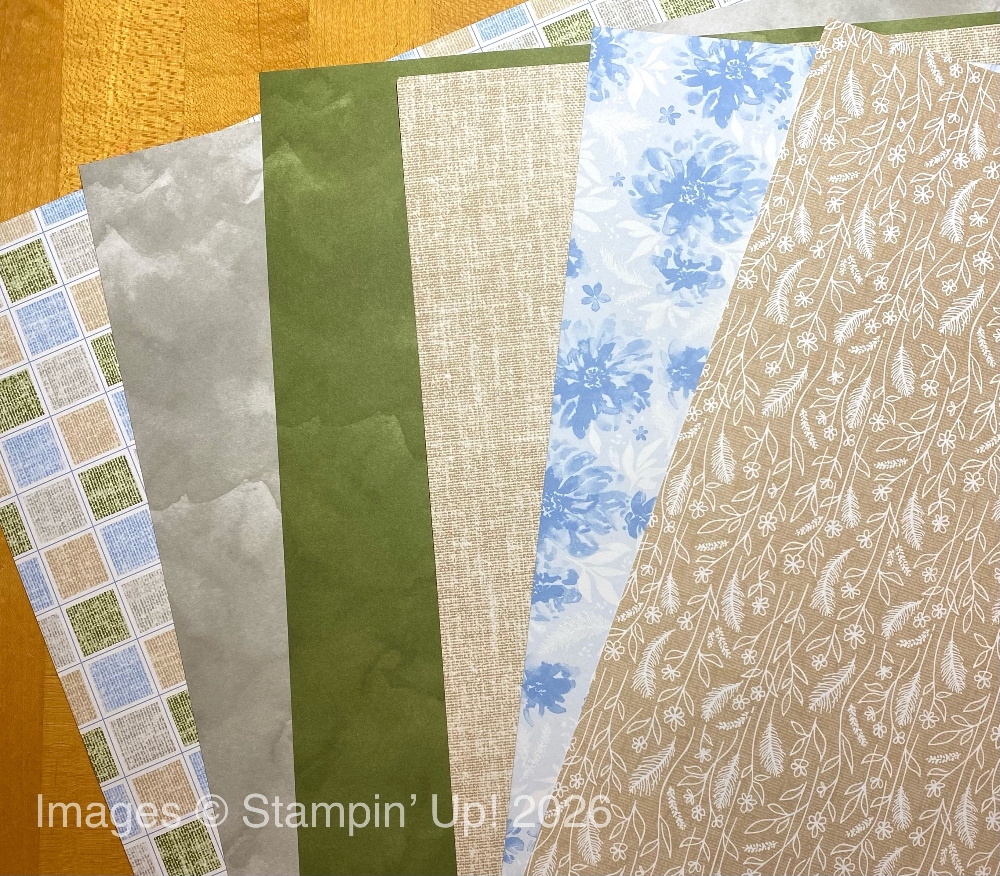
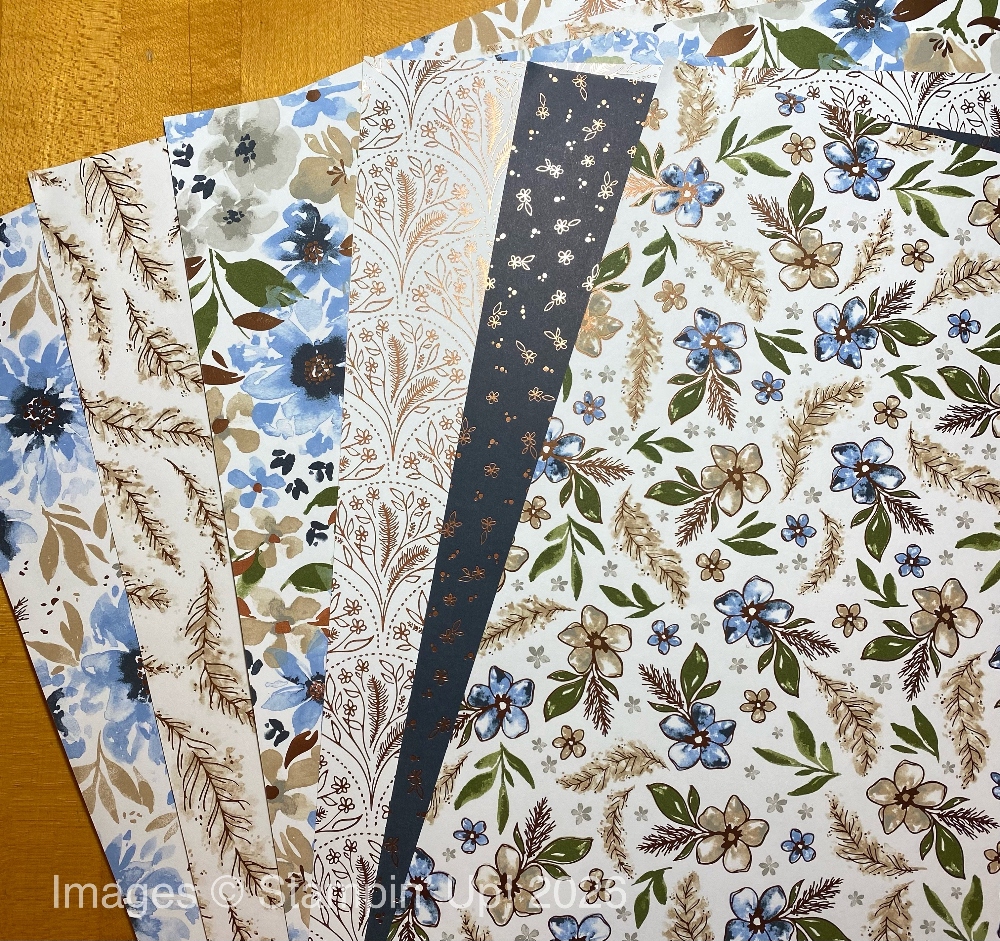
And here is “the other side” of the papers! One thing to especially notice is that the sheet of light blue flowers is a sneak peek of one of the new In Colors, Hydrangea Hue! You can look forward to seeing this as one of the upcoming In Colors in May with the new catalog!

Delicate Dreams DSP other side

In the Delicate Dreams Suite is another package of designer series papers, Delicate Designs. All of these papers have the bronze foil designs, but only on one side. Very pretty!

Be sure to look for all the new Online Exclusives available tomorrow at Stampin’ Up!

SHOP STAMPIN’ UP! HERE!