Category Archives: Cards

Mouthwatering Popsicle First Day of Summer Card

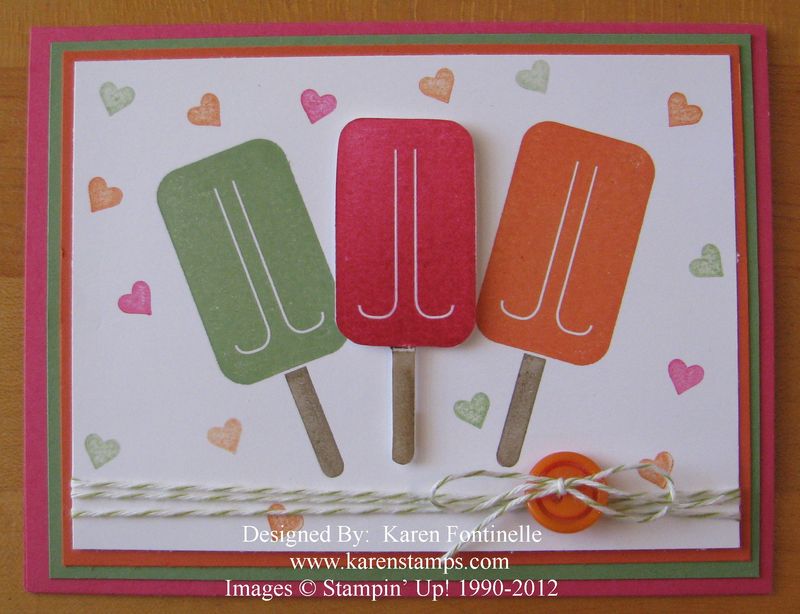
Today, June 20th, is the first day of summer….at least it will be by 7:09 PM (EDT). What better way to celebrate the first day of summer than with mouthwatering popsicles!  In this case, the popsicles are stamped with the cute Mouthwatering stamp set!
Mouthwatering Popsicle First Day of Summer Card

If we had "smell-o-vision", maybe you could smell the Cherry Scented Stampin' Emboss Powder #127035 embossed into the center popsicle! Yum! Stampin' Up! says the scent should last up to 2 weeks.

After tying on the Lucky Limeade Baker's Twine #125572 with a Pumpkin Pie Brights Designer Button #119747, the card still needed something.  I chose the little heart stamp in the new Make a Cake stamp set, using the same ink colors I used for the popsicles, but "stamping off" first for a lighter shade. I think it made the card look fun and cute! The popsicle colors are Wild Wasabi, Melon Mambo, and Tangerine Tango.

Why not make a bright and fun card today to celebrate the first day of summer?!

It's a rainy, cooler day in Houston, TX today so not our typical hot, hot, hot summer day….but I'll take it….because tomorrow the summertime heat could return!
Make an Easy Father’s Day Card!

Easy Father's Day Card 2012

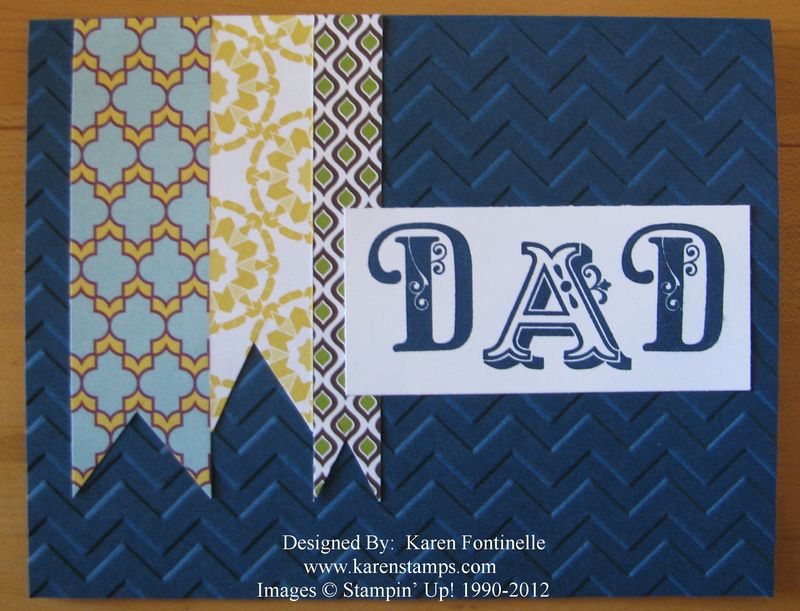
This easy Father's Day card will take just minutes to make! To add some texture to the background, I used the new Chevron Embossing Folder #127749…of course you could use most any folder you have…or none at all. Then I just cut strips of designer paper into little banners to decorate the front.  This paper is the beautiful new International Bazaar Designer Series Paper #126920, but you could use any that you have on hand. The "DAD" is stamped with the Broadsheet Alphabet (p. 144). I kept it super simple and didn't even use layers!  The card base and ink color is one of the new In Colors, Midnight Muse.

Stampin' Up! products make coordination easy and simple. Now get busy and make an easy card for the father in your life today! 

Happy Father's Day to all the dads!

Handmade Father’s Day Card Idea

Handmade Father's Dad Card Idea


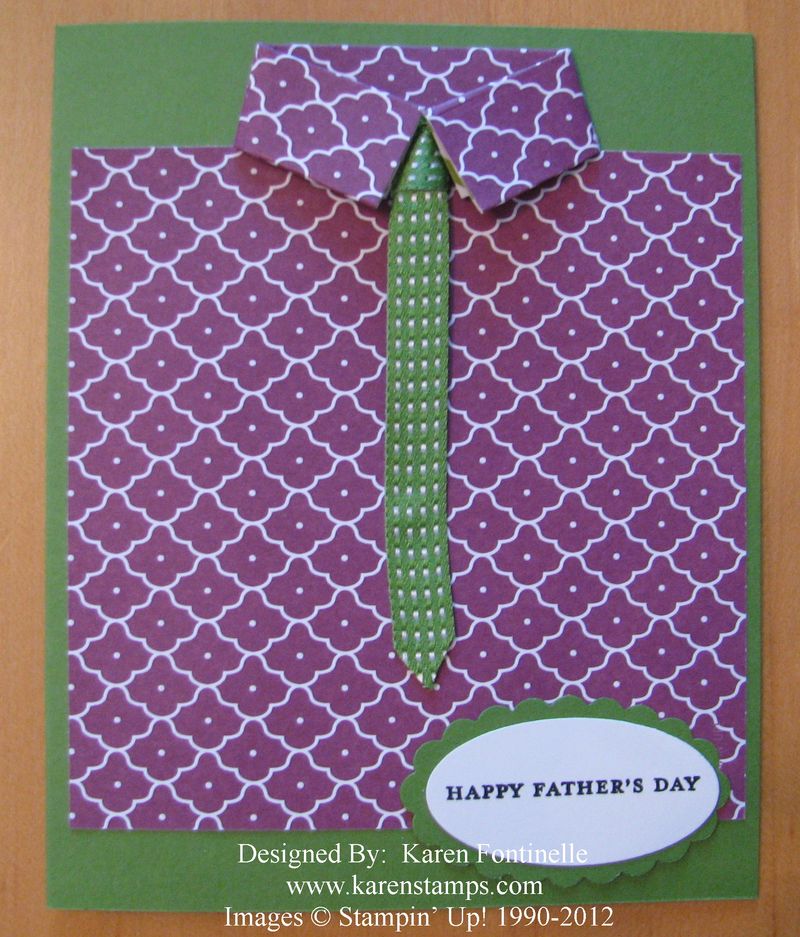
There are a lot of these Father's Day card ideas out there with the shirt and tie.  Usually the tie, and sometimes the shirt, is an origami technique, but I wanted something easier for a handmade Father's Day card idea.

For the shirt, I started with a piece of designer paper (this one is Summer Smooches #125409 from Stampin' Up! cut 4" x 5 7/8". At the top score at 5/8" and again at 1 1/4"….that is, if you want the collar to match the shirt (so that your designer paper is folded over twice). Otherwise, just score at 5/8" if you want the other side of the paper to show for the collar.  Either is great!  Where you want the collar to fold in, cut in at the sides one inch. That gives you the collar separated from the shirt so you can fold that much in toward the center.  Find the center of your paper (2") and fold those top tips to that mark making the collar. Use Stampin' Dimensionals #104430 under the collar edges to hold it down.  

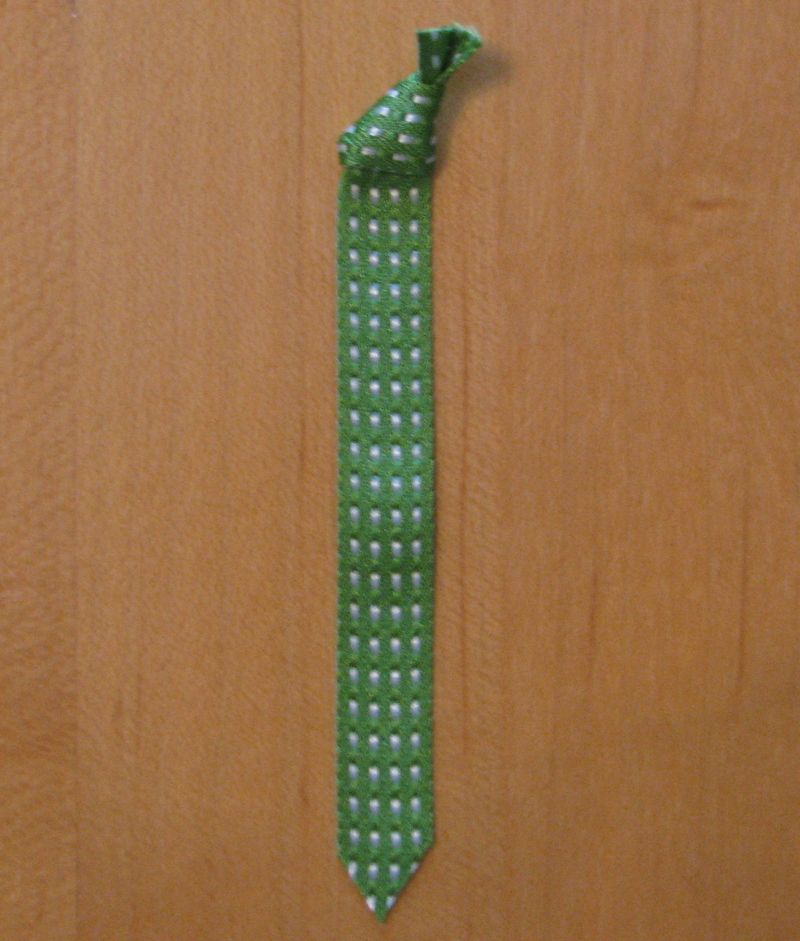
Before glueing down the collar, make the necktie.  I just used a piece of the new 3/8" Stitched Satin Ribbon in Gumball Green #126848 (p. 172), tied a little knot at the top and snipped off the bottom to make a point.  Then I stuck it down with a Mini Glue Dot at the top and one lower down.  You could also use a little mini brad for a "tie tac". After you have the tie in place you can stick down the collar edges.

Here is what the necktie looks like:

Ribbon Neck Tie

Adhere the Father's Day shirt to a card base and add a greeting and you are done!  So cute and relatively easy!

Lovely As a Tree Father’s Day Card

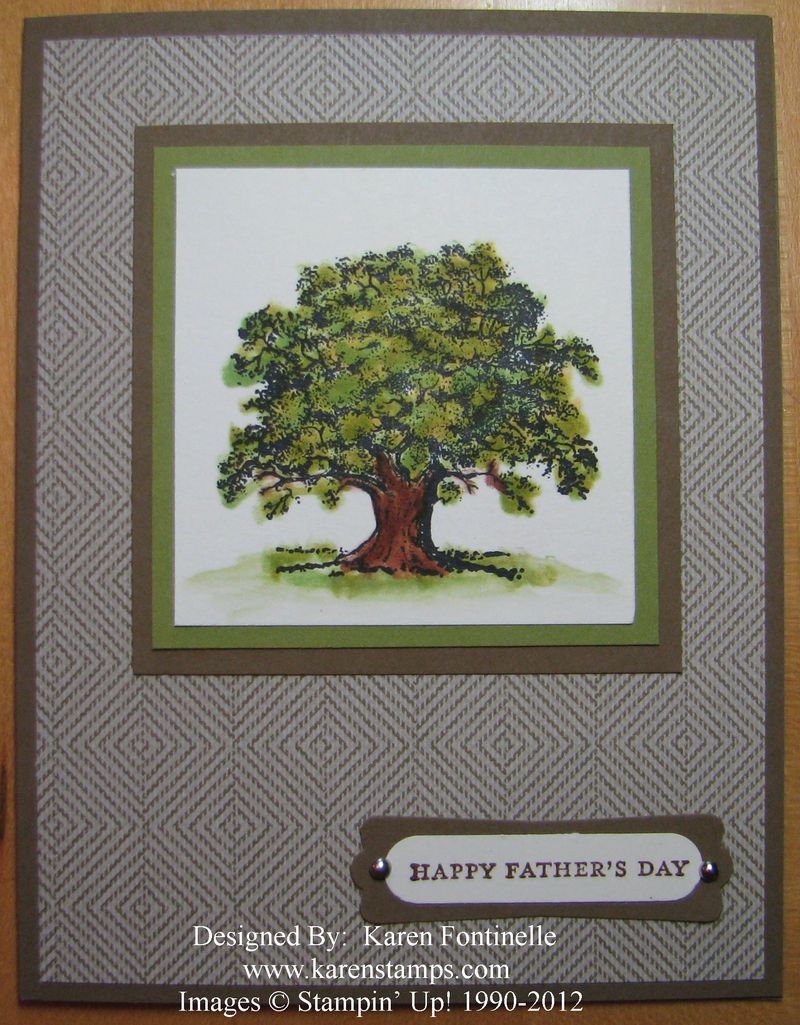
Father's Day is sneaking up on us!  It's Sunday, June 17th….this Sunday!!  As you have heard time and time again, this stamp set, Lovely As a Tree  (p. 84) (now available in clear-mount!) is so versatile and well-loved….and perfectly suited for those difficult masculine/manly cards for any occasion.

Lovely As a Tree Father's Day Card

I think the simplicity of this card will suit a father or any man in your life. You can use any background paper, layer the tree and add a greeting for whichever occasion.  Teeny Tiny Wishes is perfect for most occasions!

Just stamp the tree in Black Stazon ink and color in however you like.  I used a Blender Pen and various inks straight from the ink pad.  I started with a little yellow (the new Summer Starfruit) because someone used to always say use a little yellow with any green. Then I colored in with the new Gumball Green and Old Olive.  And there is nothing "artistic" about coloring in the greenery on the tree….just scribble on some color…really! It will look fine! The tree trunk is Soft Suede to match the card base and layers.  The designer paper background layer is the new Comfort Cafe #126898.  If you don't have the new papers yet, I'm sure you will be able to find something suitable in your stash. Well Worn from last year would be great…and don't overlook the subtle patterns on the back of the more dramatic sides of any designer paper.

To order Lovely As a Tree in either wood-mount or clear-mount or any other stamping supplies, please go to my Stampin' Up! Online Store HERE. Or contact me if you prefer and I'll put in your order for you!

Get started on your Father's Day cards right now if they need to be mailed..and check back this week for more Father's Day papercrafting ideas.

Cascade Mixed Bunch Birthday Card

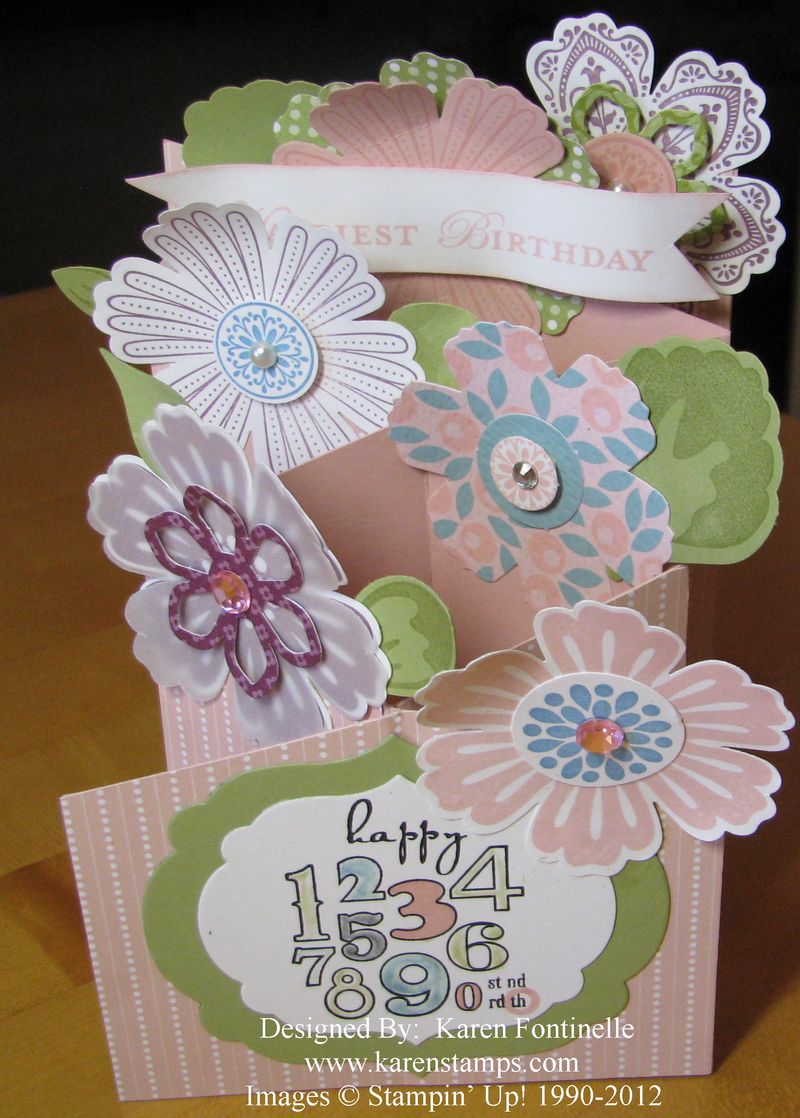
Cascade Mixed Bunch Birthday Card Standing


Maybe this will be my last Cascade Card for awhile…especially with the stamp set Mixed Bunch and the matching Blossom Punch #125603 ….but then it makes such a great card, you never know!  When you are making a special card for someone, it's fun to go as over the top as you want.  I added some bling with Basic Pearls and Rhinestones plus the pink rhinestones that came in the (now retired) package of Blossom Builders die cuts.  I punched the leaves with the Blossom Petals Builder Punch #121808. The greeting on the front is from the stamp set Bring on the Cake. The banner in the background (that you can hardly see) is "Happiest Birthday" (and I can't remember the stamp set it is from!!).

Try a Cascade Card this weekend!

If you want to place an order, just go to my Online Store HERE!

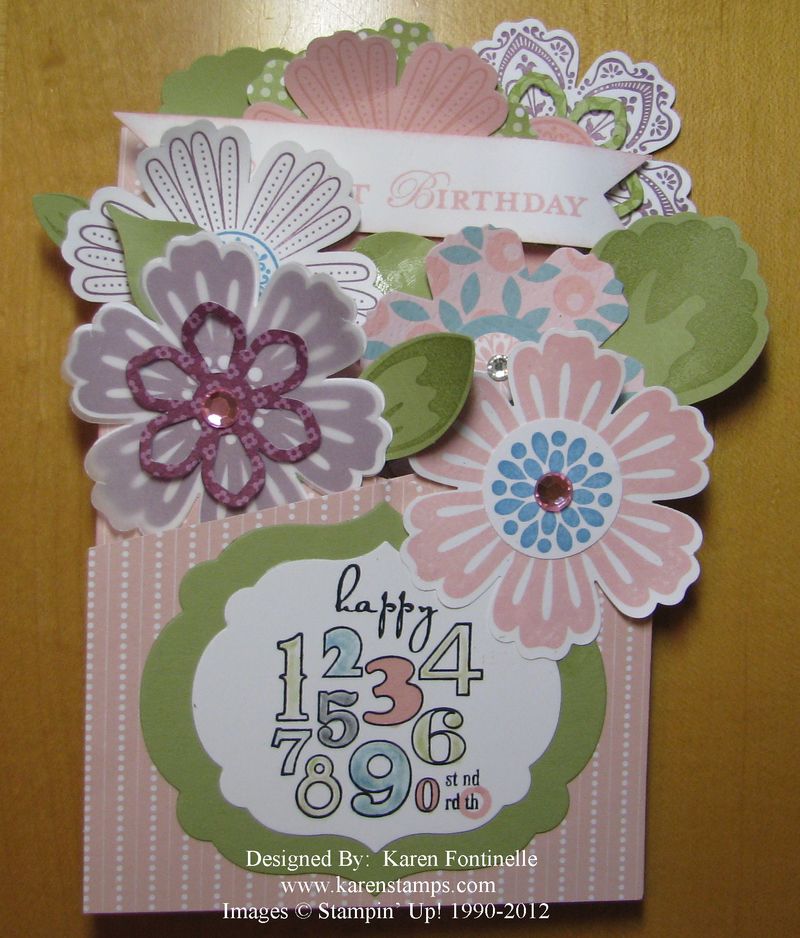
Here is the card folded flat for mailing.  I did use a larger envelope that I just had in my stash. Of course now you can make your own envelopes with the Simply Scored Scoring Tool #122334 and Simply Scored Diagonal Plate #125586.

Cascade Mixed Bunch Birthday Card

Layered Labels Create Card

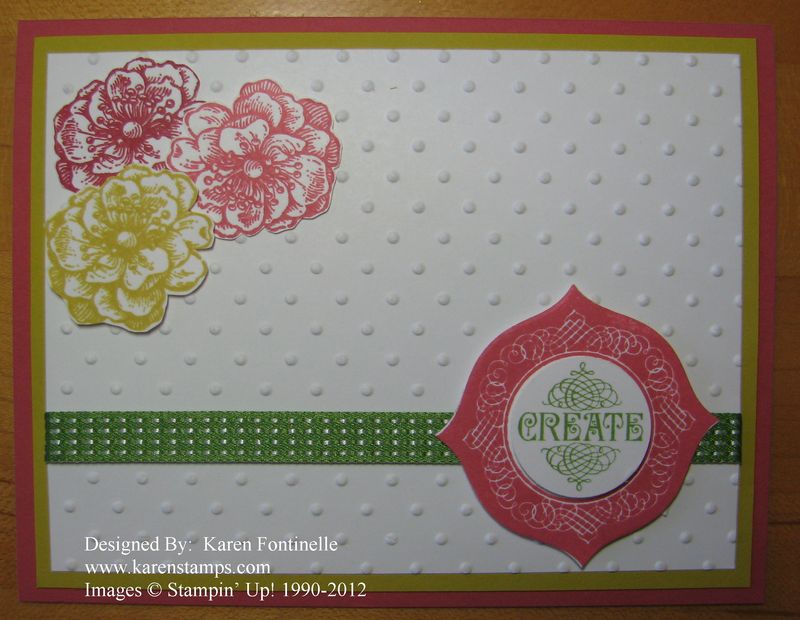
Flowers and Create Card

Still playing with the new In Colors! The card base is Primrose Petals and the layer is Summer Starfruit.  Then Whisper White is embossed with the Polka Dot folder for a little interest.  The ribbon is the new 3/8" Stitched Satin Ribbon in Gumball Green #126848.  (p. 172)  Really cute!

I used two stamp sets:  Layered Labels (p.103) for the "Create" at the bottom, cut out with the Apothecary Accents Framelits Die (p.191) (#127003).  I stamped it again in Gumball Green so I could use the 1" Circle Punch for the word "Create" and popped it up with a Dimensional. The flowers are from Everything Eleanor (p. 112), a free stamp set we got at Stampin' Up! Leadership!  It's been a long wait until we could use it! But it is a beautiful stamp set with a little bit of lots of stuff….a label, a flourish, flowers, a little bird and a lovely circle design….well, you have to look at it yourself HERE.  The flowers I stamped in different colors and cut out by hand….it wasn't too bad!  Paper Snips #103579 make all the difference if you are cutting little things.

You could put some other greeting on this card and have something for almost any occasion!

Betsy’s Blossoms 3×3 Note Cards

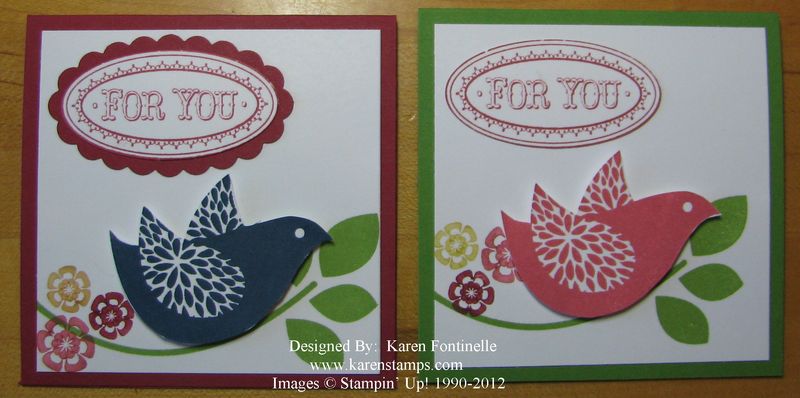
Betsy's Blossoms and Labels

Which card do you like better?  I couldn't decide so I made each one different….perhaps each label goes better with the color of the bird!  The bird, flowers and stem are stamped with Betsy's Blossoms (p. 72).  The label is from Layered Labels (p. 103), but I only punched out the center greeting with the Large Oval Punch #119855.  On the first card I mounted the label on the Scallop Oval Punch #119856.  On the second card I just mounted the oval straight onto the card.  I think maybe the second one goes better with the lighter colored bird, and maybe the Raspberry Ripple Scallop Oval goes better with the darker Midnight Muse bird!

These are little 3"x3" cards that can be used for little notes or a gift tag. Once you make one it's easy to keep making more and you should because they are handy to have on hand!

Want to get your hands on these new Stampin' Up! In Colors?  Shop Online HERE!

New Stampin’ Up! 2012-2013 Catalog Goes Live Today…and New Ink Pads!!

Today is the day we have all been waiting for!  The new Stampin' Up! 2012-2013 Catalog will go live today at Noon Mountain Time (Stampin' Up! Time).  There will be no ordering from midnight MT until noon MT.


SU Catalog 2012-13

Click image to go to Stampin' Up! Catalogs page


New Celebrando Creatividad 2012-13

SU Celebrando Creatividad 2012-13

Click image to go to Stampin' Up! Catalogs page


So while you're waiting, and while I'm driving back to Houston after helping my son move out of his apartment for three days, please enjoy this video from Stampin' Up! about the new firm foam ink pads by Shannon West, one of our many favorite Stampin' Up! employees!


Another Cascade Birthday Card

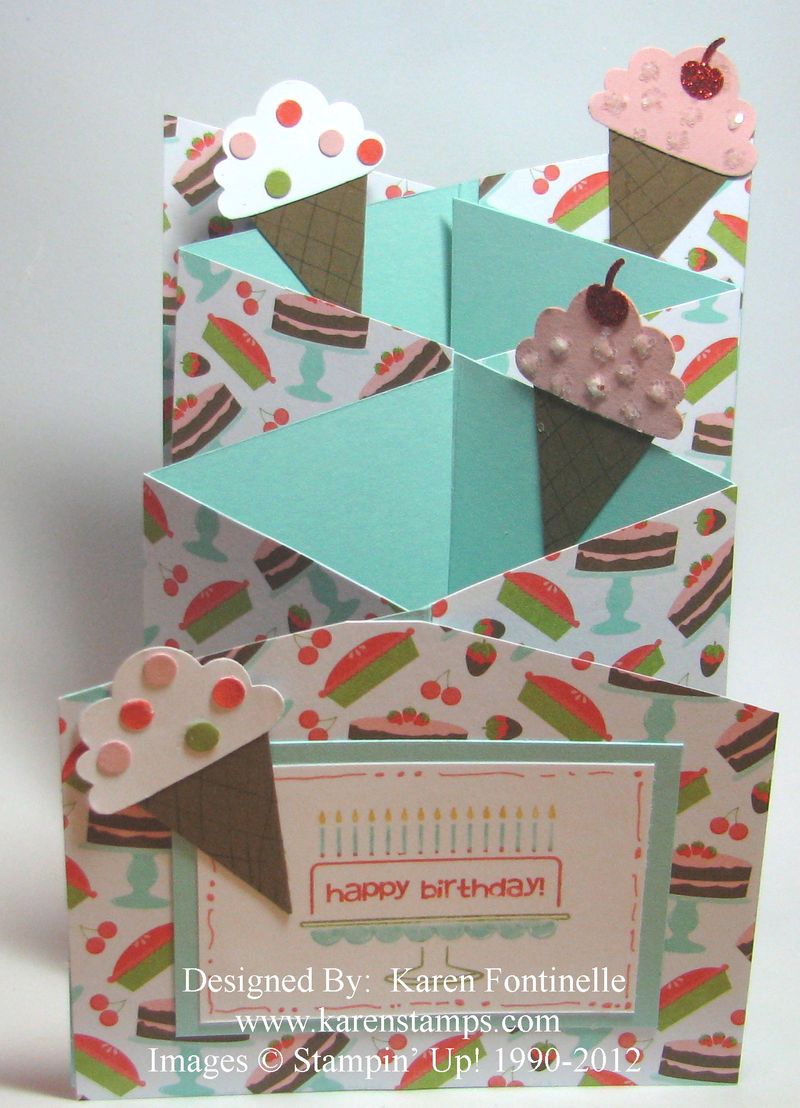
Cascade Cake and Ice Cream Birthday Card

And here's another cascade birthday card like yesterday, this time with cake and ice cream! The cascade design is made the same way….I used Pool Party card stock as the base and added the Sweet Shop Specialty Designer Series Paper (if you have some in your stash!)

The ice cream cones were fun to make.  I punched the cone with the Petite Pennants Builder Punch #122361 and made the ice cream topper with the Cupcake Builder Punch #121807.  The "sprinkles" on the vanilla ice cream cones come from the Cupcake Punch.  The "strawberry" ice cream cones have dots of glitter plus a Red Glimmer Paper cherry punched with the Cupcake Punch (I think that Cupcake Punch is mighty handy!) The greeting is from the stamp set Bring on the Cake.  I used markers to color in the stamp and added my own little squiggles and dots around the border with the thin end of the marker.

If you need any stamping and card-making supplies, just click HERE to go to my Stampin' Up! Online Store!  Be sure to check the Clearance Rack, too, when you are making an online order!!

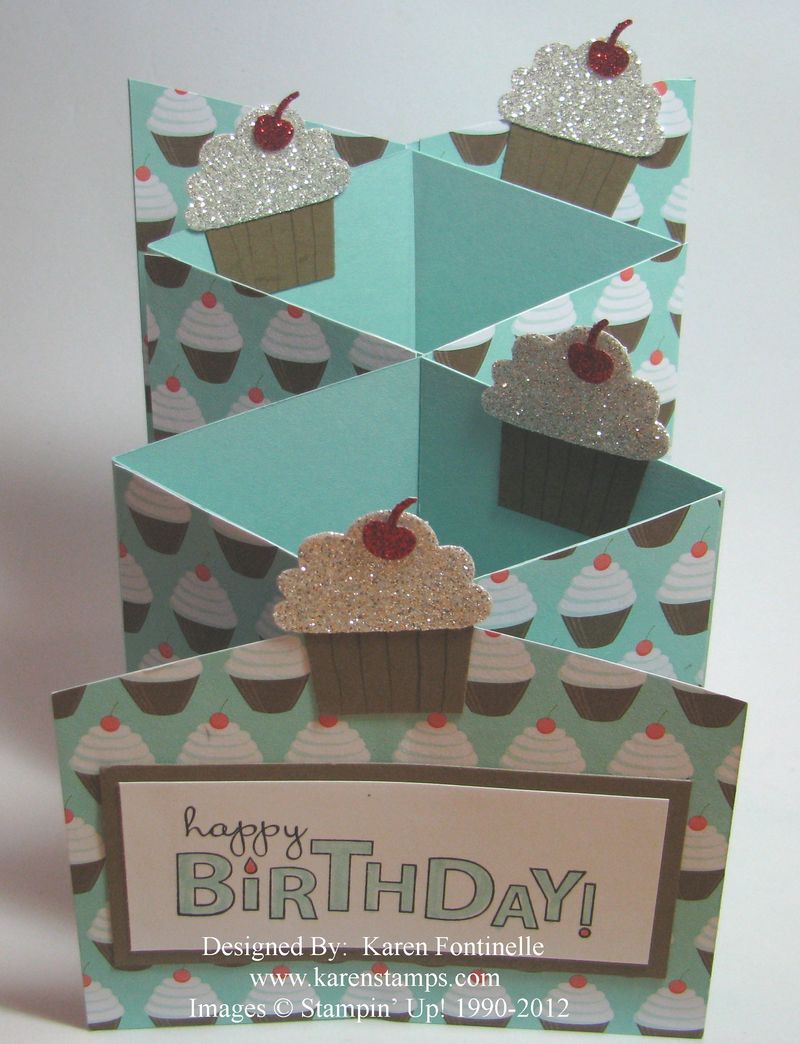
Cascade Cupcake Birthday Card

Cascade Cupcake Birthday Card


These cascade cards are really fun to make and hopefully make a great impression with the recipient! Aren't cupcakes great for a birthday card?! They fold flat for mailing but then they can be unfolded and placed on display if the person wants to. I saw a card similar to this one online somewhere and thought it would be so cute to make. I used Pool Party card stock but added the cute Sweet Shop Specialty Designer Series Paper (which I don't think is available any longer since it was in the Occasions Mini Catalog).

The greeting is from Bring on the Cake and the cupcakes are punched with the Cupcake Builder Punch #121807. Doesn't the Silver and Red Glimmer Paper add so much to this card?!

Come back tomorrow to see another birthday cascade card I made!

Don't forget…..lots of Stampin' Up! stamps and accessories are retiring on May 31st….which is next Thursday!  Don't miss out on something you want! Stamps will be available since Stampin' Up! manufactures them; however, accessories  are only available while supplies last and some are gone already! Check your list today before the last minute rush hits!  Order Online HERE!


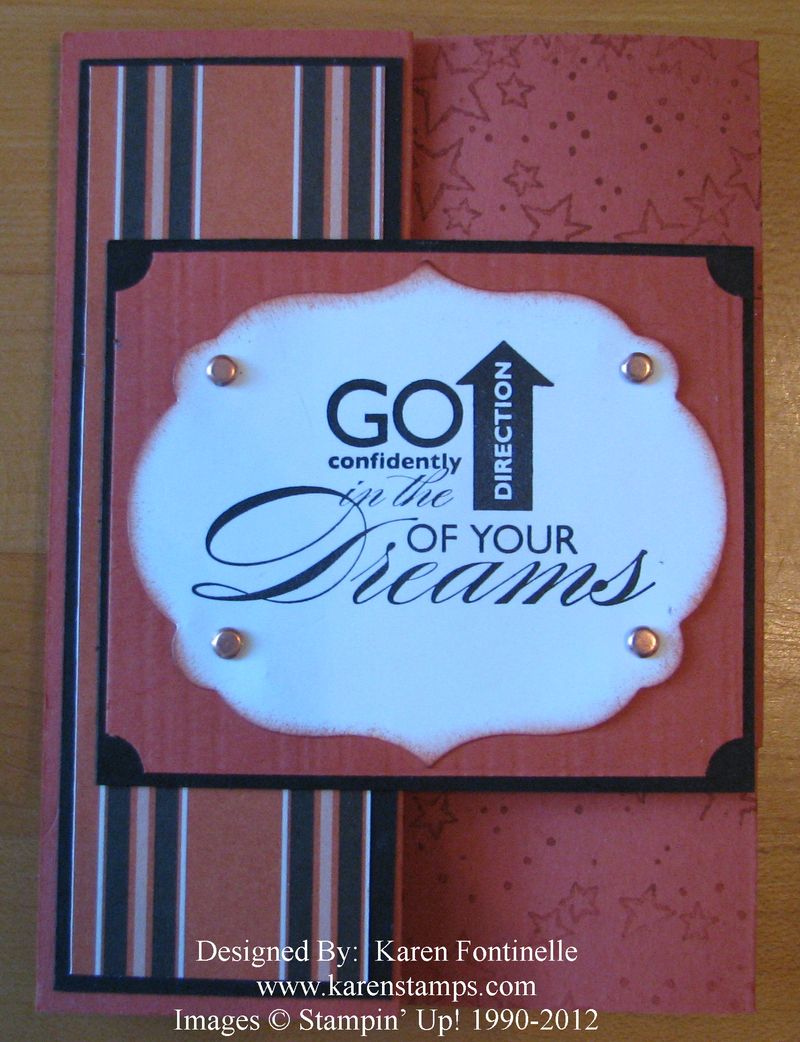
Graduation Tri-Shutter Card

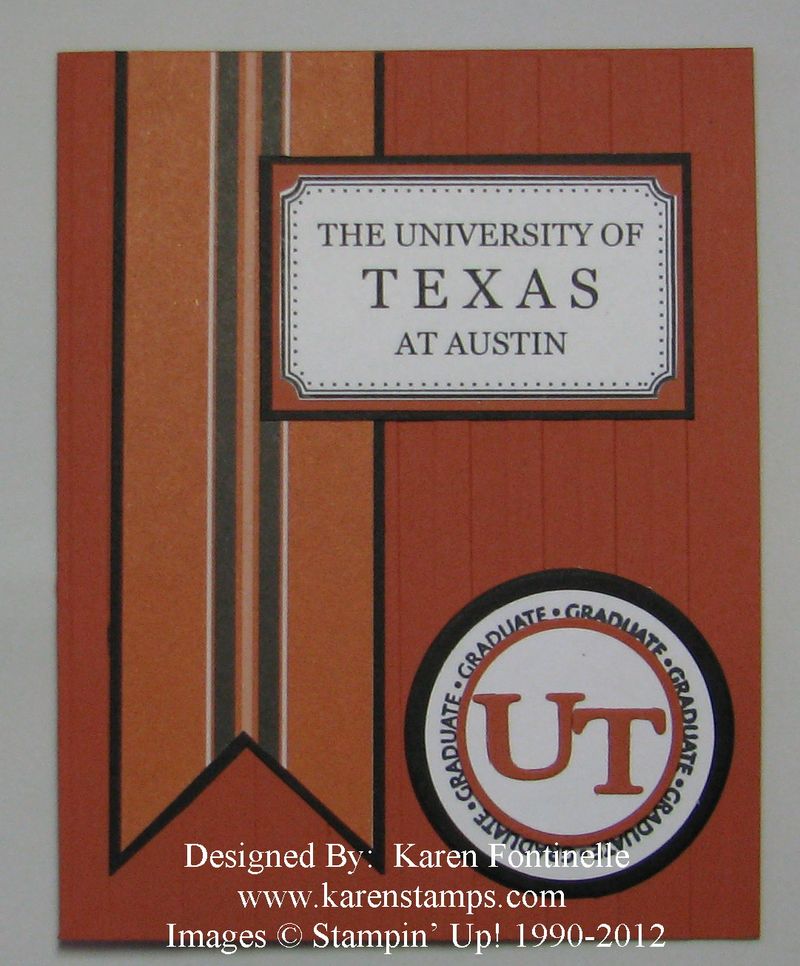
Graduation Tri-Shutter Card Steven UT

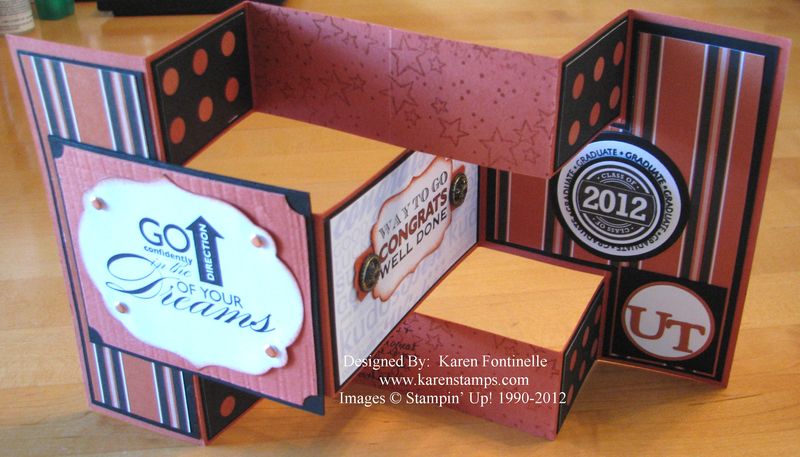
When your son is graduating from college and you make cards, you want to make an extra-special graduation card for him!  After thinking about many different designs, I decided on this tri-shutter card.  I love how it opens up yet is simple to make. This card is a combination of current and retired stamps, wheel, paper, and embellishments…even paper from the school bookstore scrapbook package. Oh, and let's not forget using My Digital Studio to print some images for the card!

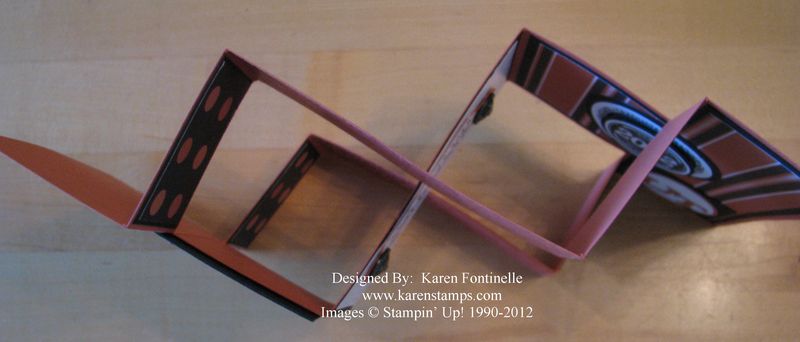
Graduation Tri-Shutter Card Steven UT open

For the basic card, cut a piece of card stock 5 1/2" x 12". With your Simply Scored Scoring Tool, score the card stock at 2", 4", 8" and 10"with the card stock horizontal (12") in your scoring tool.

Using your Stampin' Up! Paper Cutter (retiring) or a hobby blade, with your card stock long ways (vertical), measure in 1 1/2" and cut a slit between the 2" and 10" score marks.  Do this also on the other side.

Fold as you see in the photo (a little tricky to get it going but it will work!) and then decorate with designer paper, stamping and embellishments to your heart's content!

Graduation Tri-Shutter Card Steven UT top

UT Graduation Announcement

UT Graduation Announcement

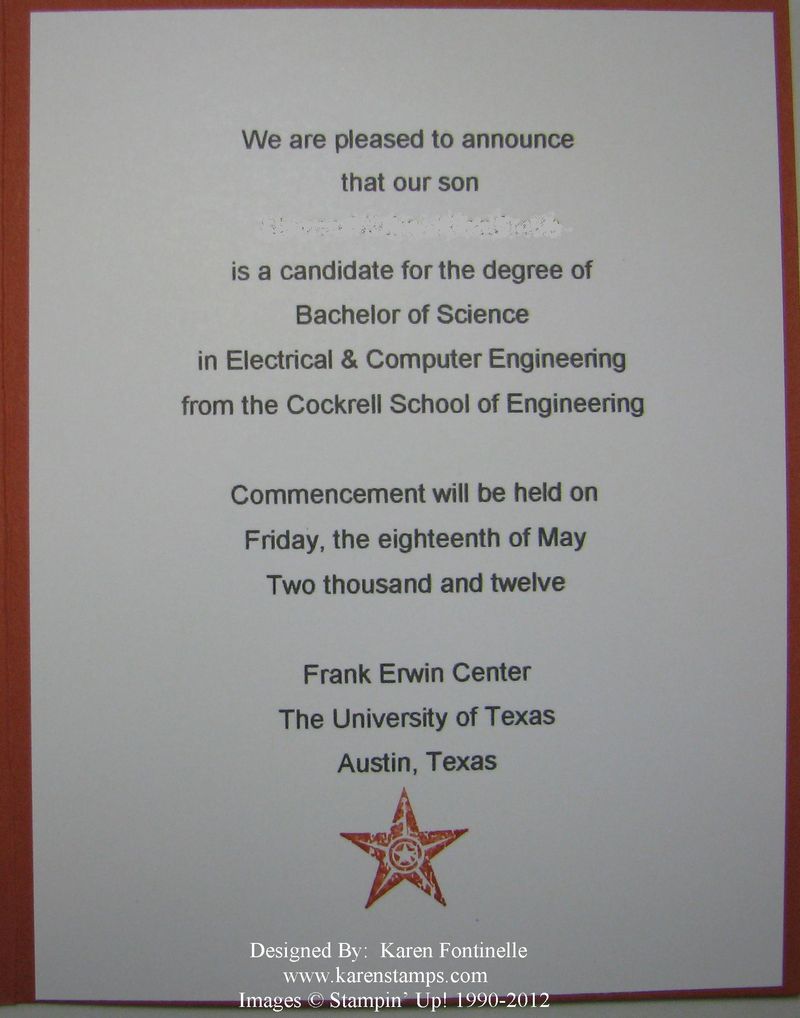
And here are all the pieces you saw a few days ago all assembled into a graduation announcement for my youngest son!  The striped paper is from a scrapbook pack I bought in the university bookstore a few years ago….you may notice it on a lot of my graduation projects you've seen! I dug out some retired Really Rust card stock to come close to matching the Burnt Orange for UT.  Our current Cajun Craze is a pretty close match also. I've also been used some retired stamps as well as printing out a few things here and there from My Digital Studio, which is great for LOTS of things other than scrapbooking!  I have some projects in mind on My Digital Studio after all the graduation hoopla is over!

UT Graduation Announcement Inside

If you are making graduation cards or gift card holders for someone, just google the name of their school and you probably will be able to find out the school colors.  If not, gold, silver, black, and white are always good, as are stars and "Congratulations"!

Graduation Framelit Card

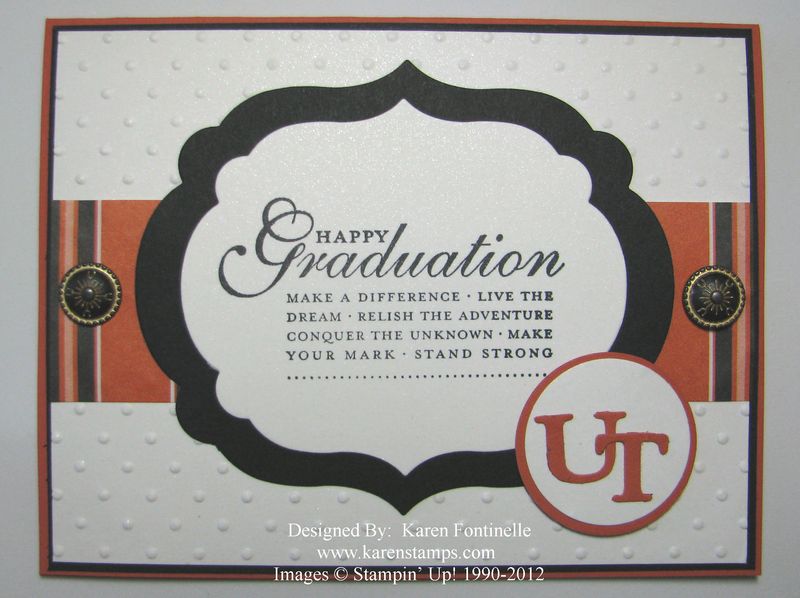
Graduation Framelit Card

It certainly is graduation time, and here is one card I made with the Labels Collection Framelits Die. I've been pulling out a lot of retired stamps and paper for just the right things I needed for this graduation project.  This "Happy Graduation" stamp is one of the a la carte ones we had called "Happy Grad".  If you don't own the stamp, you can purchase the download in My Digital Studio and print it out!  I just did that with a few other graduation projects going on with another graduation stamp brush set! The background is embossed with the polka dot embossing folder on the Big Shot, and I also used the Big Shot to cut out the letters.  I love the Antique Brads on this card!  The paper is Shimmery White…perhaps if you click on the photo to enlarge it you will be able to notice the shimmer!  Love that paper!

I hope this gives you some ideas if you are making some cards for those special graduates! If you need any stamping supplies or digital downloads, you can shop at my Online Store HERE!

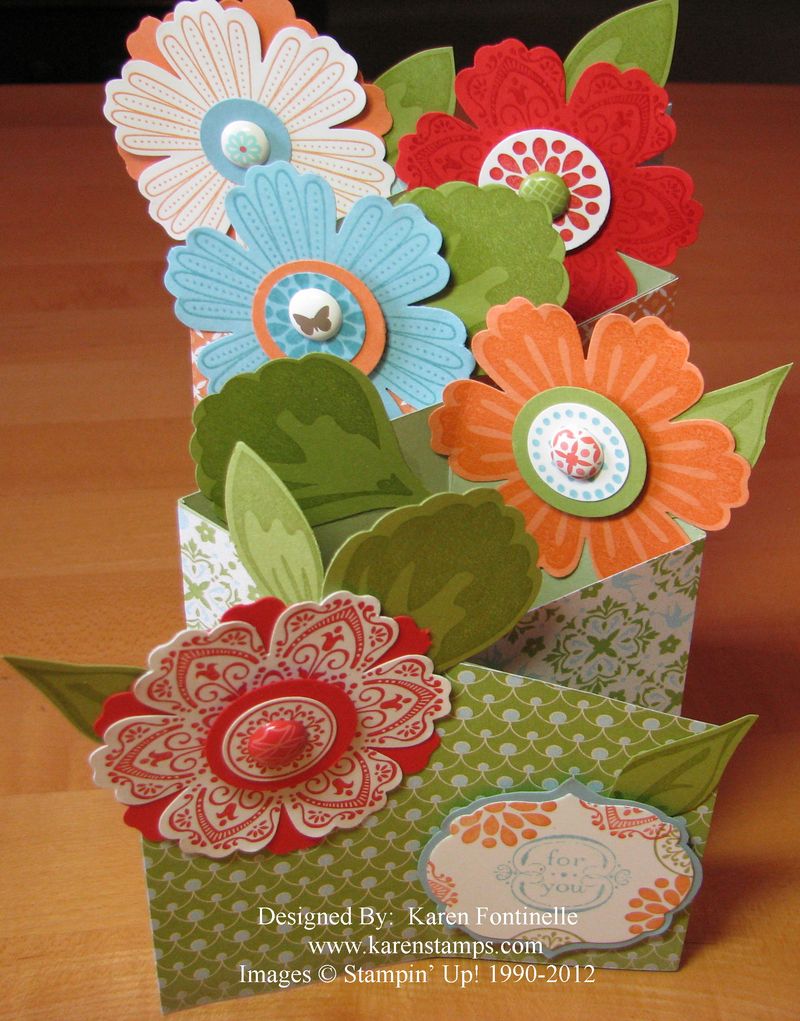
Mother’s Day Cascade Mixed Bunch Flower Card

Mother's Day Cascade Mixed Bunch Flower Card

These cascade cards seem to be the popular thing right now in the stamping world so I finally gave it a try by making this Mother's Day card using the Mixed Bunch stamp set. This stamp set was in the Occasions Mini but is one that is being carried over to the new catalog and Stampin' Up! is keeping it available in the meantime! So you can order it even now!  It is available in wood-mount or clear. And of course you must have the Blossom Punch to match these Mixed Bunch flowers! The paper I used on this card is Everyday Enchantment (some of the most beautiful paper ever….I hope you got some!), from Sale-A-Bration, as are the brads. I punched the leaves with the Blossom Petals Builder Punch #121808 and stamped the leaves with the Build a Blossom stamp set.

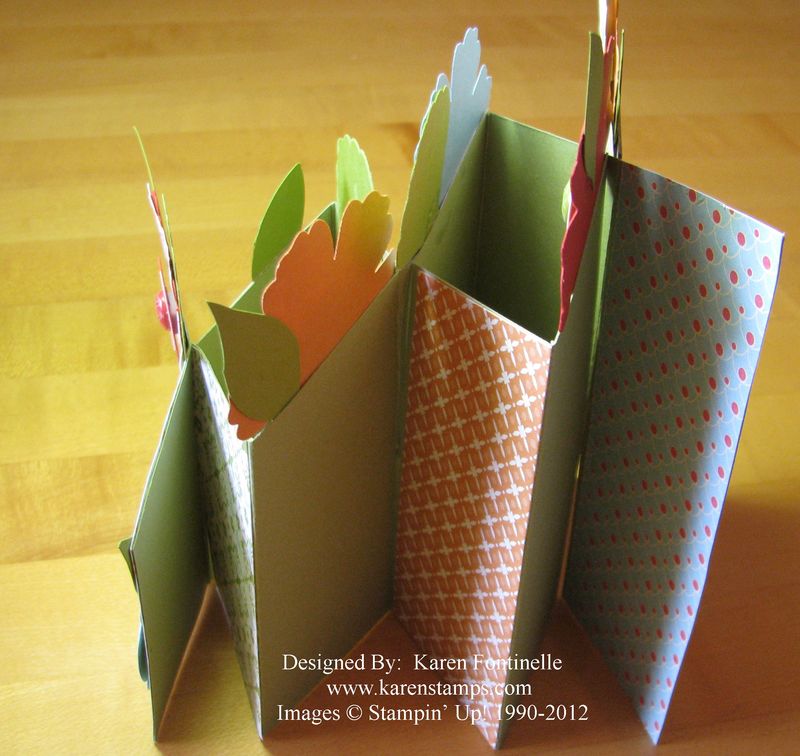
Mother's Day Cascade Mixed Bunch Flower Card Side
 Here's what the cascade card looks like from the side.

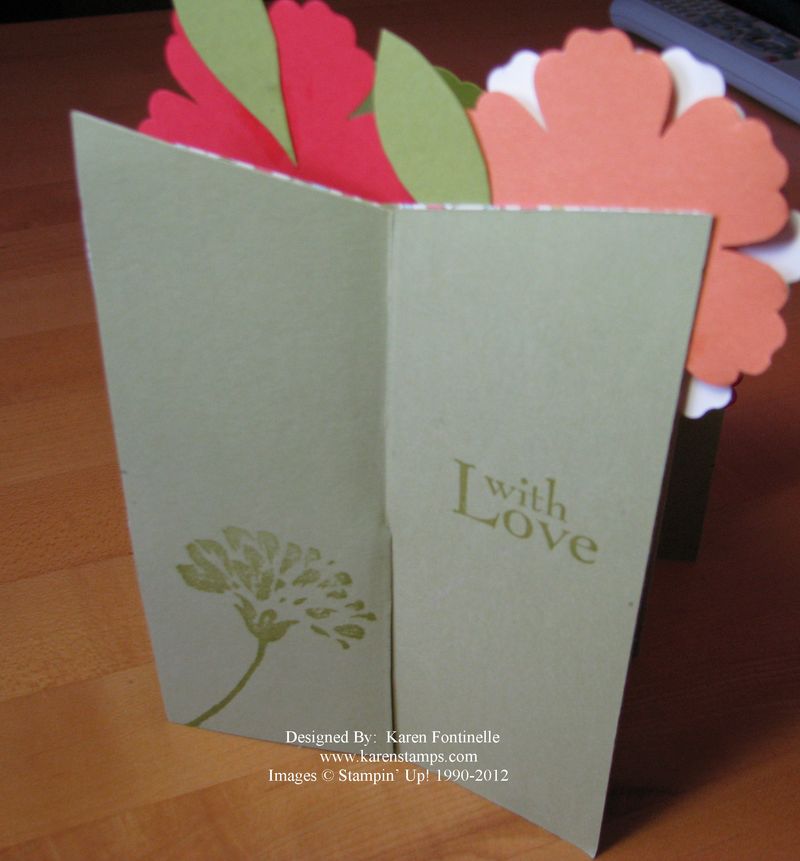
Mother's Day Cascade Flower Card
And this is what I stamped on the backside.

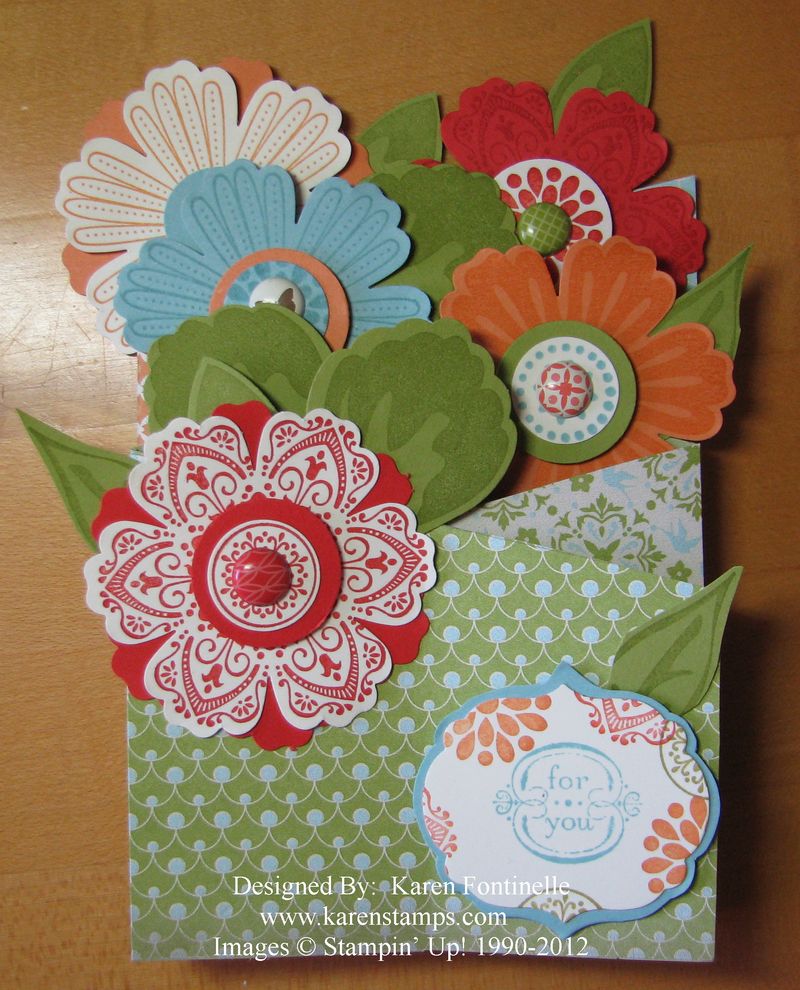
Mother's Day Cascade Mixed Bunch Flower Card Folded

And what's great is that the card folds down nicely for mailing….as long as you watch how you place things that stick out on the sides!


Betsy’s Blossoms New In Colors Card

Betsy's Blossoms New In Colors Card

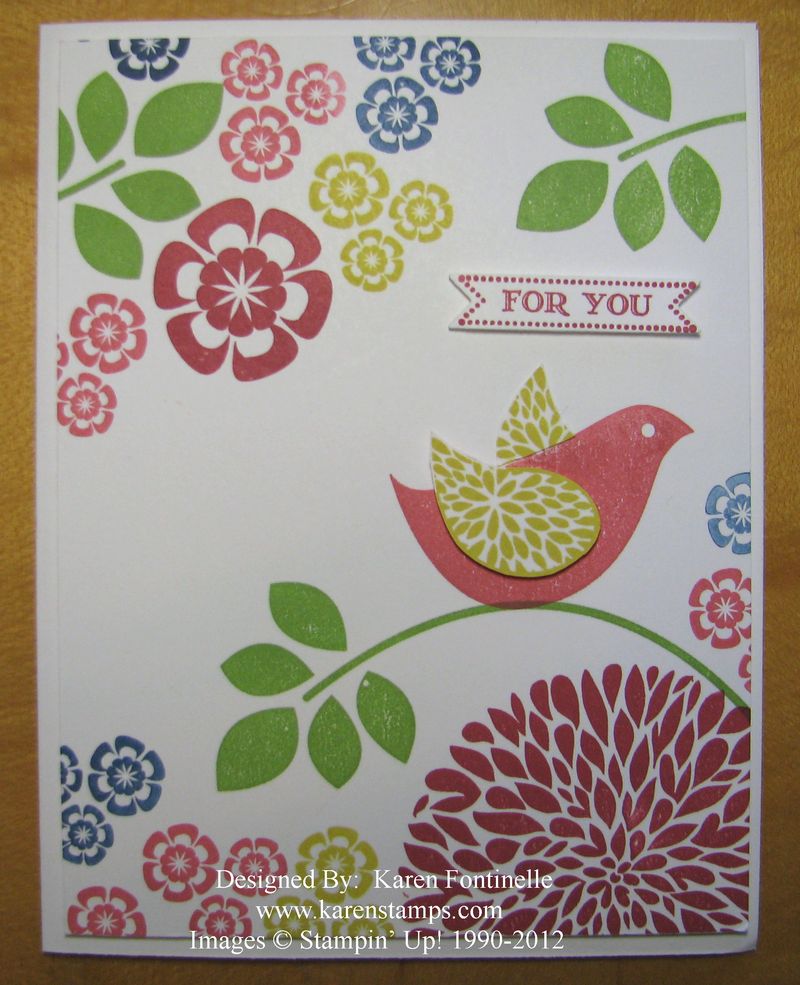
A new stamp set, new In Colors, and new ink pads from Stampin' Up! I decided to make a card where I used each one of the new In Colors: Primrose Petals, Summer Starfruit, Midnight Muse, Gumball Green and Raspberry Ripple. The new foam ink pads are wonderful to use as well….I'm afraid I will want to change out all my ink pads to the new ones! This is a new stamp set called Betsy's Blossoms.  I stamped the bird on a scrap of paper in another color and then cut out the wings to add a little 3-D, popped up on a dimensional.  I also stamped a portion of the very large flower on the inside corner of the card.

But don't forget about the retiring stamps and accessories because time is running out to get those! It's Mother's Day tomorrow…..don't you deserve something you "really" want??!  

Go HERE to order your retiring items from my Online Store!