Category Archives: Cards

Use Your Stampin’ Up! Catalog! Papaya Collage Card

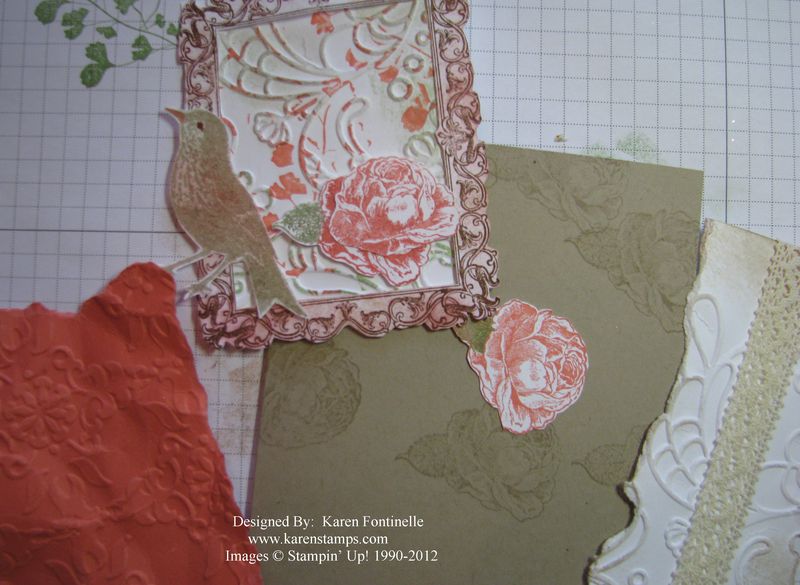
Papaya Collage card pieces

Don't think your catalog is just for shopping!  Get out your Stampin' Up! Catalog and use it!  If you just flip through the pages, you will certainly find some ideas to inspire you.  Don't be left hanging with no creative juices flowing!  Maybe you will see a card or box you like….maybe you will see an element on a scrapbook page you could put on a card instead. Maybe you will see a card you can picture enlarged into a scrapbook page if you just add some photo mats.  And the samples aren't just on the stamp set pages….look back in the accessories, too!  This catalog features close-ups and allows you, in some cases, to imagine what the rest of the project looks like and develop it yourself.

My inspiration for this post was found on page 74.  My card isn't exactly like that sample but at least it got me started. Above you can see the elements I made to assemble the card.

  • The Papaya Collage stamp set is a beautiful one to use! Be sure to check out all the elements included in this one set.
  • The Whisper White Elegant Lines (#119277) embossed pieces were just scraps in my bag that maybe didn't turn out perfectly for some reason. But they were useful on this project.
  • Paper Snips are essential for easy cutting of intricate pieces! It may be referred to as "fussy cutting" but don't be too fussy about it! Just keep turning your piece while you hold your scissors relatively still.  And don't forget to cut off the excess edges first or as you cut. Don't worry about every single cut and curve…just get somewhat close.  It really doesn't have to be exact, in most cases.
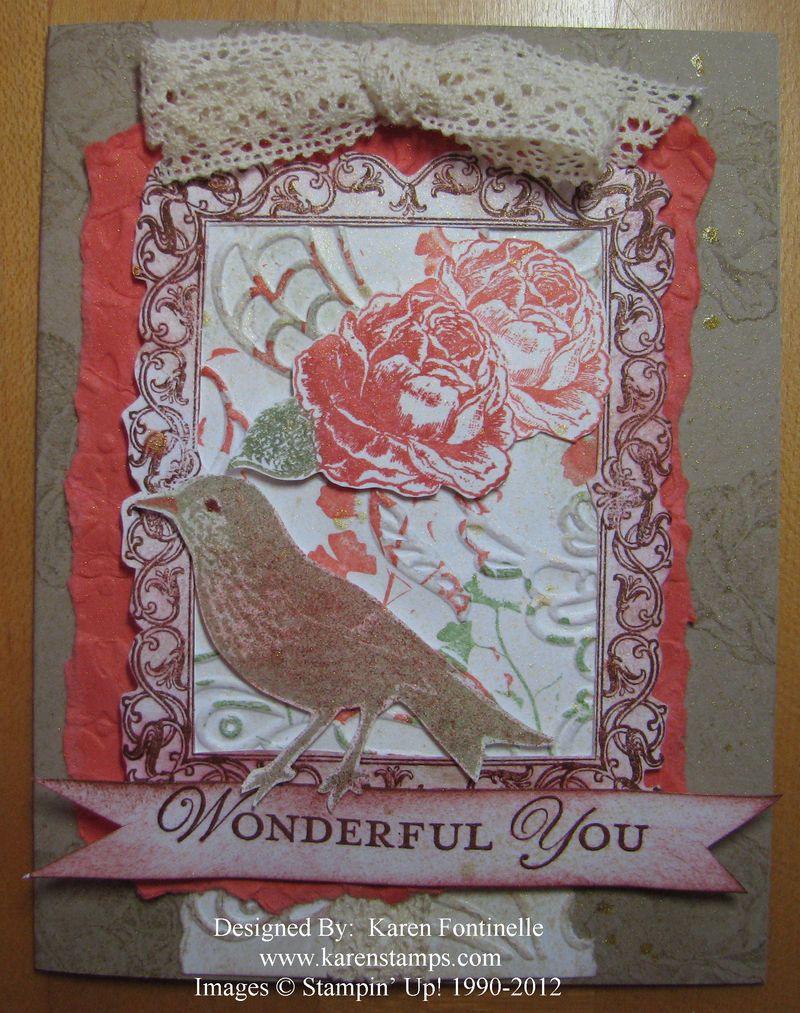
Papaya Collage Card

And as you might barely be able to see, when I was finished I spritzed the whole card with Gold Glow Smooch Spritz #118770. I like the way it turned out.  I didn't get big blobs of gold or overspray and ruin the project. What I have heard about the Smooch Spritz is don't be afraid to push down the sprayer!  Put your project in a box or somewhere that you won't make a mess.  Do some practice sprays after shaking the tube back and forth gently to mix it up.  Then don't try to be delicate in spraying….that's when you will get a mess. Push down like you know what you are doing! Of course hold a little distance away.  Try it!
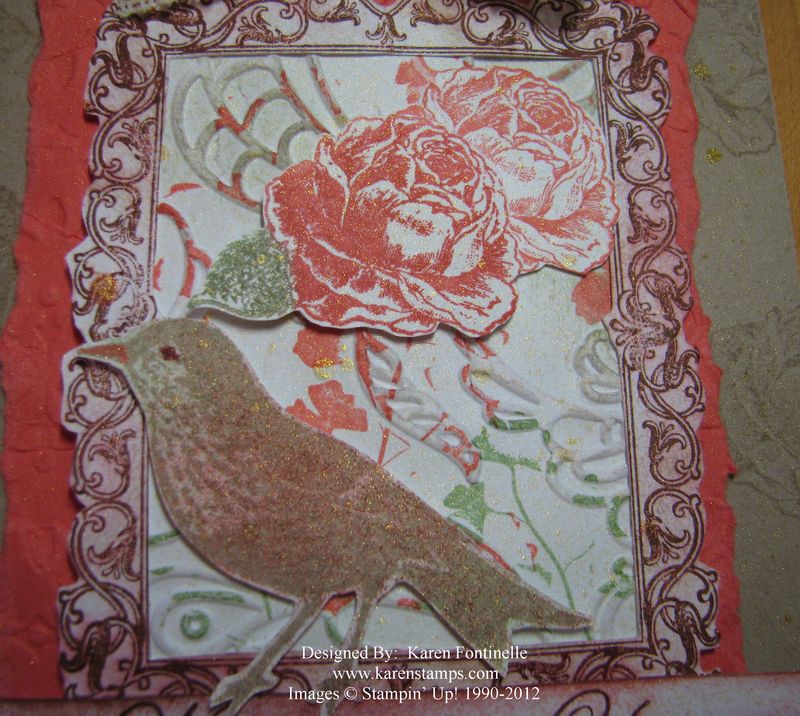
Papaya Collage Gold Smooch Spritz
Click to Enlarge

If you are interested in buying Stampin' Up! products and would like a new catalog, please contact me at Karen@Karenstamps.com.  I just got a new box of them!

Shop my Online Store for the best products in papercrafting!
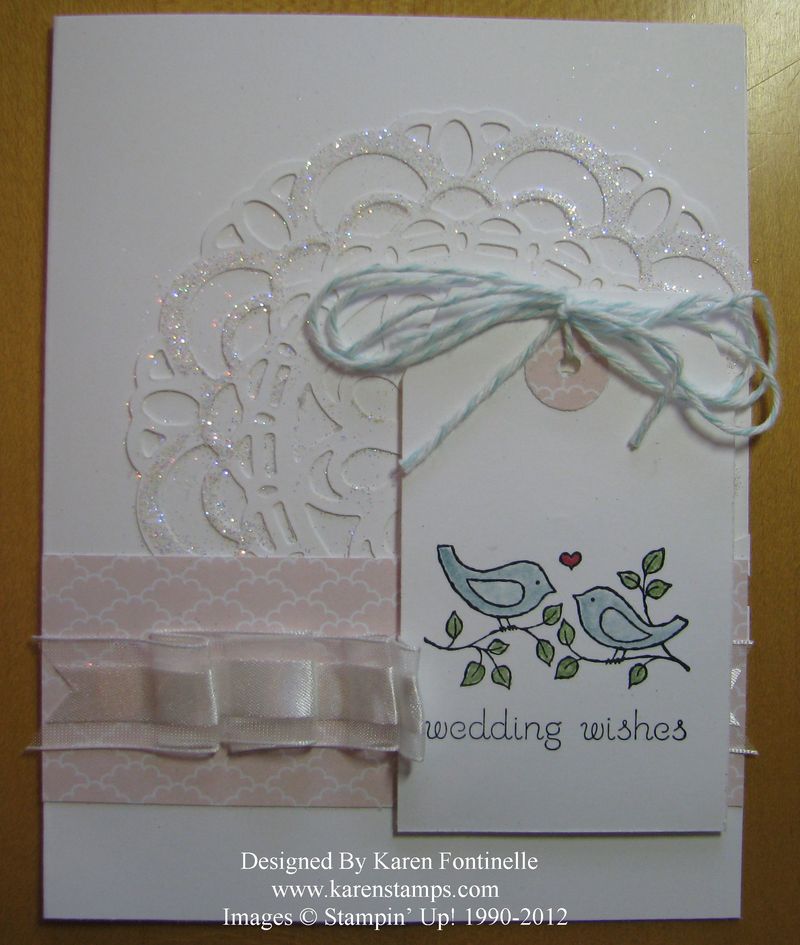
Easy Events Wedding Card

Easy Events Wedding Doily Card

Thirty-five years ago today I was a bride! It’s hard to imagine I am saying my husband and I have been married for thirty-five years when it seems more like we should be saying we are thirty-five years old. Or that our parents have been married thirty-five years…but not us! And then you add on another four years that we knew each other before we got married (maybe the reason we are still married after thirty five years?), you are talking about a long time together! I actually had to take pencil to paper and do the math….2012 minus 1977 = yep, 35 years! Crazy! Crazy but good!

And since it is wedding season, here is a wedding card I CASEd (Copy and Share Everything) from the Stampin’ Up! Annual Catalog page 34. Easy Events is a great stamp set, fun for a little bit of coloring in, and all occasions are covered…or leave off the words and just use the picture! For example, if you wanted this to be an anniversary card instead of a wedding card, just don’t ink up the words..or place a post-it note over the words before you stamp on your paper. Easy Events is a good set for new stampers because it is so versatile.

Look through the beautiful new Stampin’ Up! Catalog and choose a card or project to copy today!

Wedding 3×3 Gift Card

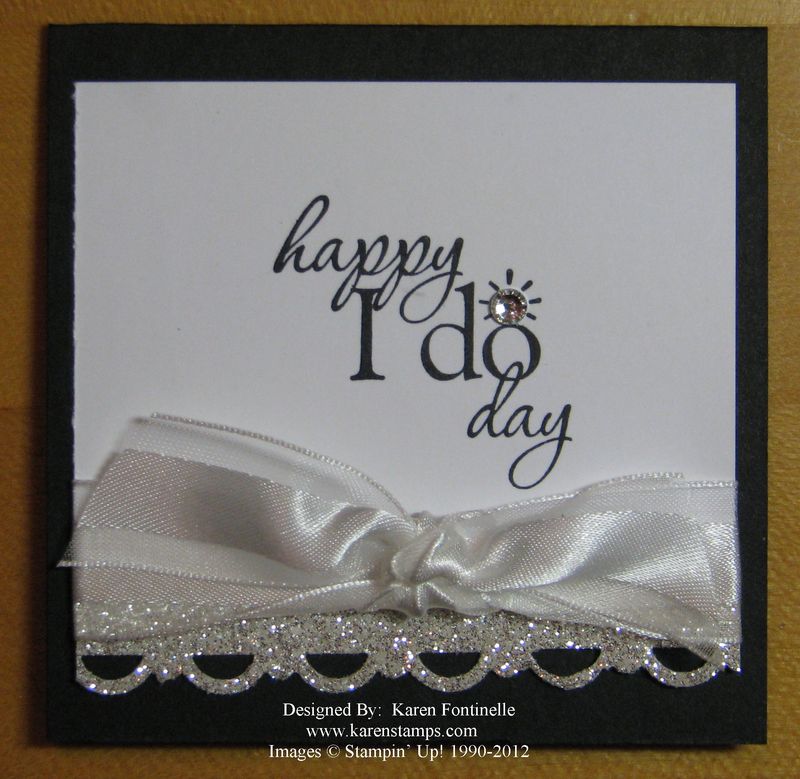
Wedding Gift Card 3x3 Happy I Do Day

As long as I had my wedding stamping supplies out after making the gatefold wedding card in yesterday's post, I decided to make a little 3×3 wedding gift card to match. Maybe you will just be attaching a little gift card to the wedding or shower gift instead of a full card.

The greeting from Word Play is so great to use on anything for a wedding!  Be sure to add a Basic Rhinestone to the ring! I punched a little scrap of Silver Glimmer Paper with the Scallop Trim Border Punch for a little pizzazz at the bottom and tied on a little of my favorite ribbon, Whisper White Organza Ribbon.

Little 3×3 cards are so fun to make!  Why don't you try to make one today?

Gatefold Wedding Card

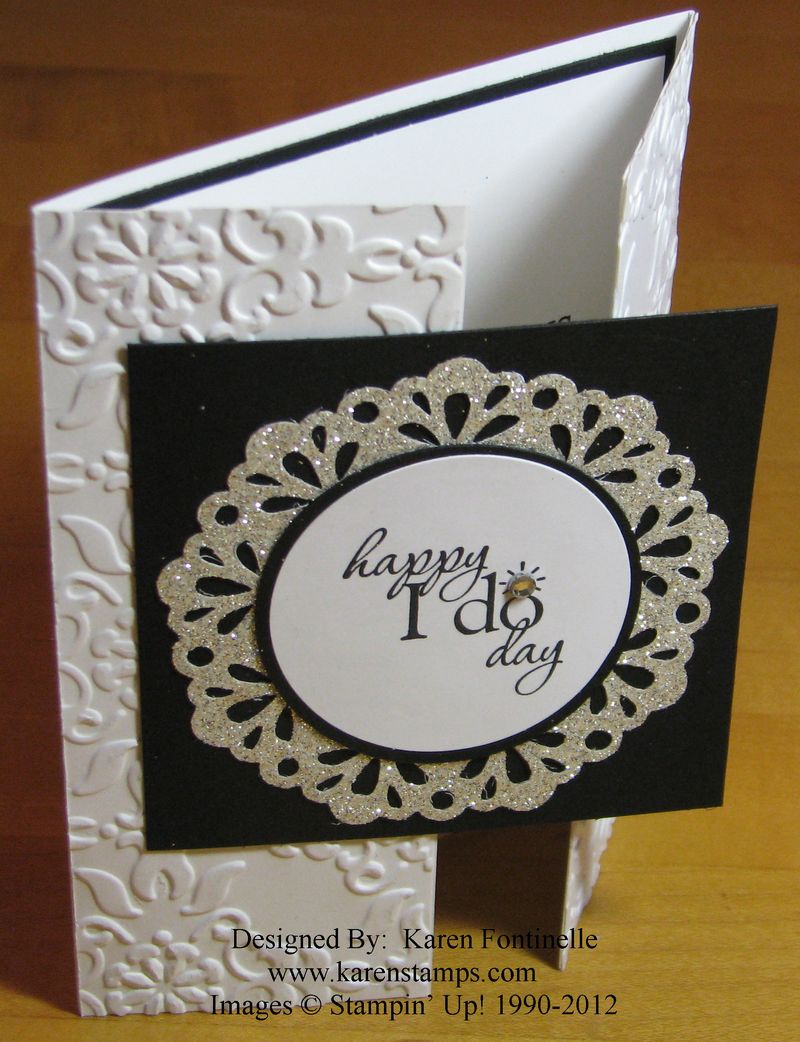
Wedding Gate Fold Card Happy I Do Day


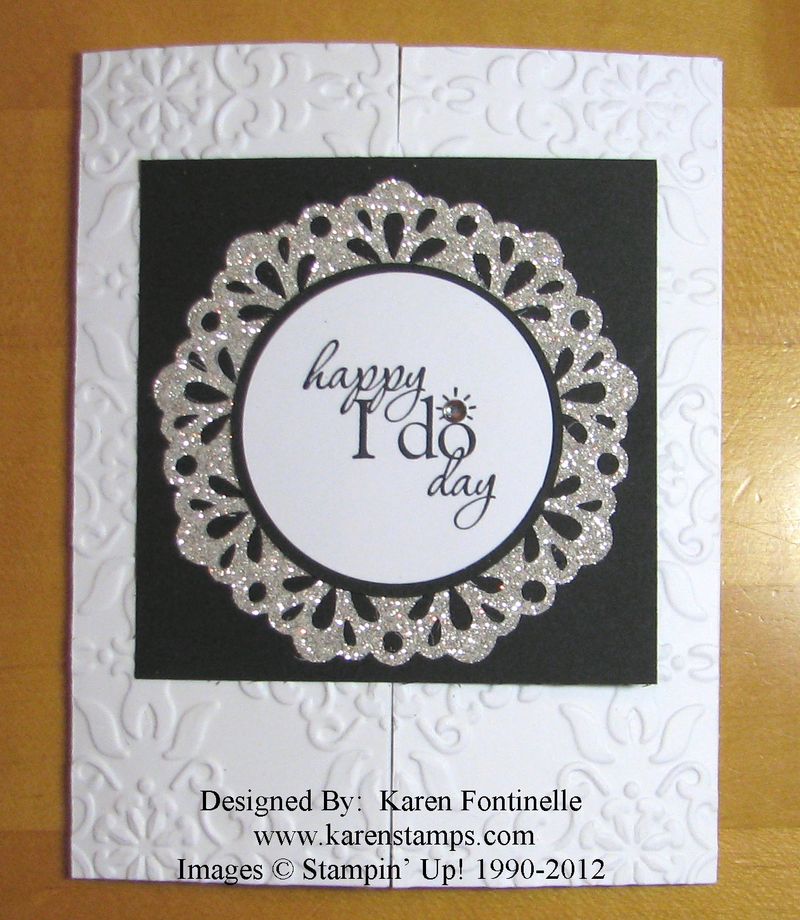
June isn't the only month for weddings…and this summer has lots of weddings! Perhaps you are in need of wedding card ideas as well. This is a wedding card I made with a gatefold, using the "Happy I Do Day" greeting from the Word Play stamp set

Each panel on the front of the gatefold is embossed with the popular Vintage Wallpaper Textured Impressions Embossing Folder. The greeting is backed with the new Delicate Doilies Sizzlits Die  in Silver Glimmer Paper. You've got to have glimmer paper!  It is SO beautiful!

Wedding Gate Fold Card

To check out all the fantastic Stampin' Up! products available to help you make beautiful cards and other projects, browse my Stampin' Up! Online Store.


Striped Postage Stamp Punch Card

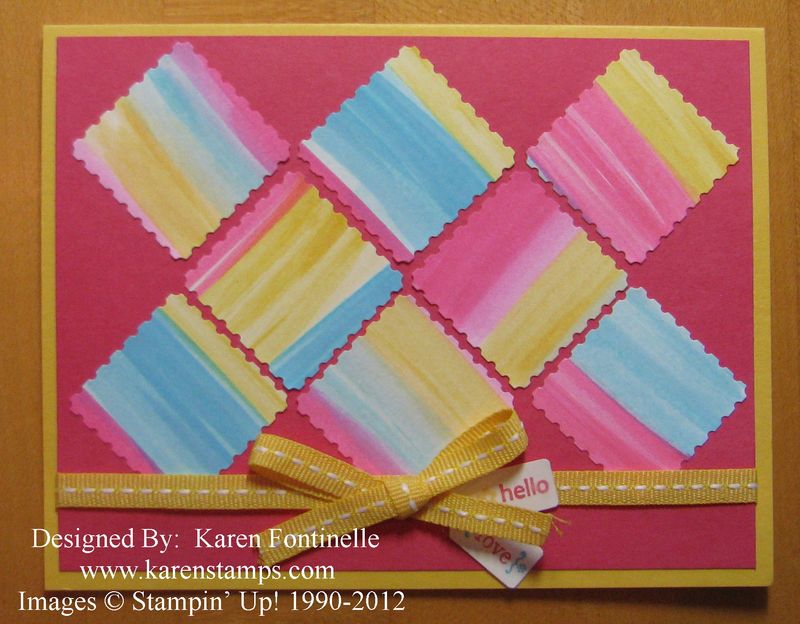
Striped Postage Stamp Punch Card

Funny how this Postage Stamp Punch card started out as something completely different! So sometimes even when you know exactly what you are making, you end up with a surprise!

I had the idea from a magazine to use my reinkers and Aqua Painter to make some paint-like stripes on a piece of Whisper White card stock. Well, the first try didn't thrill me so I covered another piece of card stock with alternating stripes of Daffodil Delight, Melon Mambo and Tempting Turquoise. Hmmm….didn't really know what to do with that either….but somehow I got the idea to punch out some shapes.  The Postage Stamp Punch was chosen and after some fiddling around, I came up with this!

That yellow ribbon is the brand new Daffodil Delight 1/4" Stitched Grosgrain Ribbon #126872 with a couple Tiny Tags stamped and then punched with the Jewelry Tag Punch. I think they kind of make the card! And I like the summery look to the card!

This was one of those projects where I had to tell myself "Walk away from the card!"  Sometimes you have to know when to stop!  I can still look at it today and wonder if I should have put something in the centers of all the squares or partial squares in the empty spaces…or something! But sometimes you have to just stop!

For Stampin' Up! paper, ink and accessories, shop at my Online Store!  

***Don't forget about the Reason To Smile stamp set for $5 with a $50 order!!***

Reason To Smile Card for a Friend

Reason to Smile Card for a Friend

Just playing around with the new Reason to Smile stamp set, Comfort Cafe Designer Series Paper, and the Apothecary Accents Framelits!  The greeting is from the World Treasures stamp set (the one with the peacock!).

Get your stamps, ink and paper out and play!  You never know what you might come up with!

Don't have any new catalog products yet??  You can sneak in an order right now at my Stampin' Up! Online Store!

Betsy’s Blossoms in Gold Embossing

Betsy's Blossoms in Gold

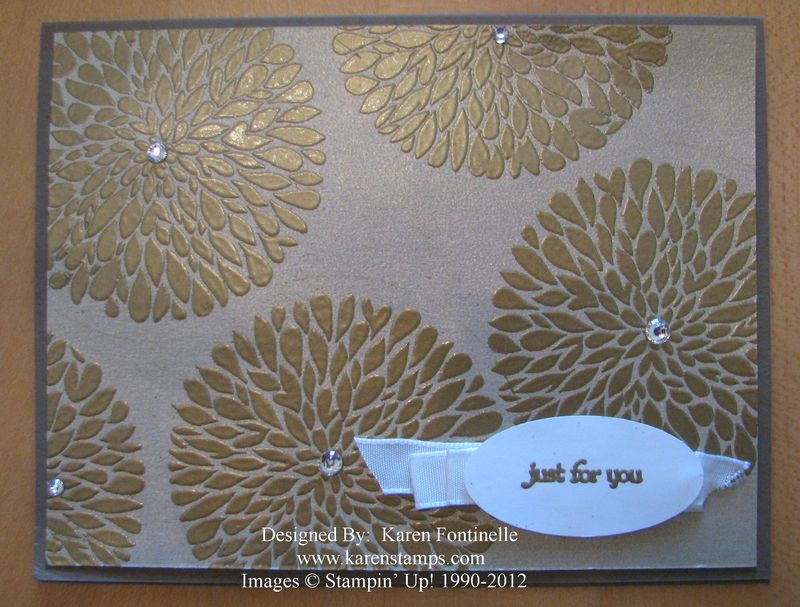
Would you believe this card stamped with Betsy's Blossoms and embossed in gold started out to be just one more 4th of July card in red, white, and blue?  There is something so compelling about Betsy's Blossoms…even though I would say I don't "love" it…..I've got to use it!  I thought for the day after July 4th, I could get by with trying this big blossom as a firework stamped in red and blue….then I thought "how about a gold cardstock layer?"….then looking at that I thought "what about embossing some gold on the Whisper White card front?"…. then I thought "what if I embossed the gold card stock for the card front with all gold blossoms as fireworks?"….and after I did that and added the rhinestone bling, I no longer liked it on the red card base and thought it actually looked pretty/elegant. So then I mounted it on Soft Suede card stock and added a gold embossed greeting from Teeny Tiny Wishes with a little ruffled ribbon behind it…and there you have it….one more fireworks card….that probably isn't!

To order any embossing supplies, including the new Heat Tool, check page 159 in the catalog and then place your order online.

****Don't forget the new Reason to Smile promotion after you have placed $50 in Stampin' Up! products on your order….Get the Reason to Smile stamp set for only $5!  Once your order reaches $50, a special offer box will show up for you to make your selection, if you choose!

4th of July Flag Card

4th of July Flag Card

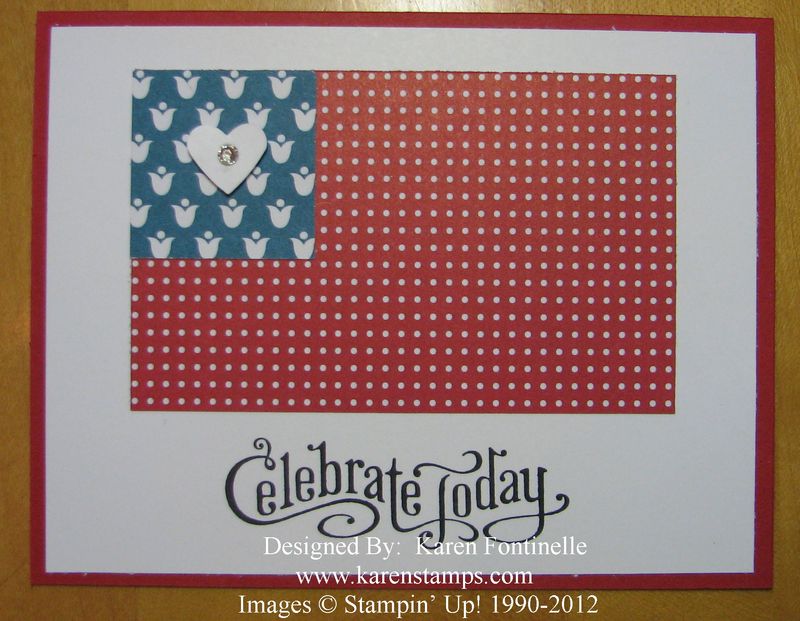
It's certainly fun to play around with red, white and blue for the 4th of July and the end result was this 4th of July Flag Card. It's funny where inspiration comes from sometimes. I was planning an entirely different designed card and was pulling out my Stampin' Up! designer series paper in reds and blues to see which ones I might use. Somehow the way the red and the blue fell together on the table reminded me of a flag, and so I made this card instead! Not a real flag, of course, but kind of looks like one! These papers happen to be Summer Smooches #125409. The greeting is from Perfectly Penned (page 132), a very useful stamp set with "Thank You", "Get Well", and "Happy Birthday" greetings.

Why not grab somed designer papers today and see what your creative mind comes up with?!

Stampin’ Up! Reason to Smile 4th of July Card

Reason to Smile 4th of July Card

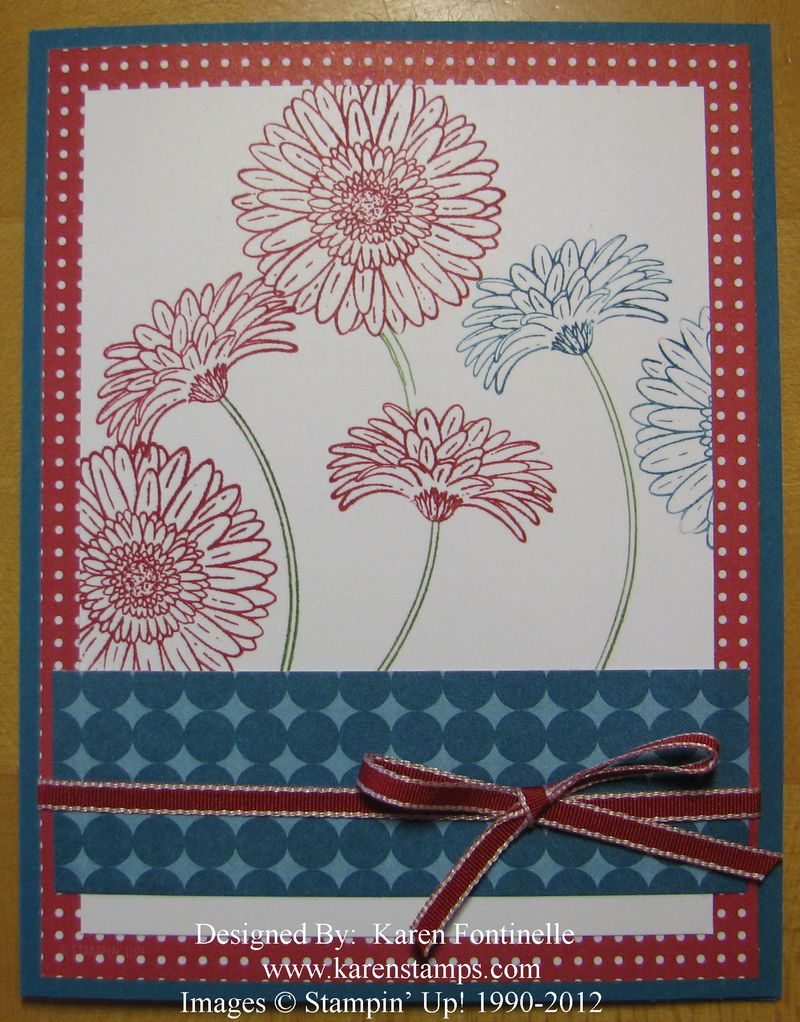
Yesterday I told you about this new exclusive stamp set from Stampin' Up! called Reason to Smile. I've made a card for the 4th of July using this stamp set with red, white and blue. I also used Summer Smooches Designer Paper and Island Indigo card stock for the base.

To get this stamp set, all you have to do is add it to your order after entering $50 in Stampin' Up! products.…then this stamp set will only cost you $5!  Who doesn't want a stamp set for only $5?!  This offer is good during the month of July only so don't delay!

Be sure to check out this promotion so you won't forget to add it to your order!  Only one per customer.

Stampin’ Up! Exclusive Stamp Set for $5 with Purchase!

  Reason to Smile Image

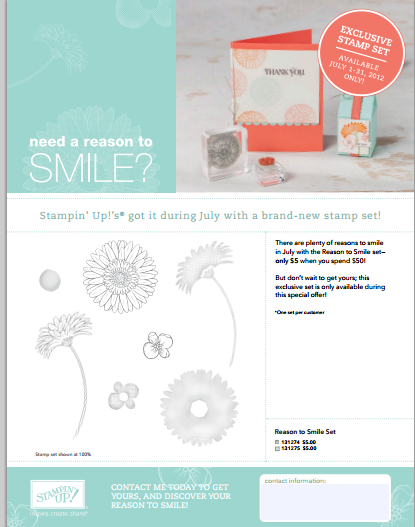
Would you like to purchase an exclusive Stampin' Up! stamp set for only $5?! You can get this cute stamp set with a $50 purchase! After you order $50 in Stampin' Up! products this month of July, you can add the Reason to Smile stamp set in either wood-mount or clear-mount. You will NOT be prompted to enter it so make a sticky-note right now by your computer so you will remember! (at least that is what I have to do!)

This stamp set will be great for either outline stamping to color in (or not!) or as two-step stamping where you stamp the color and then overstamp with the outline.

  • 131274 $5.00 (wood-mount)
  • 131275 $5.00 (clear-mount)
  Reason to Smile Promo Flyer
Click Image to Enlarge Flyer

Customer Order Details:

  • Spend $50 on any current Stampin' Up! products to get the exclusive Reason to Smile Set for just $5.
  • There is a limit of one (1) set per customer.
  • You will not be automatically prompted to enter the $5 Item Number for a qualifying purchase. 
  • The Reason to Smile Set is exclusive to this promotion and will not be available after July 31, 2012.

4th of July Red, White, and Blue!

Patriotic 4th of July Card

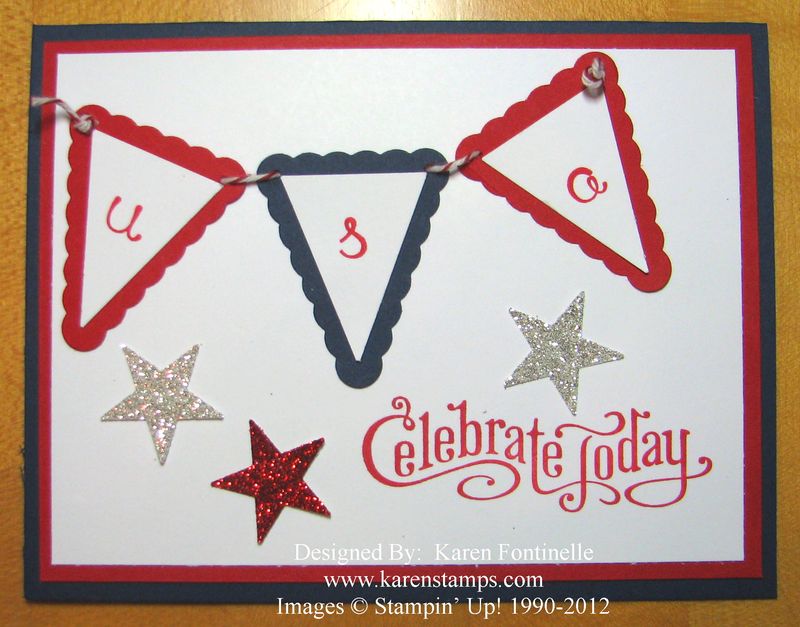
Time to get out your red, white and blue colors for the 4th of July! If you want to make something patriotic, it's easy with the Petite Pennants Builder Punch #122361. And I'm telling you, once you start using the Glimmer Paper in Red or Silver, you just can't stop yourself! The greeting is Perfectly Penned. For the USA letters, I had to pull out my retired Sweet Shoppe Lower Alphabet, but you could use another alphabet or just print the letters yourself with a Stampin' Write Marker. Just a fun card to celebrate the 4th of July!

Go to my Stampin' Up! Online Store HERE to get your supplies!

Circle Circus International Bazaar Card

Circle Circus International Bazaar Card

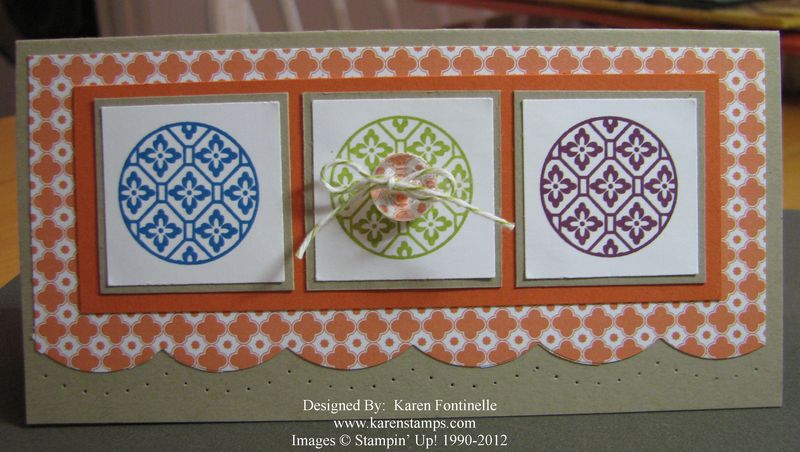
Here's my card I made using the Circle Circus stamp set and the new International Bazaar Designer Series Paper.  I showed you the paper-piercing yesterday and all the new paper-piercing tools in the new Stampin' Up! Catalog.

There are lots of colors that coordinate with the International Bazaar Designer Series Paper, which is probably why the colors on this paper are so beautiful!  To stamp my design with Circle Circus, I used Pacific Point, Lucky Limeade, and Rich Razzleberry. And all of those are matted on Tangerine Tango on top of the Crumb Cake.

And for a little pizzazz (besides the paper piercing!) I added one of the new Vintage Faceted Designer Buttons with a 1/2" circle of the designer paper just underneath the button.

Have you looked through the new Stampin' Up! Catalog yet?  You can find it online right HERE.

Stampin’ Up! Essentials Paper-Piercing Pack

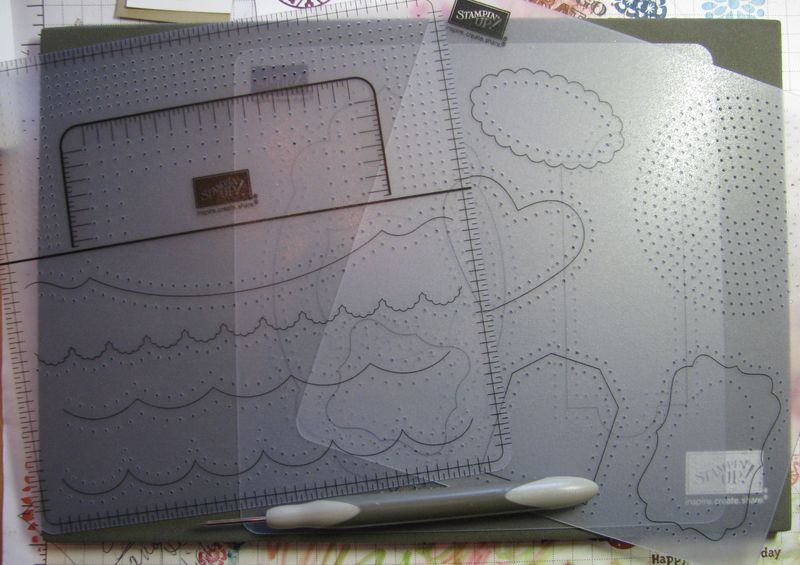
If you thought you liked the old Paper-Piercing Tool and Mat Pack with the one paper-piercing template, you will LOVE the new bigger and better Essentials Paper-Piercing Pack #126187. This pack has 3 templates, each 6"x6". There is also the new Paper-Piercing Tool #126189 and the Stampin' Pierce Mat #126199 You can find all these great new stamping tools on page 181 of the new Stampin' Up! Catalog.

Essentials Paper-Piercing Pack

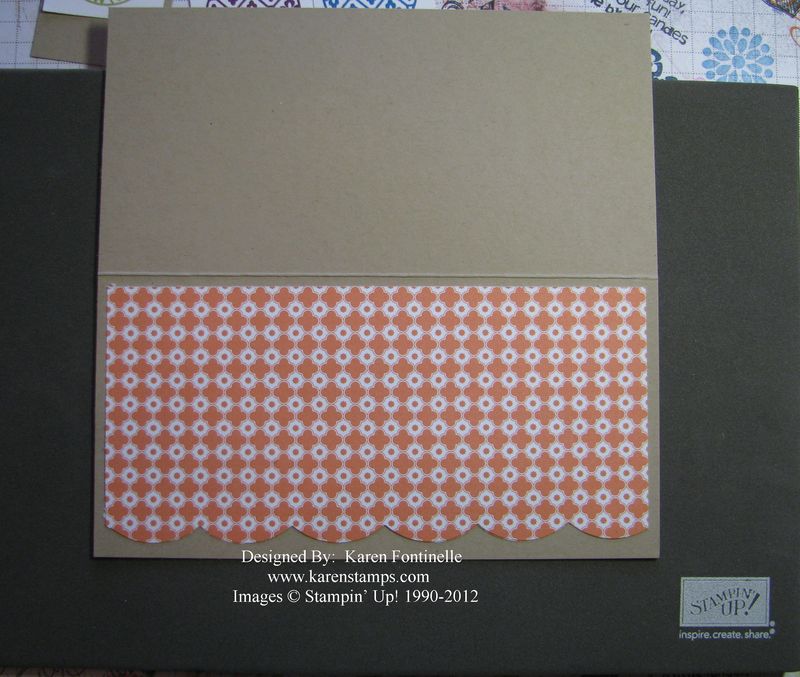
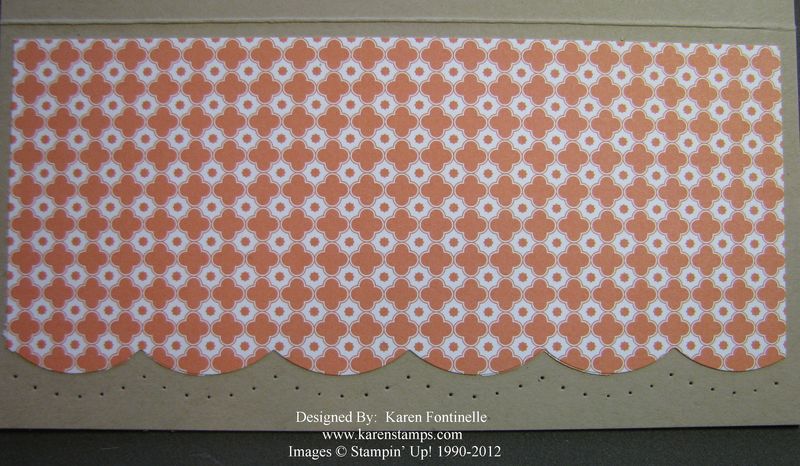
In making this card, first I cut the edge with the new Large Scallop Edgelits Die #127019.

Large Scallop Edgelit

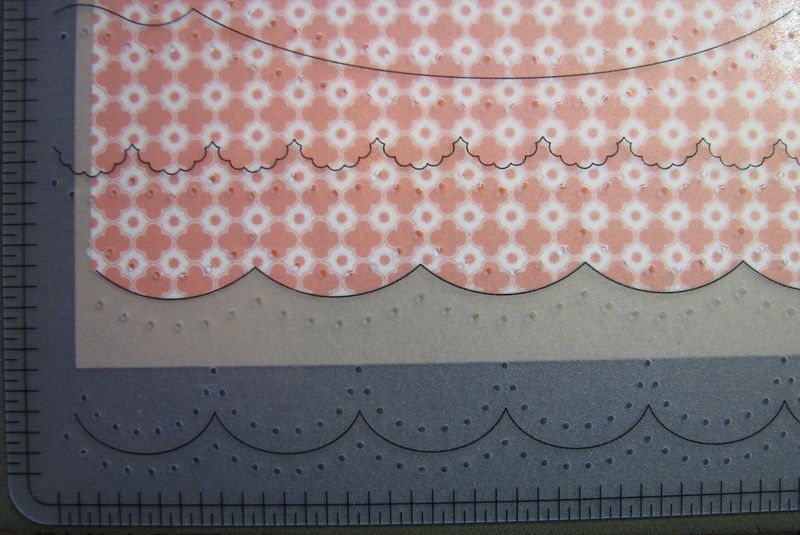
Next I matched up my scallop edge with the proper scallop template.

Paper-Piercing Design Template

Then I used the new Paper-Piercing Tool, which is much more comfortable to hold and use due to the ergonomic design of the handle. It even comes with a protective tip and storage tube.

Paper-Pierced Card

Isn't that lovely?!!  And so easy to do now with the larger template. With this finished card being 3"x6" I did have to move the template over to finish off the scallop but that wasn't difficult.

Put these accessories on your order today!  You will love them! To order any Stampin' Up! products, please click HERE to go directly to my Online Store! And anytime you would rather I put your order in for you, please just contact me at Karen@KarenStamps.com. I'm happy to help in whatever way makes it easy for you!


Betsy’s Blossoms Pocket Card

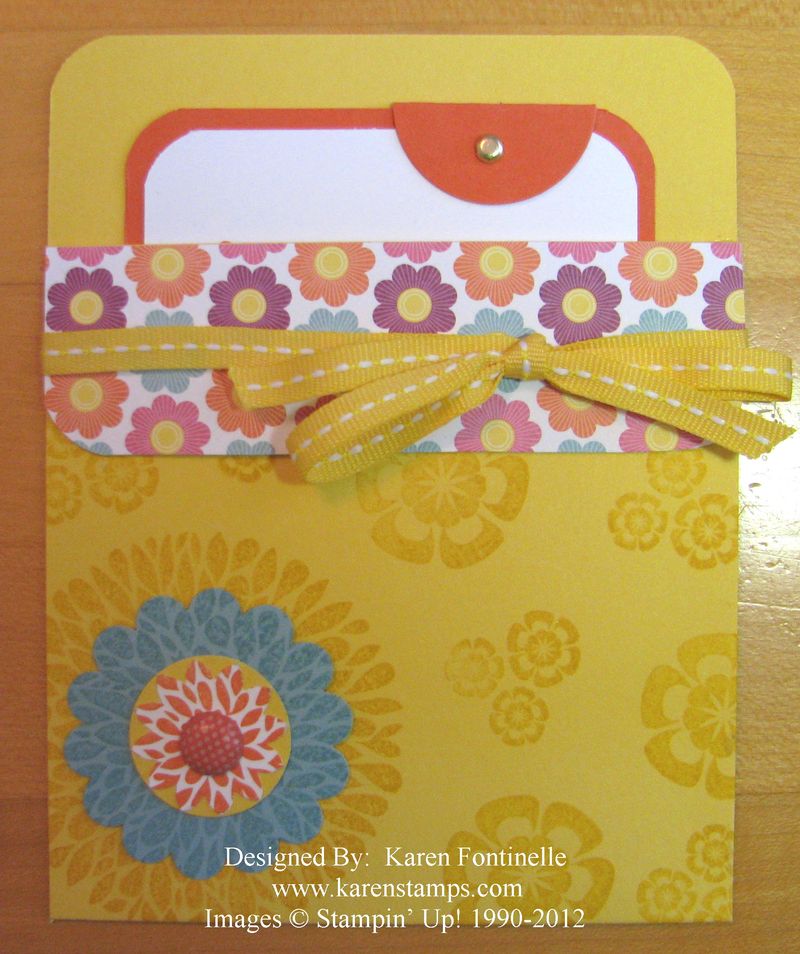
Betsy's Blossoms Pocket Card

For the second day of summer, I thought a bright and cheery pocket card might be fun! Pocket cards are really easy to make and I think often take your card-making up a notch.

Supplies

Stamps: Betsy's Blossoms (p. 72), Perfectly Penned (p. 132)

Ink: Daffodil Delight #126944, Tangerine Tango #126946, Baja Breeze #126960

Paper:  Daffodil Delight #119683, Tangerine Tango #111349, Baja Breeze #111352, Whisper White #100730, Floral District Designer Series Paper #126919

Accessories: 1/4" Stitched Grosgrain Ribbon #126872, 1 1/4" Circle Punch #119861 (for tab), 1 3/4" Scallop Circle Punch #119854, Boho Blossoms Punch #119858, 1" Circle Punch #119868, 3/16" Corner Punch #119871, 3/16" Metallic Brads #119741, 3/8" Designer Printed Brads #122940

Directions

1. Cut pocket card 4 1/4" x 11".  Score at 5 1/2" and 1 1/4". Cut the insert 3 1/4" x 5" (if you want a layer cut 3" x 4 3/4").

2. Fold the card stock into a pocket, using adhesive along the sides.

3. Round the corners of top, flap, and insert with punch.

4. Stamp the front of the pocket card.

5. Adhere the designer paper to the flap, trimming if necessary. Tie ribbon around flap and adhere flap down.

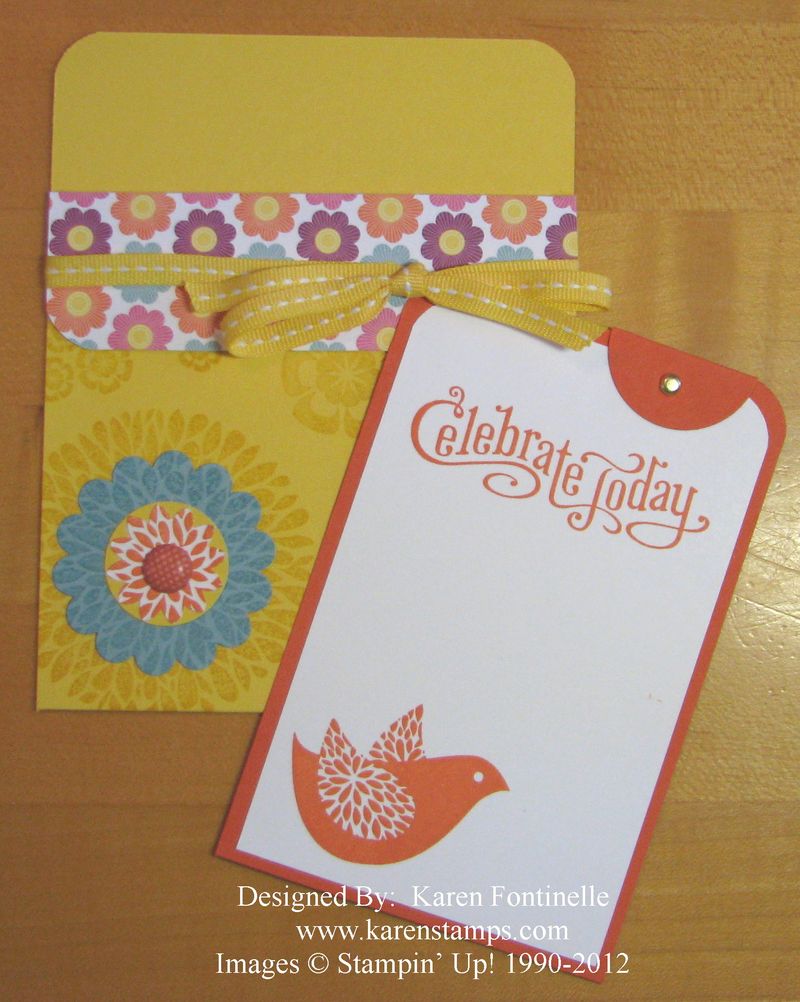
6. Stamp the insert. Punch the 1 1/4" circle, fold in half and push brad through front of circle and insert. Apply adhesive to back of half circle and adhere to back covering back of brad.

7. Stamp and punch out layers for flower on front, inserting Designer Printed Brad in center.  Adhere flower to front of pocket.

Betsy's Blossoms Pocket Card and Insert