Category Archives: Cards

Paper Snips and the Motley Monsters DSP to Make a Halloween Card!

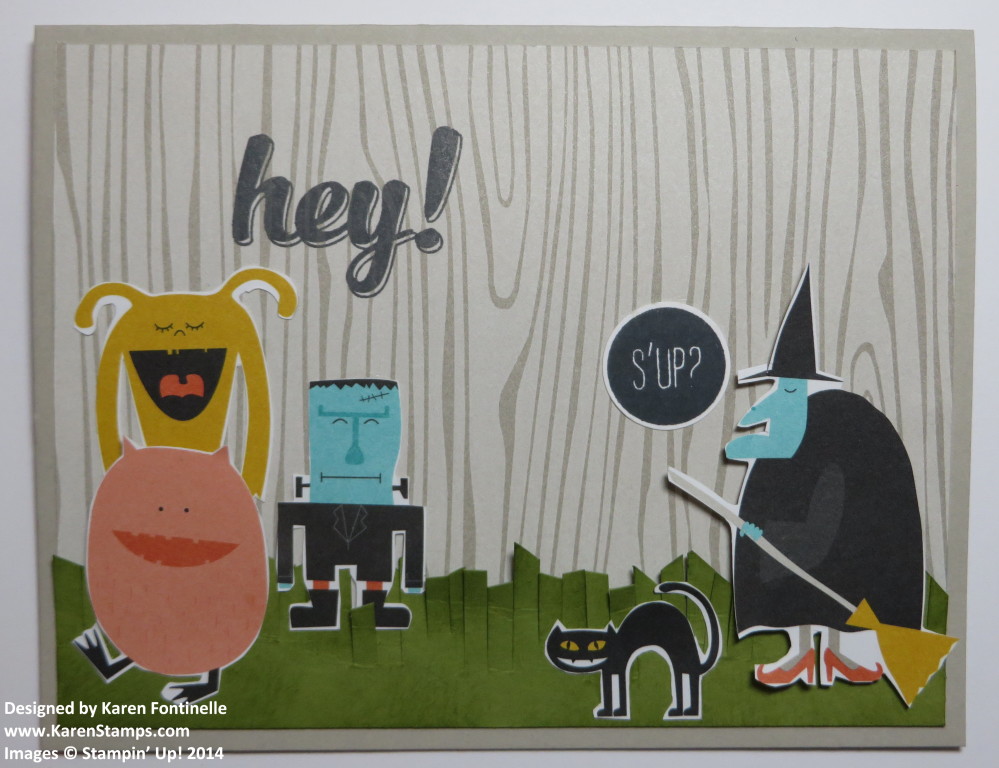
Motley Monsters Halloween Card

This is what comes from looking at the Motley Monsters Designer Series Paper, which has such cute Halloween monsters on it, and thinking, “Why not just cut out some of these cuties with my Paper Snips and make a Halloween card that way?!” And also looking through my stamp sets for a greeting and seeing this “S’Up?” stamp in the set Hi There. It struck me very funny at that moment! I used the Fringe Scissors for the grass and sponged it a little bit with Old Olive ink. The woodgrain background is actually the opposite side of the paper with the monsters on it.

Just a fun, silly card for Halloween!

If you love Halloween as much as I do, you’ll probably want to shop the Halloween and fall stamps, paper and embellishments in the Stampin’ Up! Holiday CatalogJust shop at my Stampin’ Up! Online Store any time!  AND be sure to check the Clearance Rack because there are a few Halloween items from last year on there at a great bargain!  Just add them to your order!

Using Blackberry Bliss and Color Me Autumn For a Fall Card

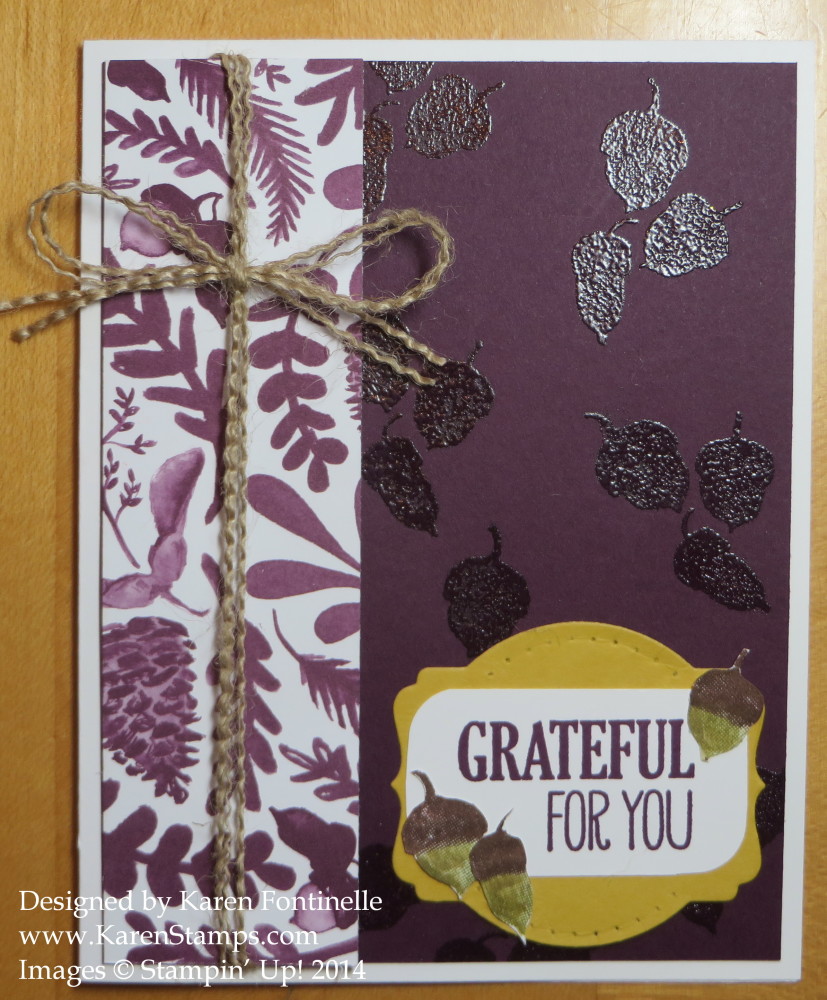
Blackberry Bliss and Color Me Autumn Fall Card

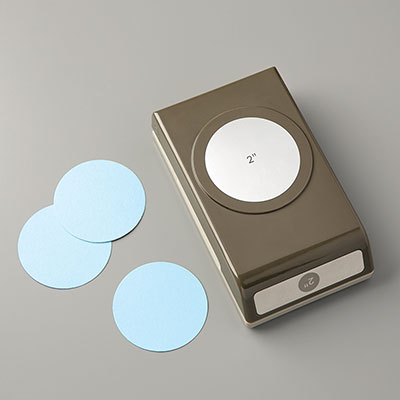
To get started on this fall card, I pulled out the package of Color Me Autumn Designer Series Paper because the colors and patterns on this paper are just so beautiful! I decided to use a strip of this piece with Blackberry Bliss art on it. After that I kind of lost my “mojo”! I stamped and stamped acorns using my Stampin’ Write Markers to color them, die cut them with various framelits, layered them on different colors of card stock – nothing was quite right! I also stamped several leaves and cut them out with my Paper Snips, but they didn’t seem to have a place on this card. I tried coloring just the word “Grateful” and stamping that on the banner stamp, but that didn’t do it. I tried different framelits and punched out the group of acorns with the 2″ Circle Punch.

Finally, I decided to cut out the three acorns and use them as accents on the greeting. The greeting was stamped on a rectangular piece of Whisper White card stock, but then I rounded the corners with the cute little Project Life Punch Corner. I used the Deco Labels Framelits Die to cut out a piece of Hello Honey card stock for the layer for the greeting. I even did a little paper piercing on the top and bottom curve. Then I adhered the little cut out acorns around the greeting.

For one more thing, I decided to emboss the acorns on the Blackberry Bliss layer with Clear Stampin’ Emboss Powder. It didn’t photograph too well, but it just gives a little dark shiny texture to the background. And then, one of my favorite things to do, I frayed a couple strands off the Burlap Ribbon to tie around the designer paper on the side.

It took me awhile with this card to get it to all come together!  Sometimes that happens and sometimes you can come up with a card in two minutes!  Just keep playing and you’ll know when you have it right!

For any of the supplies to make this card, please visit my Stampin’ Up! Online Store.

Watercolor Winter Simply Created Kit Cards

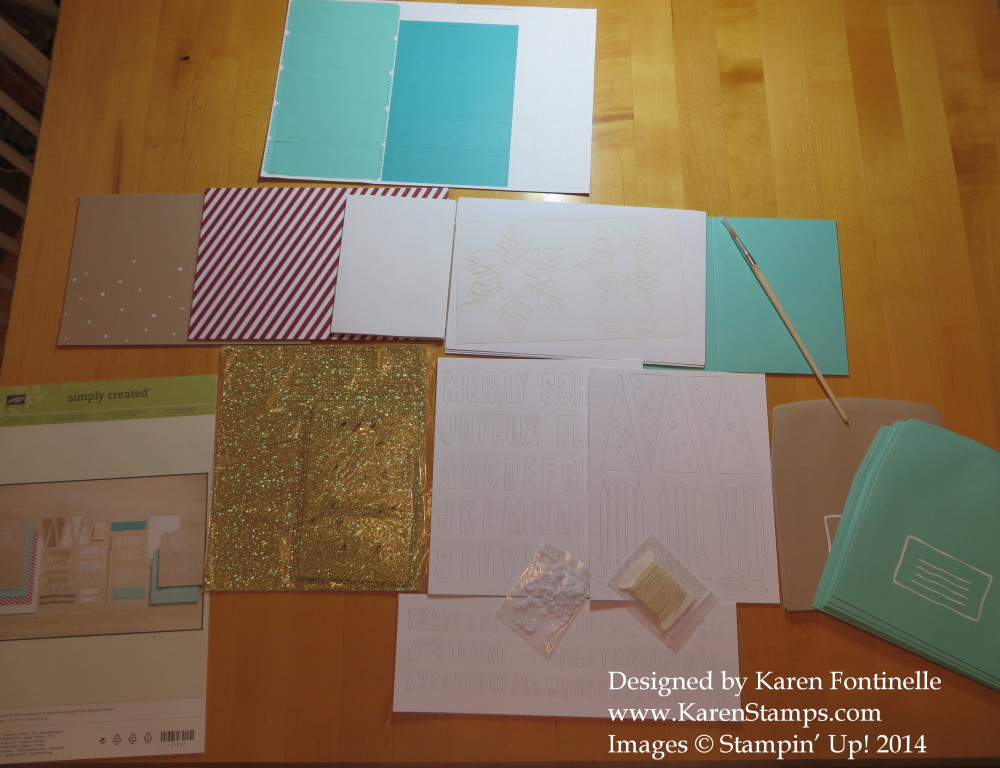
Watercolor Winter Pieces

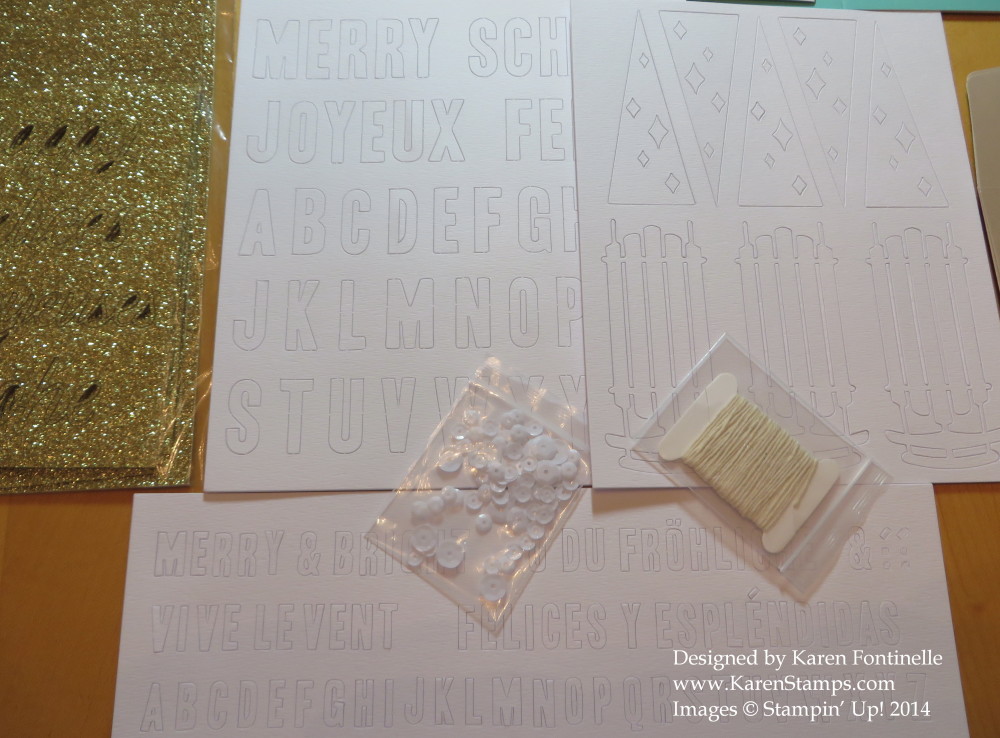
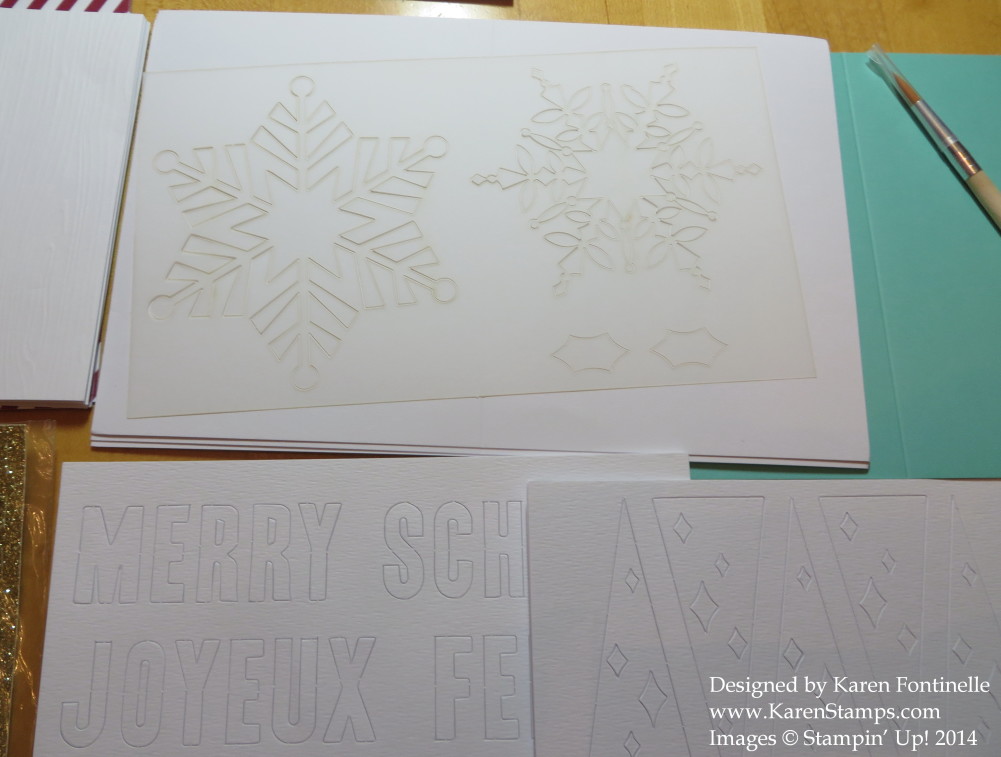
I was surprised when I finally opened up the Watercolor Winter Simply Created Kit package and saw ALL the pieces that come in it!  It took up half my kitchen table to lay everything out to show you! The kit has enough materials to make 20 cards and includes envelopes. You DO have to have some reinkers with which to watercolor the pieces, adhesive, and a couple of clear blocks for the stamps. I have to be honest and say I wasn’t pleased with the directions they put in the kit, and I think they should put color photos of each card so you have a better idea what to do.  I made one of each of two of the cards for today exactly like the directions say, which you will see below. I think when I strike out on my own making similar cards but not following the directions I will enjoy it more. I think it helps to lay everything out on the card before adhering parts to see if it all fits and see if you like it and which kind of adhesive you want to use. At the very end you will see a Stampin’ Up! video that helps in seeing how to make the cards.

Watercolor Winter Pieces2

Watercolor Winter Pieces3

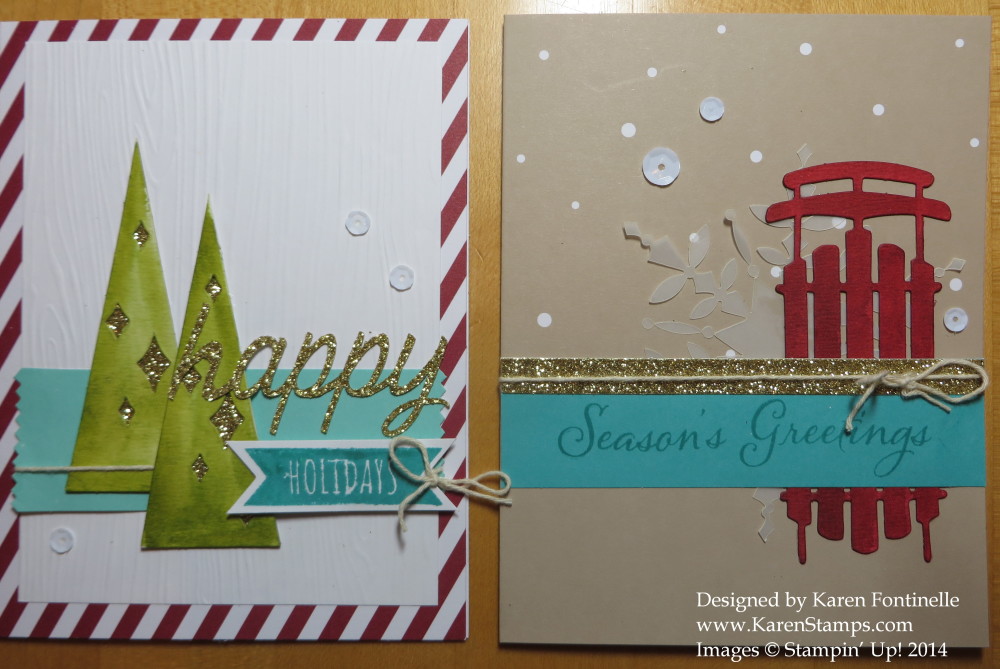
Watercolor Winter Trees and Sled Cards

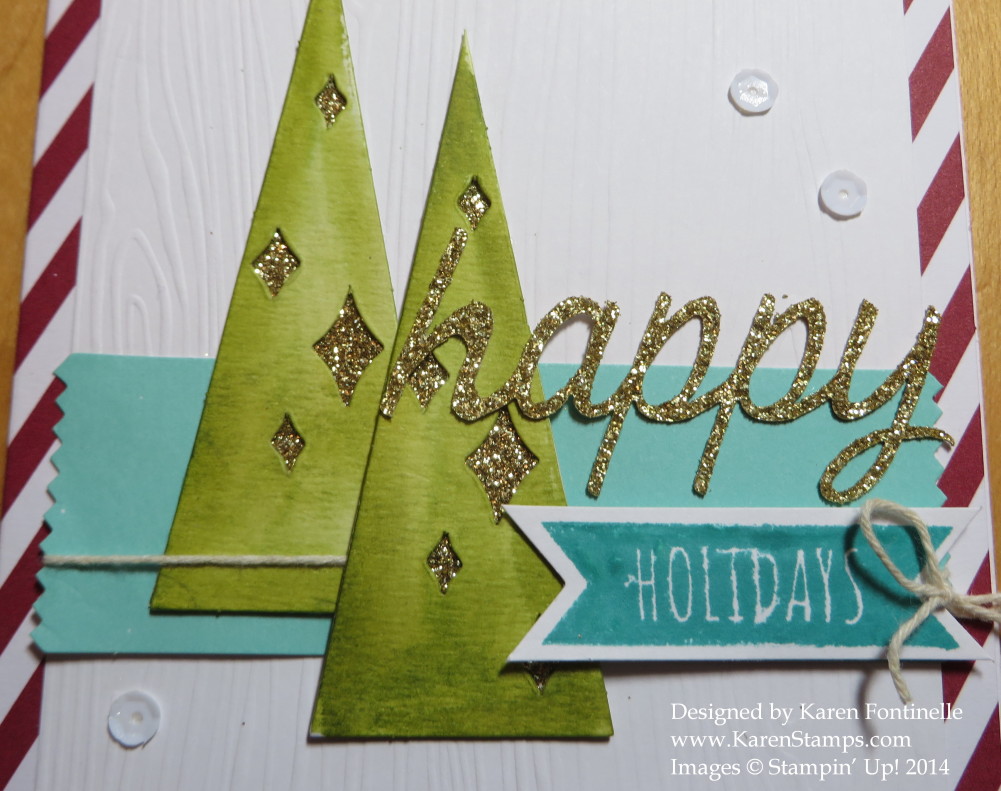
Watercolor Winter Tree Card closeup

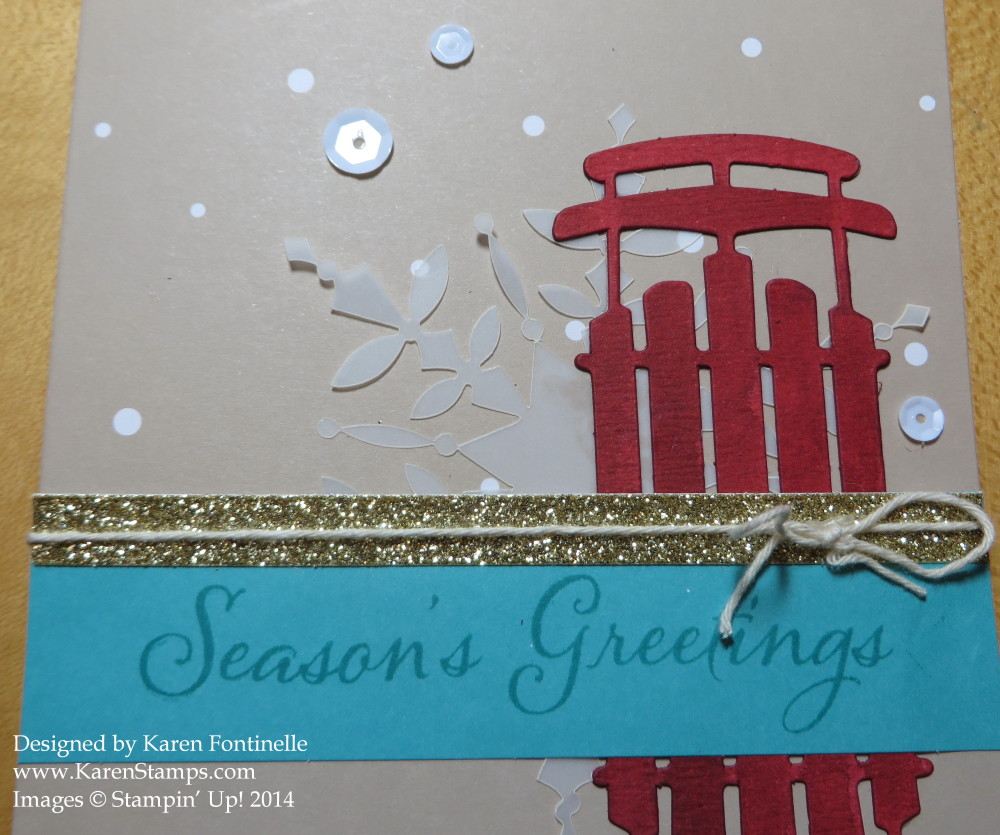
Watercolor Winter Sled Card Closeup

I love the look of these cards, but you do need more things than come in the kit. You also need a Bermuda Bay ink pad and a greeting, like the Watercolor Winter Too stamp set that coordinates. But with a little patience and the right supplies, you can make a set of beautiful Christmas cards out of this Watercolor Winter Kit,whether following the directions or going out on your own!

It’s Time For the Stampin’ Up! Holiday Catalog!

Stampin' Up! Holiday Catalog 2014

Did you wonder if this day would EVER get here?!  The day the Stampin’ Up! Holiday Catalog goes live?! Let the ordering begin so you can get on with your holiday cards and projects! Not just Christmas, but fall, Thanksgiving, Halloween and other fun things! Lots of kits for those who don’t have time or supplies! New products, such as a Gift Box Punch Board!

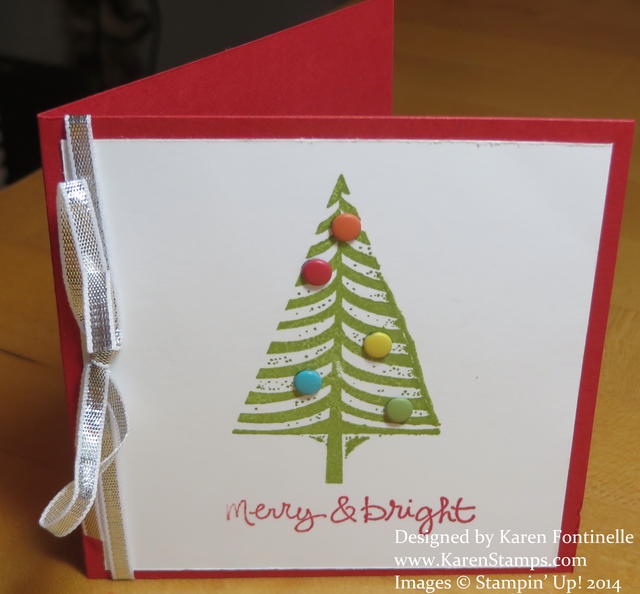
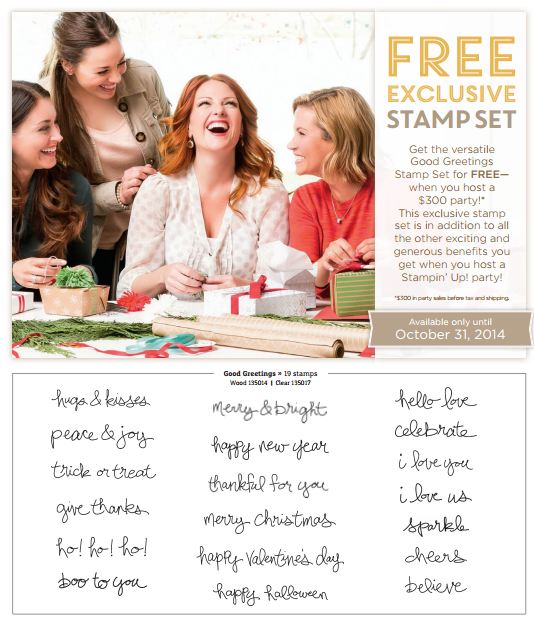
Here’s a little gift tag card I made in minutes with the Festival of Trees stamp set, some Brights Candy Dots, Silver 1/8″ Ribbon, and a greeting stamp called Good Greetings that you can earn FREE! Just host a $300 party or place your own $300 order!

Festival of Trees Tag Card

Don’t miss the Festival of Trees Bundle with the stamp set and NEW Tree Punch!

Good Greetings Free Stamp Set

Contact me if you want to have a Christmas card party or other fun night or day out with your friends! Now go enjoy the brand new Stampin’ Up! Holiday Catalog! If you are one of my regular customers and didn’t receive a catalog, please let me know.  And if you don’t have a demonstrator and are interested in Stampin’ Up! products, please contact me at Karen@KarenStamps.com.  I would be happy to get a catalog to you!

Today is the LAST DAY for the Short & Sweet Offer:  Become a Stampin’ Up! Demonstrator by purchasing the Starter Kit for $99 and choose an EXTRA $25 in product!  Get $150 in product of your choice for only $99 (regular offer $125 in product)! Click HERE for my link to get started!  It only takes minutes to purchase your Starter Kit online and become a Demonstrator. Then you will be emailed a password to get in to the Demo Site and begin your training and look around and see all the resources available to you to start your own business! Choose items from the Holiday Catalog for your Kit if you like!

Shop my Stampin’ Up! Online Store for all your stamping needs!

Color Me Autumn Hello Fall Card

Color Me Autumn Hello Fall Card

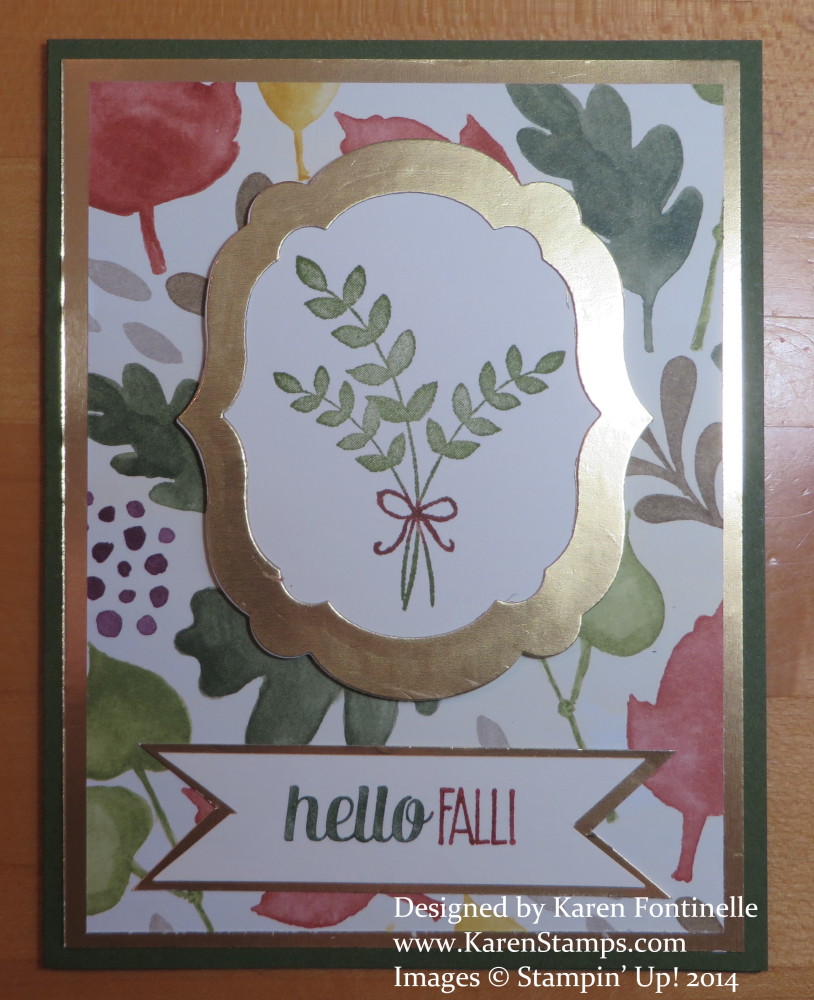
The Stampin’ Up! Holiday Catalog goes live tomorrow, August 28th, and one of my favorite products in the whole catalog is this gorgeous Color Me Autumn Designer Series Paper. I really love the colors of fall and all the traditional autumn sights:  colored leaves, pumpkins, scarecrows, hay bales, acorns, just to name a few. That’s why this pack of designer paper really appeals to me. It’s not all leaves and acorns, though! Most pages have very pretty softly colored designs that all coordinate.  Remember, you can find the names of coordinating colors on the back of every pack of designer series paper these days! It’s on the back label.

This was a great opportunity to use the Mossy Meadow In Color card stock for the card base. And I was really drawn to using the Gold Foil Sheets as an accent on this card with this beautiful paper. The stamping is from the For All Things Stamp Set, coming in the Holiday Catalog. Love that stamp set as well! It has that soft watercolor look to it. For the centerpiece, I die cut the shapes with the Labels Collections Framelits and the Big Shot.  (You can purchase the Apothecary Art stamp set and the Labels Framelits as a Bundle in the Annual Catalog.)

With the summer heat, a lot of us are anxious to be able to say “Hello, Fall!” like on this stamp! Using the Color Me Autumn Designer Series Paper and the For All Things stamp set can get you in the mood for fall!

I have no link today for the Holiday Catalog tomorrow, but to put in your order tomorrow, just go to my Stampin’ Up! Online Store and you will see where to click for the Holiday Catalog somewhere!

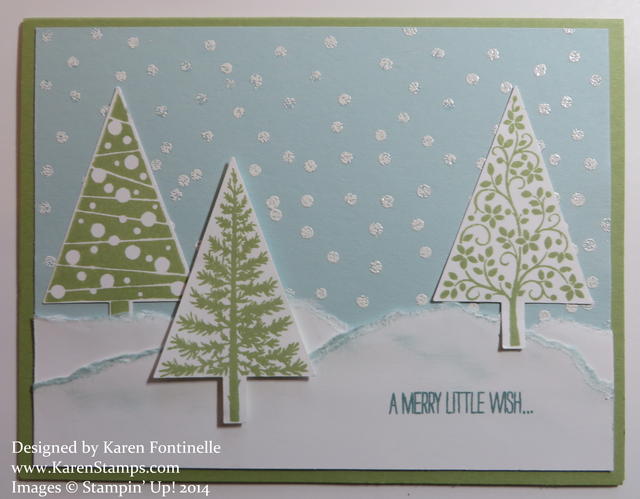
Festival of Trees Snow Card

Festival of Trees Snow Card

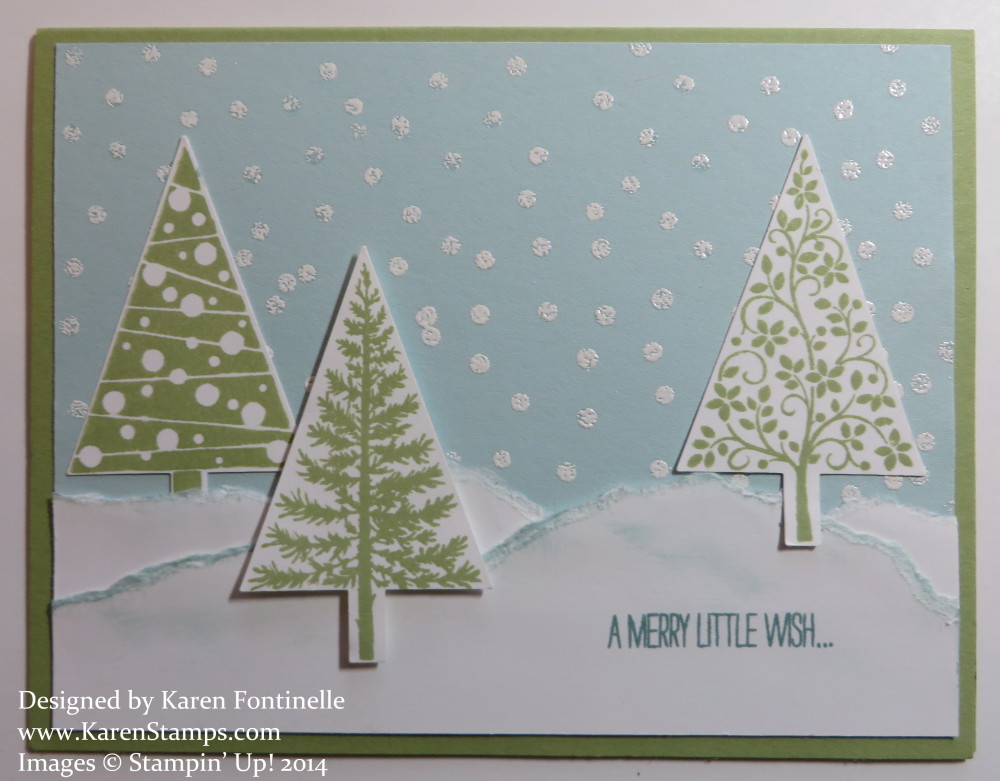
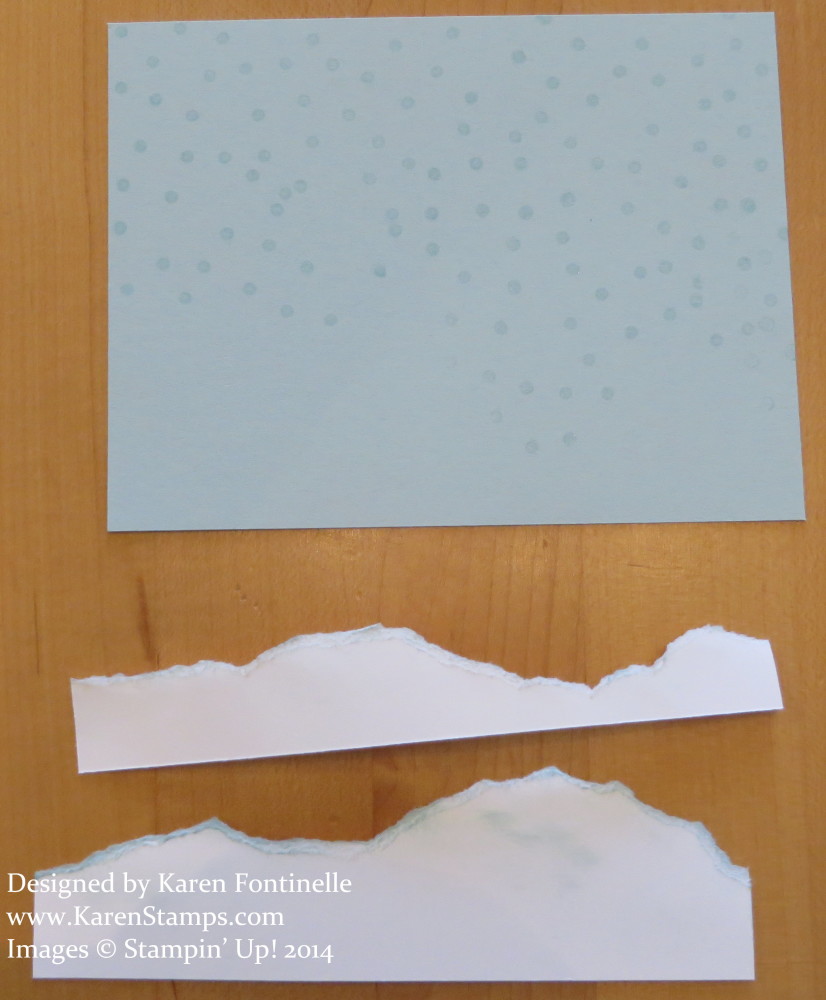
The Festival of Trees Stamp Set is coming soon in the new Stampin’ Up! Holiday Catalog beginning Thursday, August 28. That’s less than a week away! Here is a simple card I made with the cute tree stamps in the set and the really cool Tree Punch!  All will be revealed in the Holiday Catalog soon! It’s a Bundle so you’ll be able to save 15%! After kind of laying out the basic card, Soft Sky and Whisper White card stock on a Pear Pizzazz card base, I thought maybe it needed snow in the background. And I’m not usually the one who thinks up alternate uses for things, but today I thought of using the tree stamp that has just dots on it to make snow flakes randomly across the front of the card! I stamped with Versamark, turning the dotted tree stamp this way and that so each bunch wouldn’t look like a triangle.  Then I embossed with White Stampin’ Emboss Powder using the Heat Tool. It’s handy to use the Embossing Buddy to rub across your paper before applying the ink so that stray flakes of embossing powder don’t stick where you don’t want them.

This what the card looked like after I stamped with Versamark. The torn strips of Whisper White representing snow are sponged with Soft Sky ink.
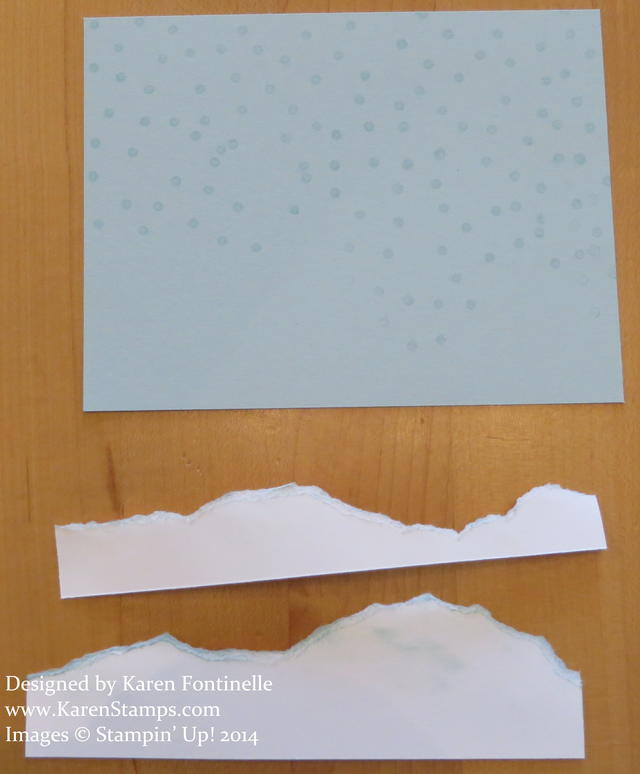
Snowflakes on Card

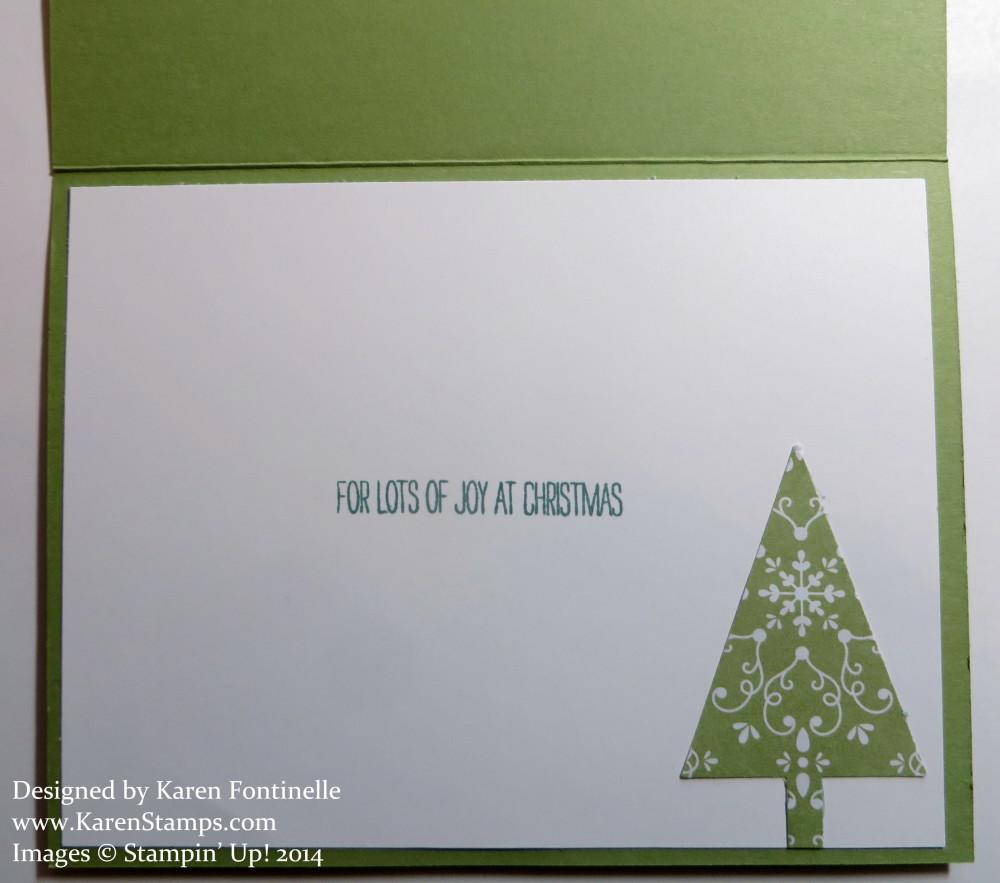
The stamp sets in the Holiday Catalog often have good sentiments to put on the front AND on the inside of the card, so after stamping the greeting on the front of the card that comes in the stamp set, I also adhered a Whisper White layer inside the card and stamped the rest of the greeting inside the card.  Then for a little extra decoration, I punched another tree out of the beautiful All Is Calm Designer Series Paper.
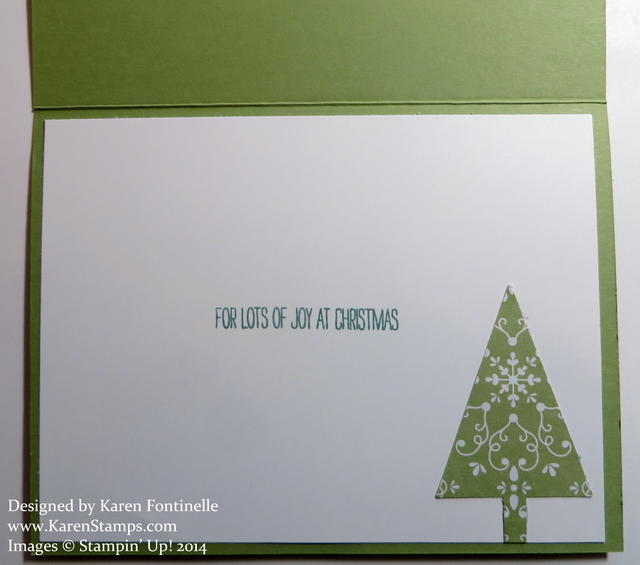
Festival of Trees Snow Card Inside

The Holiday Catalogs are arriving in mailboxes of customers this week, it seems!  If you do not have a demonstrator and would like me to mail you a catalog, please email me at Karen@KarenStamps.com. The Festival of Trees stamp set is going to be a fun one to use on Christmas cards this holiday season!

Visit my Stampin’ Up! Online Store any time, and especially beginning August 28 to see the online Holiday Catalog!

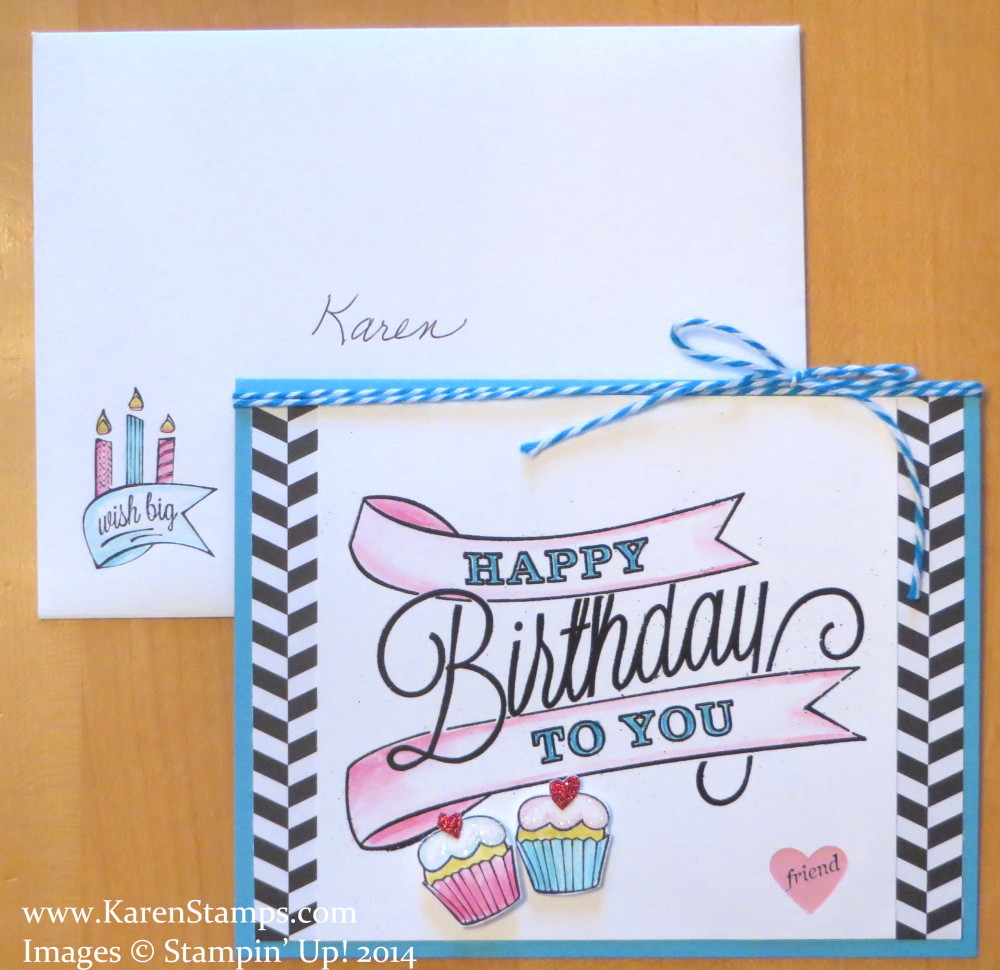
Another Great Year Happy Birthday Card

Another Great Year Happy Birthday Card

Just had to share a beautiful handmade birthday card I received last week in St. Louis from my friend Jan using the stamp set Another Great Year. I almost always forget this stamp set is retired – I really like it and it seems like it should be current! She used some pieces of Back To Black Designer Series Paper on each side, non-SU baker’s twine around the top and glitter and glimmer for bling on the cupcakes. The main image is embossed with Black Stampin’ Emboss Powder. The little heart at the bottom is punched out with the word “friend” stamped on a paper behind it. Also, I love how she decorated the envelope with some stamping and coloring! We always say you shouldn’t send a naked envelope,although I have to admit sometimes I don’t take that extra second to do it or maybe  I don’t think about it until the card is sealed in the envelope and sometimes that makes it too bulky to stamp on it and have the image come out clearly. Such a happy card, I think! Maybe you already own the stamp set or you can get an idea with some other current set we have.

Don’t forget:  Last day for Stampin’ Up! Weekly Deals for August 12-18

Weekly Deal Aug 12

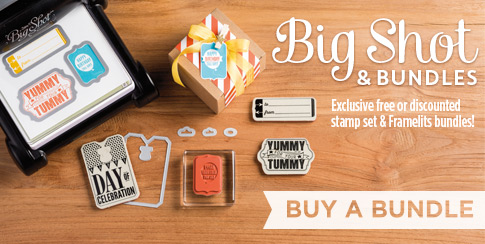
If you don’t already own a Big Shot Die-Cutting Machine, now is the time to get one with the August Big Shot & Bundles Offer. Buy a Big Shot and choose one of the select bundles free!  And with this week’s Weekly Deals, you can purchase several items at a discount for the Big Shot and you’ll have lots to work with! Be sure to take advantage of it before you run out of time.  Offer ends August 31.

Big Shot Bundle Promo Ad

Click to Shop!

Shop at my Stampin’ Up! Online Store for all your stamping needs!

Baseball Circle Thinlits Birthday Card

Baseball Circle Thinlits Birthday Card

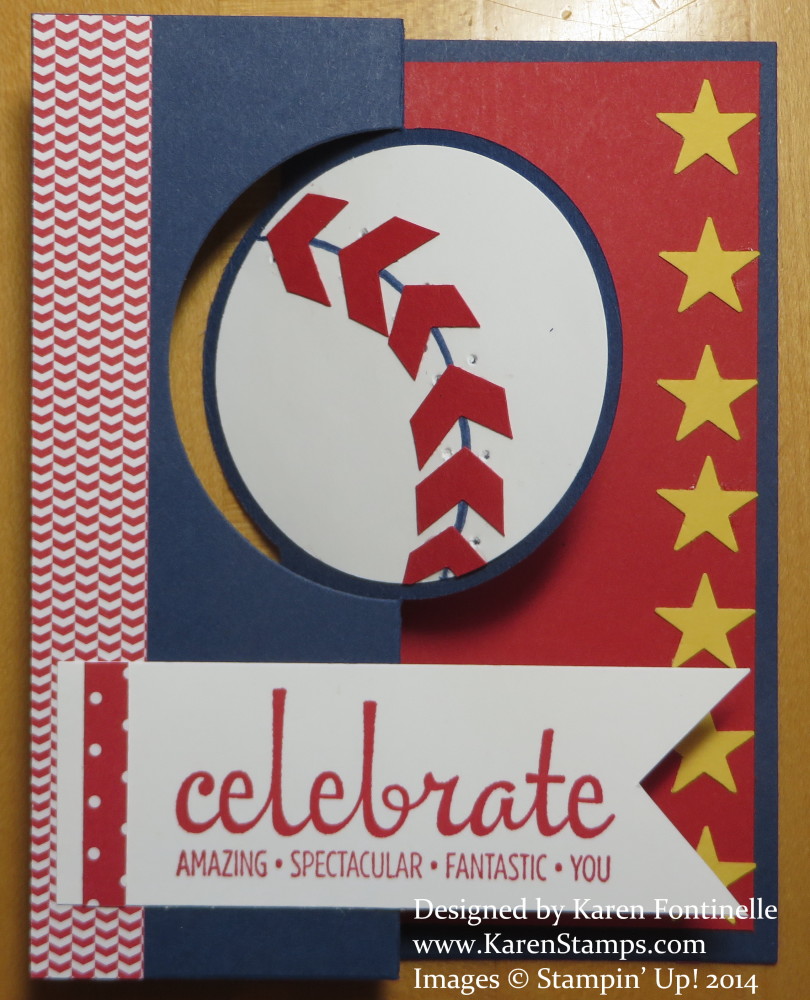
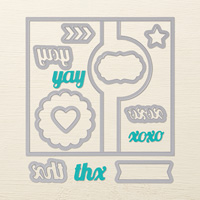
It has been awhile since I used my Circle Card Thinlits Die and this birthday baseball card presented the perfect opportunity. This card copies a couple ideas I saw online in making a baseball card and I thought using the Thinlits Die so that it would open like this made it extra special. The Circle Card Thinlits Die makes it easy to make a card base as it does all the work for you! Then just decorate up a storm to make it into the card you want.

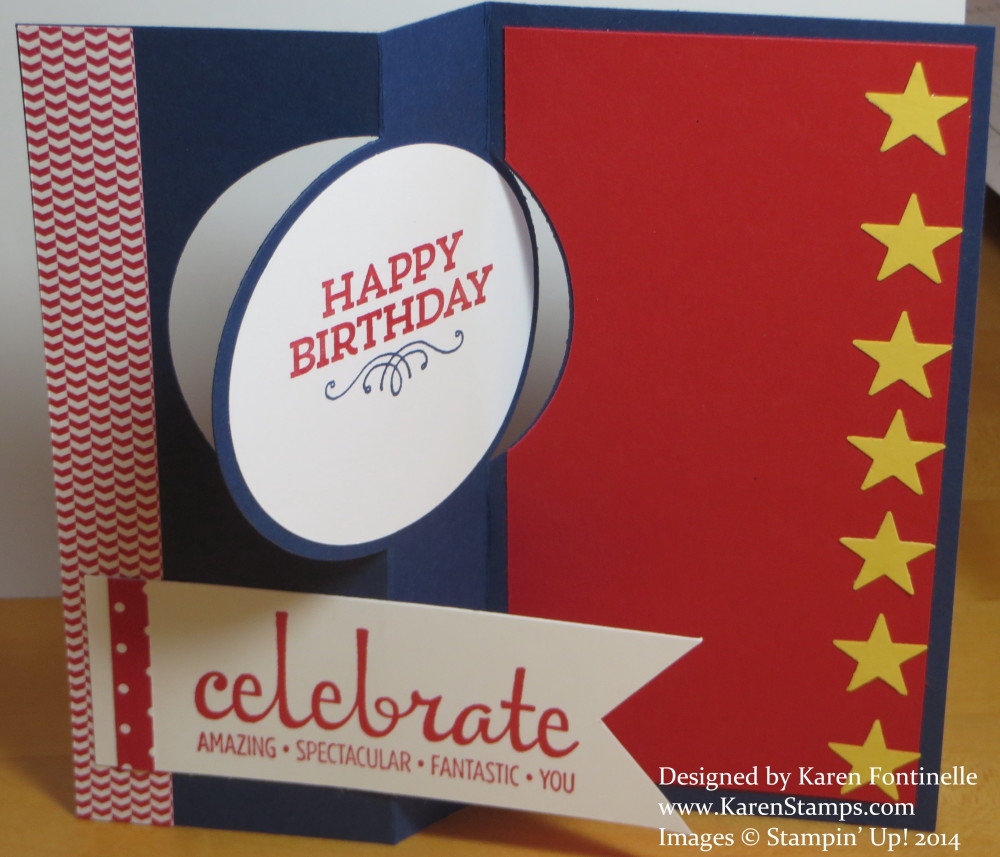
Here is what the card looks like on the inside when it is unfolded.  The hardest part of this card is photographing it, not making it!

Baseball Birthday Card Inside Inside

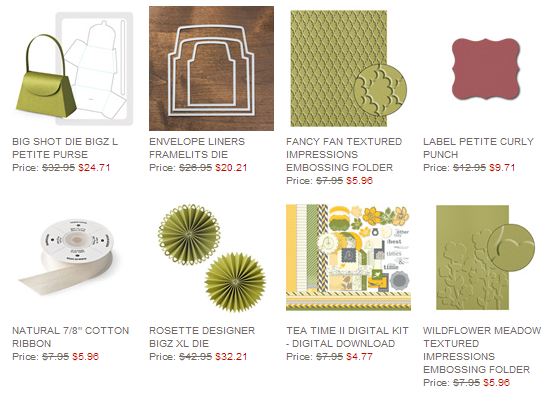
Here are some of the supplies you will need to make this card. You can find any of them in my Stampin’ Up! Online Store!

Mixed Bunch Hello Card

Mixed Bunch Hello Card

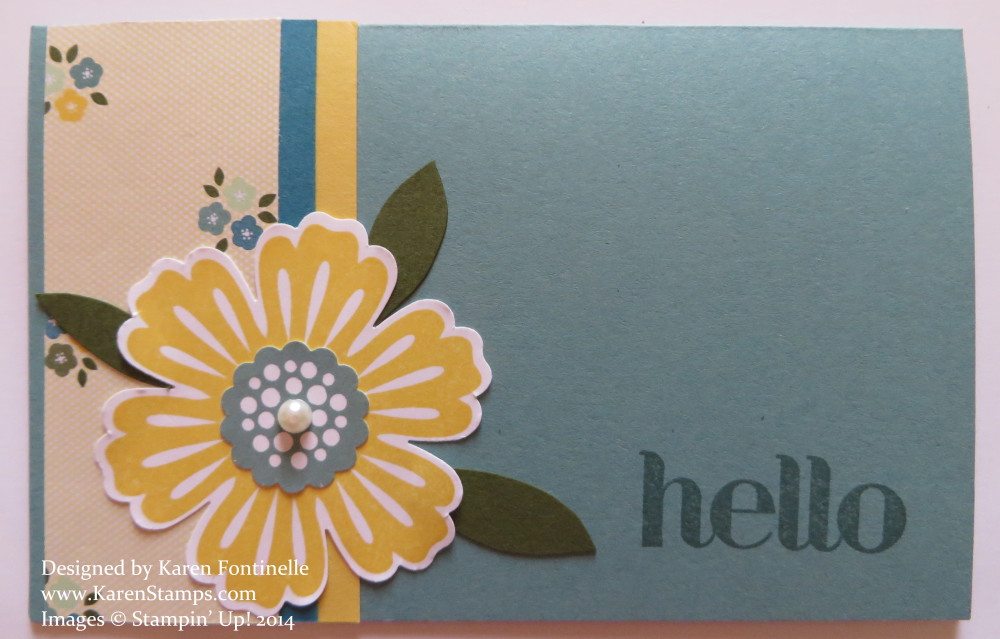
With this card, I was still playing with the All Abloom Designer Series Paper Stack! I just need a small strip of it on the end of the card and choose to accent it with two narrow strips of card stock, Daffodil Delight and Island Indigo. I stamped the greeting on the front of the card using one of my favorite stamp sets, Four You. The flower is Daffodil Delight, stamped with the Mixed Bunch Stamp Set.  The flower is stamped twice, this time in a different color, Lost Lagoon, so I could punch out the center portion with the 7/8″ Circle Scallop Punch and accented with a small Pearl Jewel. The leaves were just cut by hand from some scraps! Easy, sweet card to make!

Here are the new Weekly Stampin’ Up! Deals!  Check them out in my Online Store!

Weekly Deal Aug 12

These Weekly Deals are good through Monday, August 18. Don’t miss out!

New Yee-Haw Stamp Set!

Yee Haw Stamp Set

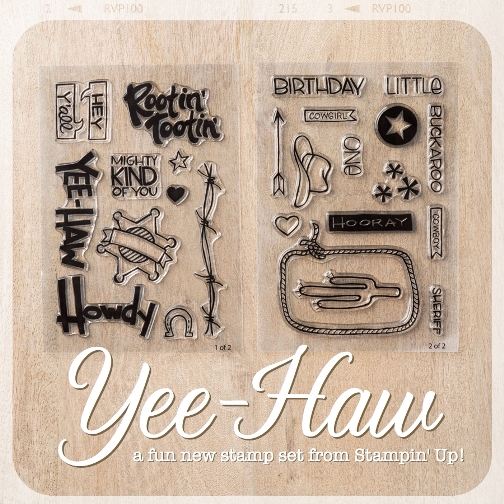
Here is a new photopolymer stamp set, Yee-Haw, that was introduced at Stampin’ Up!’s convention, Inspire.Create.Share and I believe was a quite a hit!  Now you can own it and go to town making some cute cards, scrapbook pages, gifts and other projects! What a great set for a child’s birthday party, an adult party, rodeo time, many occasions! I just remembered the Cub Scout Blue & Gold Banquets where we would have a theme and I shopped for weeks looking for party decorations, favors, invitations, etc. for that particular theme.  That was before I was into stamping, and boy do I wish I have known about Stampin’ Up! back then!  I could have had a ball stamping things for all the kids’ parties, school parties, invitations, Scouts, sports and more.  I believe all young mommies should know what is available through Stampin’ Up! and all the creative ideas that are out there to use. So grab this new stamp set, Yee-Haw, while it is available and start enjoying making things with it!

Shop any time at my Stampin’ Up! Online Store HERE! Check the “New Arrivals” for this Yee-Haw Stamp Set.


Mixed Bunch Lost Lagoon Monochromatic Birthday Card

Mixed Bunch Lost Lagoon Monochromatic Card

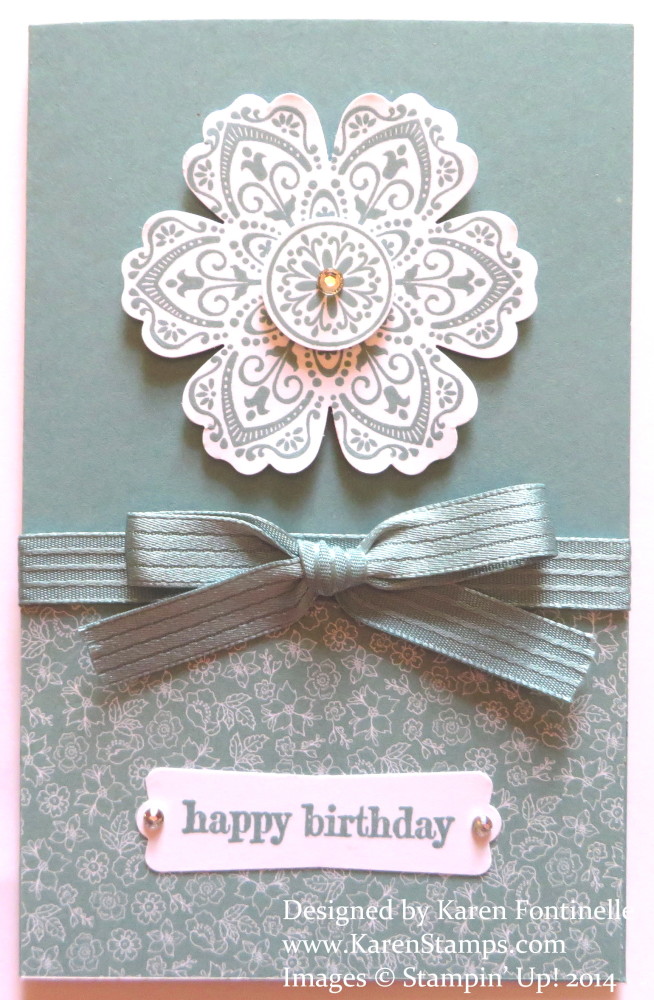
It’s fun to just flip through the All Abloom Designer Series Paper Stack and choose a pattern that speaks to you!  I had already found, in the package of In Color card stock, an already started card with some very bad stamping on it! “Somebody” was trying to stamp a pattern on the bottom of this card and didn’t get it lined up correctly at all! Since there are no mistakes in stamping, I found this pattern that coordinated with the Lost Lagoon card stock and covered the whole messed up area at the bottom of the card! No one will ever know, except you and me! Before adhering the patterned paper, I wrapped a piece of Lost Lagoon 3/8″ Satin Stitched Ribbon around the top of the piece and then tied the bow with a separate piece of ribbon.  So much easier.  It is attached with a couple of Glue Dots. Then what to do with the empty top area?? I decided on a flower from the Mixed Bunch Stamp Set, and thought this patterned flower went the best with the paper on the bottom. I used another stamp for the center, punched with the 3/4″ Circle Punch, popped up on a Stampin’ Dimensional, with a Rhinestone Jewel in the center for a little accent.  The greeting is from the Something To Say Stamp Set. It is punched out with the Modern Label Punch and has two Rhinestones on it. I decided just a simple plain greeting was fine.

To find any of these supplies, just click HERE to go to my Stampin’ Up! Online Store!

Remember, if you are in Texas, today is the last day for the Sales Tax Holiday. Check my previous post about the items that are included in the holiday that you can order from Stampin’ Up!

Also, if you are interested in purchasing a Paper Pumpkin subscription, the kit that comes in the mail to you with a cute project inside, sign up today, August 10th, in order to receive the August kit! Use the promo code HALFOFF2 in order to get a discount of 50% for the first two months!! Regular price is $19.95, which includes shipping! This offer is for new subscribers only.

Click HERE for Paper Pumpkin!

Easy Birthday Card to Make With All Abloom Paper Stack

All Abloom Birthday Card

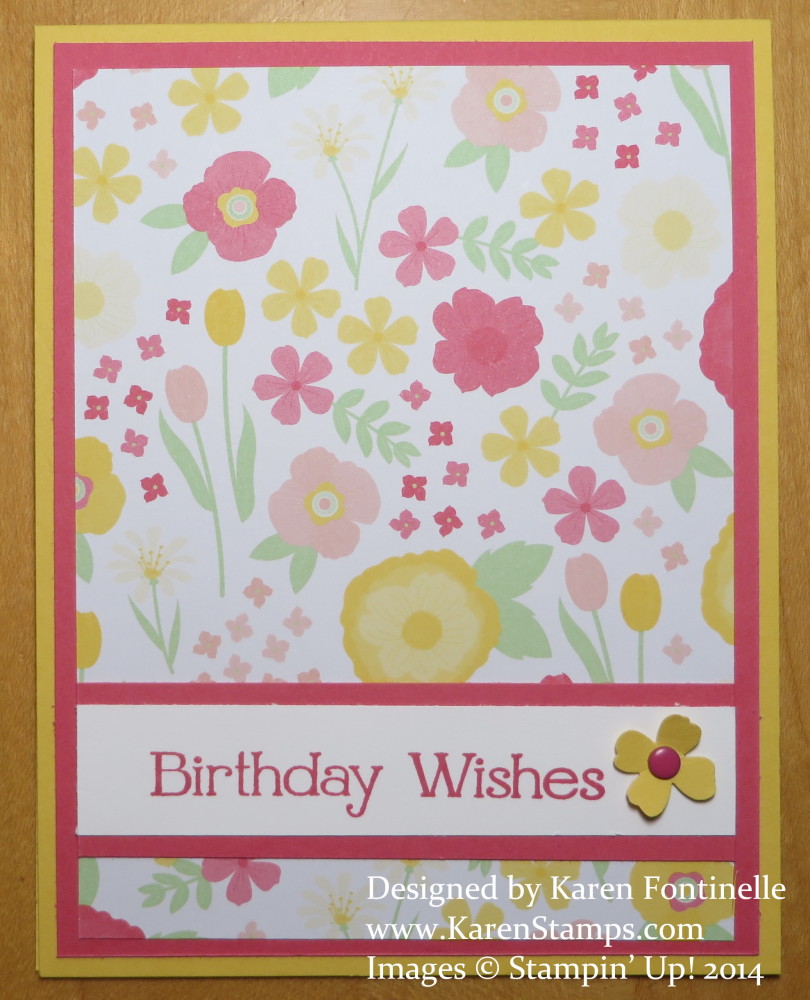
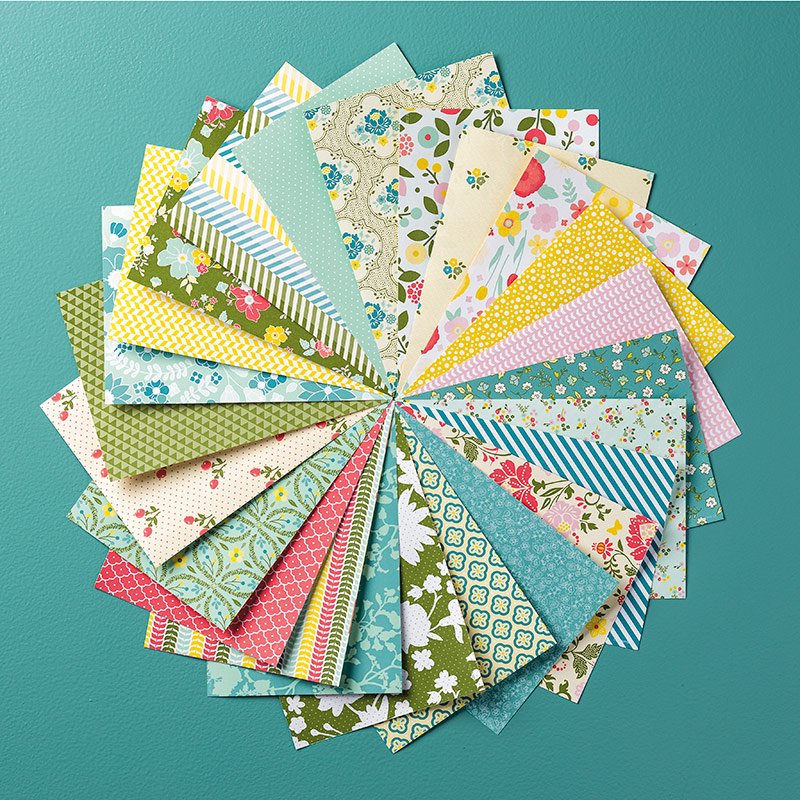
There’s not an easier birthday card to make than this one using the All Abloom Designer Series Paper StackI have to admit, I’ve had this All Abloom Paper Stack since it came out, but hadn’t used it. It actually got lost under all the “stuff” on my desk! To make this card, all I had to do was flip through the stack and see which pattern caught my eye or inspired me. This one just looked so pretty, and I liked the opportunity to use my Strawberry Slush card stock! The greeting is from Four Youa stamp set I find myself using a LOT! I thought the paper was pretty enough itself so the card didn’t need much else.  I added just a little flower punched with the flower punch in the Itty Bitty Accents Punch Pack  with a little Candy Dot in the center! I probably would have added a little flower or something-something somewhere on the card, but honestly, I stamped the greeting just a tad too far to the left so the flower filled in the space perfectly and added just a little accent!  See, there ARE no mistakes in stamping!

The All Abloom Designer Series Paper Stack gives you a ton of paper choices very inexpensively. Not every pattern is a flower so no worries there! You can view them all and purchase in my Stampin’ Up! Online Store. Just think of the tons of cards you could make easily with this small stack of paper!

All Abloom Designer Series Paper Stack

(c) Stampin’ Up! 2014

Flower Fair Framelits and the Big Shot

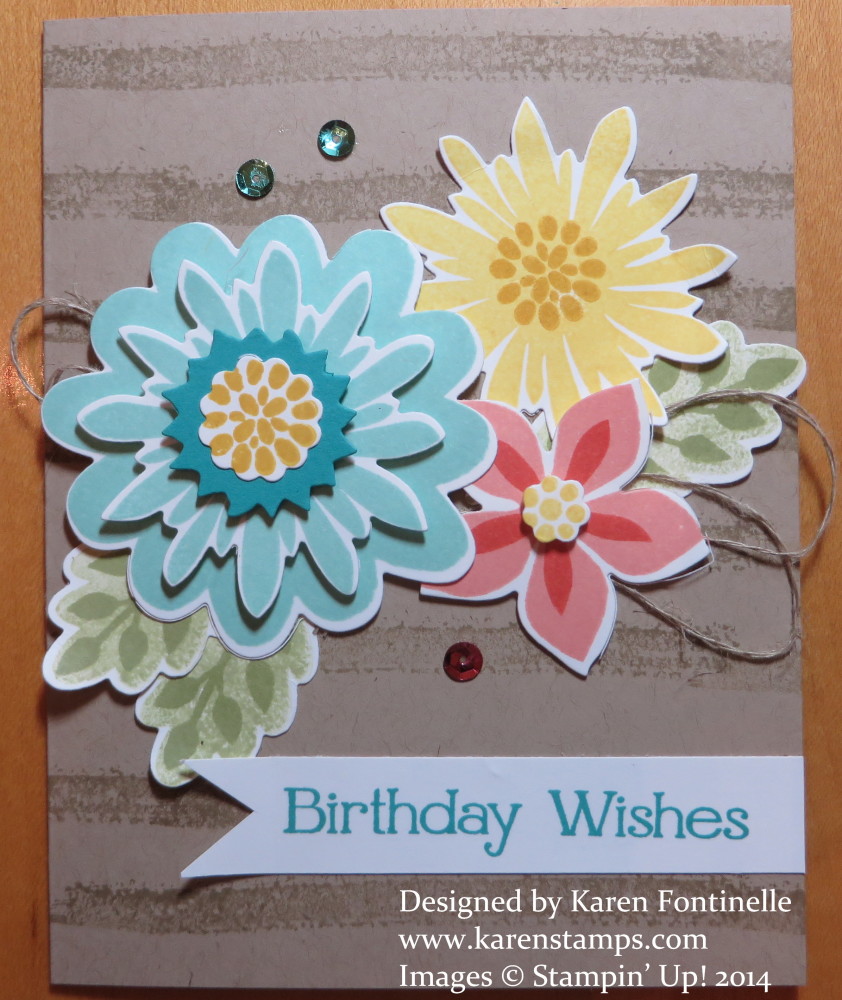
Flower Patch Flower Fair Birthday Card

The Flower Patch Stamp Set makes beautiful flowers on a birthday card, but would you like to cut them all out after you stamped them, or would you rather use the Big Shot and the Flower Fair Framelits Dies? You could cut them with Paper Snips but it’s easier to use the Big Shot!

The background of the Crumb Cake card base is stamped with the stripe from the Work of Art Stamp Set. The Birthday greeting is from the Four You stamp setone that I love for greetings!

I really liked adding the sequins on the card from the In Color Sequin Assortment. Those three were just enough, though. I had planned to put some on the birthday greeting too. You have to know when to stop!

If you don’t own a Big Shot, you want to consider the August Big Shot special from Stampin’ Up!  Purchase a Big Shot and choose a select bundle free!  If you already own a Big Shot, choose any of the bundles at a 15% discount. Everyone who has a Big Shot loves it and uses it a lot.

If you are not familiar with a Big Shot, watch this Stampin’ Up! video! I had chosen a little notebook cover in the catalog on page 155 to copy as a card. When I watched this video again, well, check out the last project she shows you!  My ESP has been working overtime lately! Yes, I had seen this video before, but really was not thinking about it when I chose the design for the card!  Must have been buried in my subconscious!!

Just go to my Stampin’ Up! Online Store and order your Big Shot and choose your free bundle! You’ll be glad you did!

Make a Cupcake Party Card With Flashback Paper

Cupcake Party Card with Flashback Paper

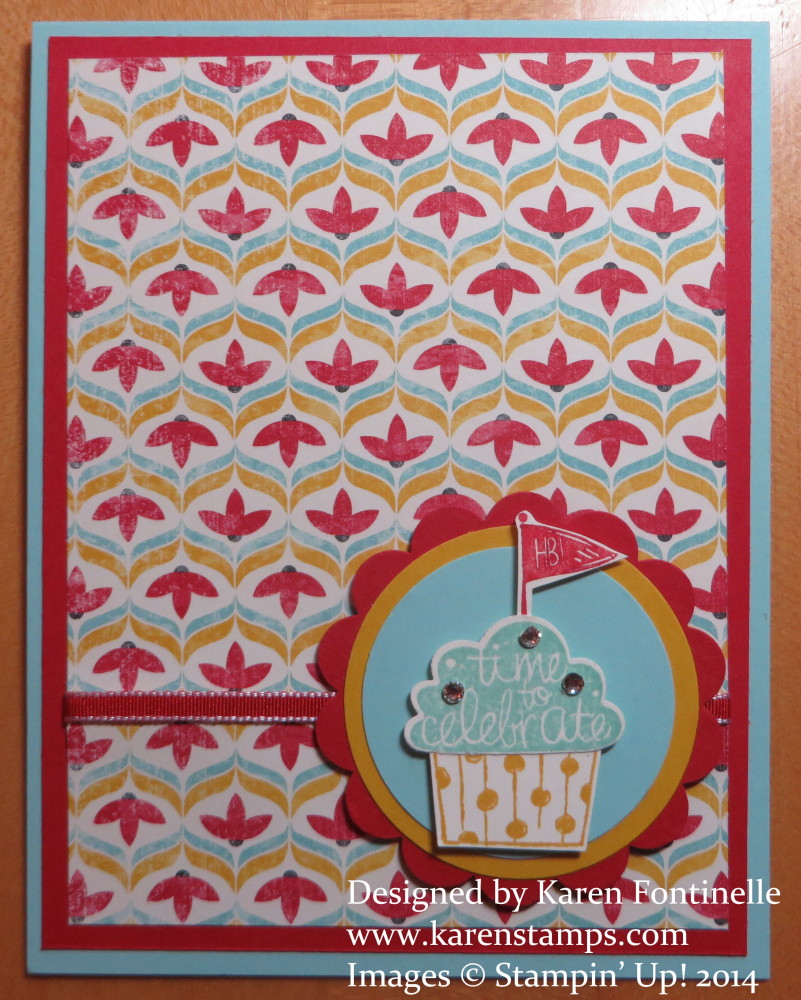
As I looked through the Flashback Designer Series Paper, the Real Red and Pool Party colors on this pattern really caught my eye. I love red! I wondered if I could use it some way with the Cupcake Party stamp set and the Cupcake Builder Punch, on sale this week in the Stampin’ Up! Weekly Deals. The Cupcake Punch is used for the top and bottom of the cupcake, but I handcut the little Happy Birthday flag for the top. With the punch, I could have punched out a little cherry for the top! You wouldn’t believe how many circles and scallop circles I punched in various colors and tried different combinations to see which one worked best behind the cupcake. Finally I just decided on this one! I also put a little strip of Real Red 1/8″ Taffeta Ribbon across the card, even though you don’t see much of it.

This card is cut lengthwise, meaning the Pool Party is cut 11″ x 4 1/4″ and then folded in half. Just a little change!

Don’t judge a pack of designer paper by the first sheet in the package! This one has retro cameras, but there are other pretty patterned papers in the pack. And don’t forget that the Buy 3 DSP Get 1 Free Offer from Stampin’ Up! during July! Much to my surprise, July is almost over! Tomorrow is the last day you can take advantage of this special deal to stock up on designer paper.  Specialty papers are not included. Choose from the patterns on pages 186-7 in the new Stampin’ Up! Annual Catalog.

One more day to order 3 designer series packs and then get the 4th one free!  Add some of the Weekly Deals to your order as well!

Shop any time at my Stampin’ Up! Online Store!

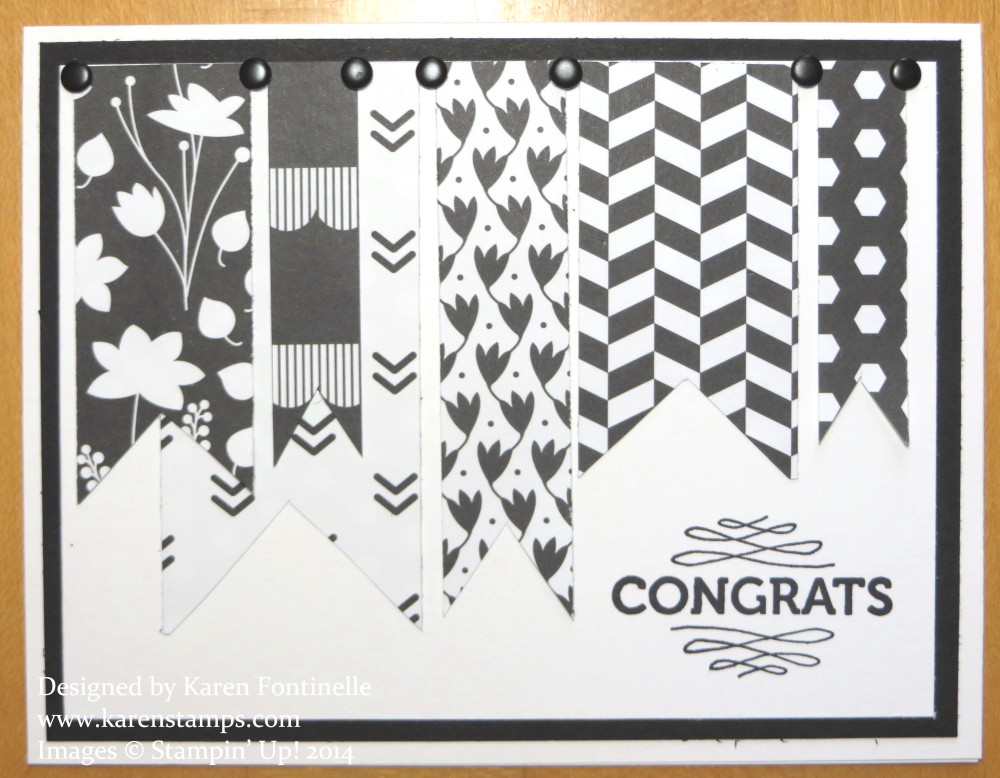
Back To Black Designer Paper Congratulations Card

Back To Black Congratulations Card

I think just using black and white can make a beautiful card, and that’s why the Back To Black Designer Series Paper from Stampin’ Up! is so useful. Here is an easy black and white Congratulations card that you could be proud to send to anyone. Or change out the greeting and make it a birthday card or whatever occasion you need. I just chose several scraps of my Back To Black DSP and cut strips and made them into banners of varying widths and lengths and adhered them to my card front (stamp first in case you mess up!). I tend to just cut the flag end of the banner with my Paper Snips, it doesn’t have to be perfect, but you could also punch with the arrow punch or the square punch or some others.

The greeting is from the Hey You Stamp SetAnd for a finishing touch, I added some black Neutrals Candy Dots to look like they are holding up the banner.

Buy 3 Get 1 DSP Free Offer (last day July 31)

Stampin’ Up! Weekly Deals (last day July 28)

Subscribe to Paper Pumpkin Use HALFOFF2 code.