This Thinking of You Oval Window Card could be used for many occasions, not just “thinking of you”. We often are looking for a masculine card, which this one could be categorized under, but it could be for anyone for any occasion.
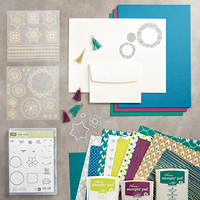
However, since we are only two days away from the Stampin’ Up! Catalog changeover, I wanted to use a bit of old and a bit of new to make this card! And what could be better for “old” than the classic Lovely As a Tree Stamp Set! If you are new to Stampin’ Up!, you might not realize how long Lovely As a Tree has been in the catalog! It’s been there as long as I’ve been a Demonstrator and that’s getting to be pretty long! It will be a dark stamping day if they ever retire this stamp set! It’s not referred to as “classic” for nothing because it just is SO versatile, and that’s what we love with our stamp sets, ones that can be used for many types of cards or projects. I’ve made Christmas cards with it (one of my favorite easy cards ever!), sympathy, Father’s Day, birthday, you name it.
For the inside of this card, I stamped the trees with Chocolate Chip ink on Whisper White Cardstock and then colored in the leaves and grass with Sponge Daubers and three colors of green ink (Lemon Lime Twist, Old Olive, and Pear Pizzazz). If you don’t have the Sponge Daubers, use a piece of a Stamping Sponge or the Aqua Painter. For the sky, I did the same with Soft Sky ink. The coloring is not meant to be perfect as you can see, but in the end, it all looks good! I left a bit of white at the bottom for signing the card. If you wanted to write a note inside, I think you would have to do it on the back of the card or enclose a written letter in the envelope with the card. (Wow! A letter! How nice would that be to receive?!)
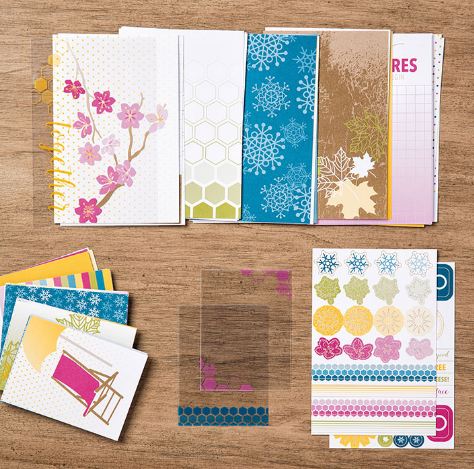
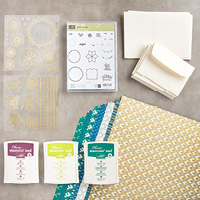
The card base is Crumb Cake die cut with the largest Layering Ovals Framelits Dies. For “something new” (almost like a wedding!) I used the upcoming Colorful Seasons Stamp Set and the coordinating Seasonal Layers Thinlits Dies. When the new catalog begins June 1st, you will be able to purchase the stamp set and dies as a Bundle and save 10%. And from the samples I have seen from Demonstrators during our preorder period here in May, I think you will WANT to have this set! I LOVE the Andirondack chair and the other lounge chair in the set. Plus there are images and dies to make projects for all four seasons. I die cut this chair out of the new Wood Textures Designer Series Paper Stack, a new package of papers you will want to have right away! The card still needed a little something, so I die cut some leaves and stamped with the larger stamp in the set to get the leaf veins. The greeting is in the set.
In case you were wondering, here is one of my favorite and easiest Christmas cards I have ever made! Click HERE to see my card made with Lovely As a Tree and Dazzling Diamonds Glitter! Some of my customers have also copied and sent this card at Christmas time, too! It’s just that easy and classic!
Remember, you have today and tomorrow to shop the current Stampin’ Up! Catalog and DON’T FORGET the Occasions Catalog!!!
I hope you were inspired by my old and new mix to make this Thinking of You Oval Window Card! Lovely As a Tree is NOT retiring, so you can order it along with your new products if you like.