Category Archives: Candy

Valentines for Boys (or Robot-Loving Girls!)

Robot Valentines for Boys

Valentines are sometimes all "mushy" but here is a cute idea for valentines for boys! Not that they can't be for girls, too, of course…but in the craft world, it's often more difficult to find "boy" things. Anybody who loves robots will like these valentines…and not just for Valentine's Day either!  They would be just as cute for birthday cards or some kind of birthday party favors. The only bad thing is that the chocolate candy making up the body is pretty tempting and then the robot is kind of destroyed! But that's okay…we have to remember, it is only paper!

Of course I copied the idea from a couple I saw online a long time ago and then made them up my own way. On two, I embossed aluminum foil (the heavy duty kitchen kind) in an embossing folder in the Big Shot.

Embossed Foil

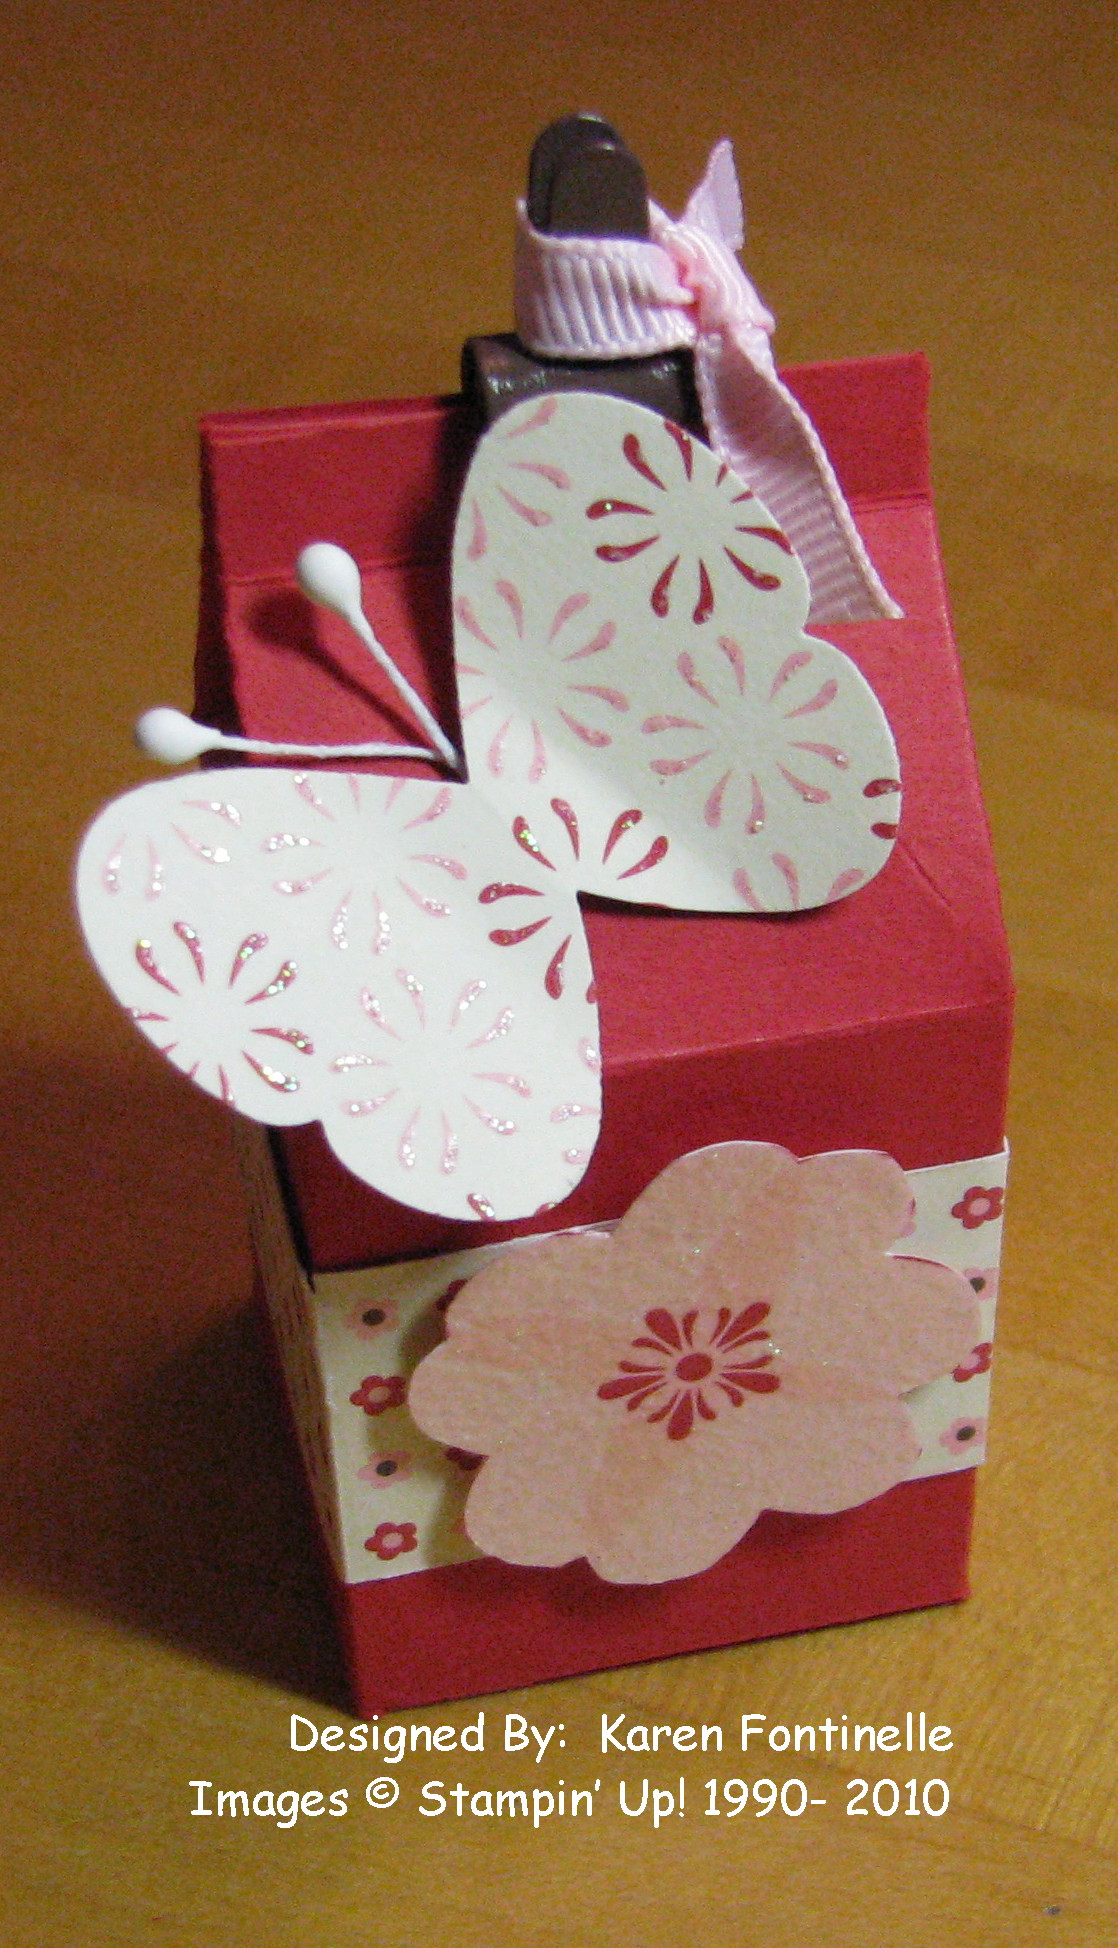
Here are close-ups of the robot valentines. The glare of the foil makes it a little difficult to take photos!

Robot Valentine
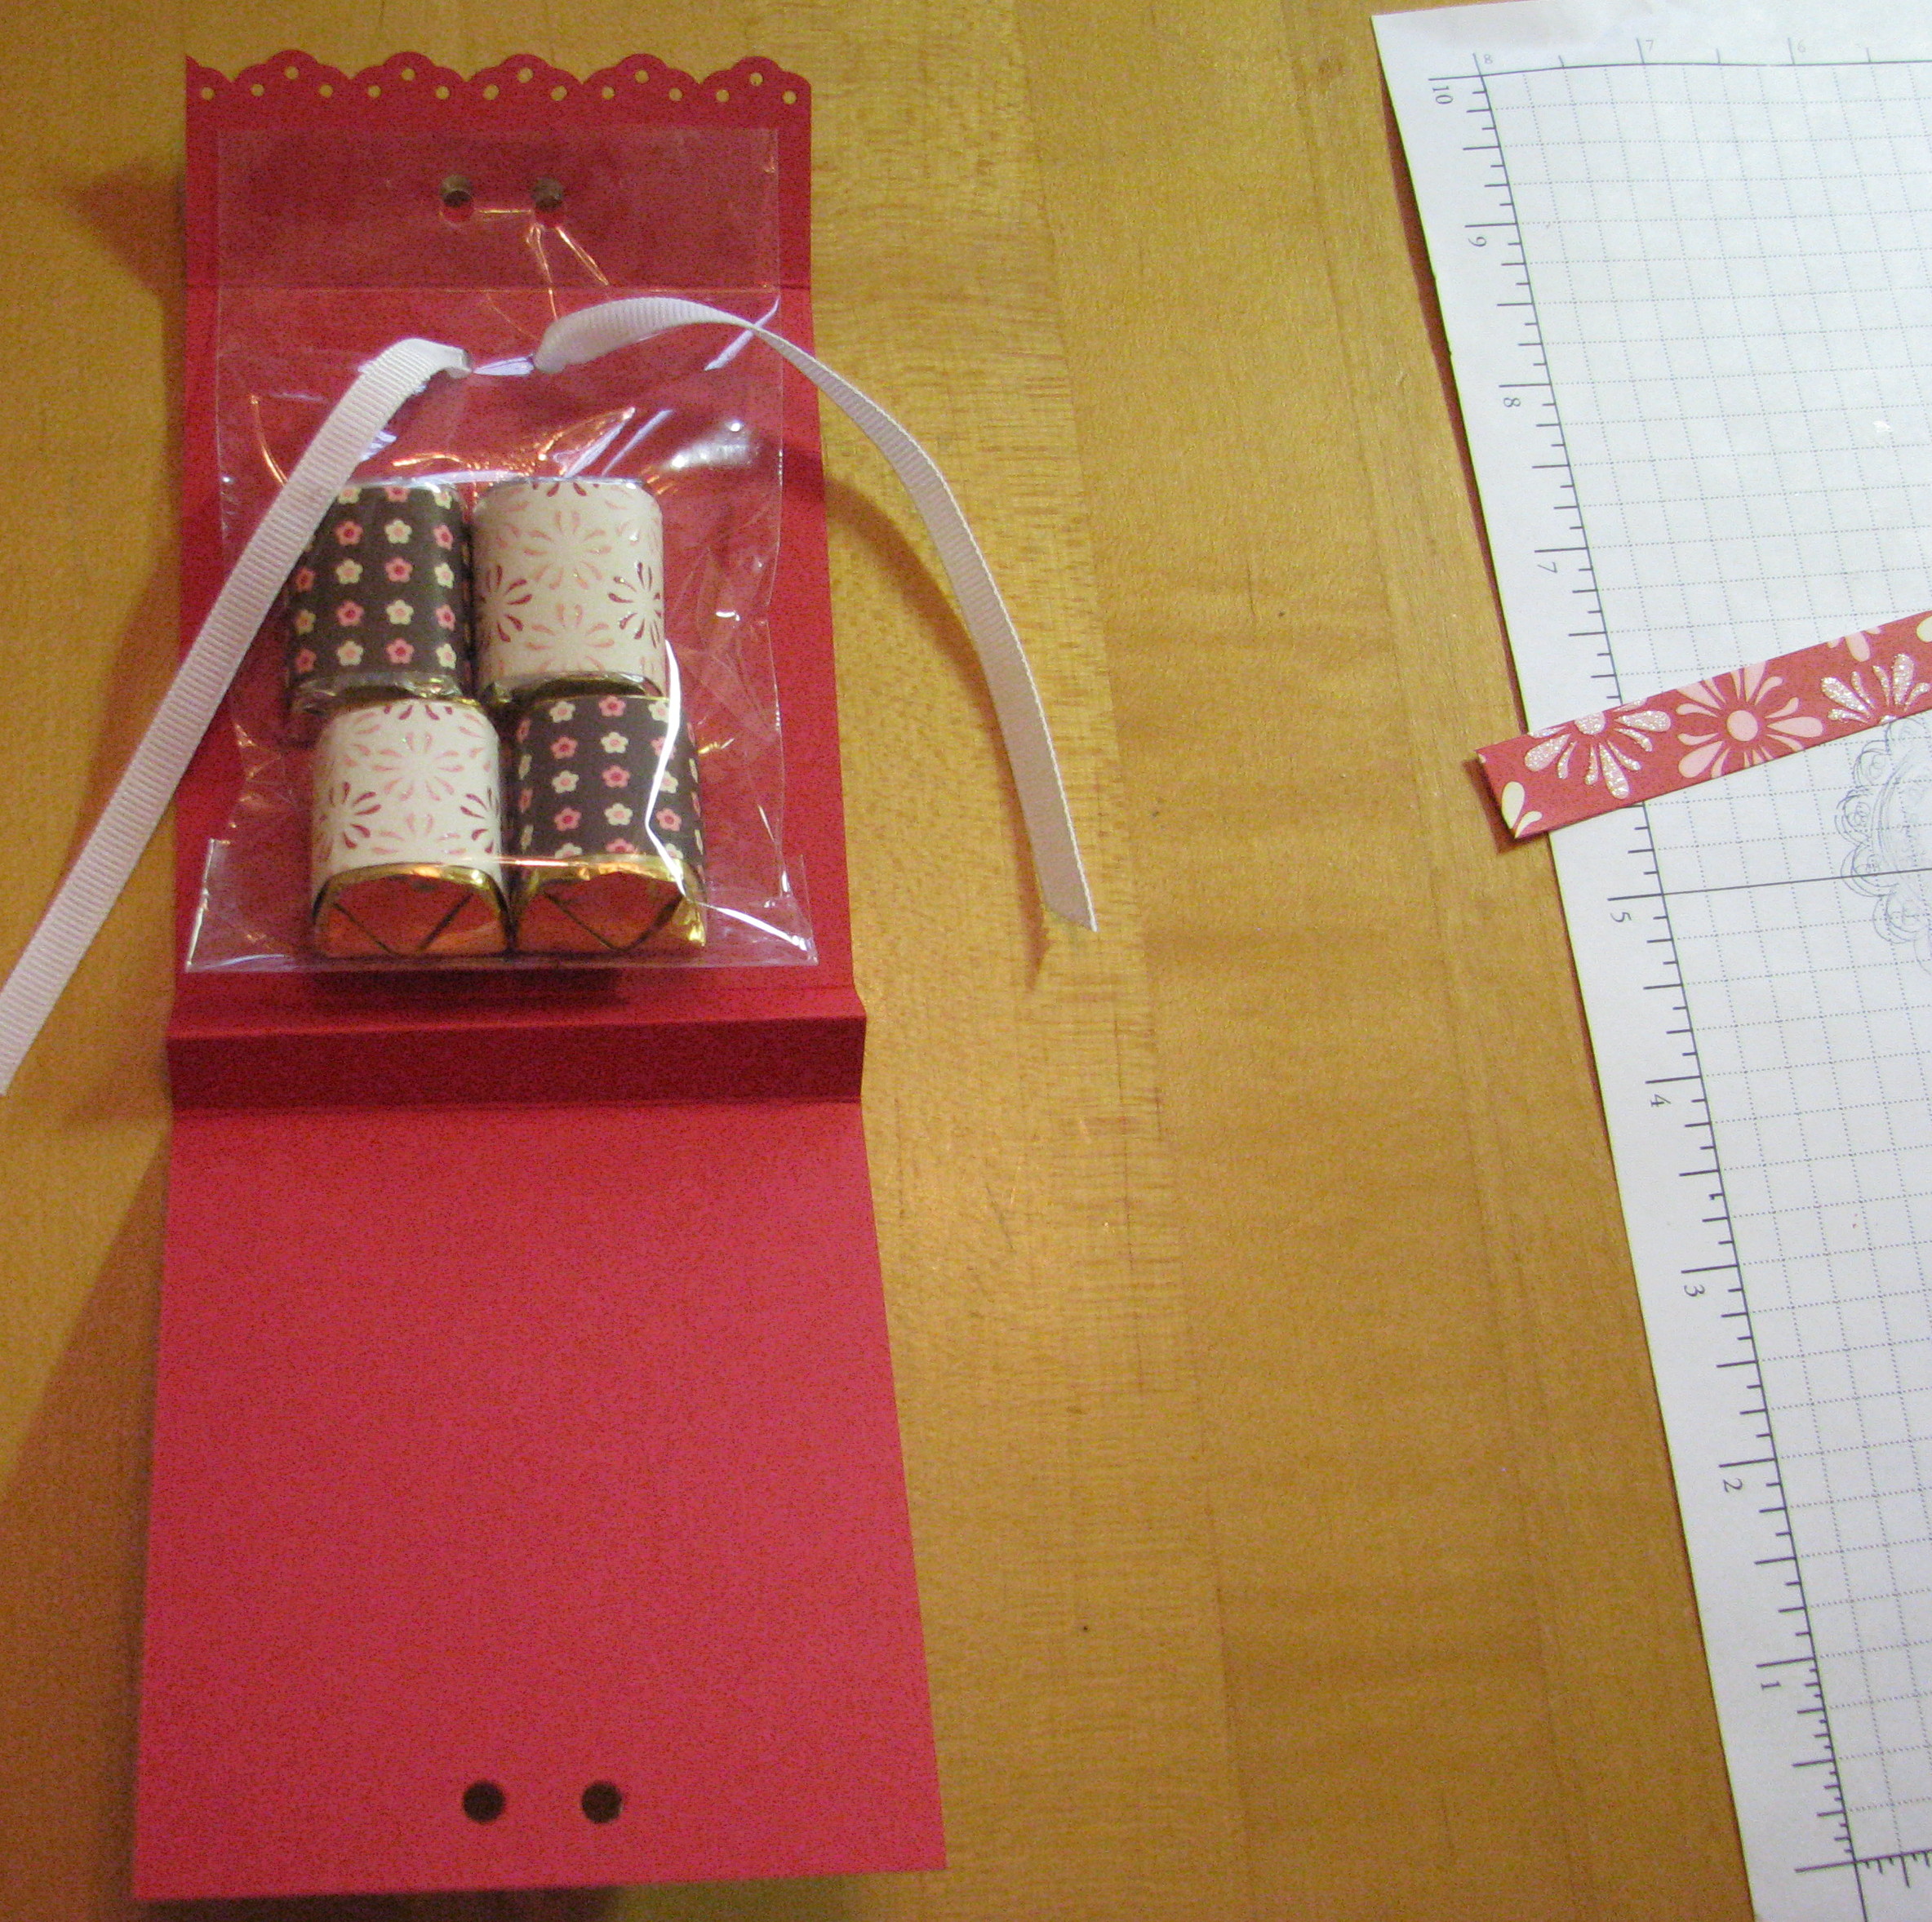
Here you can see the two chocolate nuggets forming the body (stuck together with one mini glue dot near the bottom of the candy and some Sticky Strip on the back.

Holding nuggets

Robot Valentine 2

Robot Valentine 3

Use your imagination and make some fun valentines like these! Once you get started, it is hard to stop!

Shop Stampin' Up! Online here at my Online Store!

Day of Gratitude Thanksgiving Turkey Favor

Day of Gratitude Thanksgiving Favor Turkeys

The Day of Gratitude stamp set by Stampin' Up! can also make a great turkey favor for Thanksgiving! If you need a little something for your Thanksgiving table, class favors for the kids, or just some fun little decorations for Thanksgiving these will fill the bill. Of course there are many variations you could do after you get started.  I often think I am going to copy something exactly and end up with my own version.

Instead of the "Happy Thanksgiving" from the must-have stamp set Teeny Tiny Wishes (and I do recommend for these small stamps that you spend the extra money and get the wood-mount) you could write a person's name for a place card at the table. The body is punched with the 1 3/4" circle and the head with the 1/4" circle punch. You could stamp a little texture on the circles or run one or both through the Big Shot with an embossing folder like I did on the body.  I used the Lacy Brocade folder in the Stampin' Up! Holiday Catalog. The gobble-thing is half of the Modern Label Punch. The beak is just cut by hand. The thing on top of the head is from the Boho Blossom Punch. The tail feathers are the medallion in the Day of Gratitude stamp set. I tried to get them each multi-colored but I don't think the colors contrasted enough. You could also color each section with a different color of Stampin' Write Markers. The feathers are adhered with Stampin' Dimensionals on the back of the turkey.

I would probably use some candy like Hershey Nuggets for the back, but I don't have any (amazingly!) so I used some Hershey Kisses.  It worked just as well.  If I used a Nugget, I would cover it with a strip of designer paper first.

Day of Gratitude Thanksgiving Favor Turkeys Back

For the eyes, you can just punch out black and white circles, or since I had some Googly Eyes left over from Halloween, I used those.  You probably have some in your craft stash, too!

Just a fun little Thanksgiving treat!  Hope you enjoy!

Trick-or-Treat! Have Fun with Halloween Candy Bars!

Candy Bars for Halloween

Halloween Candy Bars….Before!

 Trick-or-Treat! It’s almost time to hand out Halloween treats, so why not make your Halloween candy bars something special? There are SO many fun Halloween ideas out there, but this is something easy to do for the kids’ Halloween treats.

Trick-or-Treat Halloween Candy Bars
Trick-or-Treat Halloween Candy Bars…After!!

Just take your candy bars and wrap some paper around them! Designer series paper makes it easy, but you could also use card stock. Then stamp a Halloween image and punch out with a circle punch or scallop punch and glue on. If you are looking for an easy Halloween craft to do with your kids, this might be an idea. This is especially good for those special trick-or-treaters, maybe class treats at Halloween parties at school, or your own Halloween parties.

I used my Googly Ghouls stamp set for the images and the Houndstooth & Scaringbone Designer Series Paper, both in the Stampin’ Up! Holiday Catalog. I colored in a bit with Stampin’ Write Markers. It’s just something fun to do, and why not have some fun at Halloween?!


Have questions?  Just email me at Karen@KarenStamps.com

You can place your order online here or email me. 

Halloween Fancy Favor Googly Ghouls Gift Bag

Halloween Fancy Favor Gift Bag

It's time to start thinking about Halloween craft ideas so here is a Halloween Fancy Favor Googly Ghouls Gift Bag made with the Big Shot and the Fancy Favor Bigz Die. It's perfect for holding a little cello bag of Halloween candy or a little gift! Yesterday I had the pleasure of doing a little stamping with the doctors and staff of West U Wellness during their inservice meeting and this was one of our projects! I love seeing new stampers add their own creative touches to their project and many of them did! I think the Googly Ghouls stamp set and the Googlies googly eyes make any Halloween stamping project fun!

Here's how to make this project:

  • Die cut the Fancy Favor Bag and assemble….you'll need a 12" x 5 1/2" piece of paper.
  • Punch a 1 3/4" Circle in the front of the bag.
  • Add a small strip of Howlstooth & Scaringbone Designer Series Paper at the bottom.
  • Stamp one of the Googly Ghouls (you've GOT to have this stamp set!!) with Stazon ink and color in if you want. Stamp and punch the "Boooo" greeting and oval scallop. 
  • Cut out your ghoul and adhere to the front of the bag, also adhering the googly eyes. 
  • Add a cello bag of Halloween candy or a gift.

If you like Halloween, you should really consider the Ghoulish Googlies Bundle in the Stampin' Up! Holiday Catalog.  Save 15% by purchasing the Googly Ghouls Stamp Set and Ghoulish Googlies Designer Printed Kit Together!

You can shop online HERE for any Stampin' Up! stamping supplies!

Punch Art Bunny Tails Easter Favor Treat Bag

Punch Art Bunny Tails Easter Favor Treat Bag

If you need just a simple little cute Easter treat with a bunny on it, this is it!  I saw this on Pinterest and remade it with Stampin' Up! supplies, of course! I think it would be cuter with little white marshmallows in the bag, but I didn't have any in the pantry so I used little white robin's egg Easter candy instead.

There is still time to make some Easter treats while you are waiting for the bunny to come!  Get out some punches and Whisper White card stock and punch away! It's really fun to make little Easter favors like this!

The top of the treat bag is die cut with the Big Shot Top Note die and folded in half.  The words are just hand-written with a Stampin' Write Marker and the little stitching accents are made with the Signo Gel Pen (just highlighting what is already scored on there from the Top Note Die).

I'm sure children would think it was fun to find a little treat bag made for them in their Easter Baskets!

Stampin’ Up! San Antonio Regional Teabag and Cookie Holder

The next day after the Stampin' Up! Leadership Conference ended, Stampin' Up! held a Regional Event for a day.  One of my favorite projects (and there were many!) was this Teabag and Cookie Holder demonstrated by Debi Pippin, a very talented Stampin' Up! Demonstrator. We could wander from one demonstrator booth to another watching a new project or idea and taking pictures of their samples on display.

Teabag and Cookie Holder

Don't you just love this project made with the cute Sweet Shop Specialty Designer Series Paper #125408 plus the Sweet Shop Designer Stickers #125584?!

By the way, the cookies I put in the holder are Girl Scout Thin Mints, in honor of the Girl Scout 100th Birthday today! The Girl Scouts were founded by Juliette Low in 1912.

Teabag and Cookie Holder Side

The way I saw it demonstrated, she put the bag of cookies in the middle area of the bag with a tea bag on each side in the pouches.  You could do it however you like….maybe a bag of candy in the center?!

I just thought it was the cutest idea with so many possibilites!  What a nice little gift for someone!

St. Patrick’s Day Shamrock Treat Bag

St. Patrick's Day Treat Bag

Are you looking for a St. Patrick's Day shamrock treat bag idea? This one was easy to make with the new Stampin' Up! Labels Collection Framelits Dies #125598 and the Small Heart Punch #117193. I used the Framelits Die to cut the Pear Pizzazz label and folded it in half to cover the small cello bag. Then I used the next smaller size Framelit Die to cut the Whisper White card stock and stamped with a greeting from Teeny Tiny Wishes.

The shamrock is made with the Hearts Collection Framelits Dies #125599, the smallest heart, cut out of the Twitterpated Designer Series Paper #125406 and then smaller hearts from the Small Heart Punch. The Designer Printed Brad #122940 adds a cute decorative touch!

If you need any of these new fun dies to use with your Big Shot Die-Cutting Machine for future projects, you can order online at my Stampin' Up! Store.

St. Patricks Day Treat Topper

Valentine Petal Cone Die Candy Holder Gift


Petal Cone Valentine Candy Holder Gift

The Petal Cone Die #121810 can make a beautiful Valentine gift, holding candy or whatever treat you want to put in it.  I felt like a school girl decorating this one for Valentine's Day! I just kept sticking on more stuff and hoping I would know when to stop!  Isn't that what you remember when you were little and decorating a valentine shoebox for school or making your own valentines?  We had our scissors, probably that school paste stuff, construction paper, doilies, and maybe some stickers or those little stars that teachers would put on your paper. Aren't those some of the best memories, making our own cards and gifts for our parents and family?!

I hope you will take some time to have some old-fashioned Valentine fun! Make a Valentine or gift for someone.

Valentine Petal Cone Die Candy Holder Gift

A “Sweet” Candy Turkey for Thanksgiving!

This is one of my all-time favorite things for Thanksgiving, even though it is not made out of paper!  I'm not sure where I learned to make these, but probably in a magazine, could be about twenty years ago.  I know I have made LOTS of these turkeys for class parties for my children in preschool and probably elementary school and they were always a hit! There are lots of similar turkeys out there made with Oreos or more pieces of candy corn involving frosting and all kinds of stuff.  I always thought these were the easiest and still darn cute!

Candy Turkey

Supplies: Keebler Fudge Stripe Cookies, Hershey Kisses, candy corn, Kraft Caramels

Directions: Take a Kraft caramel and microwave it just a few seconds until it is slightly soft.  Not melting or anything!  Just a little soft.  Have a Hershey's Kiss unwrapped and sitting on the plate or napkin and a cookie and candy corn ready.  When the caramel comes out of the microwave, plop it on top of the Hershey's Kiss.  Immediately "smoosh" the cookie against the backside of the caramel until it sticks.  Take the candy corn on edge and stick it into the caramel.  Voila!  You have a turkey!

Caramel Turkey

 
These turkeys are so fun to make for Thanksgiving!  To make multiples, just have your ingredients ready to go.  You can soften several caramels at a time on a paper plate in the microwave, maybe about six.  You want to be able to work quickly when the caramels come out of the microwave so you can stick everything together.  Have extras on hand because there will be some broken cookies!

A St. Patrick’s Day Treat

Need a little something green for St. Patrick's Day March 17th?  This is a little Stampin' Up! cello bag stuffed with some green shred, a gold coin, a peppermint patty decorated with the shamrock scallop, and several pieces of green-wrapped candies.  The tag is made with the "Define Your Life" stamp set (#114950), the definition for "lucky"!  I stamped the little shamrock on it with three small hearts from the set "Tiny Tags" (#118091, #118592) and just drew in the little stem with a Stampin' Write Marker.  Want to get the "Define Your Life" stamp set free?  Just sign up to be a Stampin' Up! demonstrator during  Sale-A-Bration and choose a free stamp set, up to a value of $47.95 (which includes this one!) PLUS get the Starter Kit 15% off!  Contact me soon! 

St. Patrick's Day Treat Bag
 

Easy Valentine Candy Treat Bag

Easy Valentine Candy Envelope Treat Bag 

This was a very easy little Valentine treat bag to make and you can fancy it up as little or as much as you want!  I went back to an older technique of using an envelope!  Take a Stampin' Up! envelope (#107301) (once you use a Stampin' Up! envelope you won't want to go back to those plain ones!!), seal it, then punch down the sides with the Tag Punch (#105934) to form the handle. Wheel the envelope (or stamp) to decorate.  I used the I "Love" Love Jumbo Wheel (#117084) in the Occasions Mini.  I decorated with some ribbon, a punched out heart and a little border with the new Scallop Trim Border Punch (#118402) in the Sale-A-Bration Mini (get the punch FREE with a $50 order!)  Fill with some candy and you've got yourself a nice little Valentine treat! 

If you're ready to place your $50 or more Sale-a-Bration order and get some free products, just email me!

“I Heart Hearts” Valentine Treat Bag

Splitcoaststampers puts out a tutorial every week and this treat bag cover was from last week.  It's very easy and you could vary the dimensions according to whatever your own treat is.  I cut the Real Red card stock at 3 3/8" x 10 1/2" and scored at 4", 4 1/2", 5", and 9".  Then just accordion-fold what will be the base of the treat holder and fold the top flap over.  Fill your cello bag with your treat, attach with a little SNAIL to the inside, punch some holes for some ribbon to tie through if you want, decorate the front and you are done!

 TreatBag

TreatBagInside1

To decorate the front of my Treat Bag I used the I "Heart" Hearts Stamp Set in the Occasions Mini Catalog.  If you want to know you are doing some good while you are stamping, purchase this stamp set and Stampin' Up! will donate $2.00 to the American Red Cross for Haitian Relief. Already 6694 stamp sets have been sold as of a couple days ago.

Red Mini Milk Carton

Here's the first mini milk carton I made.  So cute for Valentine's Day in red or any time!  You can add any kind of decorations to them that you like!  I used the beautiful Sending Love Specialty Designer Series Paper, the Butterfly Punch, some flower stems from the Pretties Kit for its antennae and a Library Clip to hold the box closed.  Check out the Mini Milk Carton Die (#117310) in the Occasions Mini Catalog!

MilkCarton
 

Thanksgiving Nugget Turkeys

Aren't these the cutest guys for Thanksgiving?!  The idea was in our Stampin' Up! demonstrator magazine (I've mentioned before how we all can't WAIT to get it in the mail every month!), Stampin' Success, last October.  I added the Hershey's Nugget candy wrapped in our Autumn Traditions Designer Series Paper.  First I thought I would put the turkey feathers at the back of the nugget but I like them right behind the turkey.  Then the nugget makes a good stand for the turkey and would great at each place setting of your Thanksgiving table!  See directions below.

Turkeys1

Turkeys2 

Here are the easy directions for the turkey feathers.  You can use either Designer Series Paper (DSP) or card stock.  The DSP is easier to fold since it is thinner.

  • Punch three scallop circles with the Scallop Circle Punch.
  • On each scallop circle, count five scallops and fold that area down. (Count 5 scallops, draw a real or imaginary line from the edge of scallop 1 to the edge of scallop 5 and fold down on that line.)
  • Now fold the scallop in half to form a crease in the middle for reference, then unfold.
  • Fold the flat edge of the scallop circle down from each side so the folded edges line up with the middle crease on the scallop circle. (You're bringing the flat ends up to the center fold line to get the shape you see on the turkey below.)

To complete the turkey, you'll need some punches.

  • 1 3/8" circle for the body
  • 3/4" circle for the head
  • Two 1/4" circles for the buttons (punch is retired)
  • Boho Blossoms Punch for the feet, cutting off one petal from one of the flowers for his little beak!

Color in two black dots for the eyes.

Cut a 3/4" square for the hat.  Trim off a little strip for the hat brim.  Perhaps trim a bit more to make the hat the right size.

Turkeys3 

It's really very easy and you can put your own custom touch to the project.  Or just make the turkey without the nugget and adhere him to the front of a Thanksgiving card or bag!

Happy Thanksgiving!!


Serene Snowflakes Peppermint Patty

Always love these quick and easy Peppermint Patties made with the 1 3/8" Circle Punch and the ever-popular Scallop Circle Punch!  Stamp a Serene Snowflake (in the Holiday Mini) on Whisper White with Bashful Blue ink.  Punch out with the Circle Punch.  Punch two Bashful Blue Scallop Circles for the top and bottom of the Peppermint Patty.  Adhere the snowflake to one Scallop Circle.  Attach to the candy with Mini Glue Dots.  Cute!!

SnowflakePepPatties