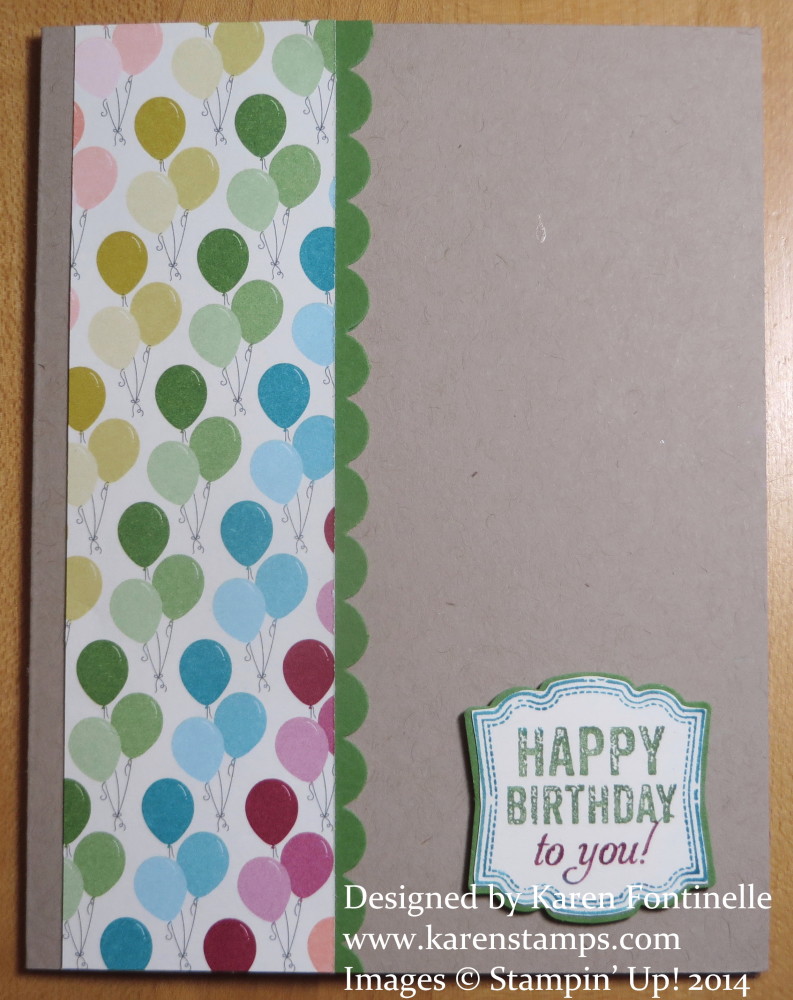
Category Archives: Birthday

Birthday Beer Stein Card

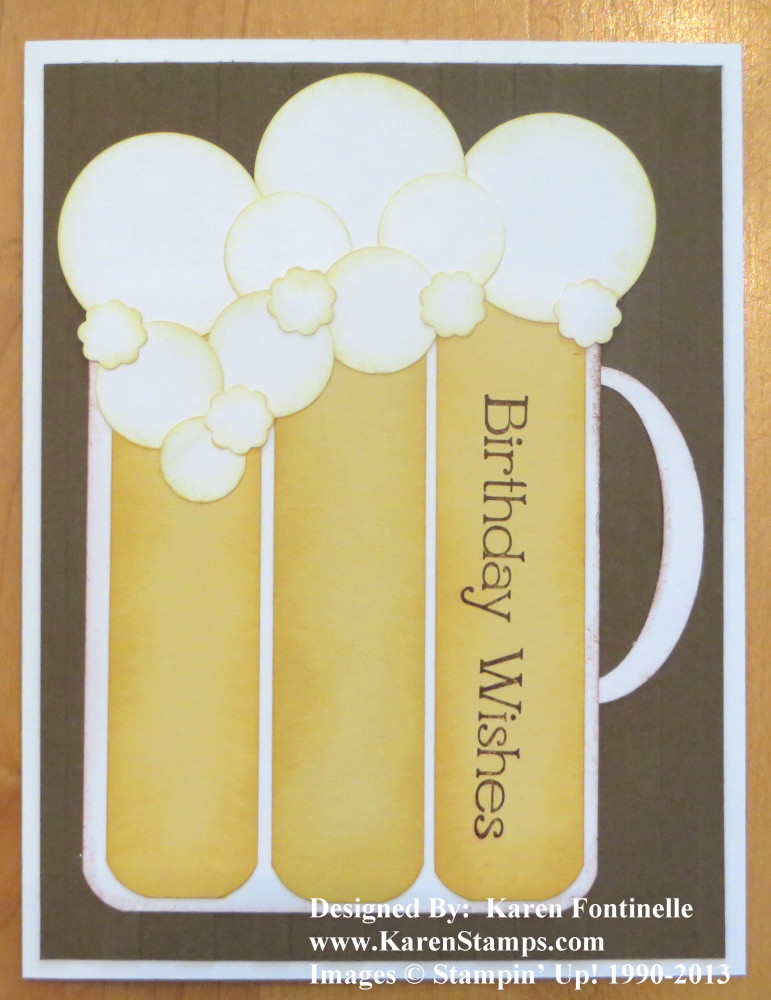
Birthday Beer Stein

Yesterday was my husband’s birthday so of course I launched a search for masculine cards and found this birthday beer stein card idea on Pinterest. I copied it exactly except for the greeting. There are other versions similar to this but this one was made by a demonstrator named Tammy.

You’ll need a piece of Whisper White for the card base and Soft Suede for the layer. Mine is embossed with the Stripes Embossing Folder (hard to see in this photo!) but you could use something different or leave it plain.  The beer stein is a piece of 3″x 3 3/4″ Whisper White with the bottom corners rounded (you can use the new Envelope Punch Board!) with three strips of So Saffron 7/8″ x 3 1/2″, again with the bottom edges rounded.  I stamped the greeting from the stamp set Four You.  Everything is sponged with a little bit of ink around the edges on the card.

Then for the “punch art” part!  Make the beer foam bubbles with three circles from the 1 1/4″ Circle Punch, five circles from the 3/4″ Circle Punch, one circle from the 1/2″ Circle Punch and five scallops from the little scallop punch in the Itty Bitty Shapes Punch Pack.  That’s what I used but you could certainly use lots of other things to make the bubbles, such as other scallop punches or circle sizes.  The beer stein handle is the Large Oval Punch, then punched over with the Extra-Large Oval Punch.

It’s fun to make your own birthday cards for your friends and loved ones!   When you make handmade birthday cards, you can personalize the cards for that person.  My husband might not be a big beer drinker, but what he really likes is to pick out assorted different beers to try, in stores where you can do that. So while I saw lots of masculine card ideas and birthday card ideas I easily could have used for him, I thought the birthday beer stein card idea was one he would enjoy! I think it is important to send happy birthday wishes to people, especially after enjoying my own best birthday ever!

Need any Stampin’ Up! supplies?  Please come shop at my Online Store!

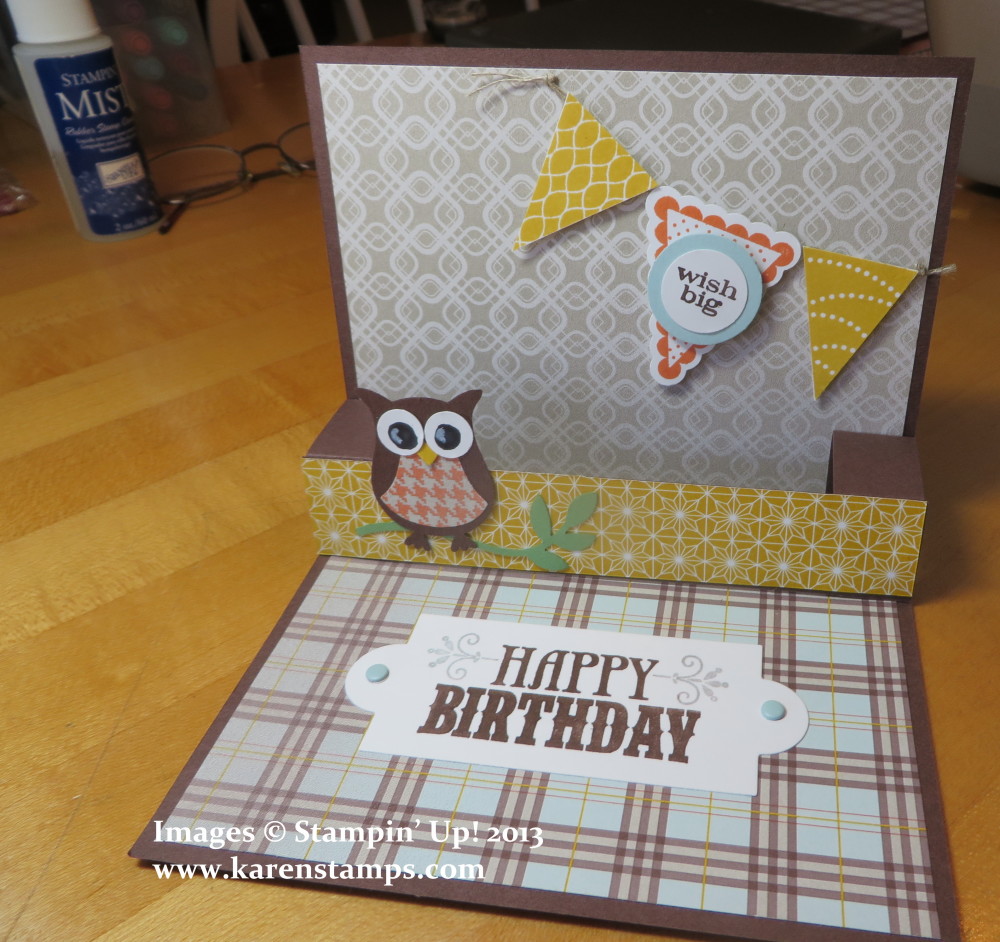
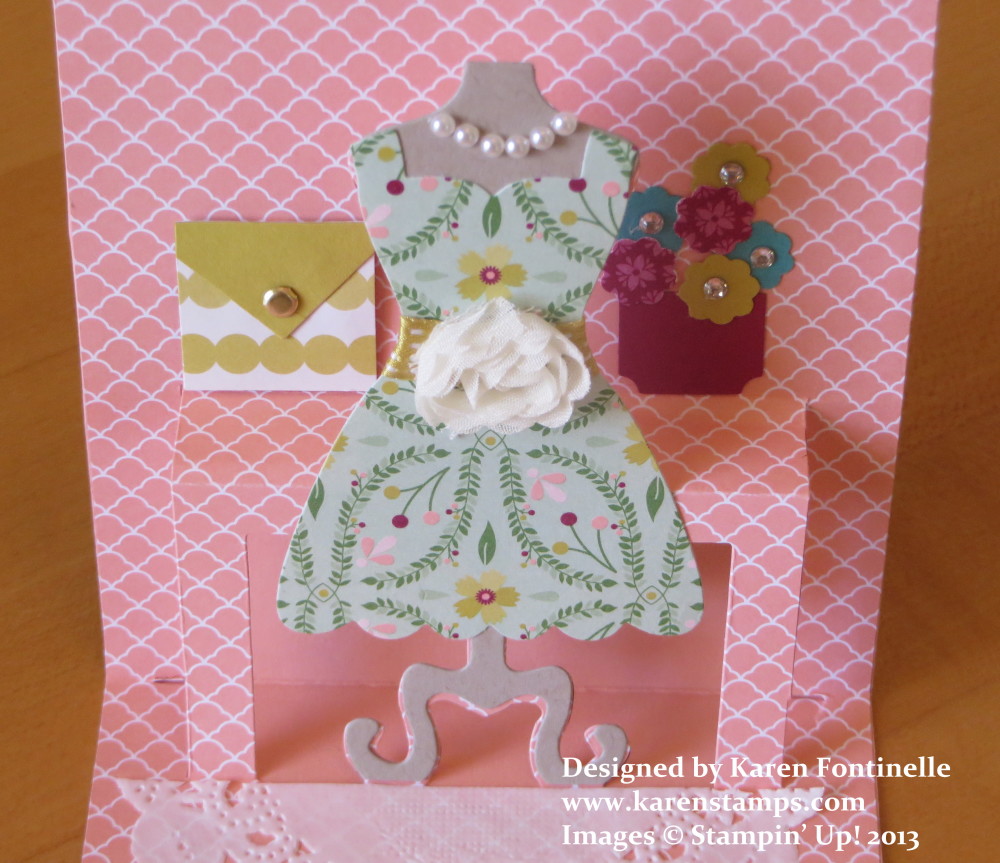
Pop’ N Cuts Dress Form and Card Base Birthday Card

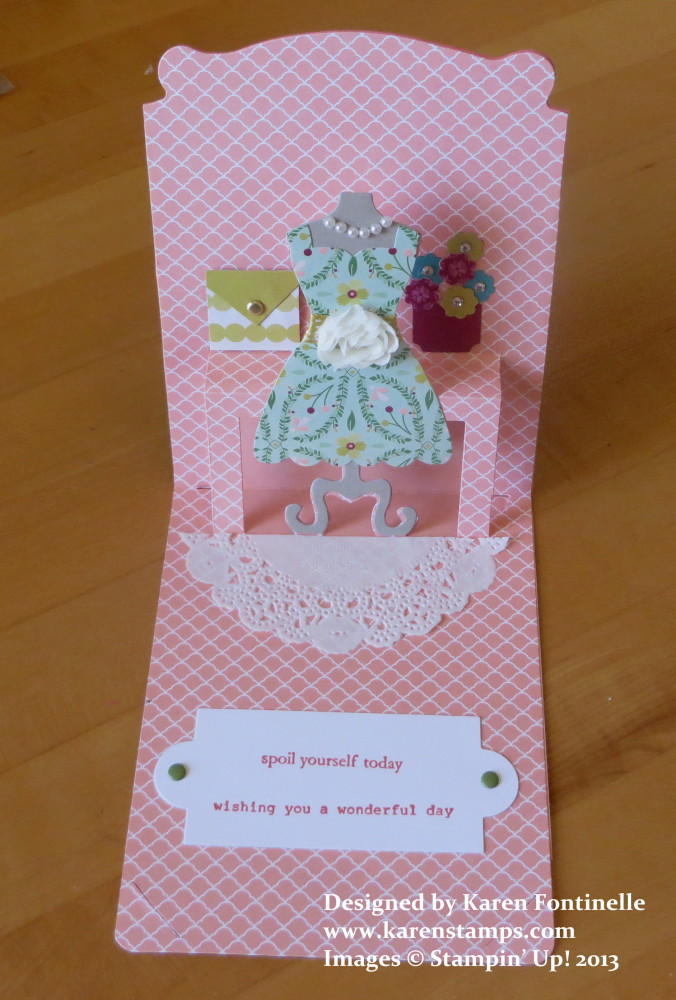
Pop n Cuts Birthday Card

These Pop’ N Cut Dies were introduced in the Stampin’ Up! Spring Catalog and honestly, I didn’t pay much attention to them.  I think I had already added so many things to my order that by the time I got to their page in the catalog I wasn’t interested. I didn’t take any time to see what they were about, although I did order the Dress Up Framelits Dies.  Those seemed easy enough.

But then as so often happens, I started to see really cute things other people made and also watched some videos made by the designer of the dies, Karen Burniston. That’s when I put them on my next order!  The shape of the Card Base Pop’ N Cuts Die is a Stampin’ Up! exclusive, made with the decorative edge and made so you can tuck it into the slits to close. You can use just this without the pop up portion.

Pop n Cuts Birthday Card Inside

The pop up portion is easy to do once you get the hang of it. You want to be careful not to fold things that shouldn’t be folded.  In order to get the pop up going, it works best if you get your fingers behind that table part and then you will see and feel where the score lines are and how to get the pop up to pop up!

Dress Form Pop n Cuts Inside Card

Once you get the pop up popped up, you can adhere it to the card base.  Just be careful to see where the adhesive should go and shouldn’t go.  I haven’t gotten the hang of that yet! Even though I think I’m being careful, I always get adhesive where it shouldn’t be!  But as long as you pay a little bit of attention, you’ll be okay!  Then you can embellish and decorate your card however you like on the inside and on the front!

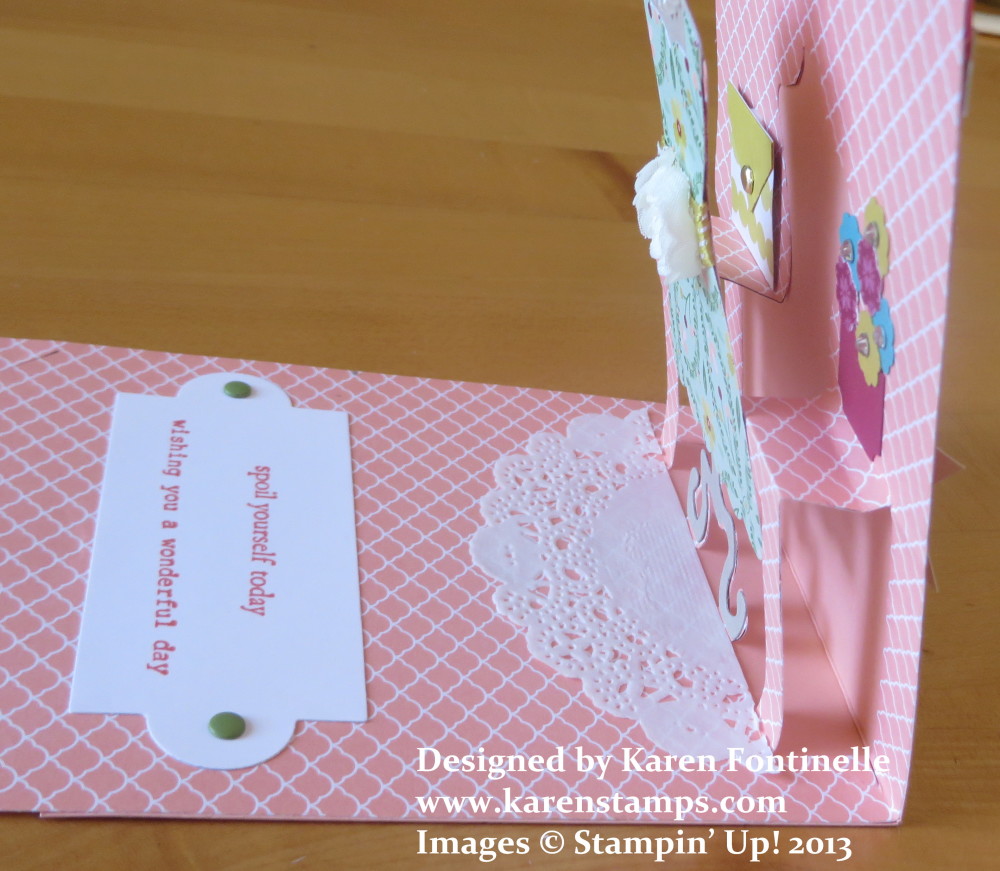
Pop n Cuts Birthday Card Side View

This is what the pop up looks like from the side.  You want to get that rectangle shape from the side.  That’s how you know you have it right!  Once you get that shape, then the rest will take care of itself.

These Pop’ N Cut dies are easy enough to use and fun besides!  You can also trim that dress shape off the pop up and add another piece of card stock for a gift card holder or for a message or other design.

Here are the Pop’ N Cuts dies I used plus the framelits:

Just go to my Stampin’ Up! Online Store any time! Just think what magical cards you can make with the Pop’ N Cuts Dies!

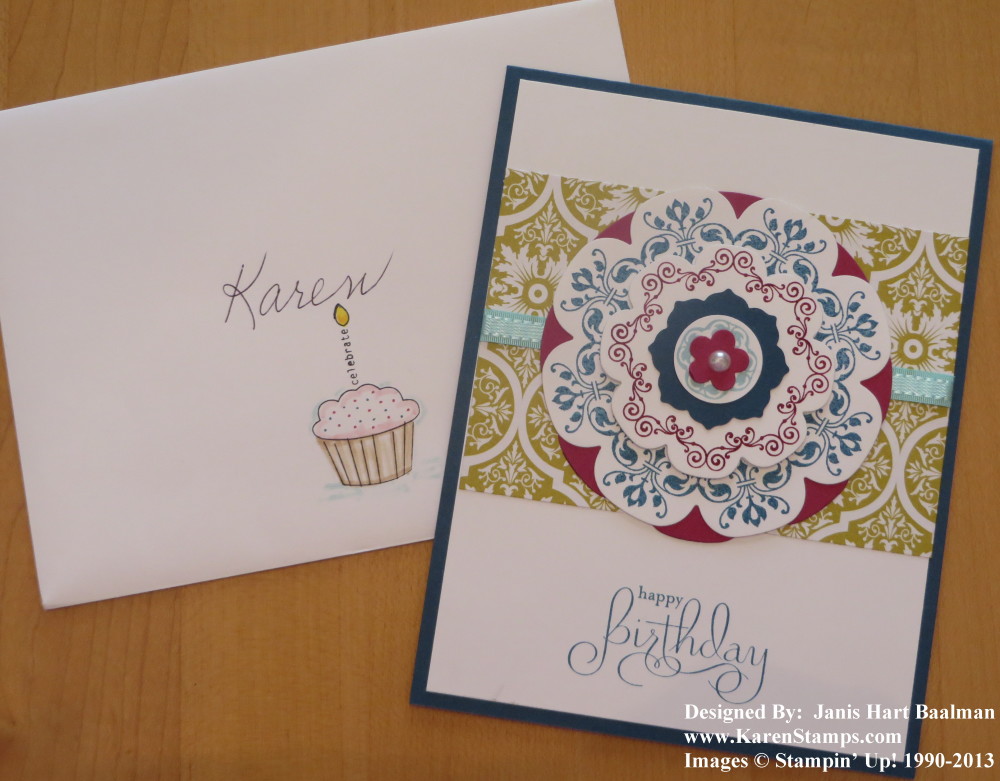
Daydream Medallions Birthday Card

Daydream Medallions Birthday Card

The Daydream Medallions stamp set I have thought is a beautiful one.  And this birthday card my longtime dear friend made for me for my birthday with Daydream Medallions is certainly a beautiful card. She always makes a beautiful card in a simple elegant style.

Don’t you love the cupcake on the envelope, too?! Always stamp something on your envelope! We don’t want to send a naked envelope! If that cupcake wasn’t stamped on that envelope, wouldn’t you just toss it out right away?

My friend also sent me a funny book with quotes about old age! My favorite one I’ve found so far is one by Ann Landers, the advice columnist. Let me first state that I did NOT turn 70! Just to be clear!!  But whatever decade below that it was, this describes exactly how I feel!

“Inside every seventy-year-old is a thirty-five-year-old asking “What happened?”

Maybe the essence of ourselves doesn’t age past thirty-five and that’s why we don’t feel as old as we get!

The book is called Old Age Is Always 15 Years Older Than I Am by Randy Voorhees if you need a funny gift for a middle-aged friend!

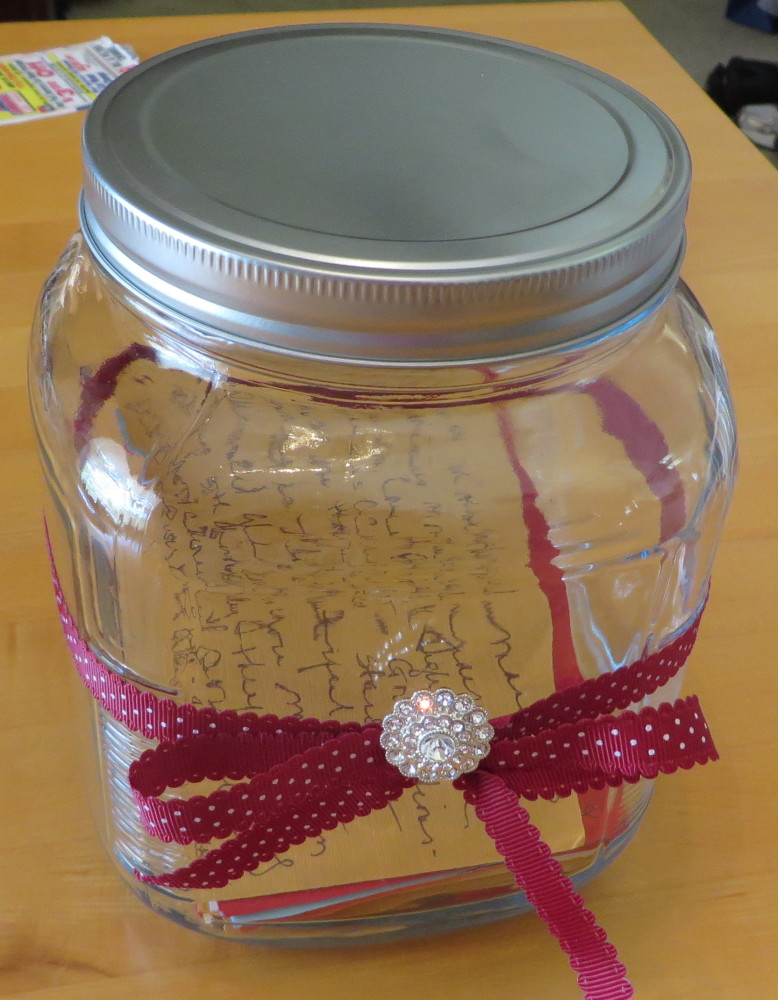
A Birthday Jar of Notes!

 Birthday Jar of Notes

My daughter, last weekend, did so many things to make my $%&^th birthday the best one I ever had! I’ll just say it was one of the milestone ones!  She took all the sting out of turning this age with all her surprises, the best one being her flying in from California and surprising me! In addition there was a beautiful birthday cake and a mother-daughter cooking class at our neighbor’s house. I couldn’t have imagined anything else, but she had one more surprise up her sleeve!

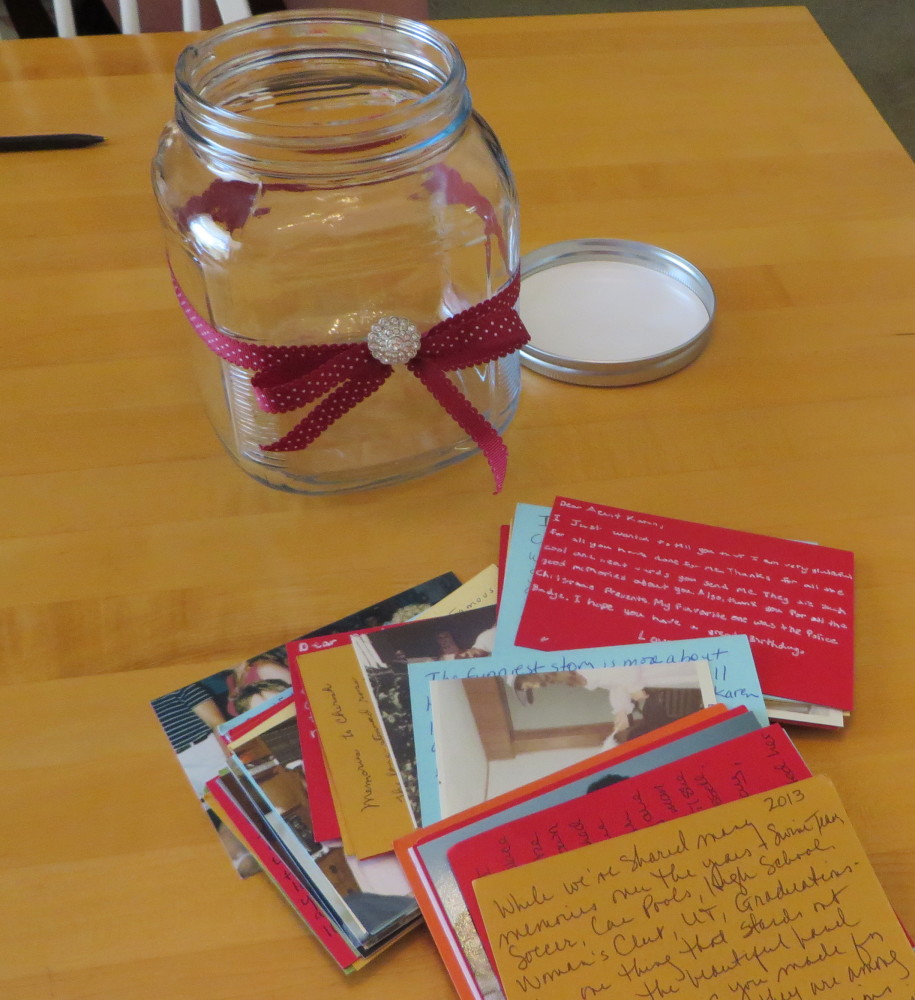
I don’t even quite know the FULL story, but apparently months ahead of time she contacted friends, neighbors, and relatives and sent them packets with colored note cards and asked them to write some special memory or story or birthday wishes to me or about me.  Then they sent them back to her and she put them all in this jar she decorated with a ribbon and button.

It was SO much fun to read all of them, see who they were from, and see the old photos some people included!  Even all 8 of my brother’s children wrote notes! My one long, long, long time friend and college roommate even copied excerpts from her diary when we were in college and about when I met my husband. My other equally long-time friend sent photos of when I was a bridesmaid in her wedding and our story about how hard we’ve laughed over all my Quilt Show purchases through the years (before stamping) that I would drag out when she visited. Some neighbors talked about all our activities with our kids through the years; swim team, Cub Scouts, even college graduations! My sister-in-law mentioned her visit when our girls were little-bitty and I bought them matching outfits. Not only were the memories and nice notes great, it made clear the connections I have with all these people, built up through all these years. If you are looking for an exceptionally special gift to give someone for whatever occasion, this idea is certainly it!!

birthday jar of notes


Surprises Galore for My Milestone Birthday

What a weekend and what a birthday! I went from not having anything special planned at all for my birthday except probably my husband and I going to a nice restaurant for dinner, well not probably, for sure!!

My one son emailed and said he and his brother were coming home for the weekend (they live about 3 hours away). On Friday he emailed again that he and his girlfriend were coming that night but Steven would come on Saturday, and Eric was staying over Monday and Tuesday, but Steven and Heather would drive back on Sunday. Ok.

Everybody arrived Friday night and Saturday at the designated times.  Steven’s car needed to go in the shop for a new battery and oil. Since my back had been acting up for two weeks as well as our new refrigerator, I hadn’t done any grocery shopping and didn’t. But Steven is sticking to his food allergy diet right now which means Mom needs to cook food at home so he doesn’t get any offending substance. Since my back was doing better I made a quick trip to the grocery store and bought some very nice beef tenderloin steaks and other stuff for a nice dinner. When I got the groceries put away, Eric told me he and his girlfriend were meeting a high school friend at 6:30. I thought that was a bit early and wondered how I was going to get this expensive dinner I’d just bought prepared very quickly so they could leave and besides, Steven’s car needed to be picked up at the shop.  But I’m pretty good at that so I got dinner made fairly quickly and as soon as they were finished eating they left, ignoring my suggestion to let their friend know they were going to be a little late rather than rushing through dinner. But moms are used to being ignored with advice.

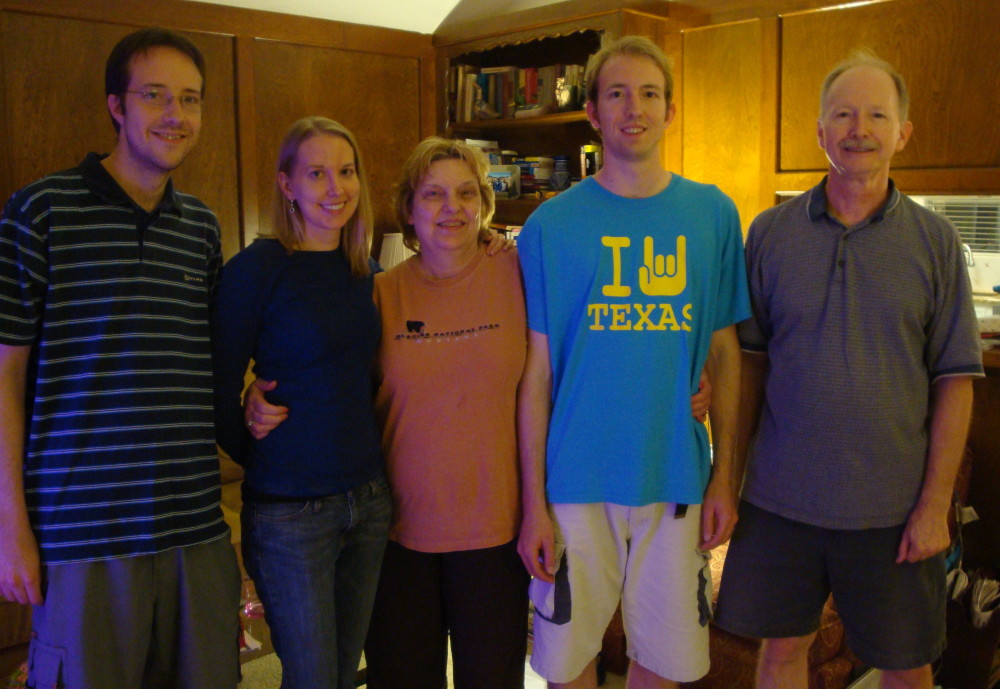
When Eric and Heather came back home, a little earlier than I expected, I looked up, and here was my daughter Amy who had flown in from California for my birthday!!  Eric had gone to get her at the airport, not visiting his friend! I haven’t had a surprise like that since my bridal shower! I was completely stunned! She usually isn’t home except at Christmas. And that was just the day before my birthday!

Fontinelle Family

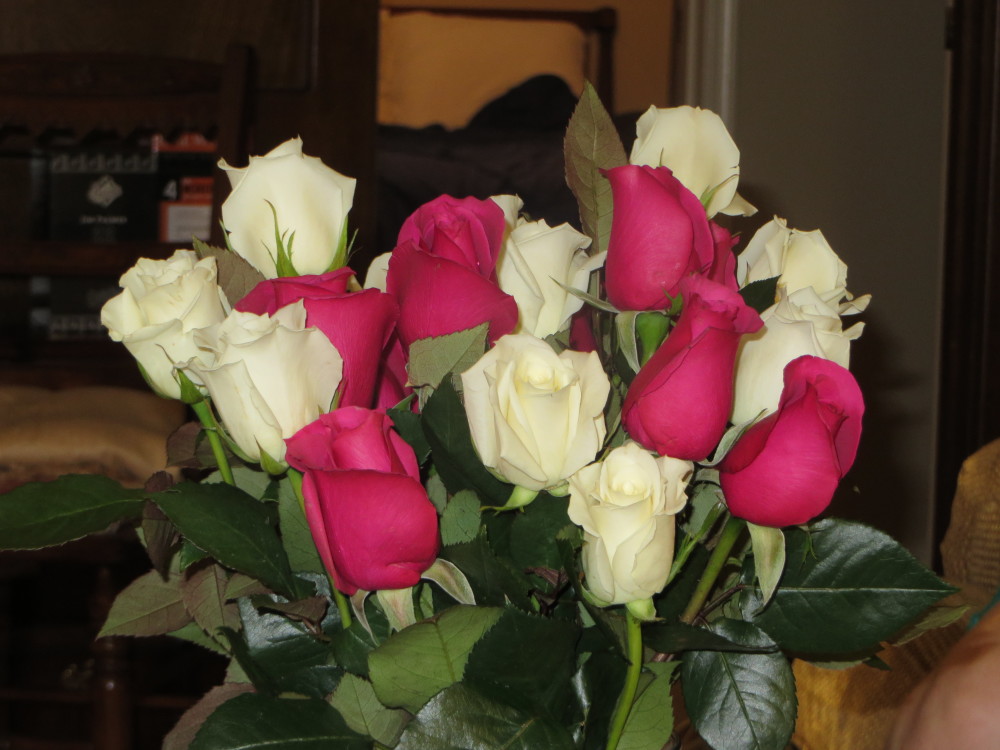
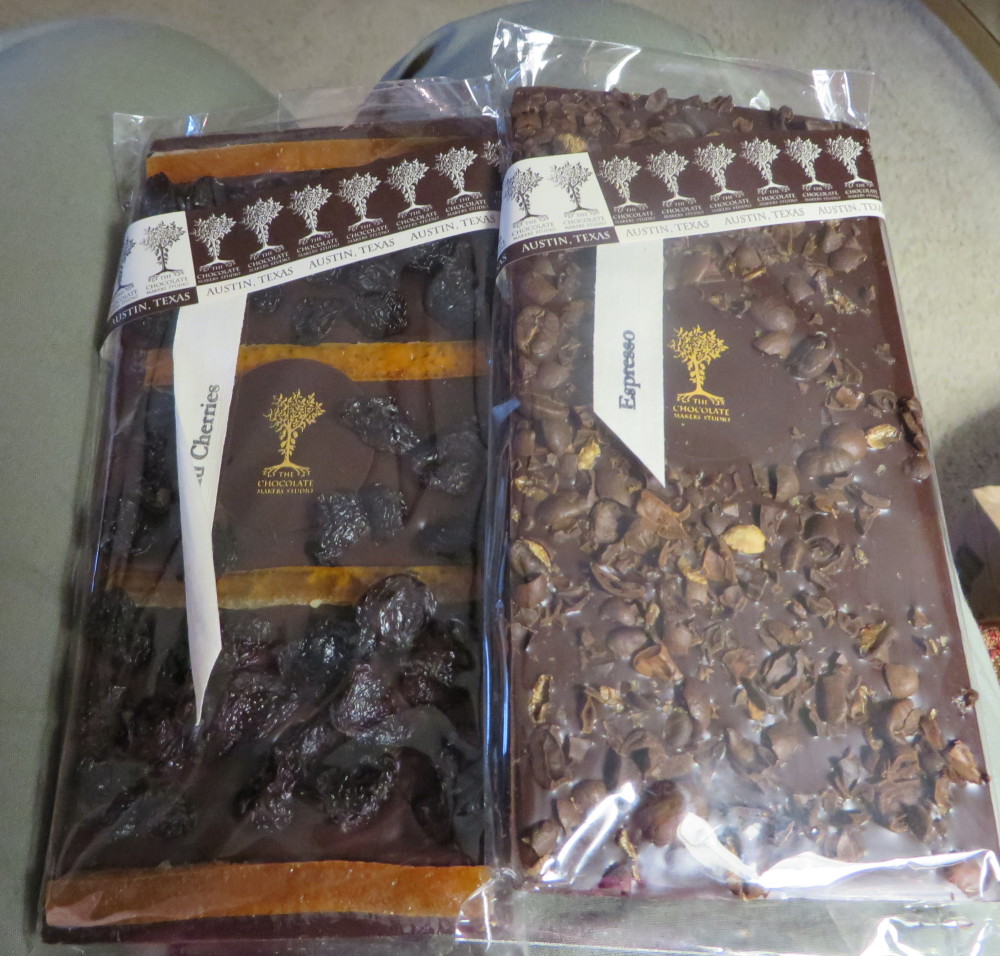
On Sunday besides birthday phone calls from friends and family, I got red and white roses from my husband, large fancy chocolate bars from Eric, fancy brownies Steven had baked himself, and and a beautiful chocolate birthday cake Amy had ordered from a really good bakery here.

Birthday Roses


Chocolate Bars


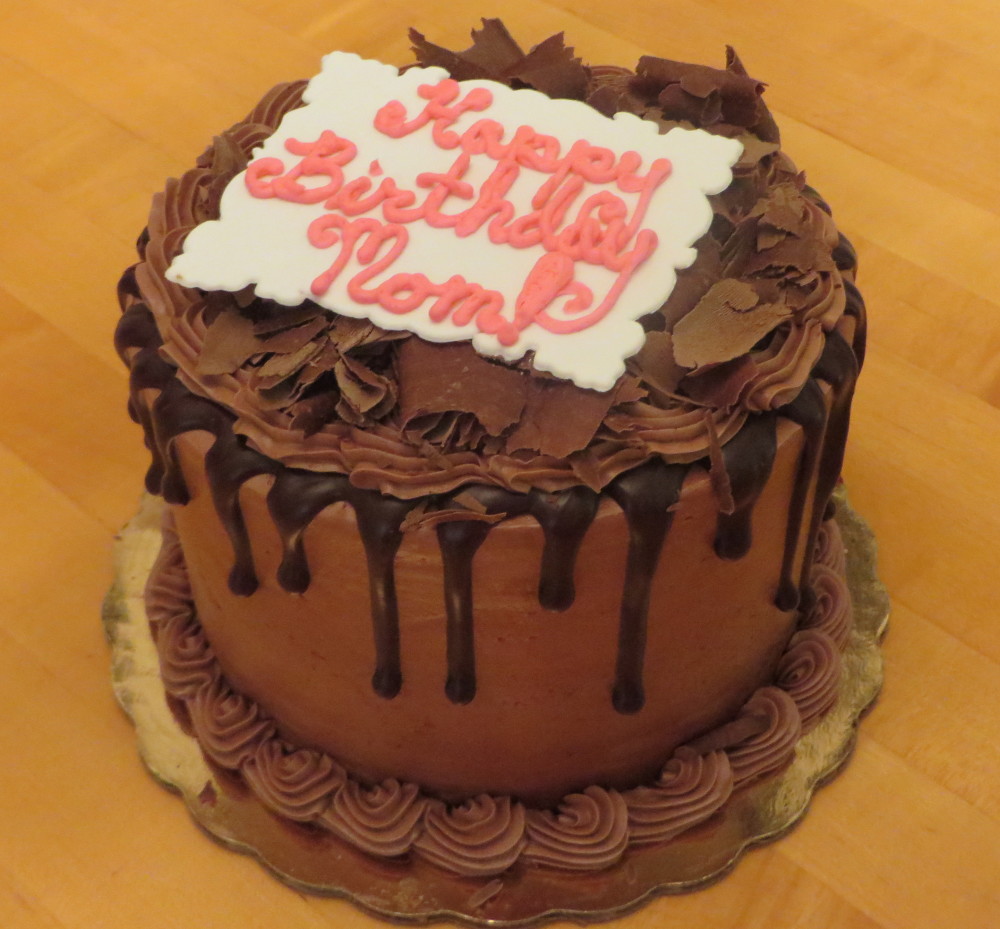
Birthday Cake

Cooking class photos are still on Amy’s camera so I don’t have them yet!

This was a birthday I’ll never forget and what could be better than spending it with all three children (plus my son’s lovely girlfriend!)! I would never have dreamed this big birthday was going to be so wonderful and memorable and fun!


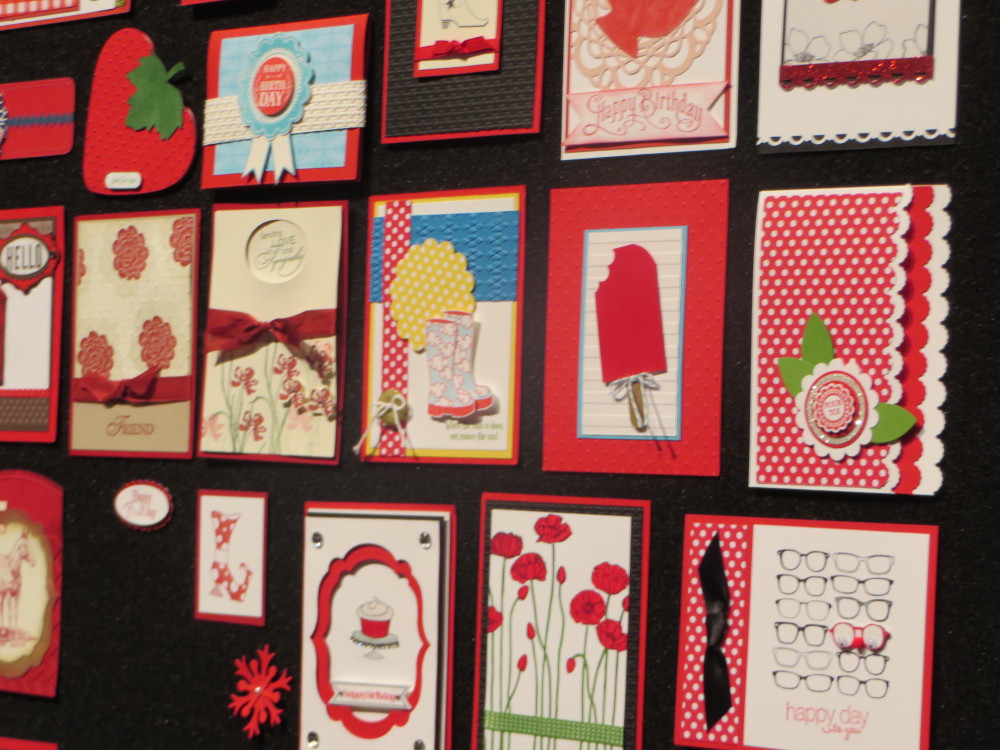
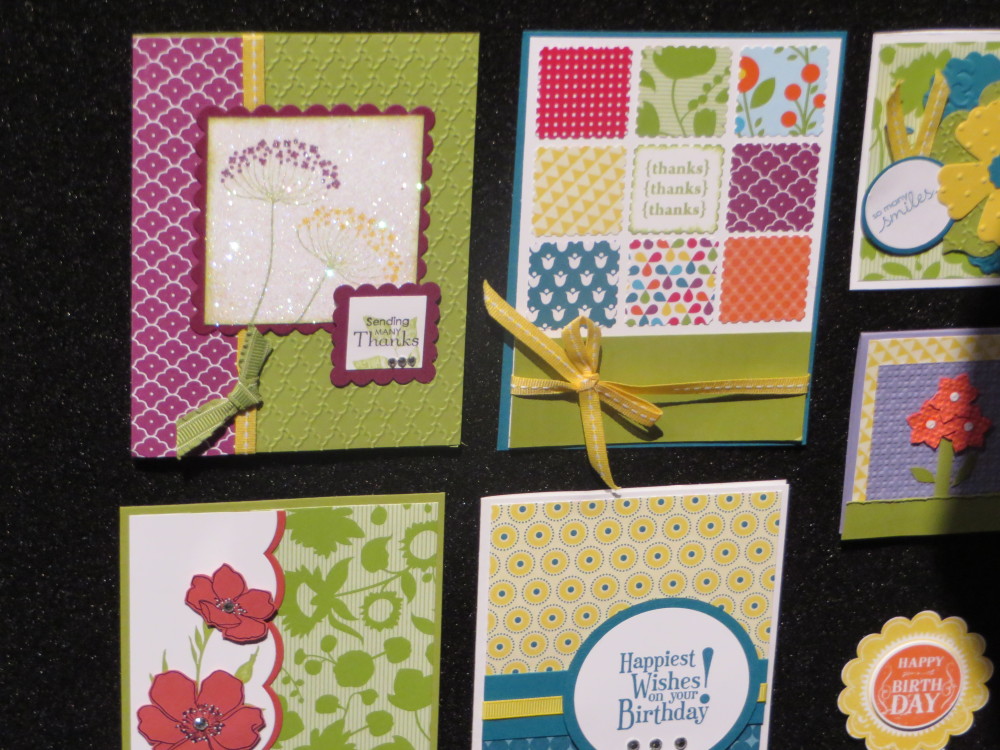
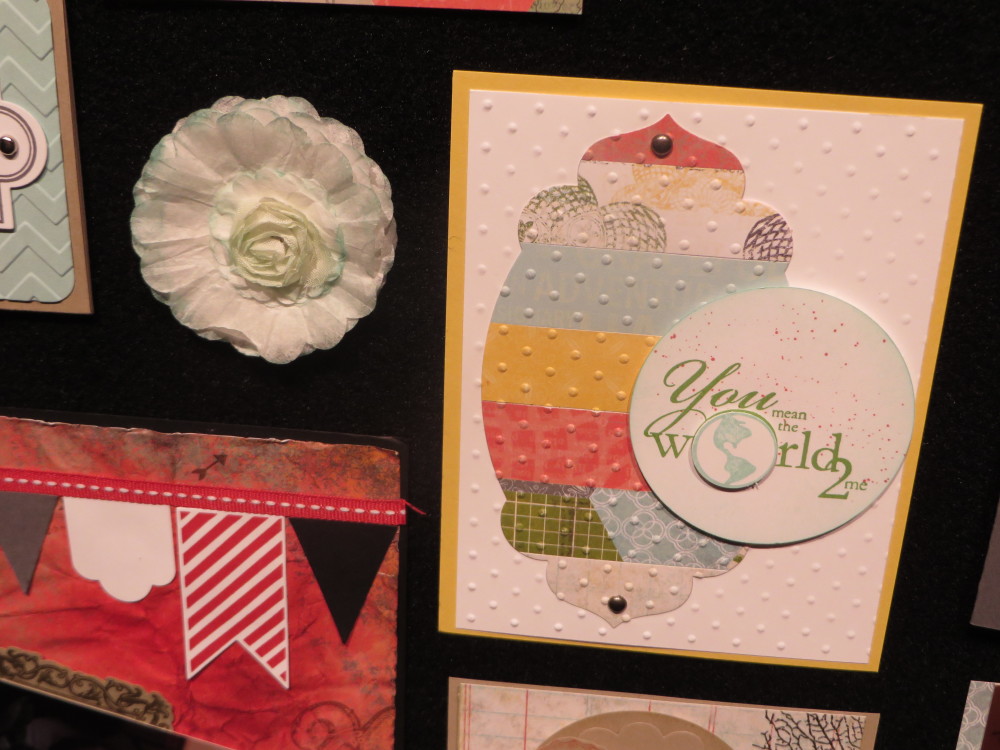
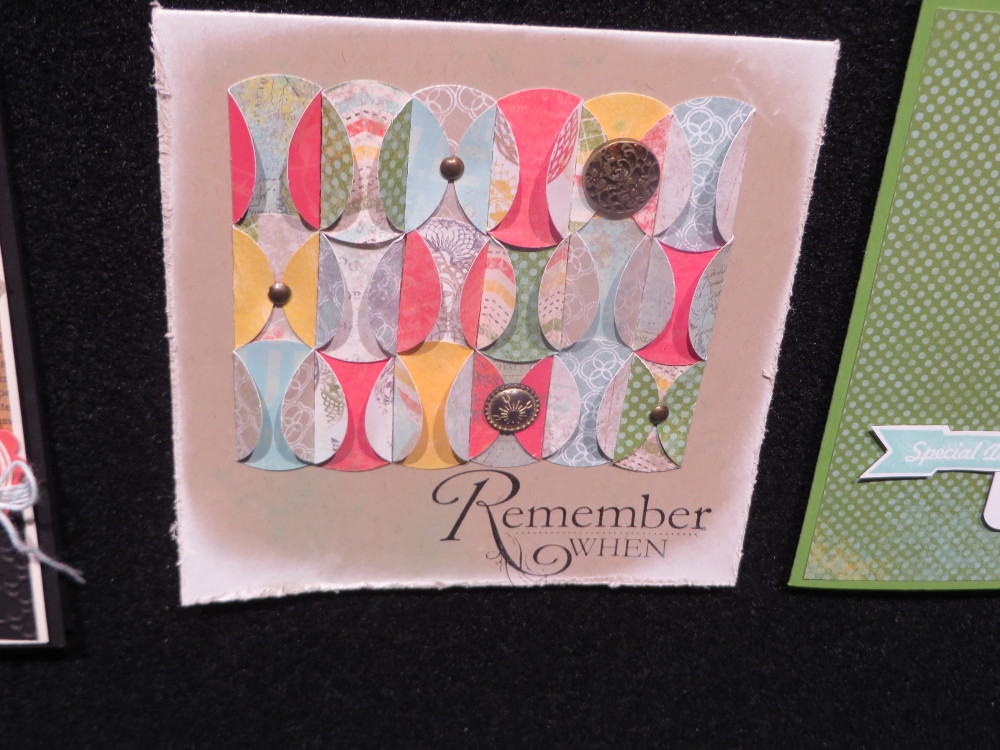
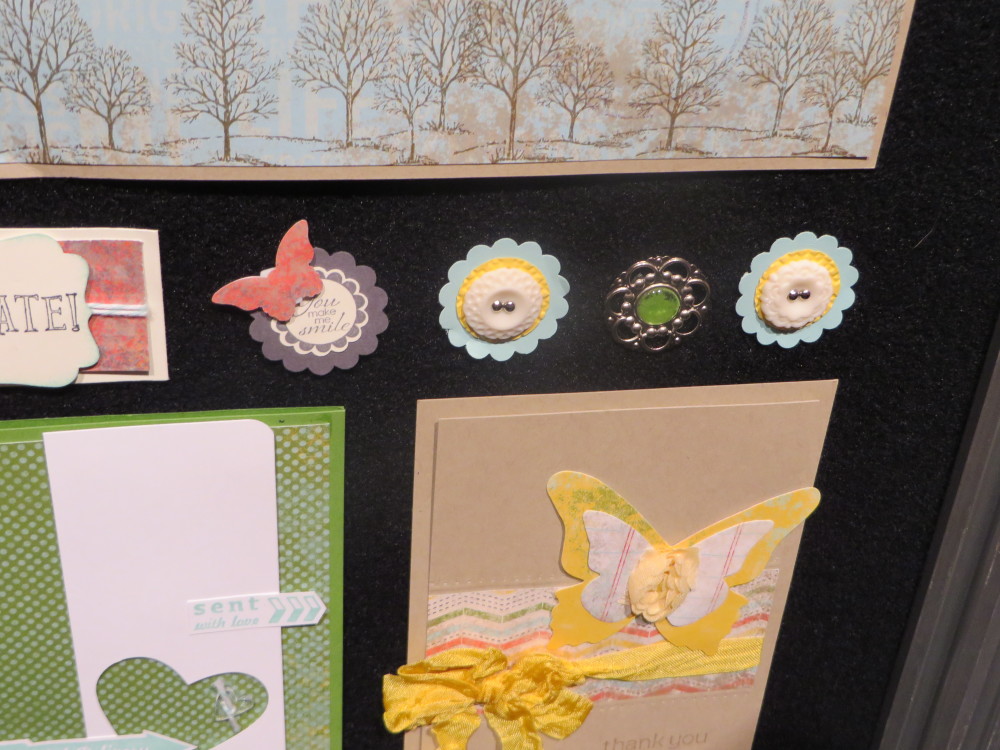
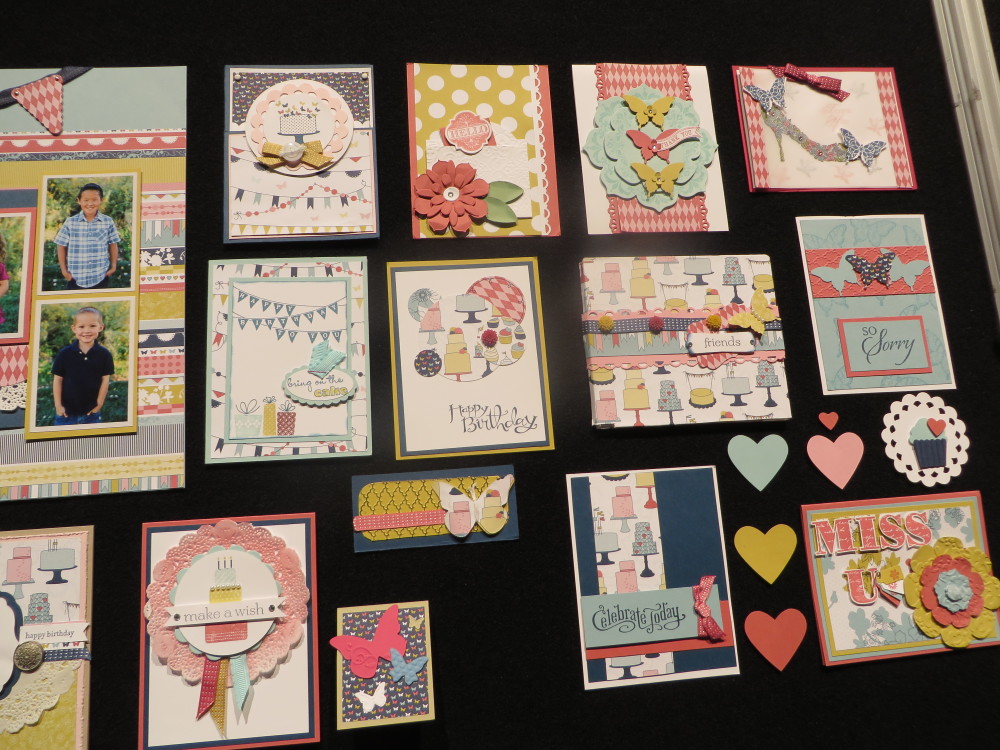
More Stampin’ Up! Convention Display Board Samples

Just a few more I chose from my photos!  Enjoy!

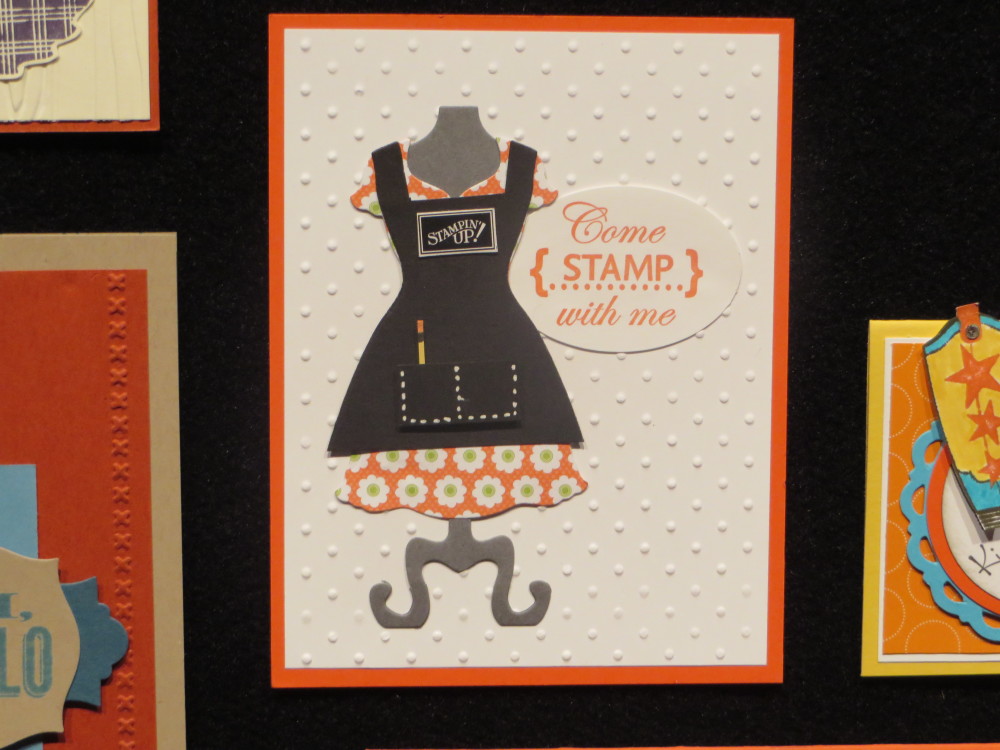
Stampin' Up! Apron Dress Up Framelit Die

Stampin’ Up! Apron Dress Up Framelit Die

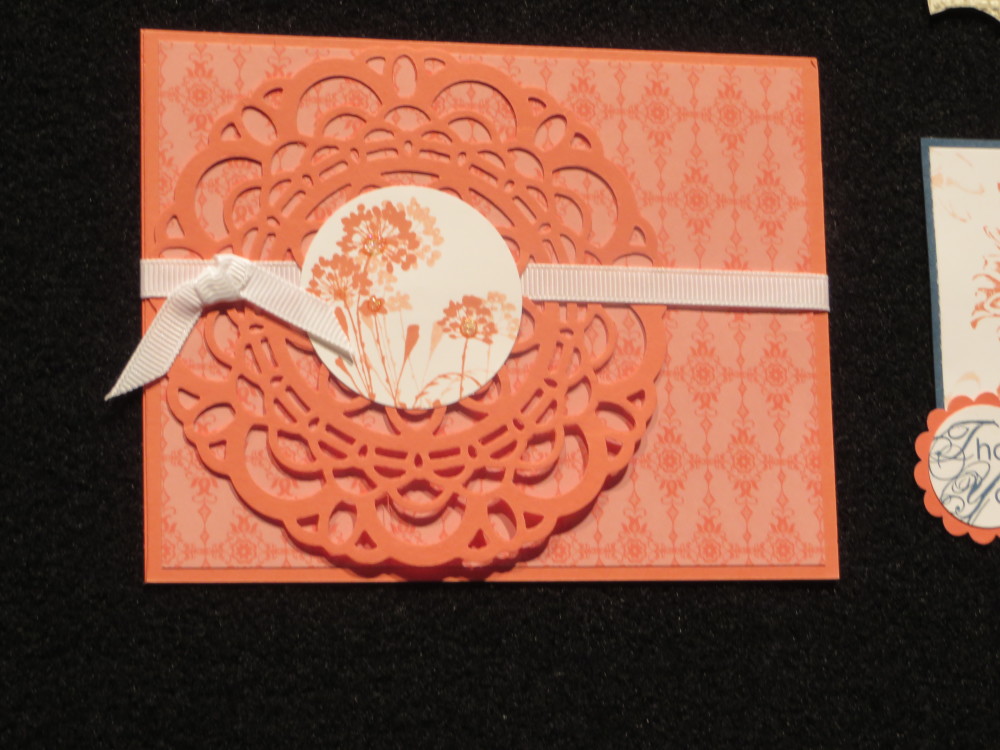
Paper Doily Die Card

Paper Doily Die Card

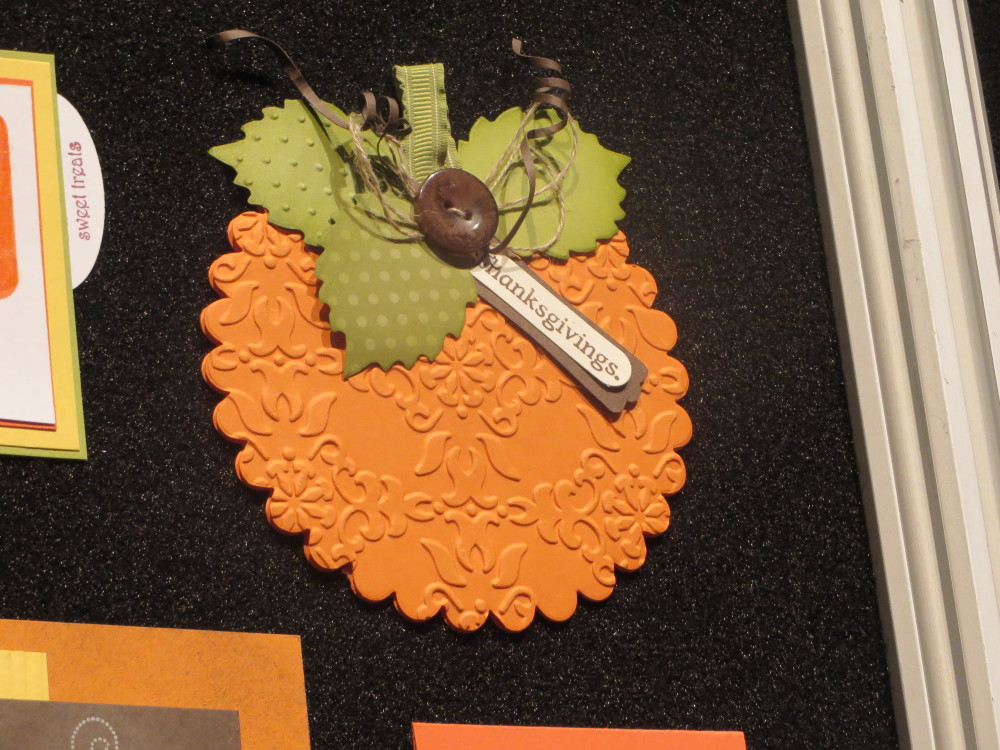
Beautiful Embossed Pumpkin Card

Beautiful Embossed Pumpkin Card

Sample Cards

Sample Cards

Fall Inspiration Cards

Fall Inspiration Cards

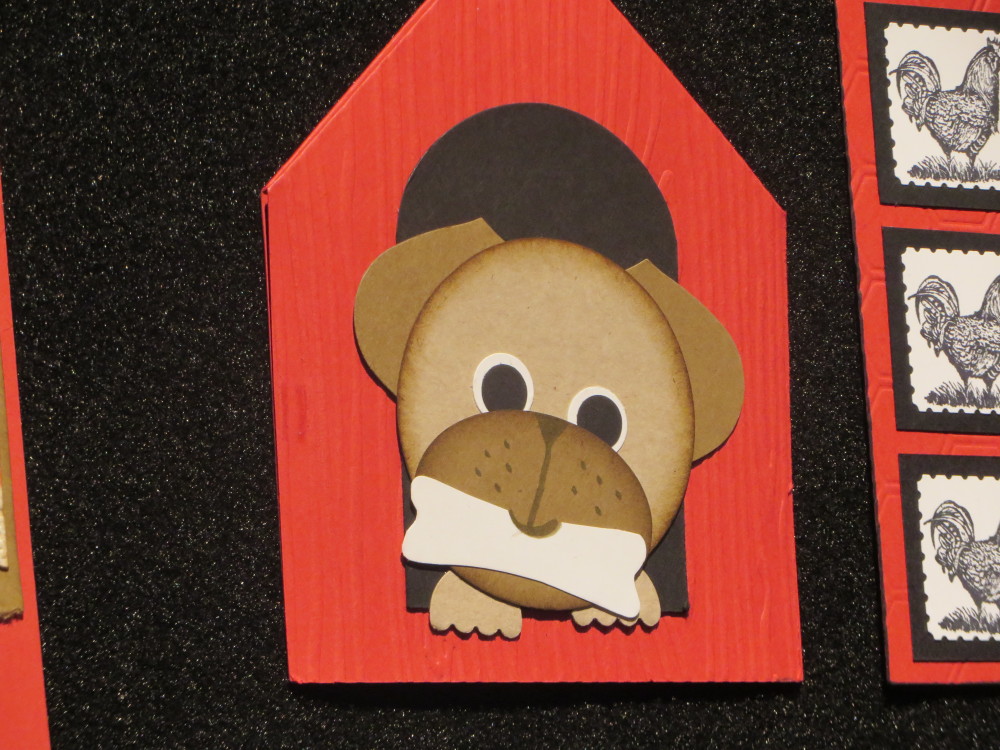
Doggie in the Dog House Punch Art Card

Doggie in the Dog House Punch Art Card

Summer Smooches Cards

Summer Smooches Cards

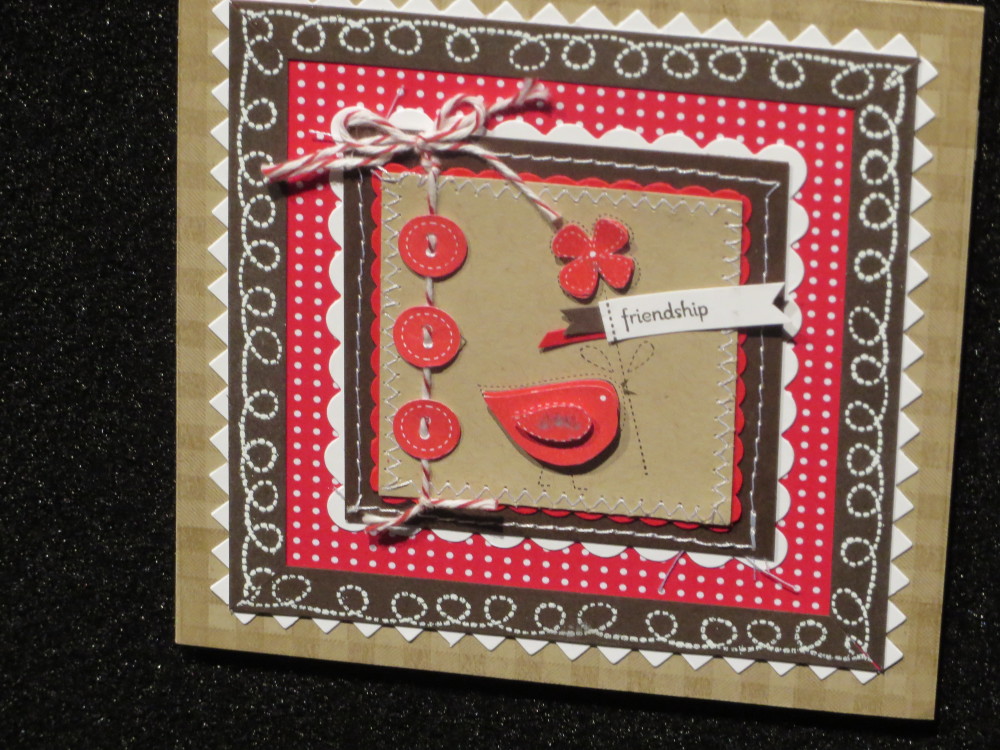
Cute Red Bird Card

Cute Red Bird Card

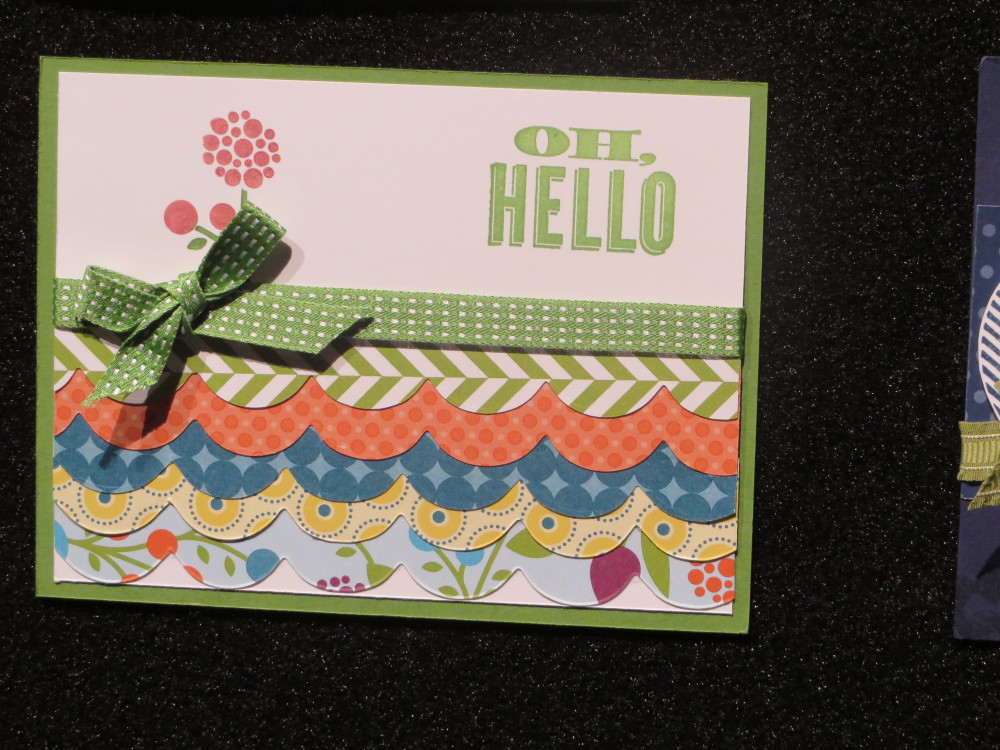
Oh Hello Scallop Tasteful Trim Card

Oh Hello Scallop Tasteful Trim Card

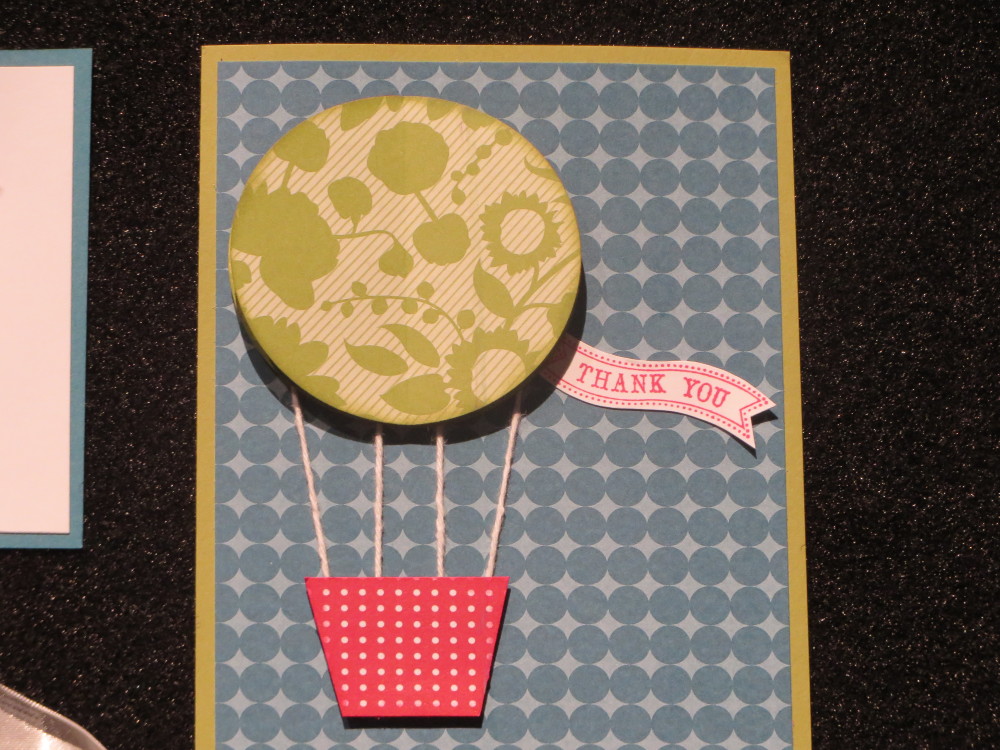
Make an easy hot air balloon card!

Make an easy hot air balloon card!

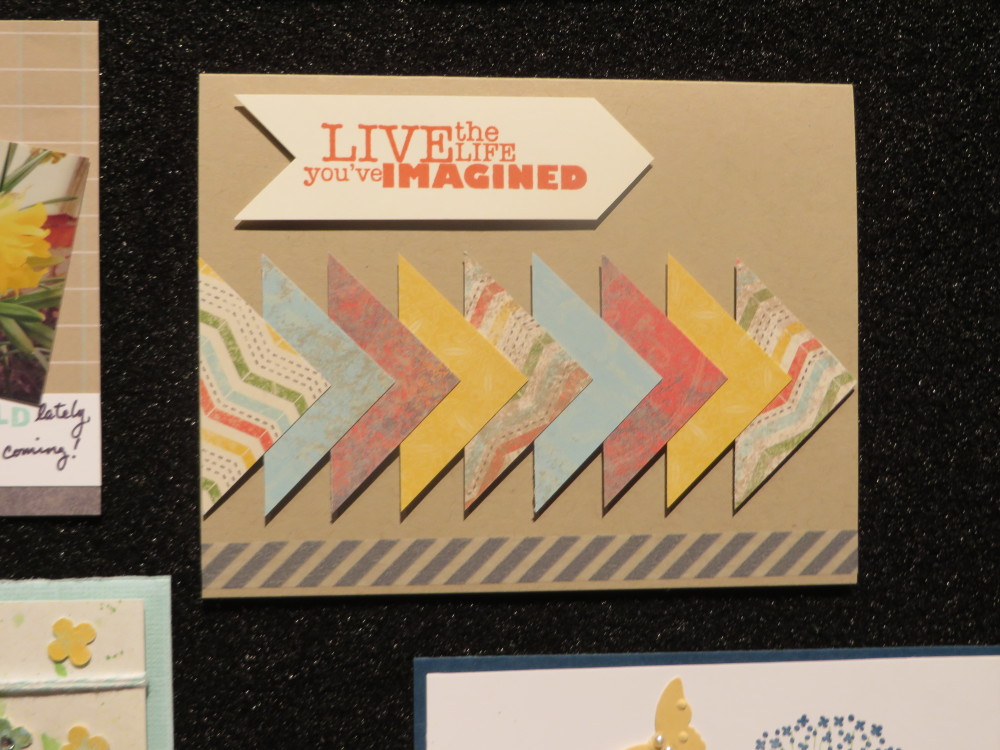
Epic Day Designer Paper Triangles

Epic Day Designer Paper Triangles

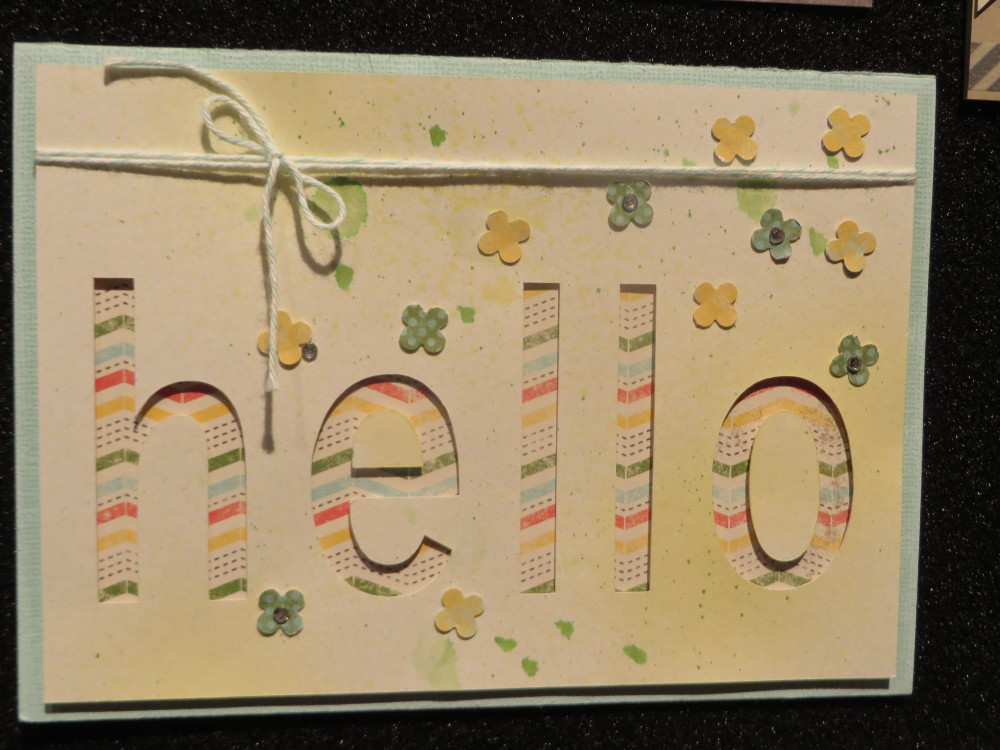
Hello Card with Epic Day This and That Designer Paper

Hello Card with Epic Day This and That Designer Paper

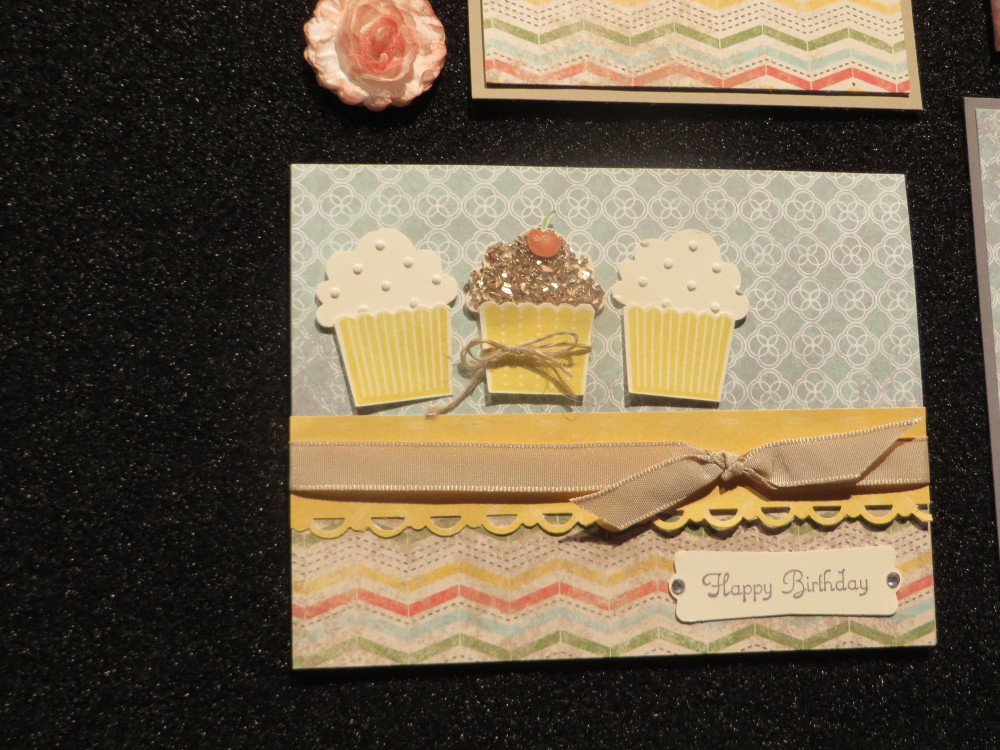
Cupcake Punch Birthday Card

Cupcake Punch Birthday Card

Apothecary Accents Framelit and Epic Day DSP

Apothecary Accents Framelit and Epic Day DSP

Epic Day This and That Designer Paper

Epic Day This and That Designer Paper

Cute Little Embellishments to Make

Cute Little Embellishments to Make

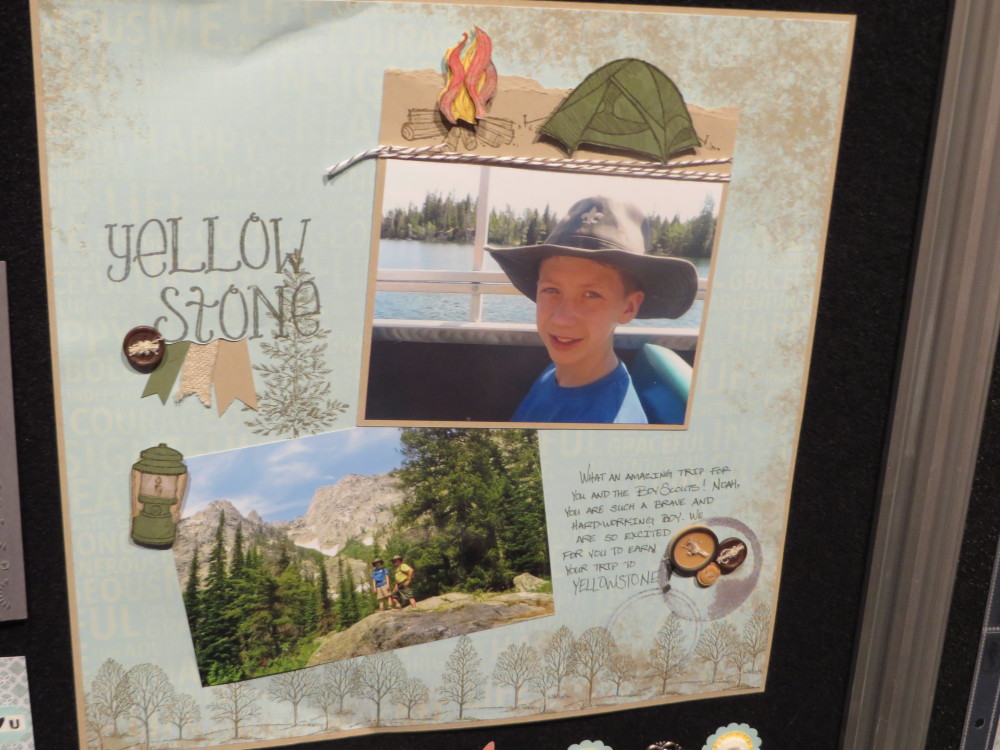
Yellowstone Natl Park Scrapbook Page

Yellowstone Natl Park Scrapbook Page

Patio Party Designer Paper

Patio Party Designer Paper (Retired)

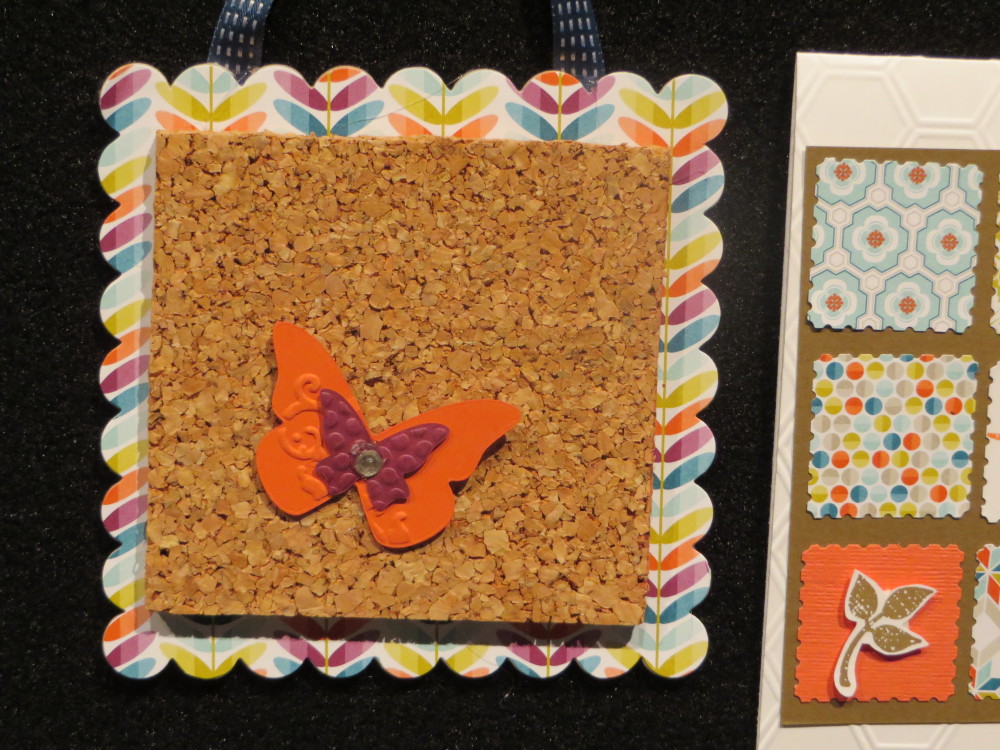
Cork board

Cute little cork board

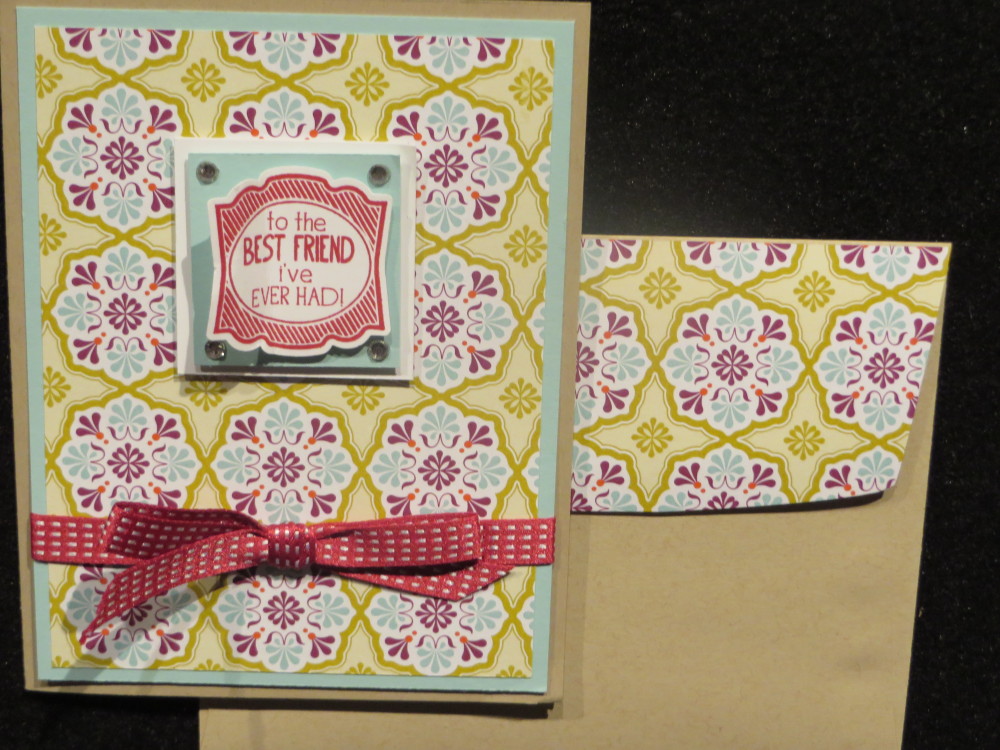
Label Love

Label Love Stamp Set and Artisan Punch

3D Box


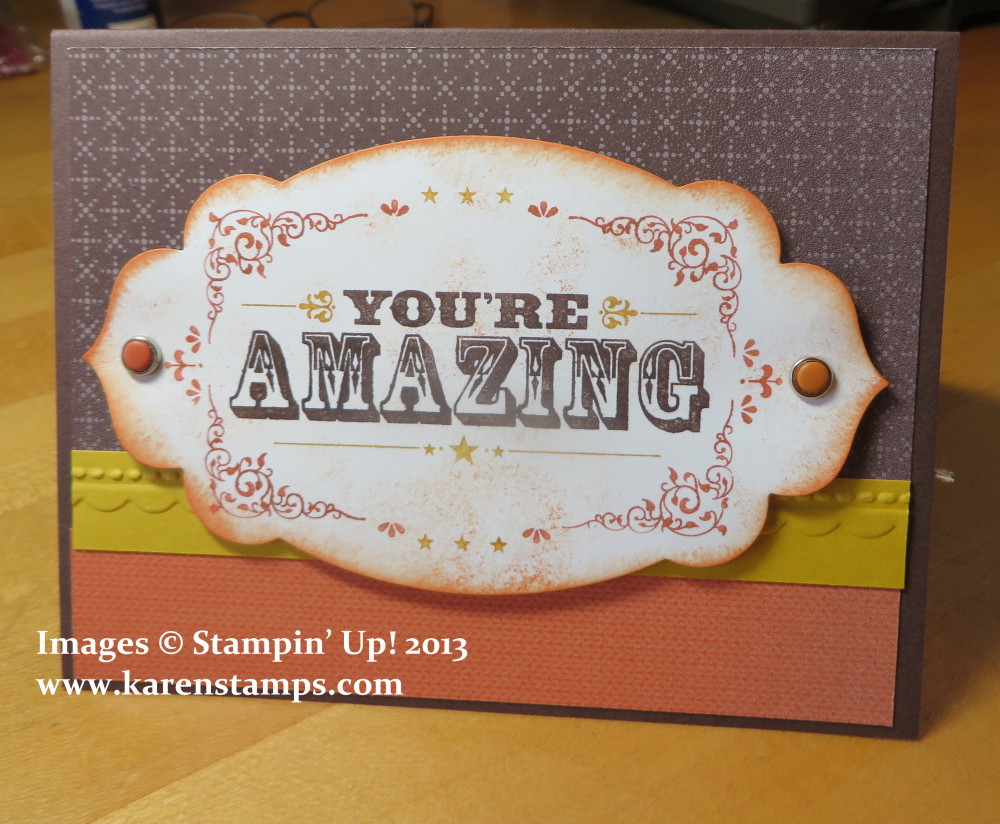
You’re Amazing Birthday Card

You're Amazing Birthday Card

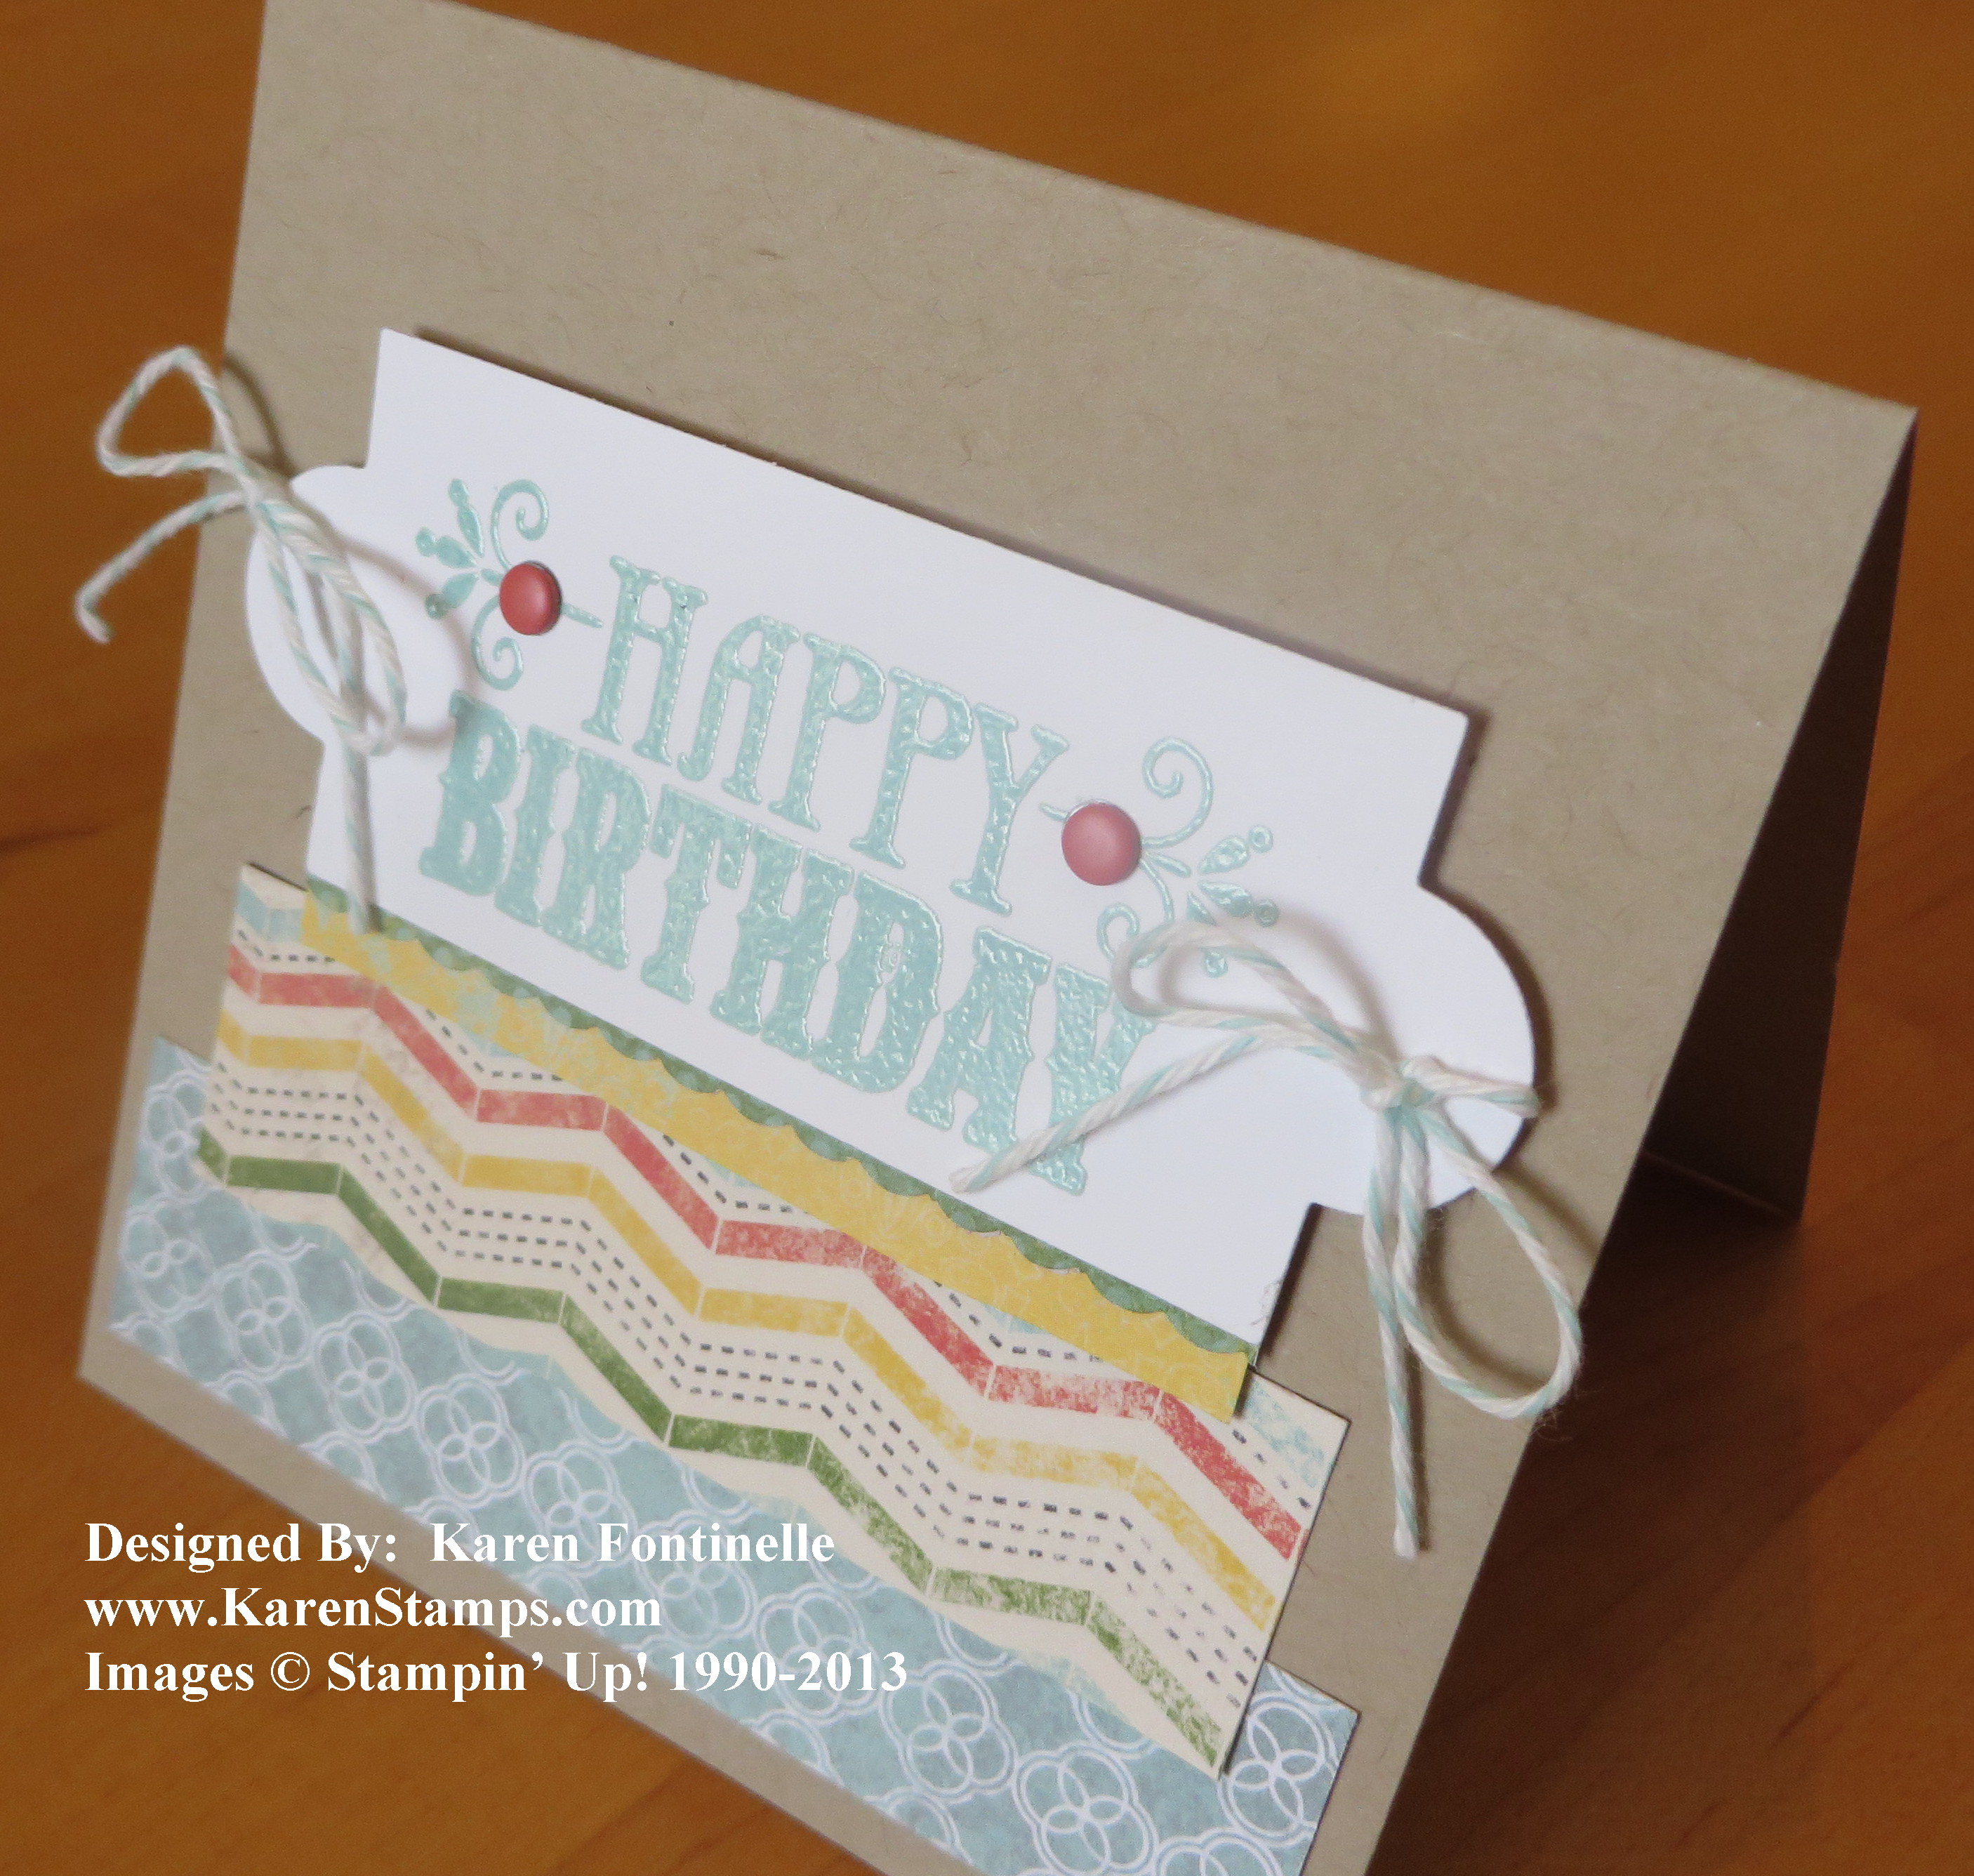
Do you ever wonder where people get these creative ideas for making cards or any papercrafting projects?  There are lots of places, but perhaps the best one is right at your fingertips…..the new Stampin’ Up! Annual Catalog! I just barely started paging through the catalog when I saw both a tag and a birthday card at the top of page 15. The birthday card was simple enough although it had some sewing on it……but the tag was also cute.

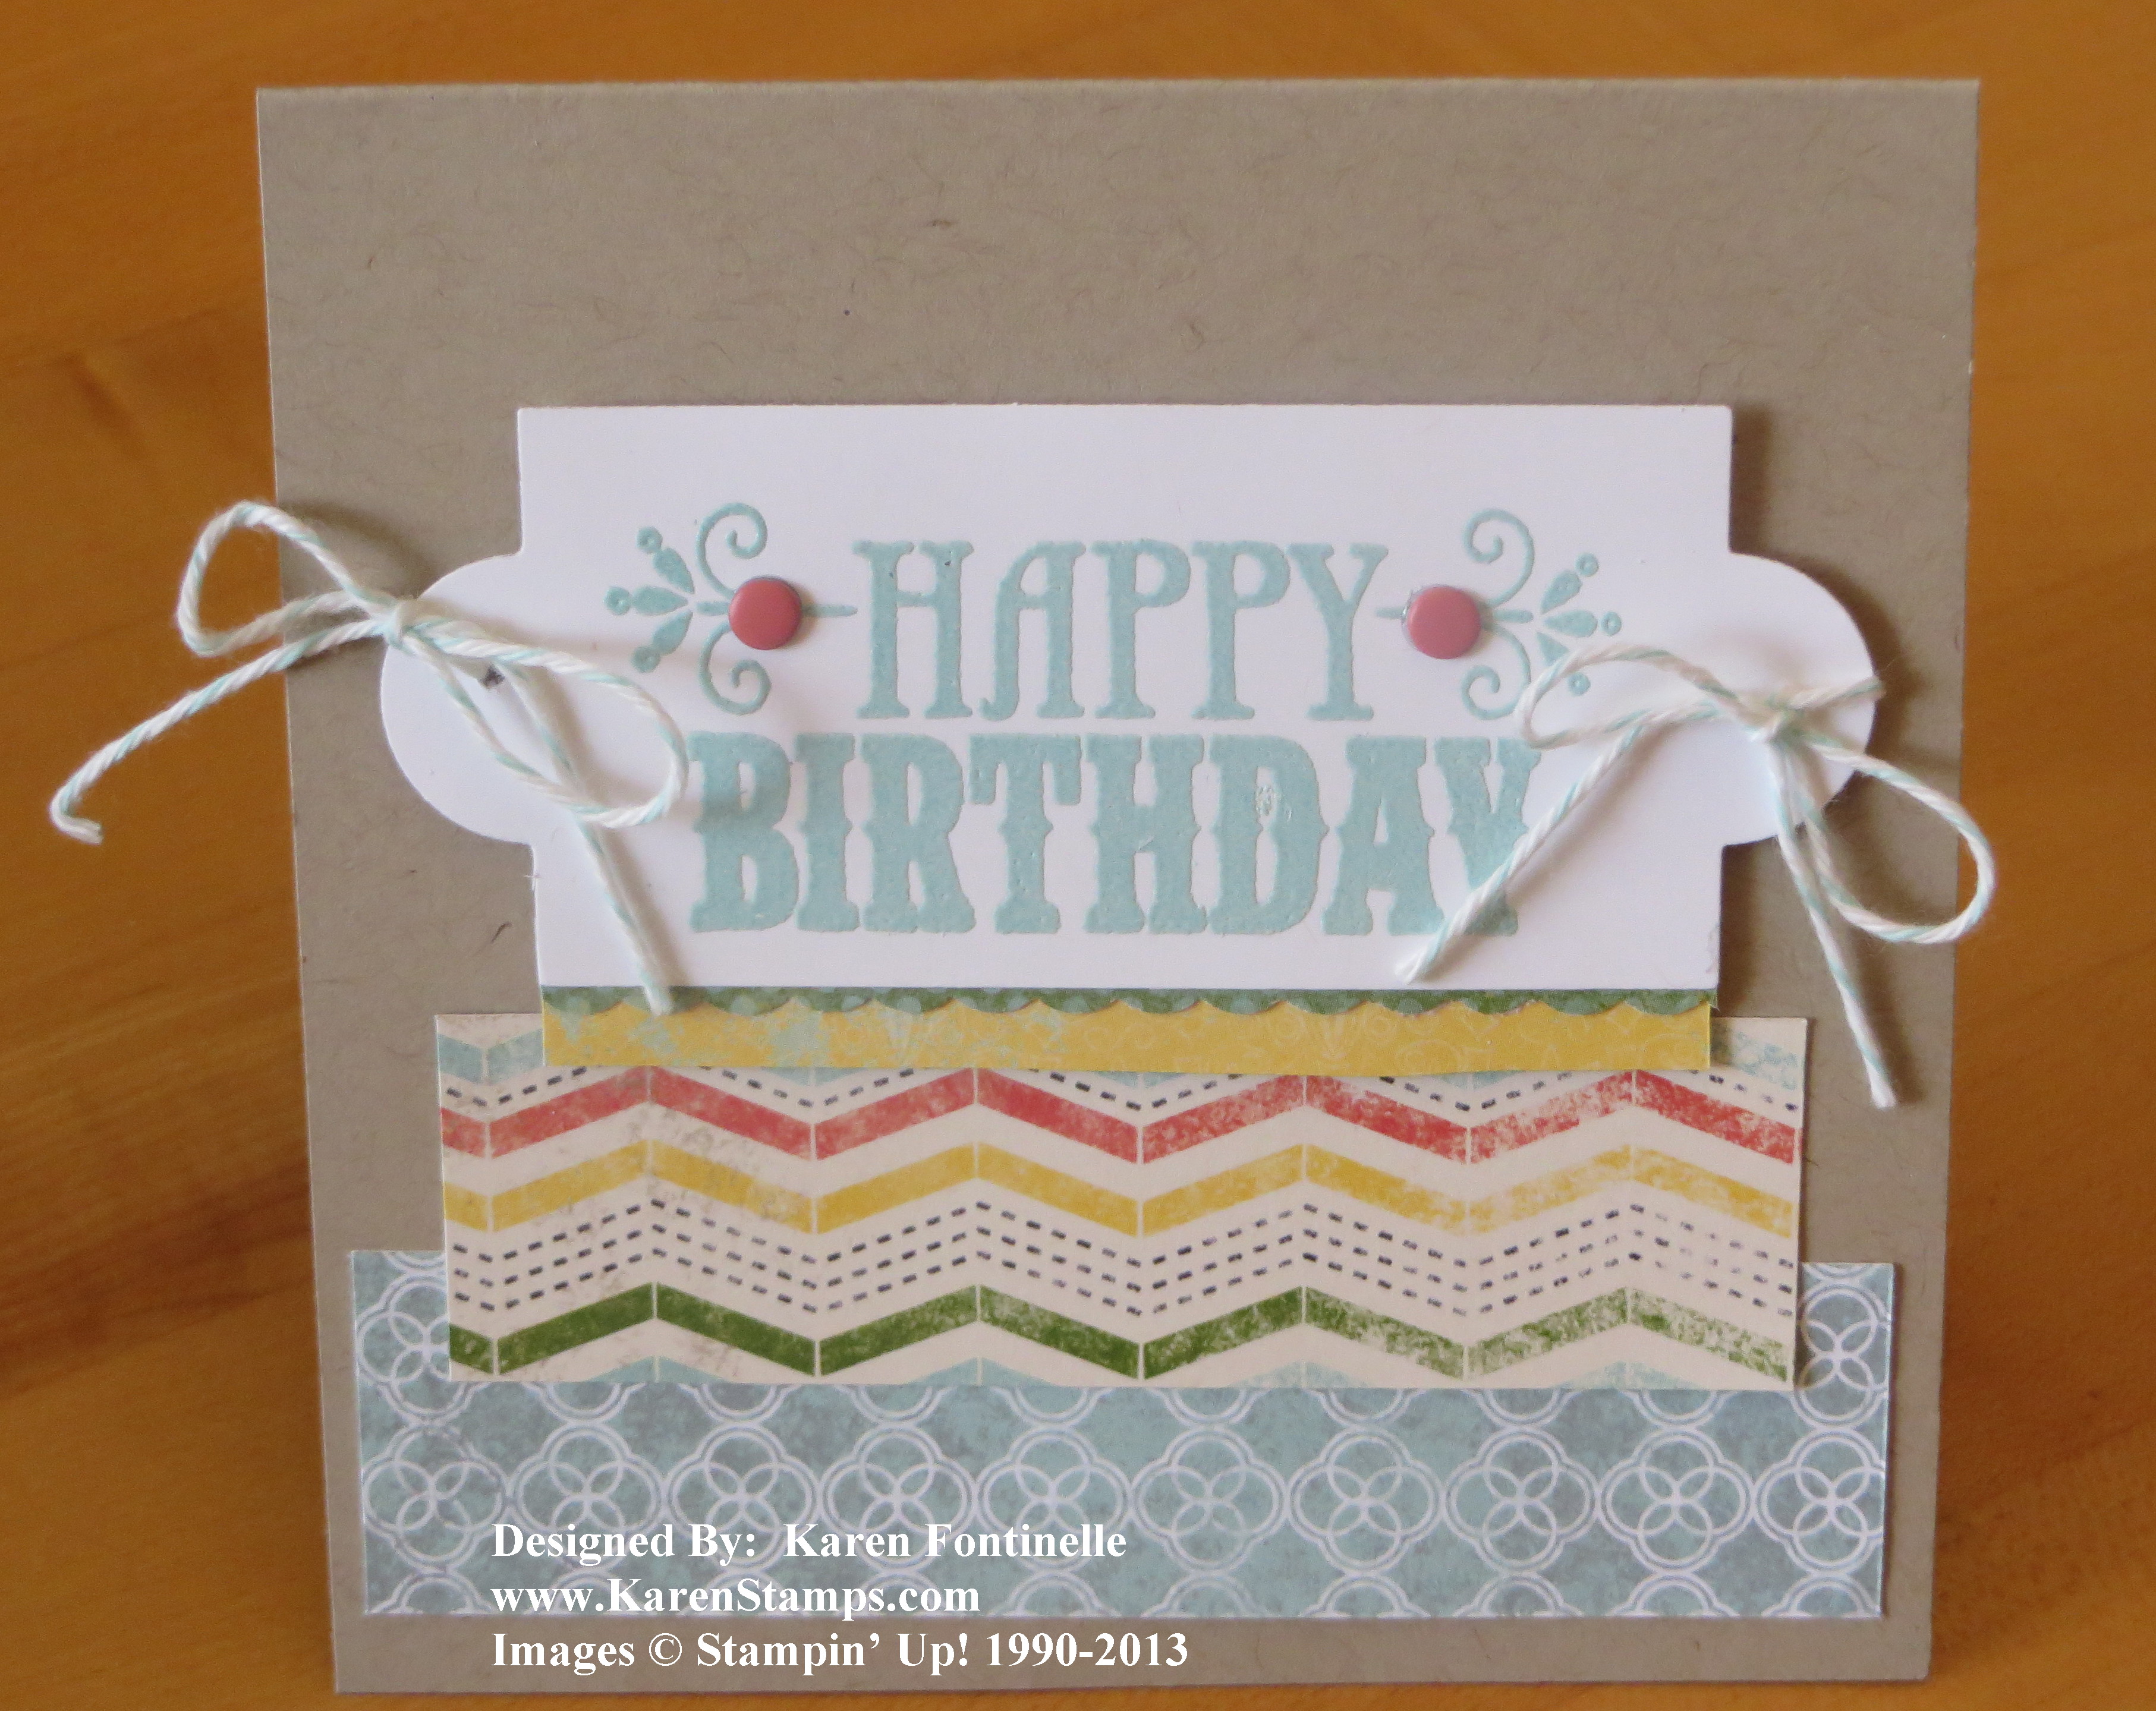
I made the tag using the stamp set You’re Amazing and embossed with Pool Party Stampin’ Emboss Powder and Versamark Ink. I added two of the new Candy Dots on there (probably my main reason for making the whole card!). One of my favorite framelits dies is the one I used from the Apothecary Accents Framelits collection. I even punched a little hole in each side of the Happy Birthday piece and tied on some Pool Party Baker’s Twine (that color retired).

The card base is Crumb Cake, a great neutral to start with! For this card, I did cut it smaller than usual, 4 1/4″ x 8 1/2″ so when it is folded I have a 4 1/4″ square card. I meant to round the bottom corners of the card but I guess I forgot! After putting a little border on the bottom of the greeting using the  Dotted Scallop Ribbon Border Punch  I used strips of the This And That Epic Designer Series Paper for the layers underneath.  Very simple, good use of scraps, and makes a fun card I think!

In the photo below I think you can see the Pool Party embossing a little better!

You're Amazing Birthday Card with Embossing


If you want to purchase any Stampin’ Up! supplies, please visit my Stampin’ Up! Online Store now! Check the categories in the left sidebar when you get there and make sure you see ALL that is available!

Gift-Wrapping with Stampin’ Up! Washi Tape

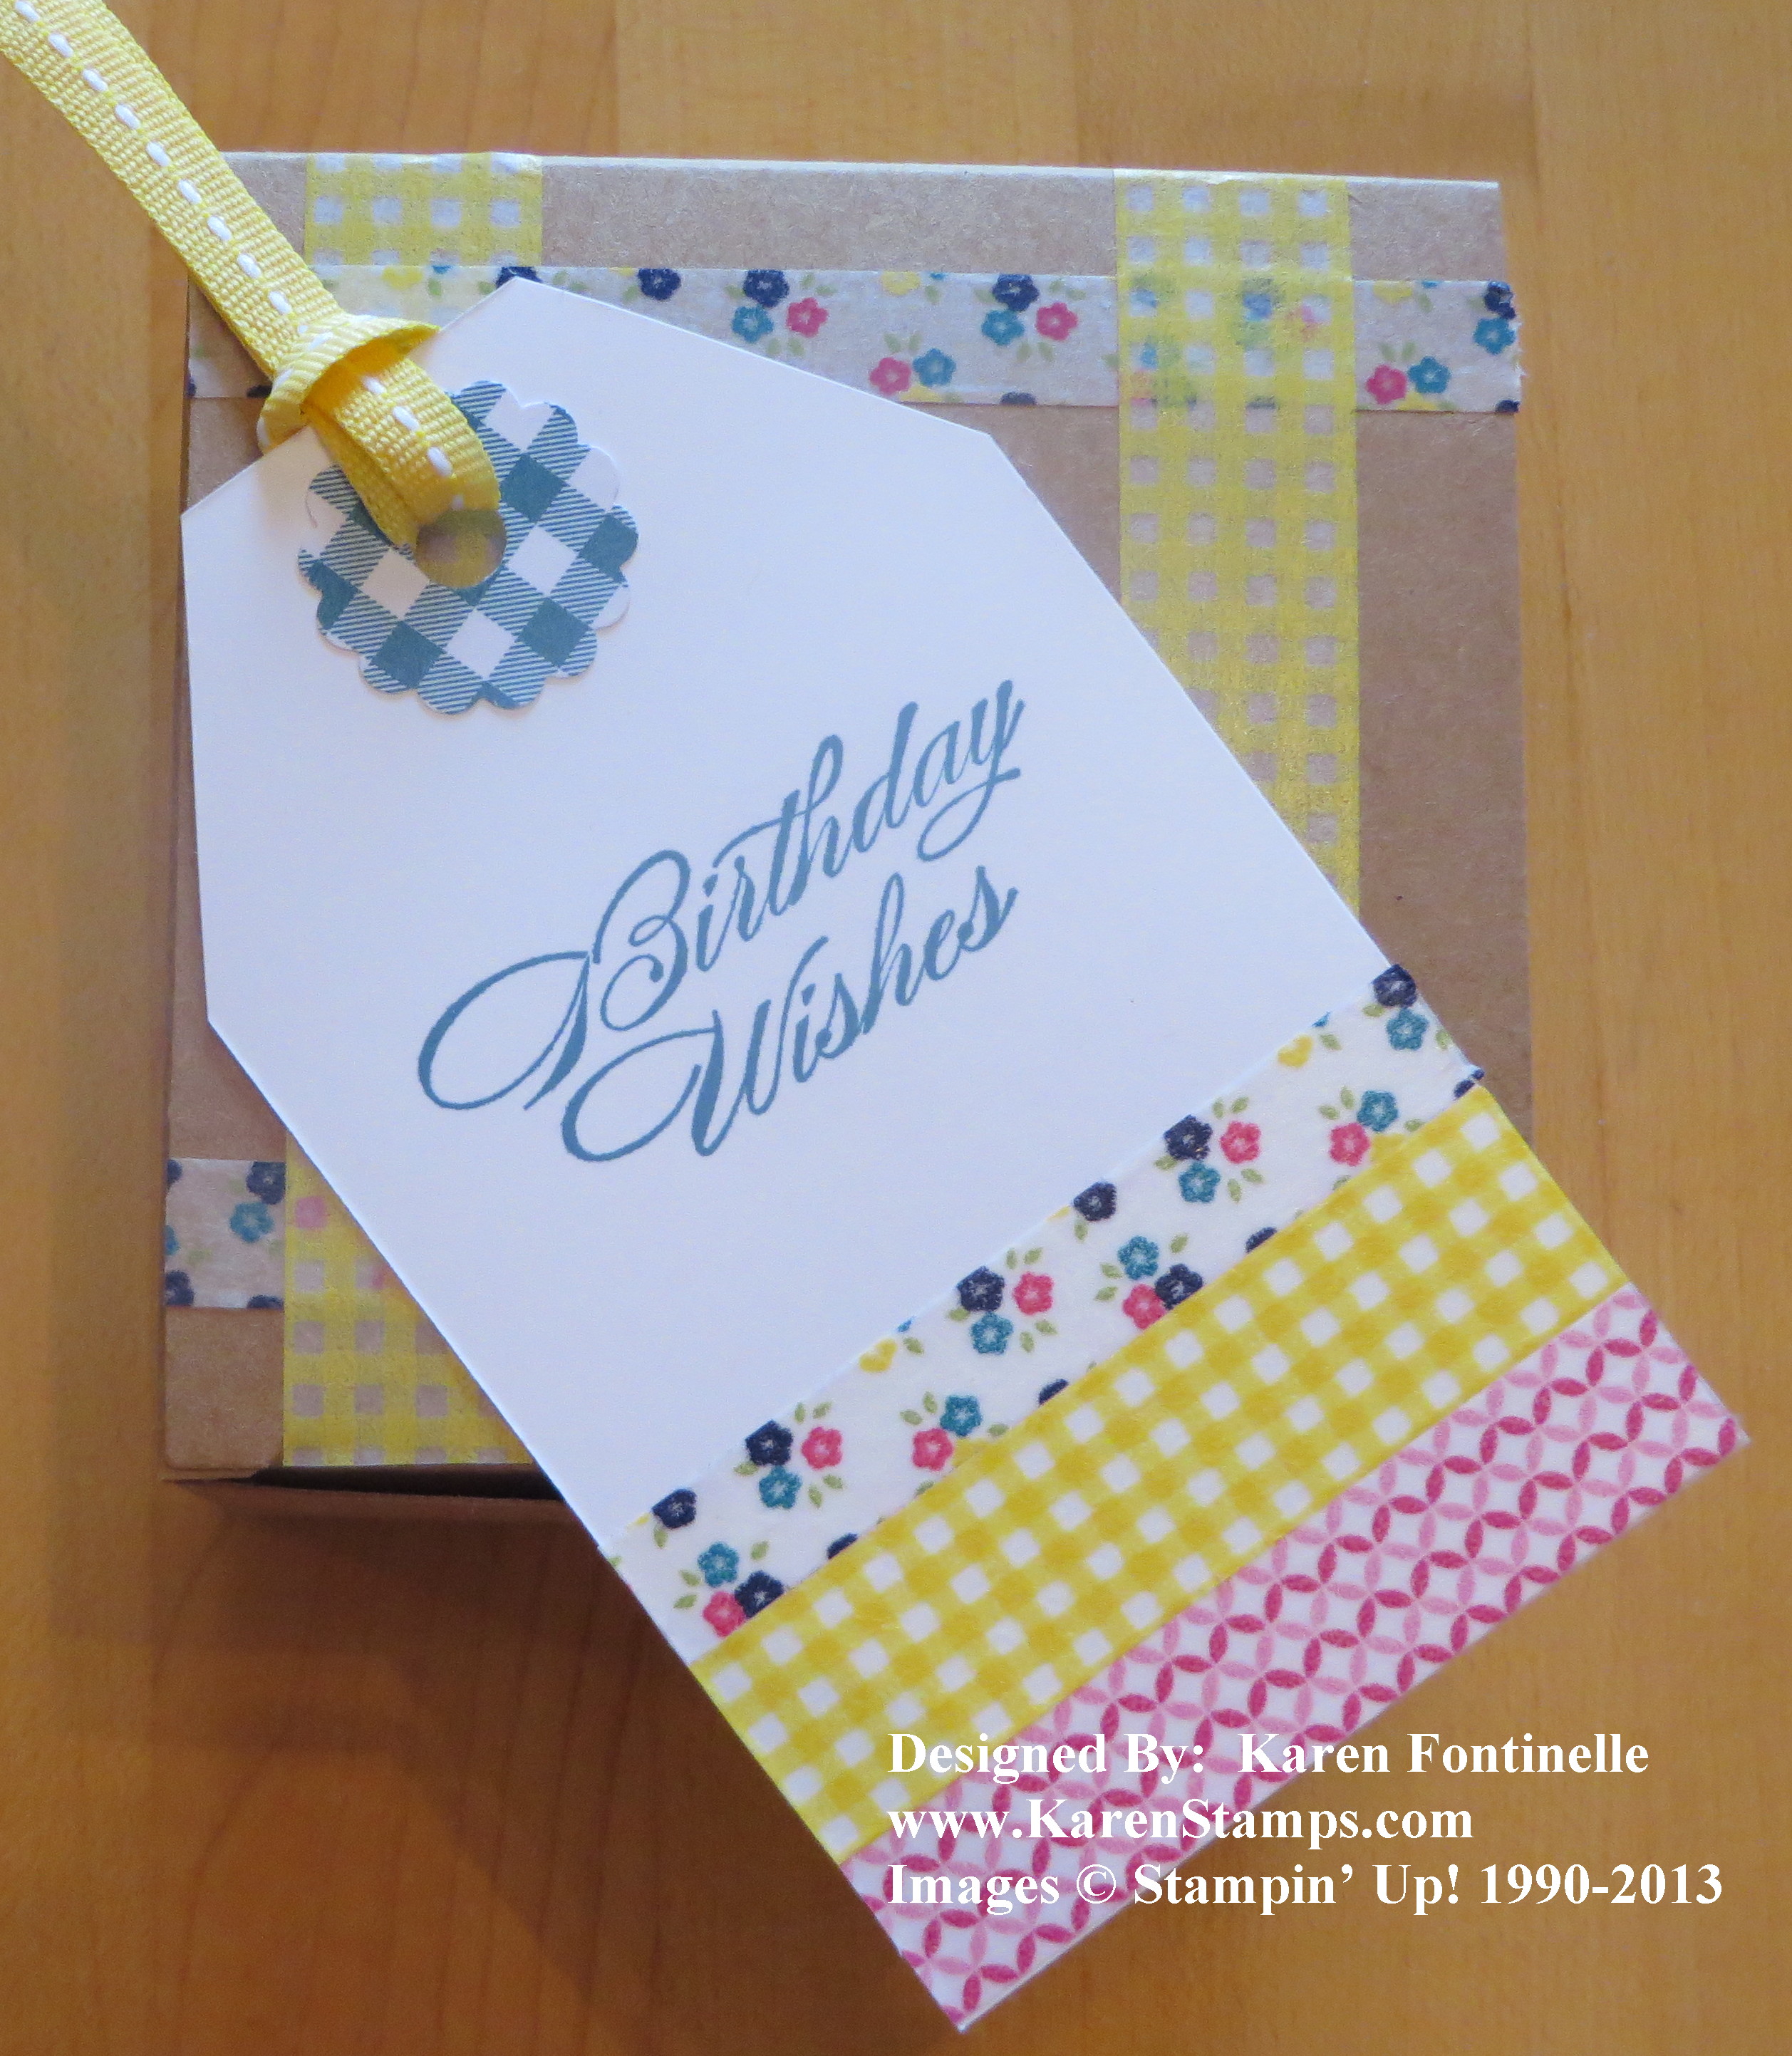
Gingham Garden Designer Washi Tape Birthday Tag and Gift

Now that Stampin’ Up! sells washi tape, we will find lots of ways to use it. You can easily decorate a Kraft Gift Box with strips of our new Gingham Garden Designer Washi Tape. It’s even repositionable, so I was able to lift one part up and put one strip underneath on the top of the box. You could also wrap the tape around the sides of the box or add matching designer paper.

The birthday tag is made by just snipping off the top corners of a scrap of Whisper White card stock.  I added some strips of Gingham Garden Washi Tape to the bottom of the tag.  Since you usually just tear washi tape, I let the lengths be longer than the tag by just a bit and then trimmed off the excess with my Paper Snips on each side.  Washi tape is translucent so keep that in mind when you are deciding on what colors of paper to use.  The surface you stick the tape to will show through somewhat.

To decorate the hole of the tag, I just punched a small scallop with the 7/8″ Scallop Circle Punch, adhered it to the tag, and then used a regular hole punch to punch the hole for the tag. To tie on the tag, I used the Daffodil Delight 1/4″ Stitched Grosgrain RibbonYou could hand write your greeting or your “To” and “From” on the tag or stamp something, or both!  I stamped a birthday greeting from Bring on the Cake in Island Indigo, one of the coordinating colors of the Gingham Garden Washi Tape.

If you want to try out some of the new Stamping’ Up! Washi Tape, just go to my Stampin’ Up! Online Store here.

Mixed Bunch Flower Birthday Card

Mixed Bunch Flower Birthday Card

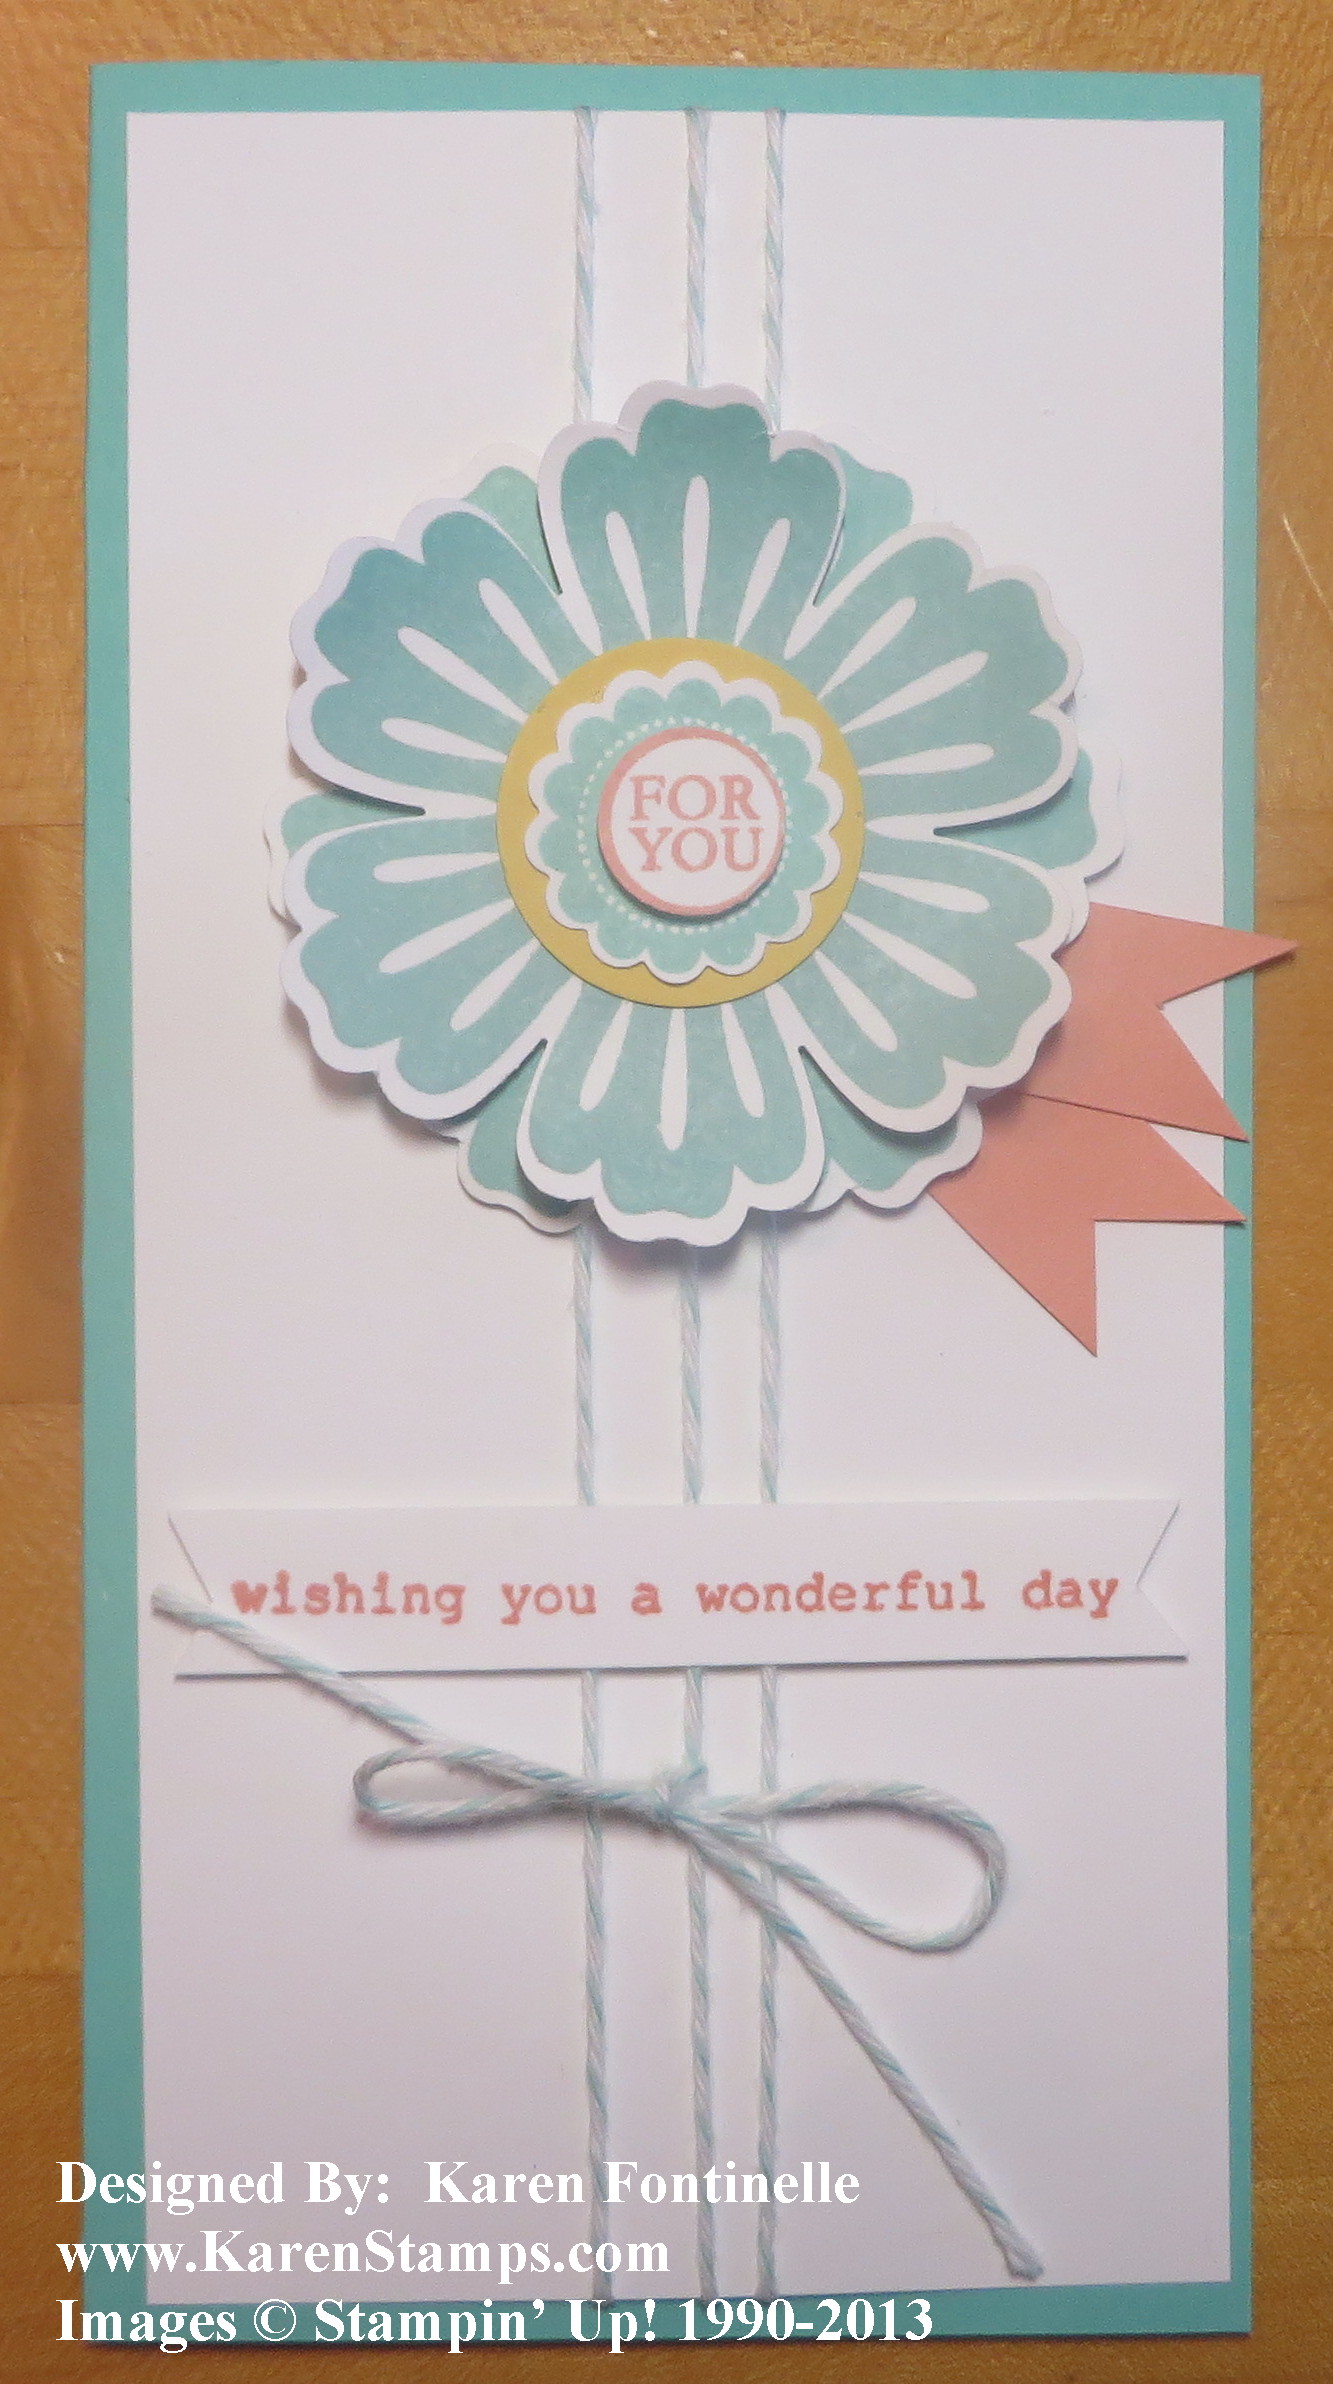
There are many places to get inspiration for our stamping, and for Stampin’ Up! Demonstrators, one of them is our Stampin’ Up! publication called Stampin’ Success. This card I made is pretty much like one in my magazine. I changed the center of the flower because I didn’t have the same stamp set they used, and I used a different color of Baker’s Twine to wrap around the card layer.

The base of the card is made with one of our new In Colors, Coastal Cabana, and the front layer is Whisper White. The sizes are different than our usual cards. The card base starts at 6 1/2″ x 6 1/4″ and folded in half to become 6 1/4″ long by 3 1/4″ wide. (If you want to make it a little easier for yourself without remembering all those numbers, cut a 6″ x 6″ square of card stock for the card base and fold in half!) Before adhering the Whisper White layer, I adhered three separate strings of Baker’s Twine (I used retired Pool Party) to the card stock on the back to save those extra inches I would have used wrapping around.  You can do it either way.  Then I just tied the bow to the center string.

The flowers are stamped with the Mixed Bunch stamp set and Coastal Cabana ink and punched out with the Blossom Punch.  I punched out two flowers so I could layer them and slightly curled the top flower with my Bone Folder to give it some dimension. For the flower center, I stamped the “For You” image from A Round Array twice–once in Coastal Cabana and once in Crisp Cantaloupe.  I used the 1/2″ Circle Punch to punch out the words in Crisp Cantaloupe and used the new 7/8″ Scallop Circle Punch to punch out the whole image in Coastal Cabana. Then I just layered the words on top of the scallop with a tiny Stampin’ Dimensional (part of one). You can layer whichever parts you want with dimensionals or just adhere them together in a flat fashion. The scallop is layered on top of a 1″ Delightful Daffodil circle. I made two little strips of Crisp Cantaloupe card stock and cut the ends like flags and stuck them underneath the flower for a little contrast.  The greeting is from Bring On the Cake but of course, you could use any number of greetings.  For the center of the flower you could place a button or other embellishment instead of the words.

This is a good basic card that you can modify for any number of occasions!

Here are some other ideas you could do:

  • Use ribbon instead of the Baker’s Twine.
  • Turn the card sideways, putting the flower on one side and stamp a greeting on the other side.
  • Stamp a flower or other image and wrap the Baker’s Twine or ribbon around the base of the layer.

If you need any stamping supplies to make cards like this one, please shop at my Stampin’ Up! Online Store here.

Dress Up Birthday Card

Dress Up Birthday Card

Now that my daughter has received her birthday card, I can post it here.  The paper is retired now, but most things are current for you to make your own card like this. The Dress Up Framelits are so fun to use! Just cut out a dress in whatever paper you like, maybe cut two and then have a different top and bottom to your dress, or even a jacket! Almost like playing with paper dolls!

Use the Oval Collection Framelits to die cut a background.  I used the birthday stamp from Petite Pairs for the greeting.  This stamp set is on sale now in the Grab Your Greetings offer for 25% off.  Be sure to check it out because it is a good sentiment stamp set to own.  The other two choices are good ones, also.

The Real Red border at the top and bottom of the retired designer paper is punched with the Dotted Scallop Ribbon Border Punch.  What I love about this punch is you can show just the tiny scallops on the edge or you can show the dotted part, so versatile!

If you would like to own the Dress Up Framelits and make oh so many cute projects with them, please visit my Stampin’ Up! Online Store here to place your order.

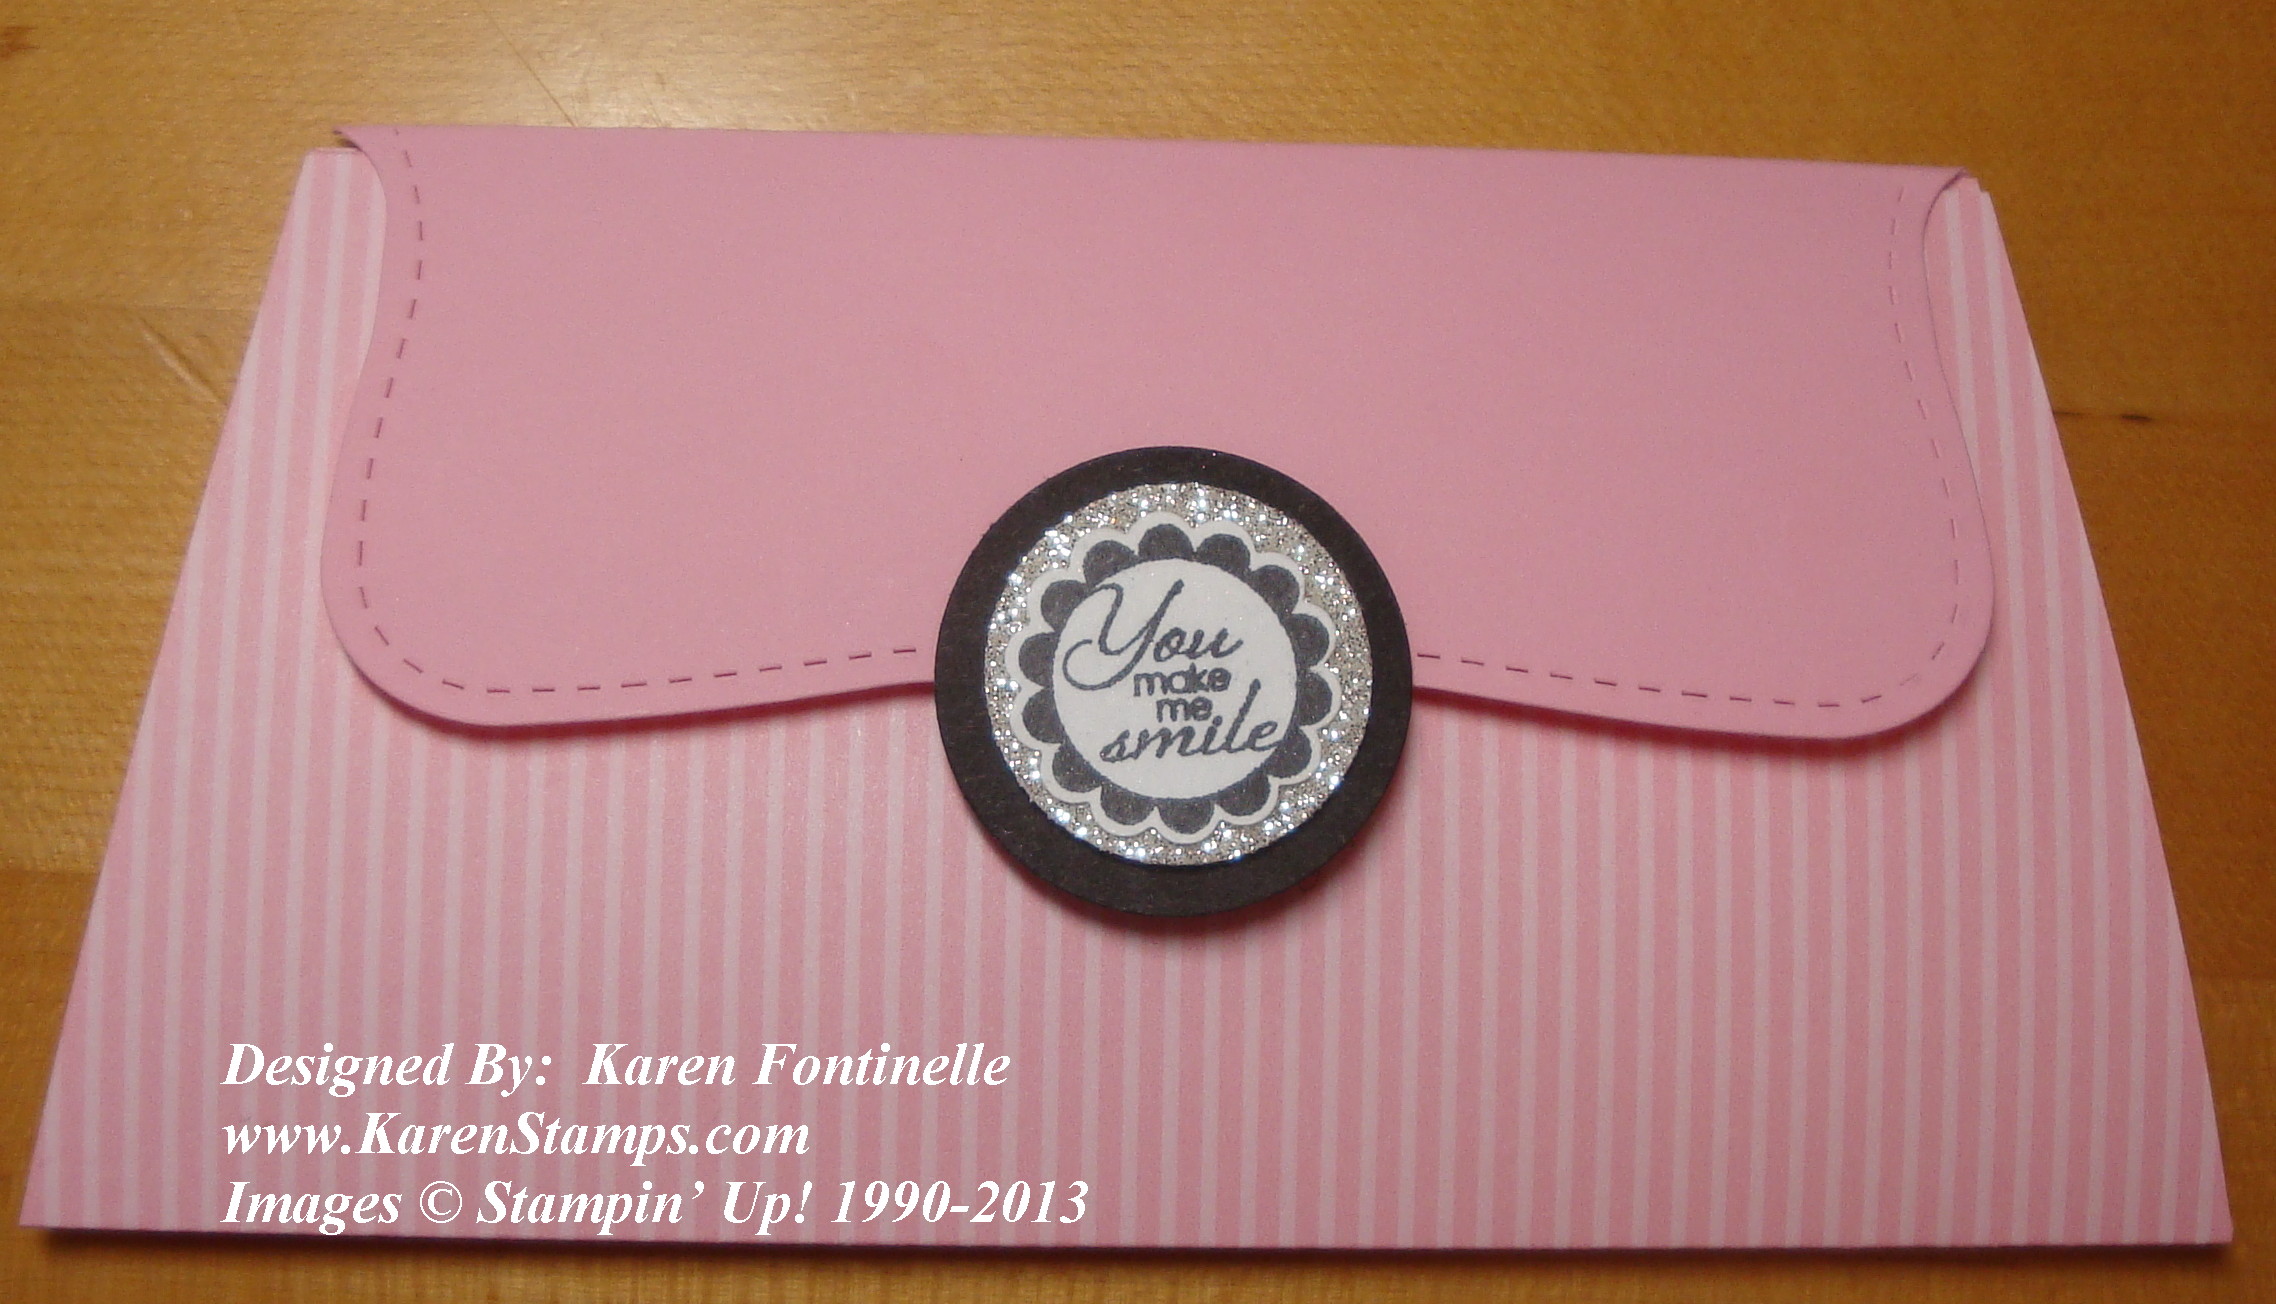
Another Birthday Purse Card

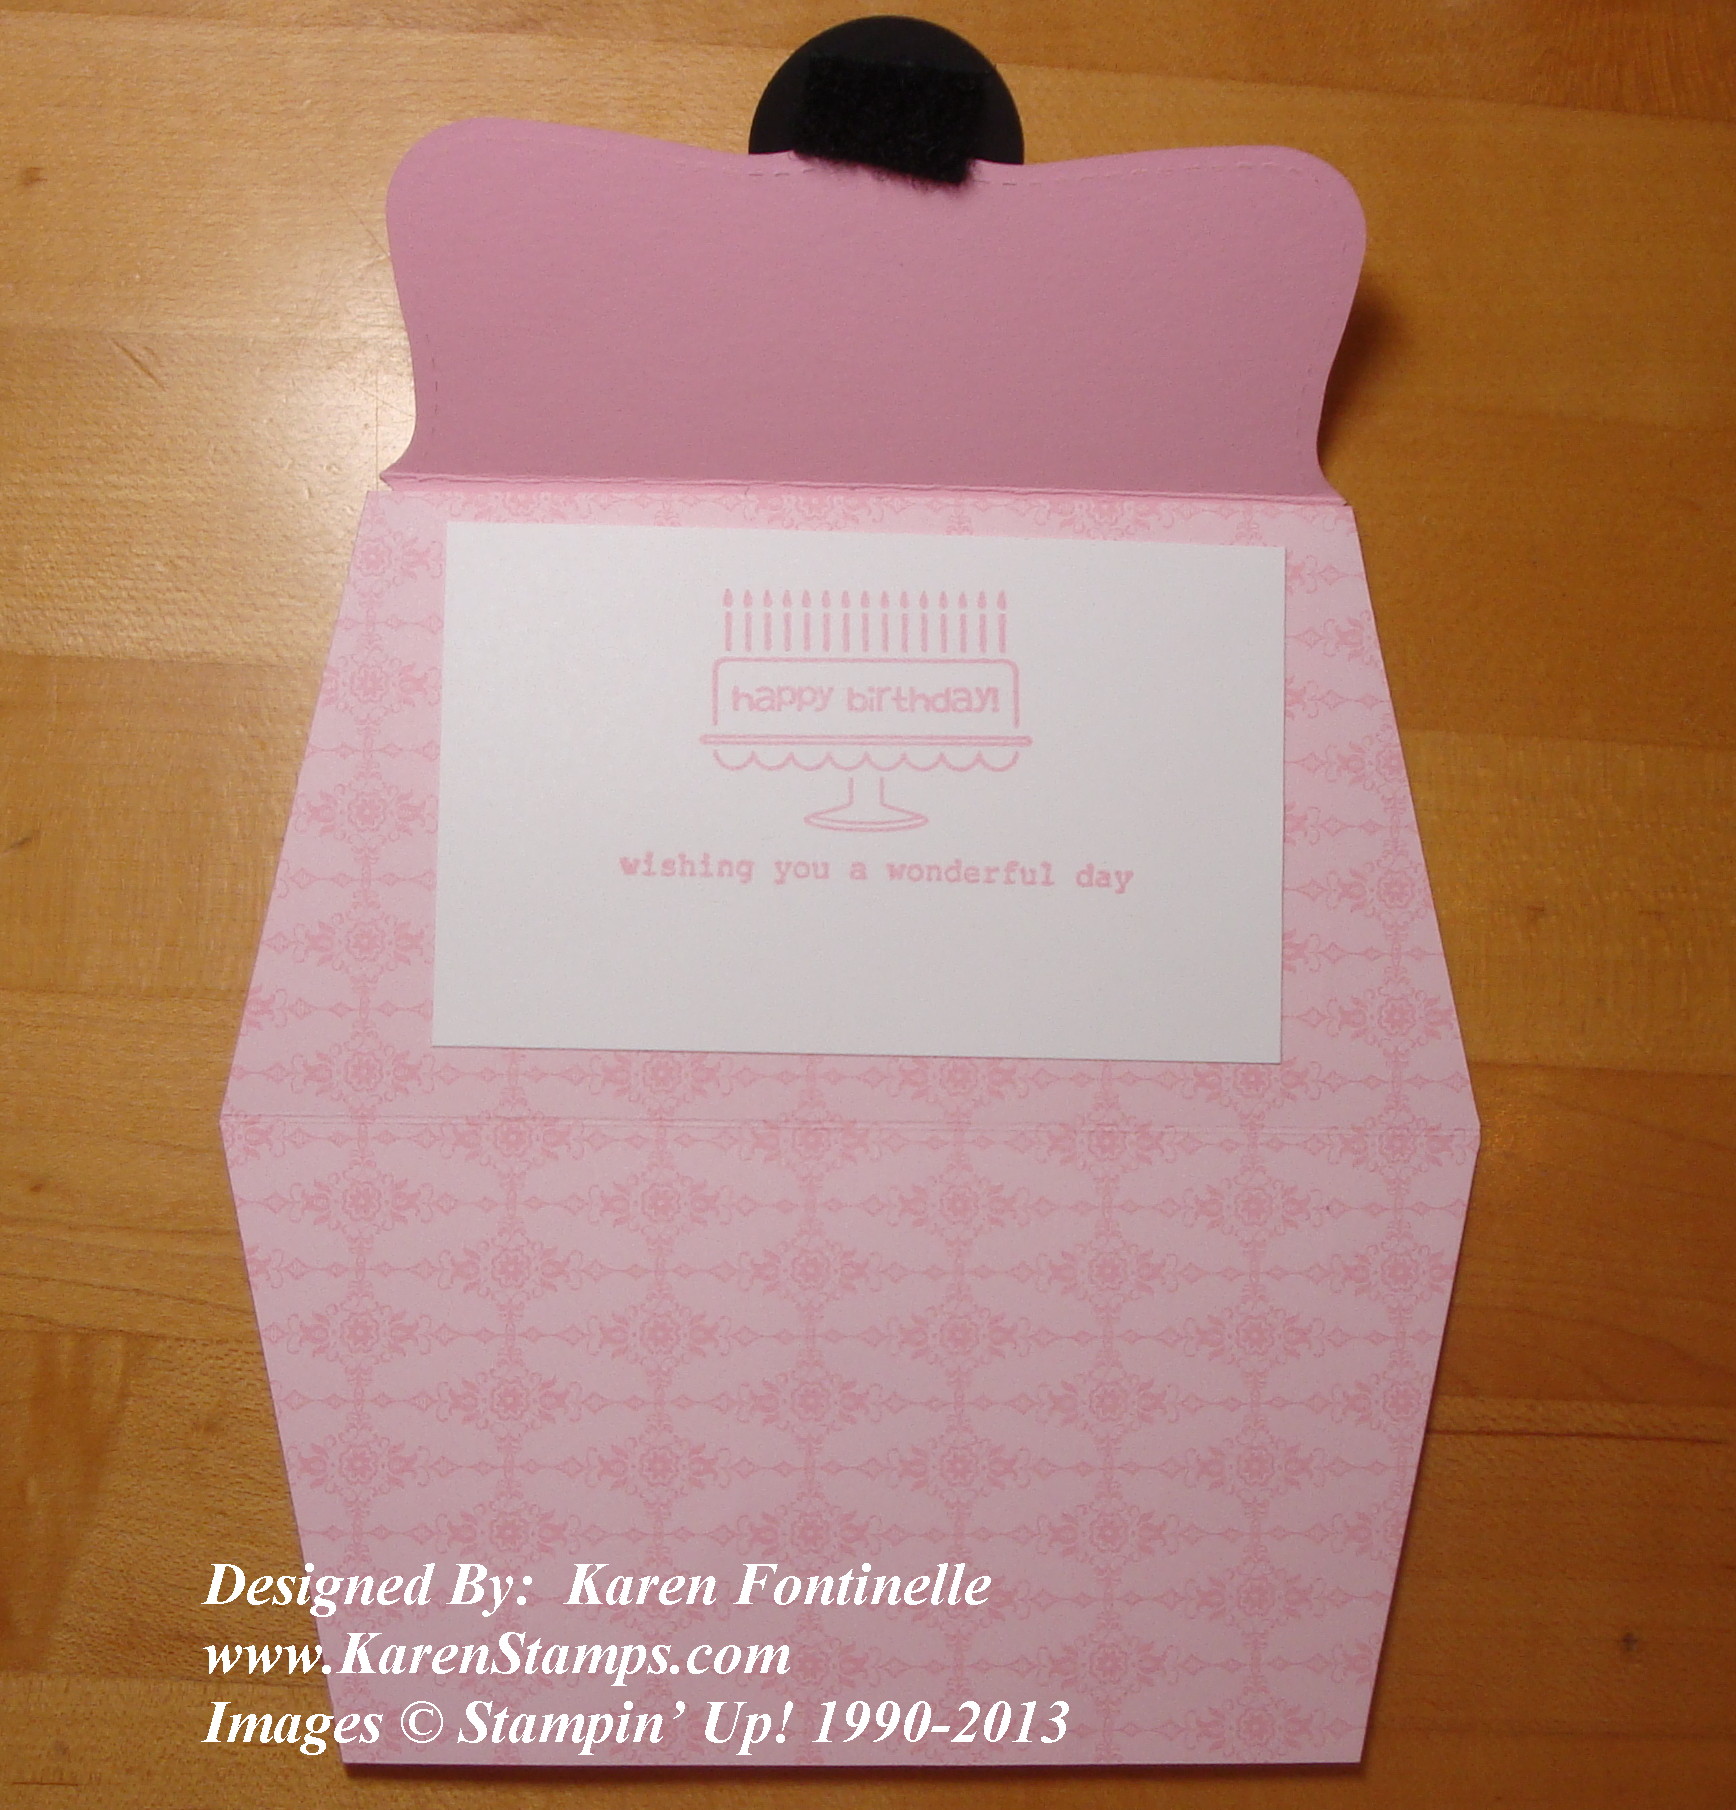
Pink Purse Card

I think these purse-shaped cards make great birthday cards for young girls! They could also be more than a birthday card.  Instead of just putting a greeting on the inside, make a pocket of some sort and turn it into a gift-card holder.  It is graduation time and I read that cash is the most welcome gift!  Make a pocket inside the card and insert cash or a gift card or check.  My grandmother used to always say you can’t give someone a purse without putting a penny in it!  Must be bad luck or something! Even though I made these purse cards for birthdays, think of all the other fun occasions you could make them for and the ways you could change them out!  Make it super-fancy with some Glimmer Paper or a sparkly closure or flower on the front! Make party invitations out of this idea!  It’s one of those projects that once you make one, you want to make more!

You can barely see the fuzzy thing underneath the closure.  That’s a piece of velcro which will hold the card closed.

Shop for Stampin’ Up! supplies at my Online Store!  Be sure to check the Clearance Rack, too!

Pink Purse Card Inside

Make a Purse Card

Red Purse Card

When I needed to make birthday cards for my twin nieces I found this idea of making purse cards for them. My cards just fold completely flat, but you could make yours more 3-D. I used a piece of designer series paper for the purse shape so that there would be a nice design on the inside when it was opened.  You could just as easily use card stock.  The Top Note Die folded in half is used for the top closure of the purse.  What would we do without the Top Note Die?! I’m glad it is not retiring next week!

  • Cut out the Top Note Die with the Big Shot. Score and fold in half lengthwise.
  • Cut a piece of designer series paper (DSP) 6″ x 6″. Score at 3″ and fold in half. Be mindful of which way the pattern is going and which side you want on the outside.
  • Now you will need to trim the sides of the purse from the bottom to the top edge on a diagonal. To do this, measure in on the top open edges about 5/8″ from each side. Use your paper trimmer to cut from that point on each side to the bottom edge of the folded side. You know, make it look like a purse shape!
  • Adhere the Top Note Die to the back of the “purse”. Make some sort of decoration for the front closure.  Adhere to front of Top Note Die on the front of the purse. Use a small piece of velcro in order to hold the purse closed.
  • Depending on your DSP design, you’ll probably need to stamp the greeting on a plain piece of card stock and adhere to inside of purse card.
  • If you want, you could make some ribbon handles for the top of the purse.

Here is the inside of the card.

Purse card Inside

To order any card-making supplies, just visit my Stampin’ Up! Online Store here. Remember, some stamps and accessories are only available for about one more week!

Make a Gift Bag for Mother’s Day!

Mother's Day Twitterpated Paper Gift Bag

Do you need a pretty gift bag for your Mother's Day gift…or really any occasion? You can use this design and just change out the paper for whatever person or occasion you want a gift bag for. If it's for a man, maybe leave off the paper flower but add a stamped image or greeting instead. You'll think of something!

I just found one of those small brown handled bags that you get now and then at the store.  If you save them, you'll always have a stash to go to when you need a nice gift bag.  Just choose 3 patterns from a pack of Stampin' Up! designer paper and cut one larger piece for the bottom section, one smaller piece for the top and  a piece to go across and cover up that line where the two papers meet and make a cute border. You could leave it as is or you could cut or punch a scalloped edge or whatever to jazz it up.

For my bag, I used three patterns out of the Twitterpated Designer Series Paper. For a pretty accent I added three buttons from the  Designer Buttons Subtles CollectionEach is tied with a small piece of White Baker's Twine. For something at the bottom corner of the bag, I chose to make a flower with the Flower Folds Die and the Big Shot using a pattern from the Twitterpated DSP.

Some of these items are on the Stampin' Up! Retired List so better do your shopping soon!  Anything on the list can sell out at any time so you don't want to be disappointed. Just click that link to go to my store with the retiring products and shop to your heart's content!

New Dolled Up Birthday Kit from Stampin’ Up!

Dolled Up Birthday Kit

Images copyright Stampin' Up! 2013

If you like kits, I'm sure you will love this brand new Dolled Up Birthday Kit Stampin' Up! just released today! It was designed by another demonstrator and then Stampin' Up! made it into a kit! You know anything with the Vanilla Flower Trim is going to be gorgeous!

The Dolled-Up Birthday kit includes the following:

  • Dolled-Up Birthday Clear-Mount Stamp (1)
  • 8-1/2" x 5-1/2" Crumb Cake Cardstock (6 pieces)
  • 2" x 4-1/4" Very Vanilla Cardstock (6 pieces)
  • Very Vanilla Medium Envelopes (6)
  • Tea Lace Paper Doilies (6)
  • Dress Up die-cuts (6)
  • Soft Suede Classic Stampin' Spot (1)
  • Vanilla 5/8" Flower Trim (6 pieces)
  • Sponge Dauber (1)

Get everything you need to make six cards for only $15.95 (item 133913)!*

*Adhesive not included.

To assemble one card, follow these simple instructions:
1. Place the stamp rubber side up and ink with the Soft Suede Classic Stampin’ Spot.
2. Stamp “Happy Birthday” at the bottom of the card front.
3. Ink the Sponge Dauber with Soft Suede ink and gently antique the doily and the edges of the dress form.
4. Adhere the pieces to the card front in this order:
1. Doily
2. Very Vanilla Cardstock
3. Dress form
4. Flower

I think this one is a winner if you like kits and a "girlie" one at that! And nothing says you can't change it up a bit to follow your own creativity!

Find the Dolled Up Birthday Kit in my Stampin' Up! Online Store.
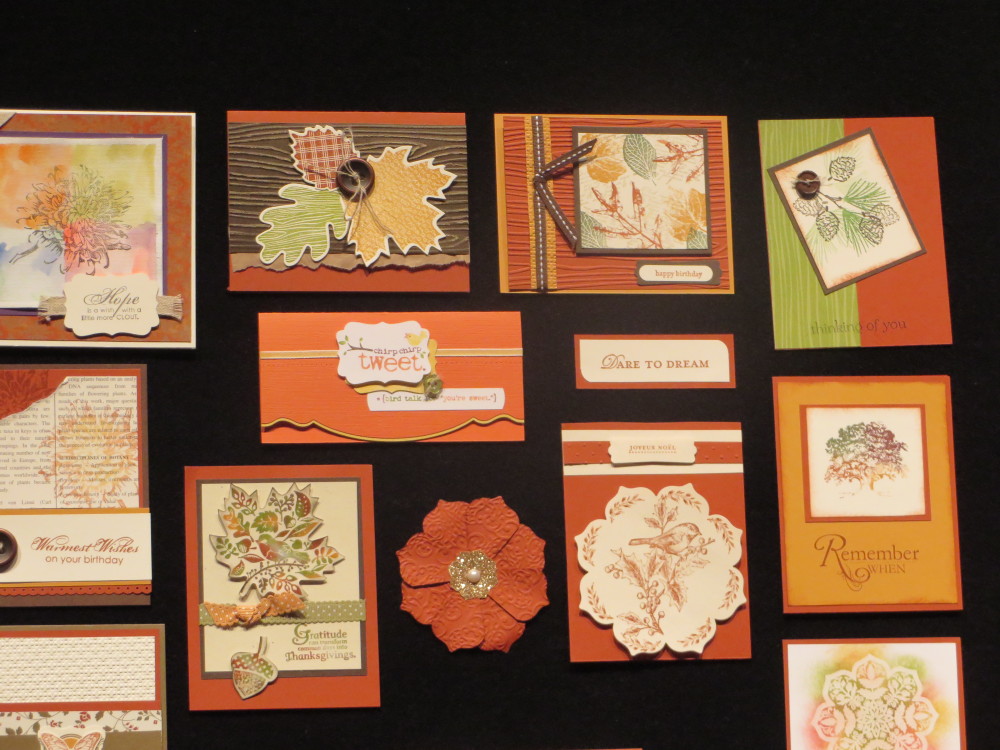


All Dressed Up Belated Birthday Card

All Dressed Up Belated Birthday Card

Do you have trouble getting birthday cards sent out on time? I can know a birthday is coming up for weeks and then still not get the card mailed on time or in enoughtime! That's why I like the greeting in the stamp set All Dressed Up. That's not exactly what it says, but I used parts of it to make the greeting I wanted. The stamp set All Dressed Up is really fun to play with, especially to use the Dress Up Framelits Dies with it and save yourself all that cutting time.  There are lots of ways to play with these dresses,whether you are using the stamped dress or making your own with the Dress Up Framelits DIes.
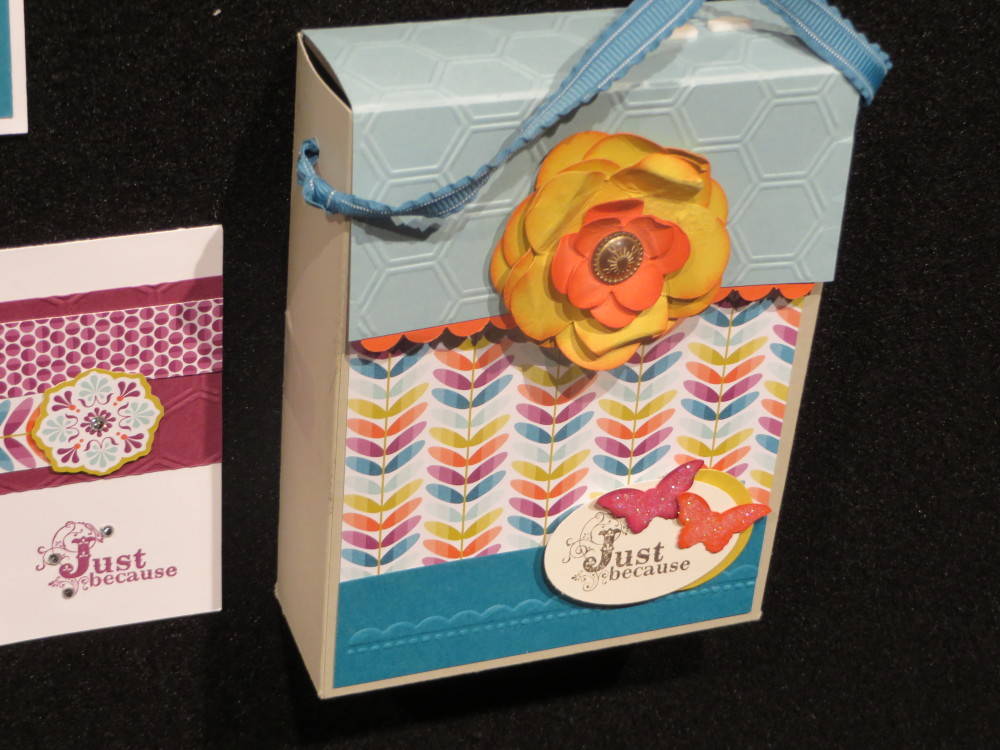
To make the necklace, I just used a piece of Baker's Twine and a Rhinestone Jewel.

For any stamping supplies you may need, please visit my Stampin' Up! Online Store!