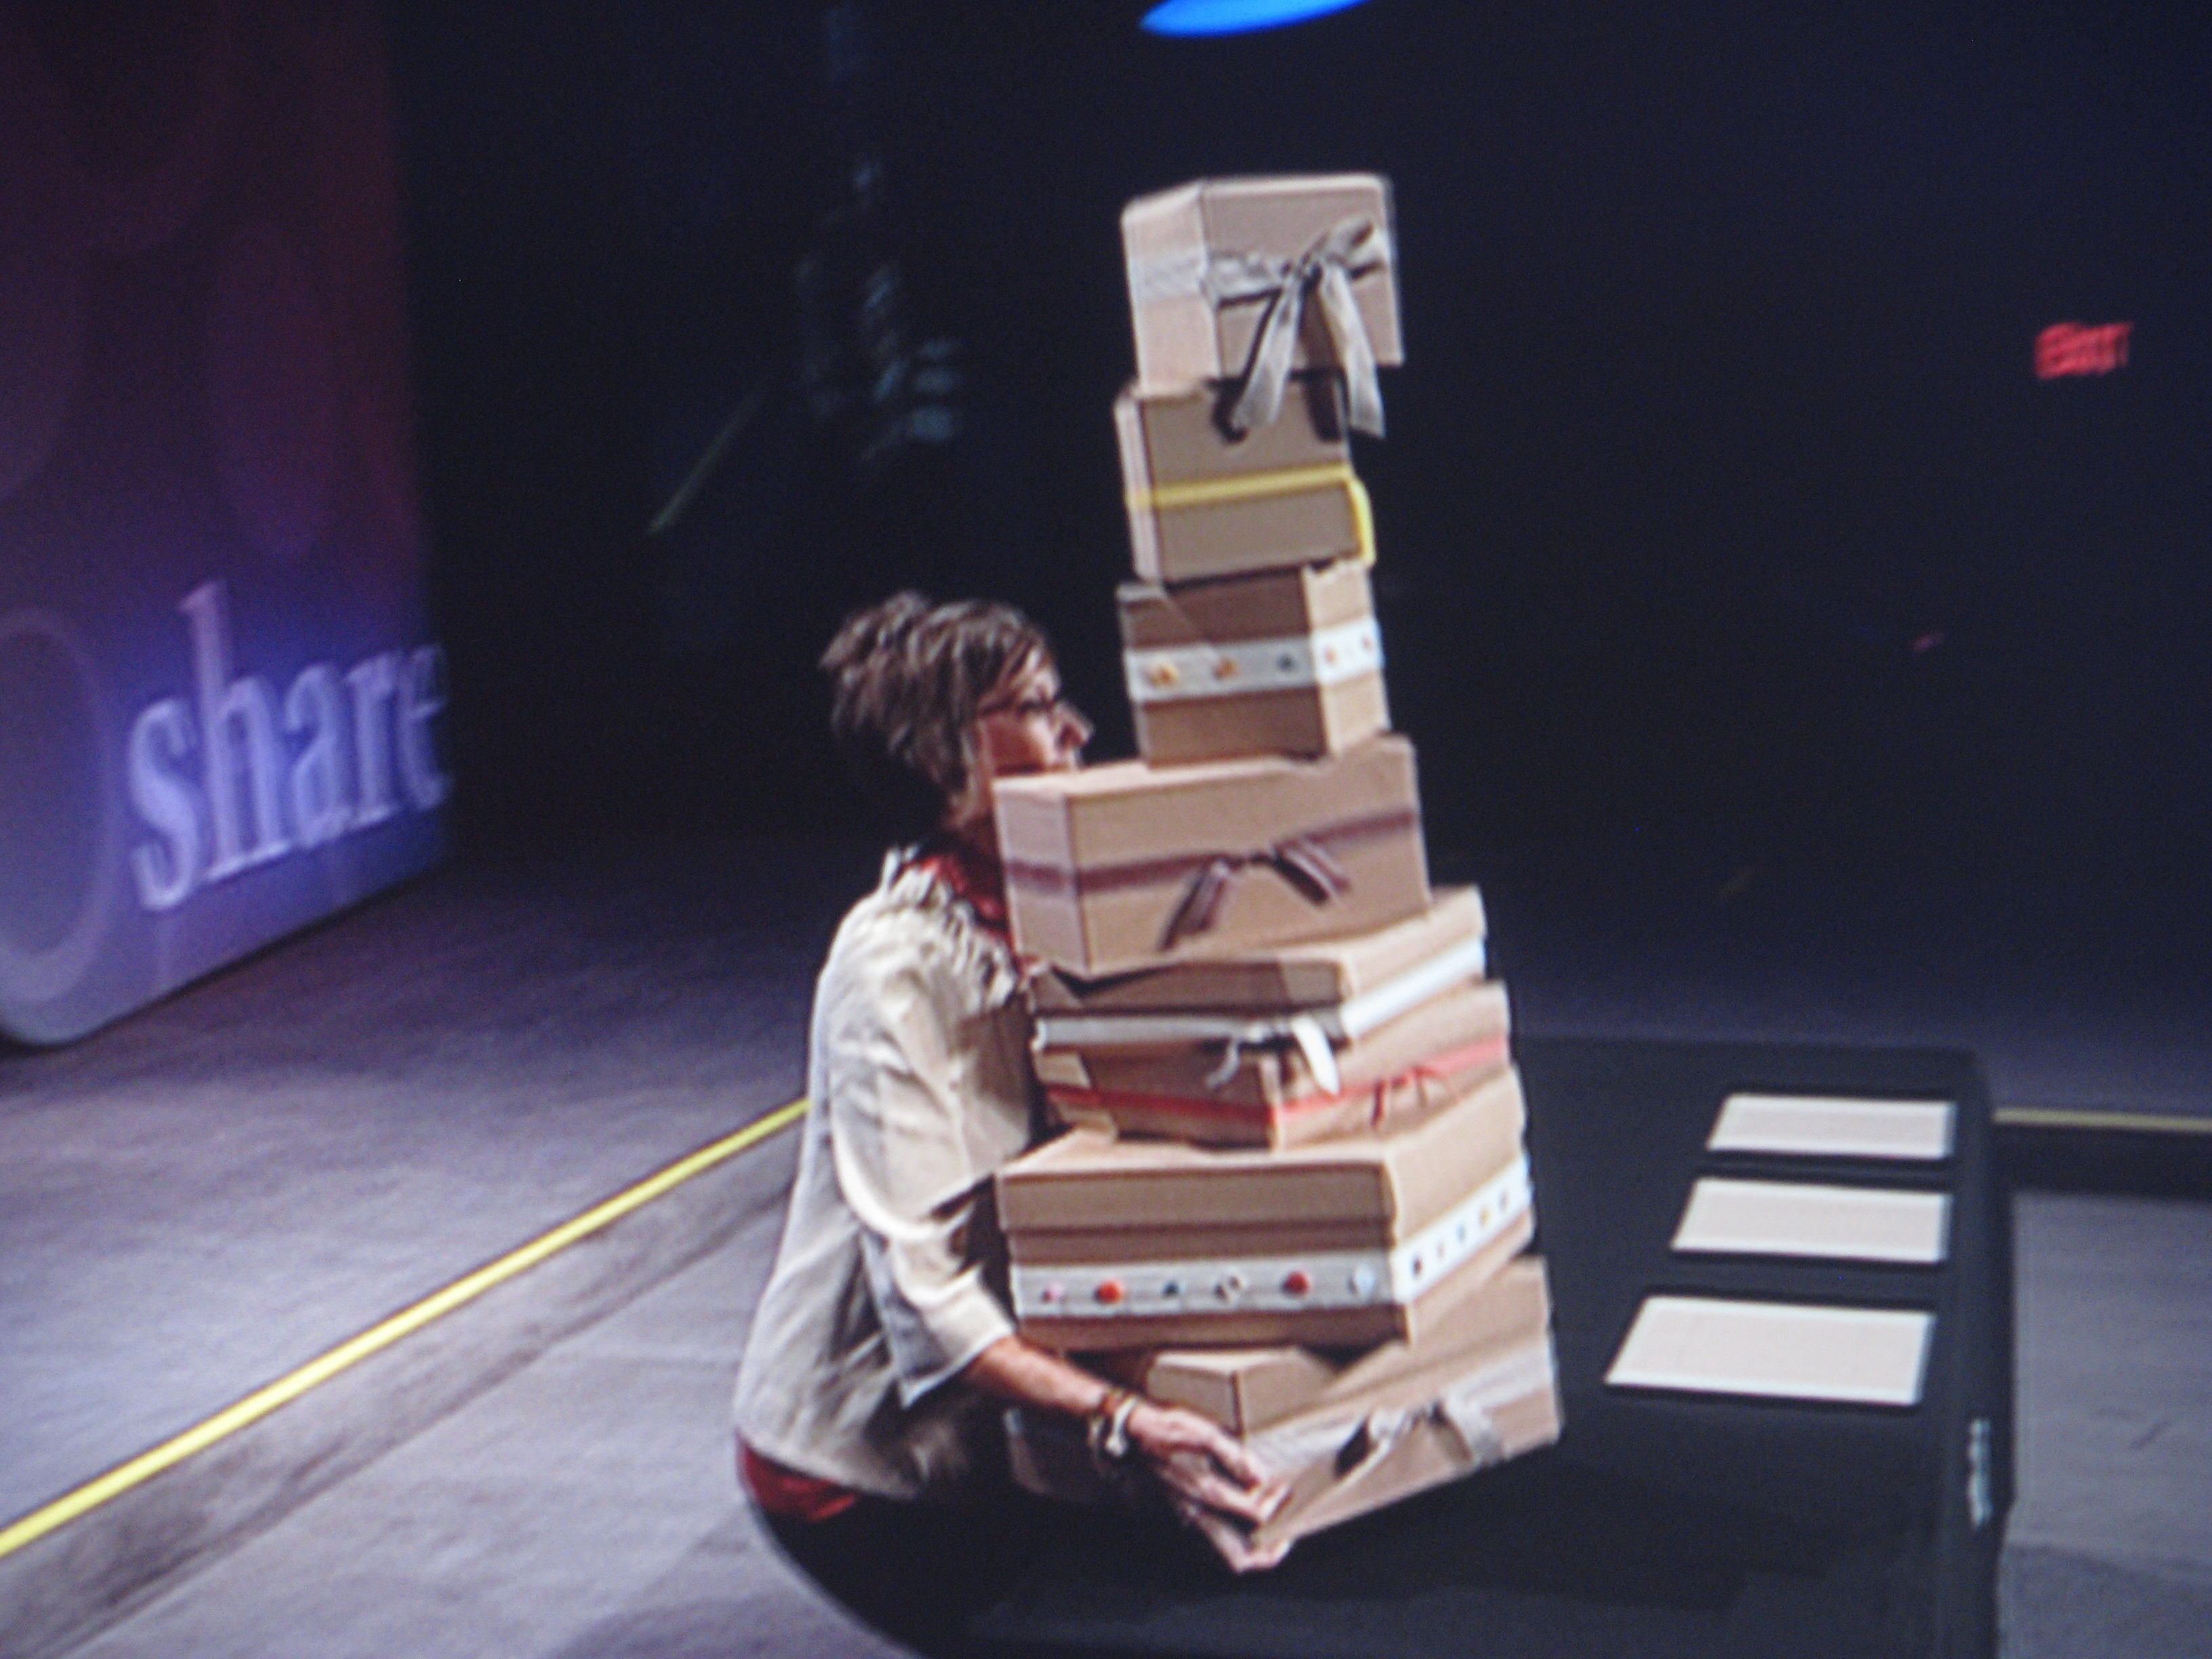
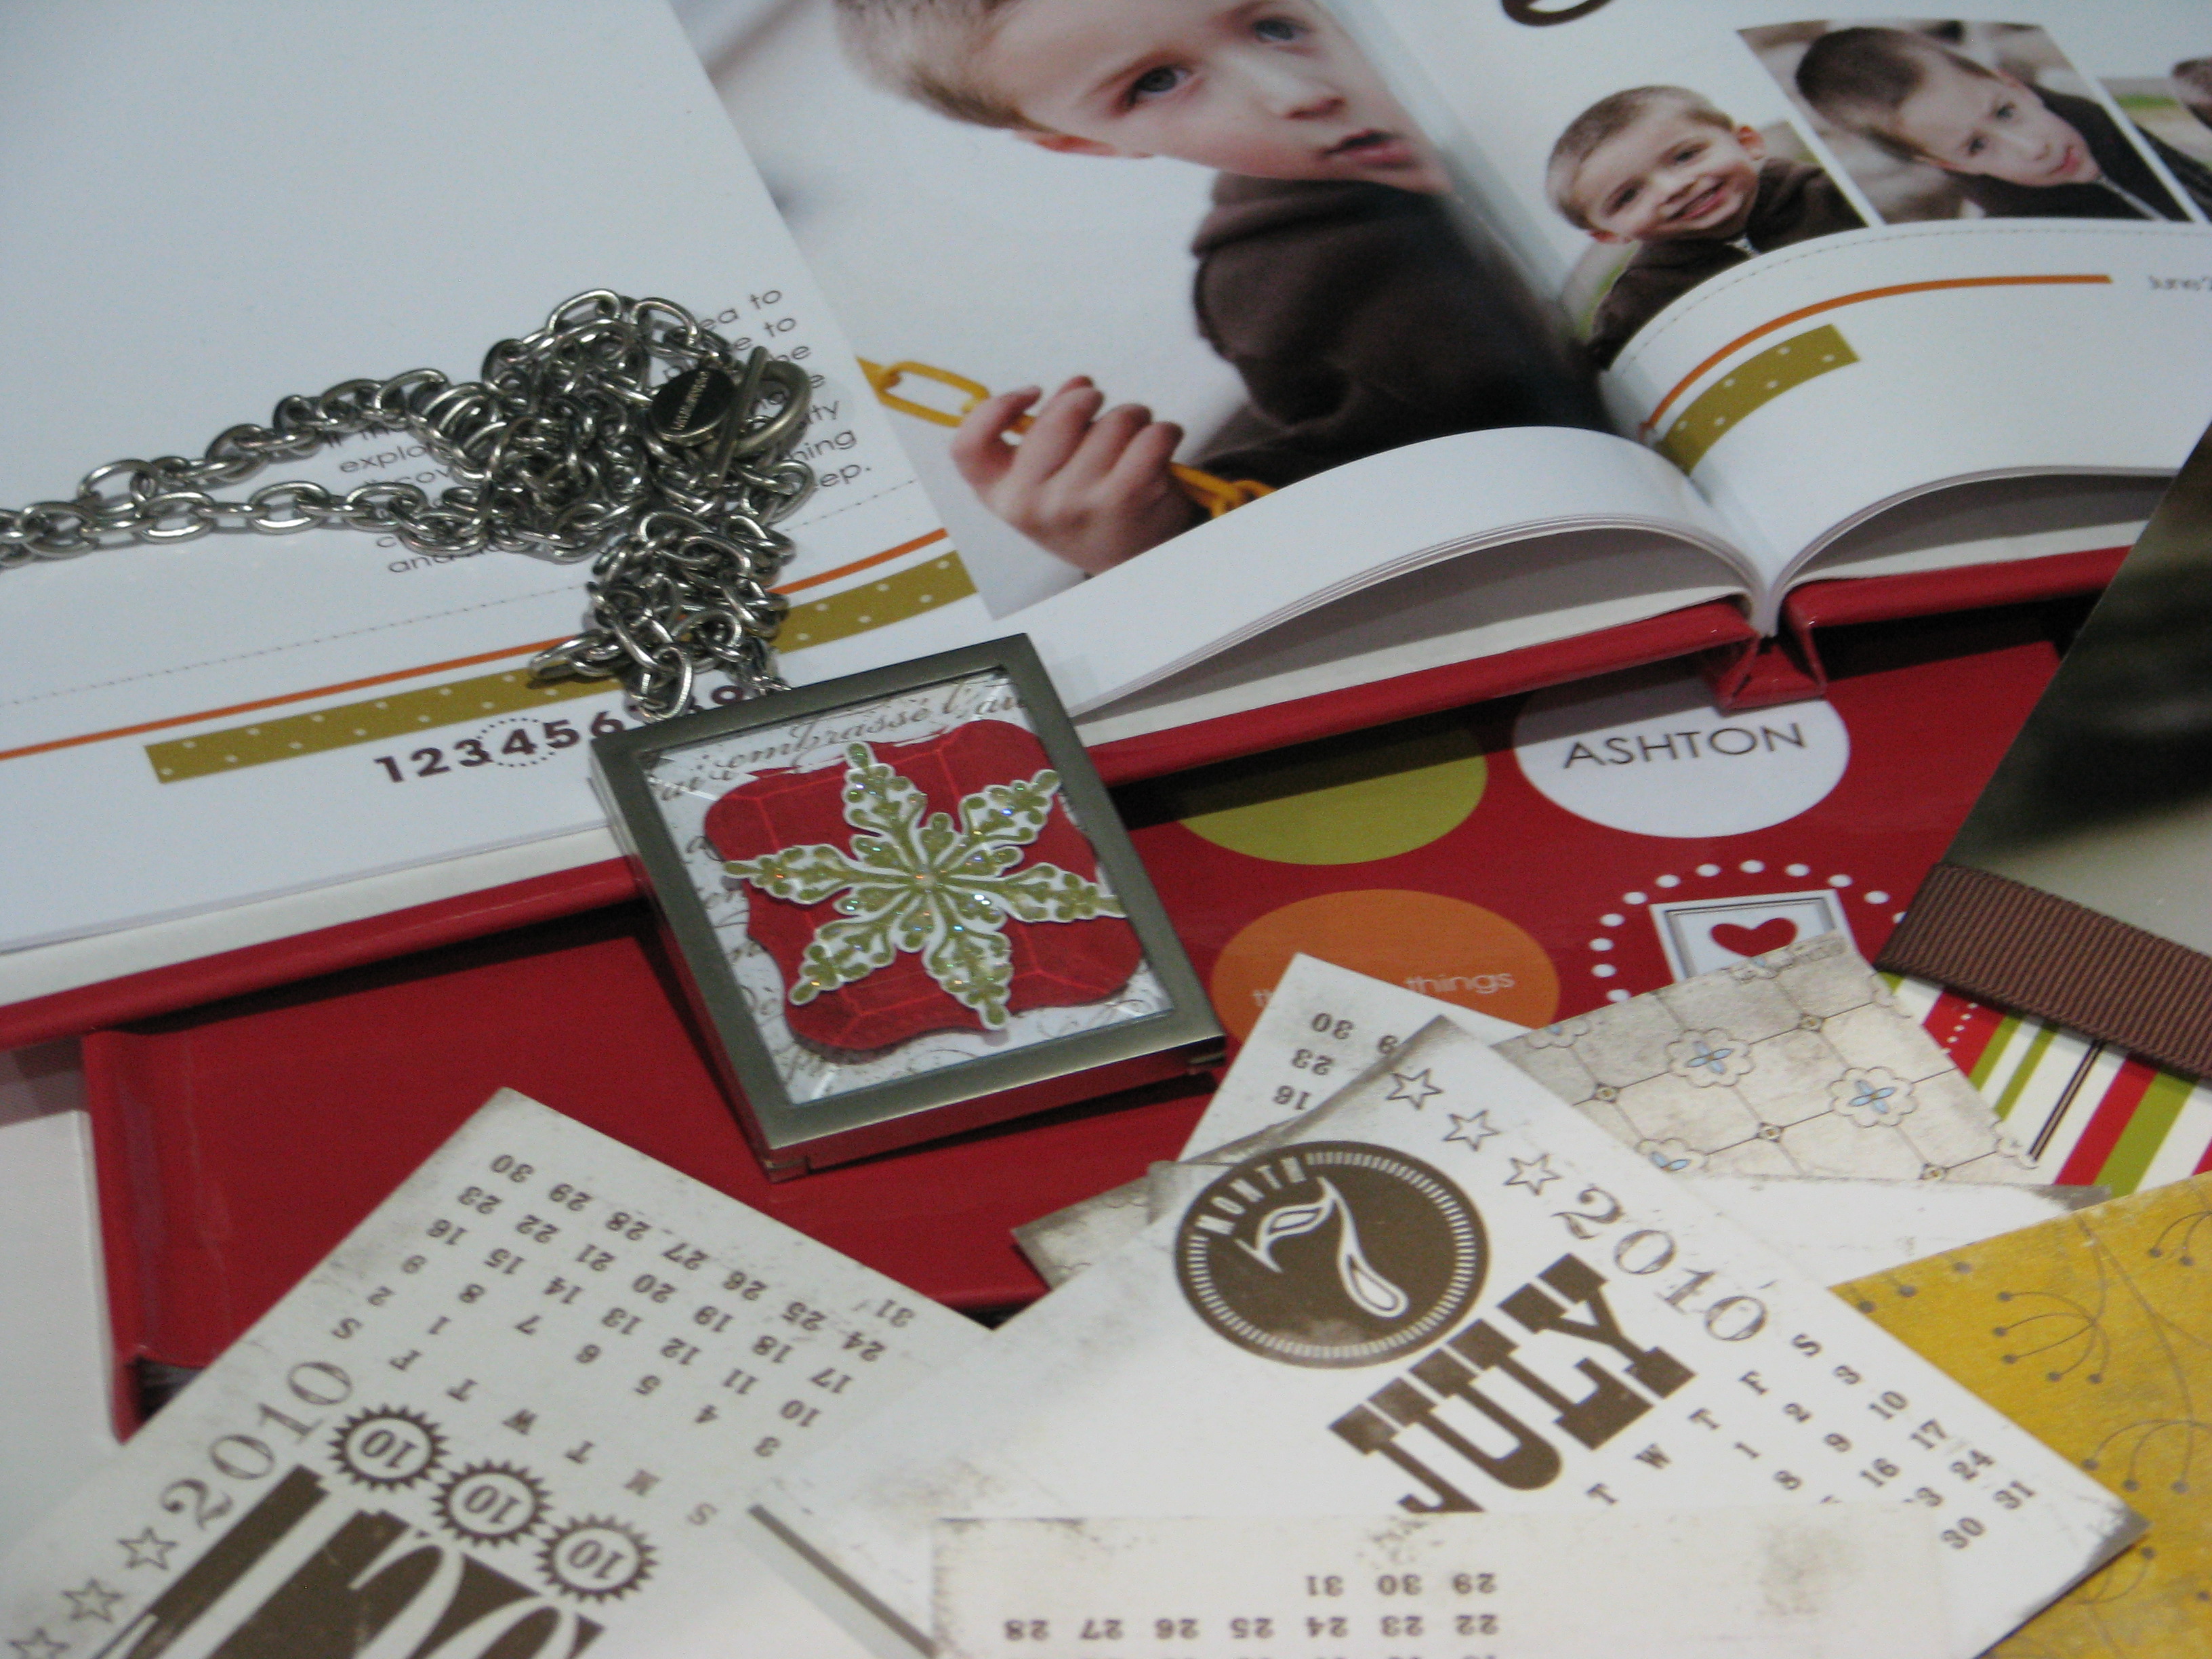
We got lots of Make & Take projects at Convention plus the four stamp sets and a wheel to do them with! I'm sure everyone loved getting so many things to stamp, but it was a little too much to do in the time allotted. However, I didn't mind because after stamping a couple of things, I opted to just save mine to do at home…..and instead I went to stand in line for Memento Mall to open so I could buy my Stampin' Up! Bear!! So I had the best of both worlds! The stamp sets we received were:
- Hello Again p. 114
- Sweet Season p. 29
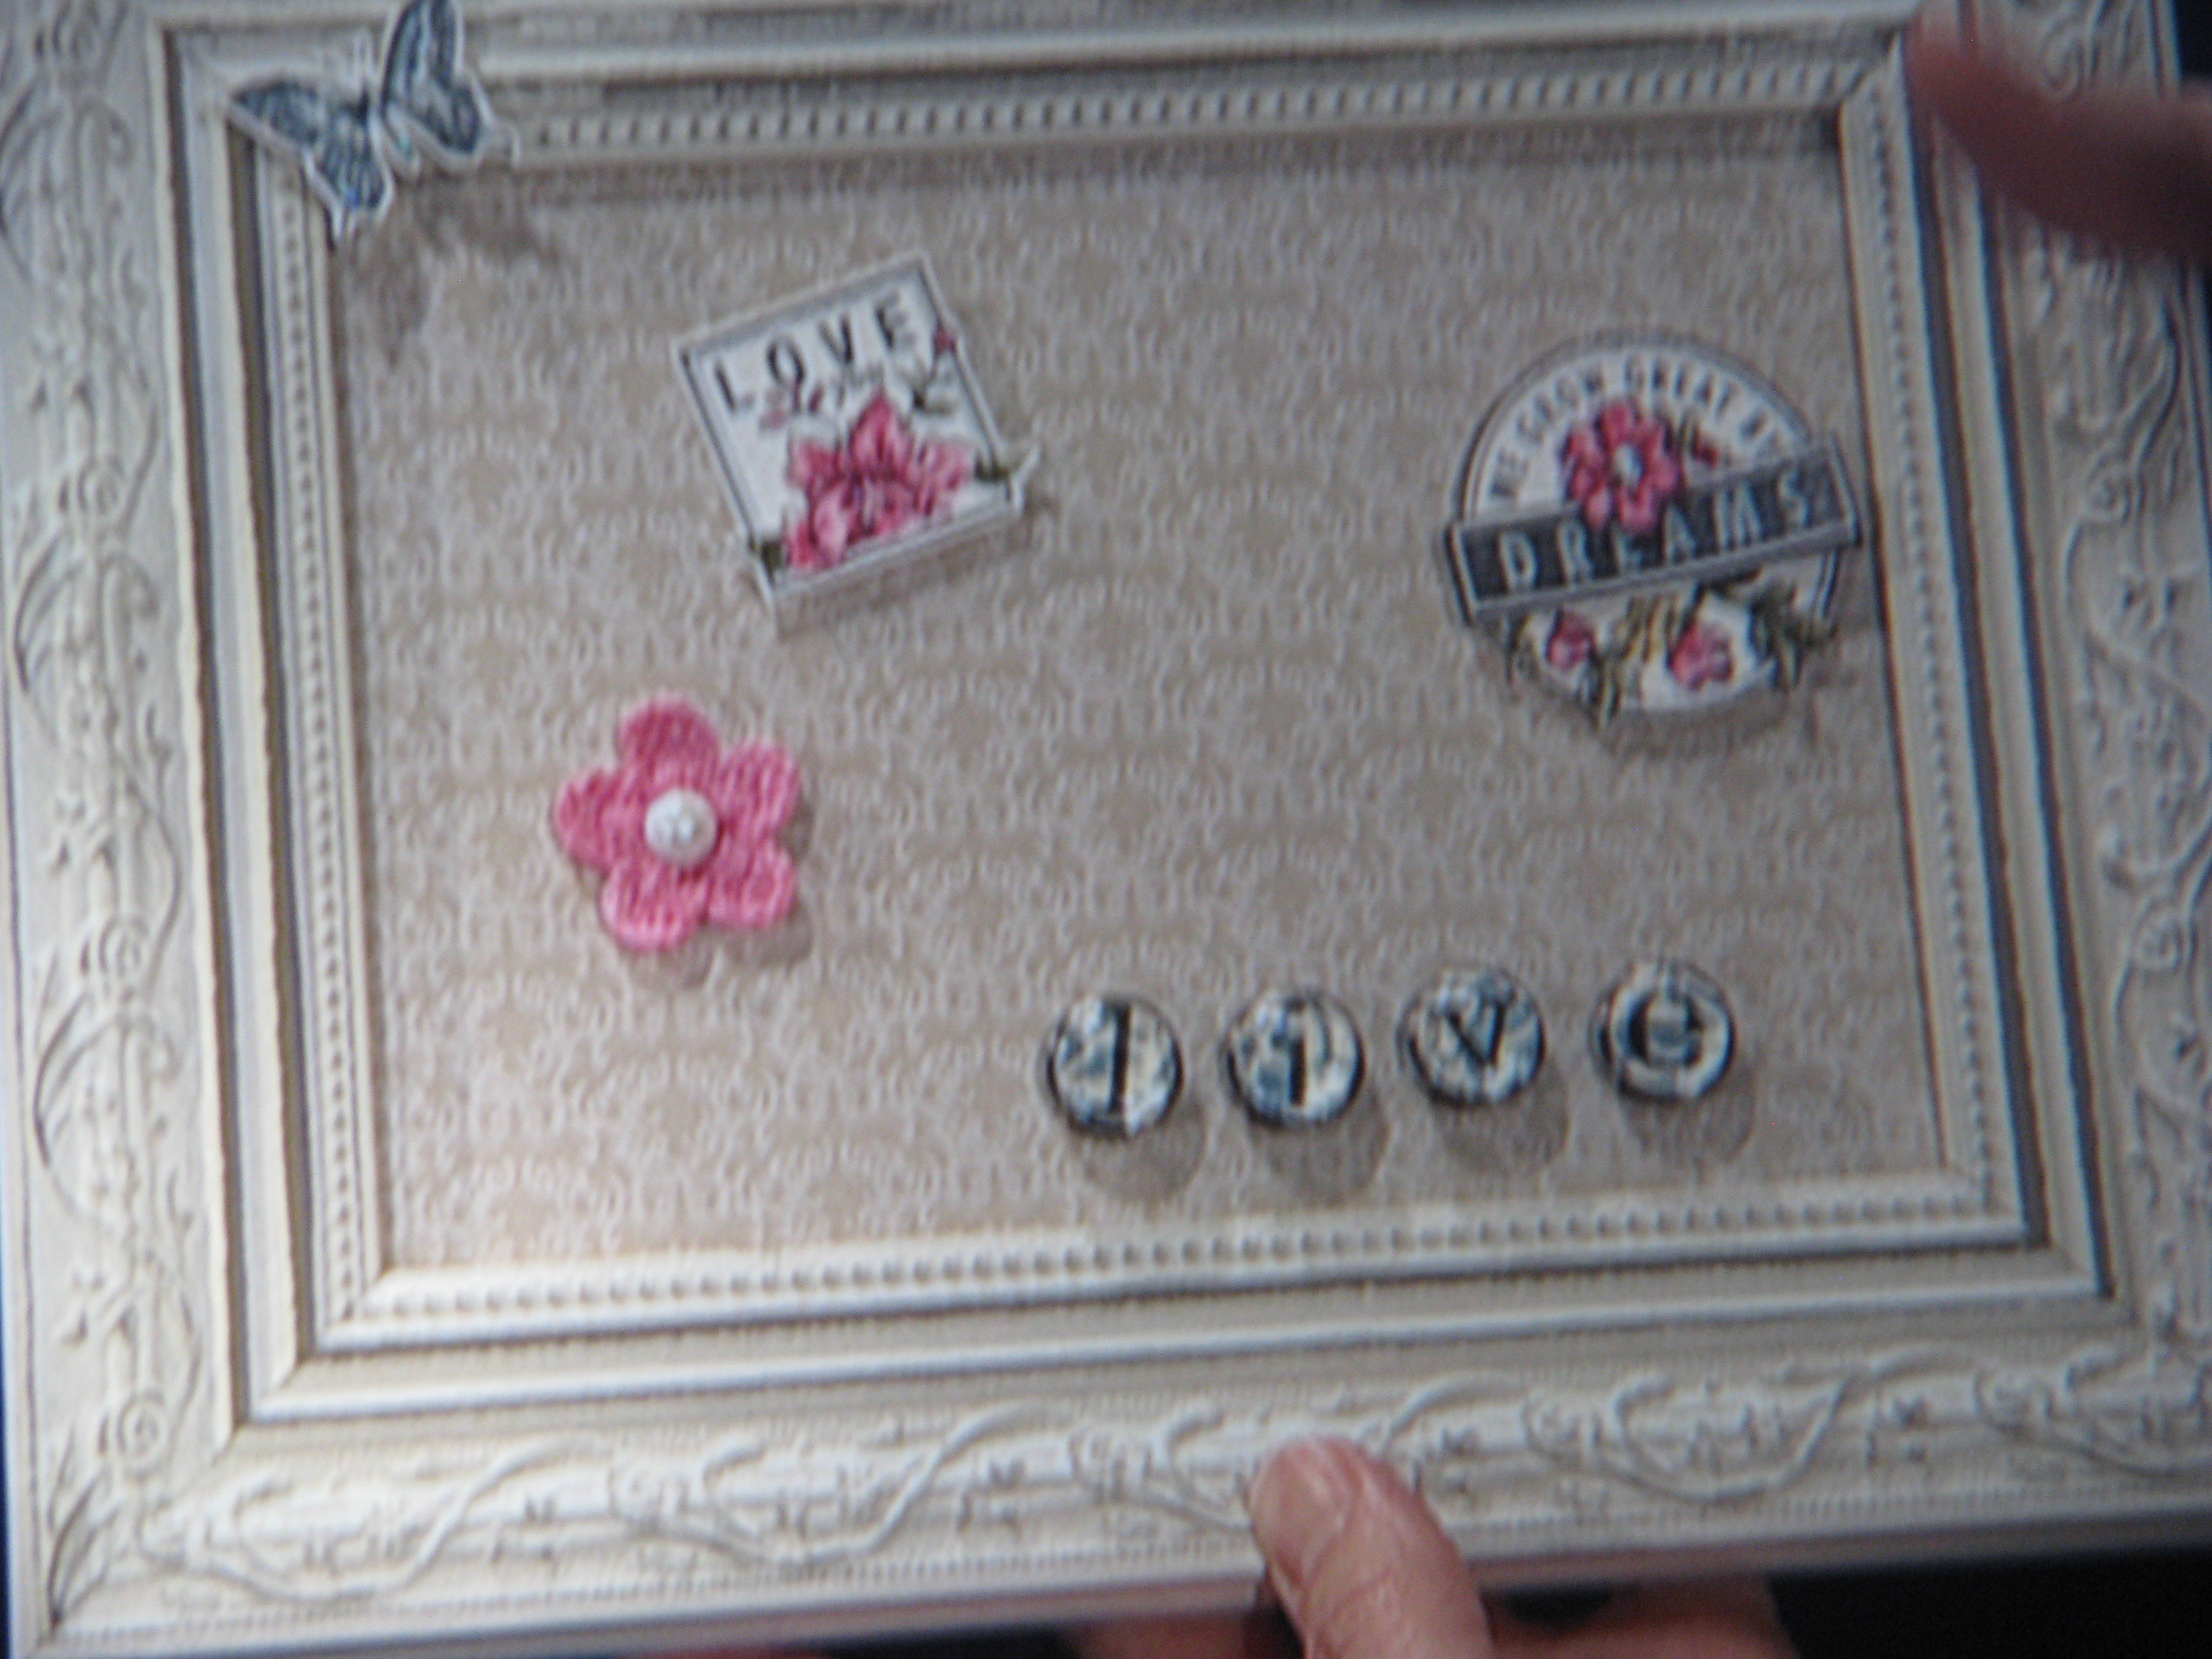
- Things I Love p. 54
- Tree Trimmings p. 28
- Retro Remix Stampin' Around wheel p. 114
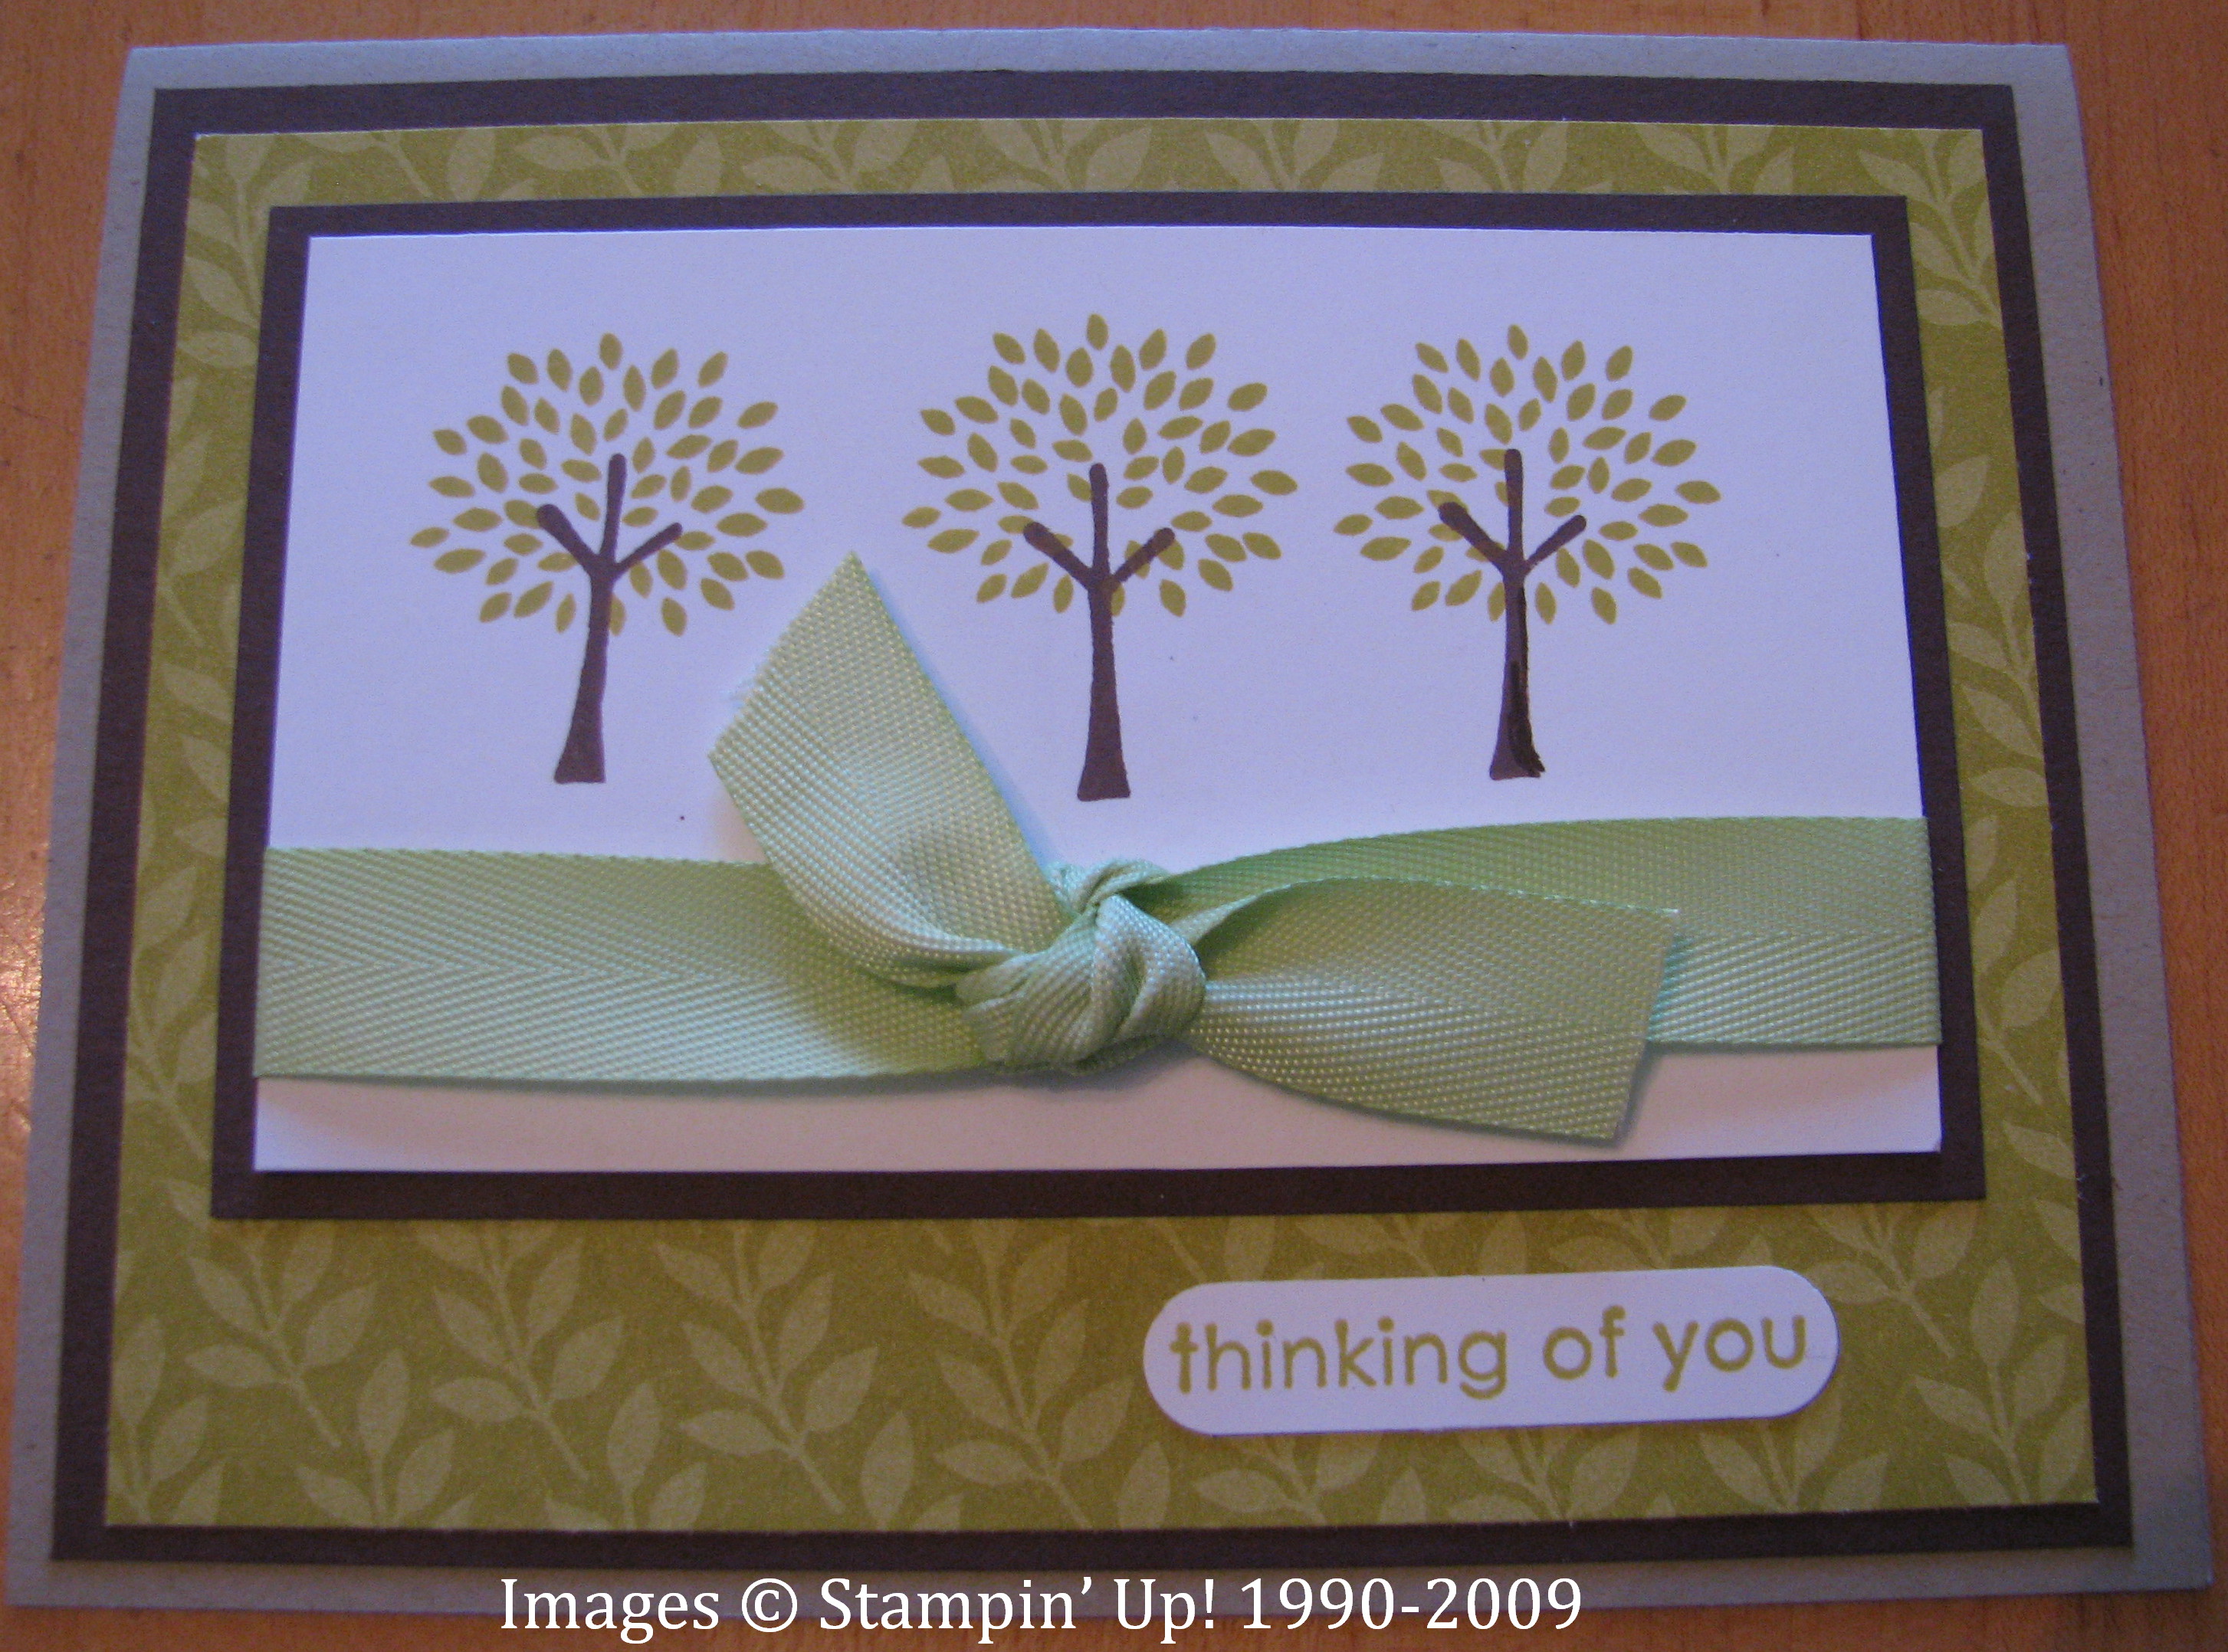
Here are the projects:
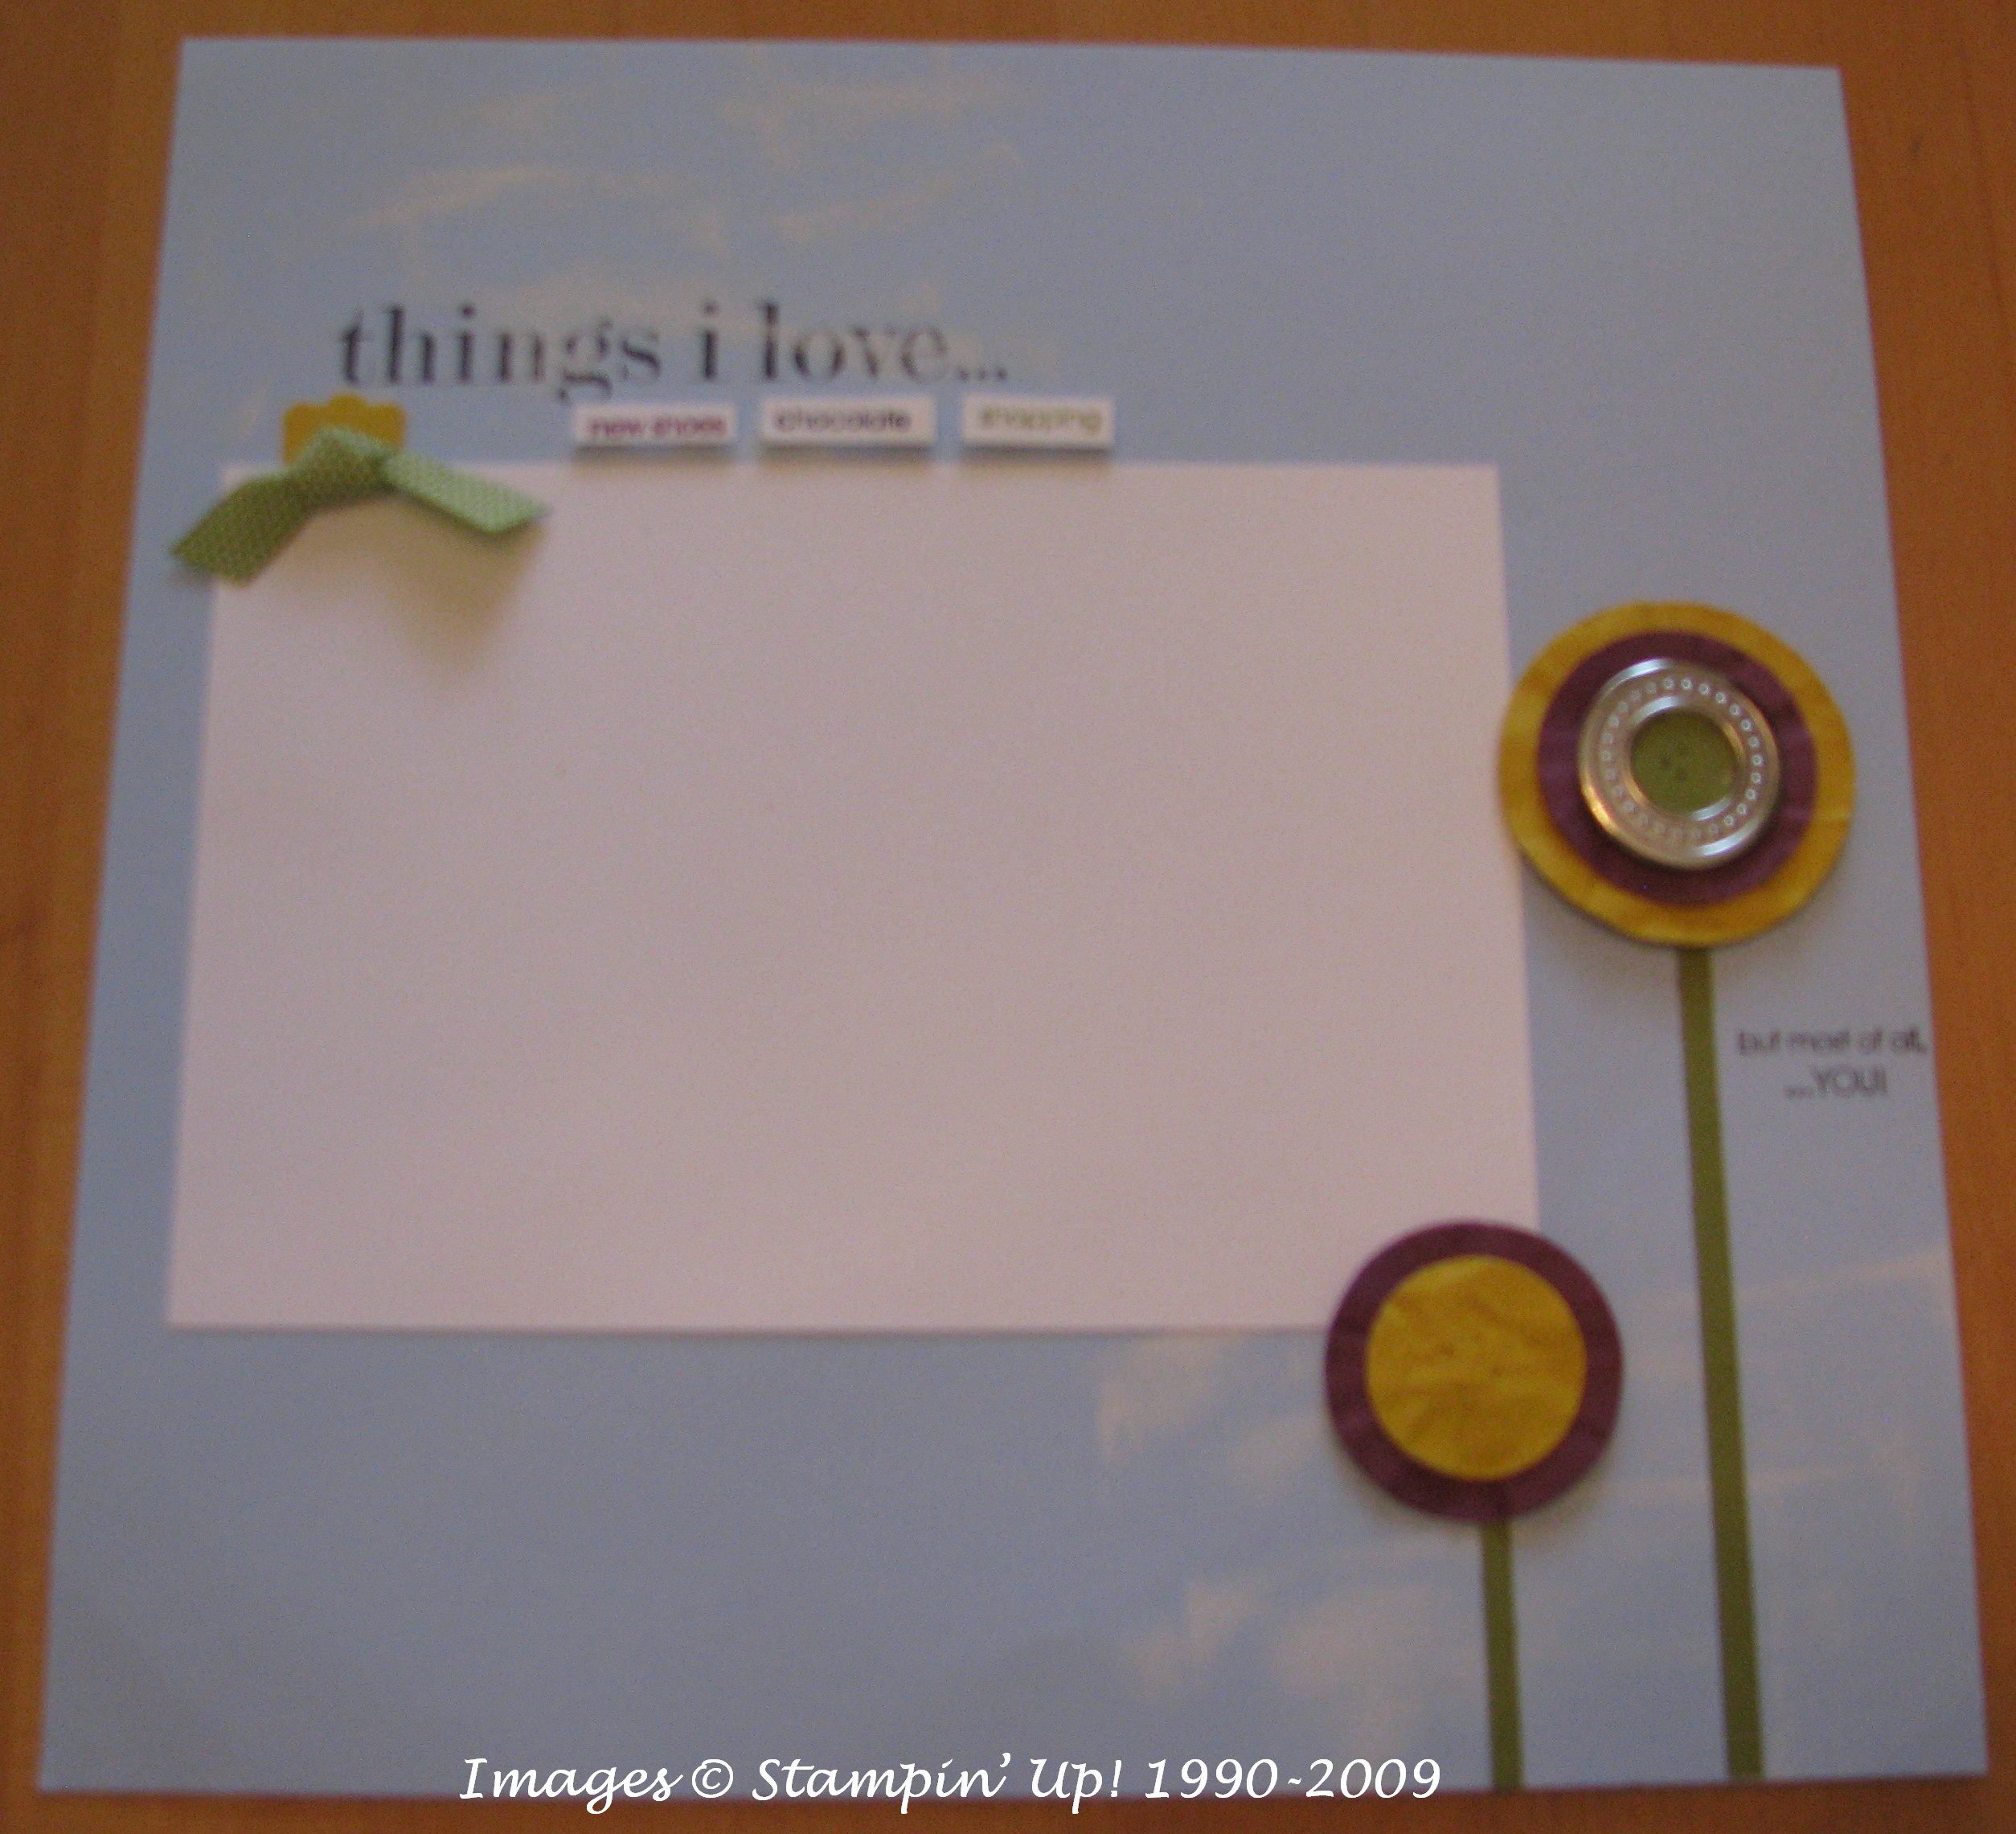
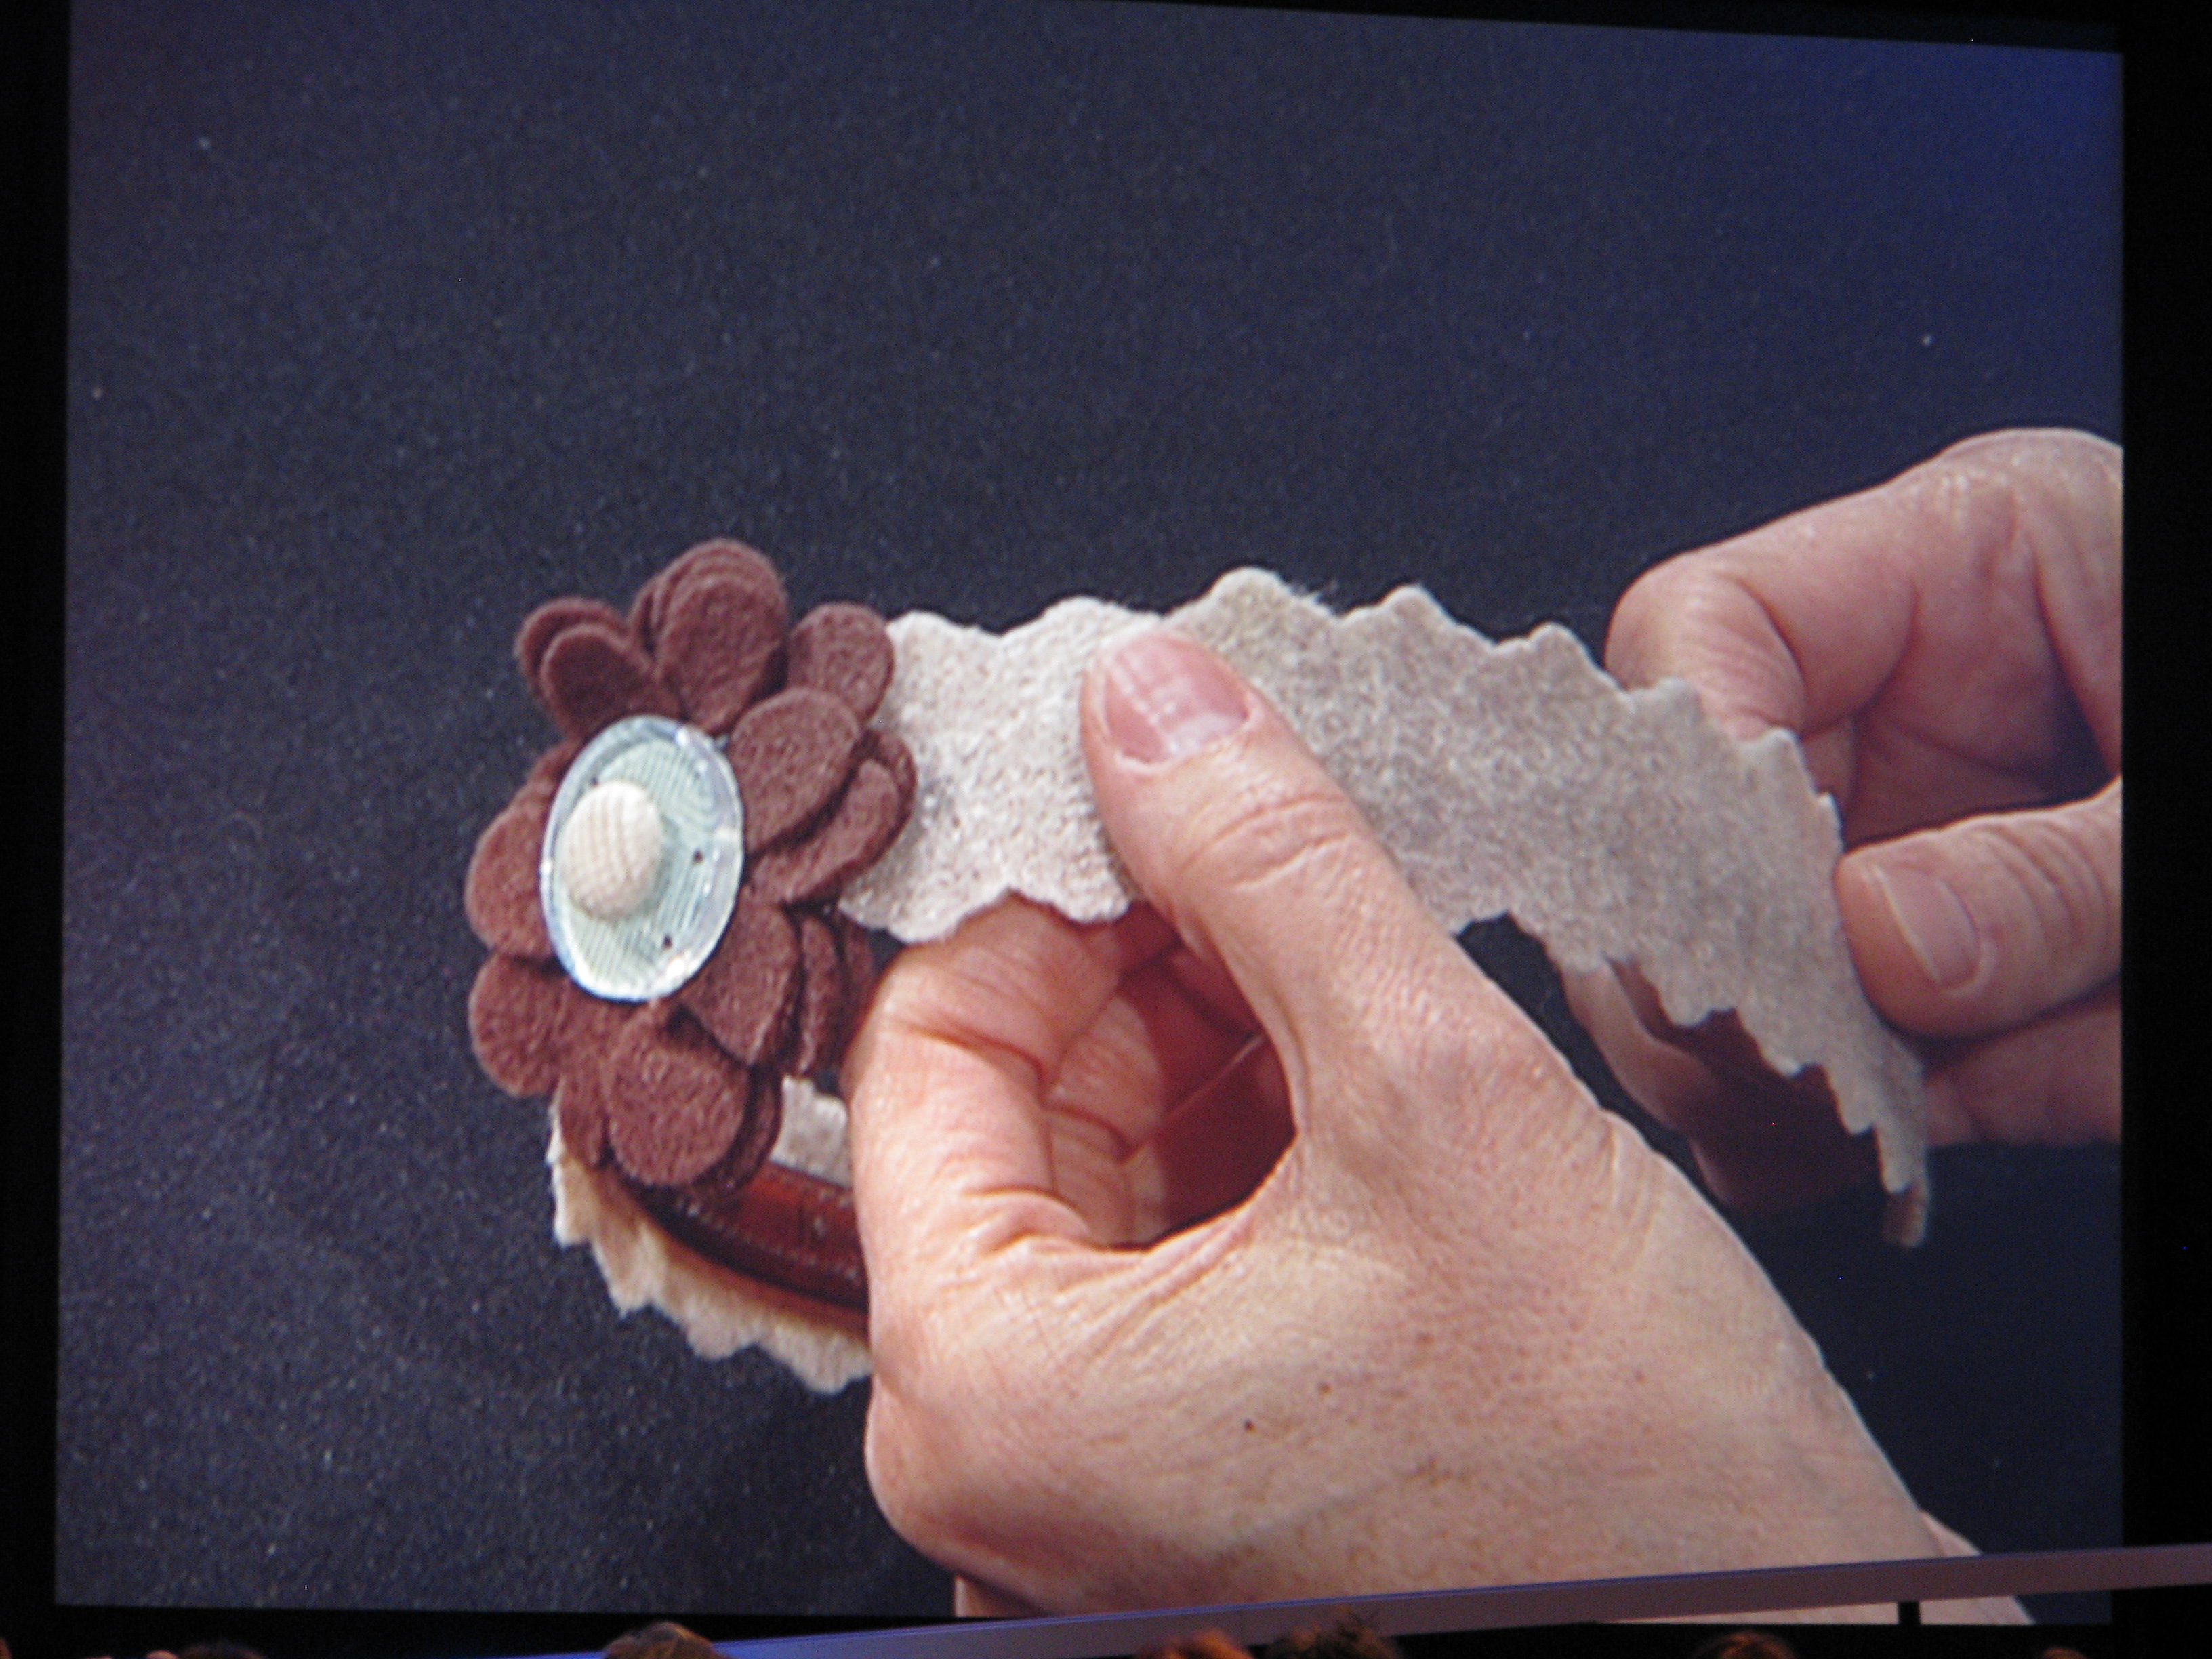
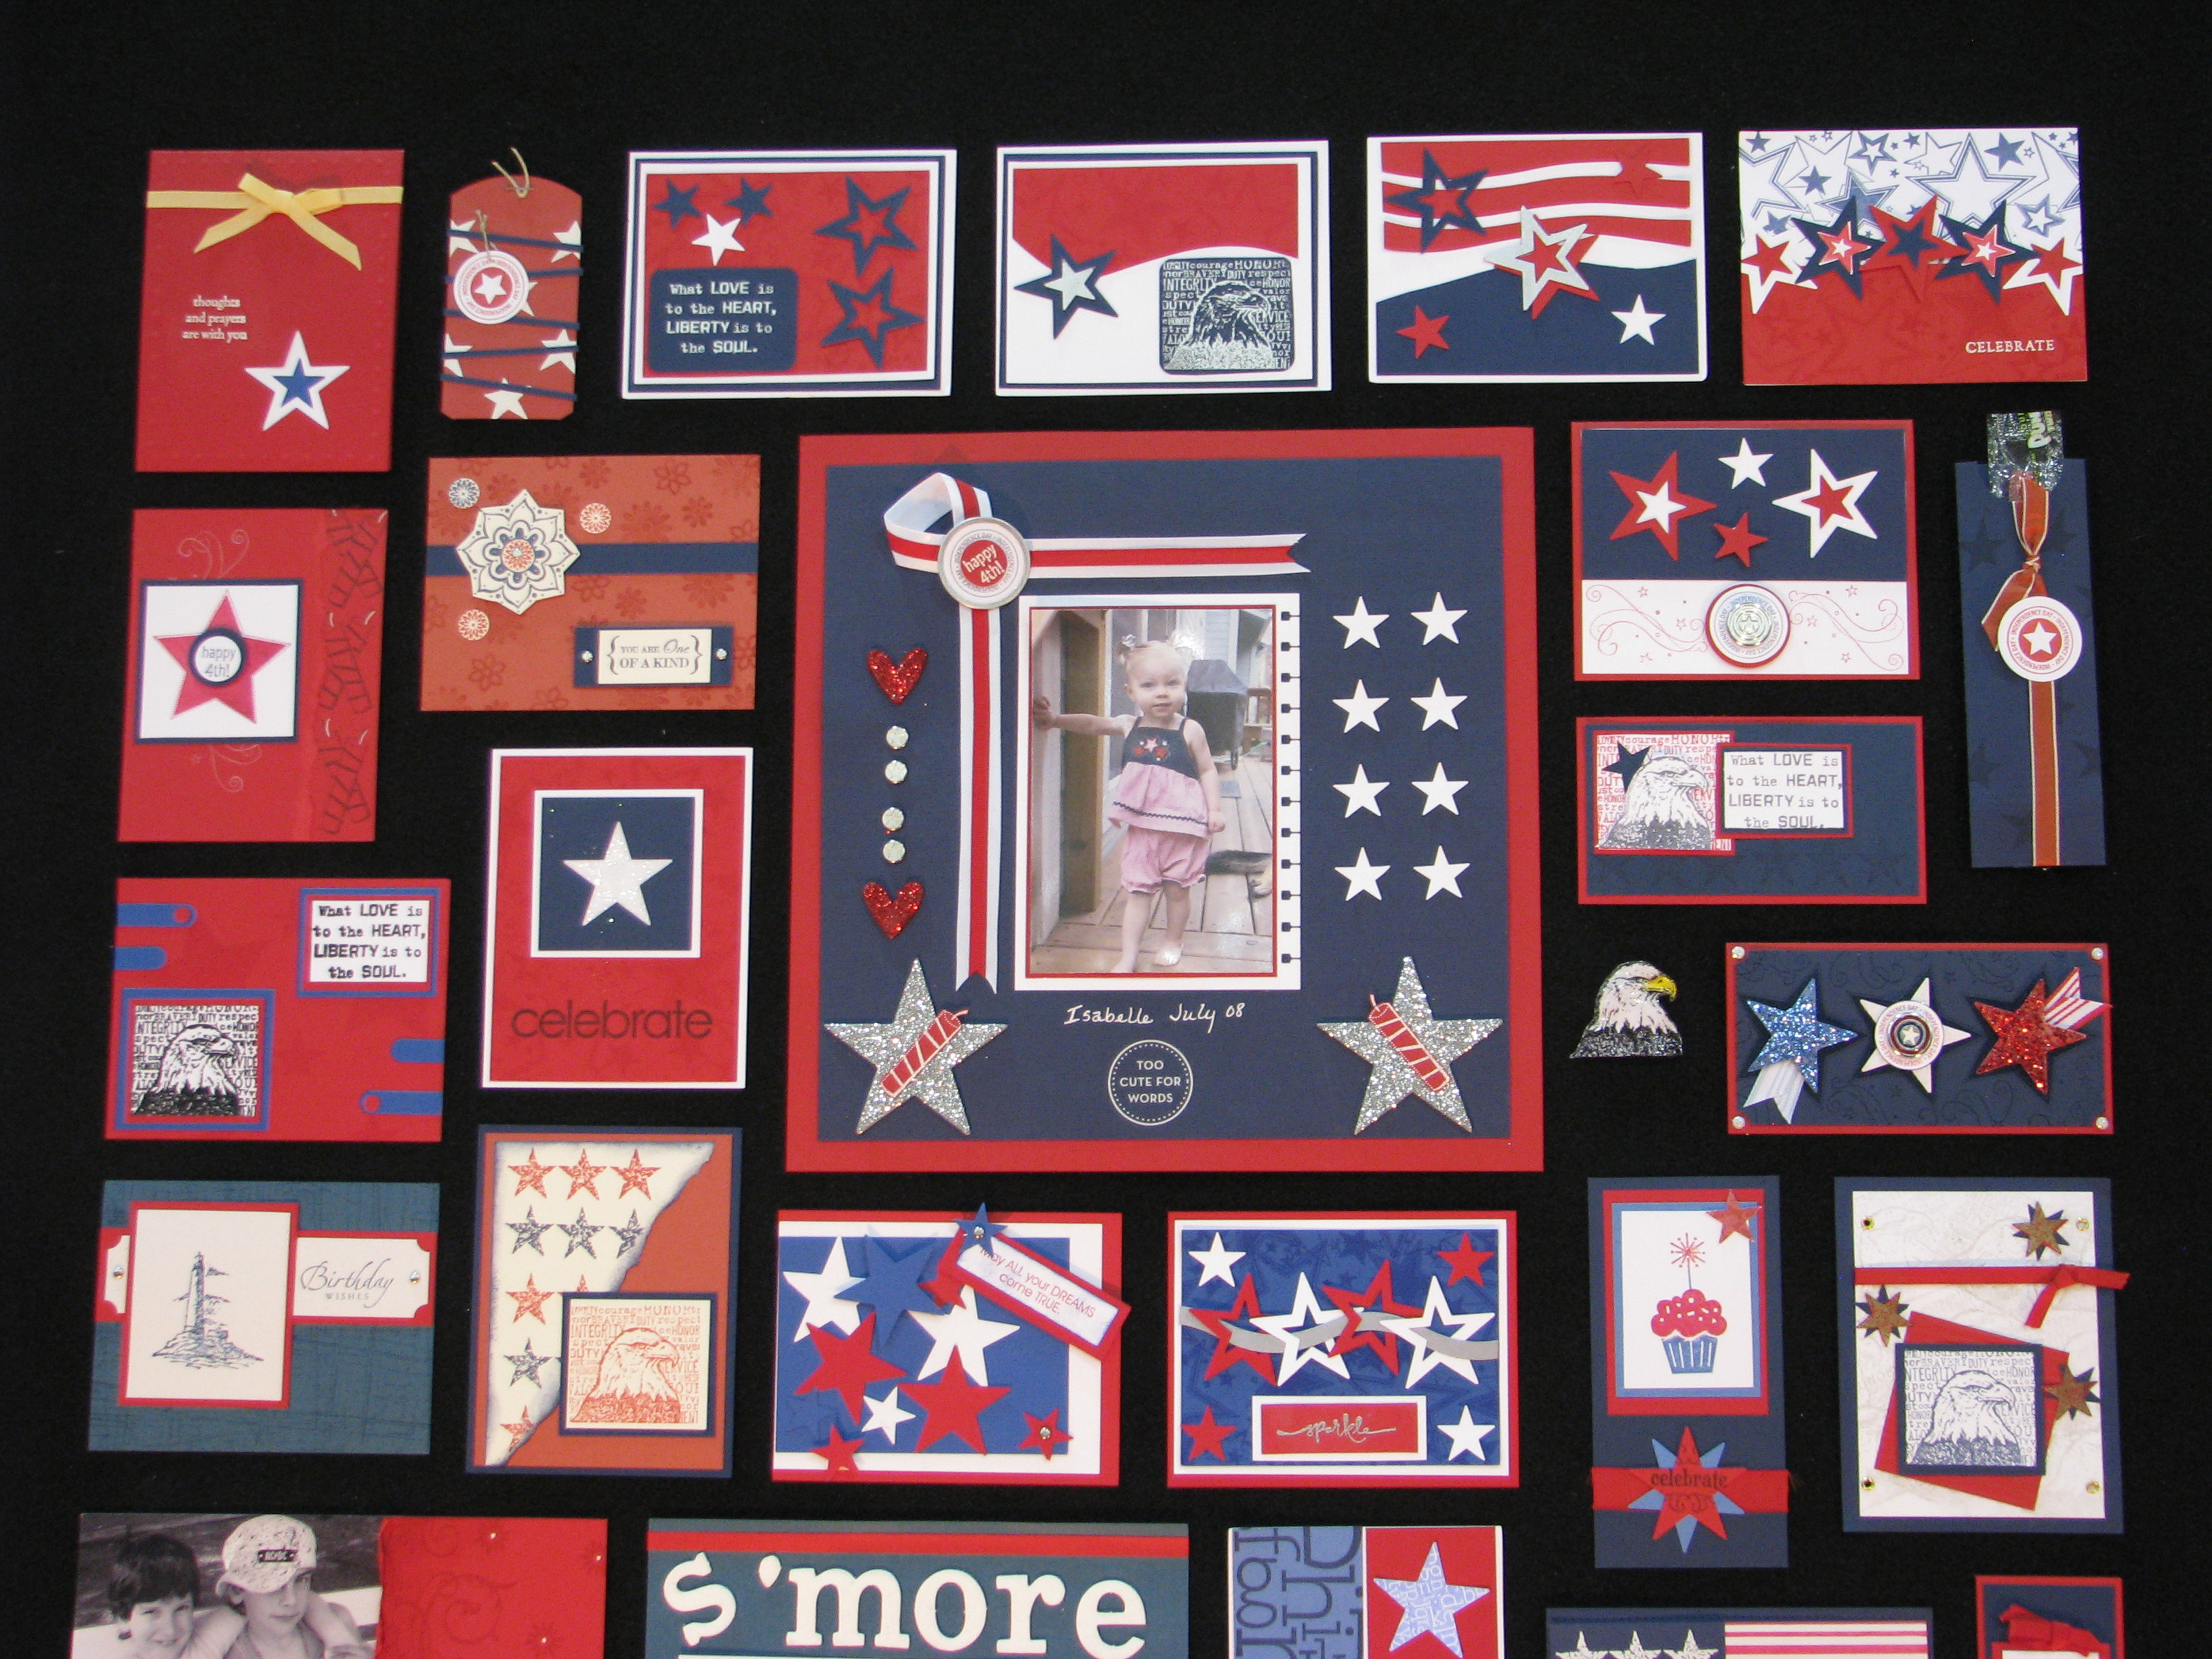
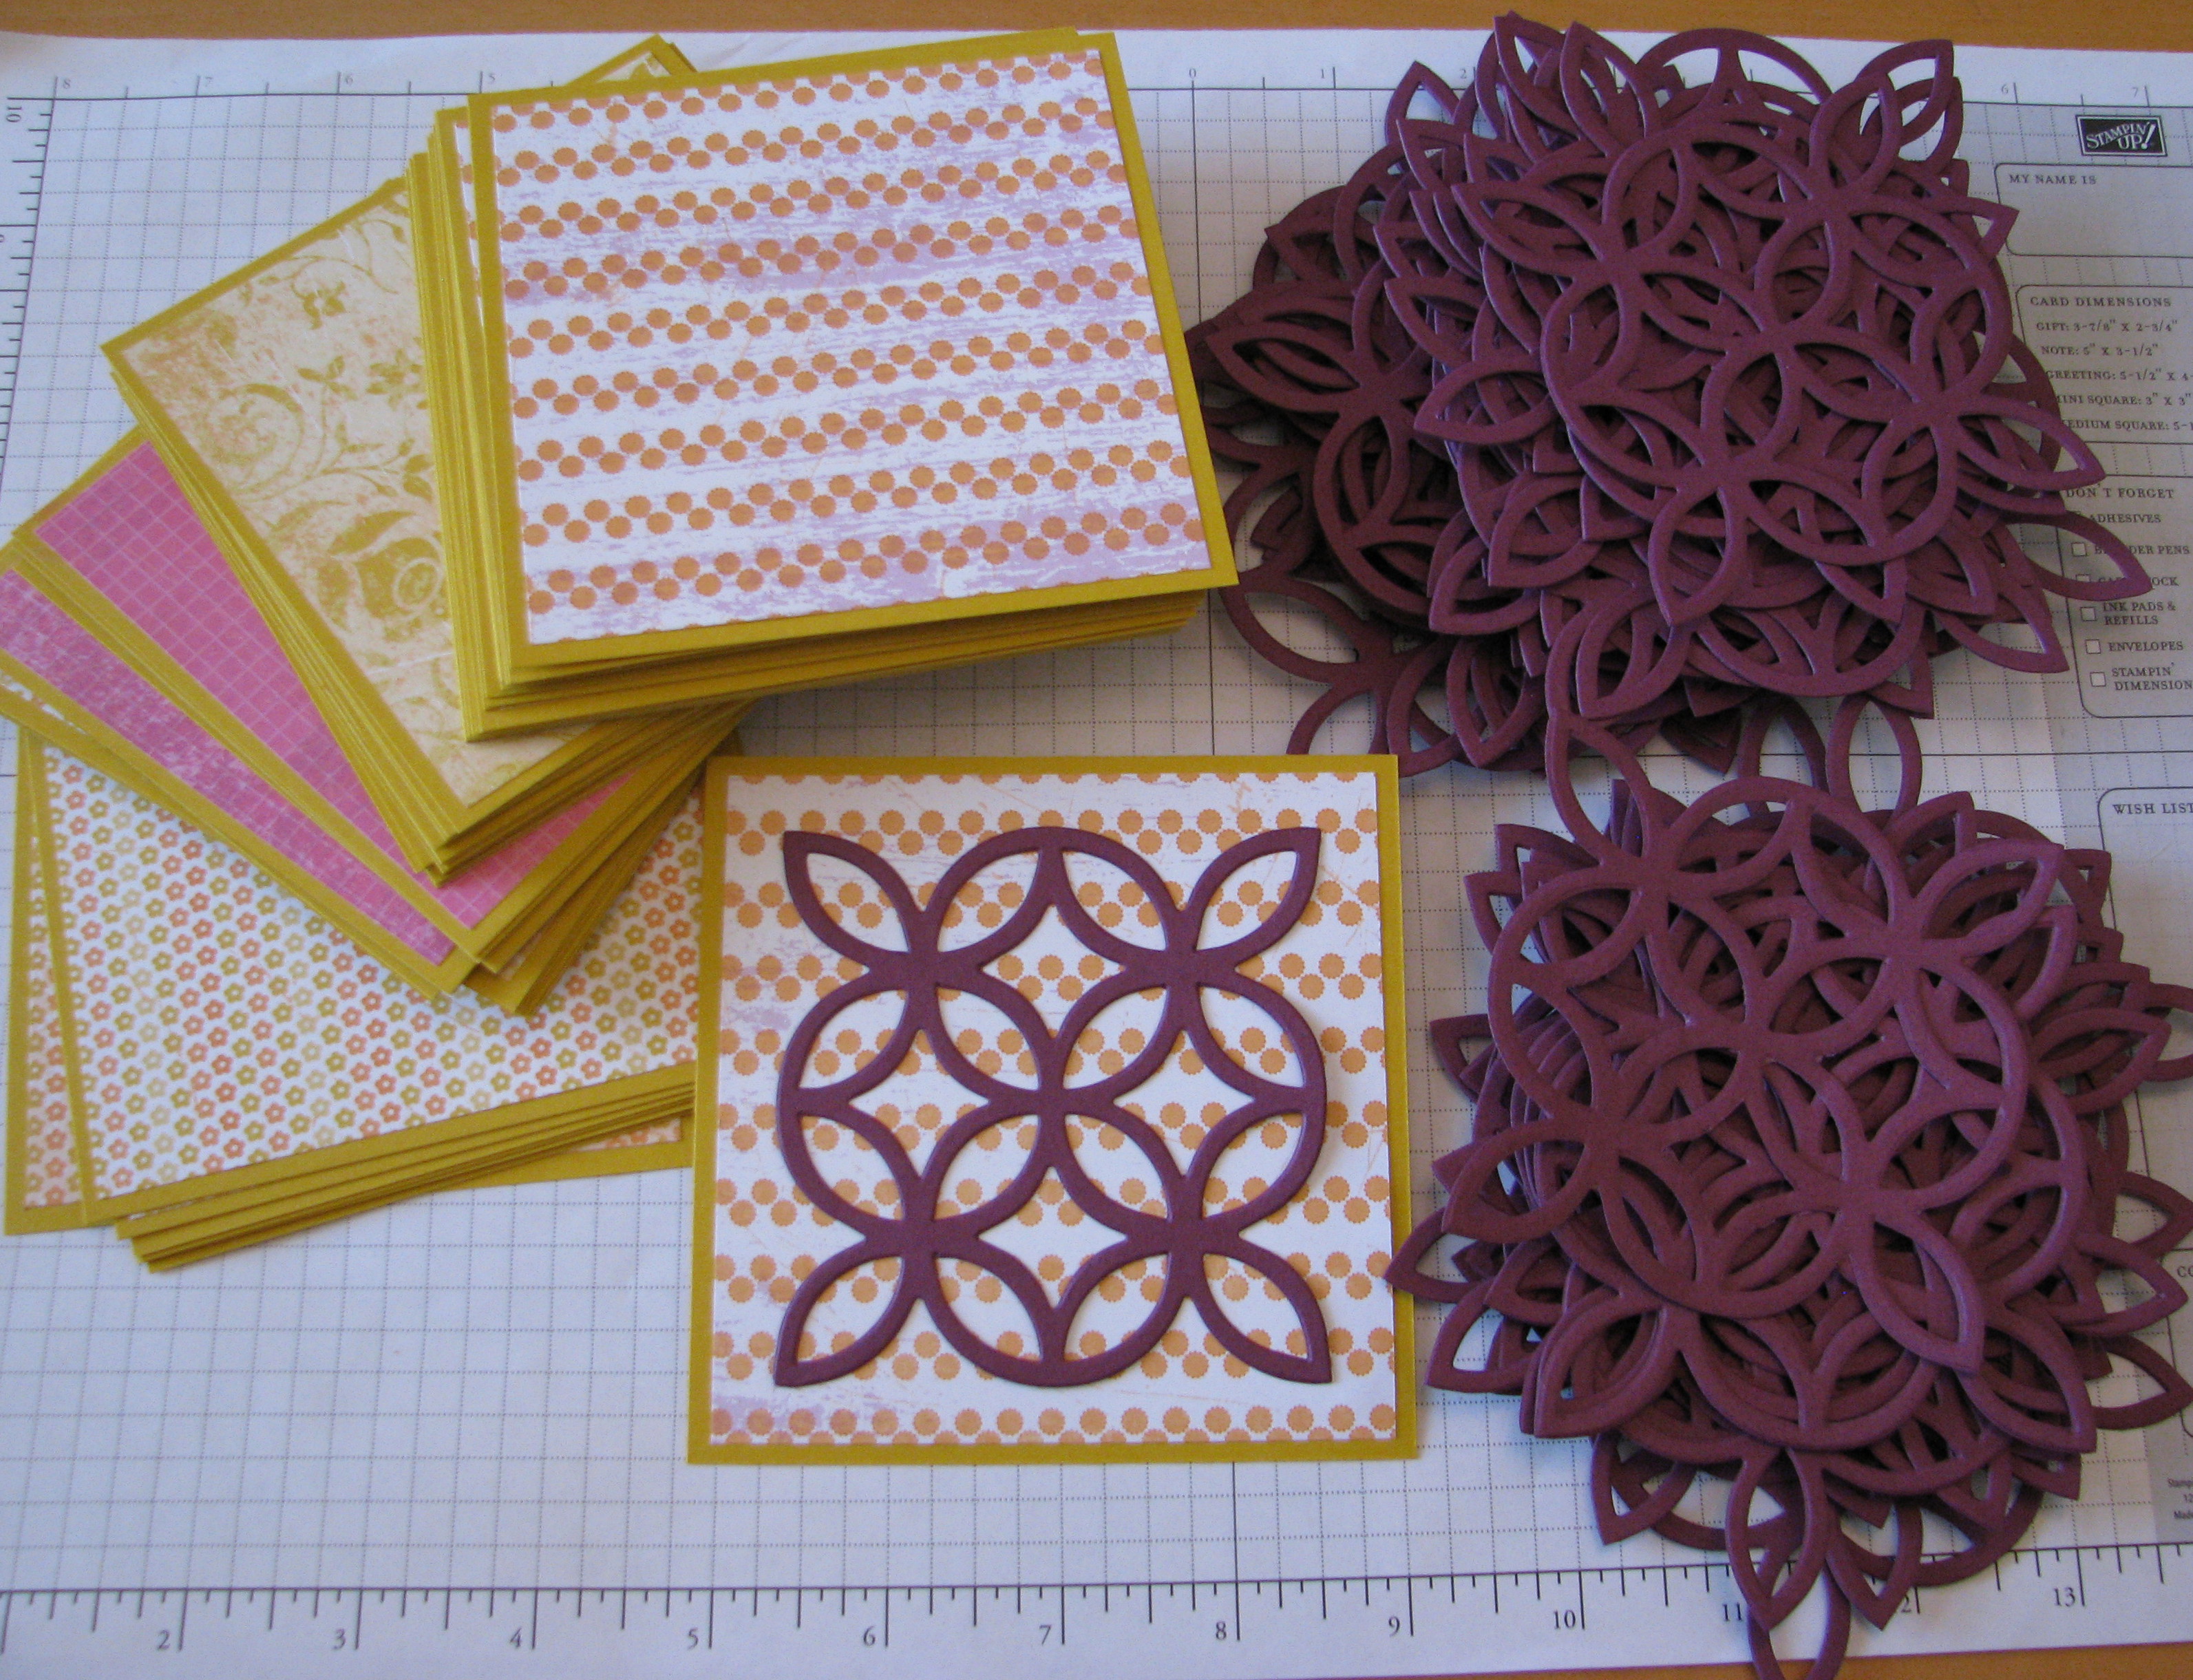
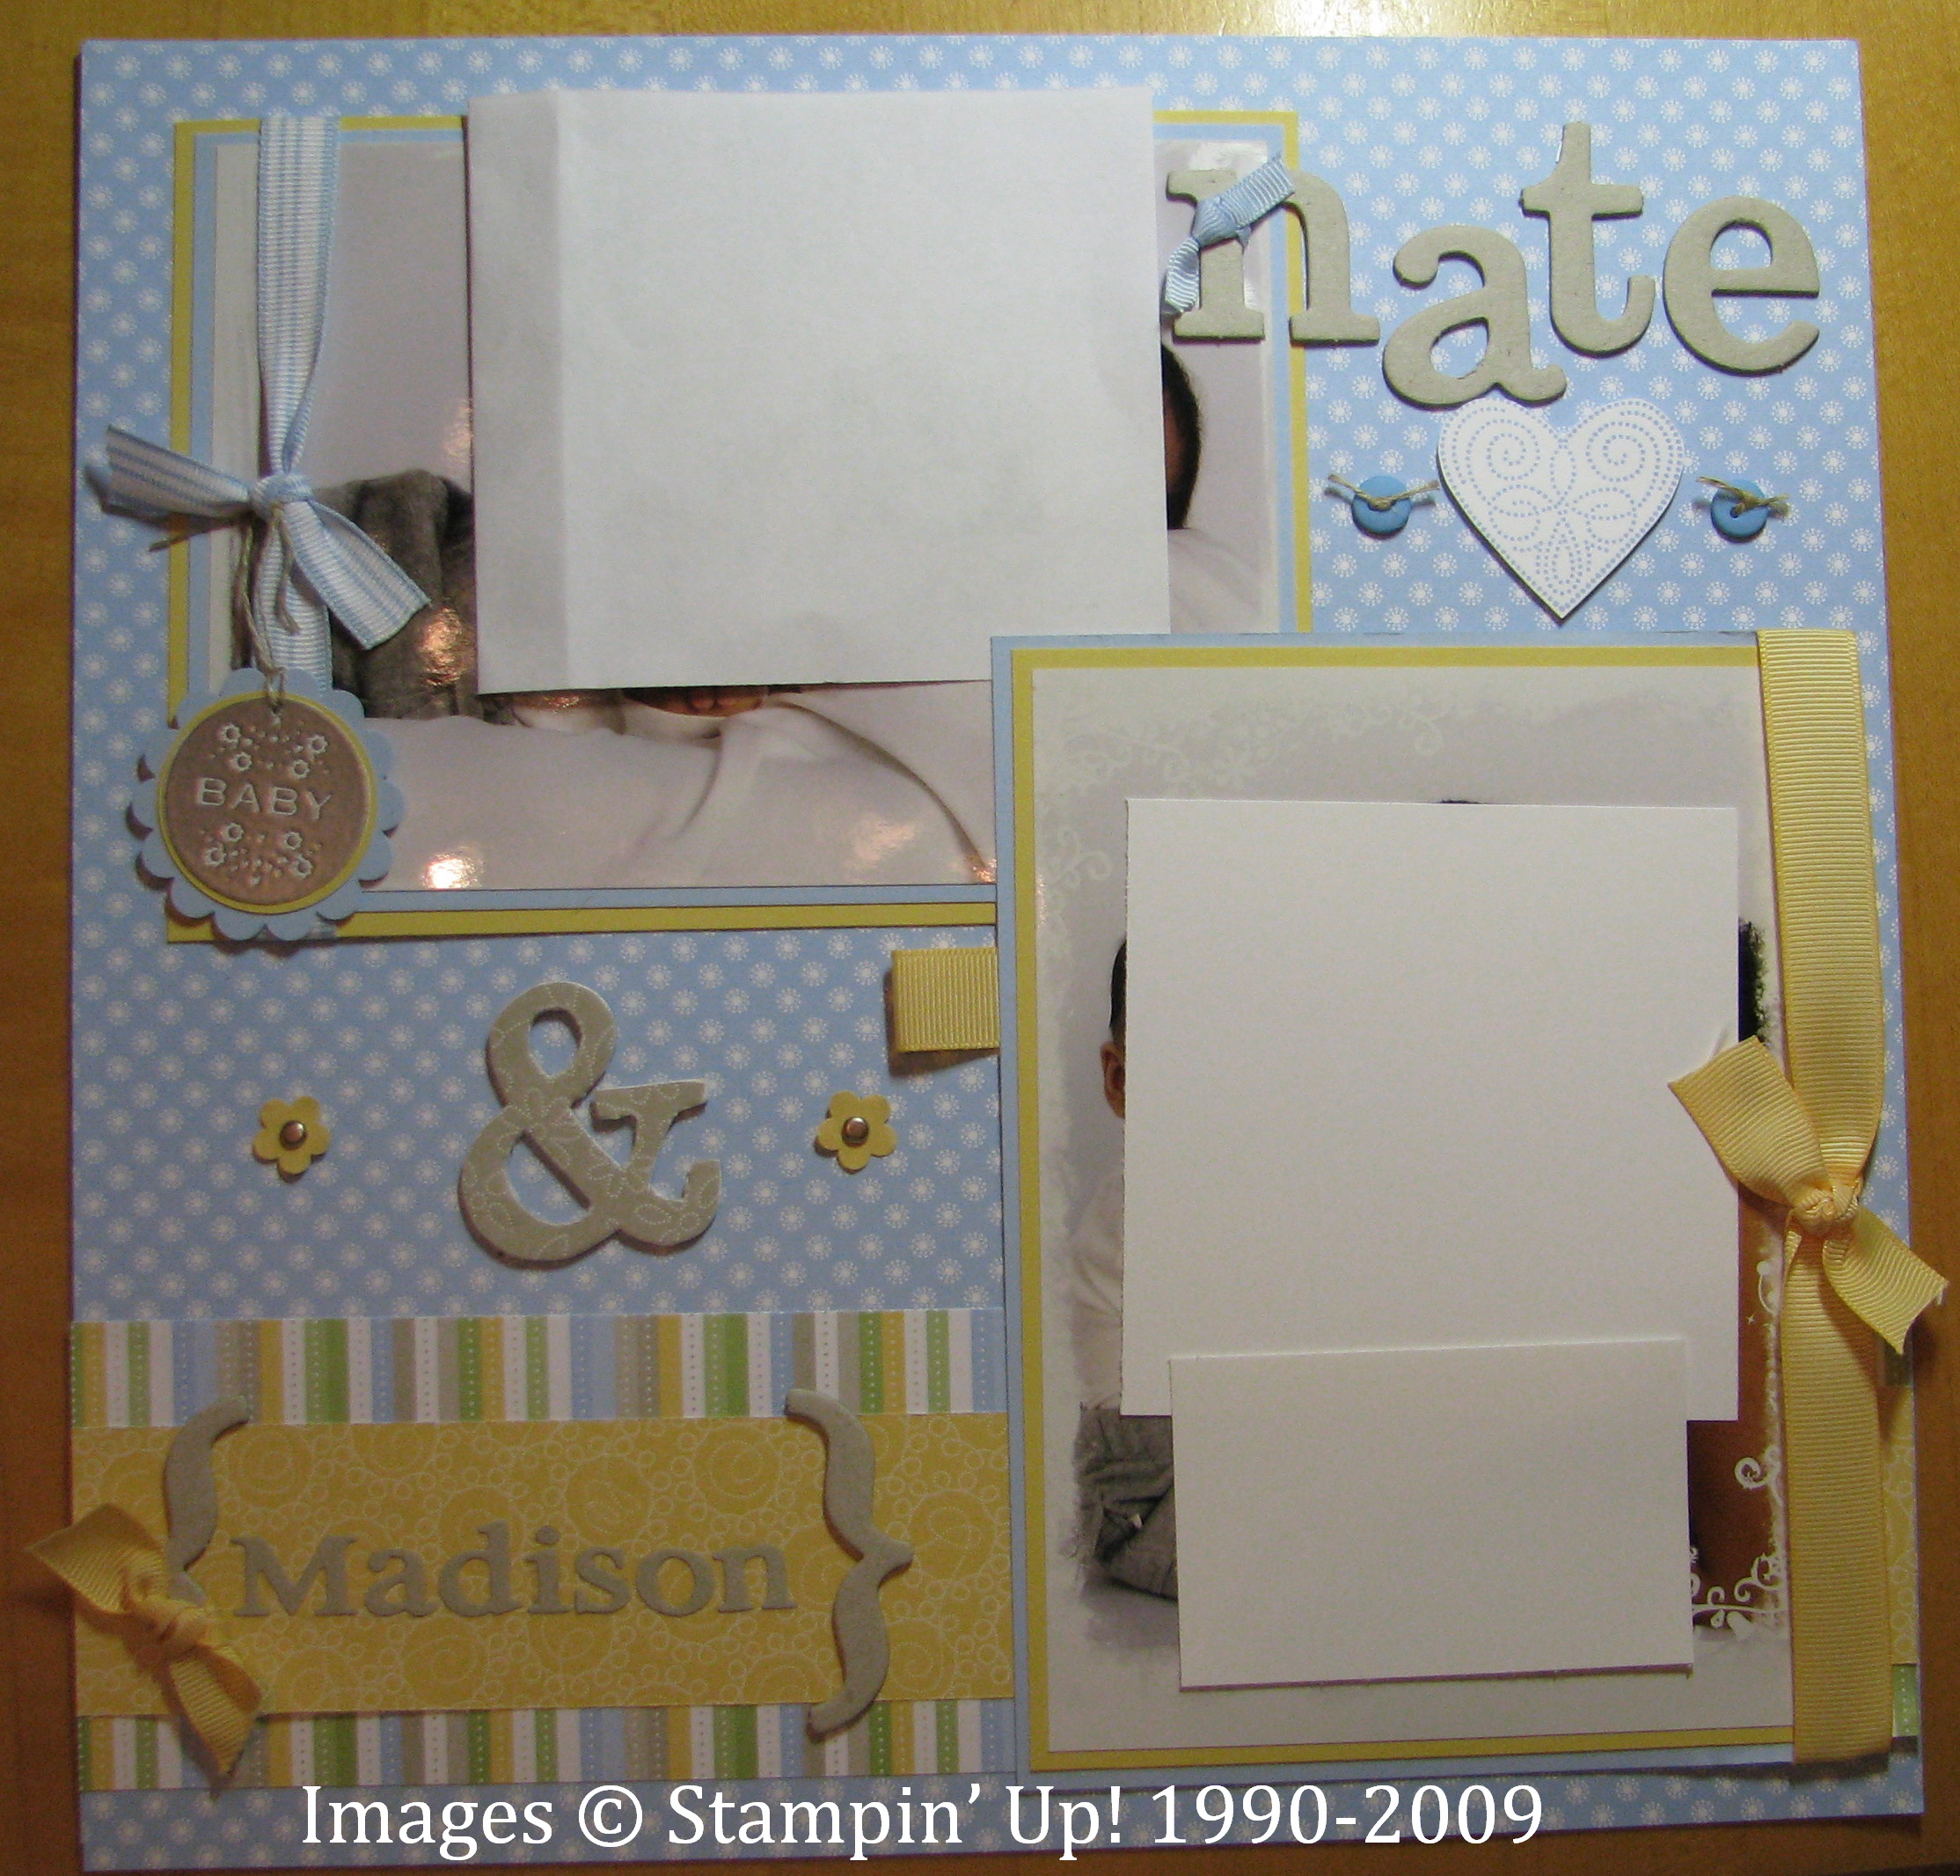
A scrapbook page with some Direct to Paper White Craft ink, a grommet on one of the flowers, and notice a little end of the Modern Label punch sticking up above the bow at the top where the photo would go. (sorry, the photo is a little blurry!)

Christmas tags made with the Big Shot Two Tags die. Very cute! You could slide a candy cane through the folded one.
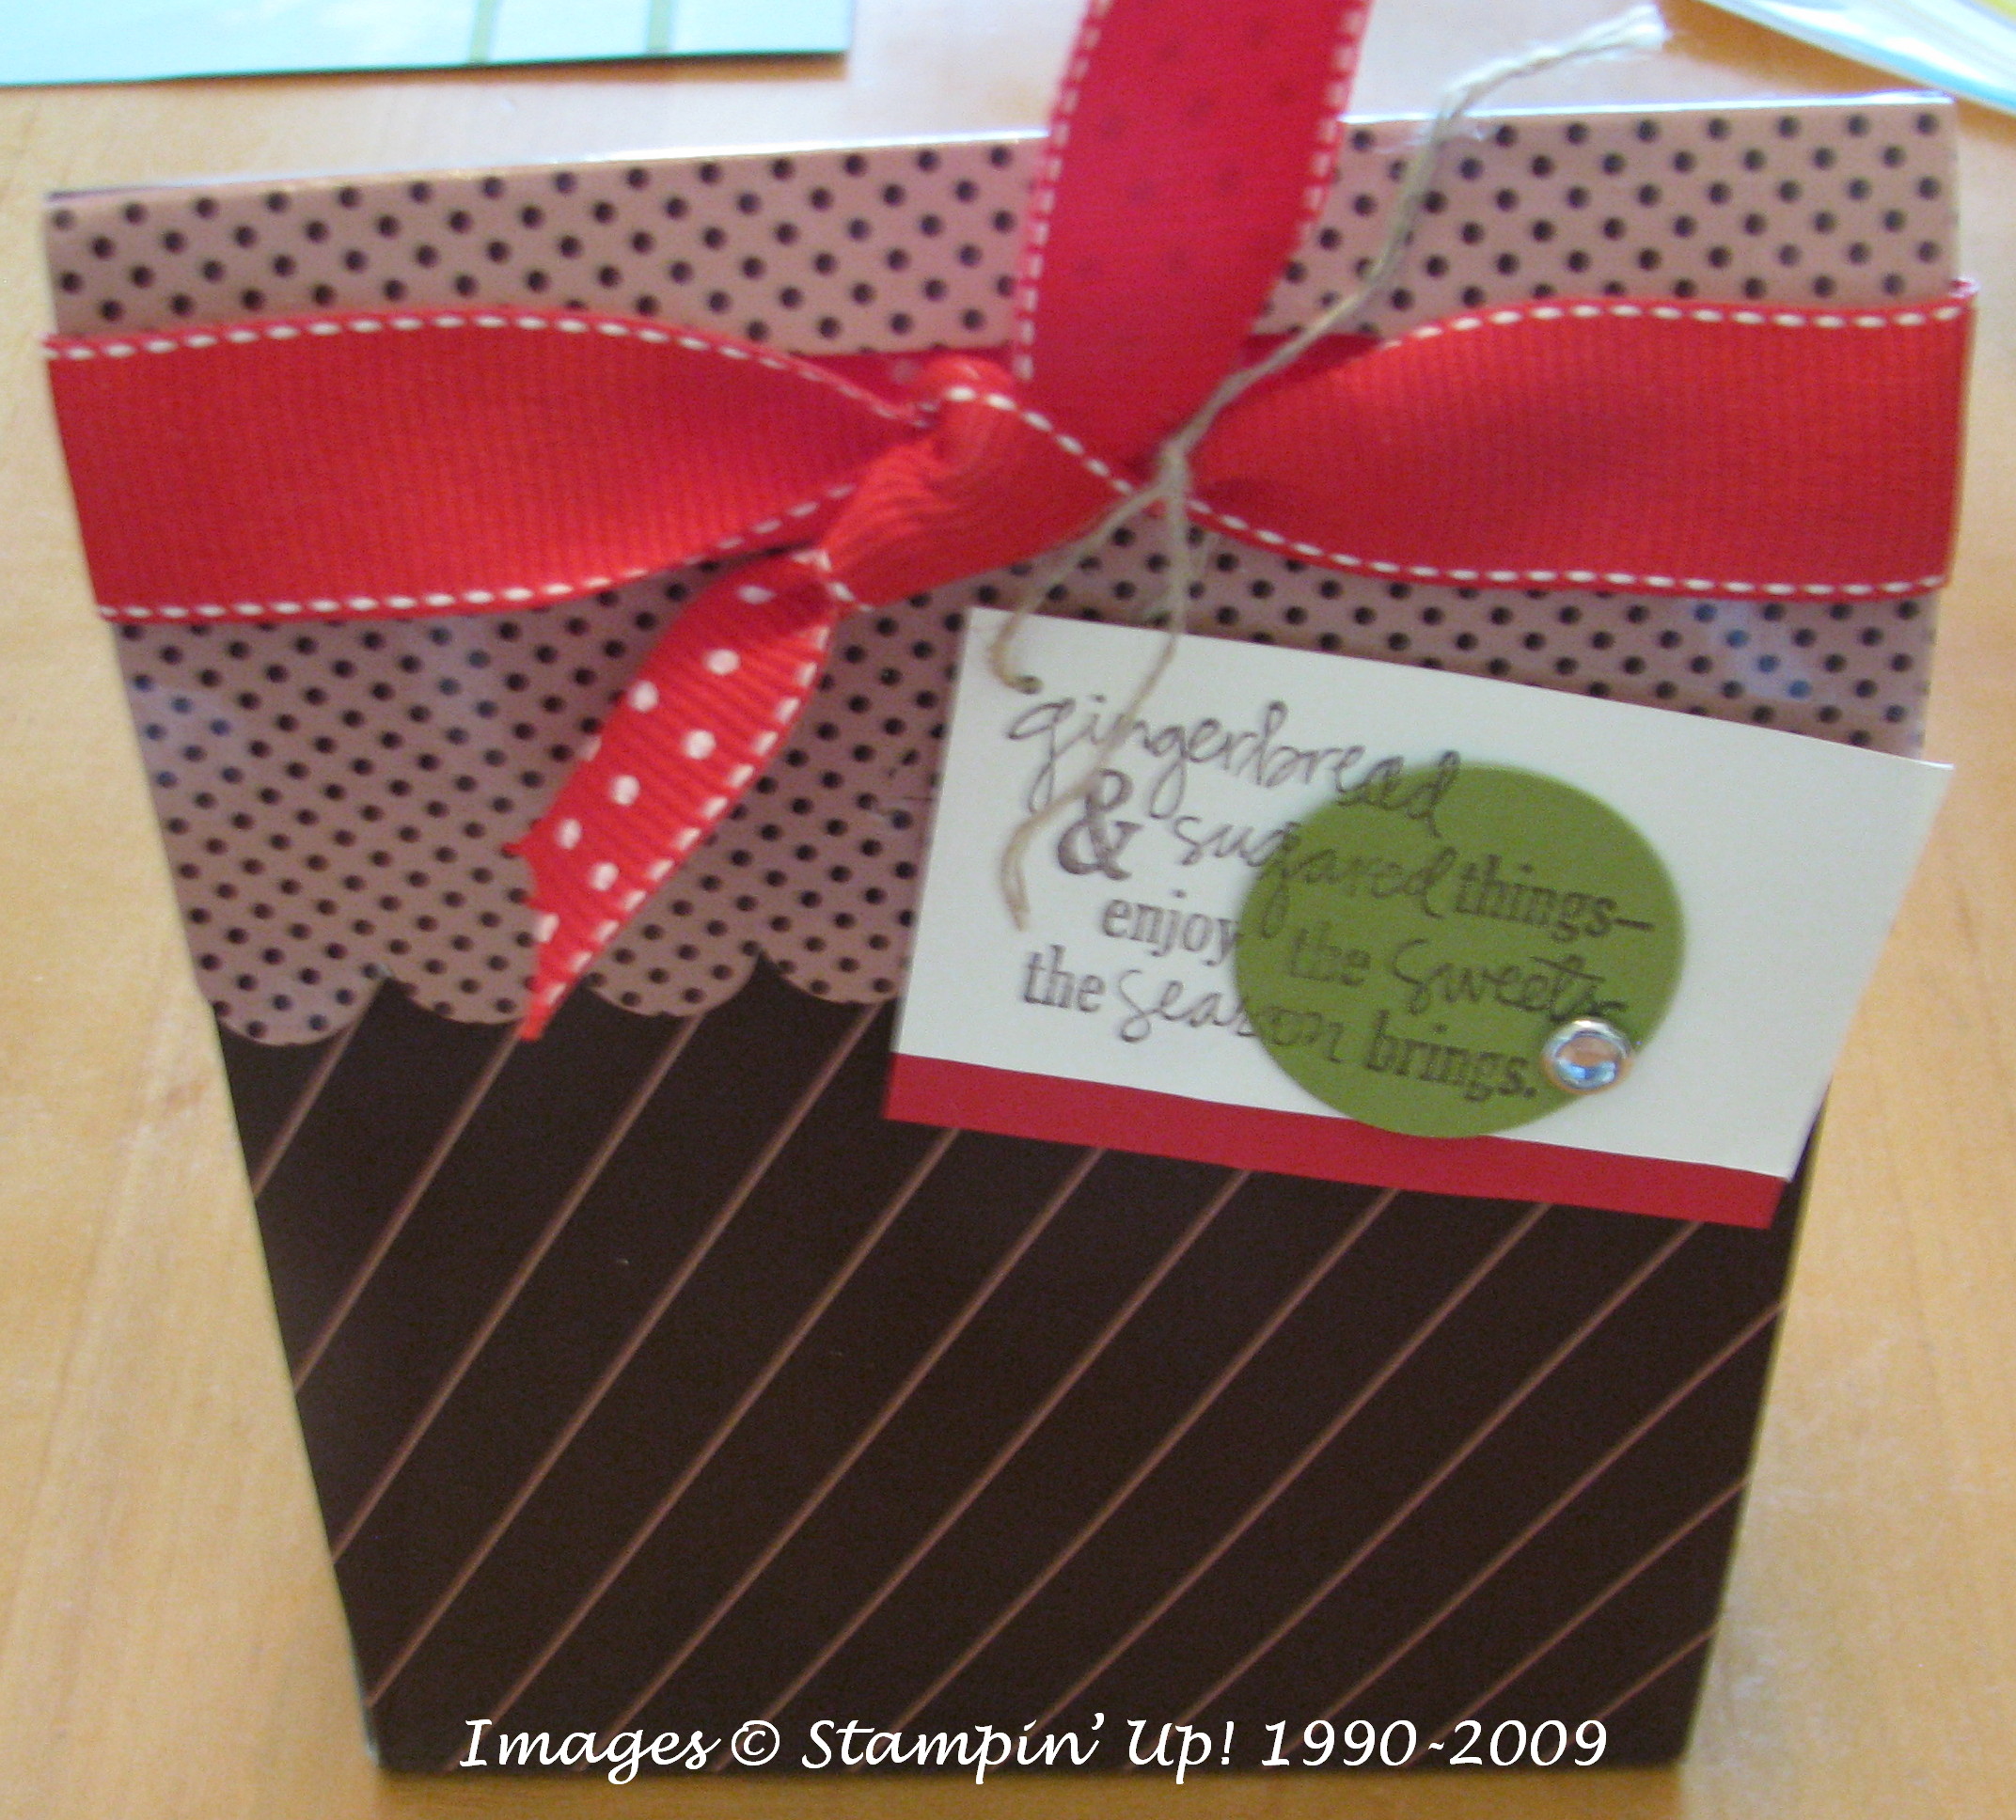
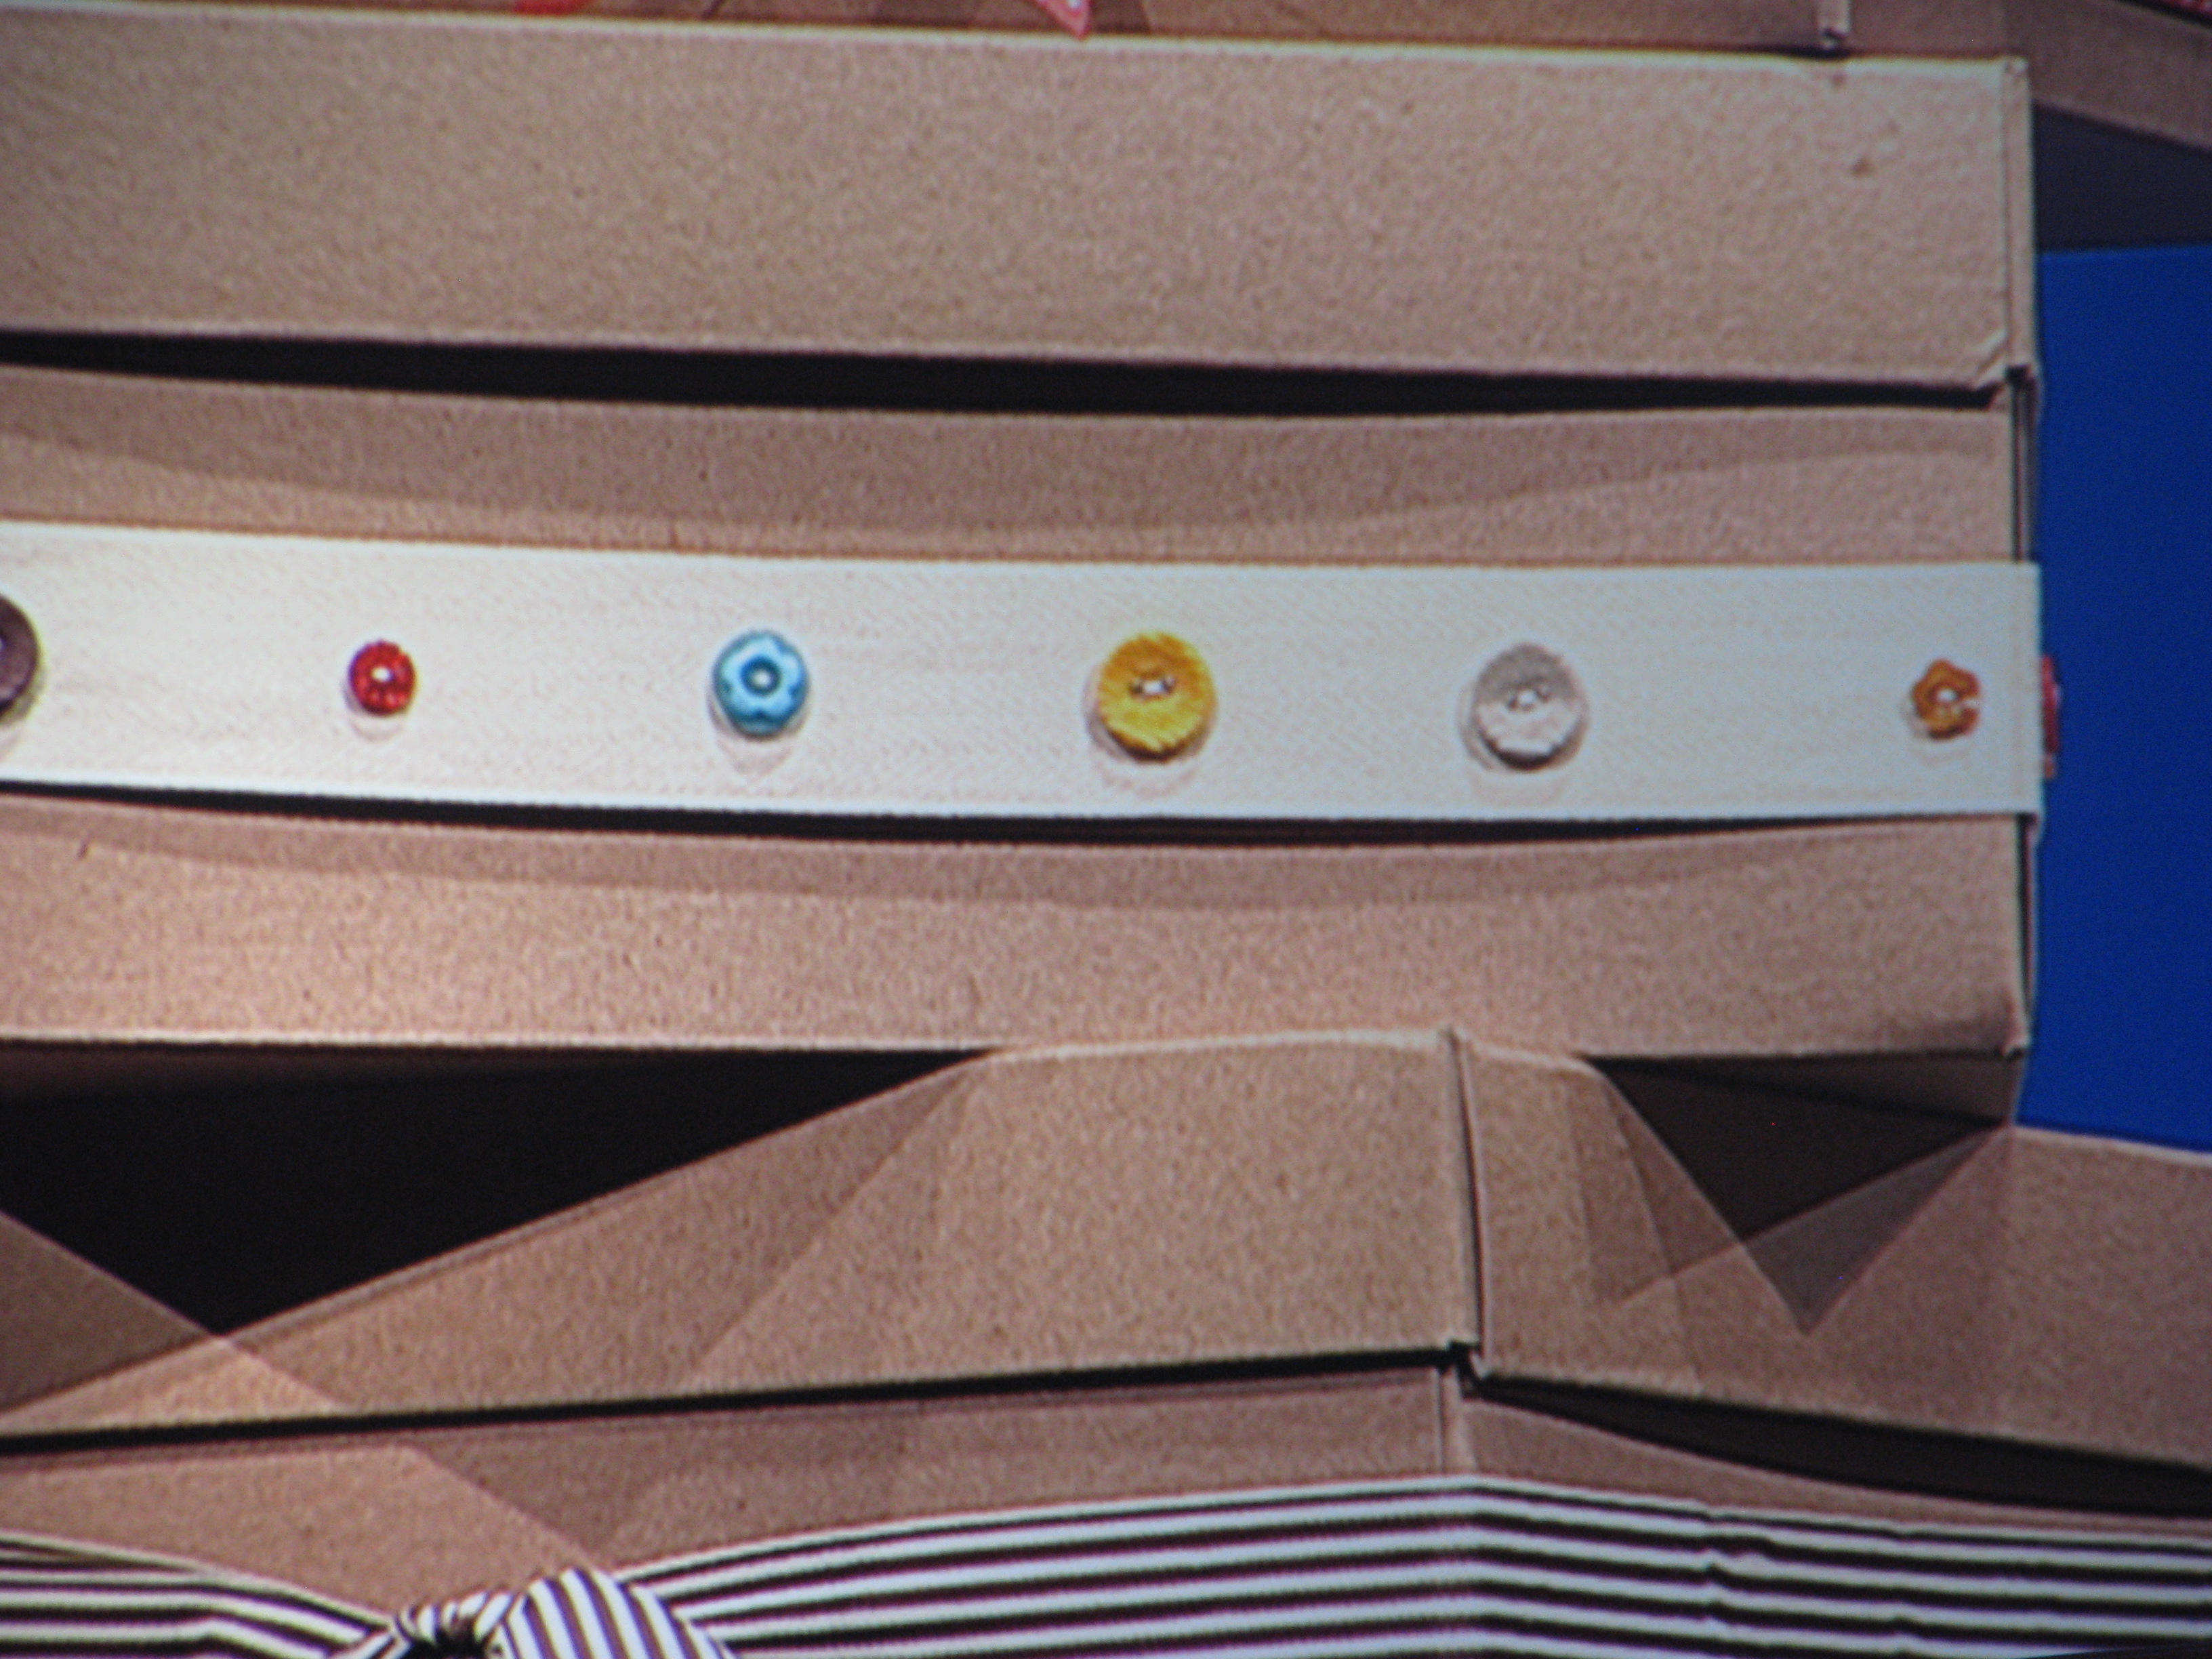
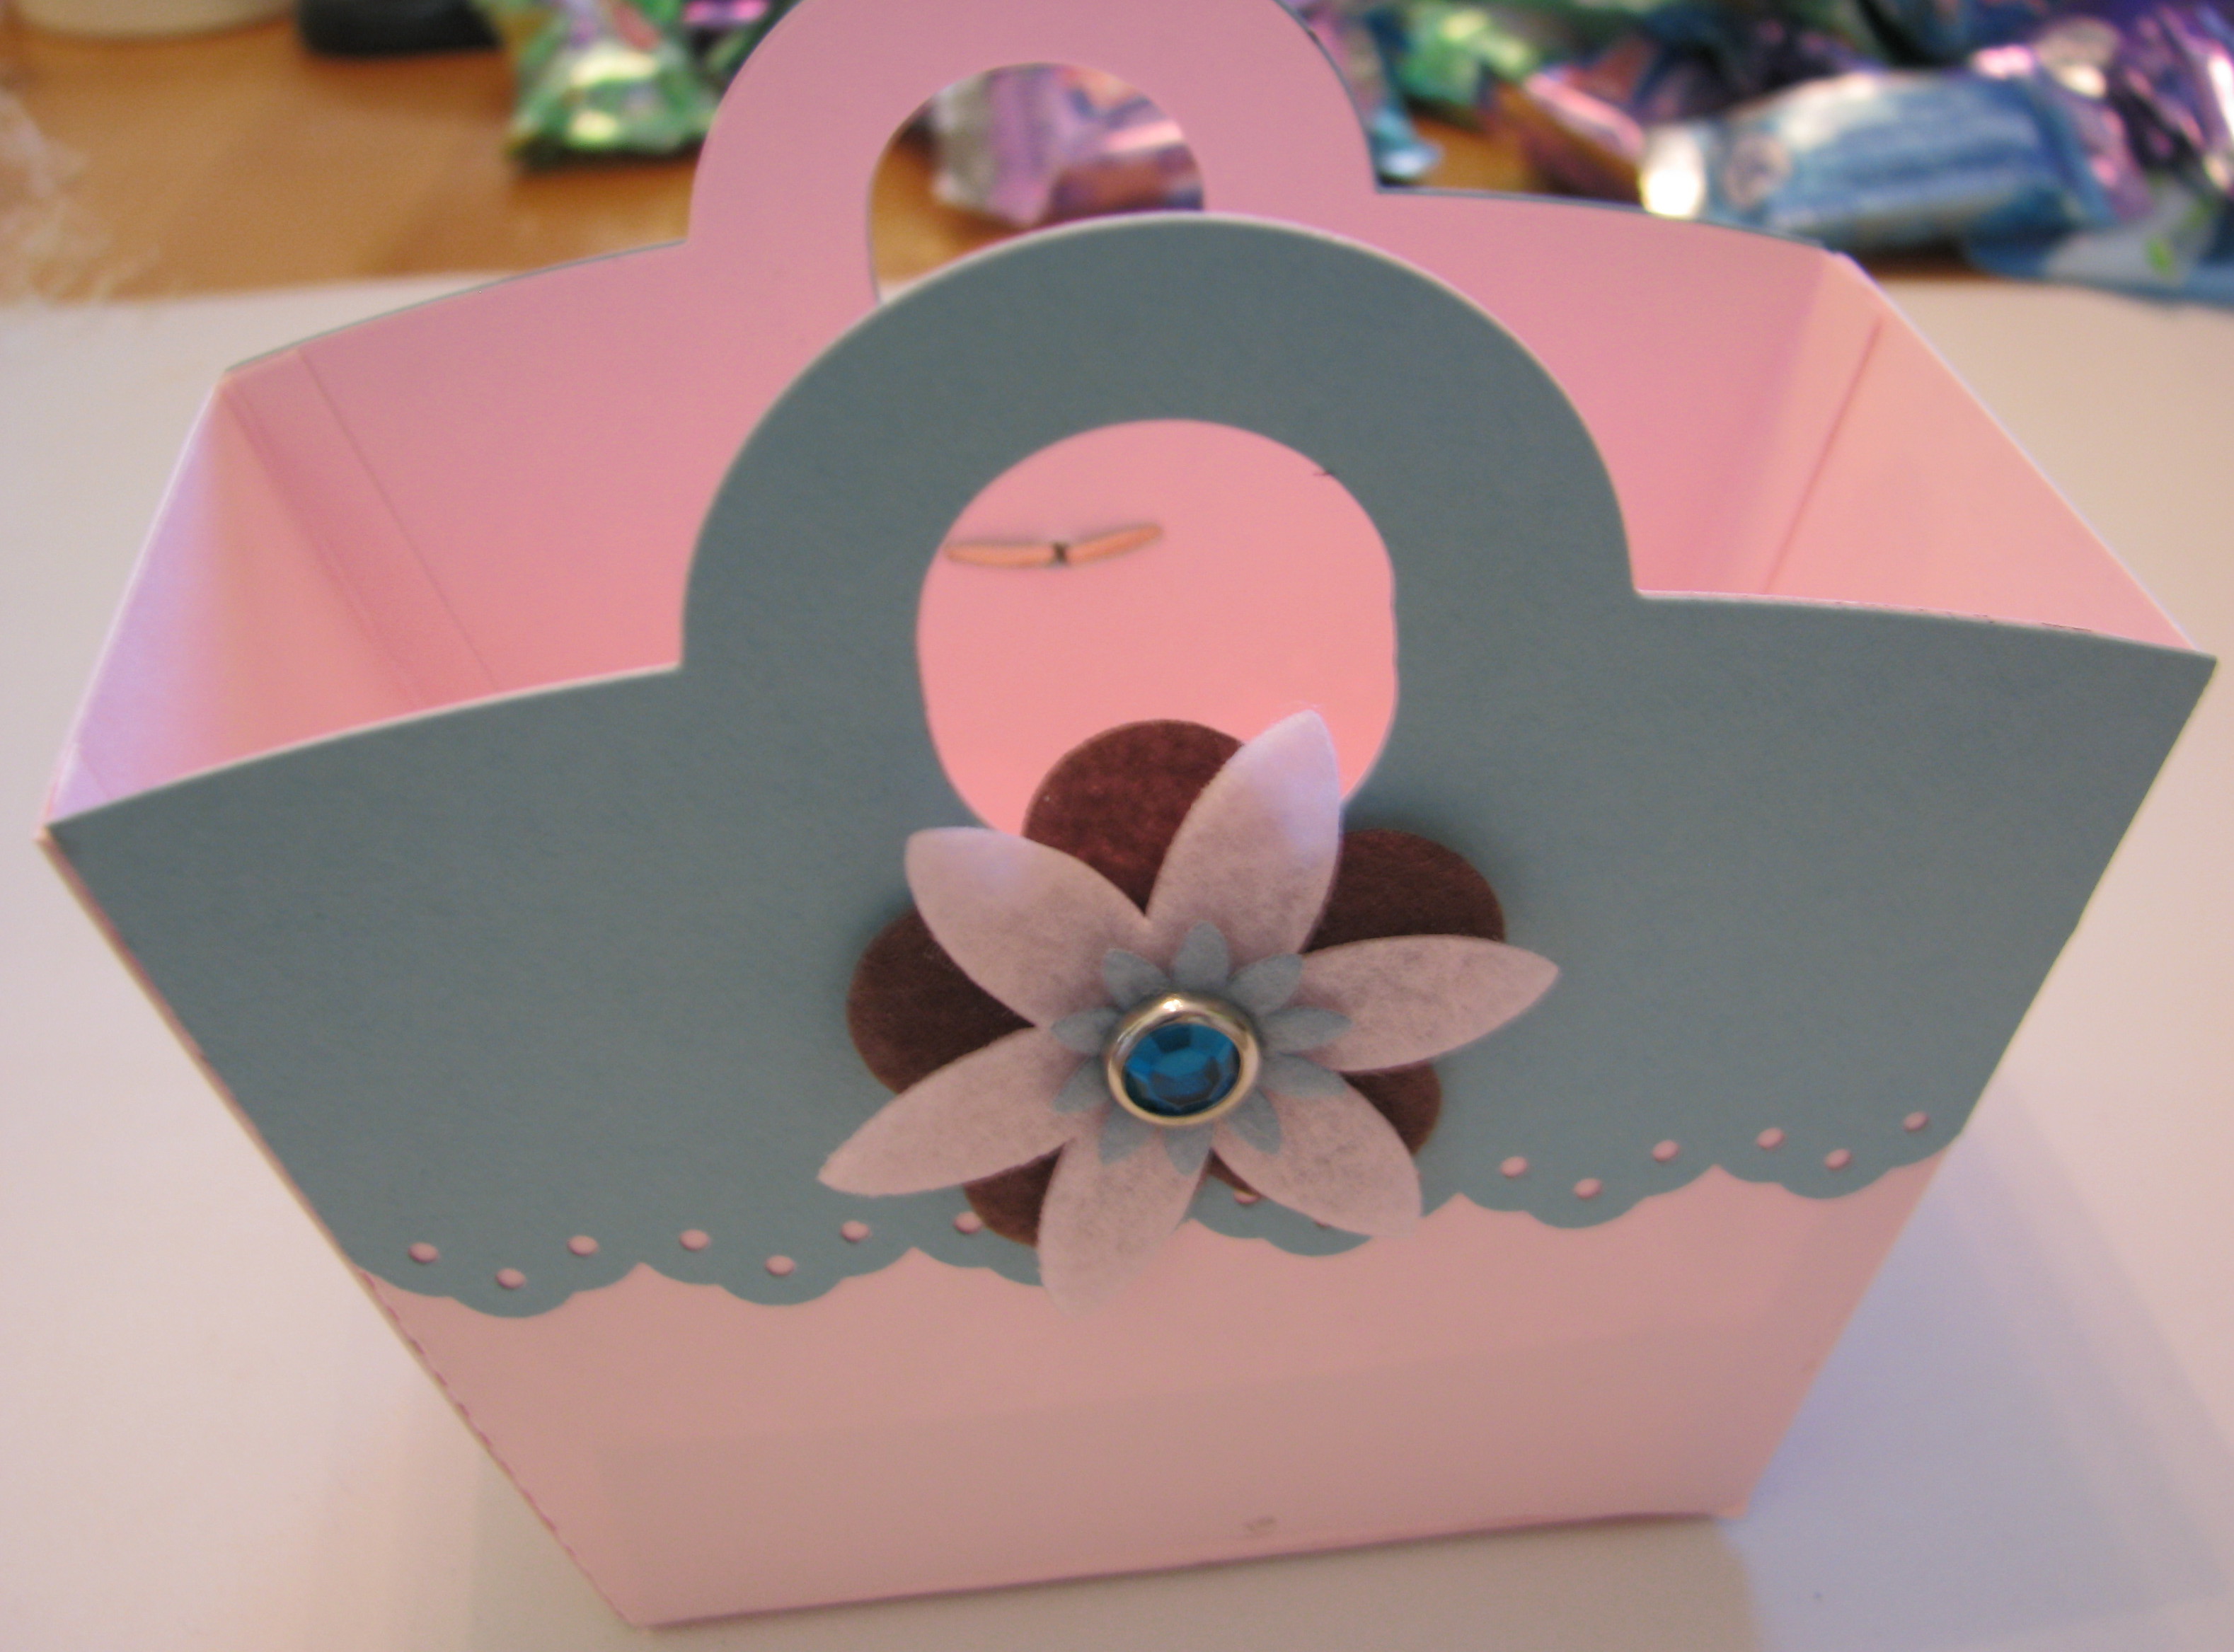
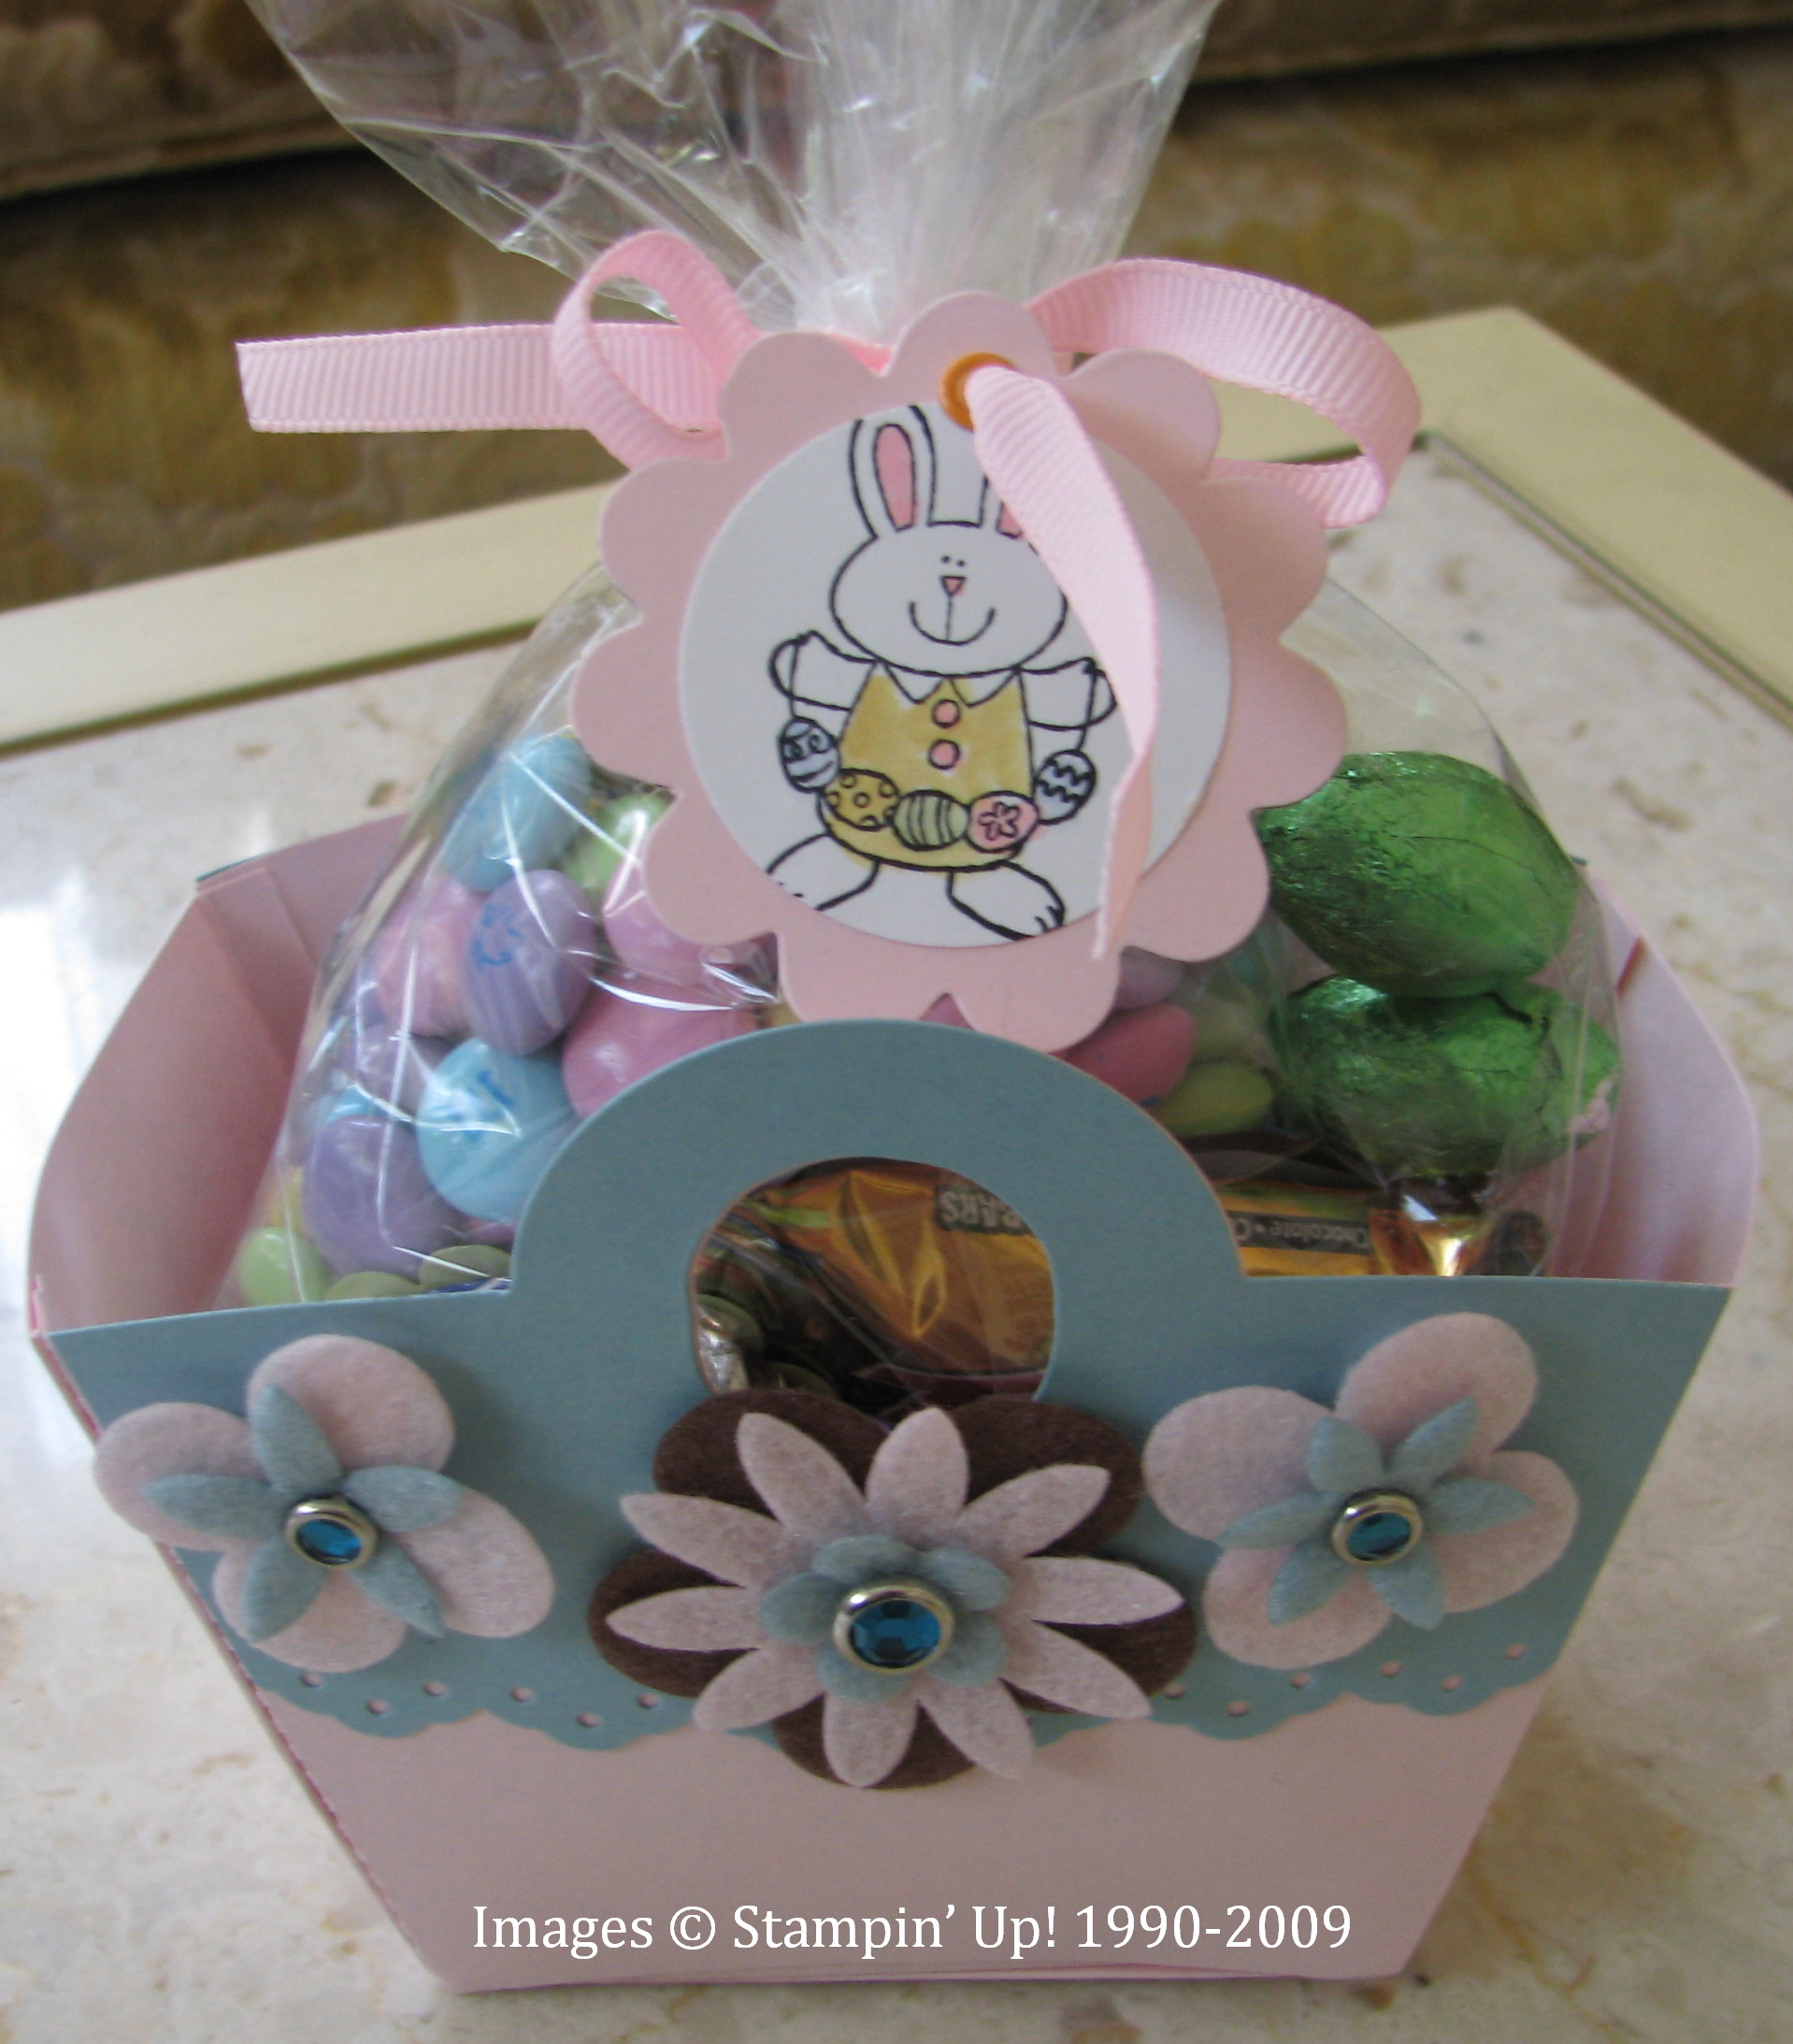
The new Treat Boxes, page 159…more like a bag than a box, but very nice. The ribbon is polka dot on one side and plain on the other.
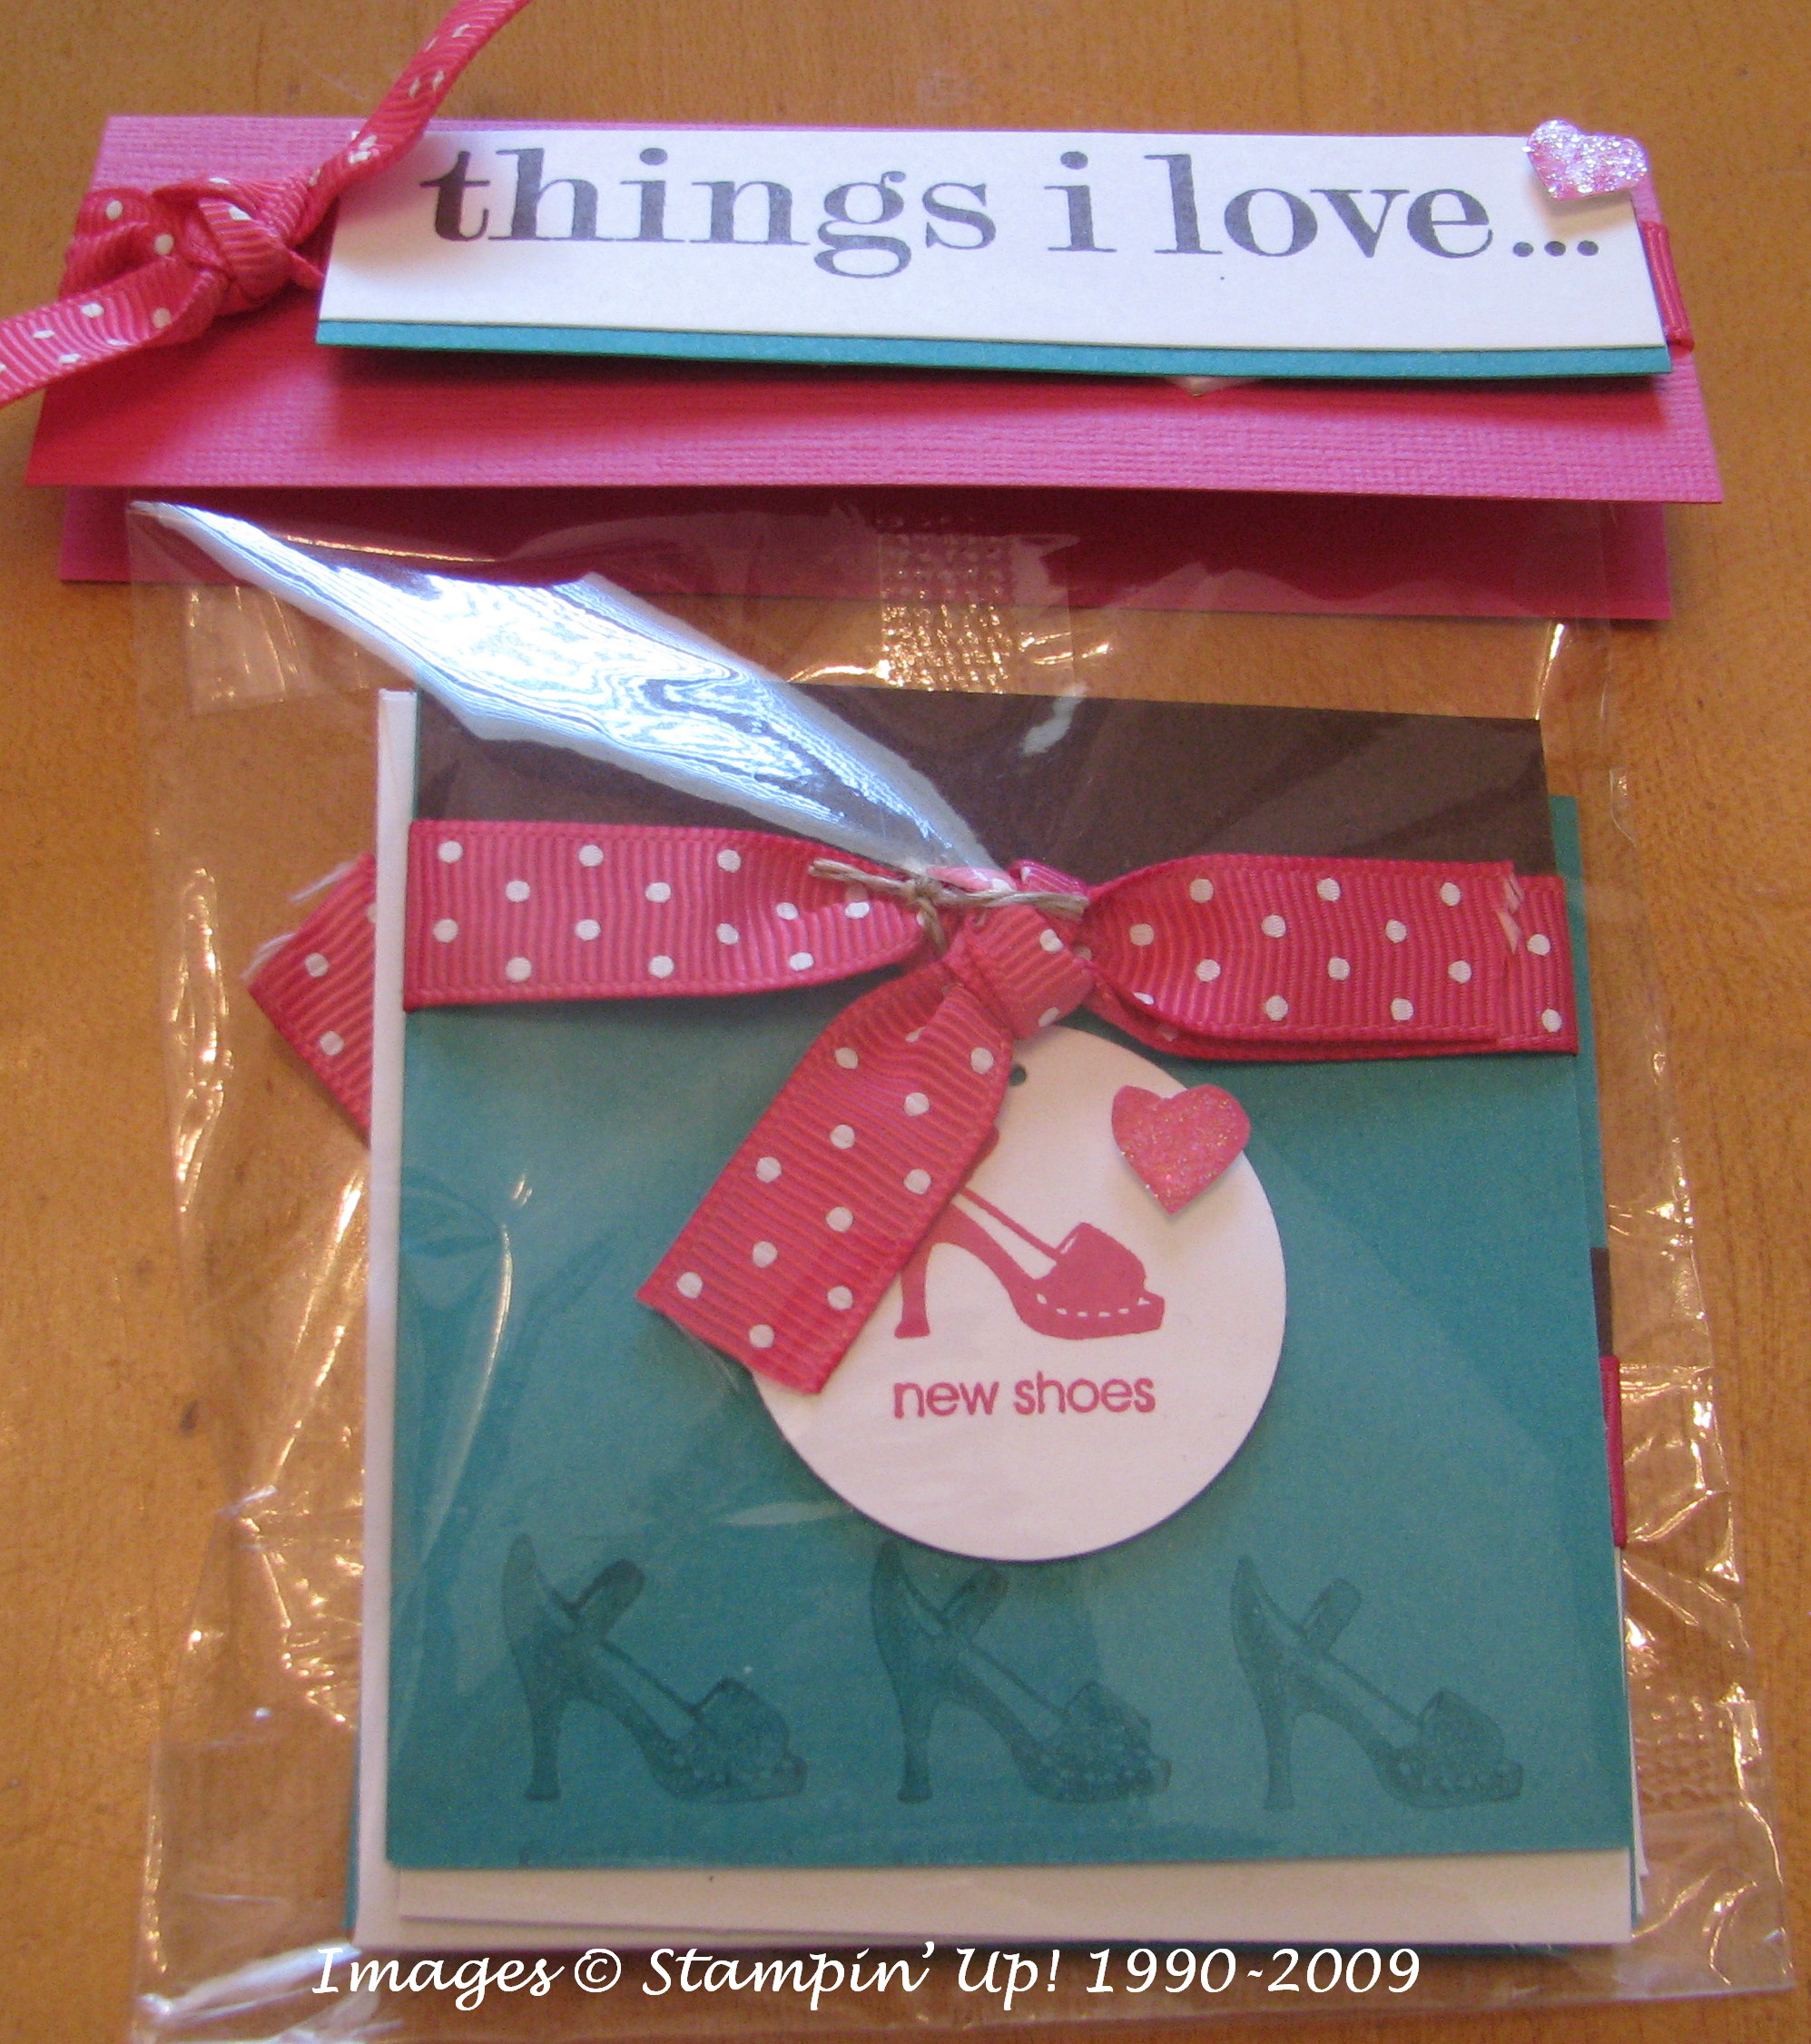
Cute little cello bag of 3×3 note cards and envelopes. Perfect for a little gift!
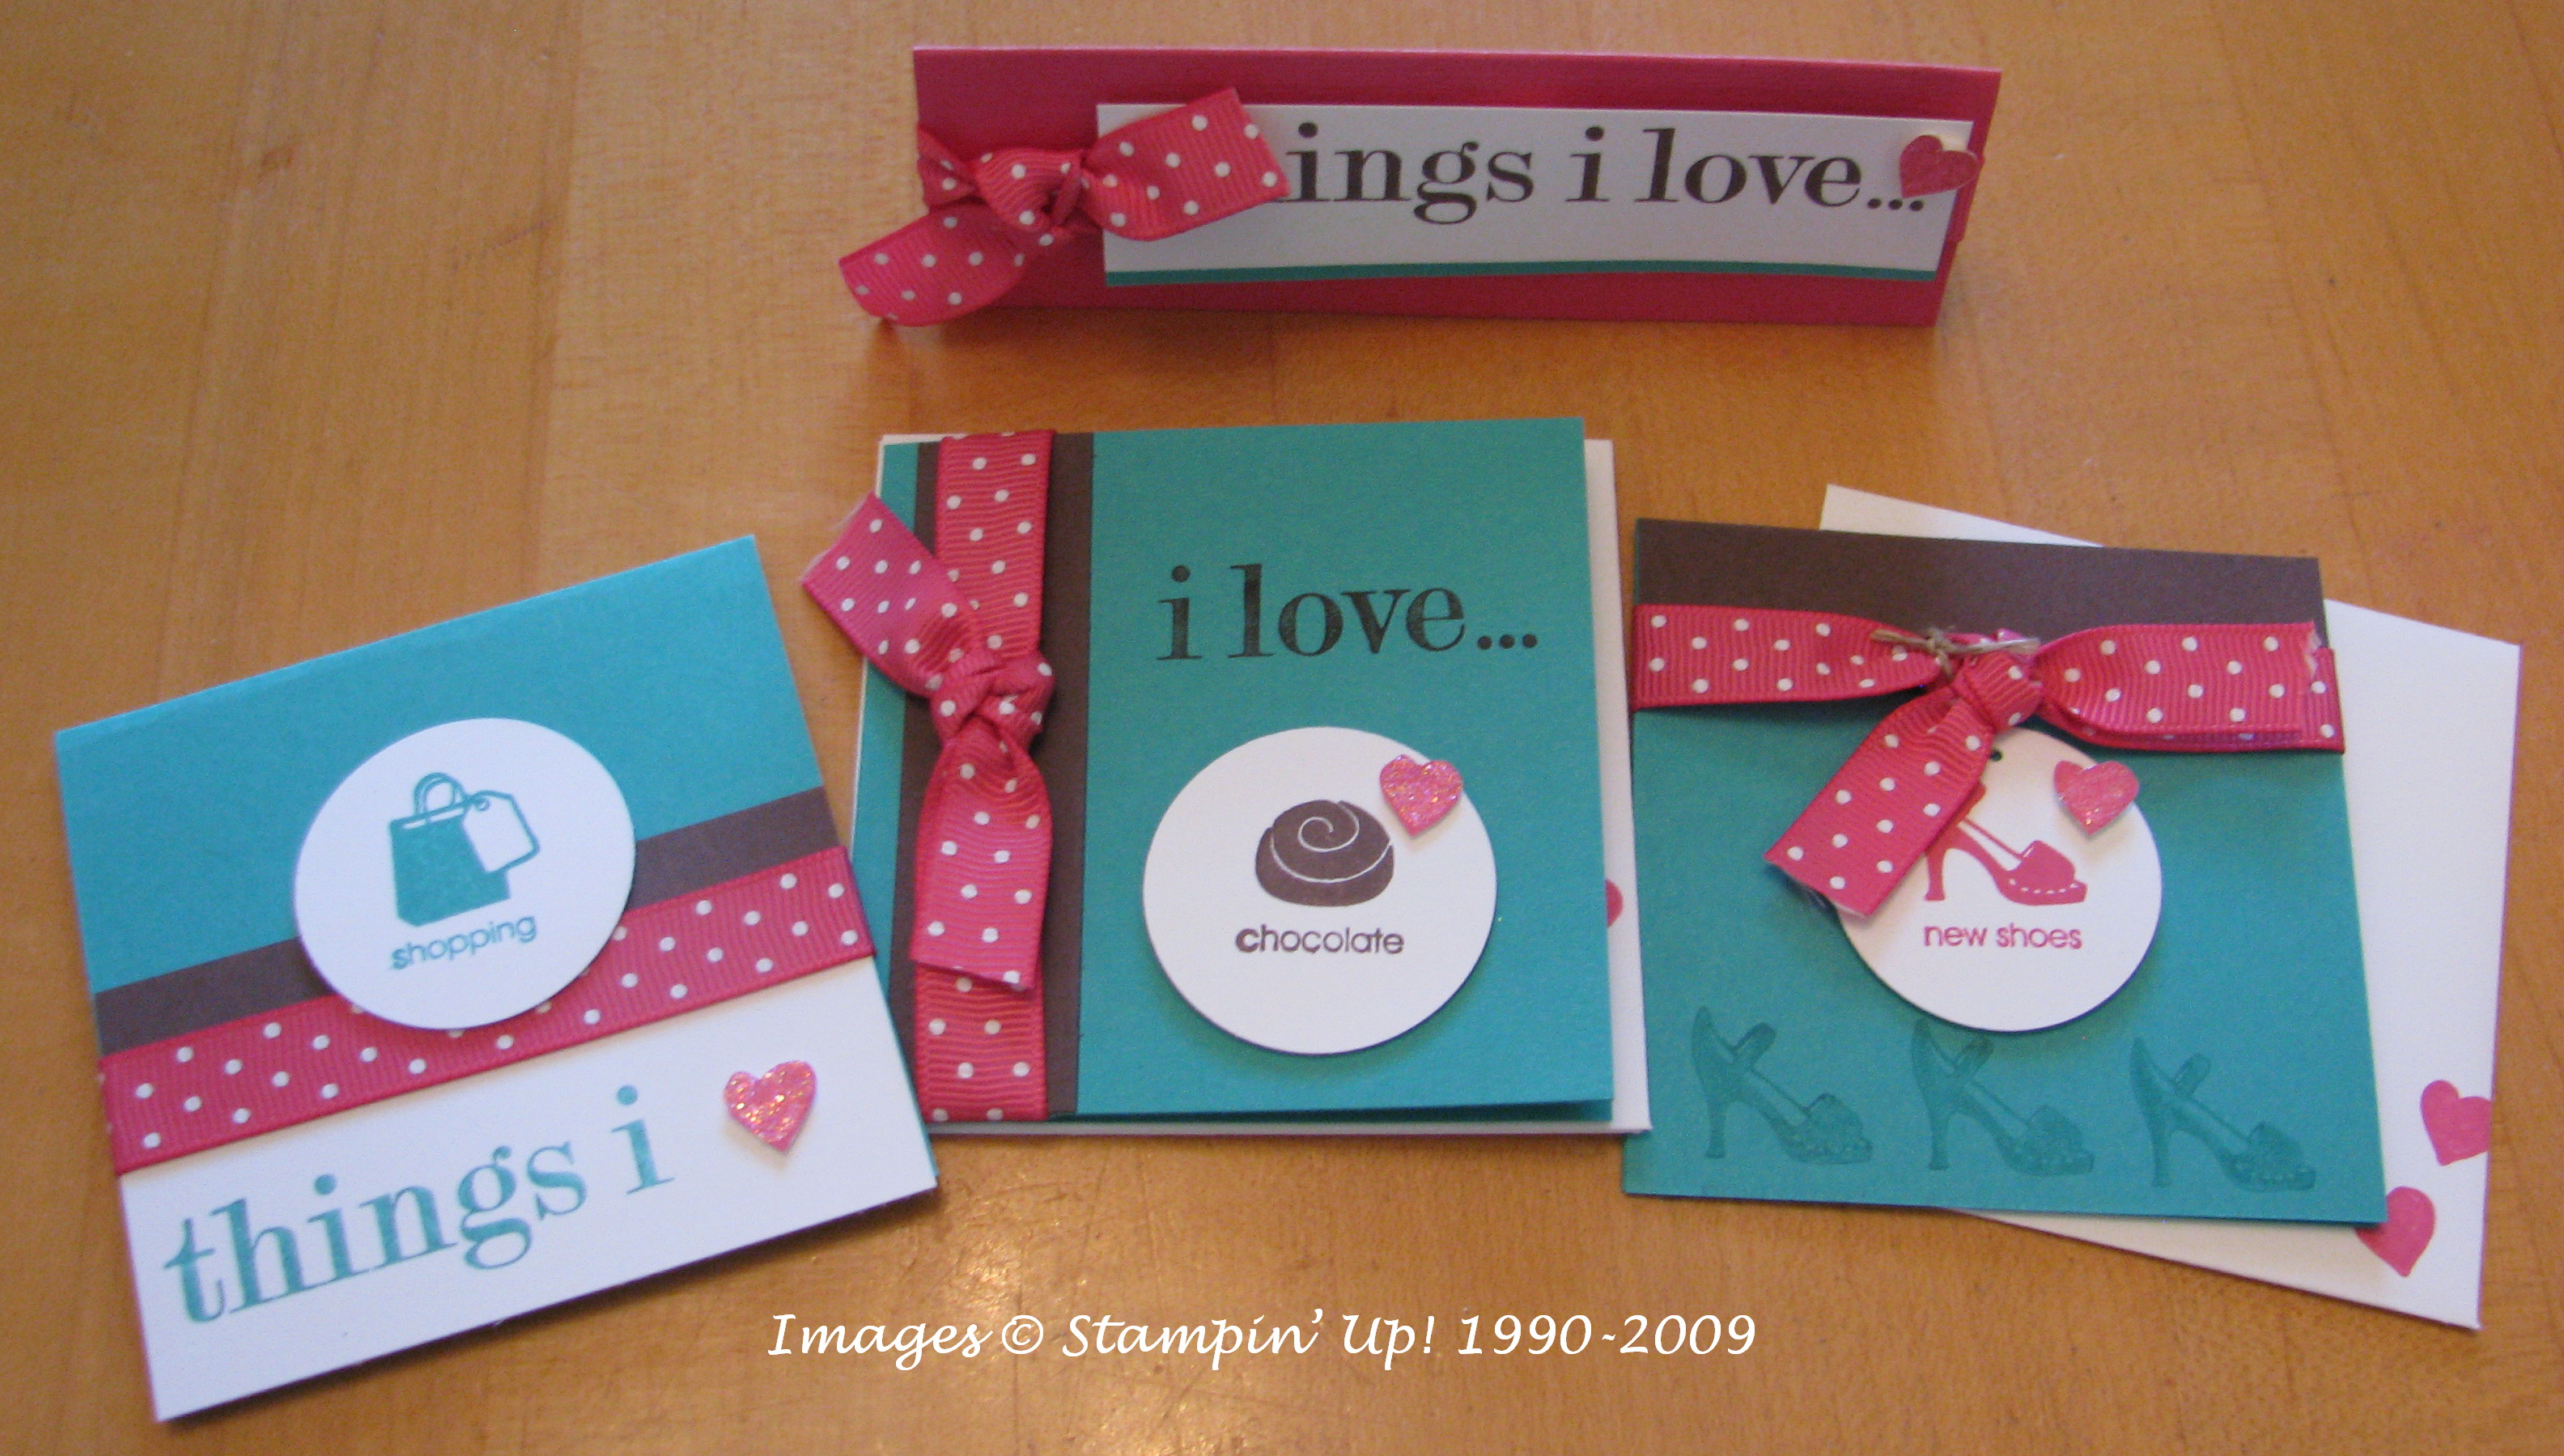
Notes out of the bag.
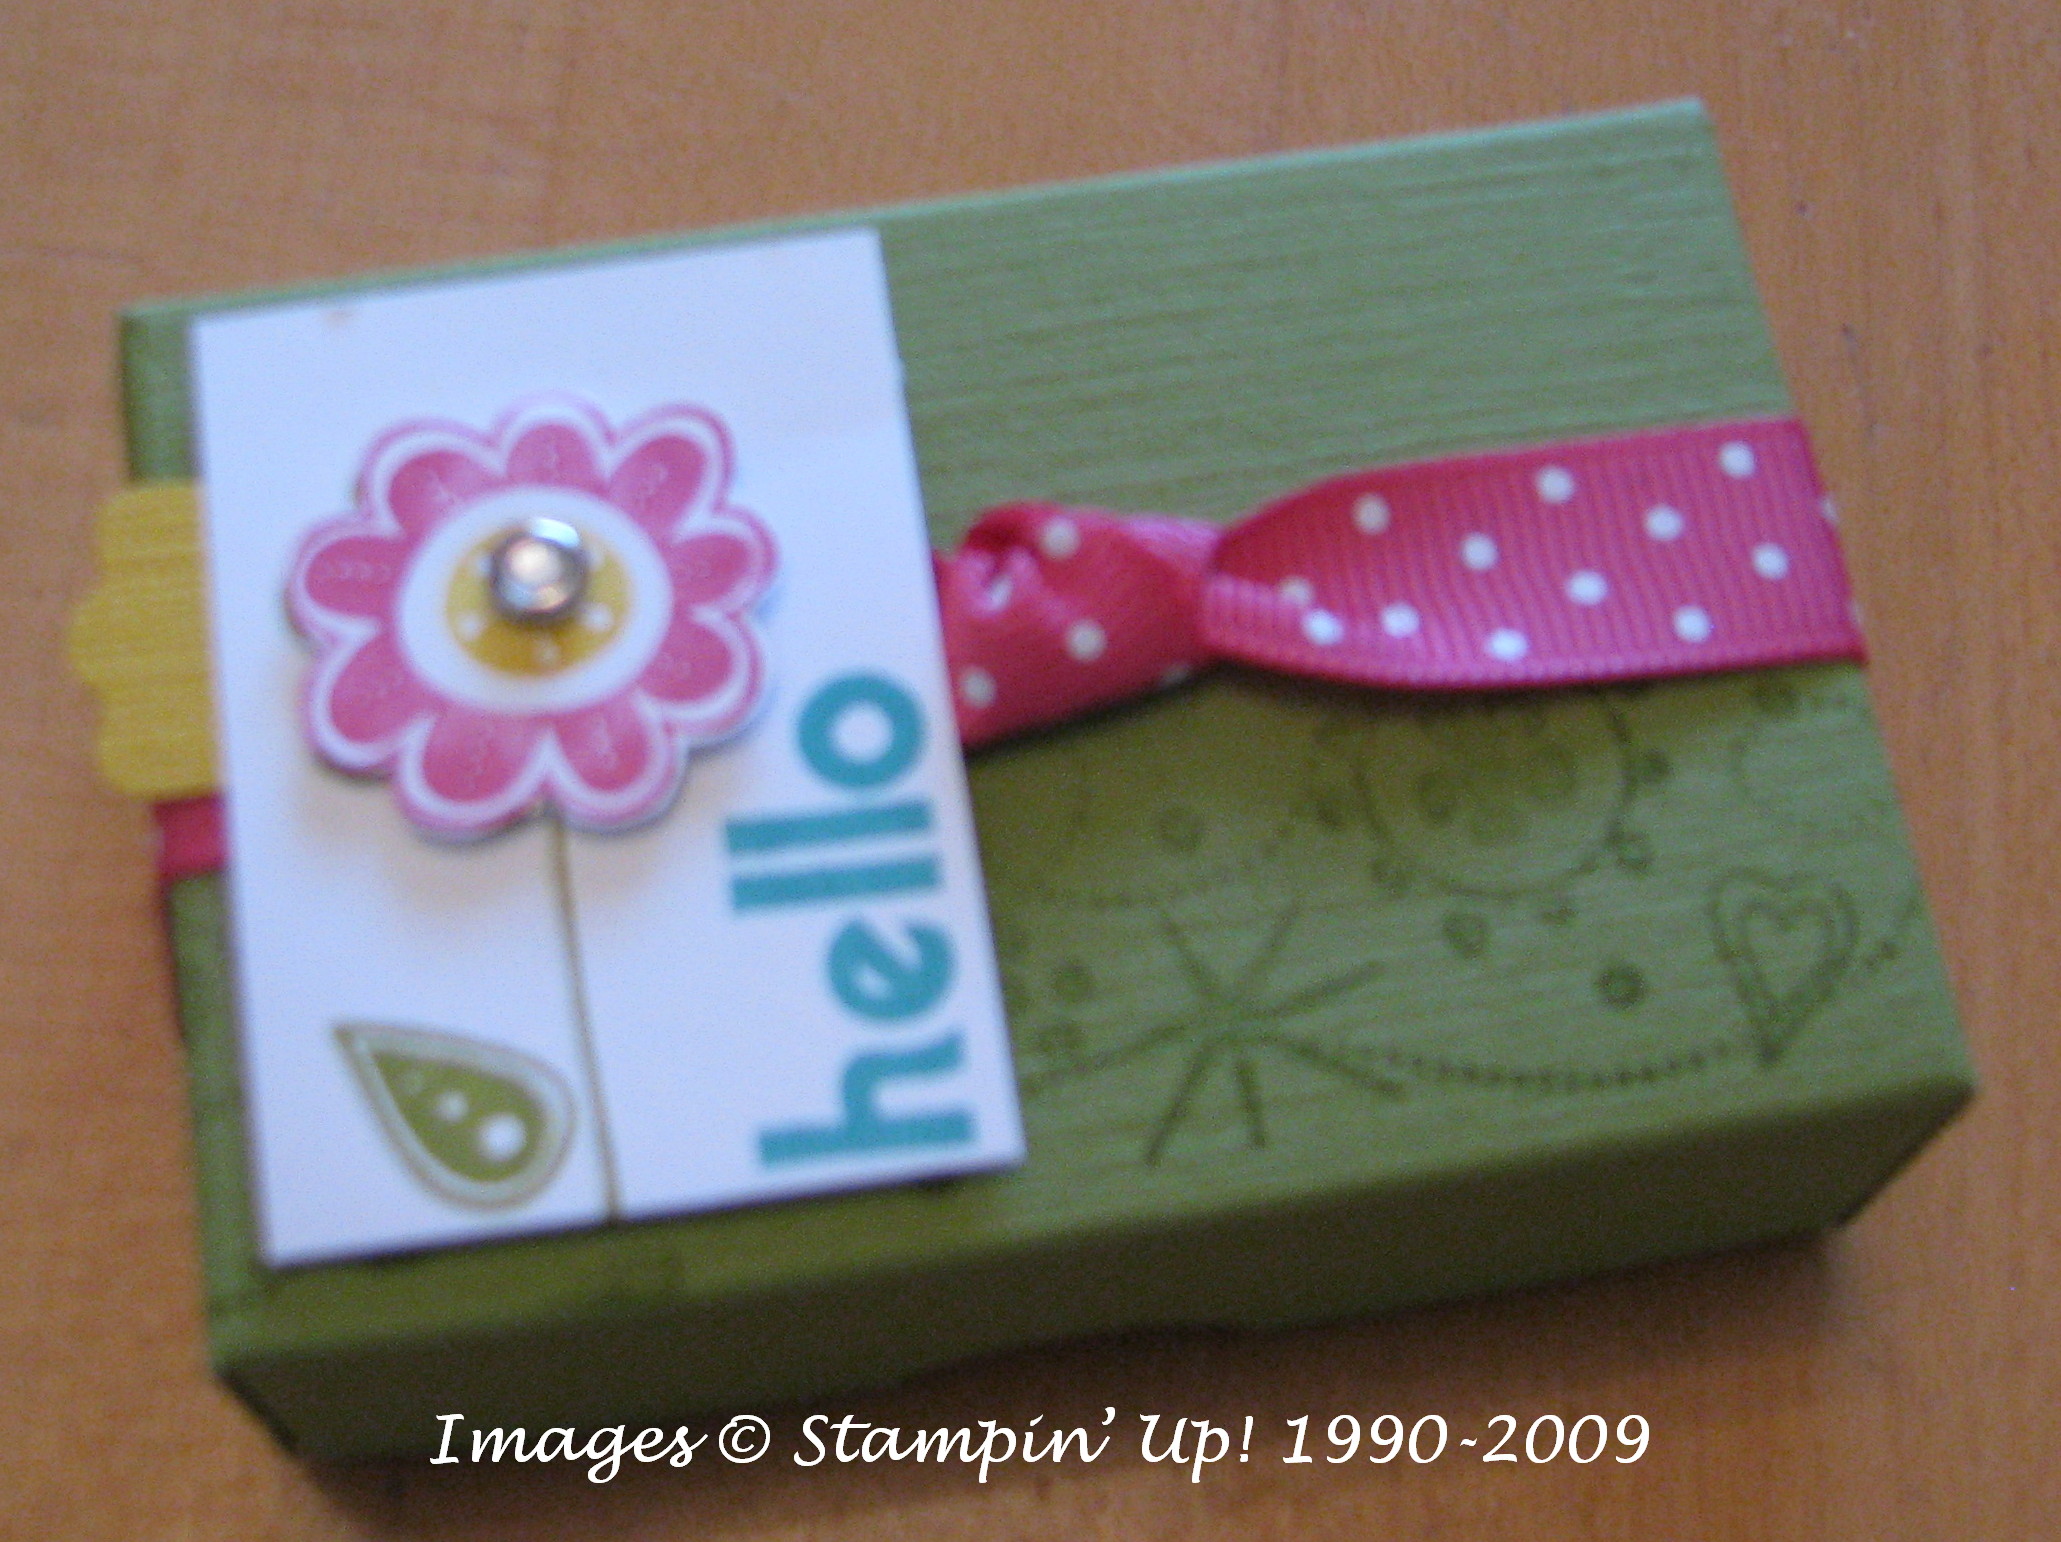
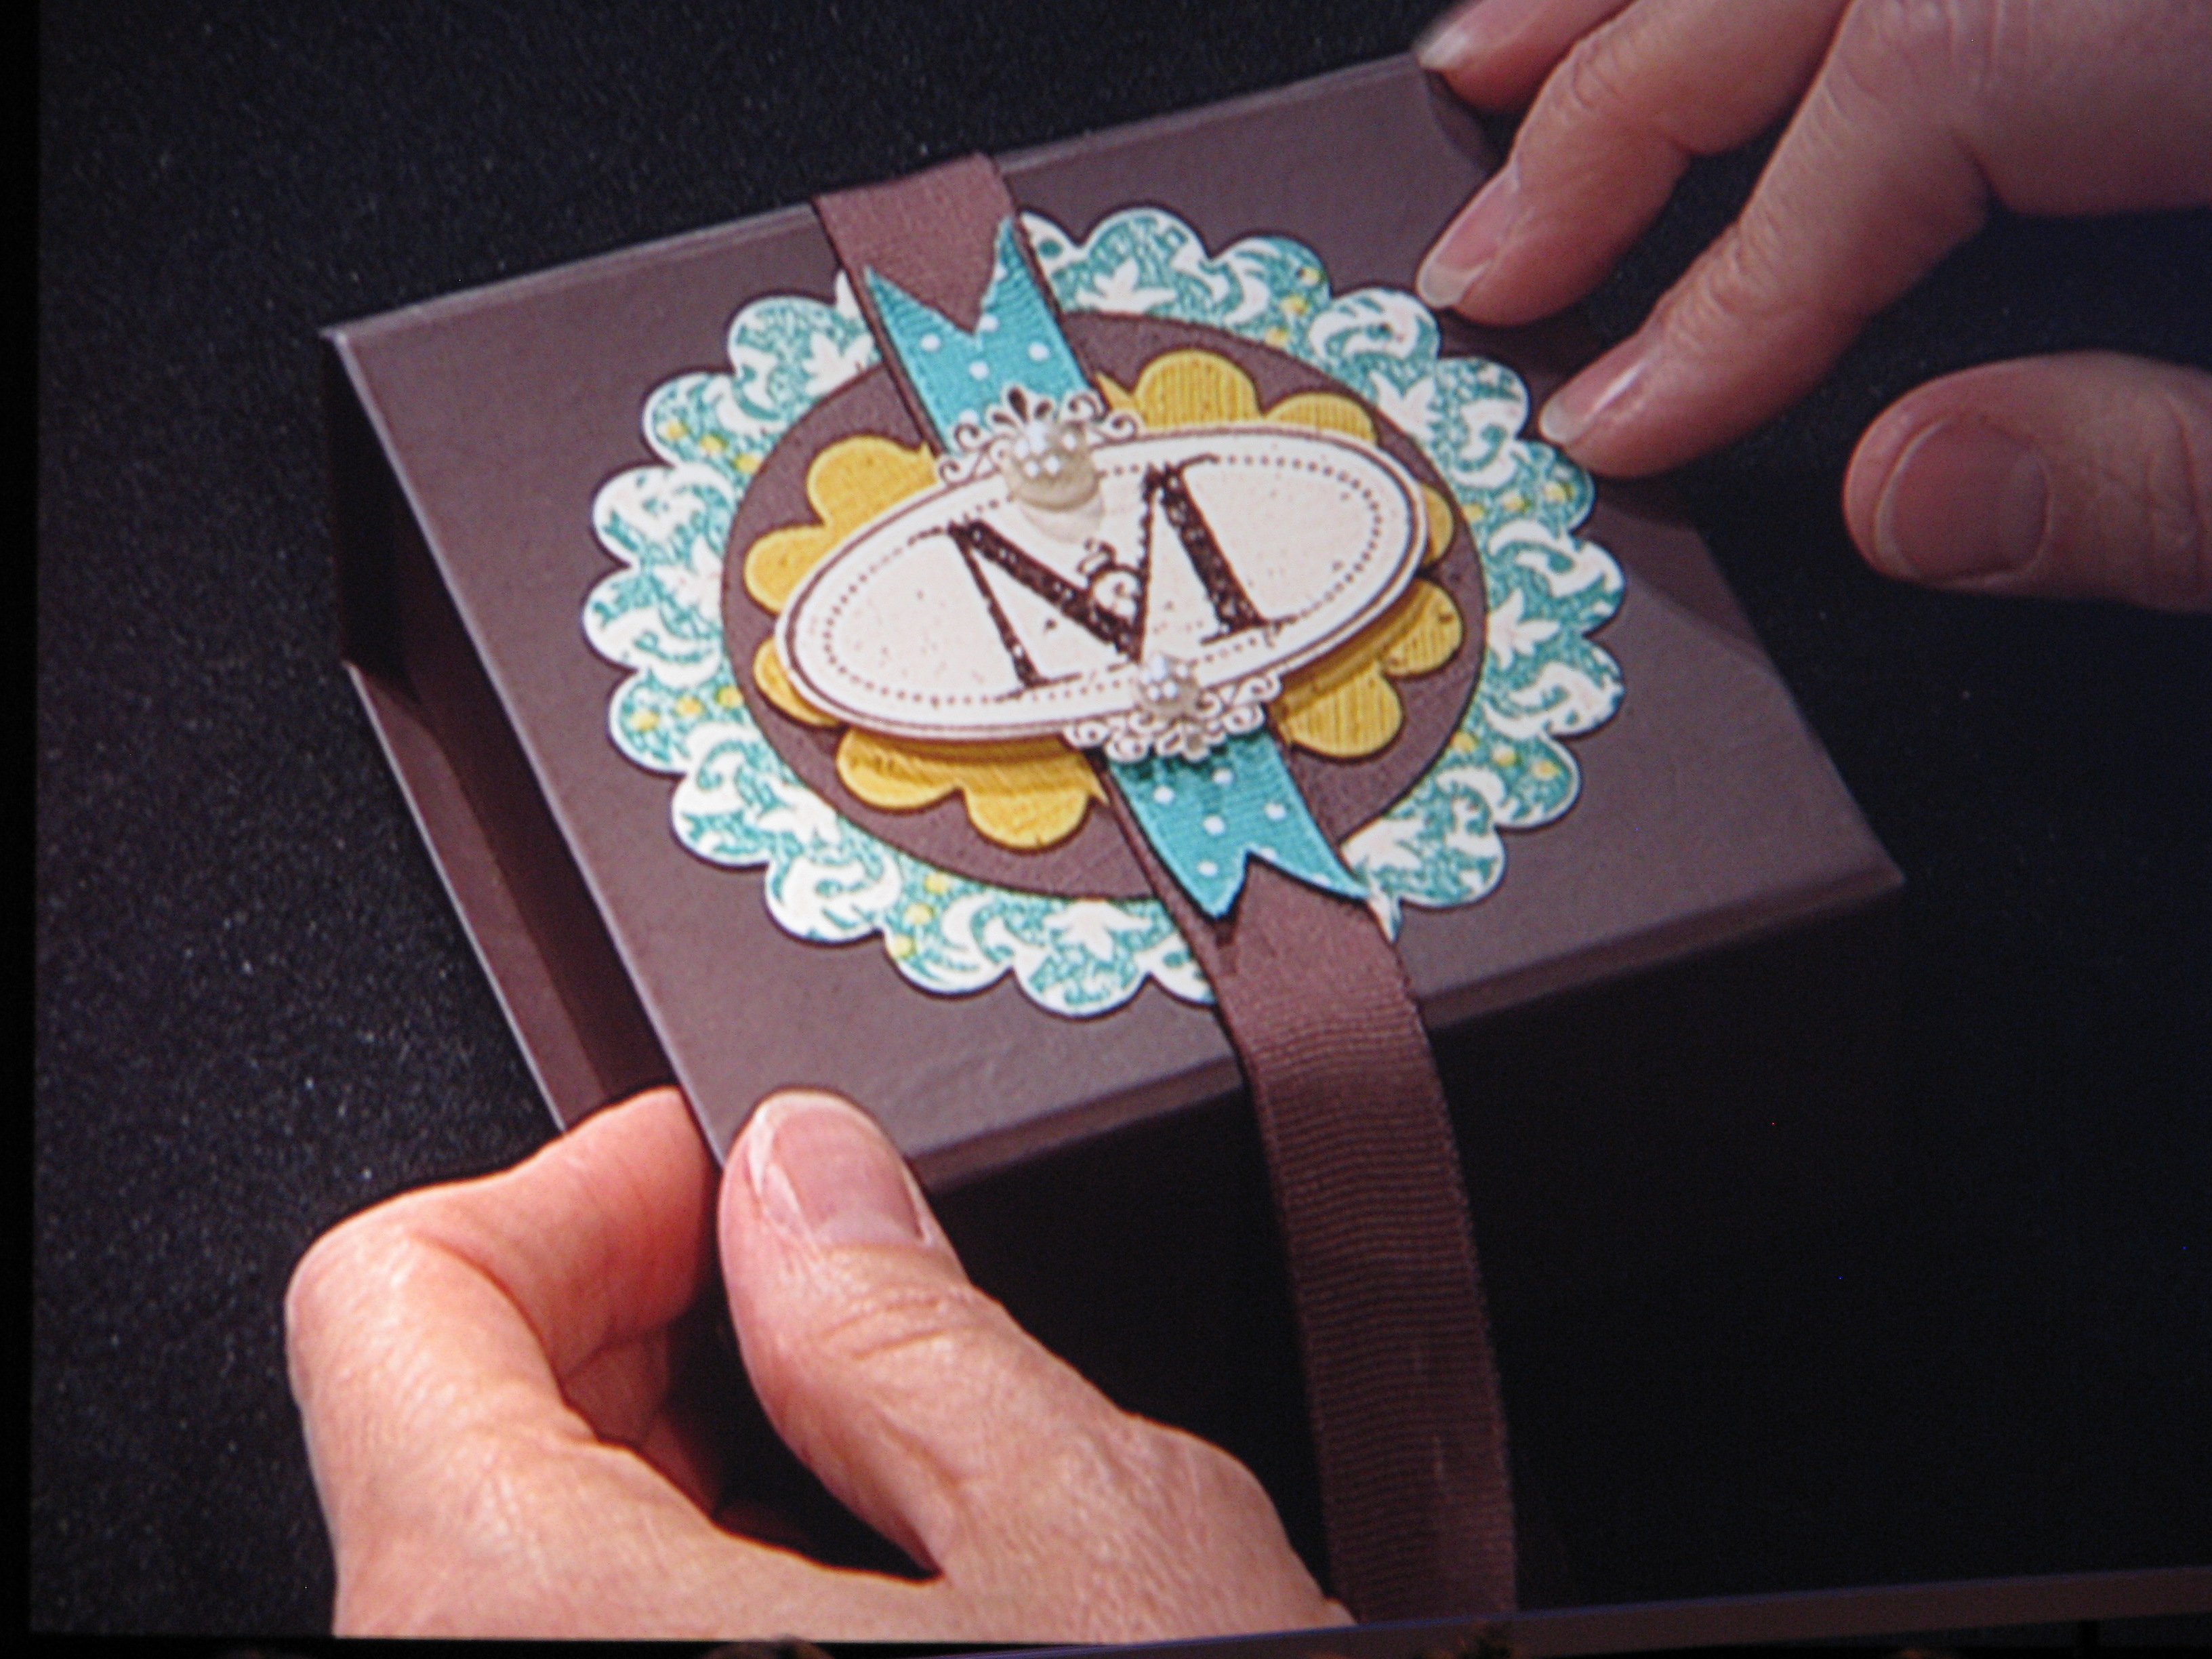
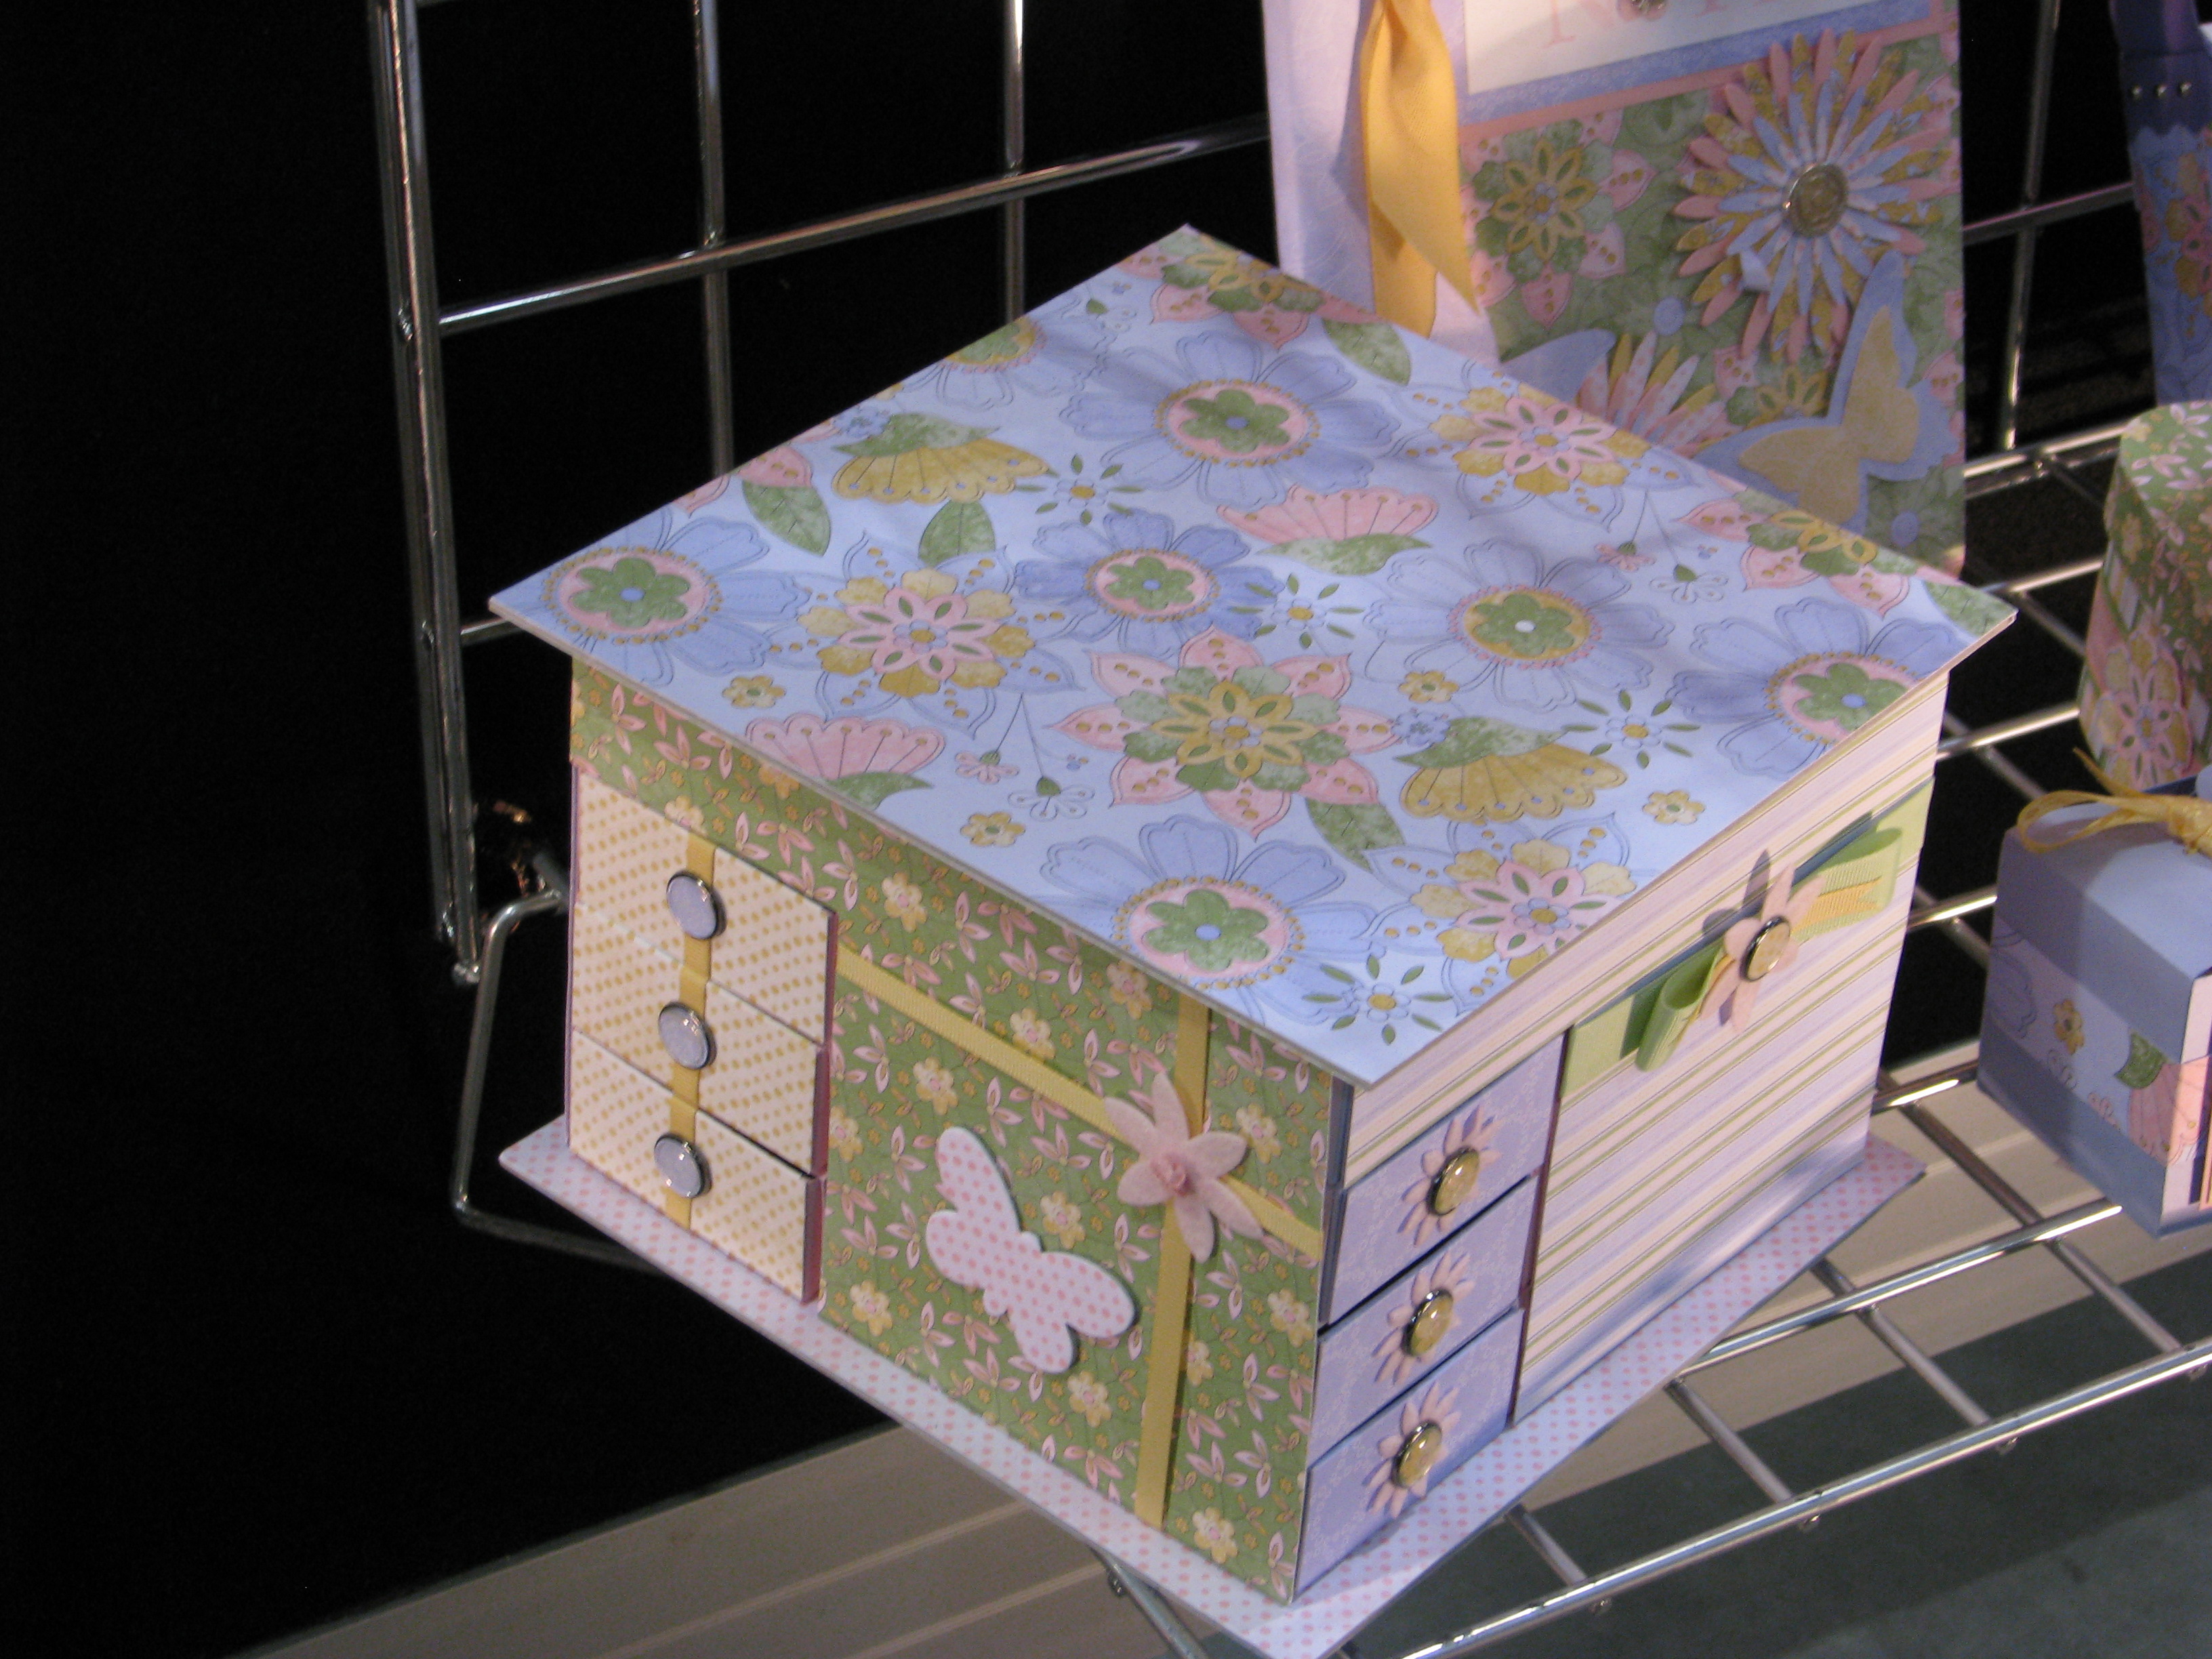
Cute, cute little box! Just two scored pieces of cardstock, glue one flap onto the bottom so it opens.
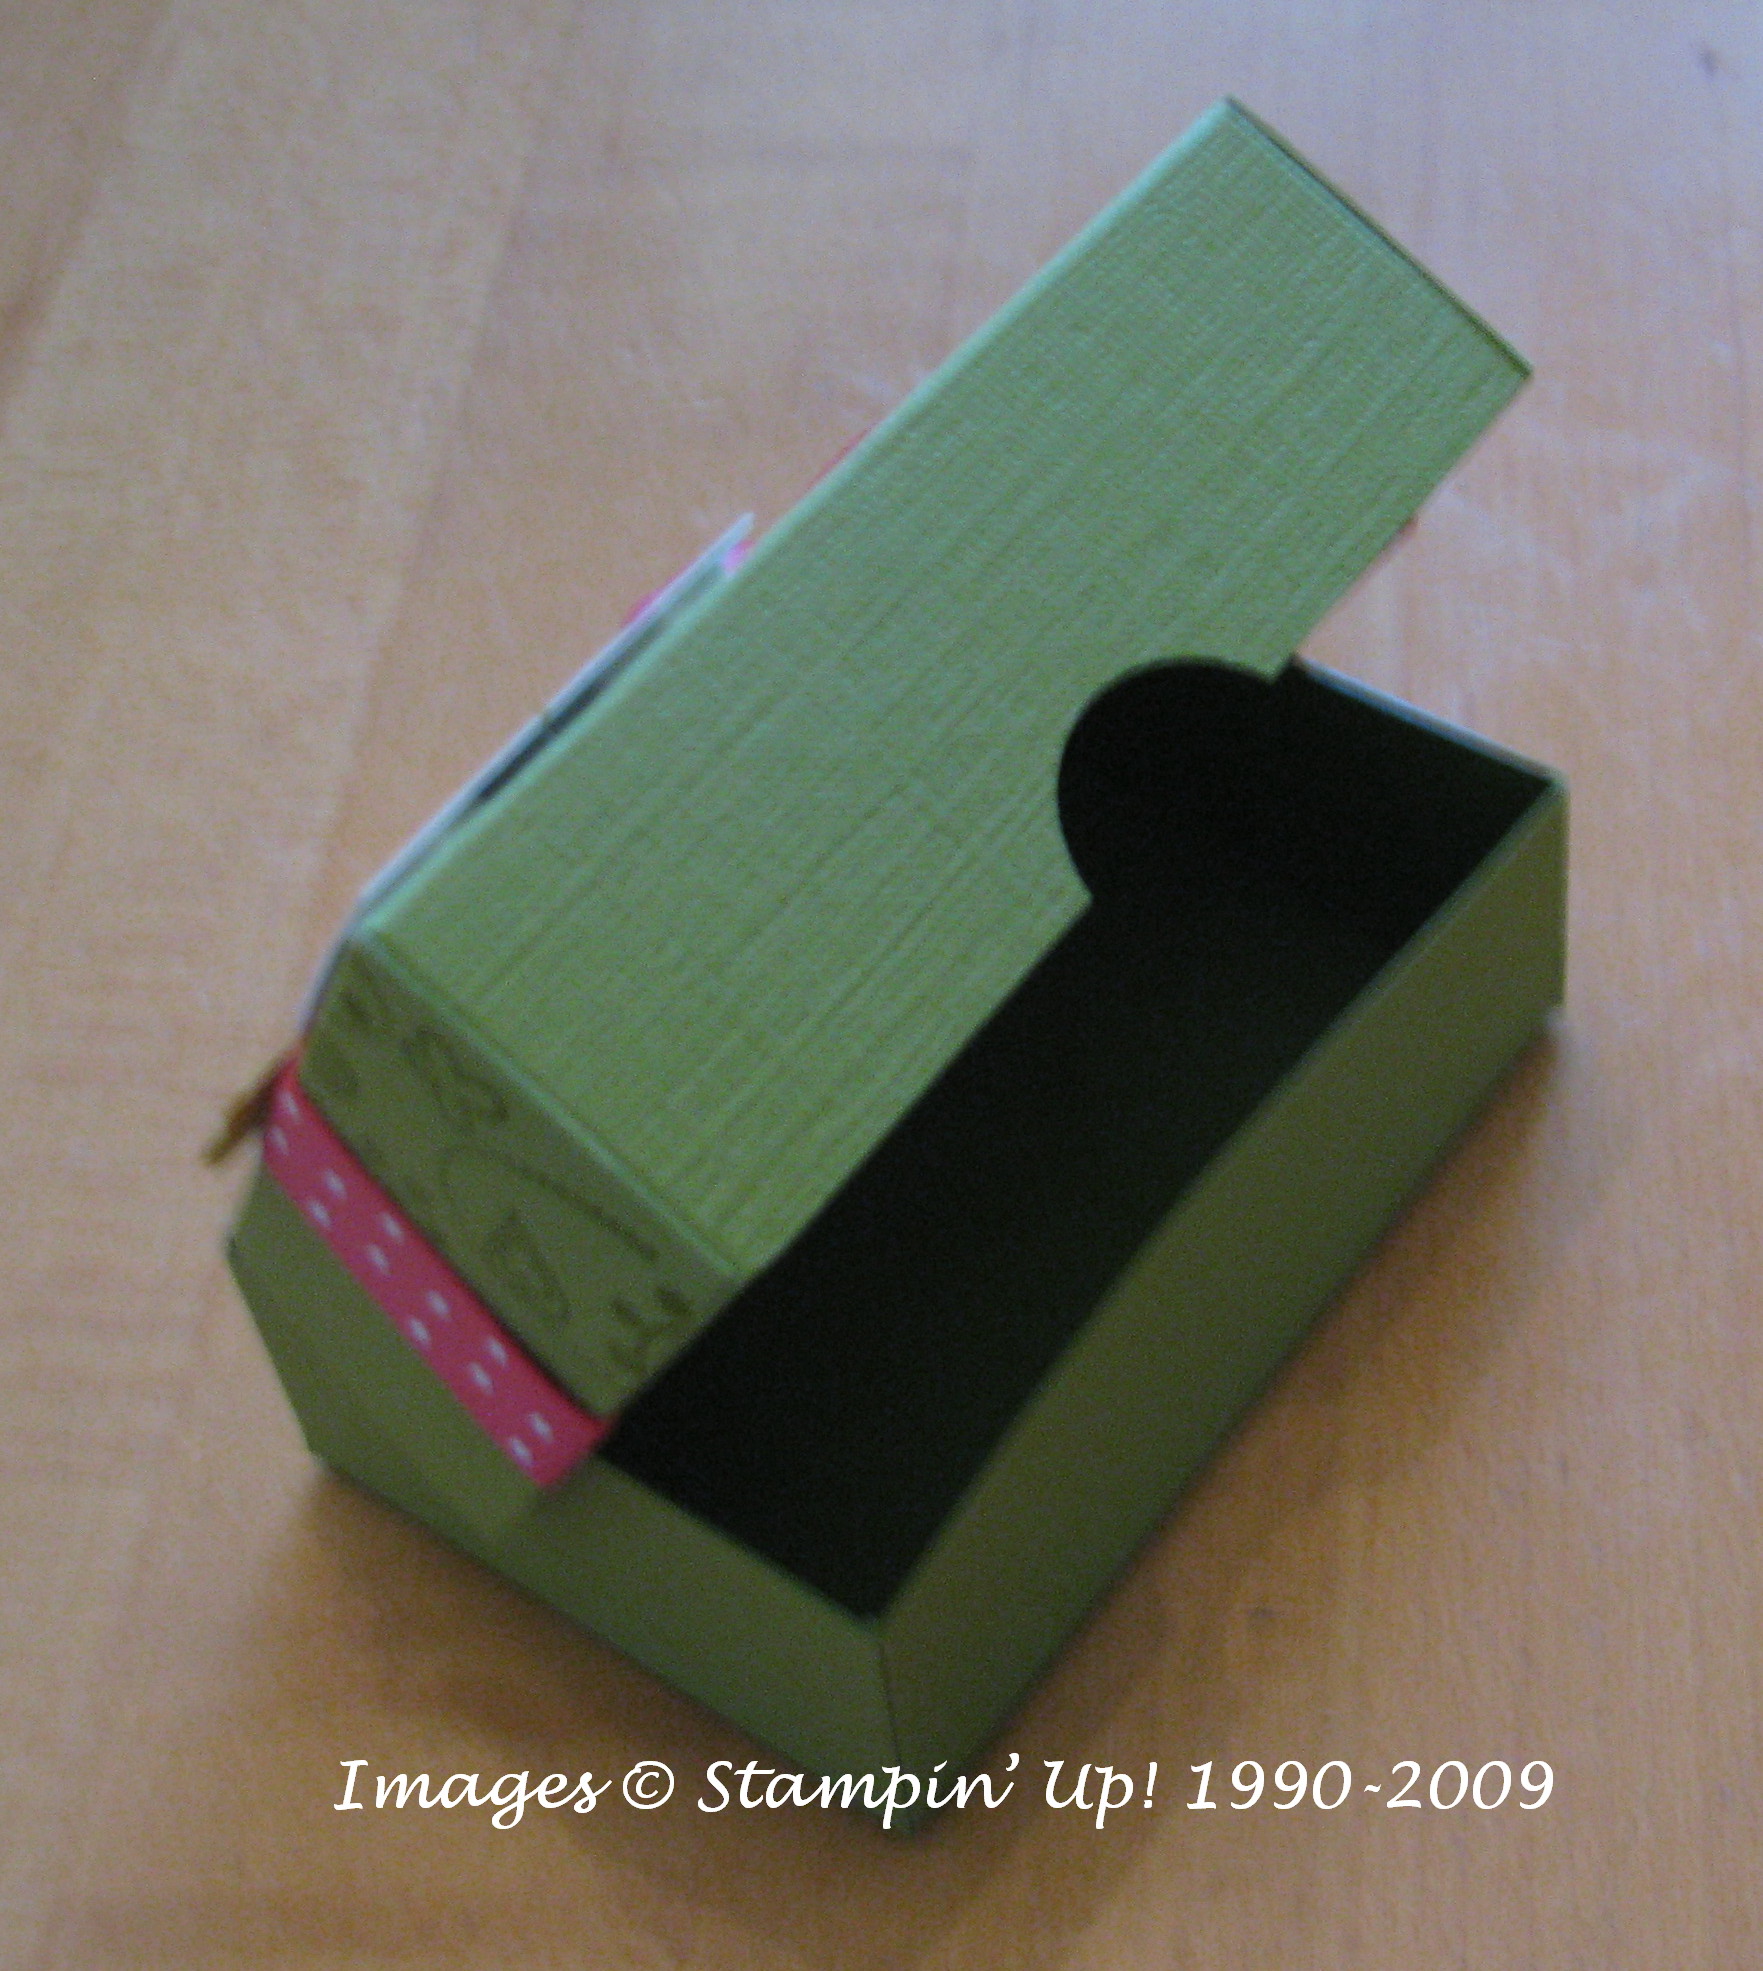
The box opened. The back flap of the top is glued to the bottom left side.
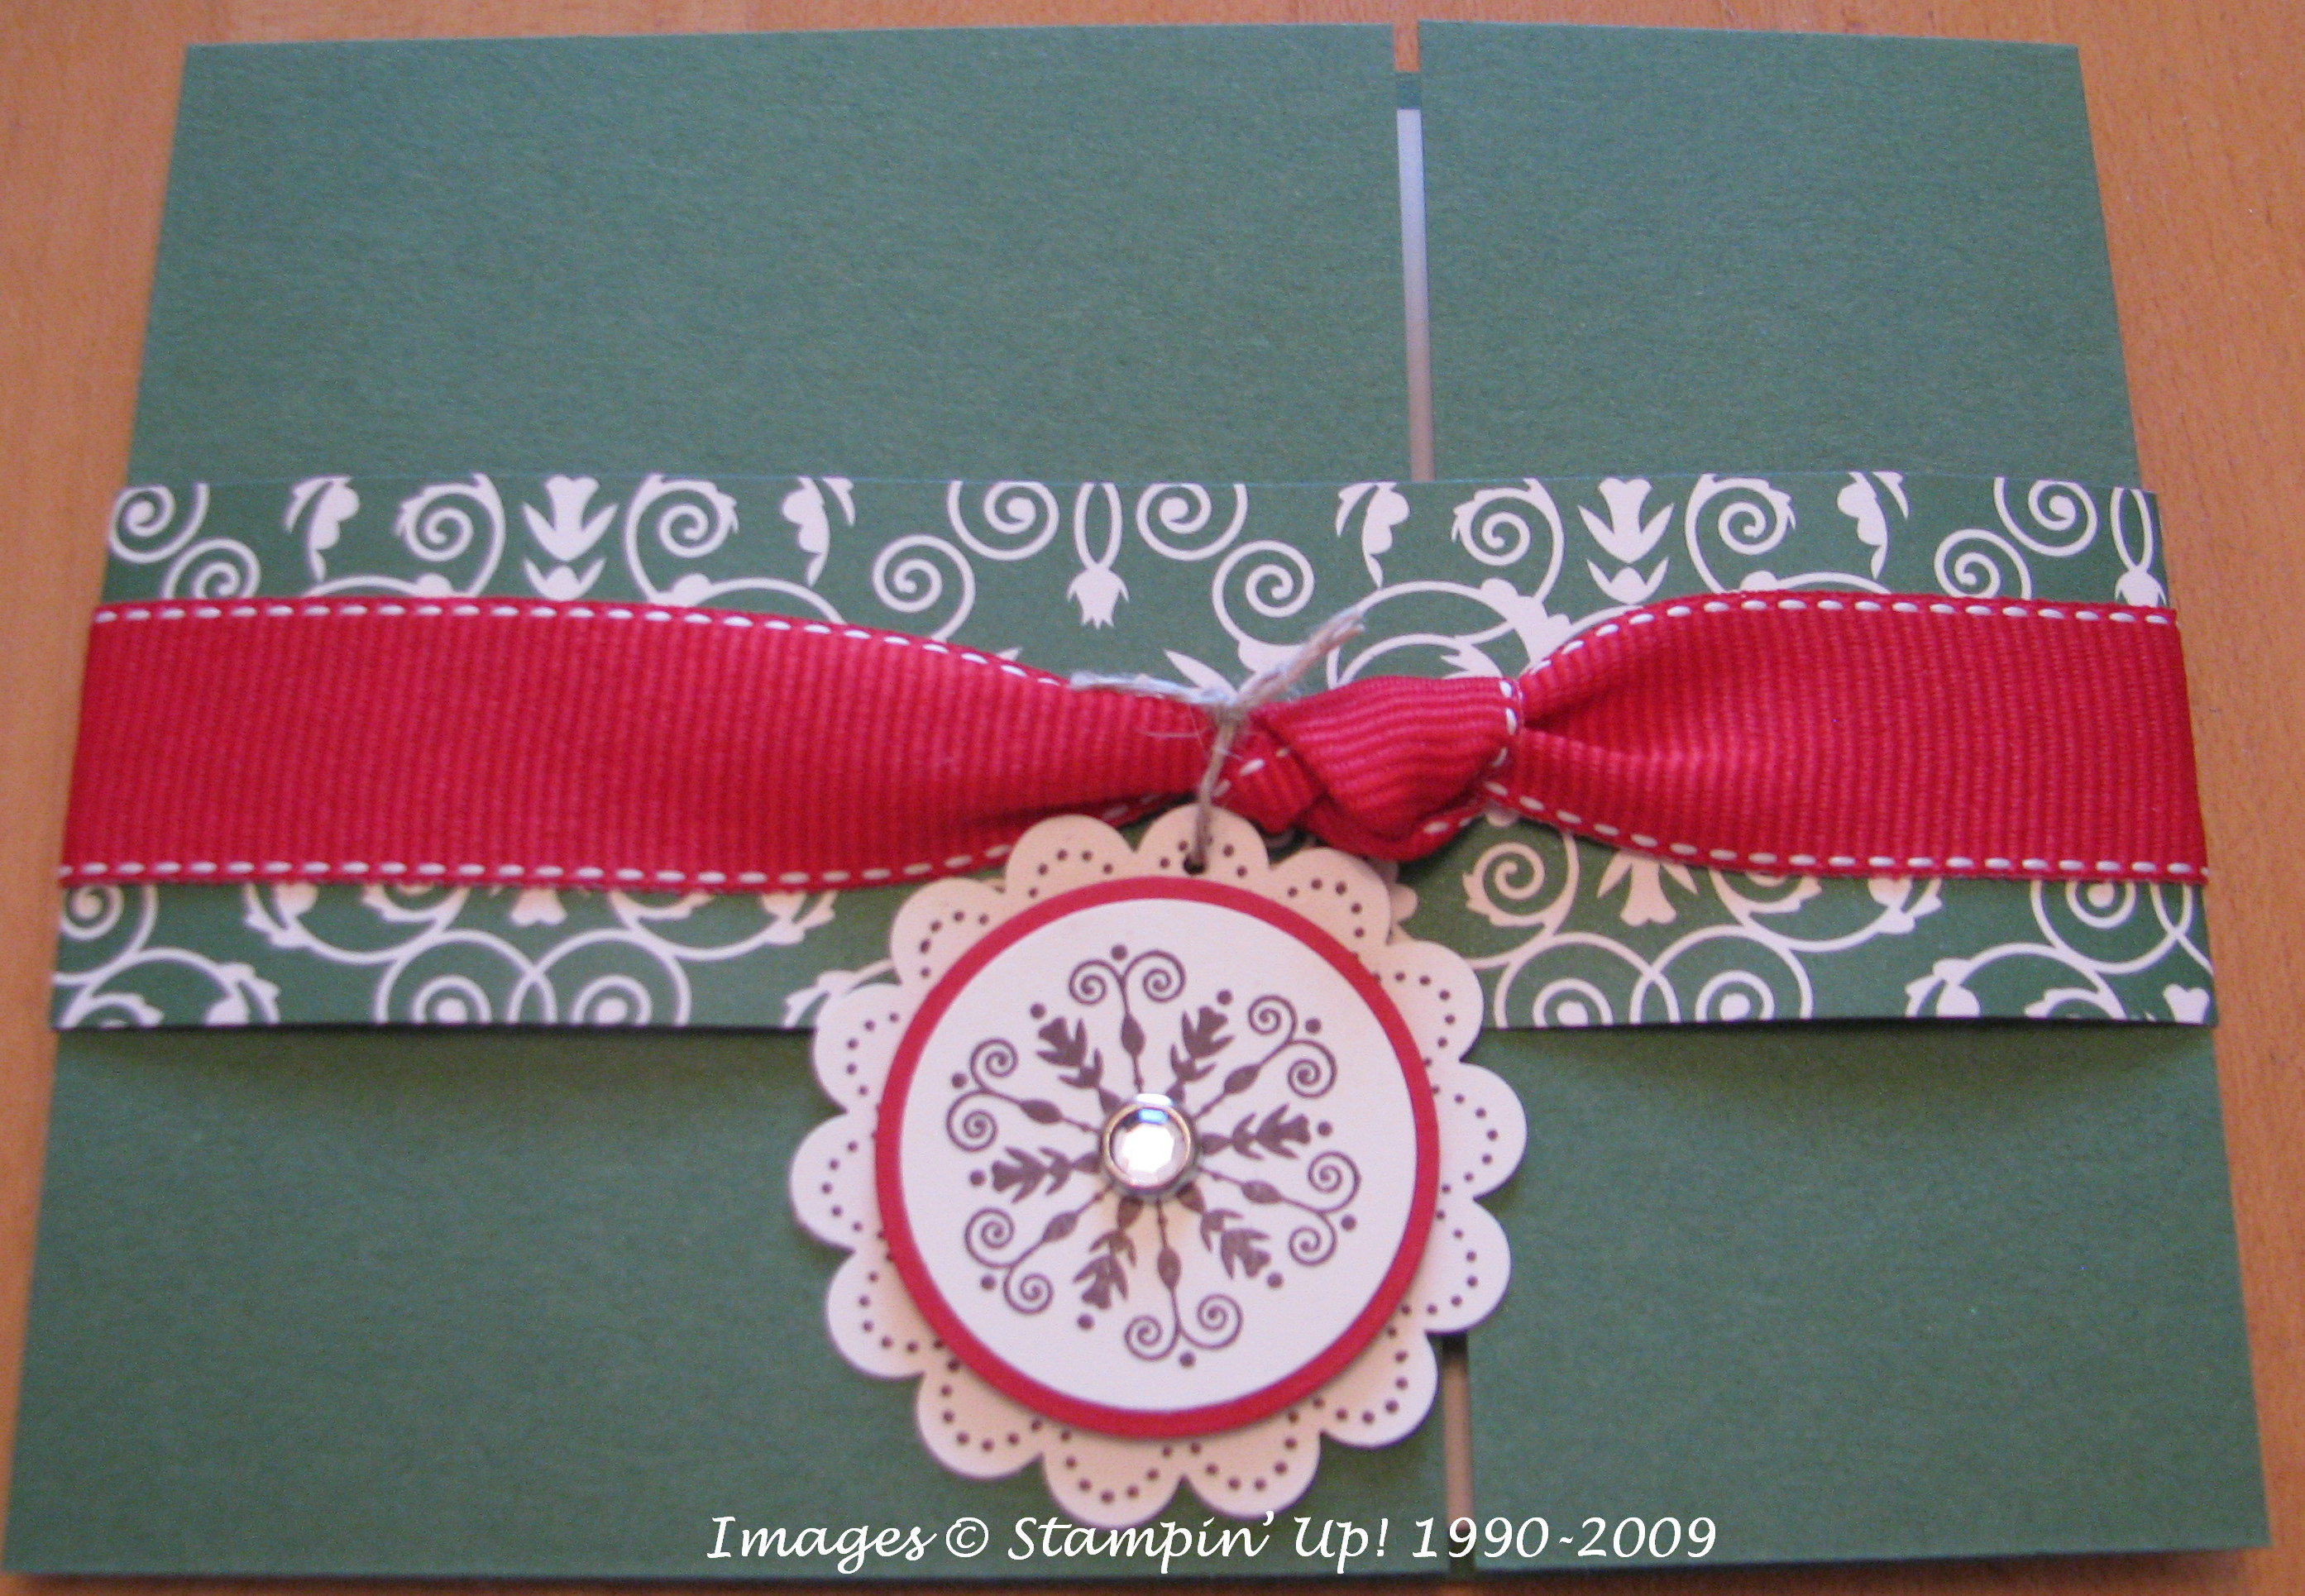
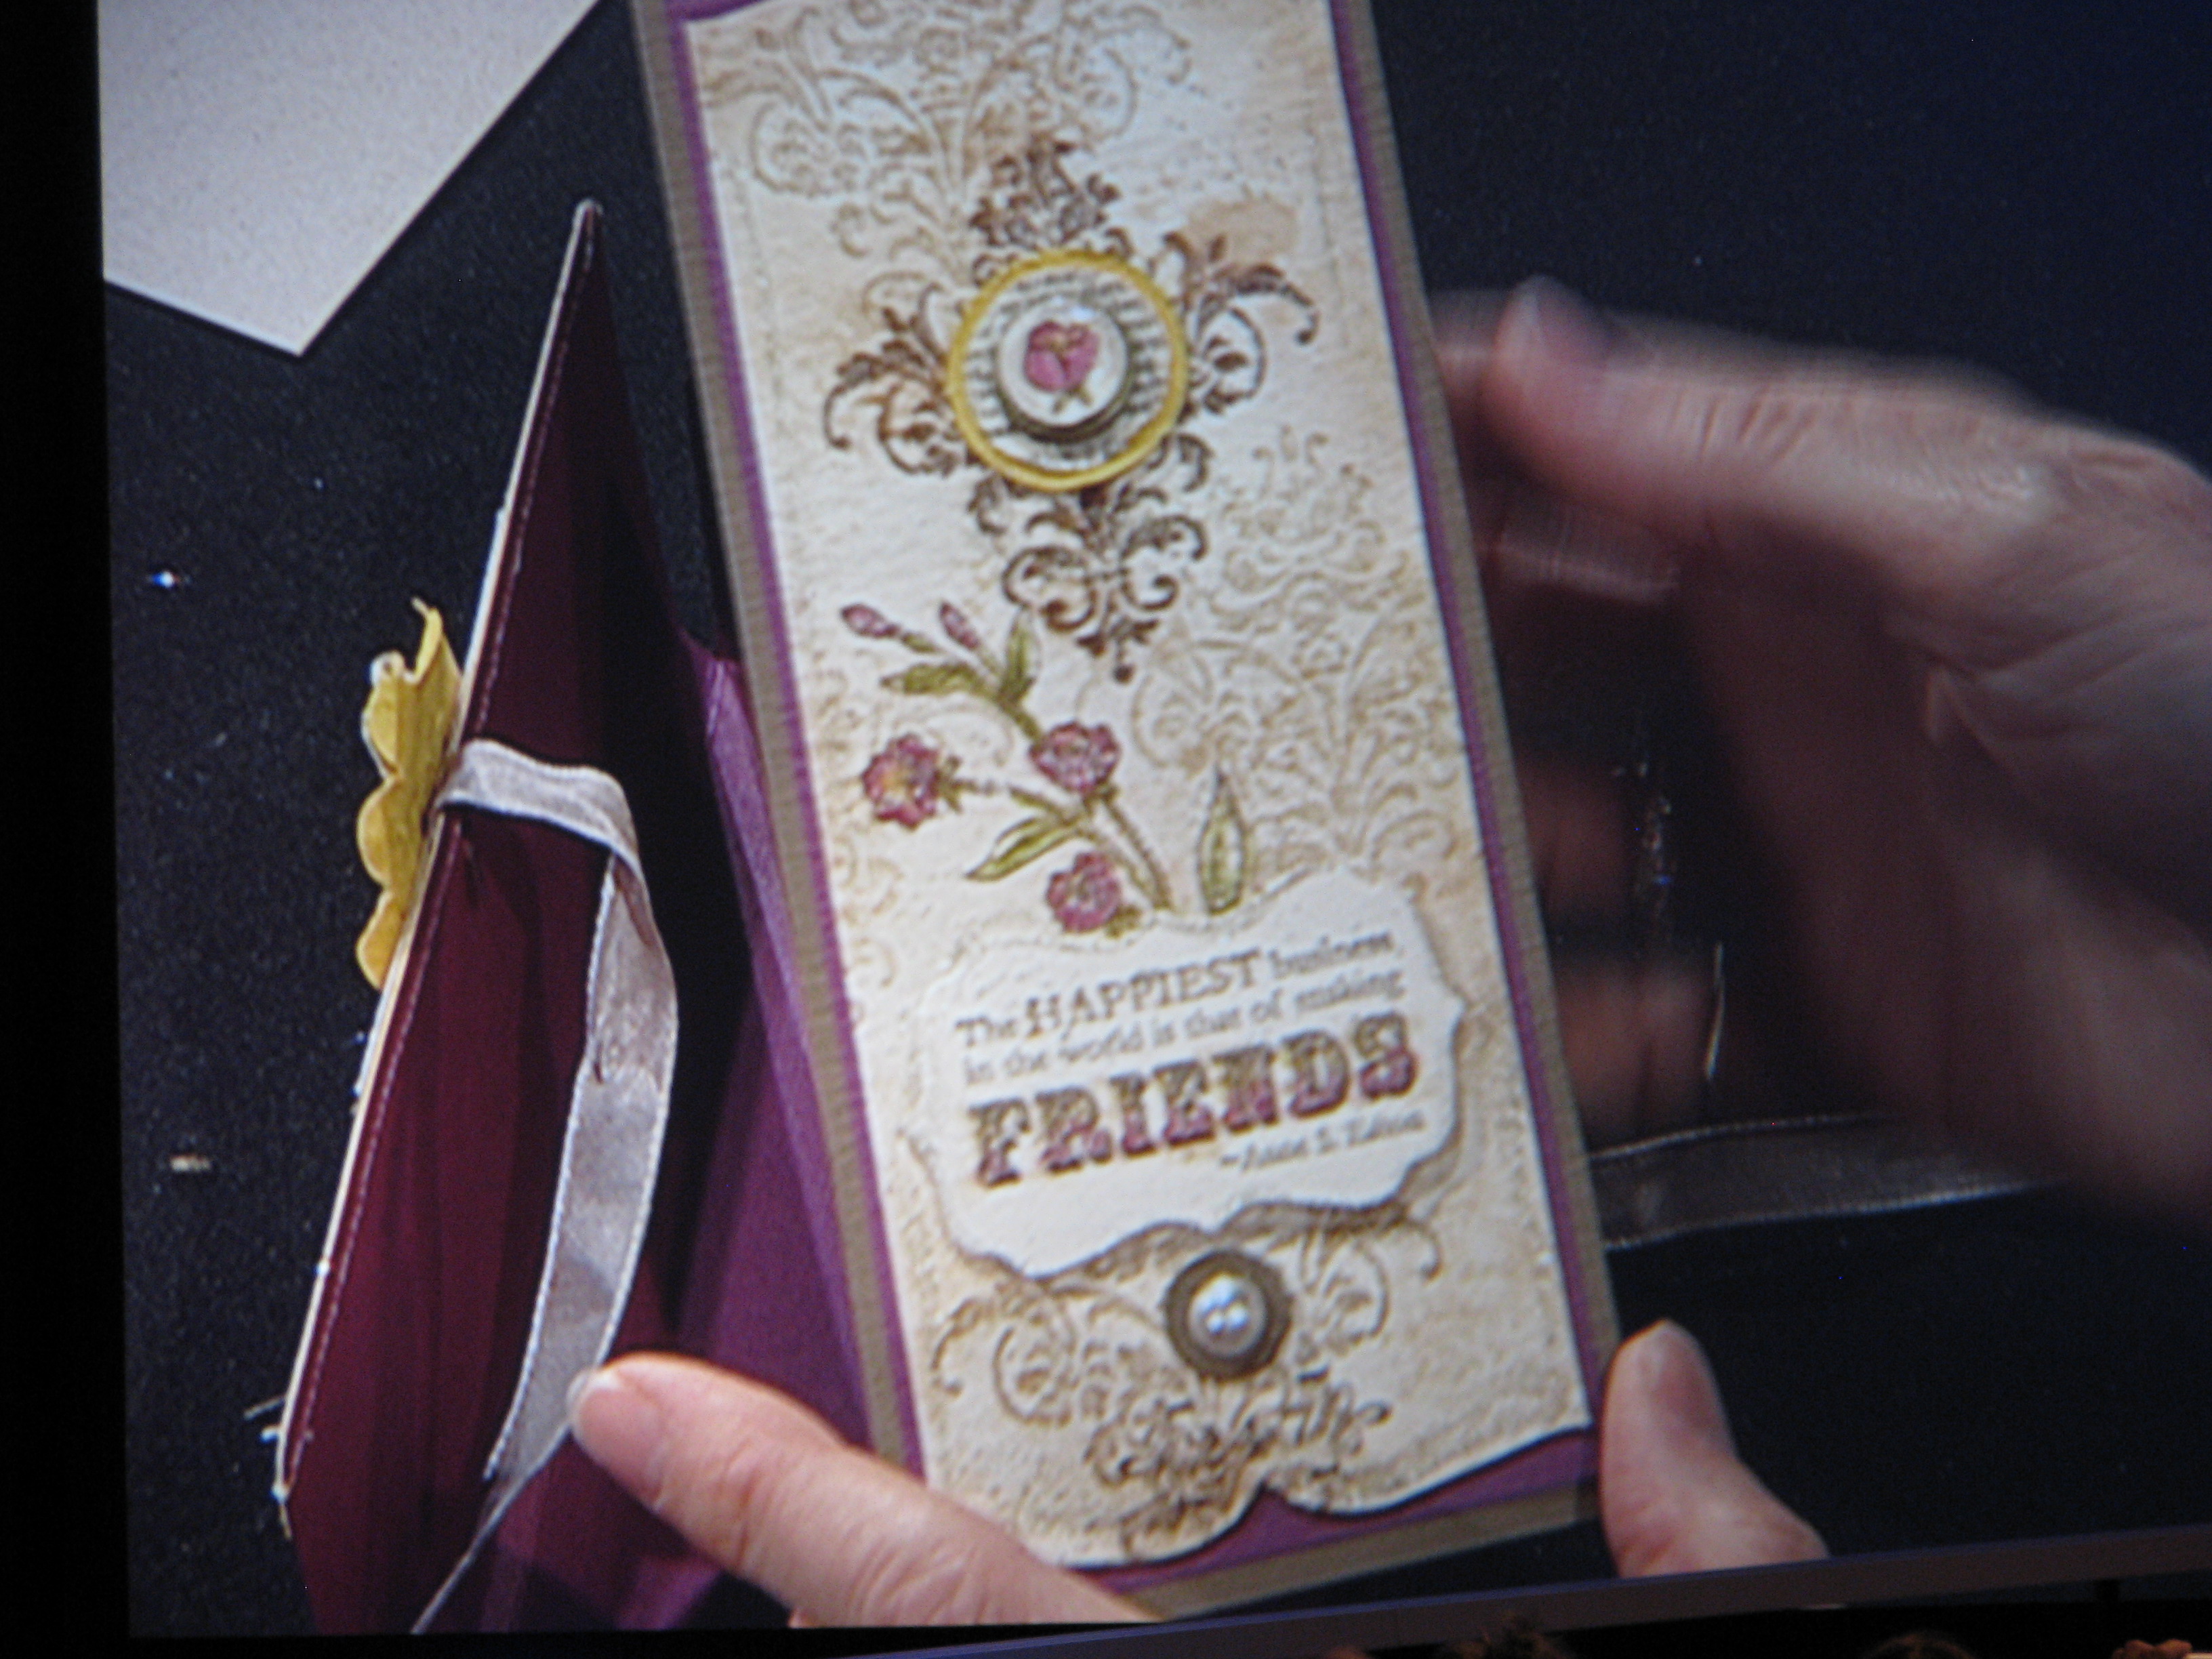
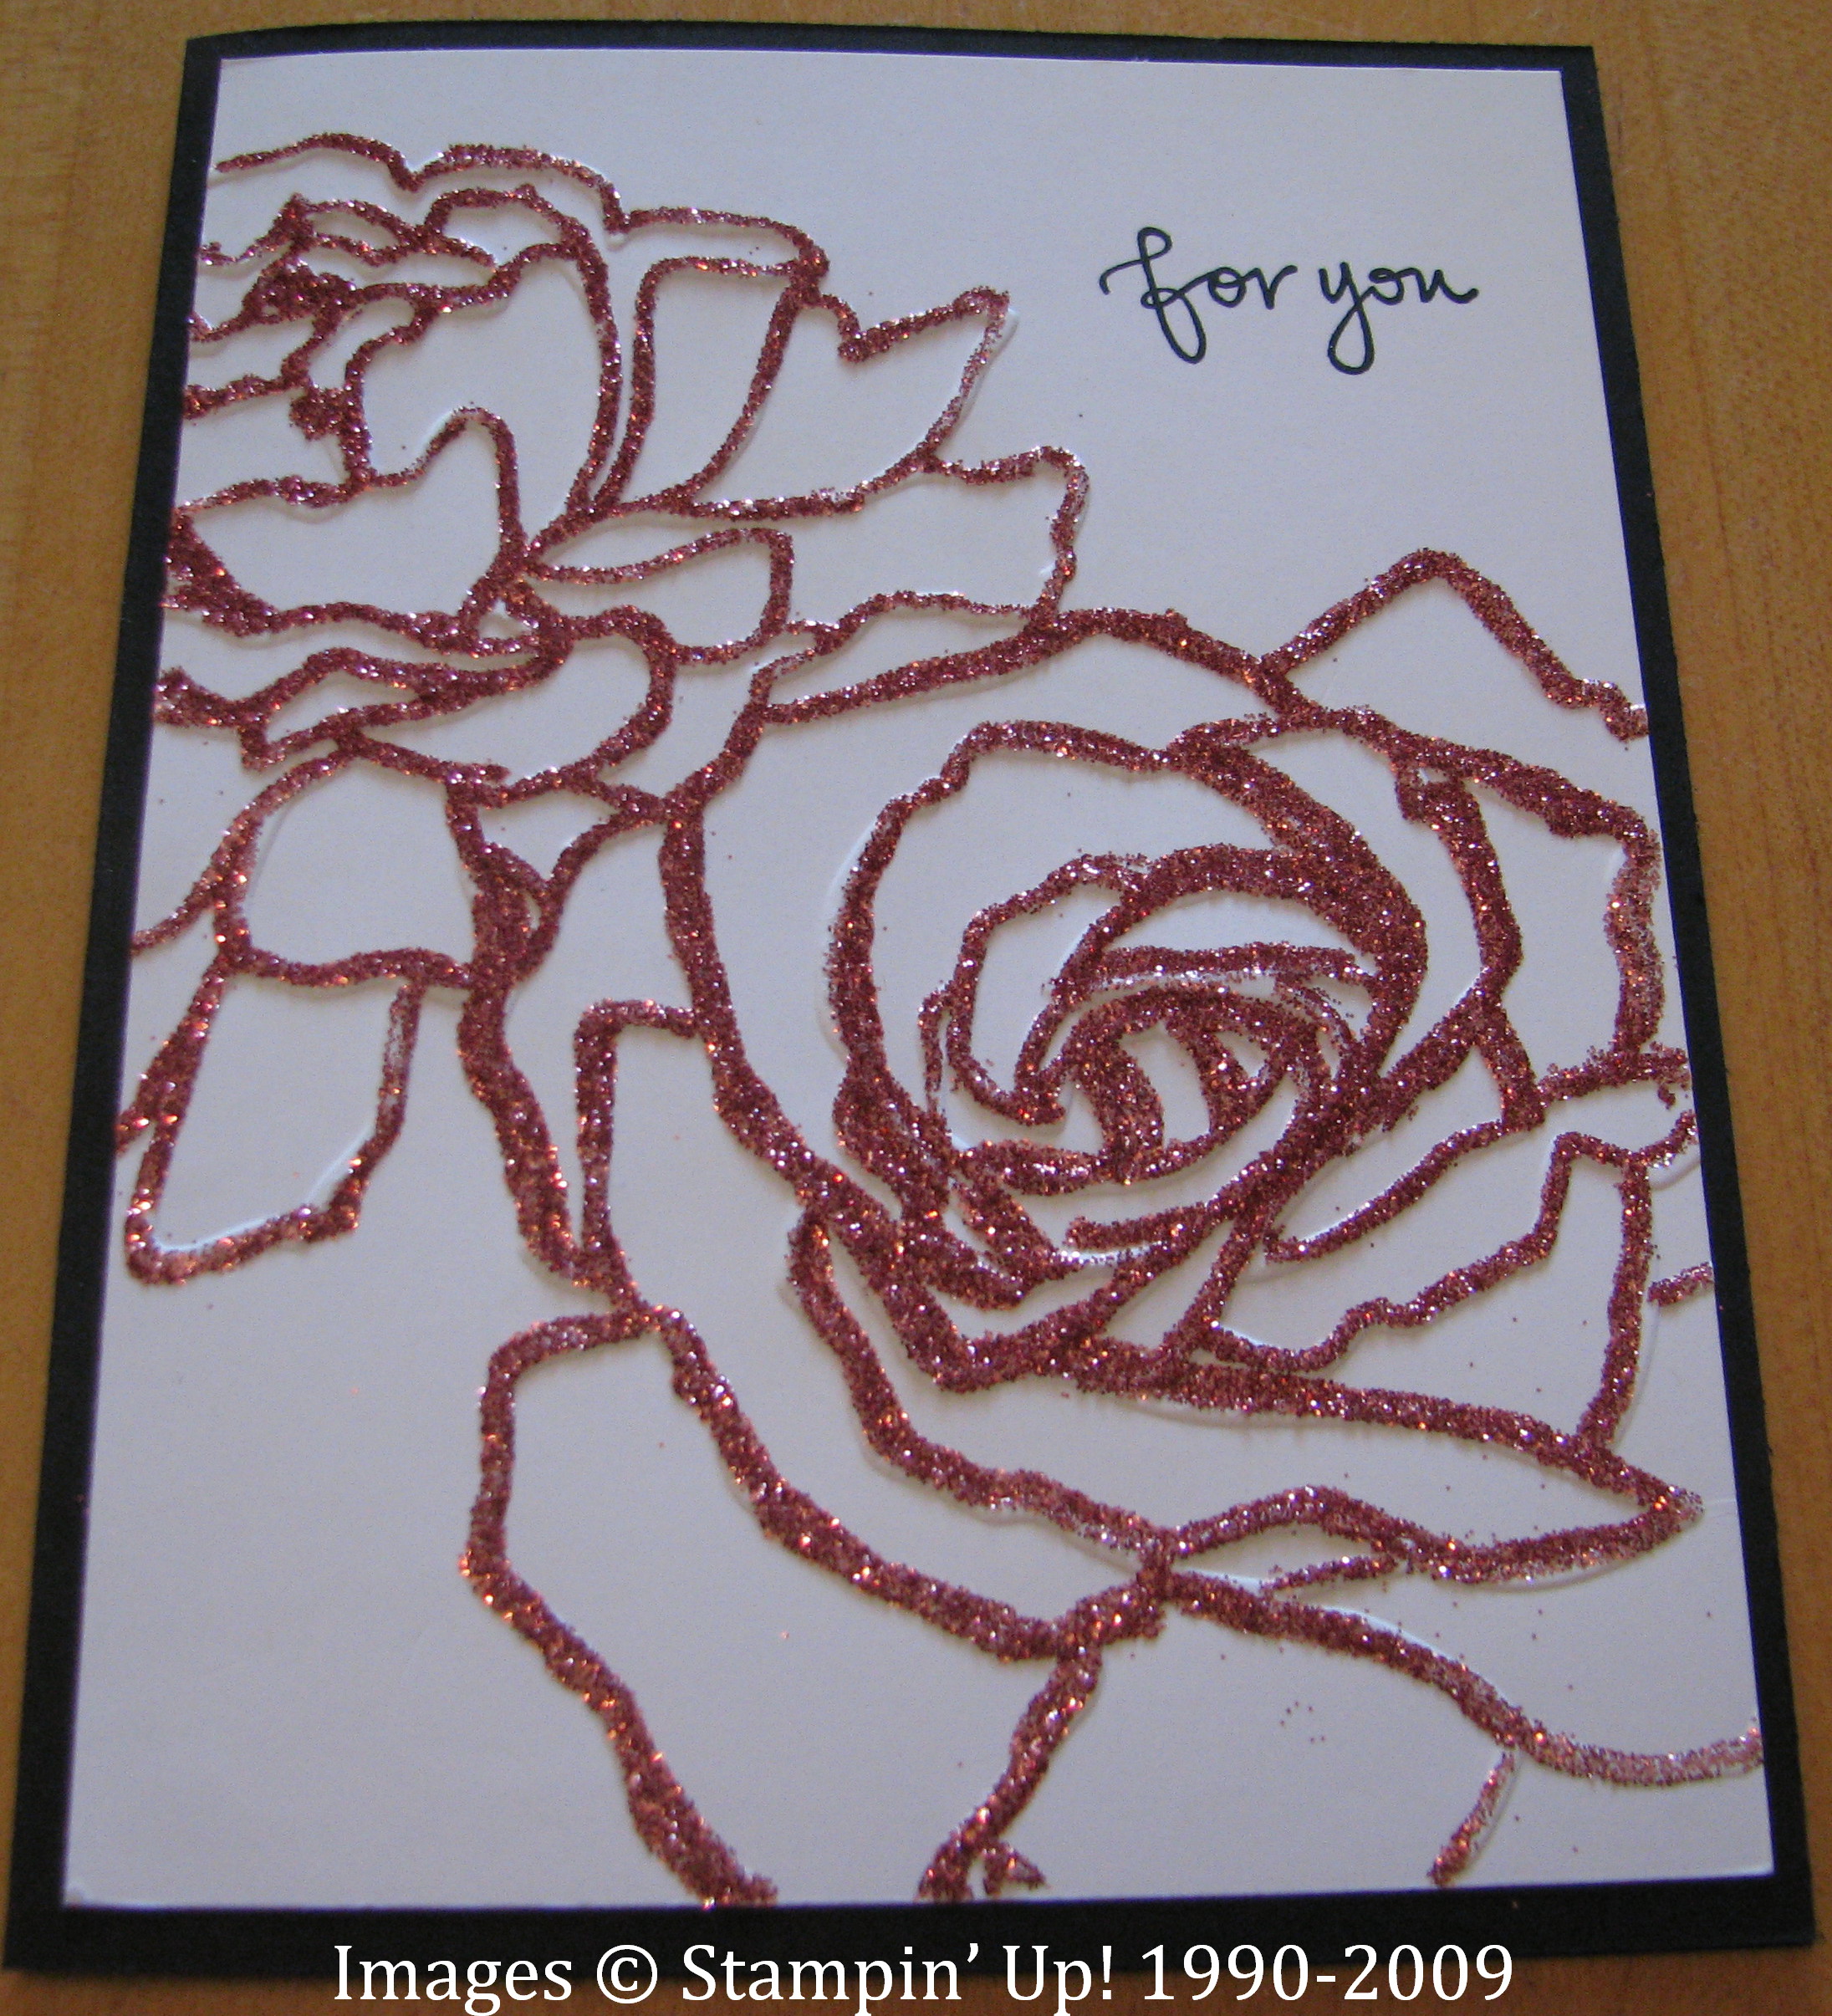
Kind of a gate fold card where the two front flaps open and a belly band around.
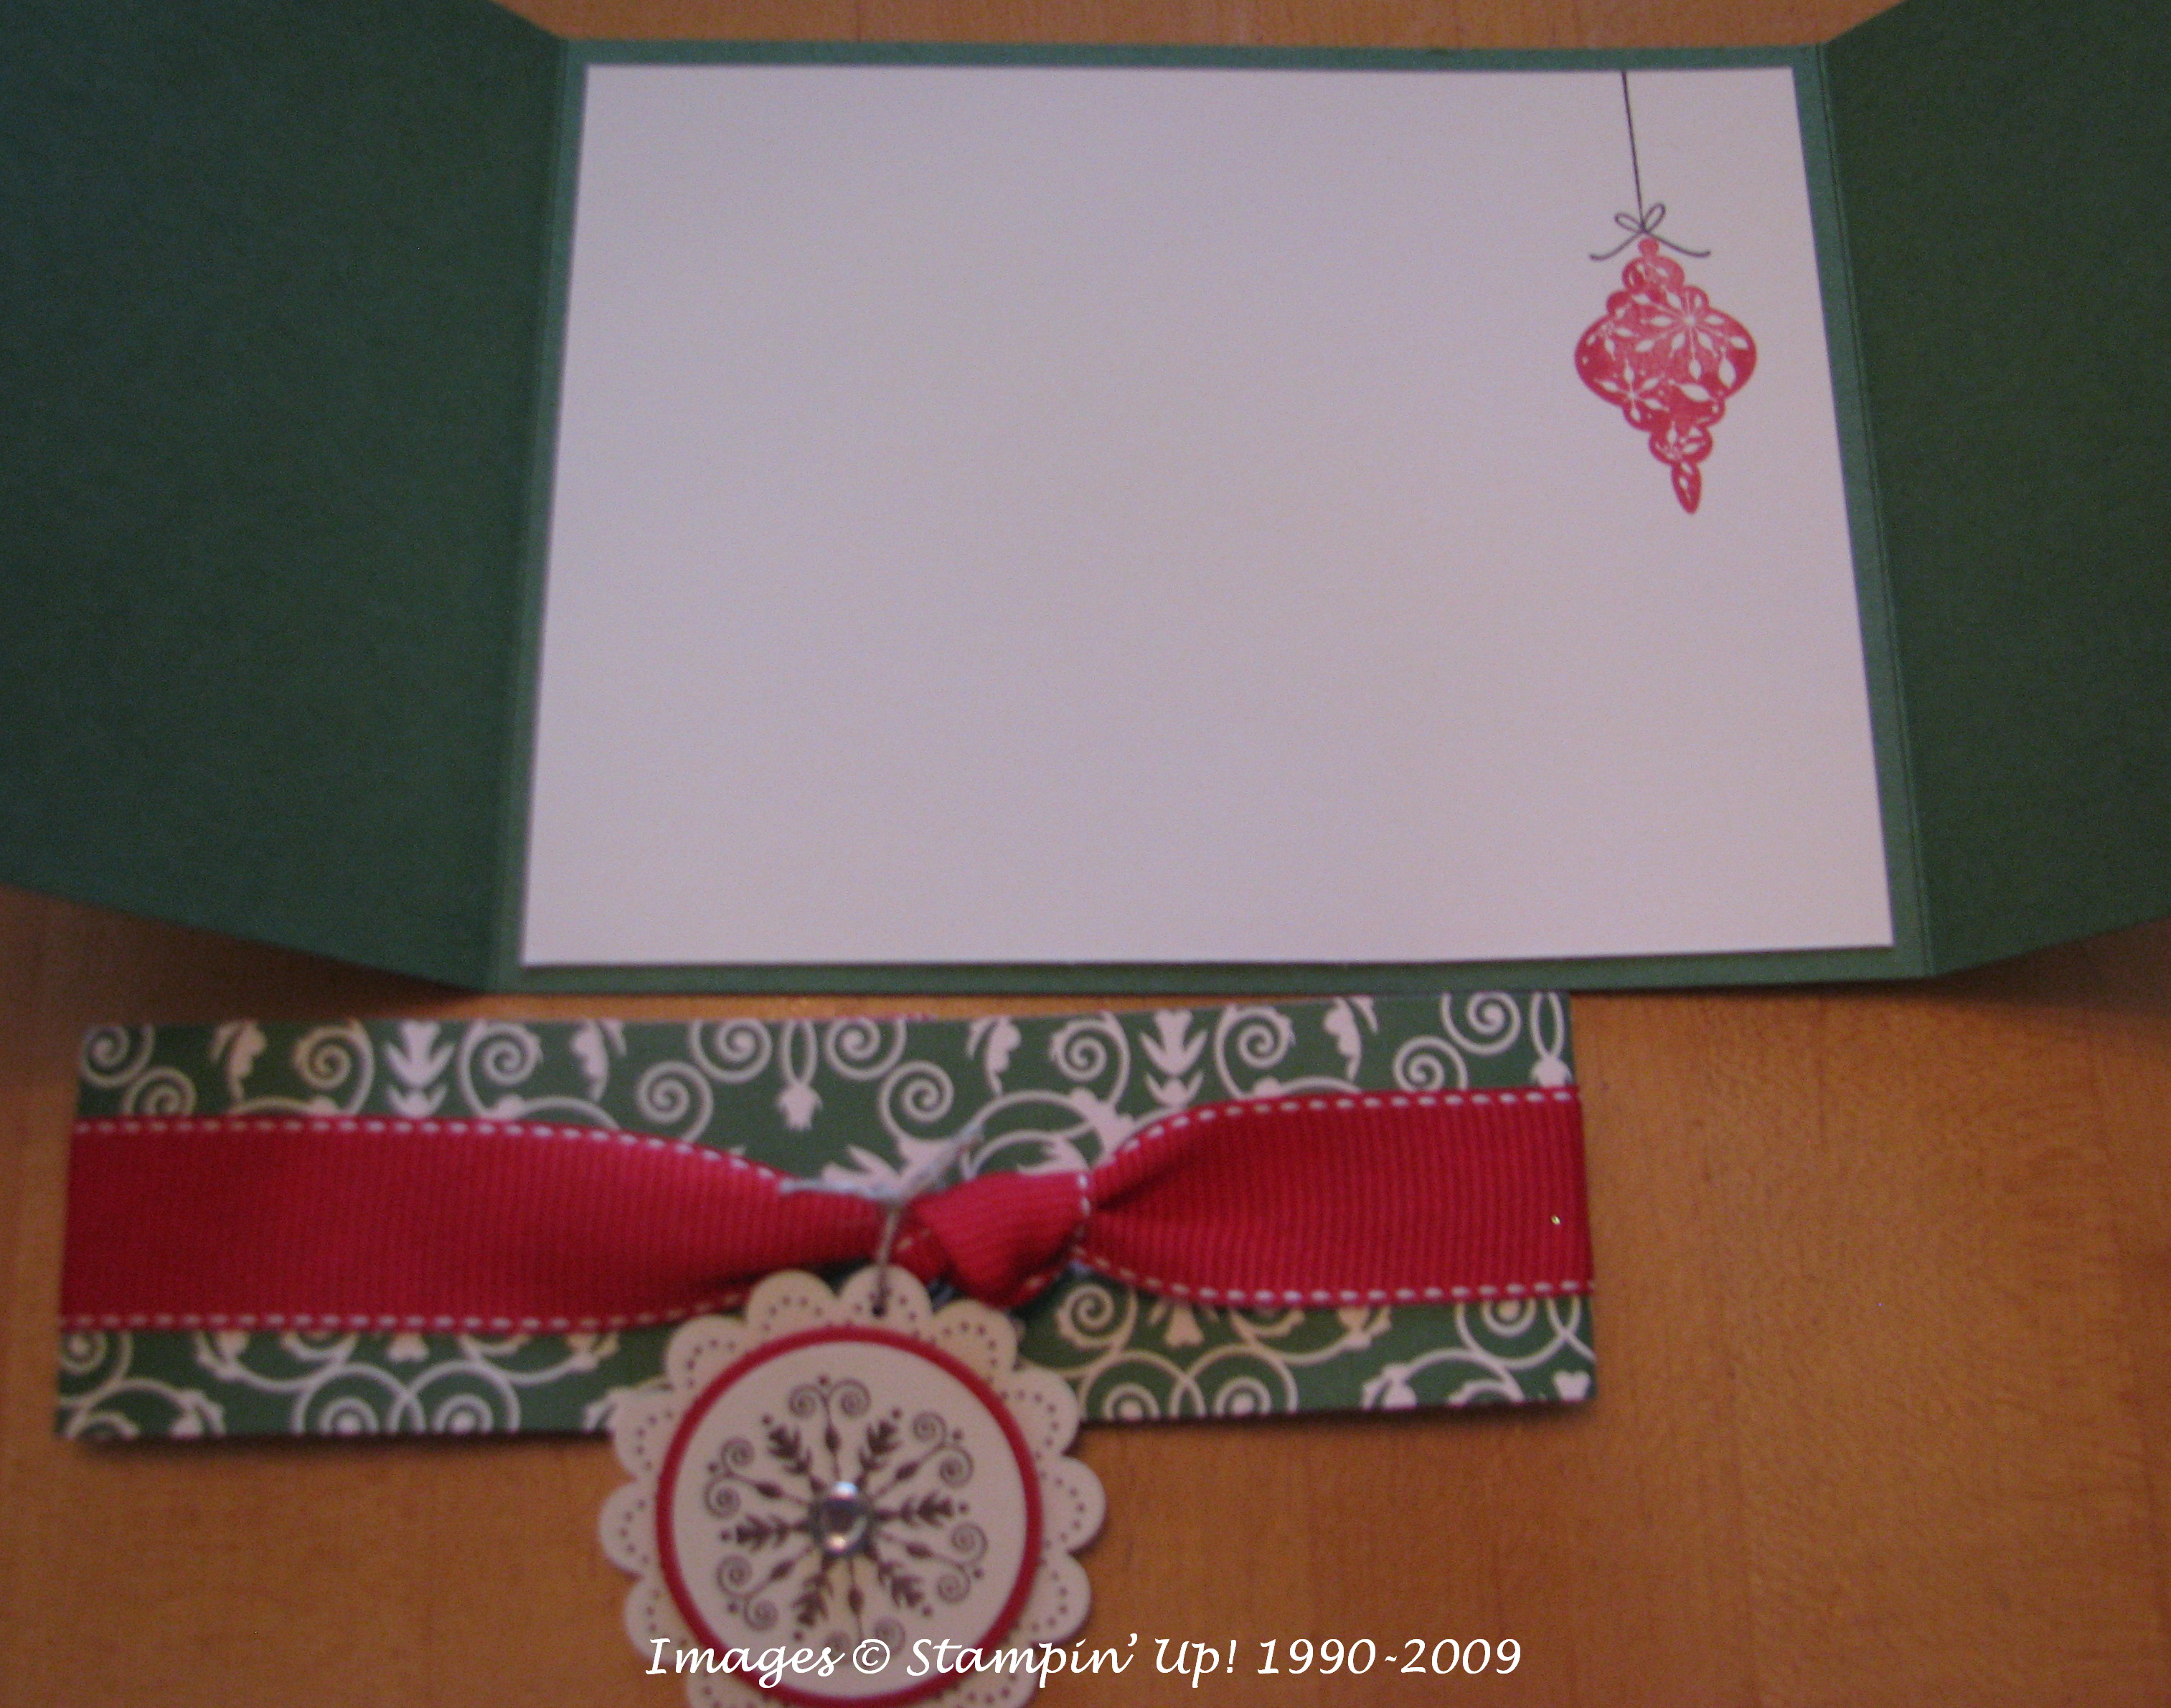
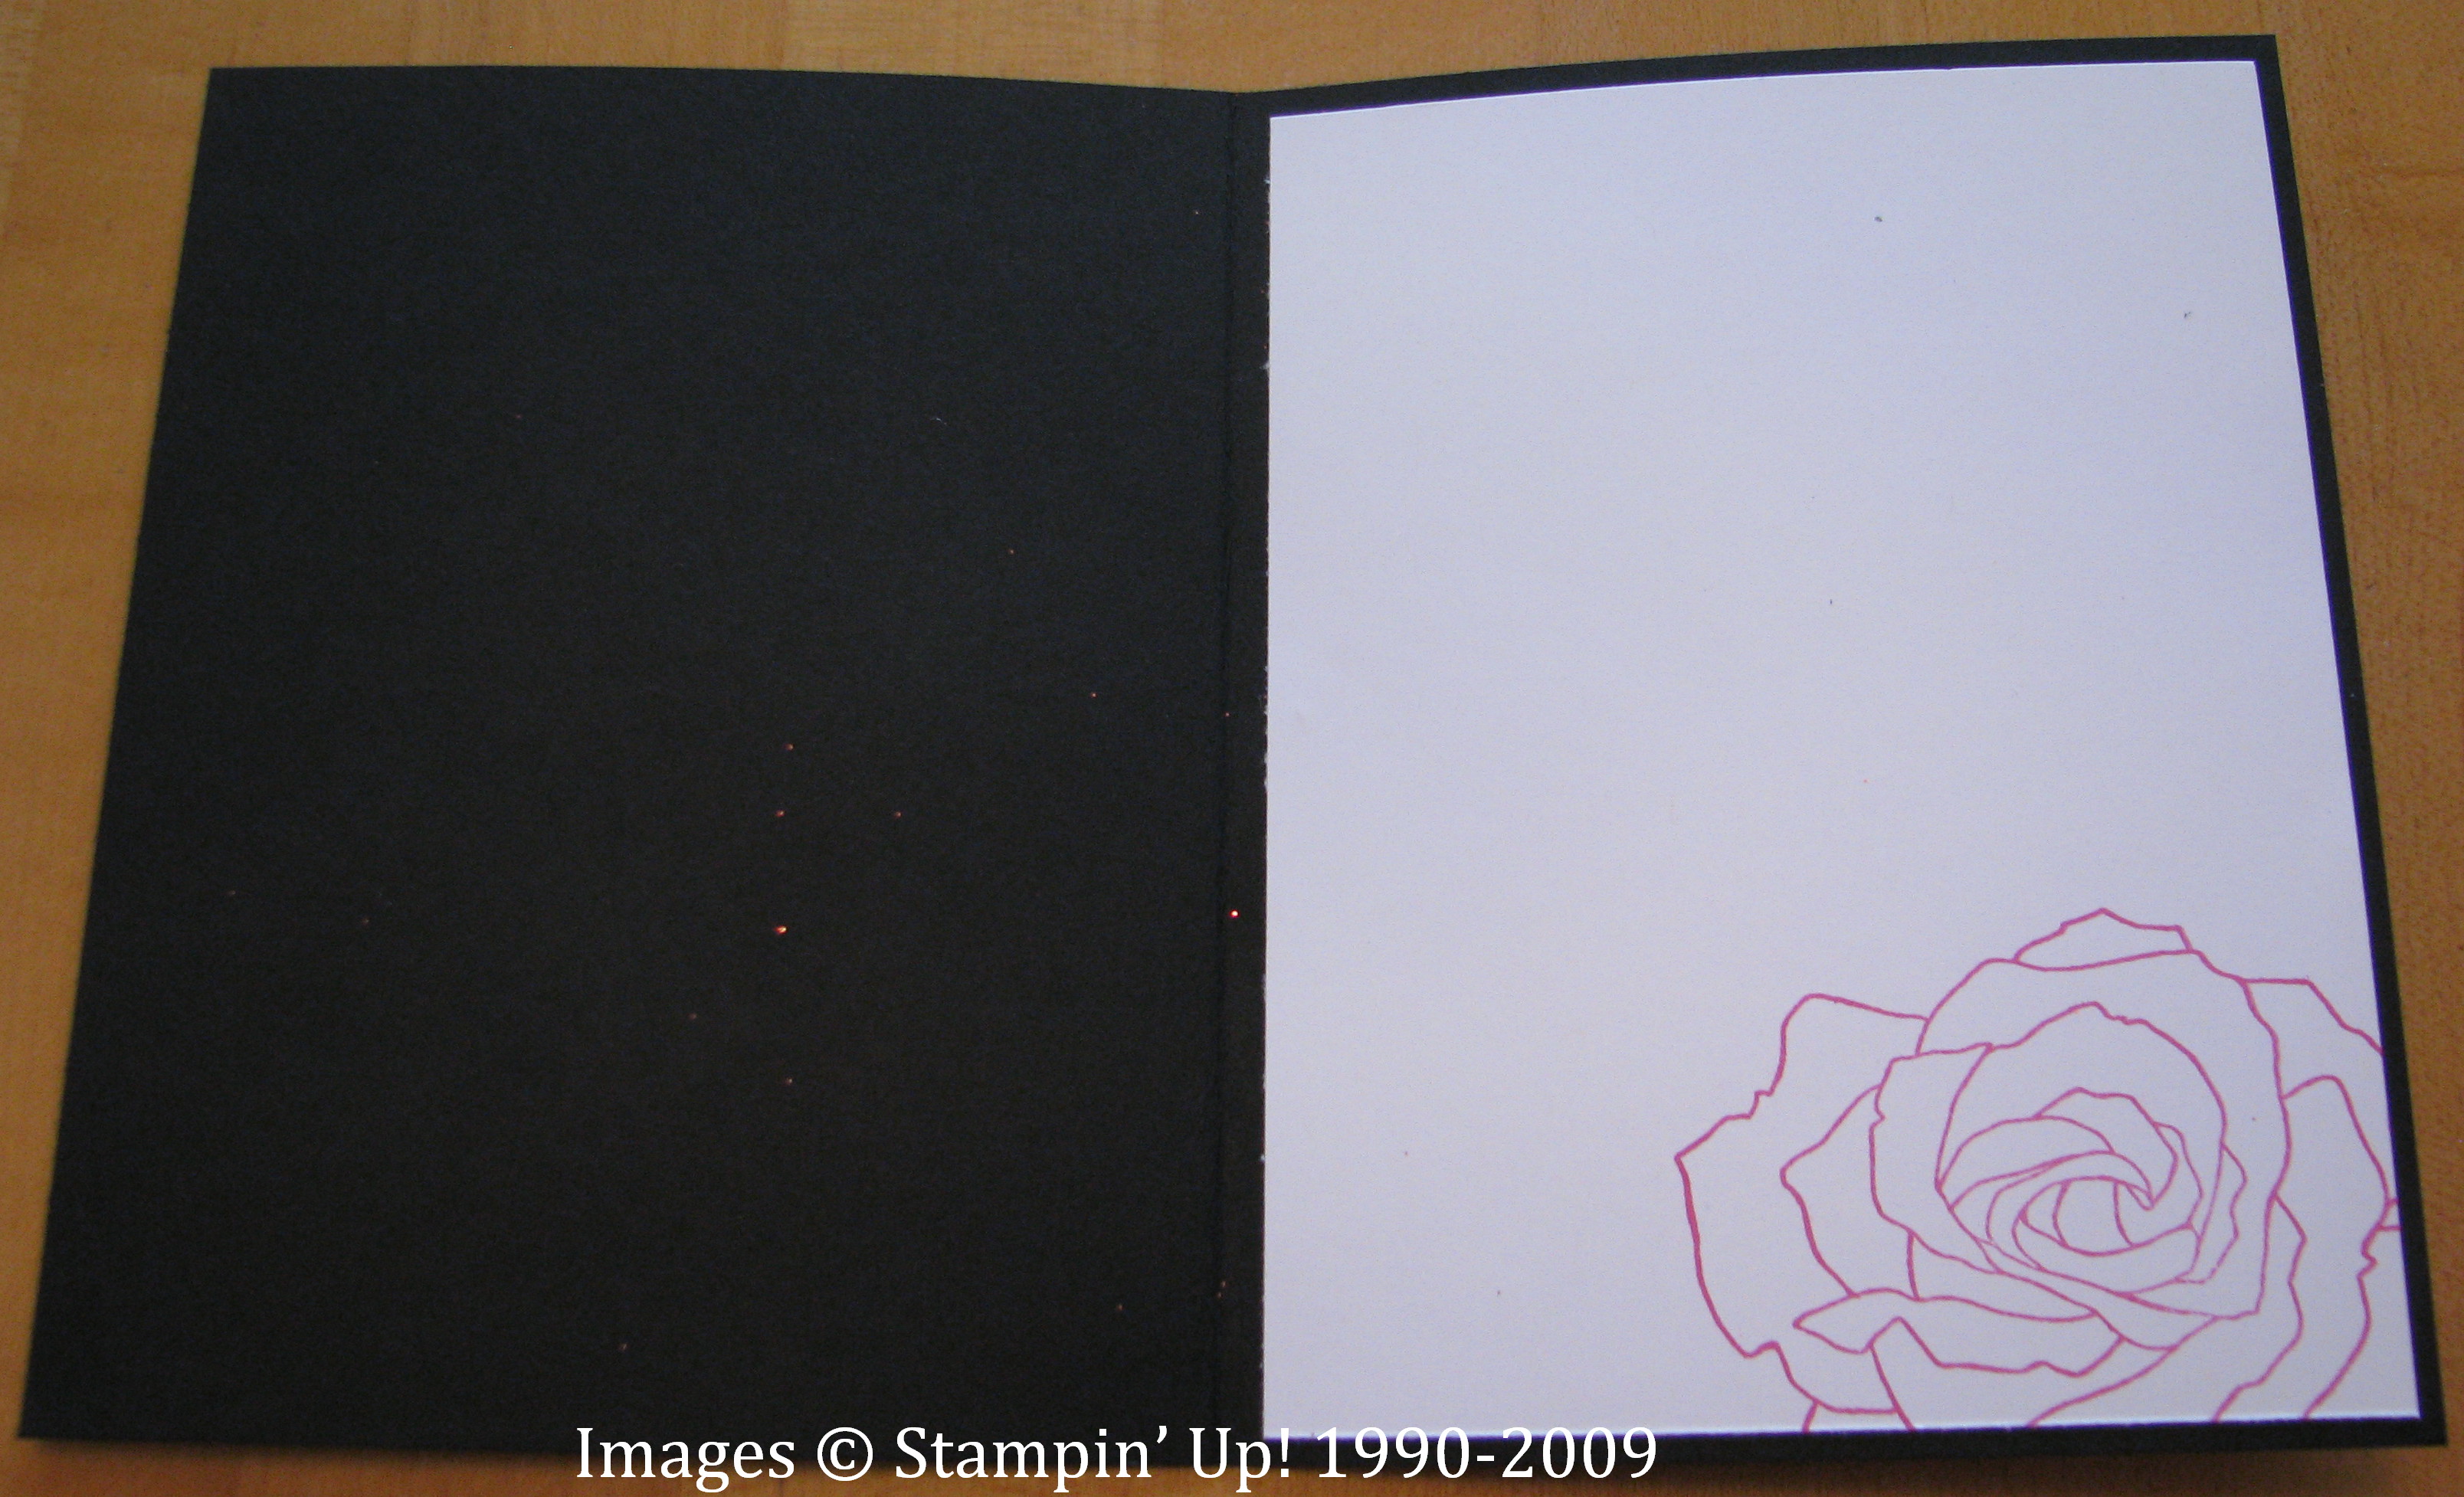
The card opened.
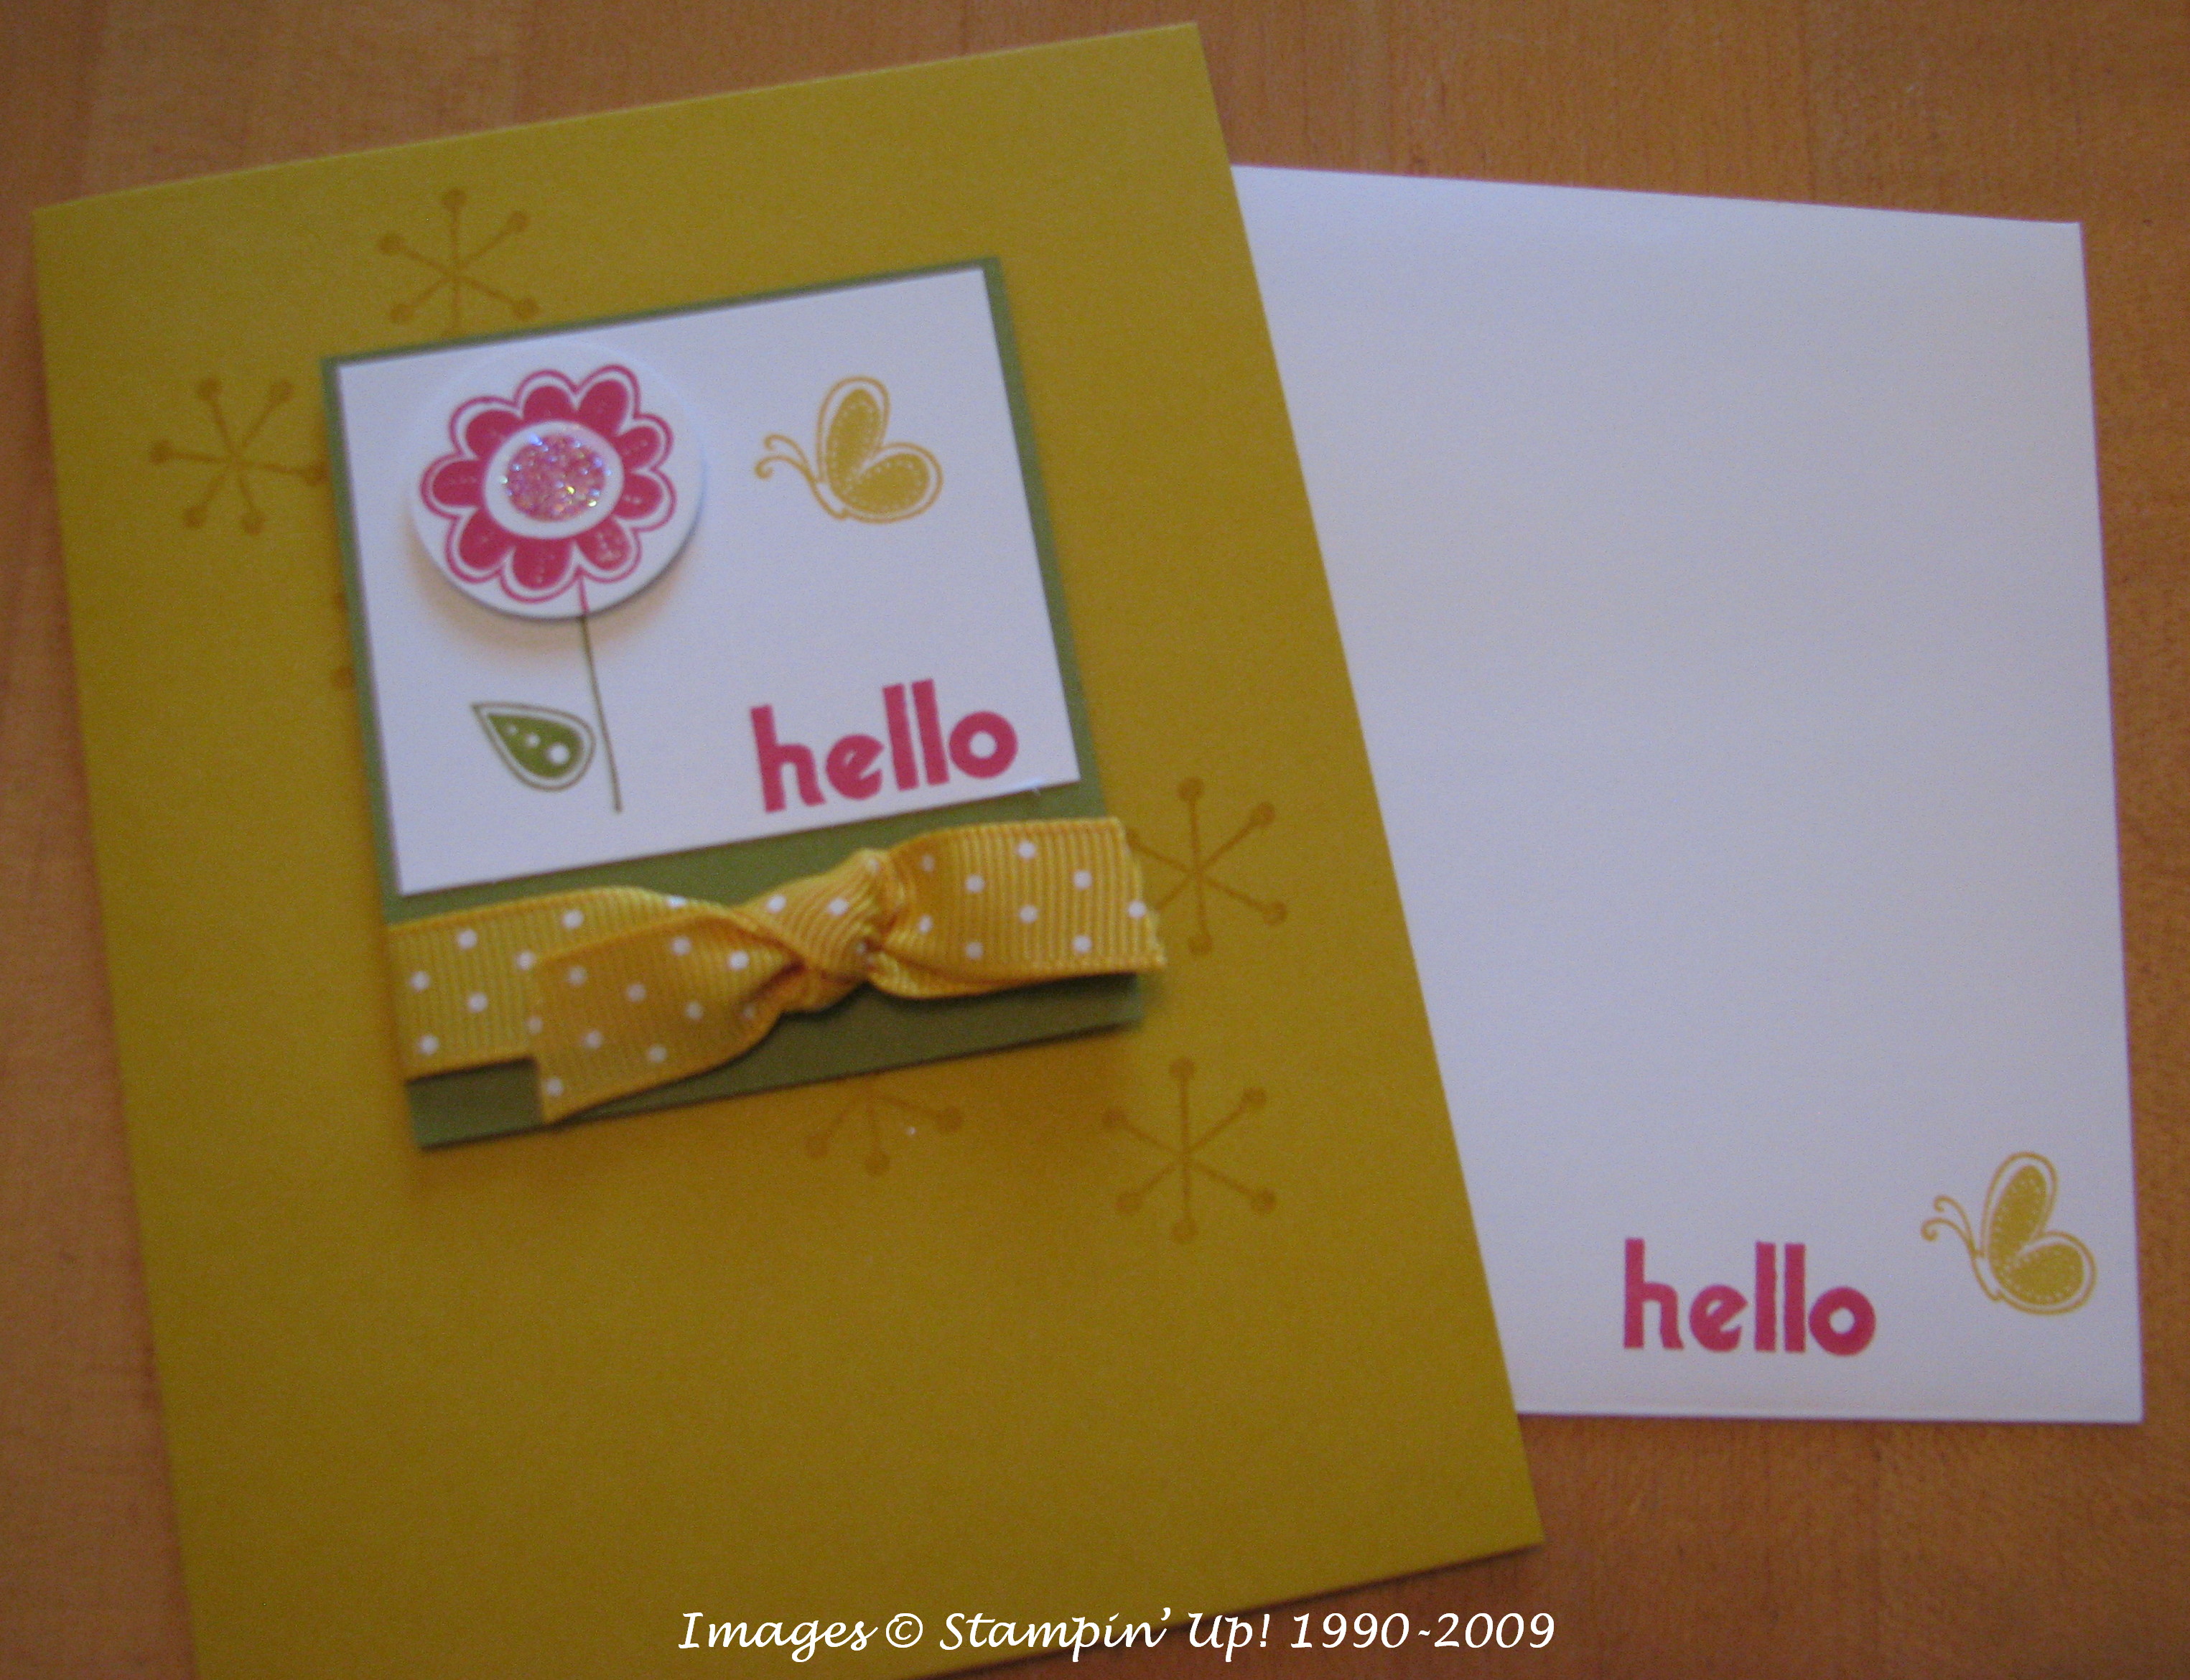
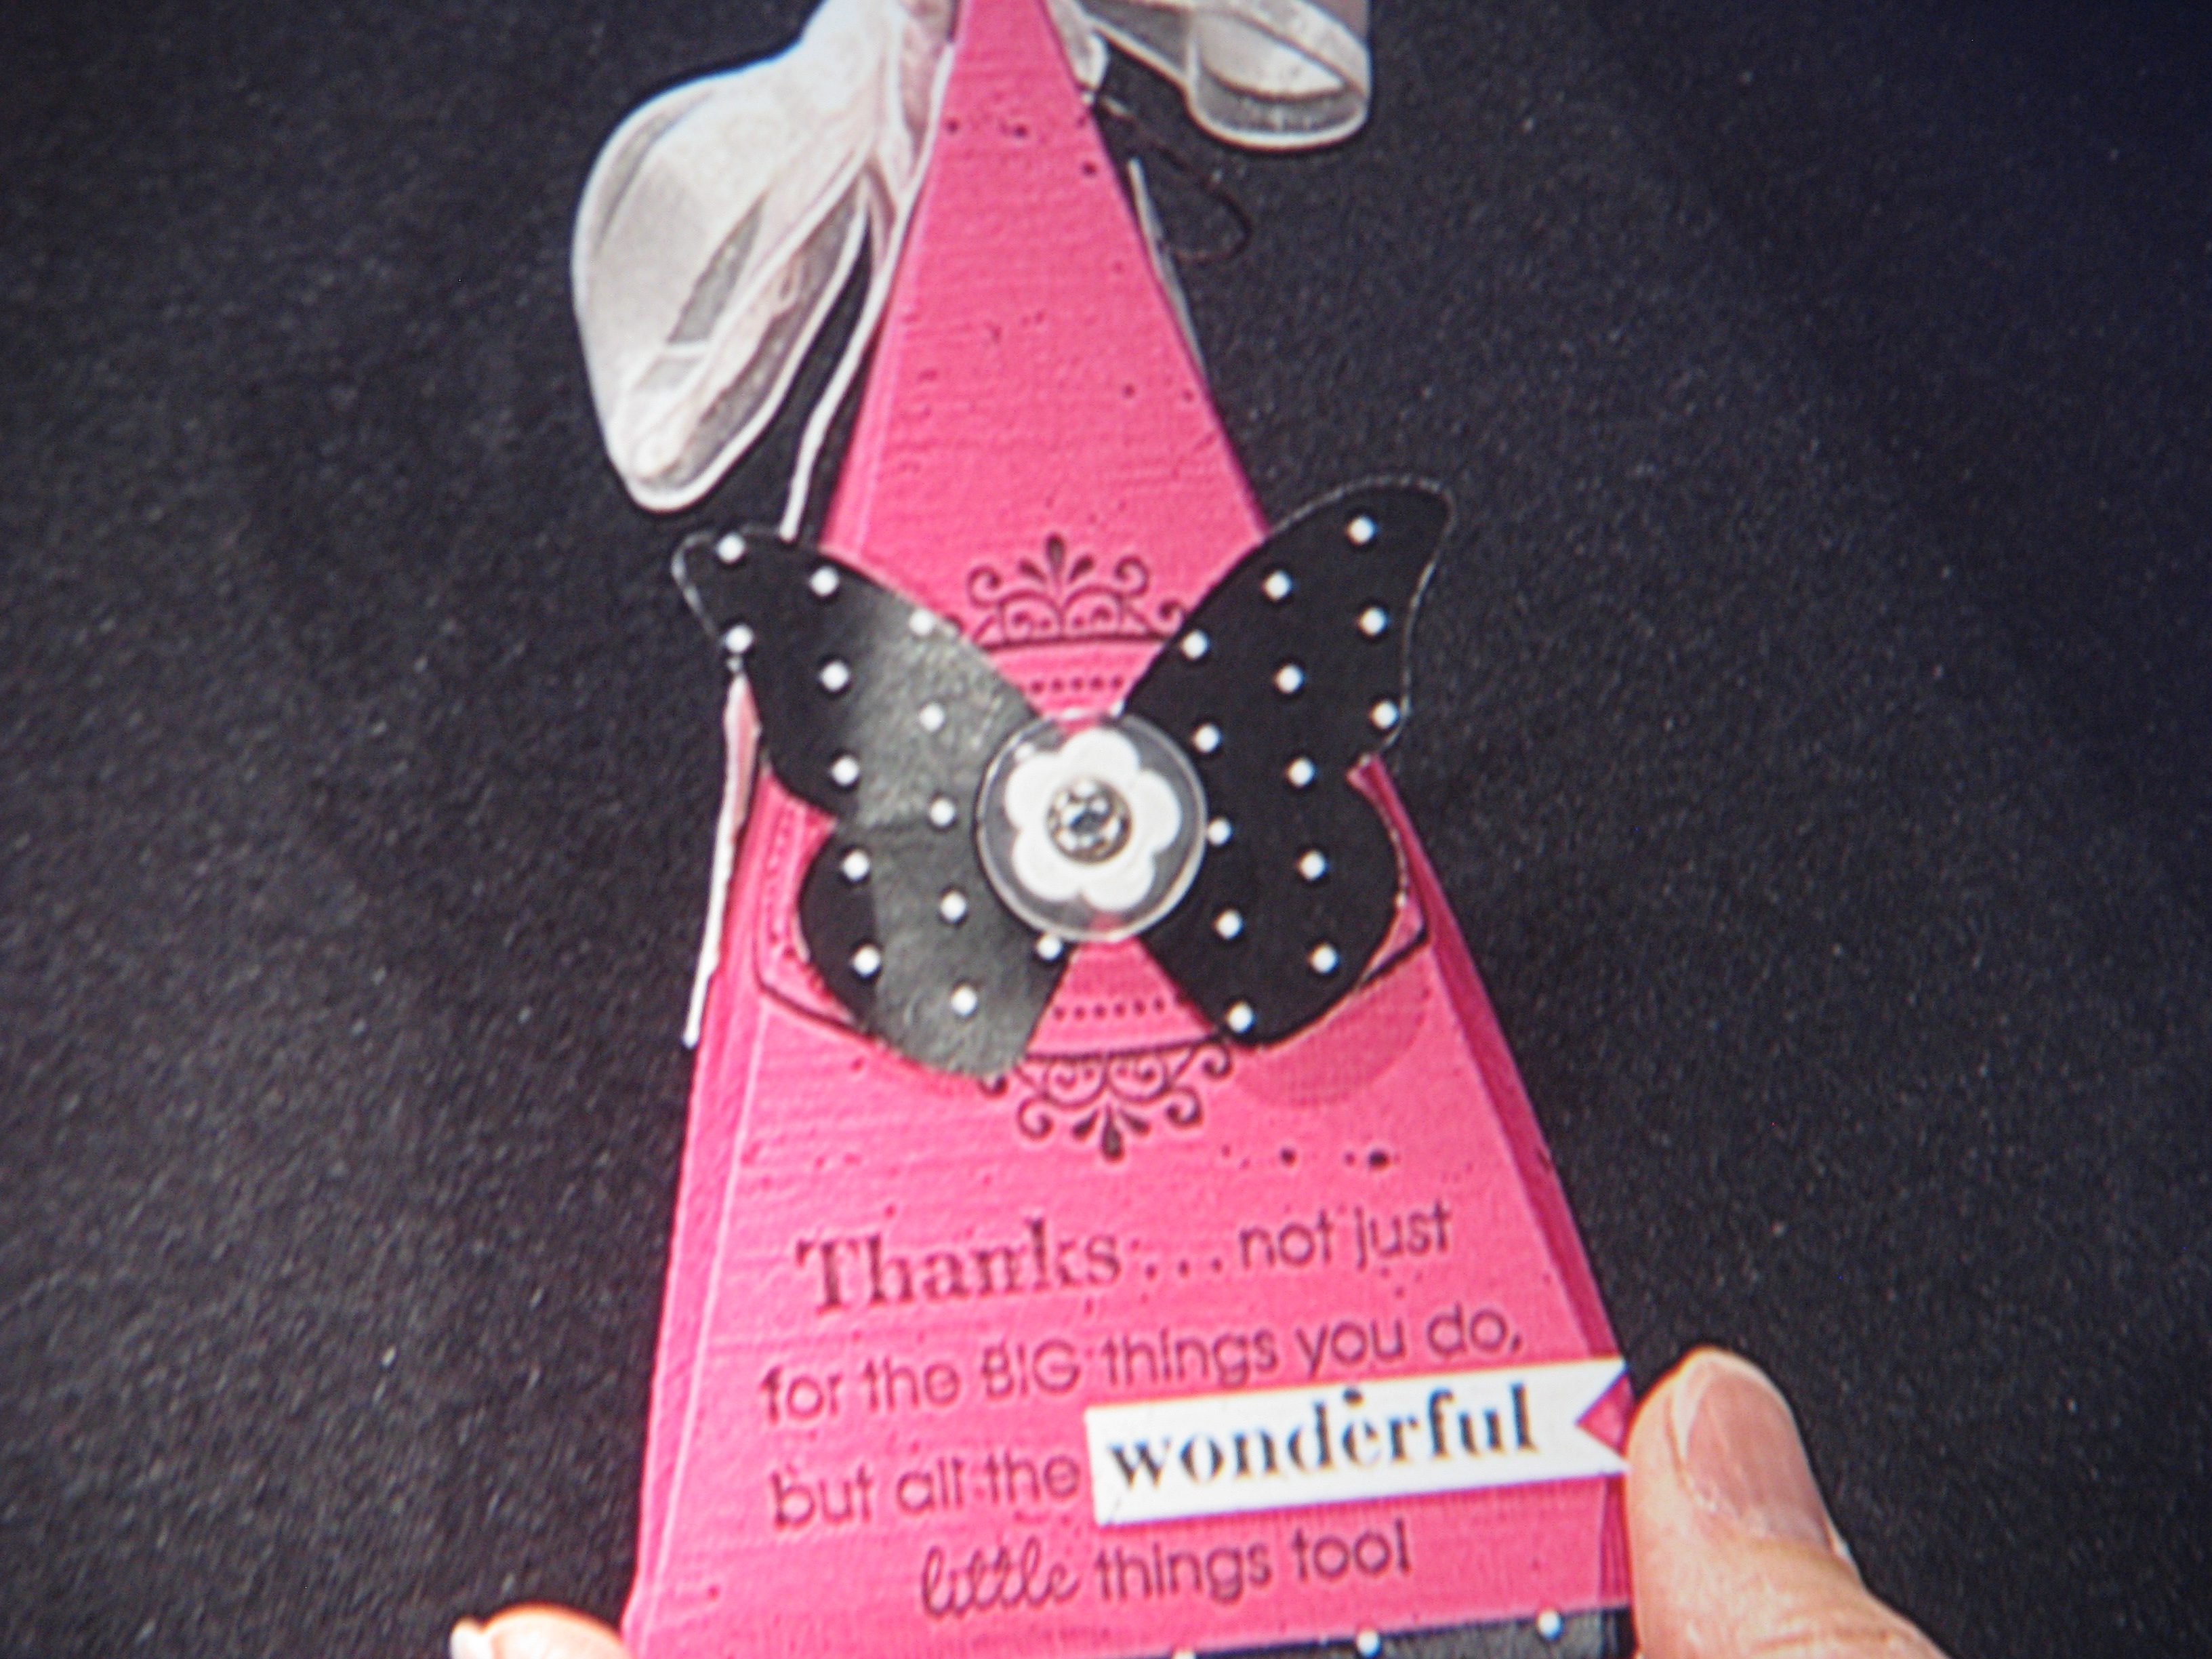
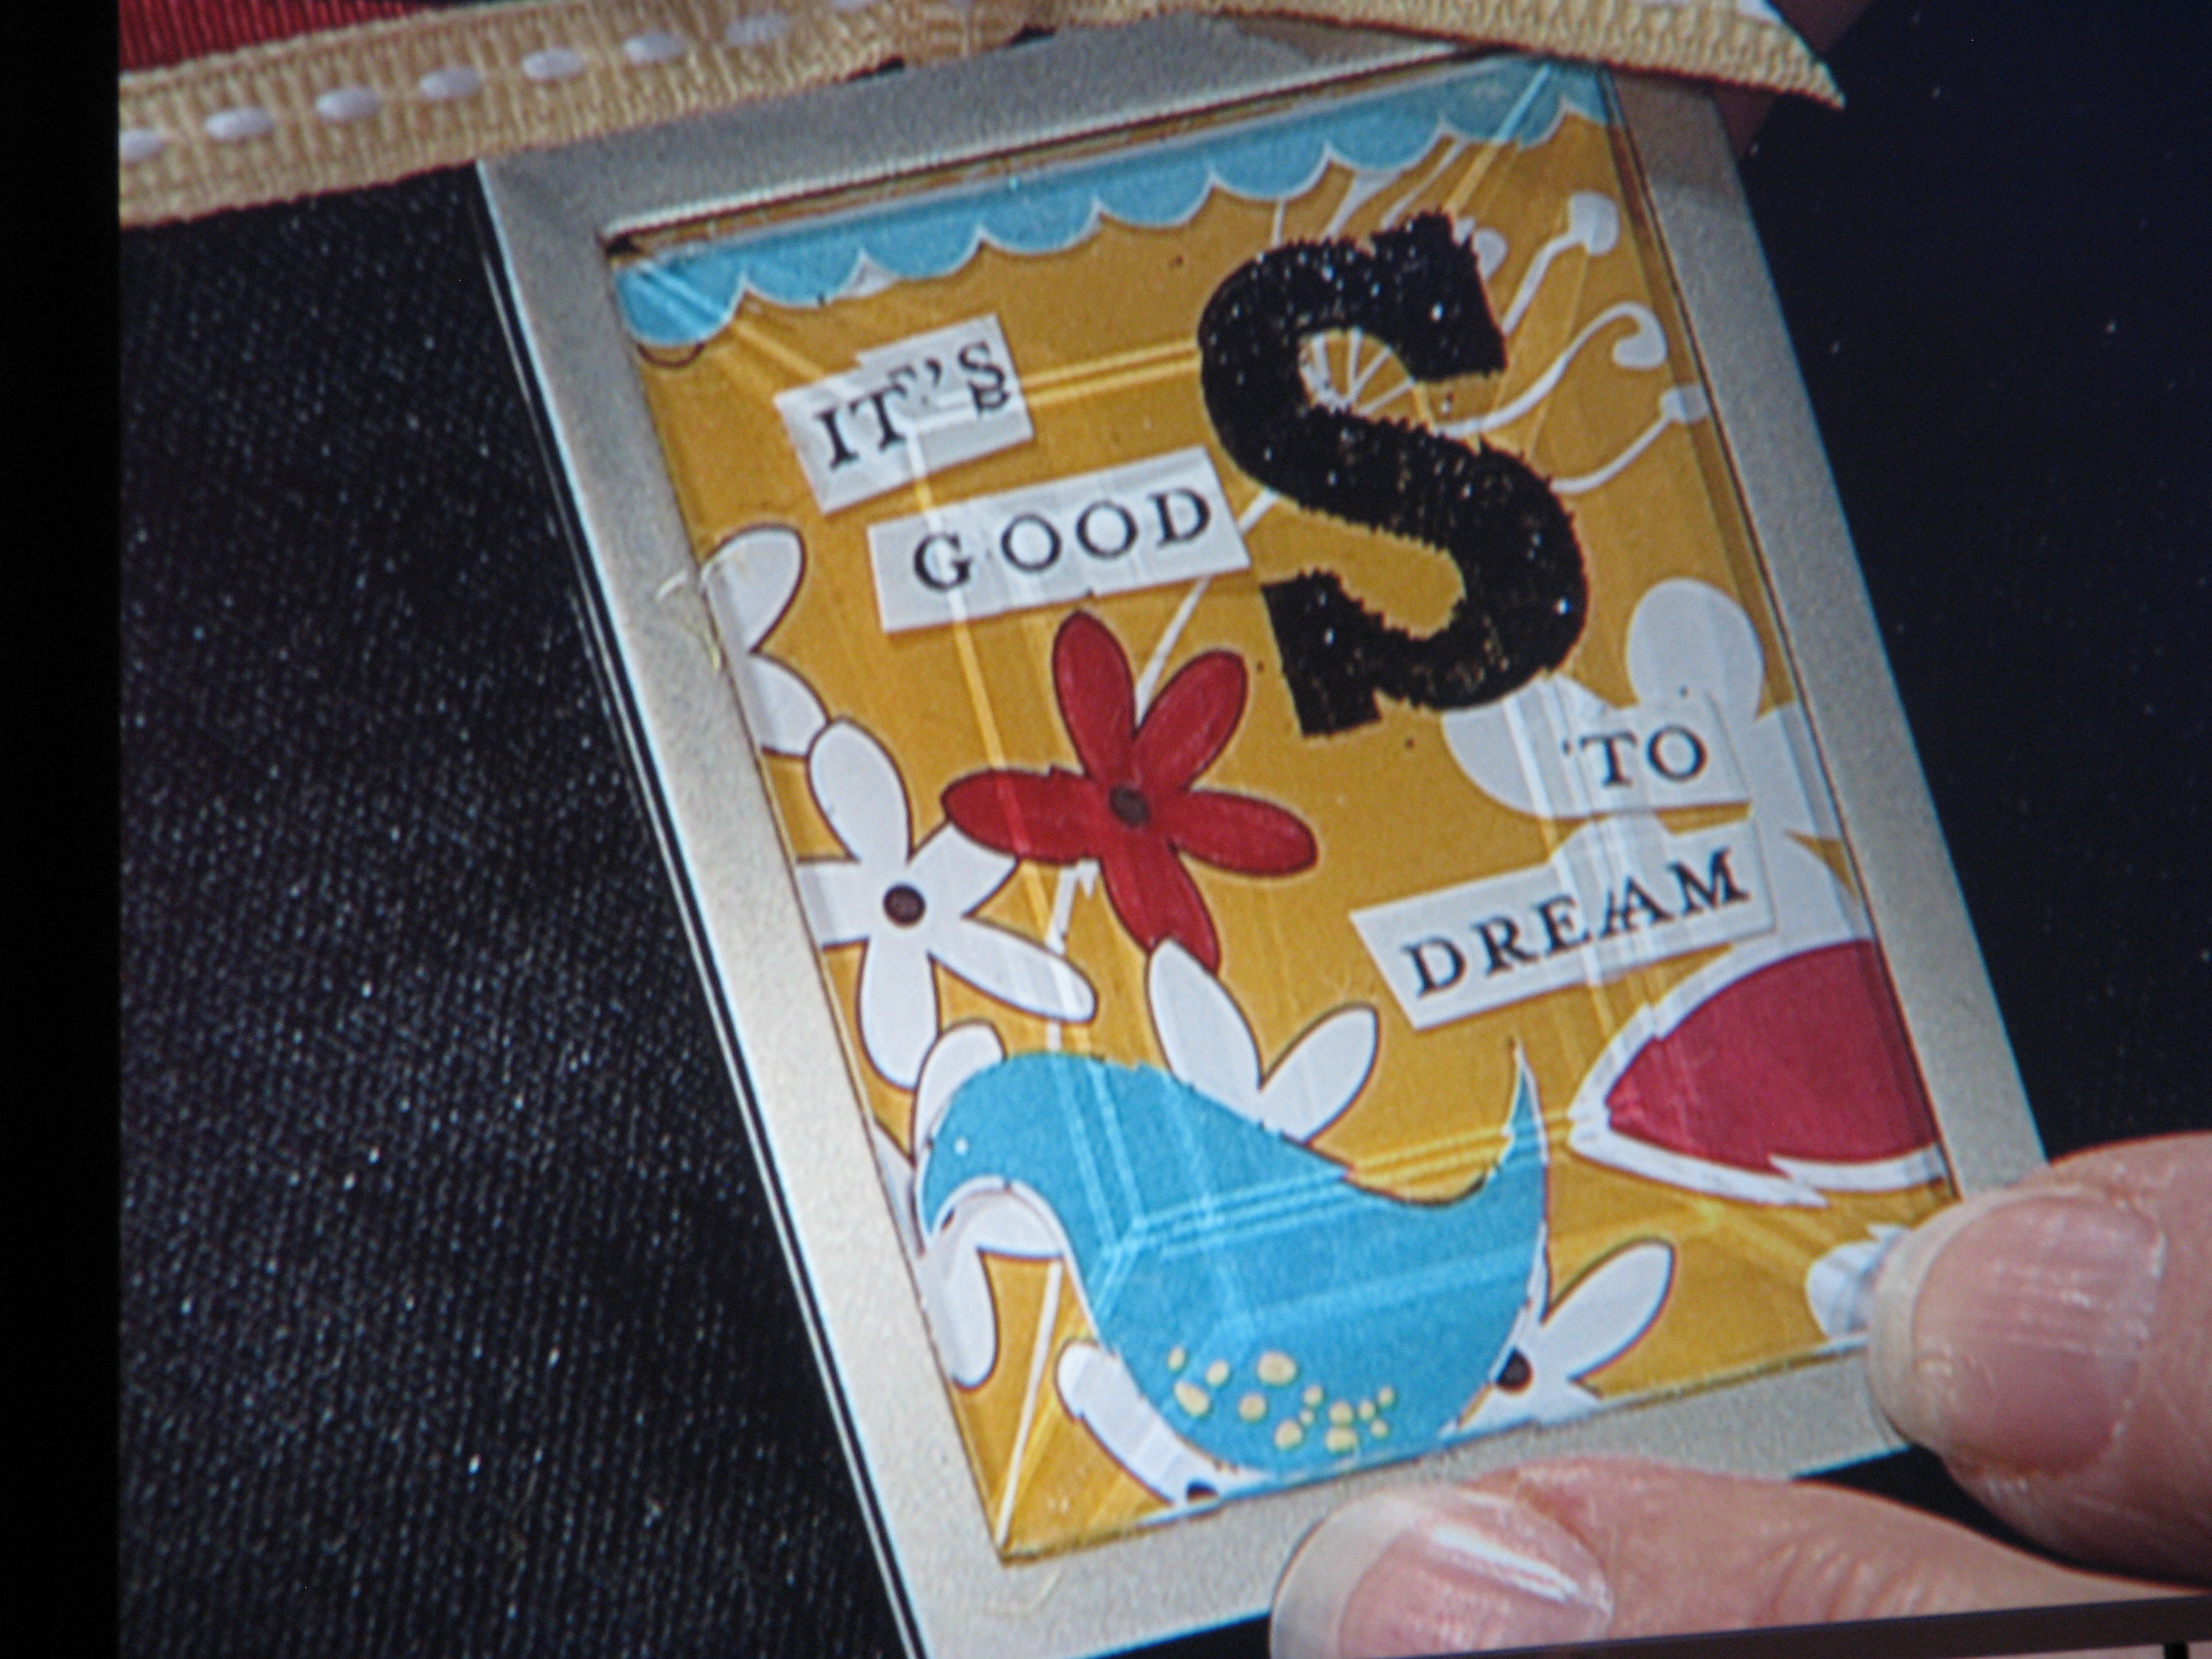
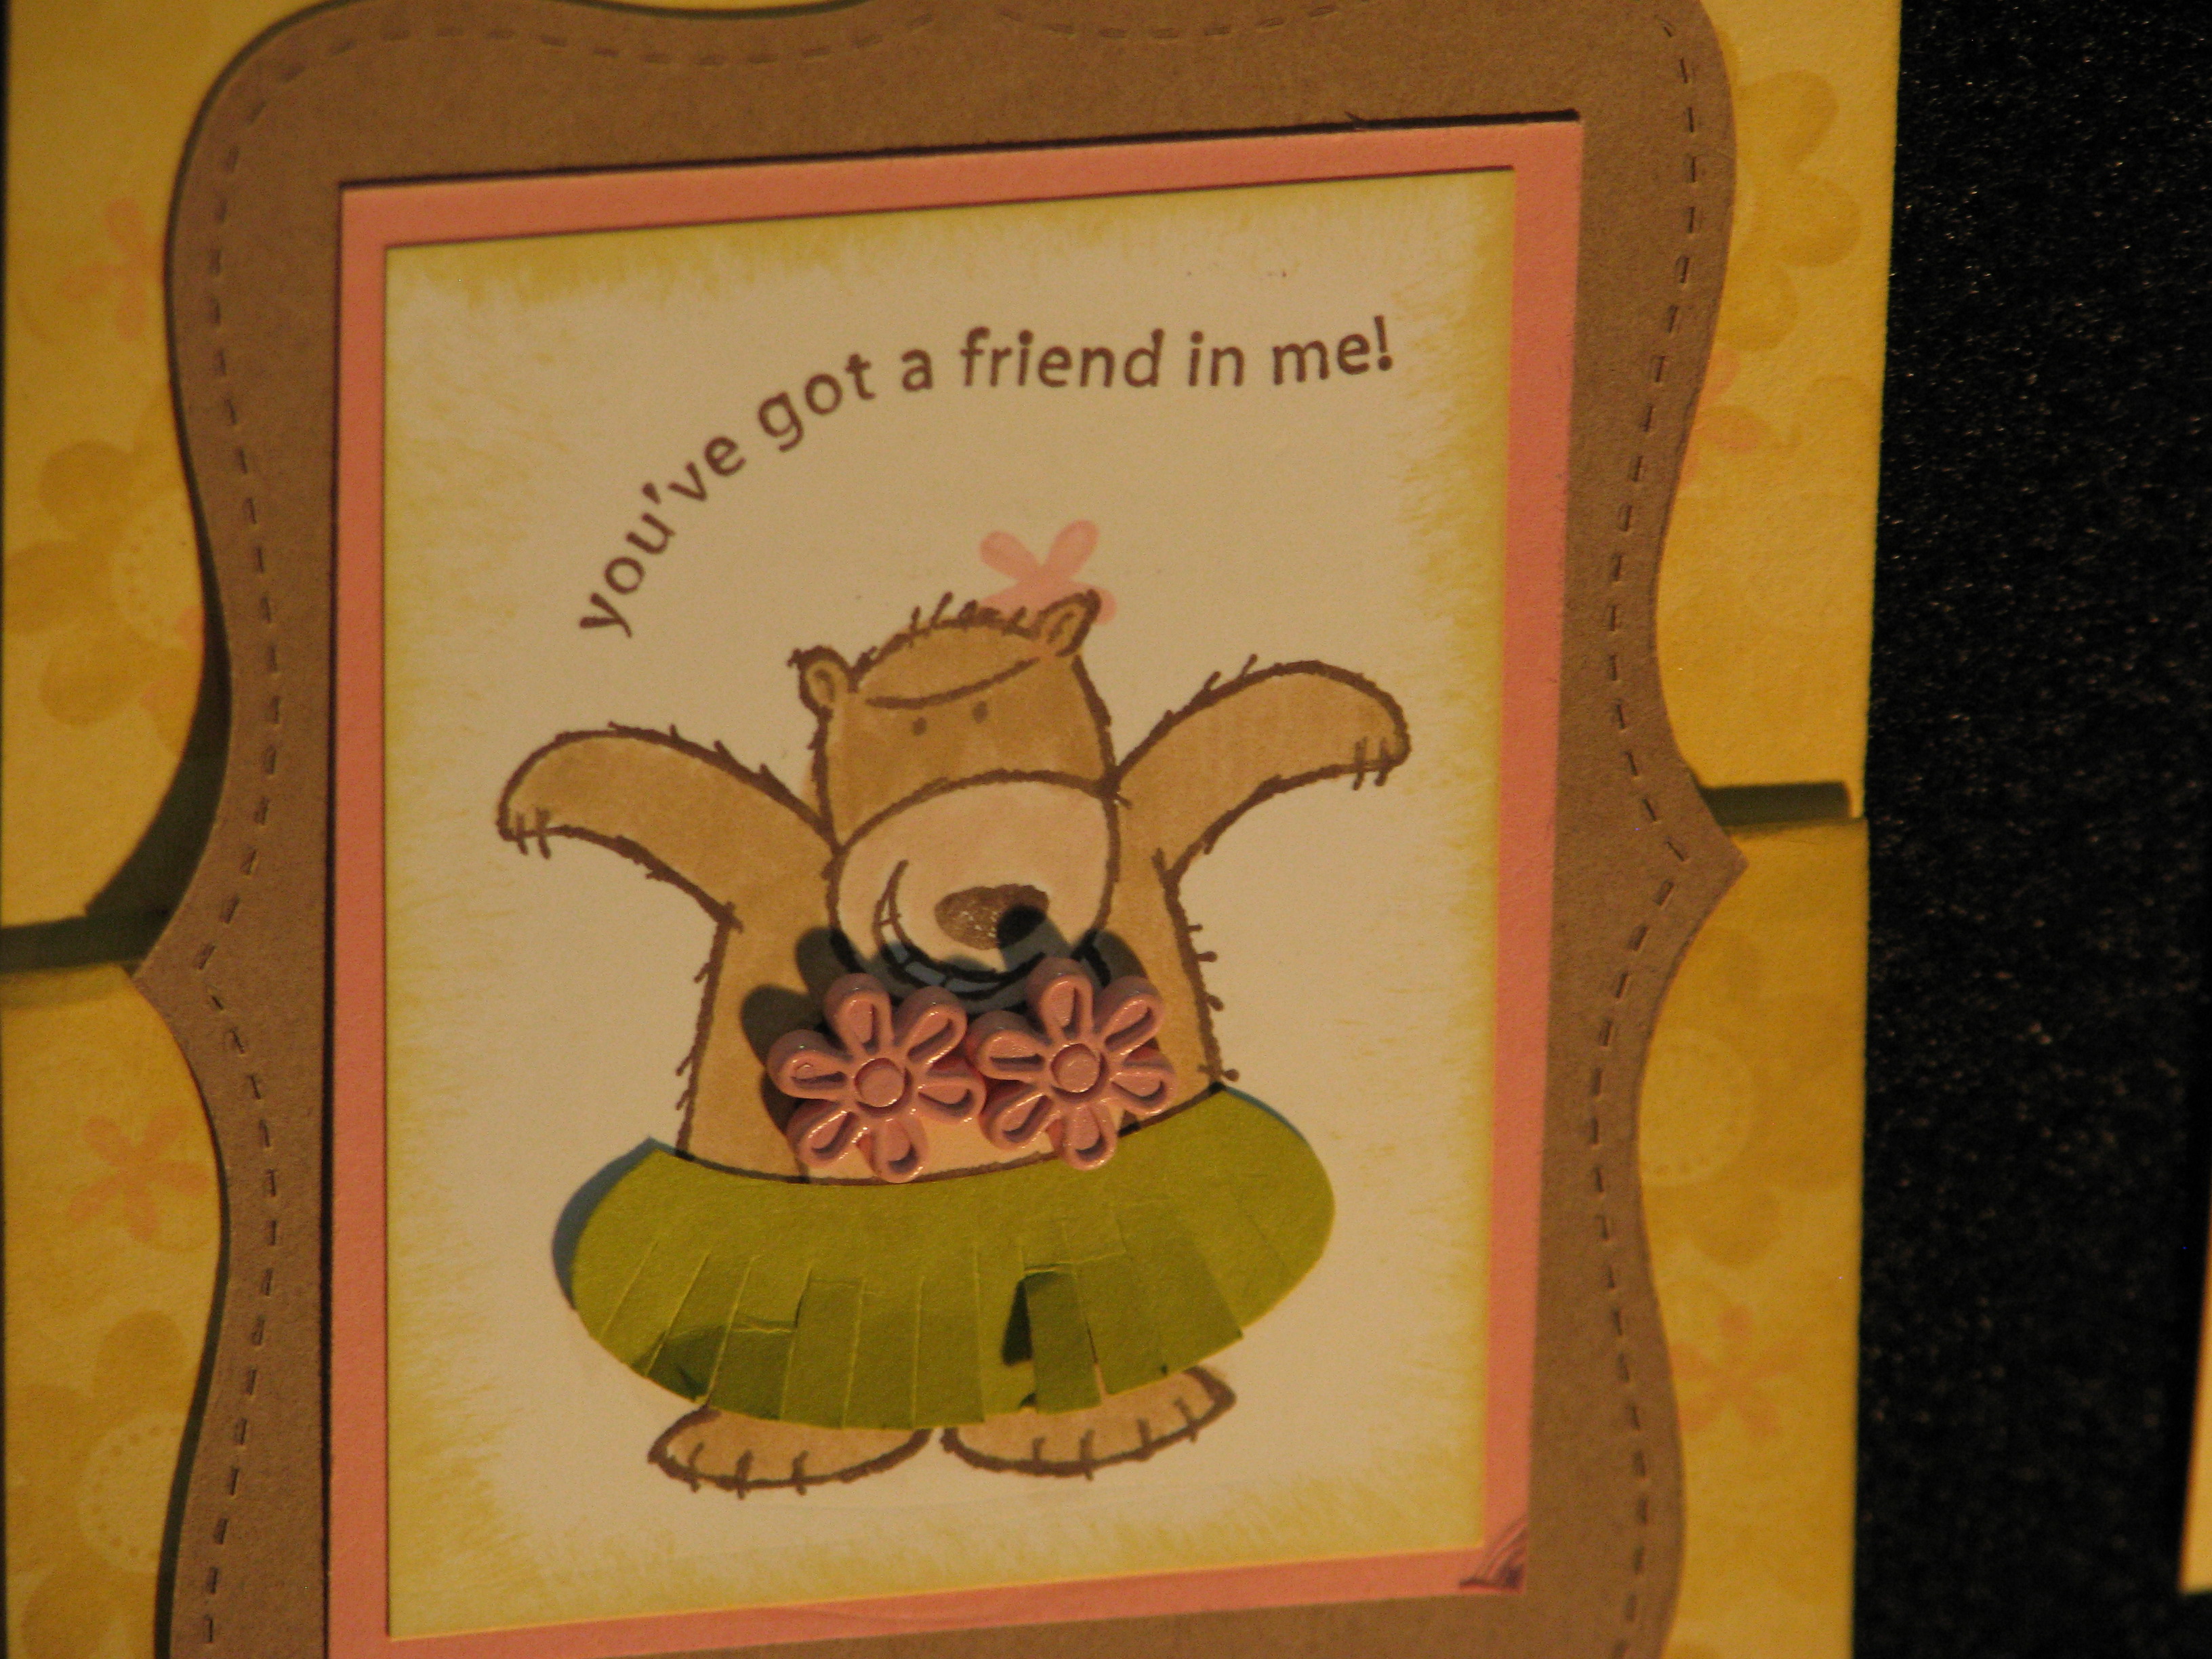
Cute and easy card and stamped envelope! New color Crushed Curry.

Easy Christmas card, although you have to cut out the ornaments by hand! Love the new ribbon!
How's that for fun?! Don't forget about the Specials going on now to become a Demo if you want to go to Convention next August!! Click on that link or the image on the sidebar of my blog…….then go to my website to join…and use the password "karenstamps" (no quotes). Or contact me with any questions!