Author Archives: Karen Fontinelle

Trick-or-Treat! Happy Halloween!! Last Minute Halloween Cards!

Wow!  This morning a black cat ran right across the street in front of my car as I was driving back into my neighborhood!  Is that real Halloween or what?!  I know it is bad luck to have a black cat cross your path, so that freaked me out a little bit!  Hopefully today will be nothing but good luck because I love Halloween (it would help if we had some fall leaves here in Houston!) and I get to see my boys.  One was nearly born a Halloween goblin because he arrived just 45 minutes before Halloween!  But that was twenty years ago!  More about his birthday card later.

I usually have a lot of trick-or-treaters at my house, but it is often about 80 degrees, at least when the kids start out after dinner, sweating in their costumes.  When I was growing up in St. Louis it was often a problem on Halloween with the weather being very cold, and we had to wear a winter coat…..either over our costume, which meant no one could see the costume, or under the costume, which of course looked ridiculous!  "Back in the olden days" we always had to have a joke ready to tell people before they would give us candy.  I don't think they do that anymore.

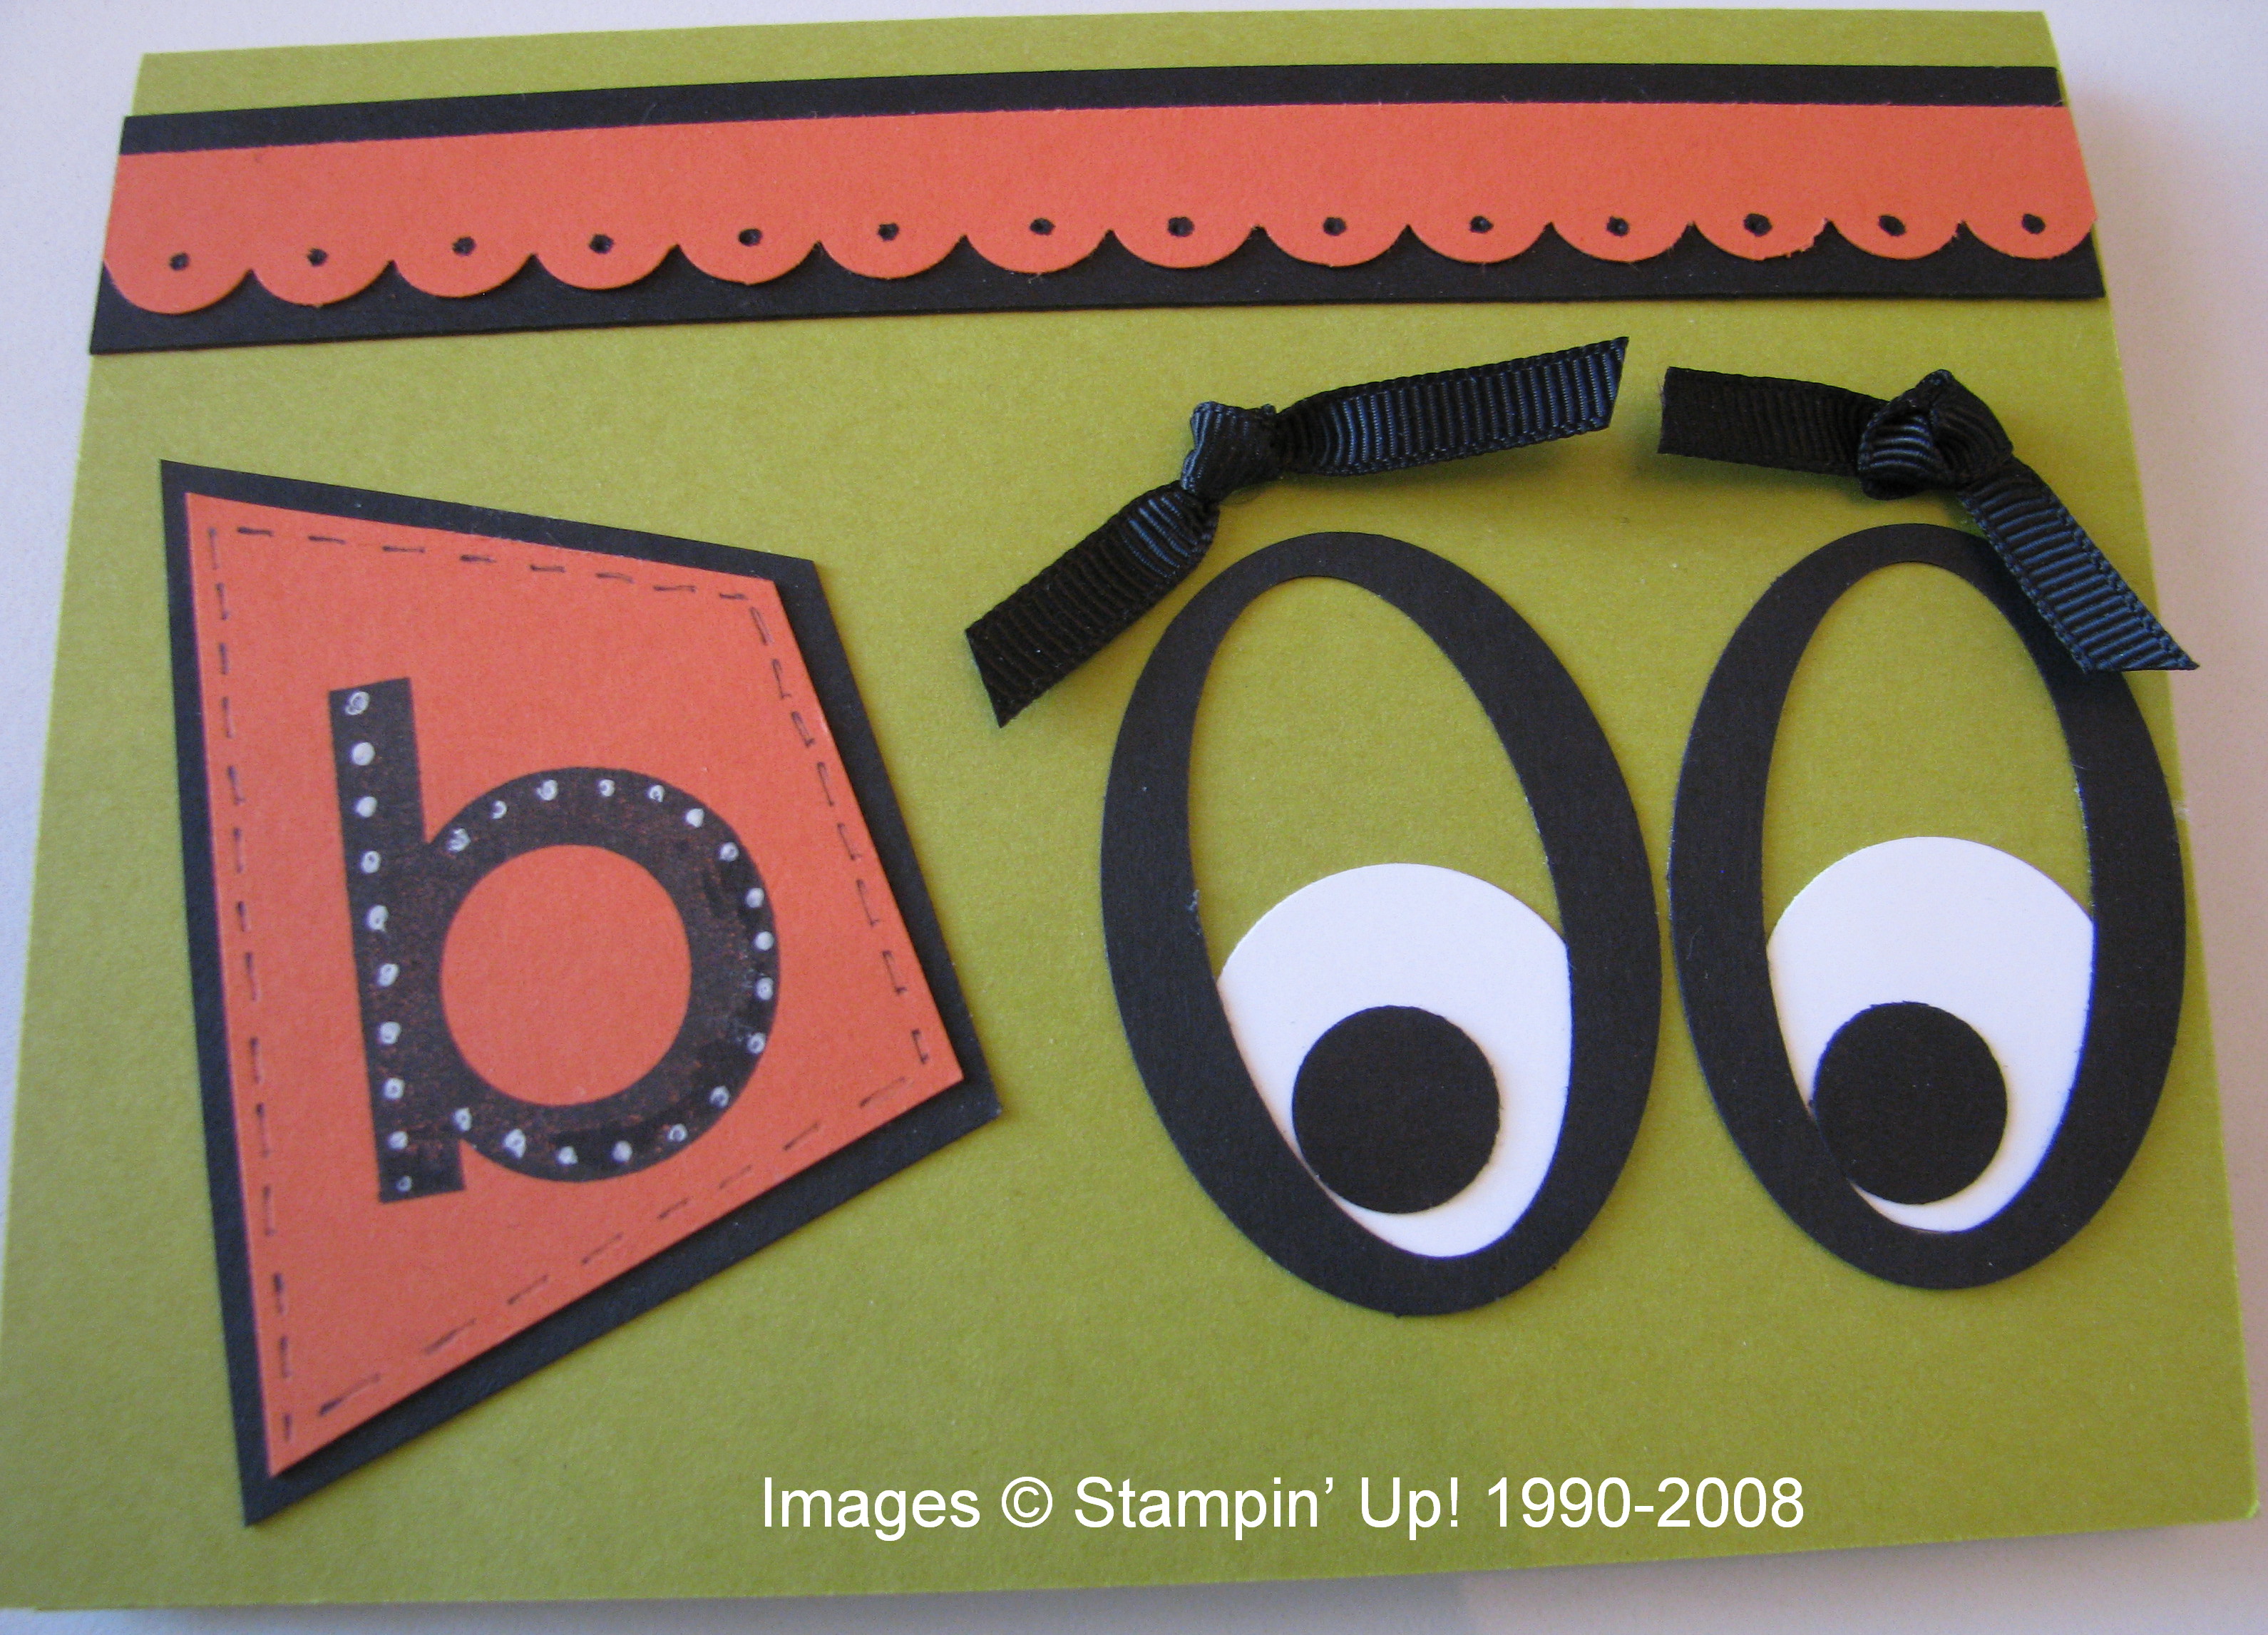
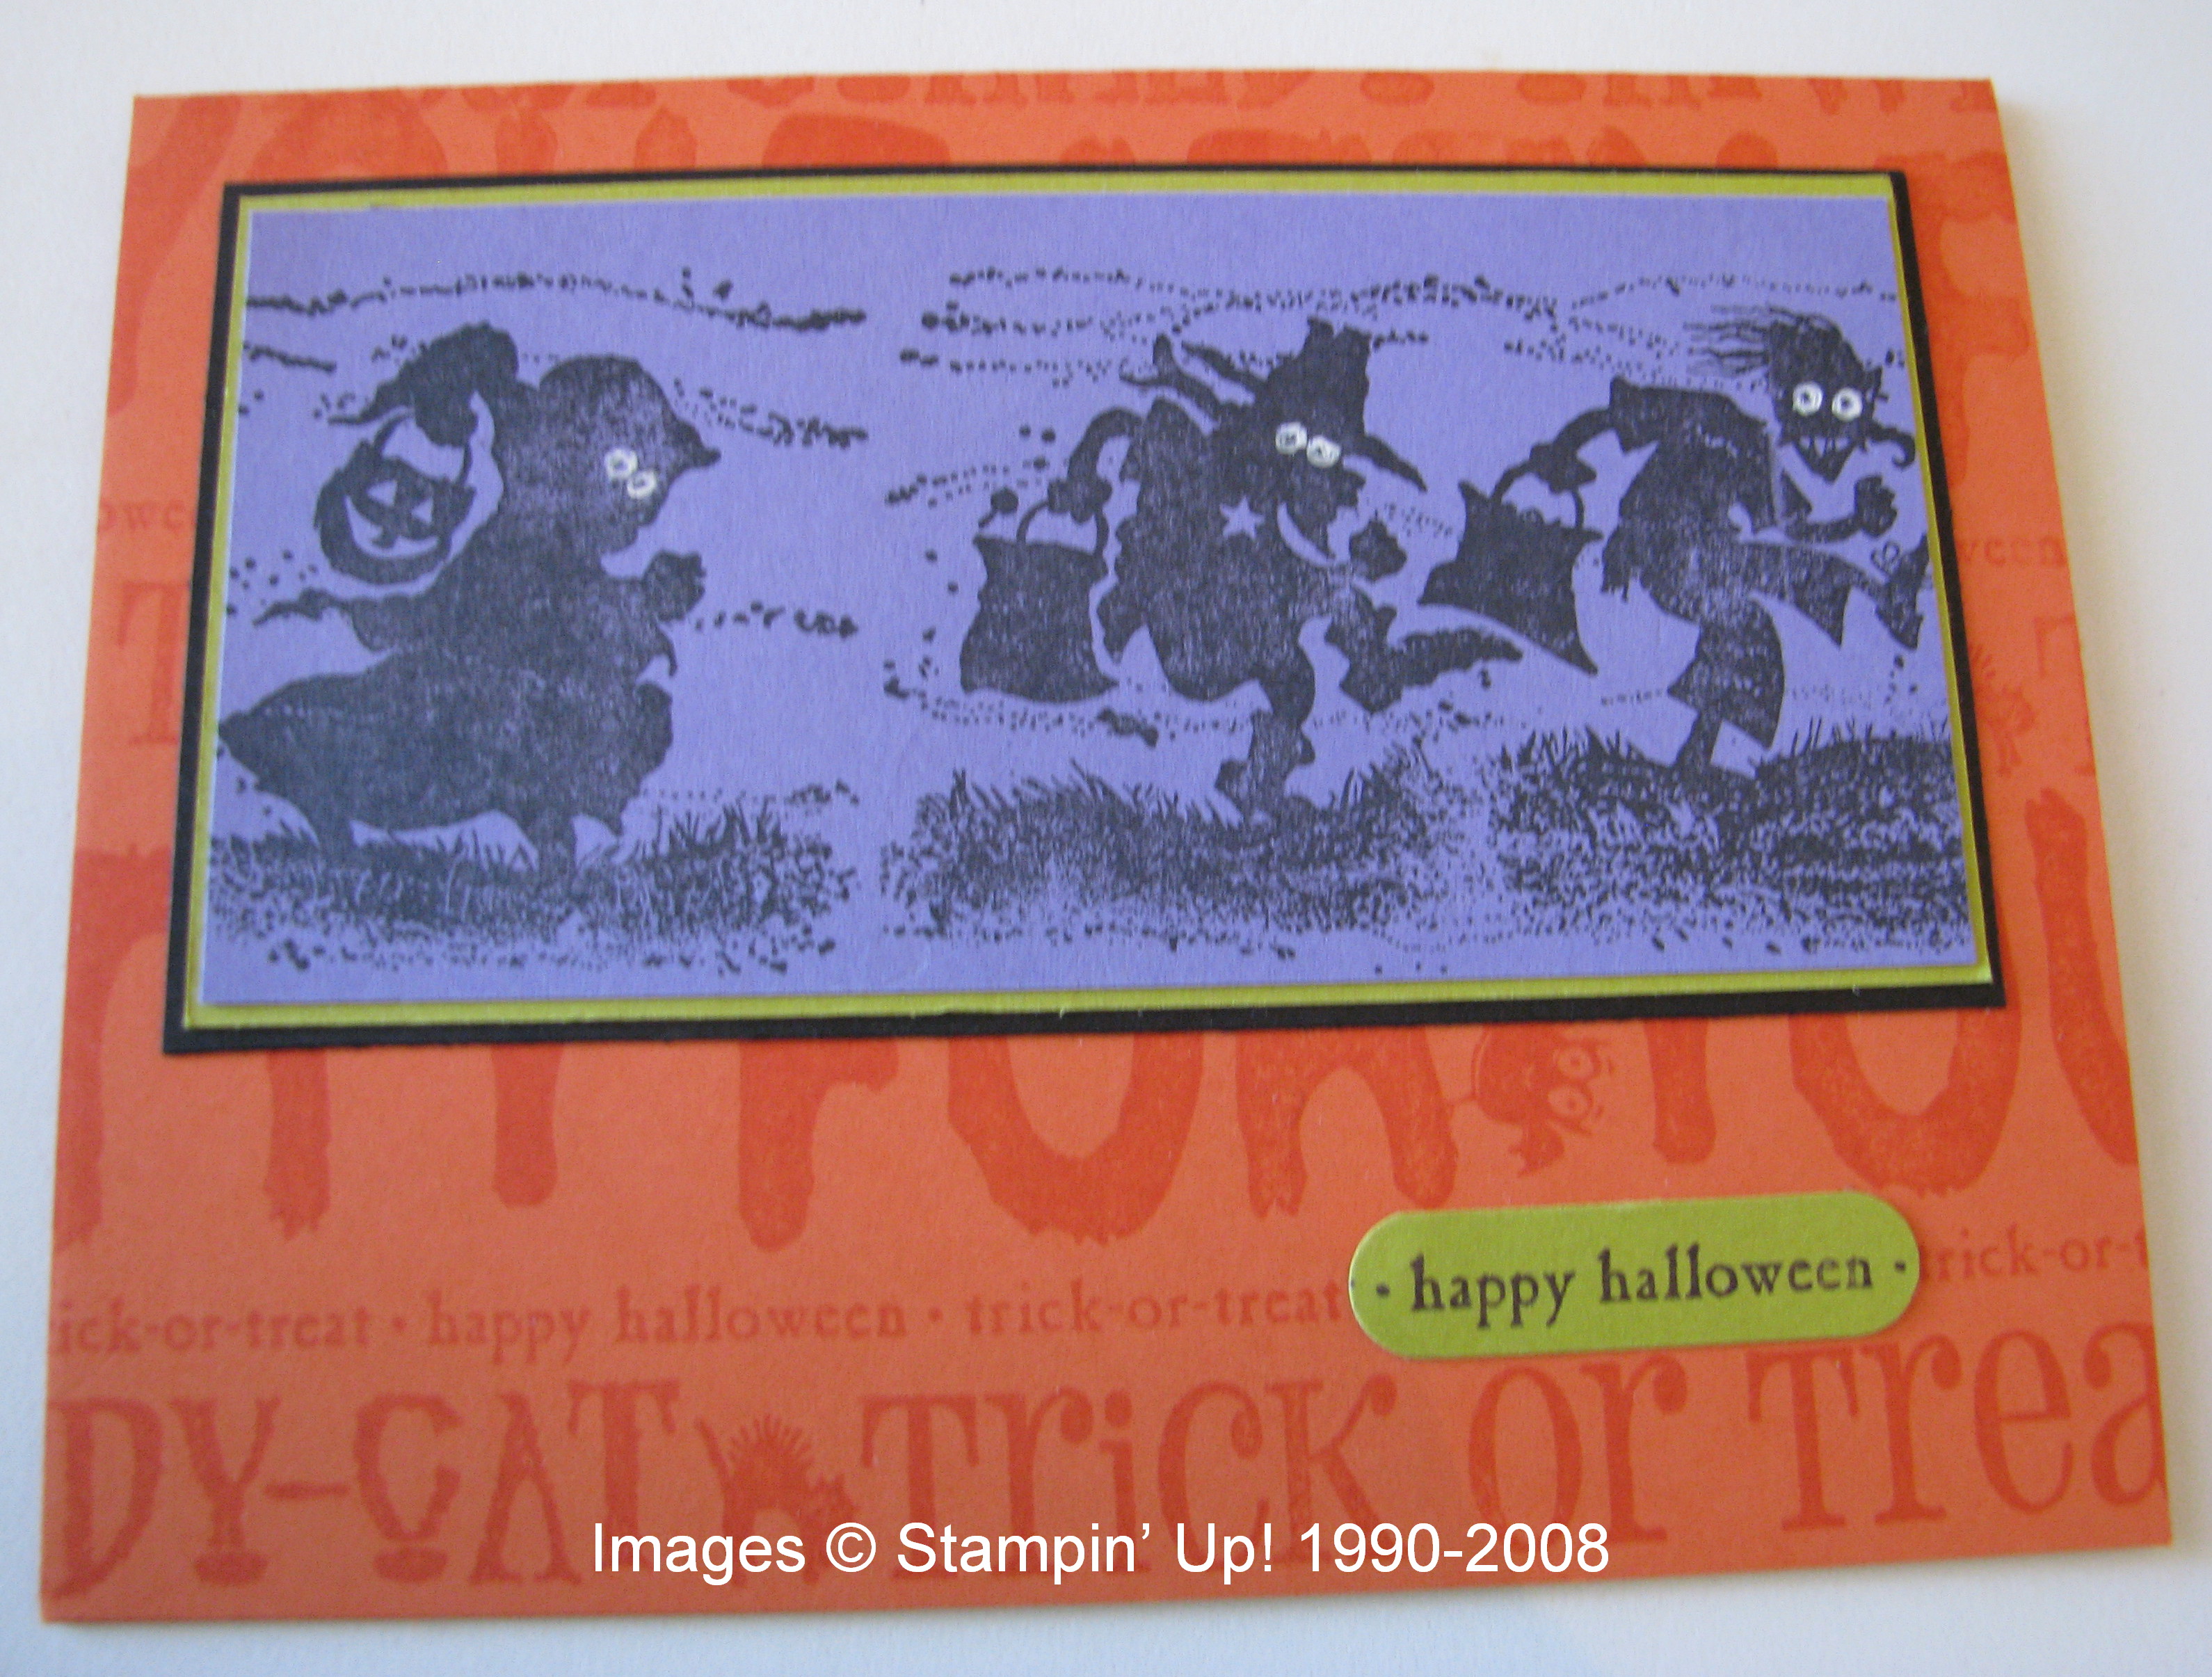
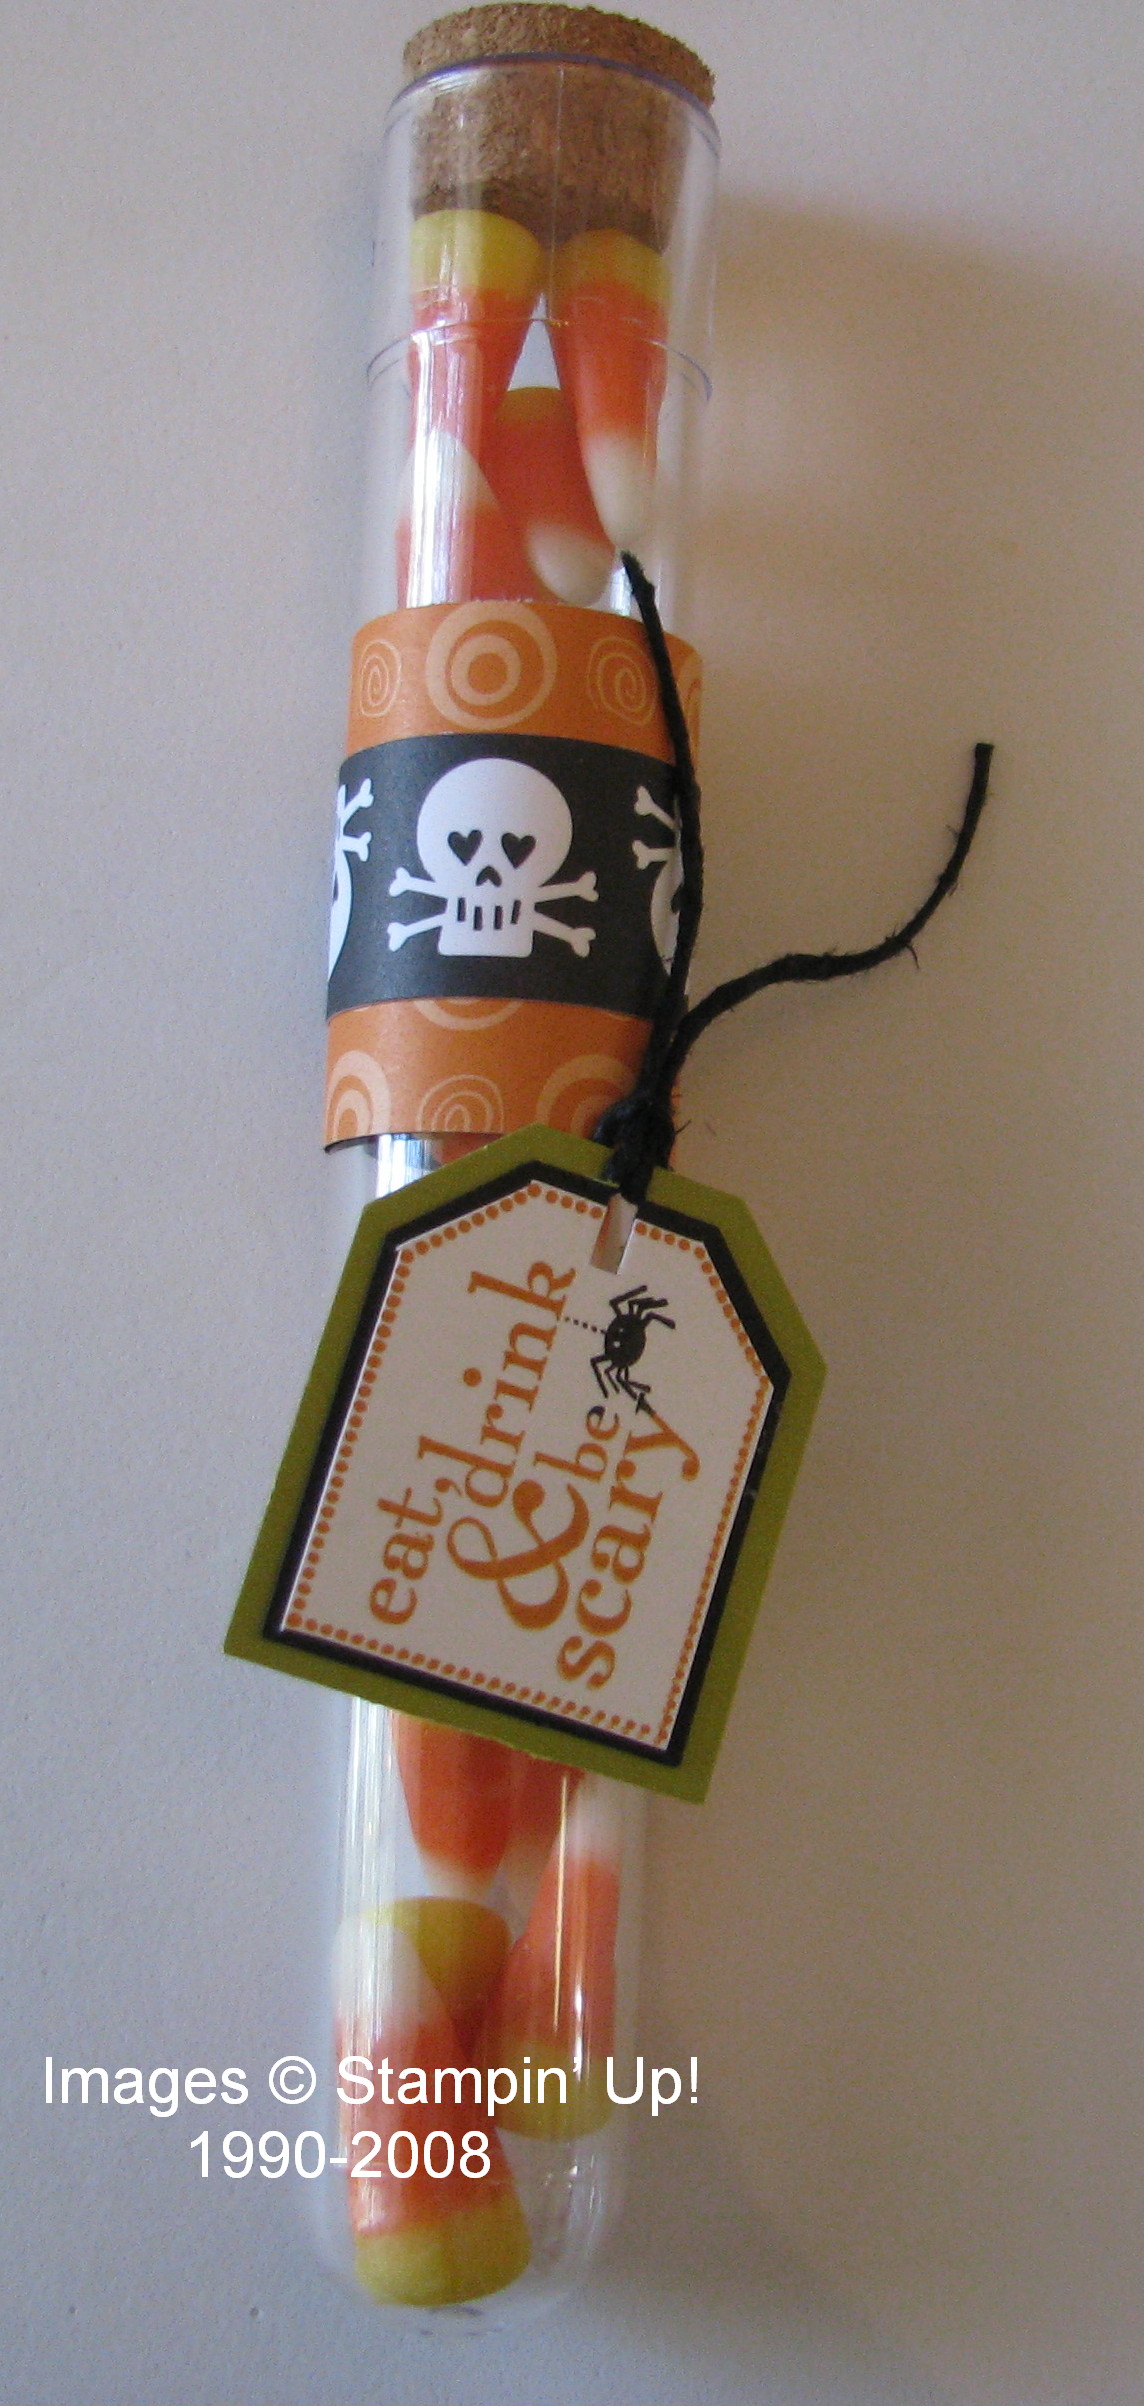
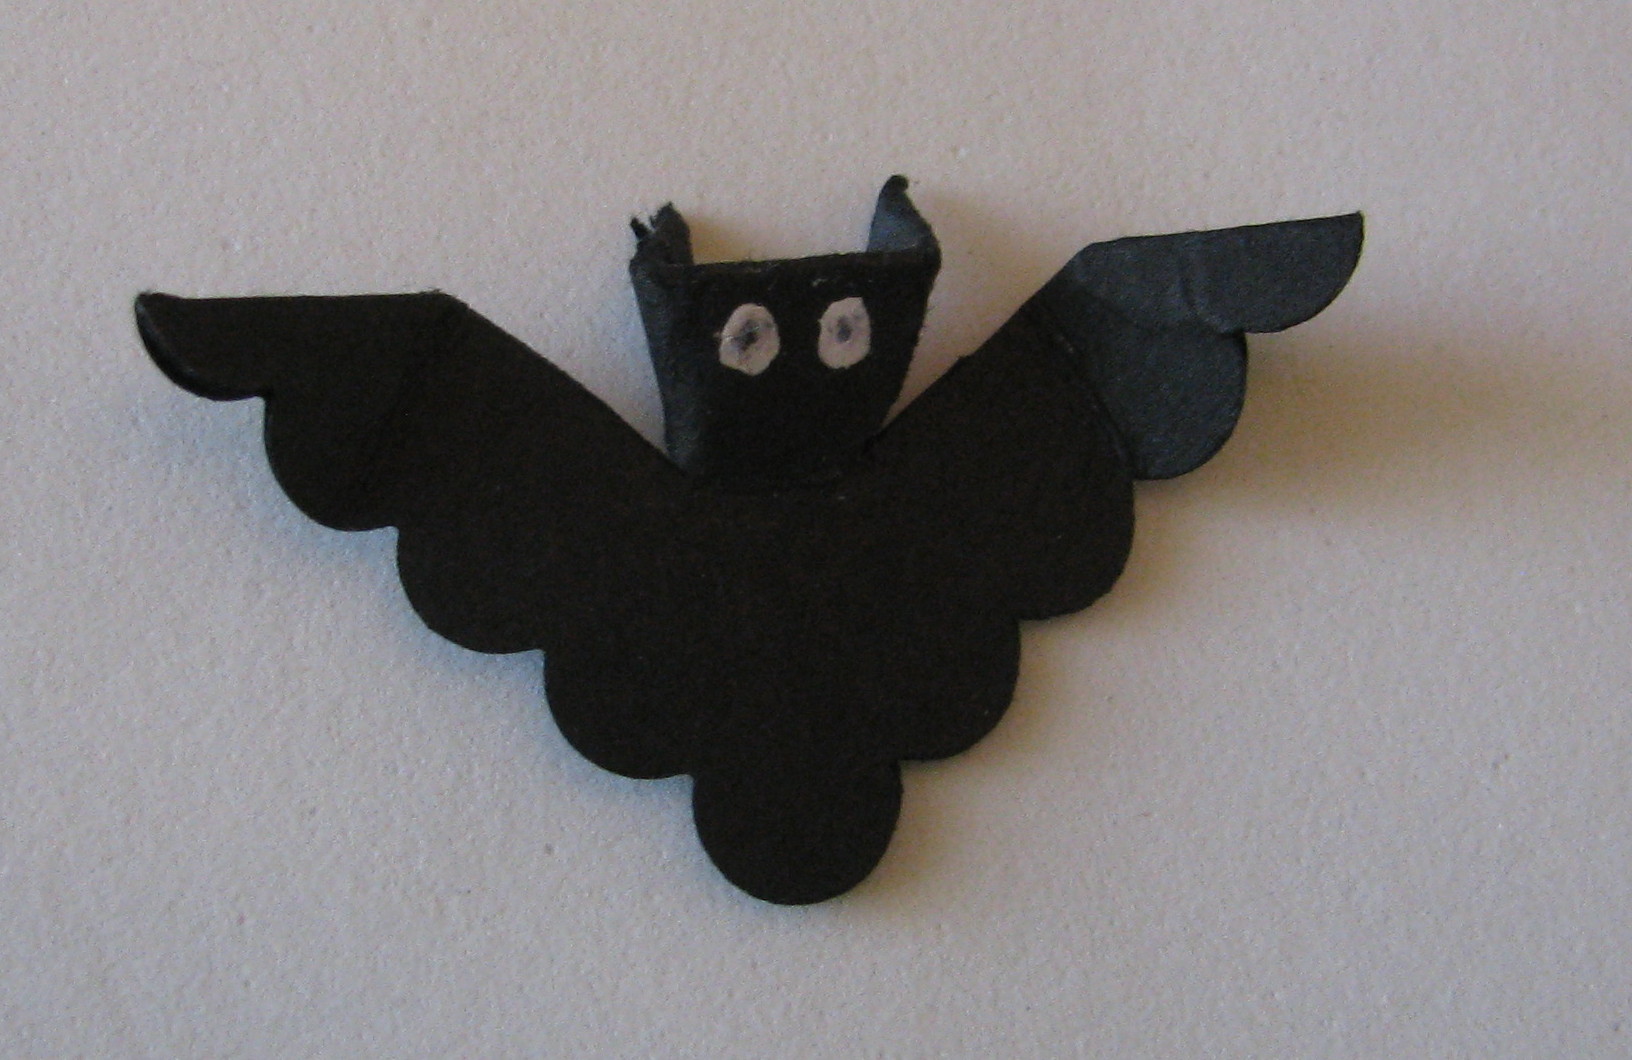
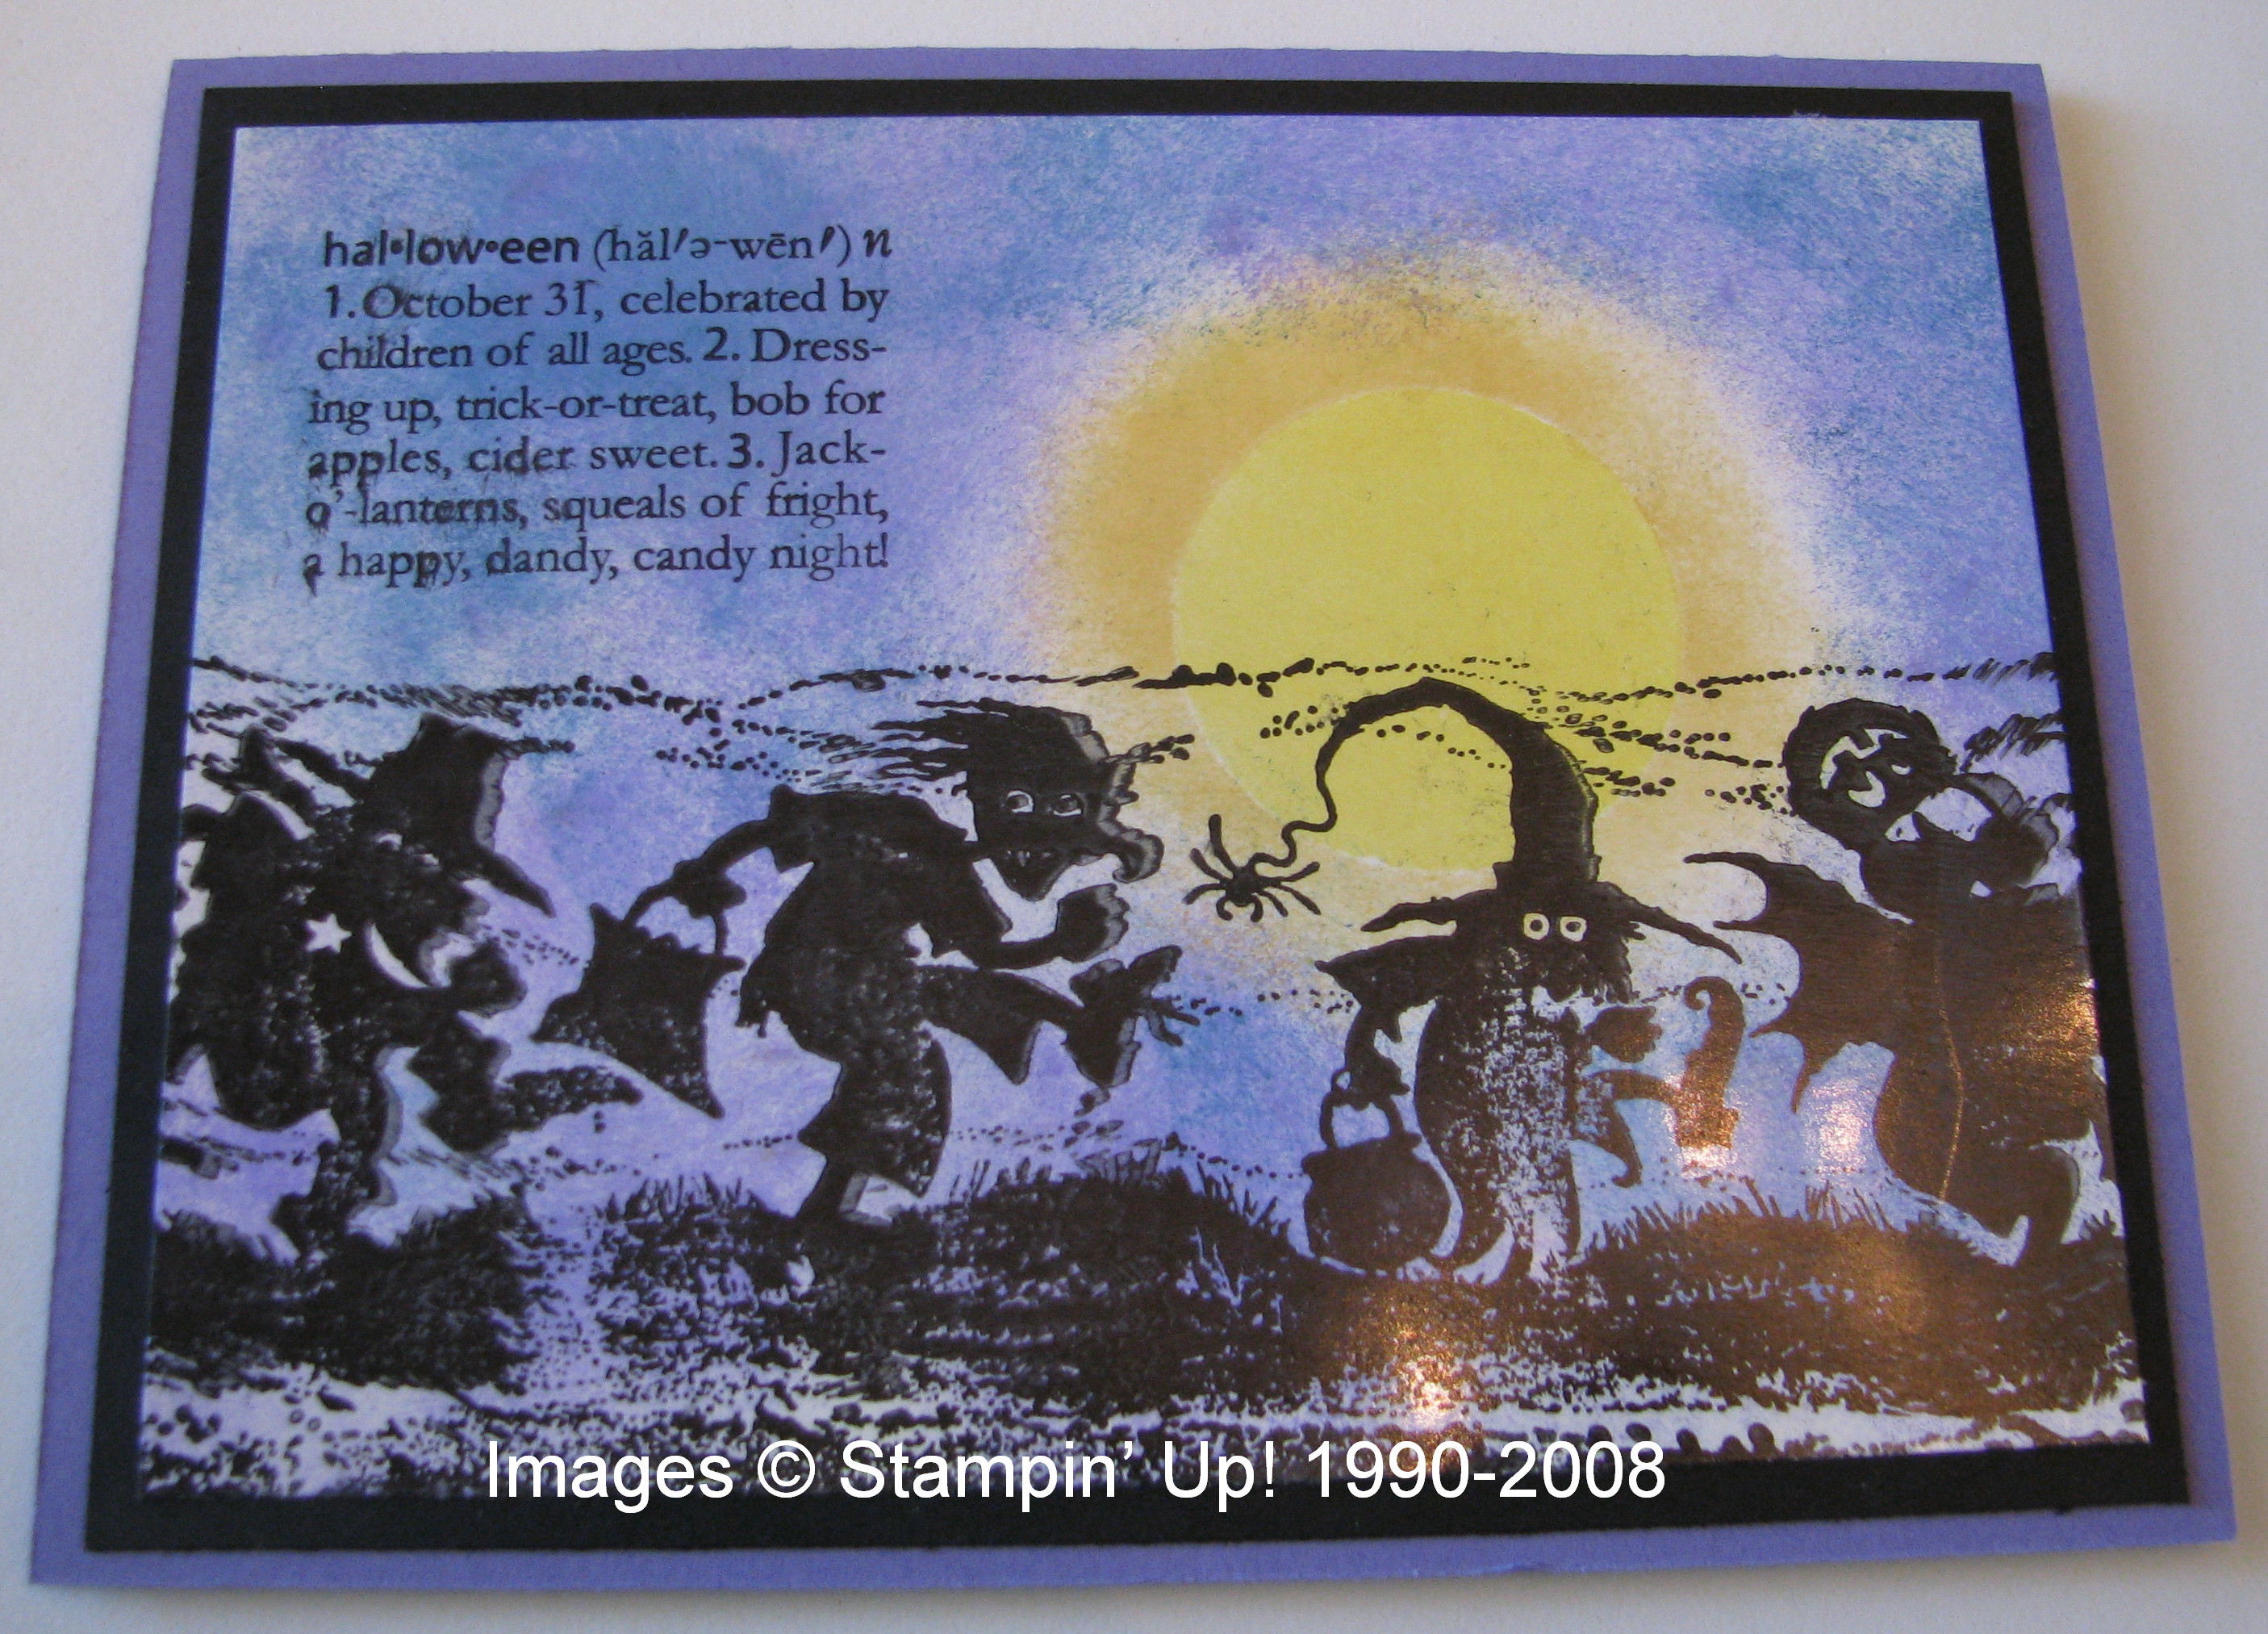
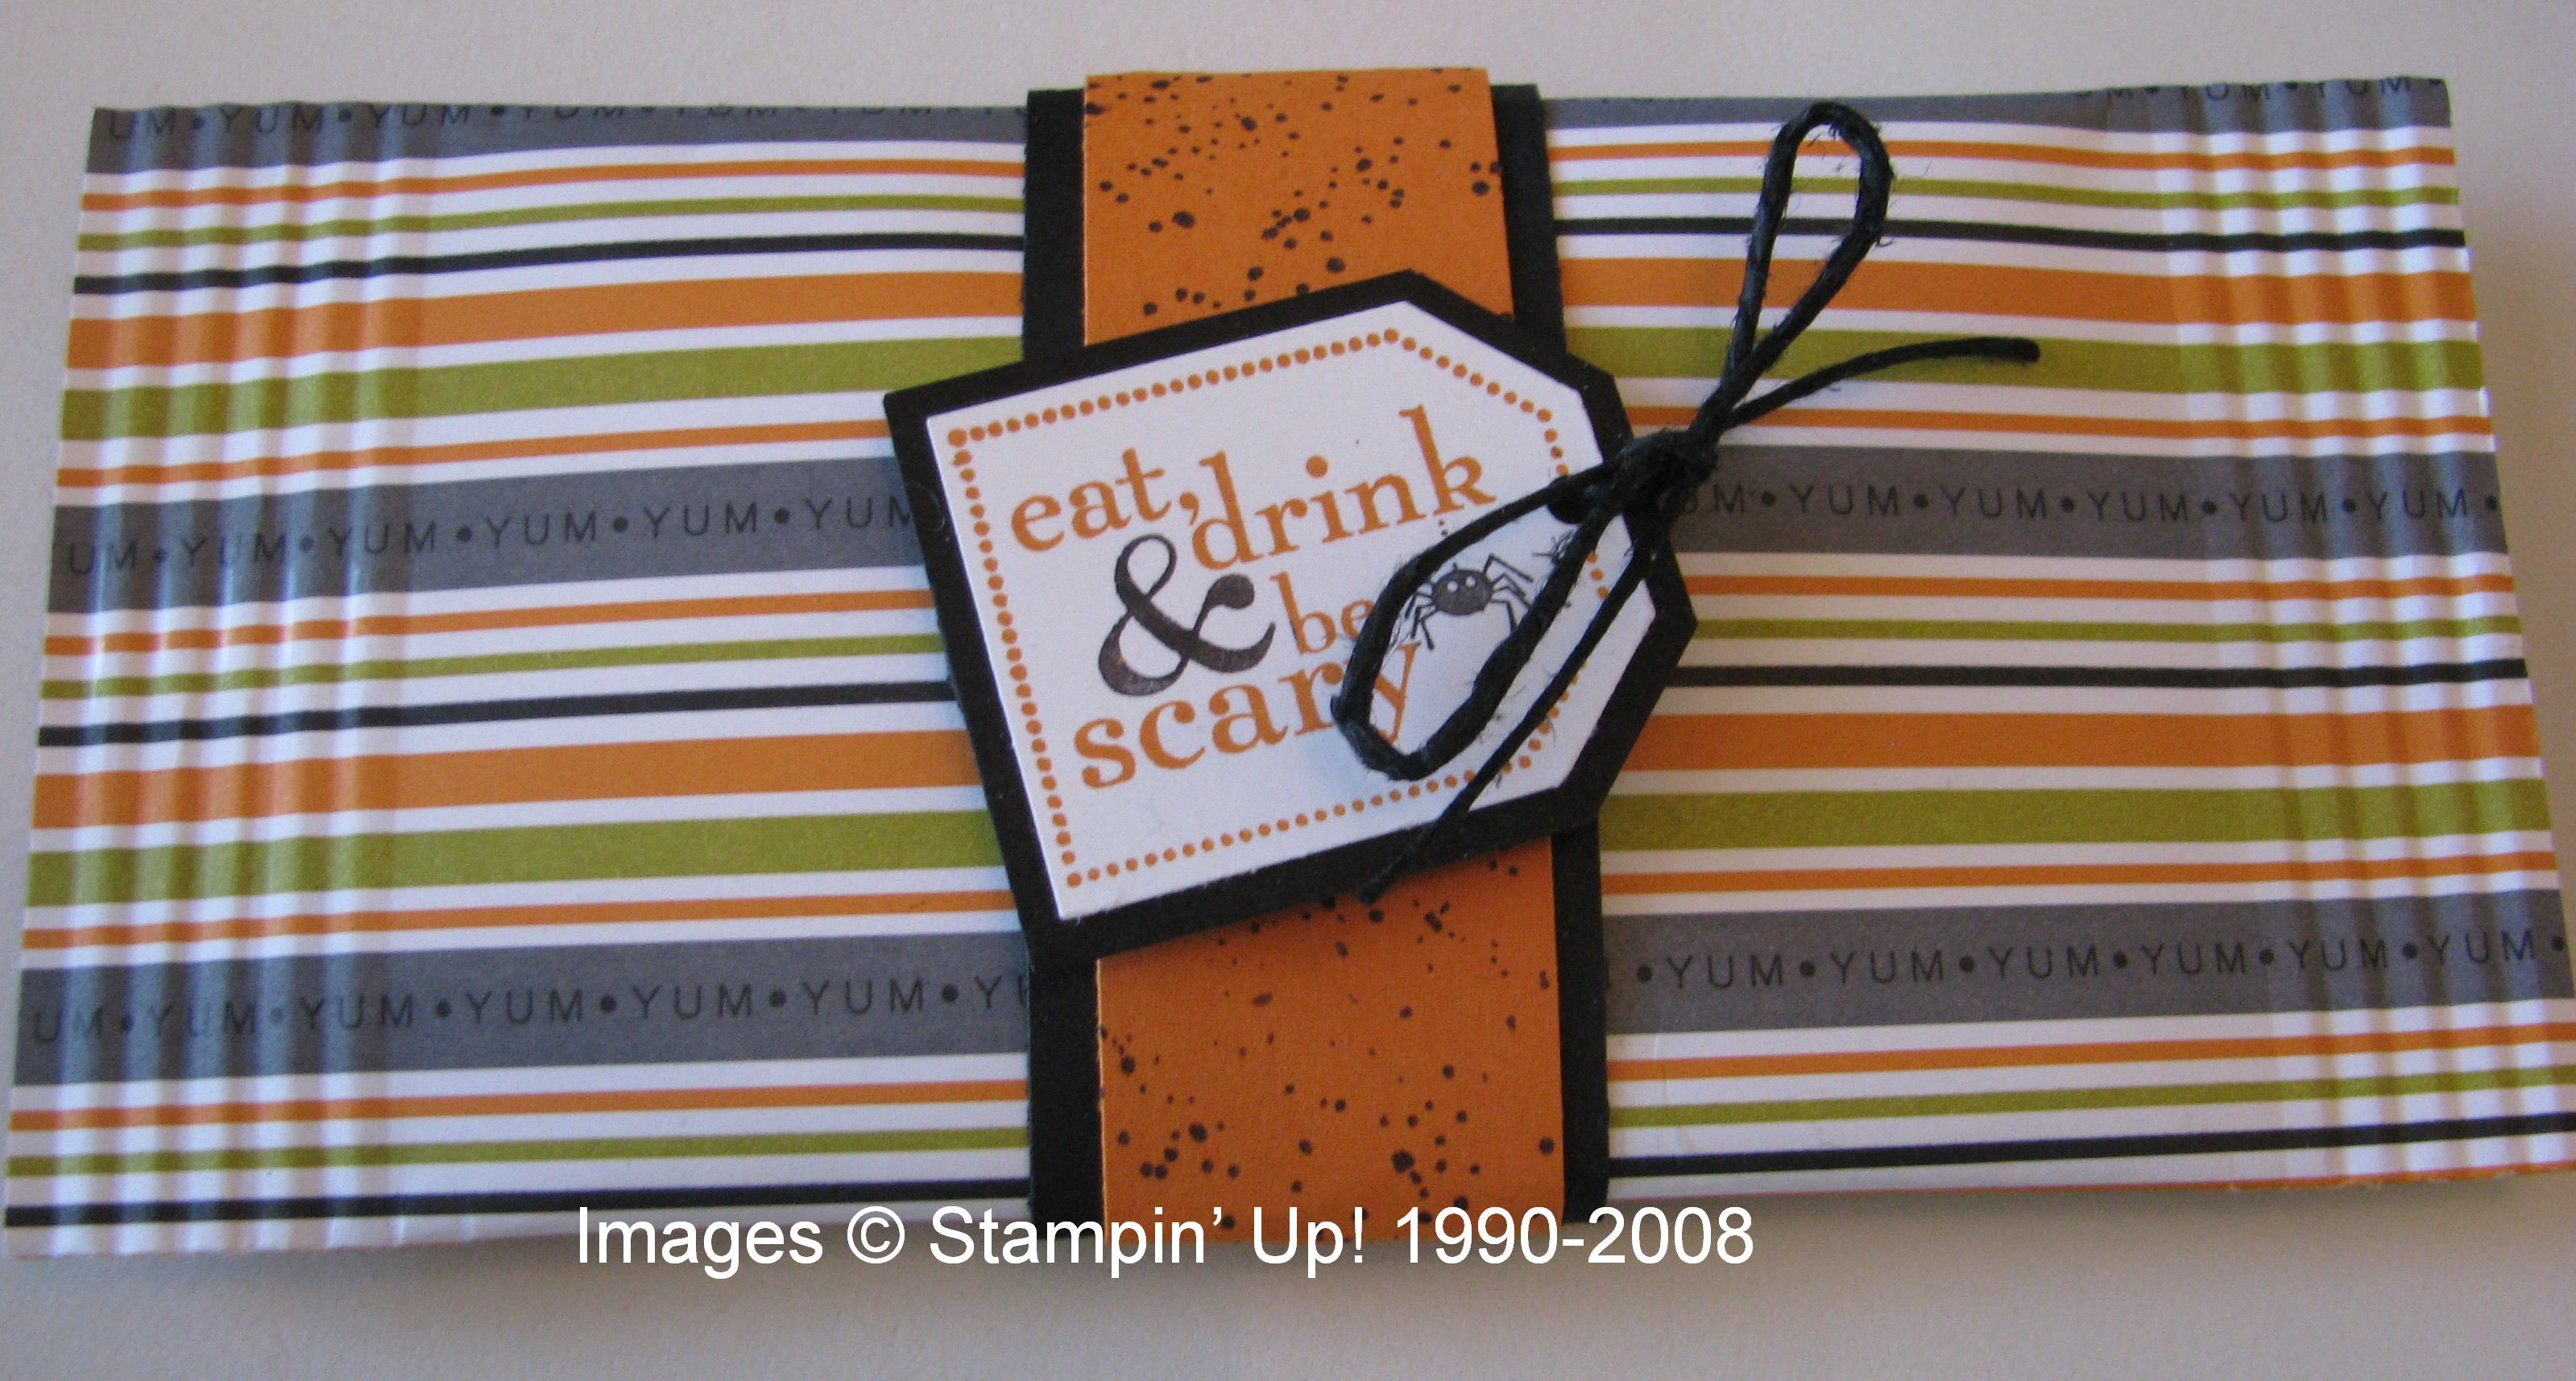
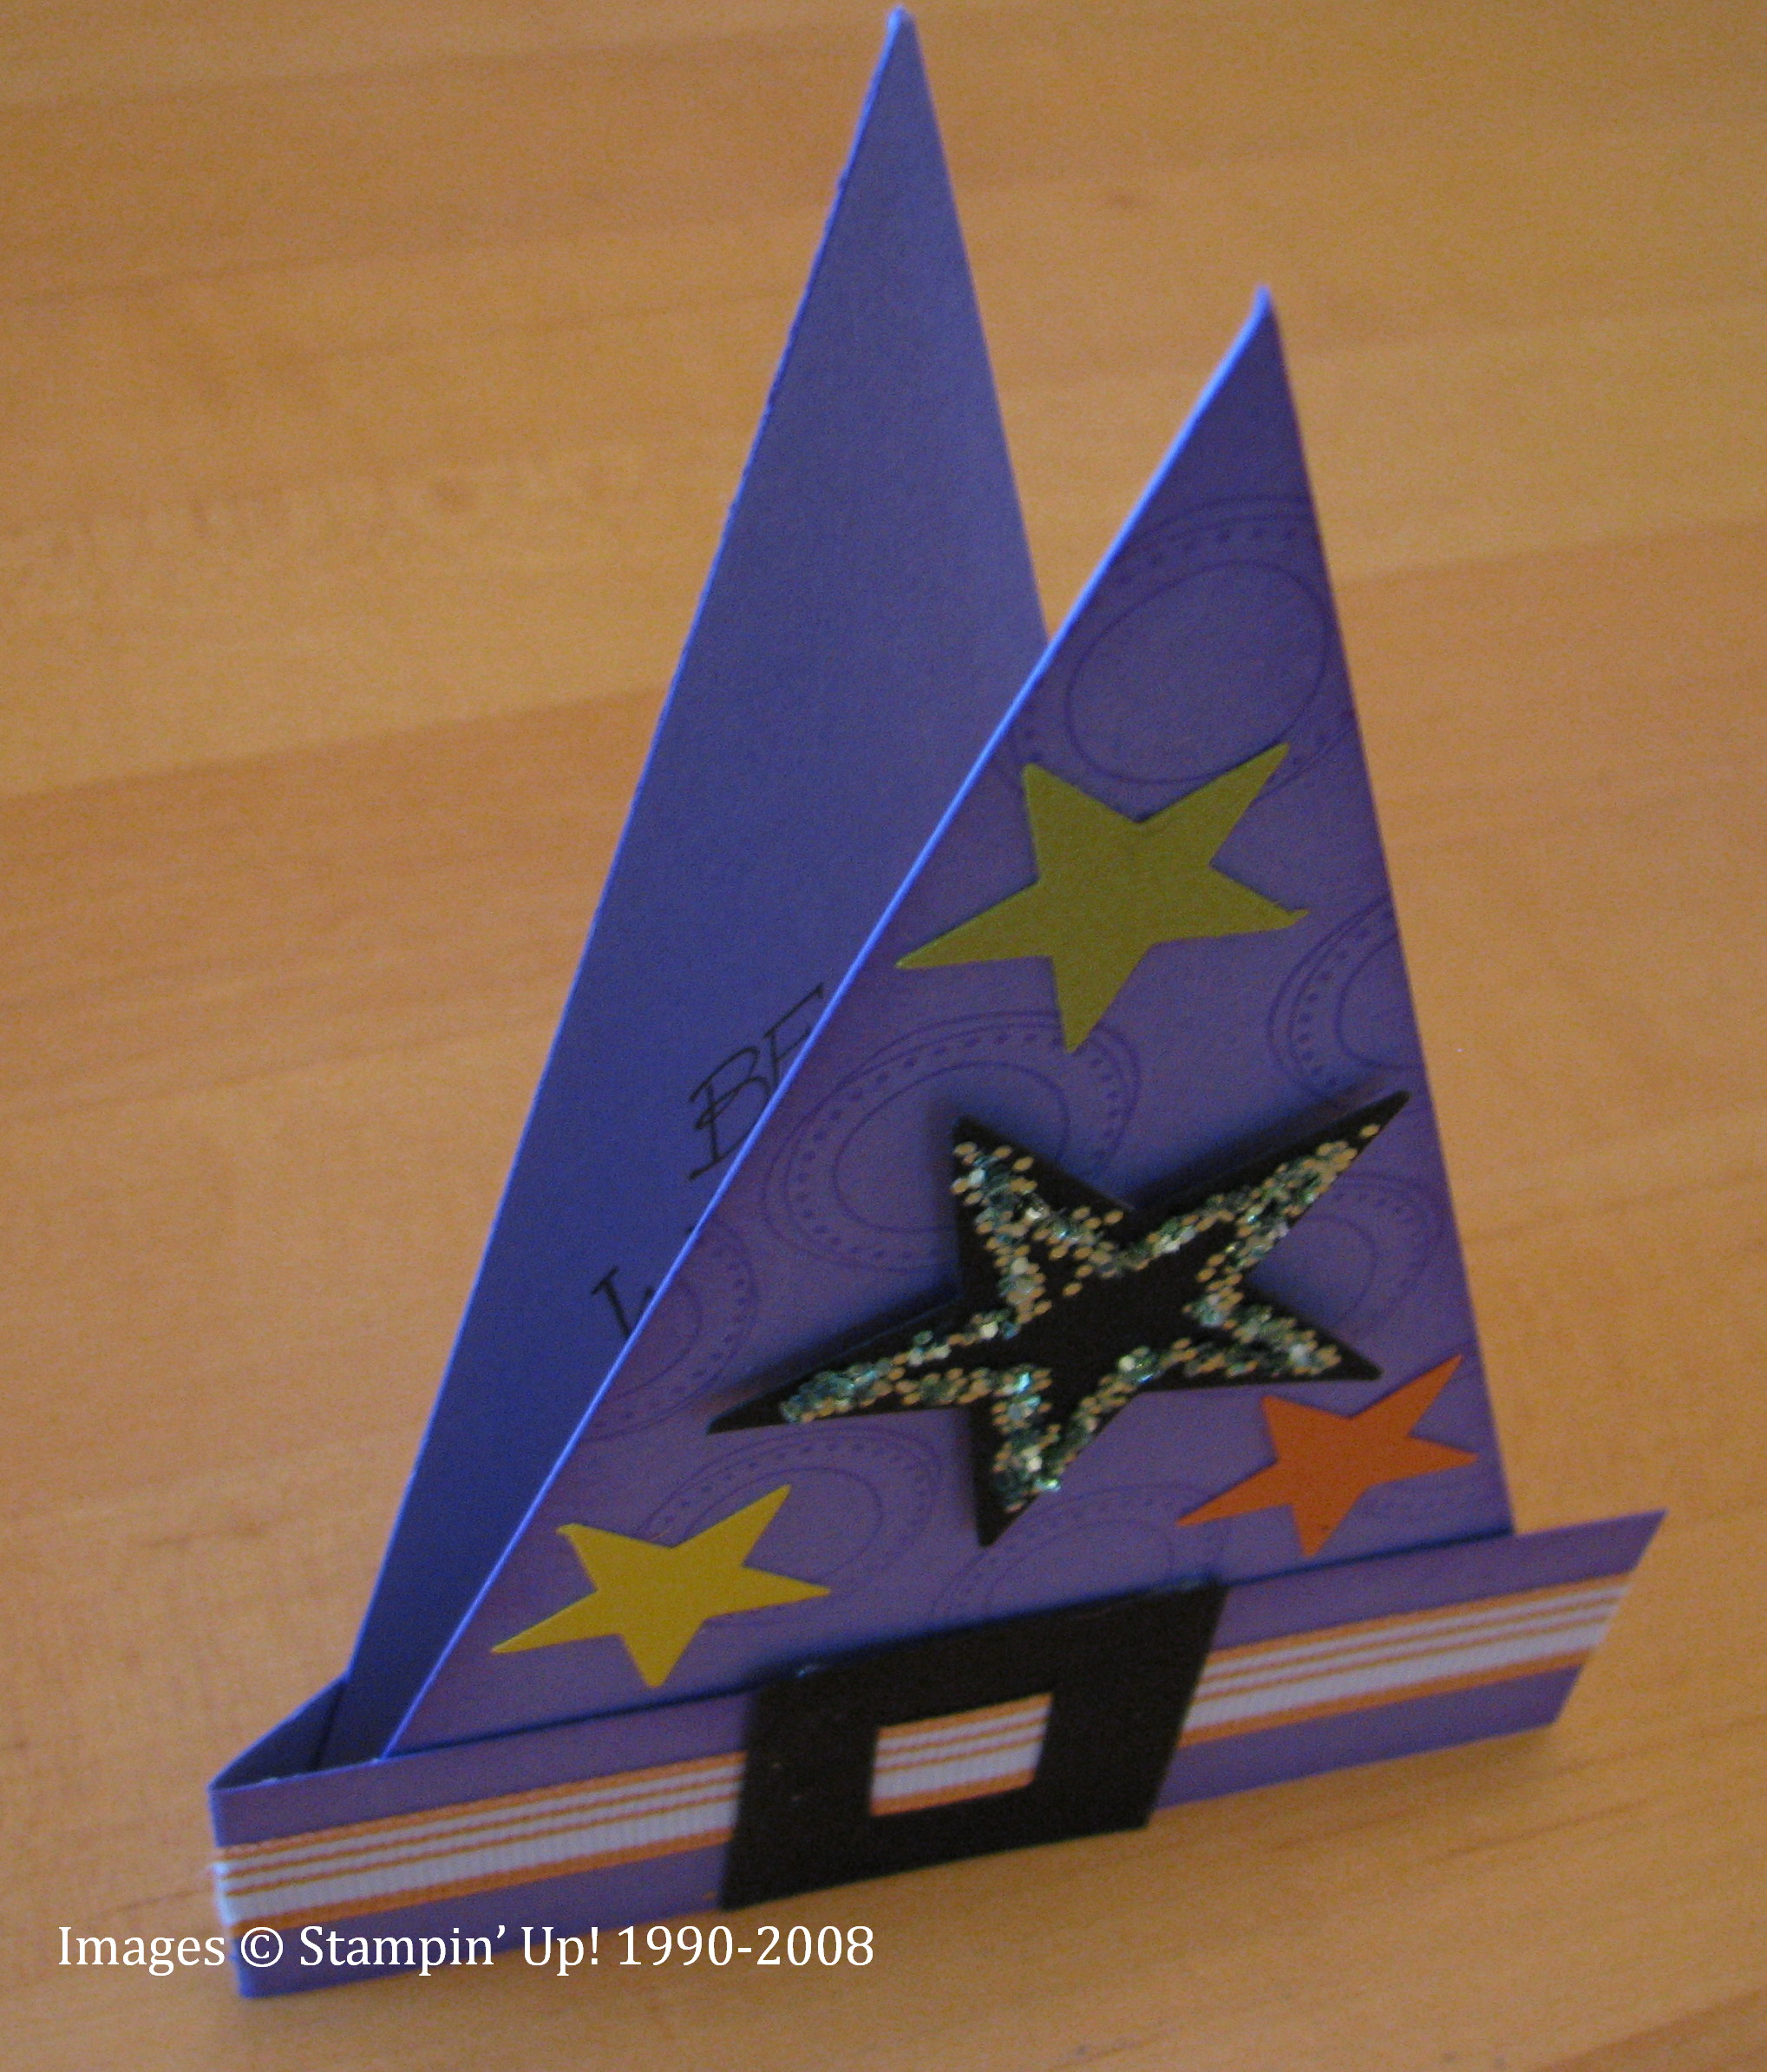
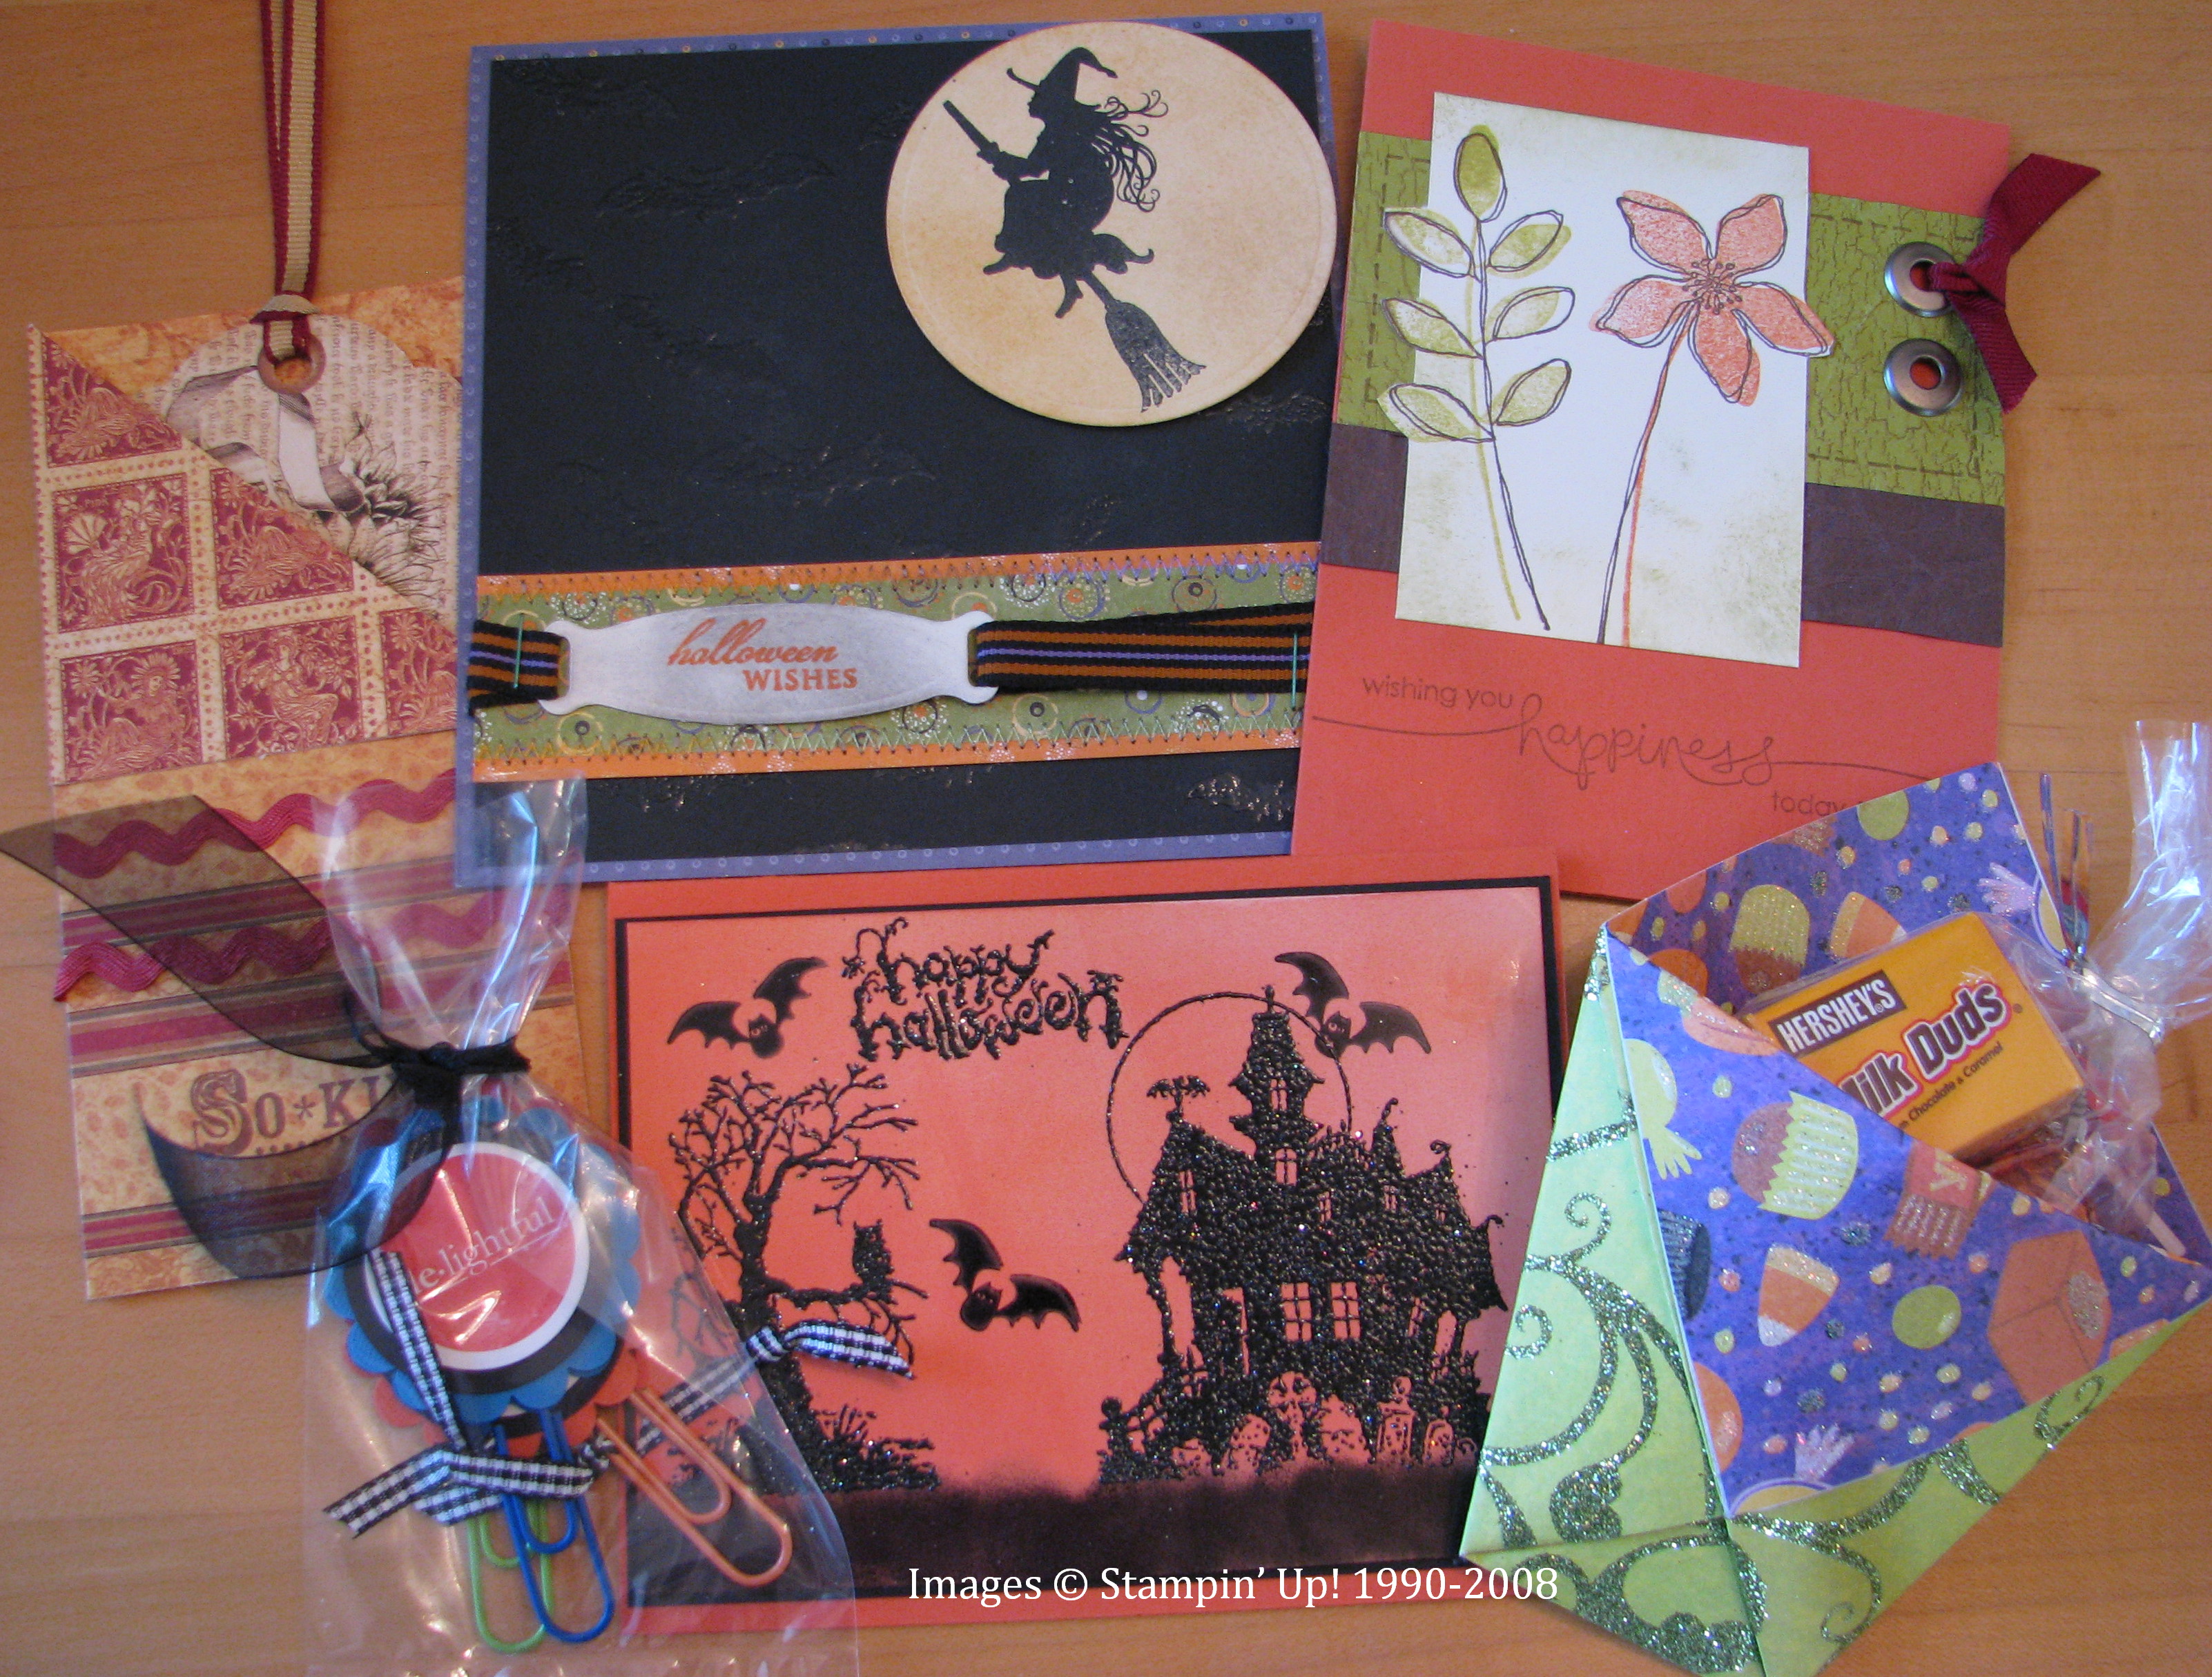
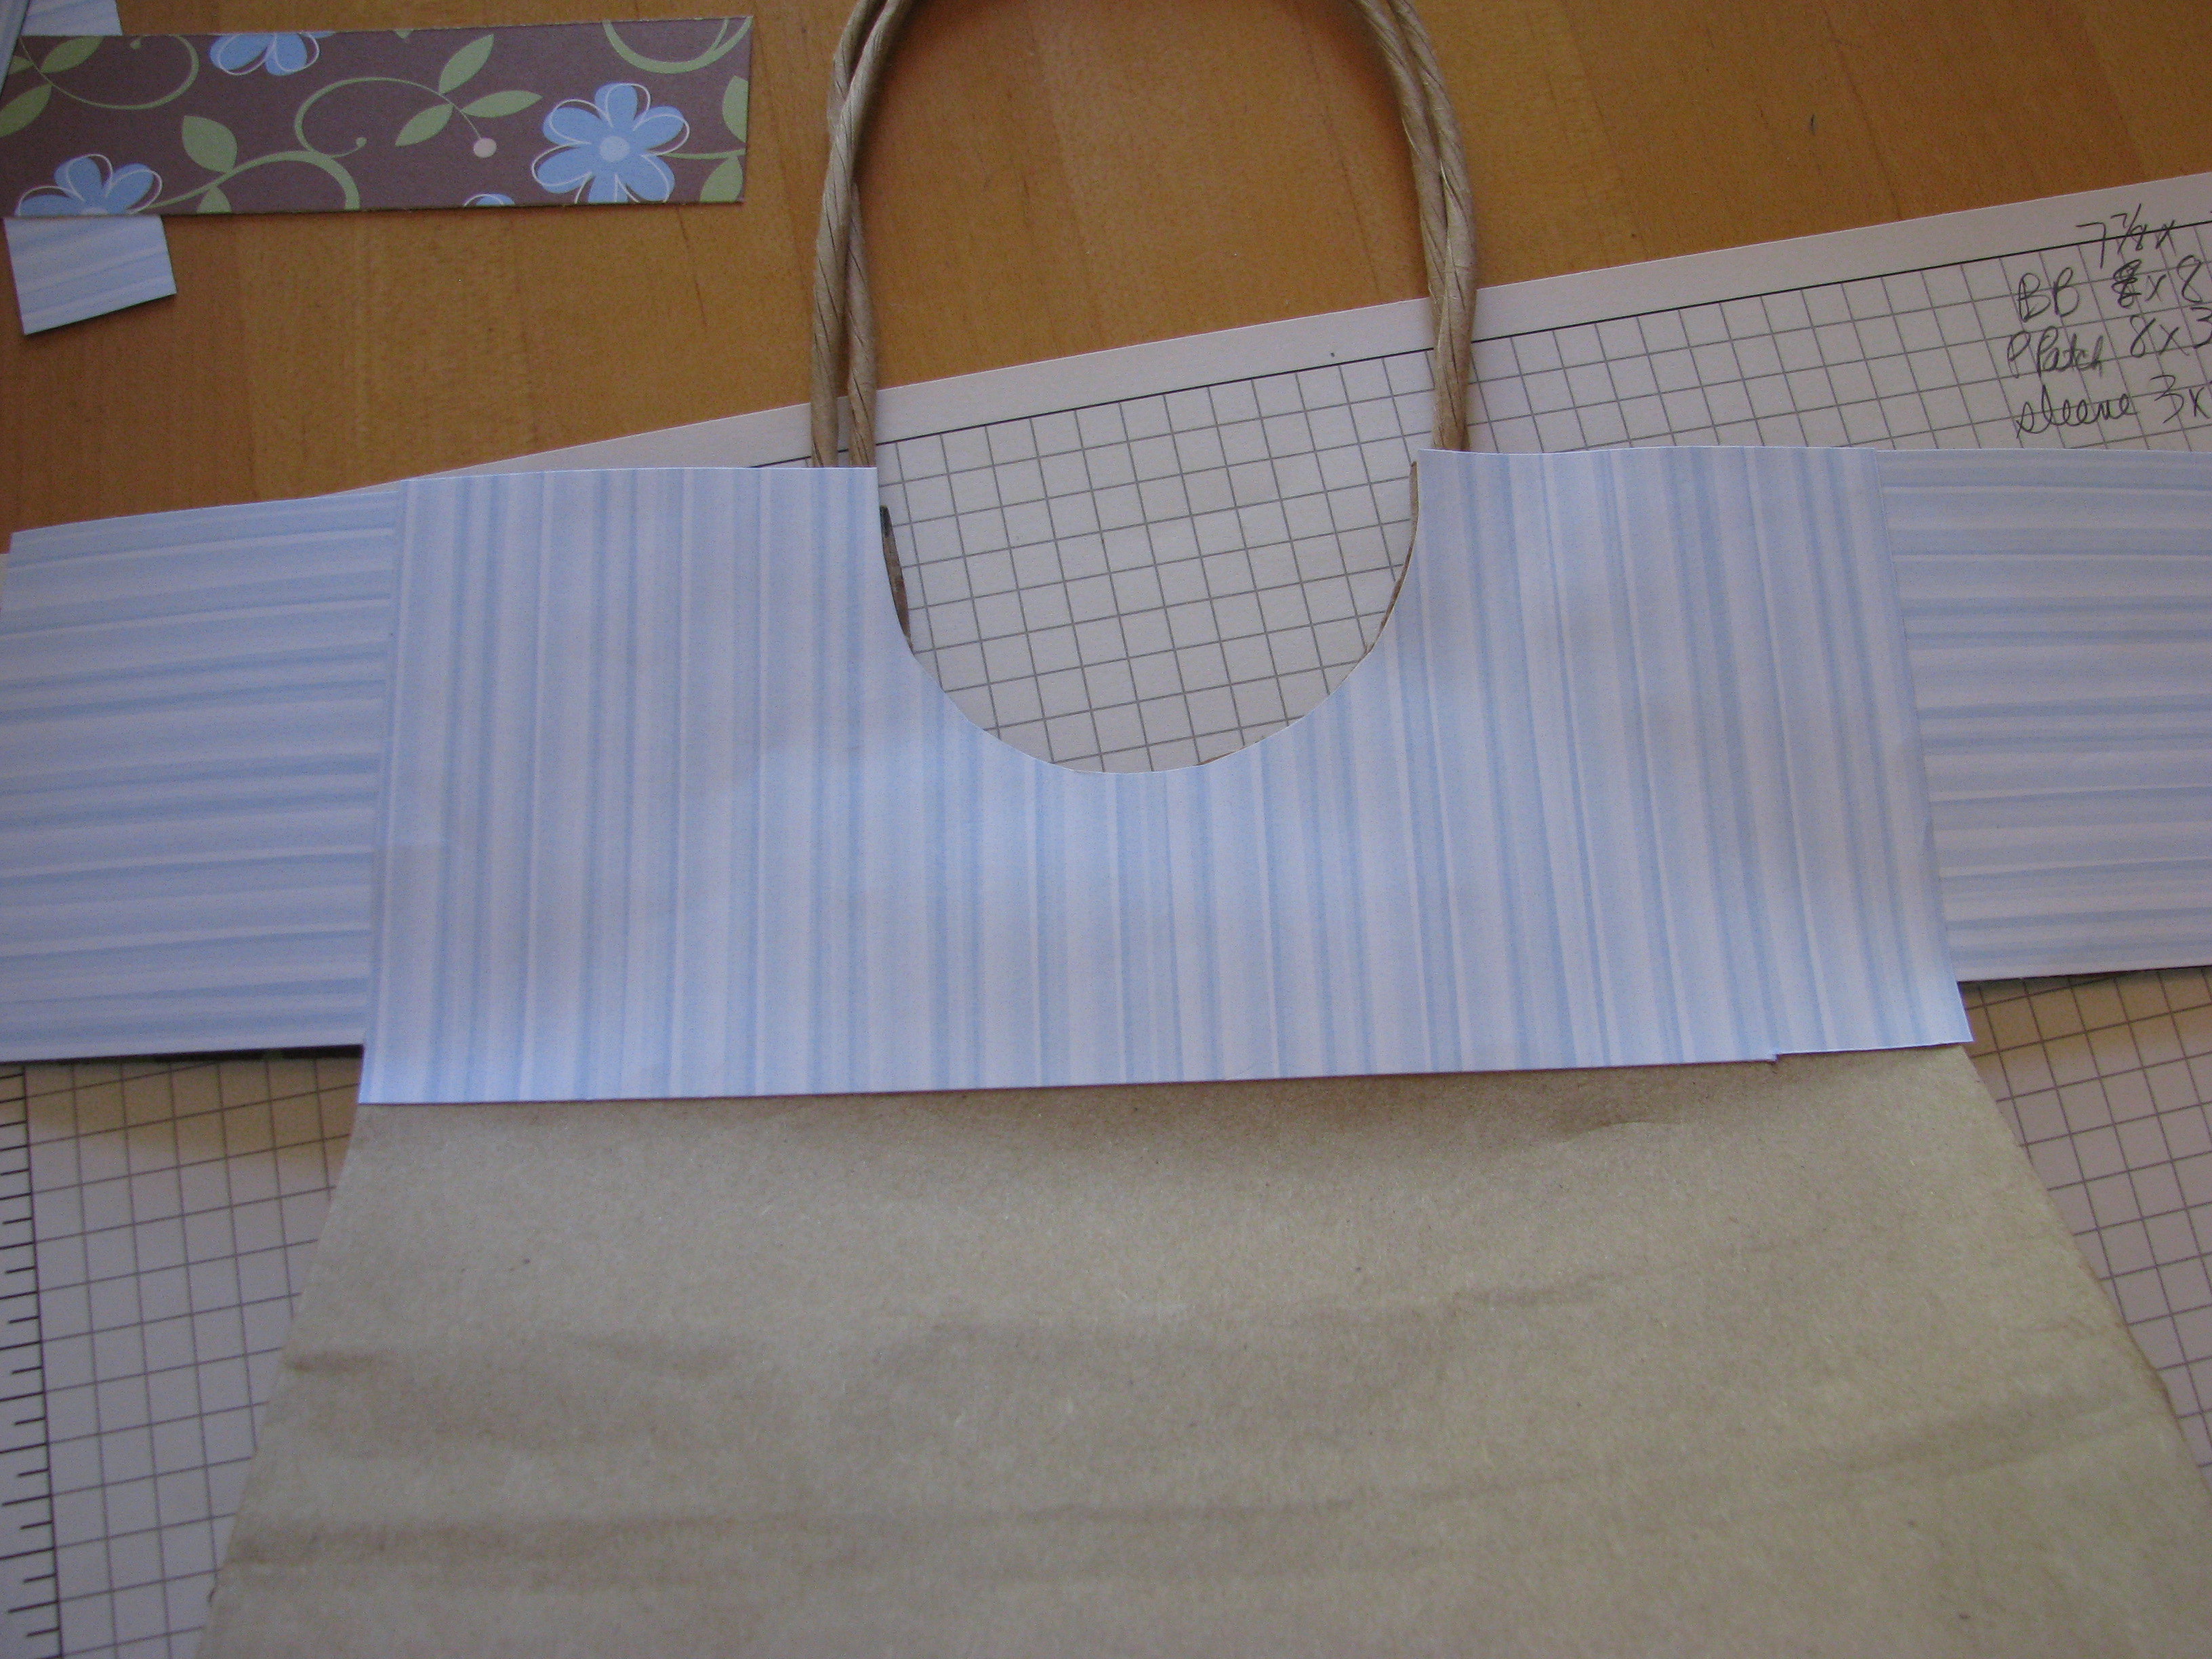
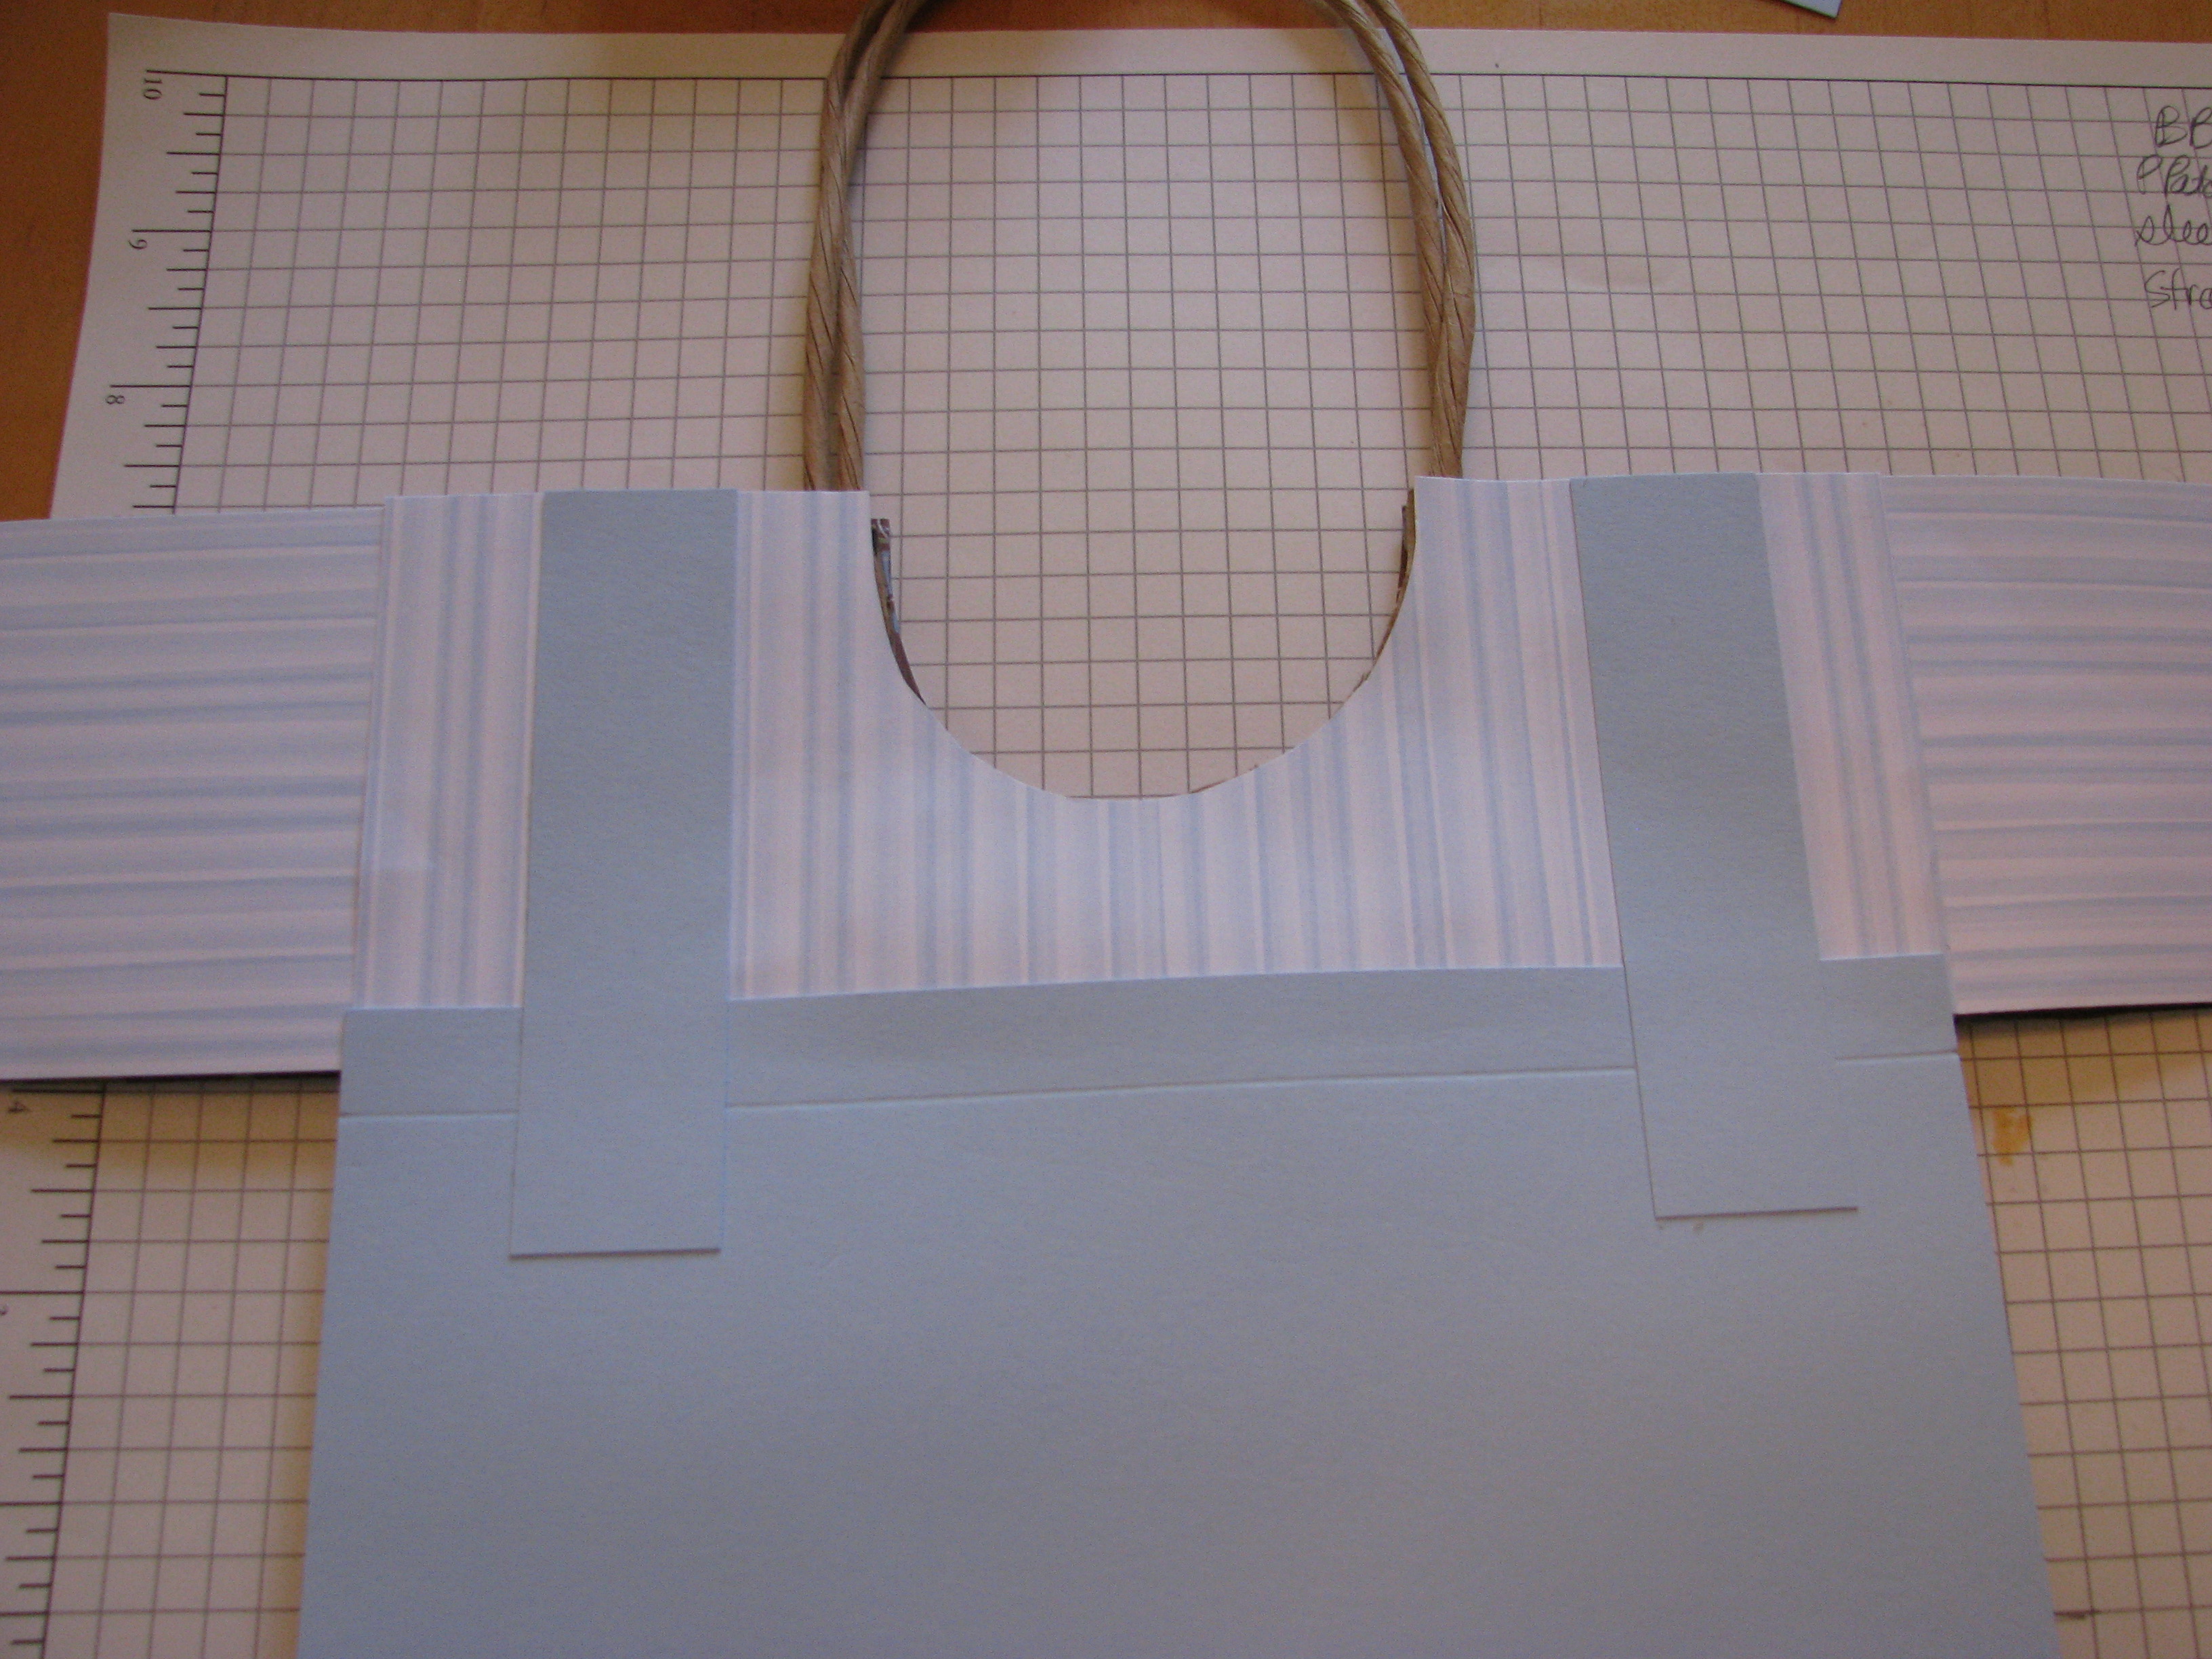
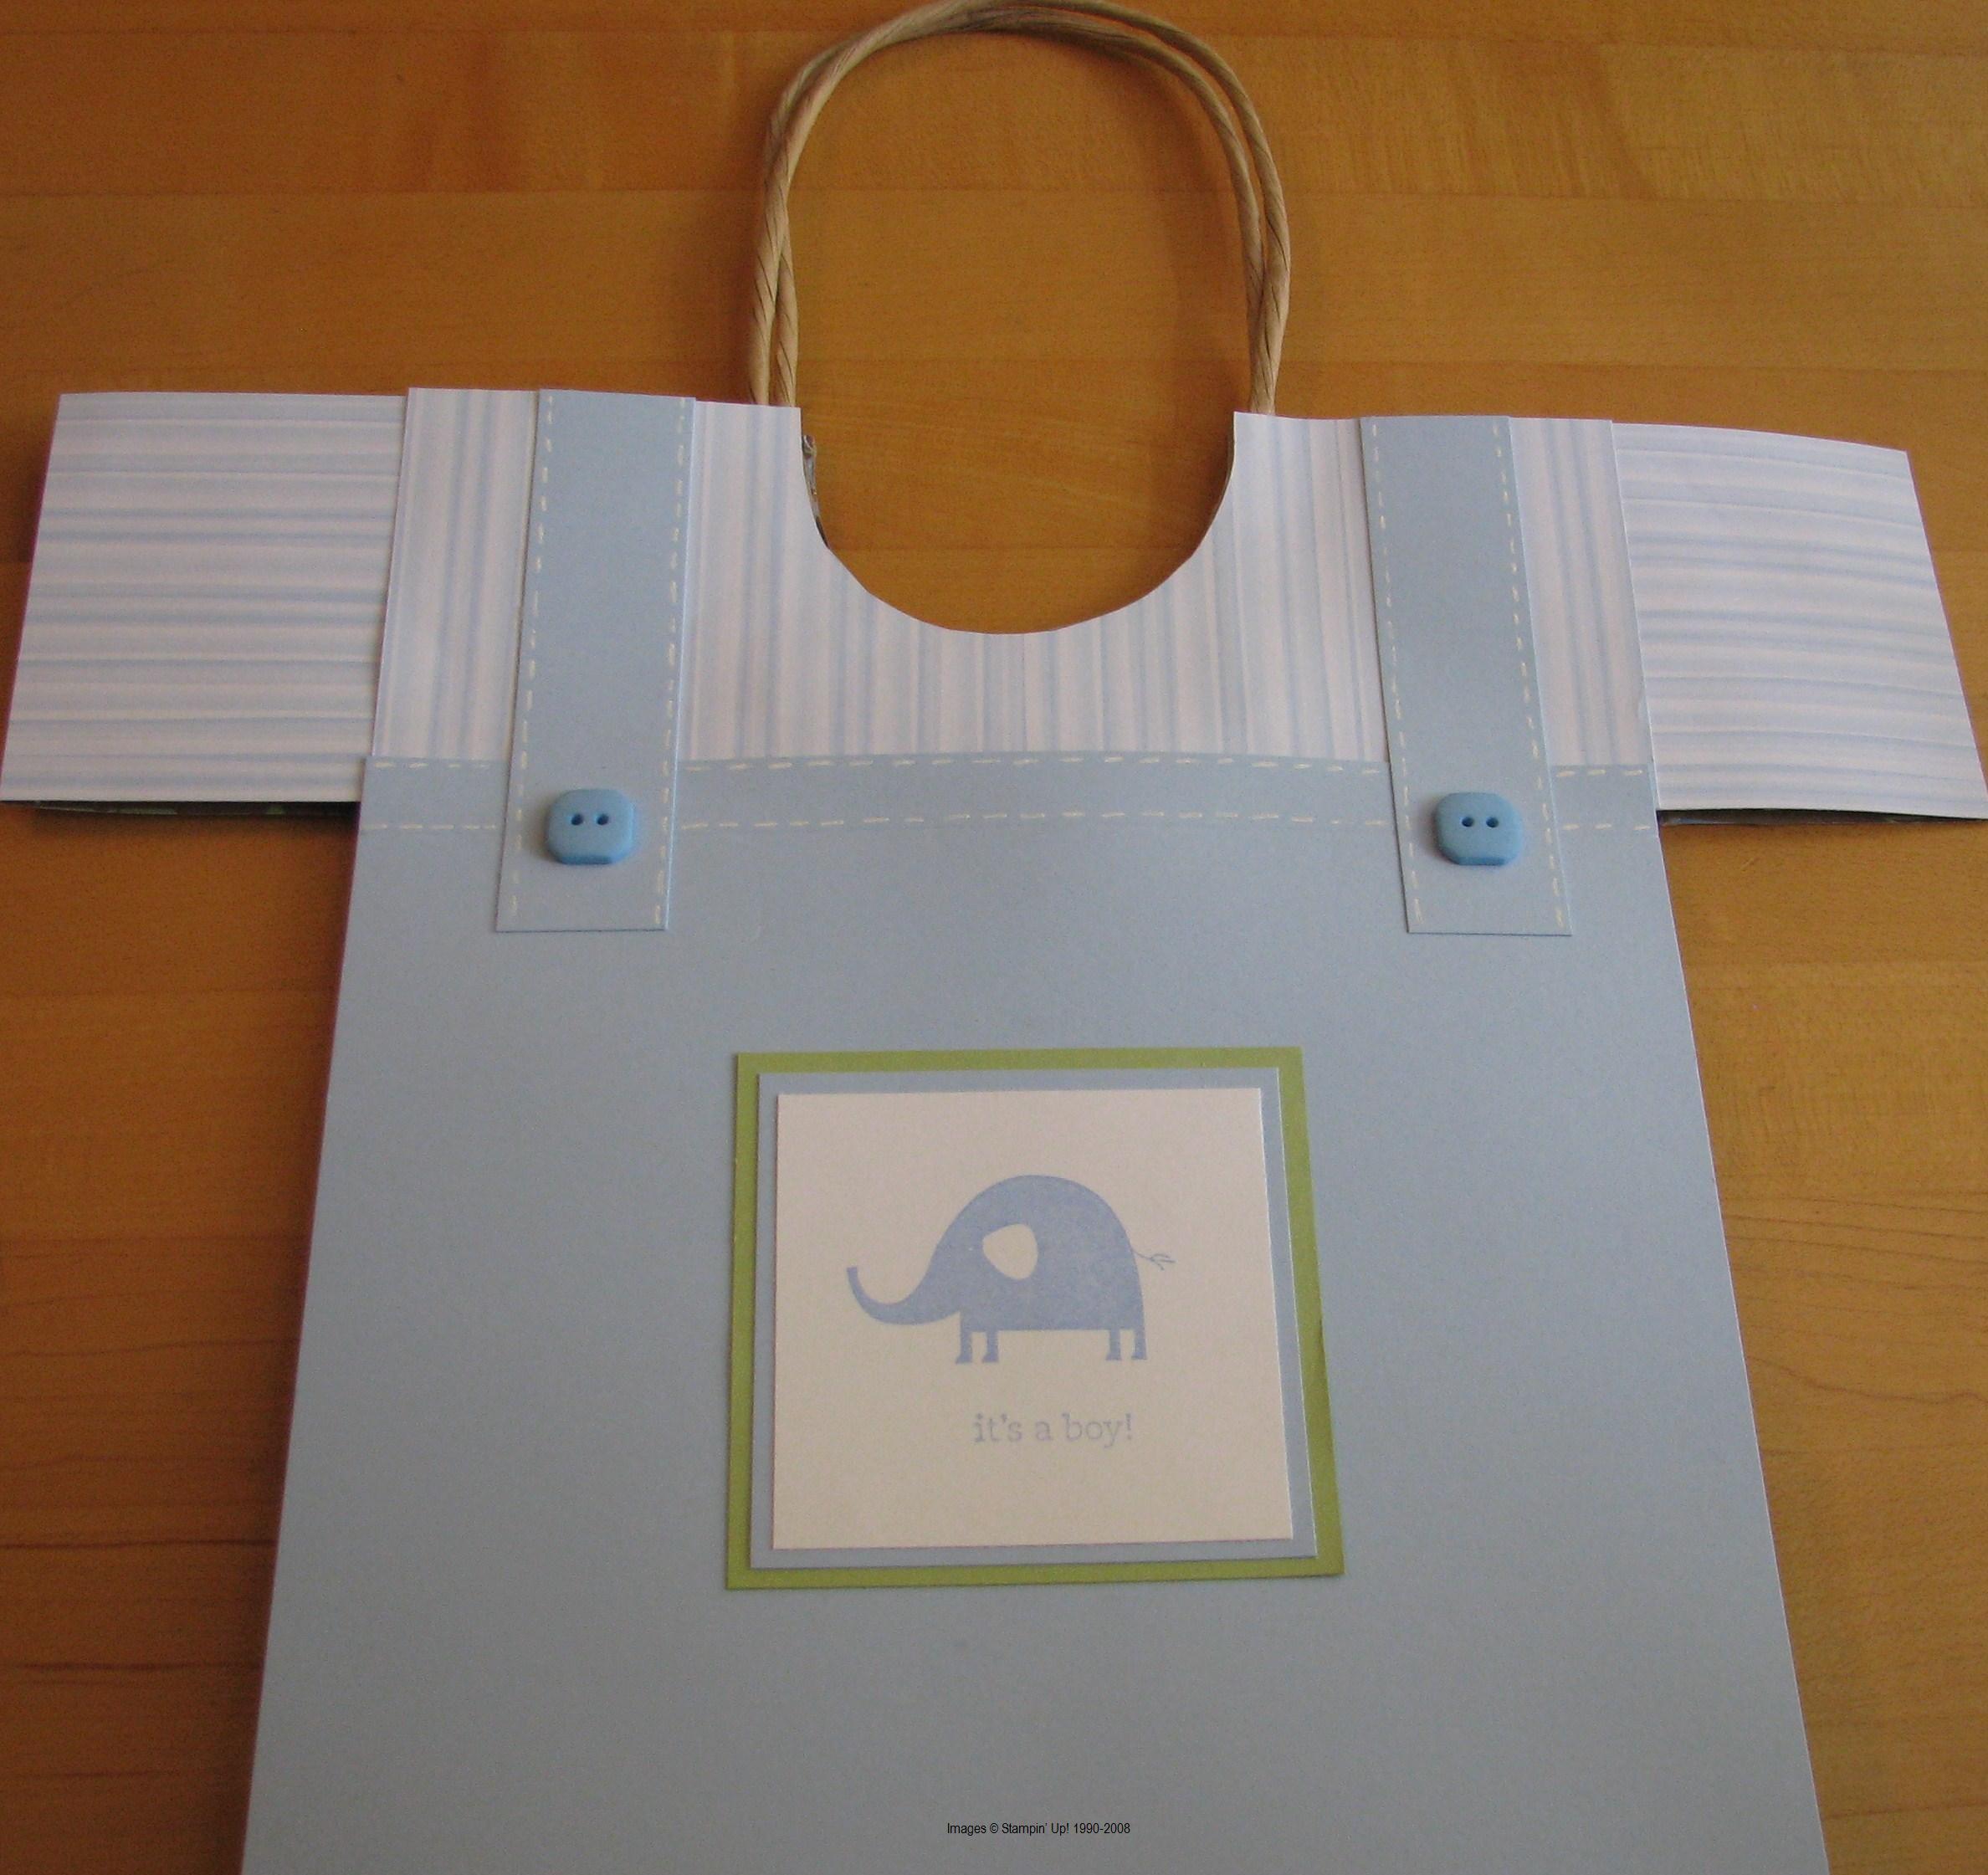
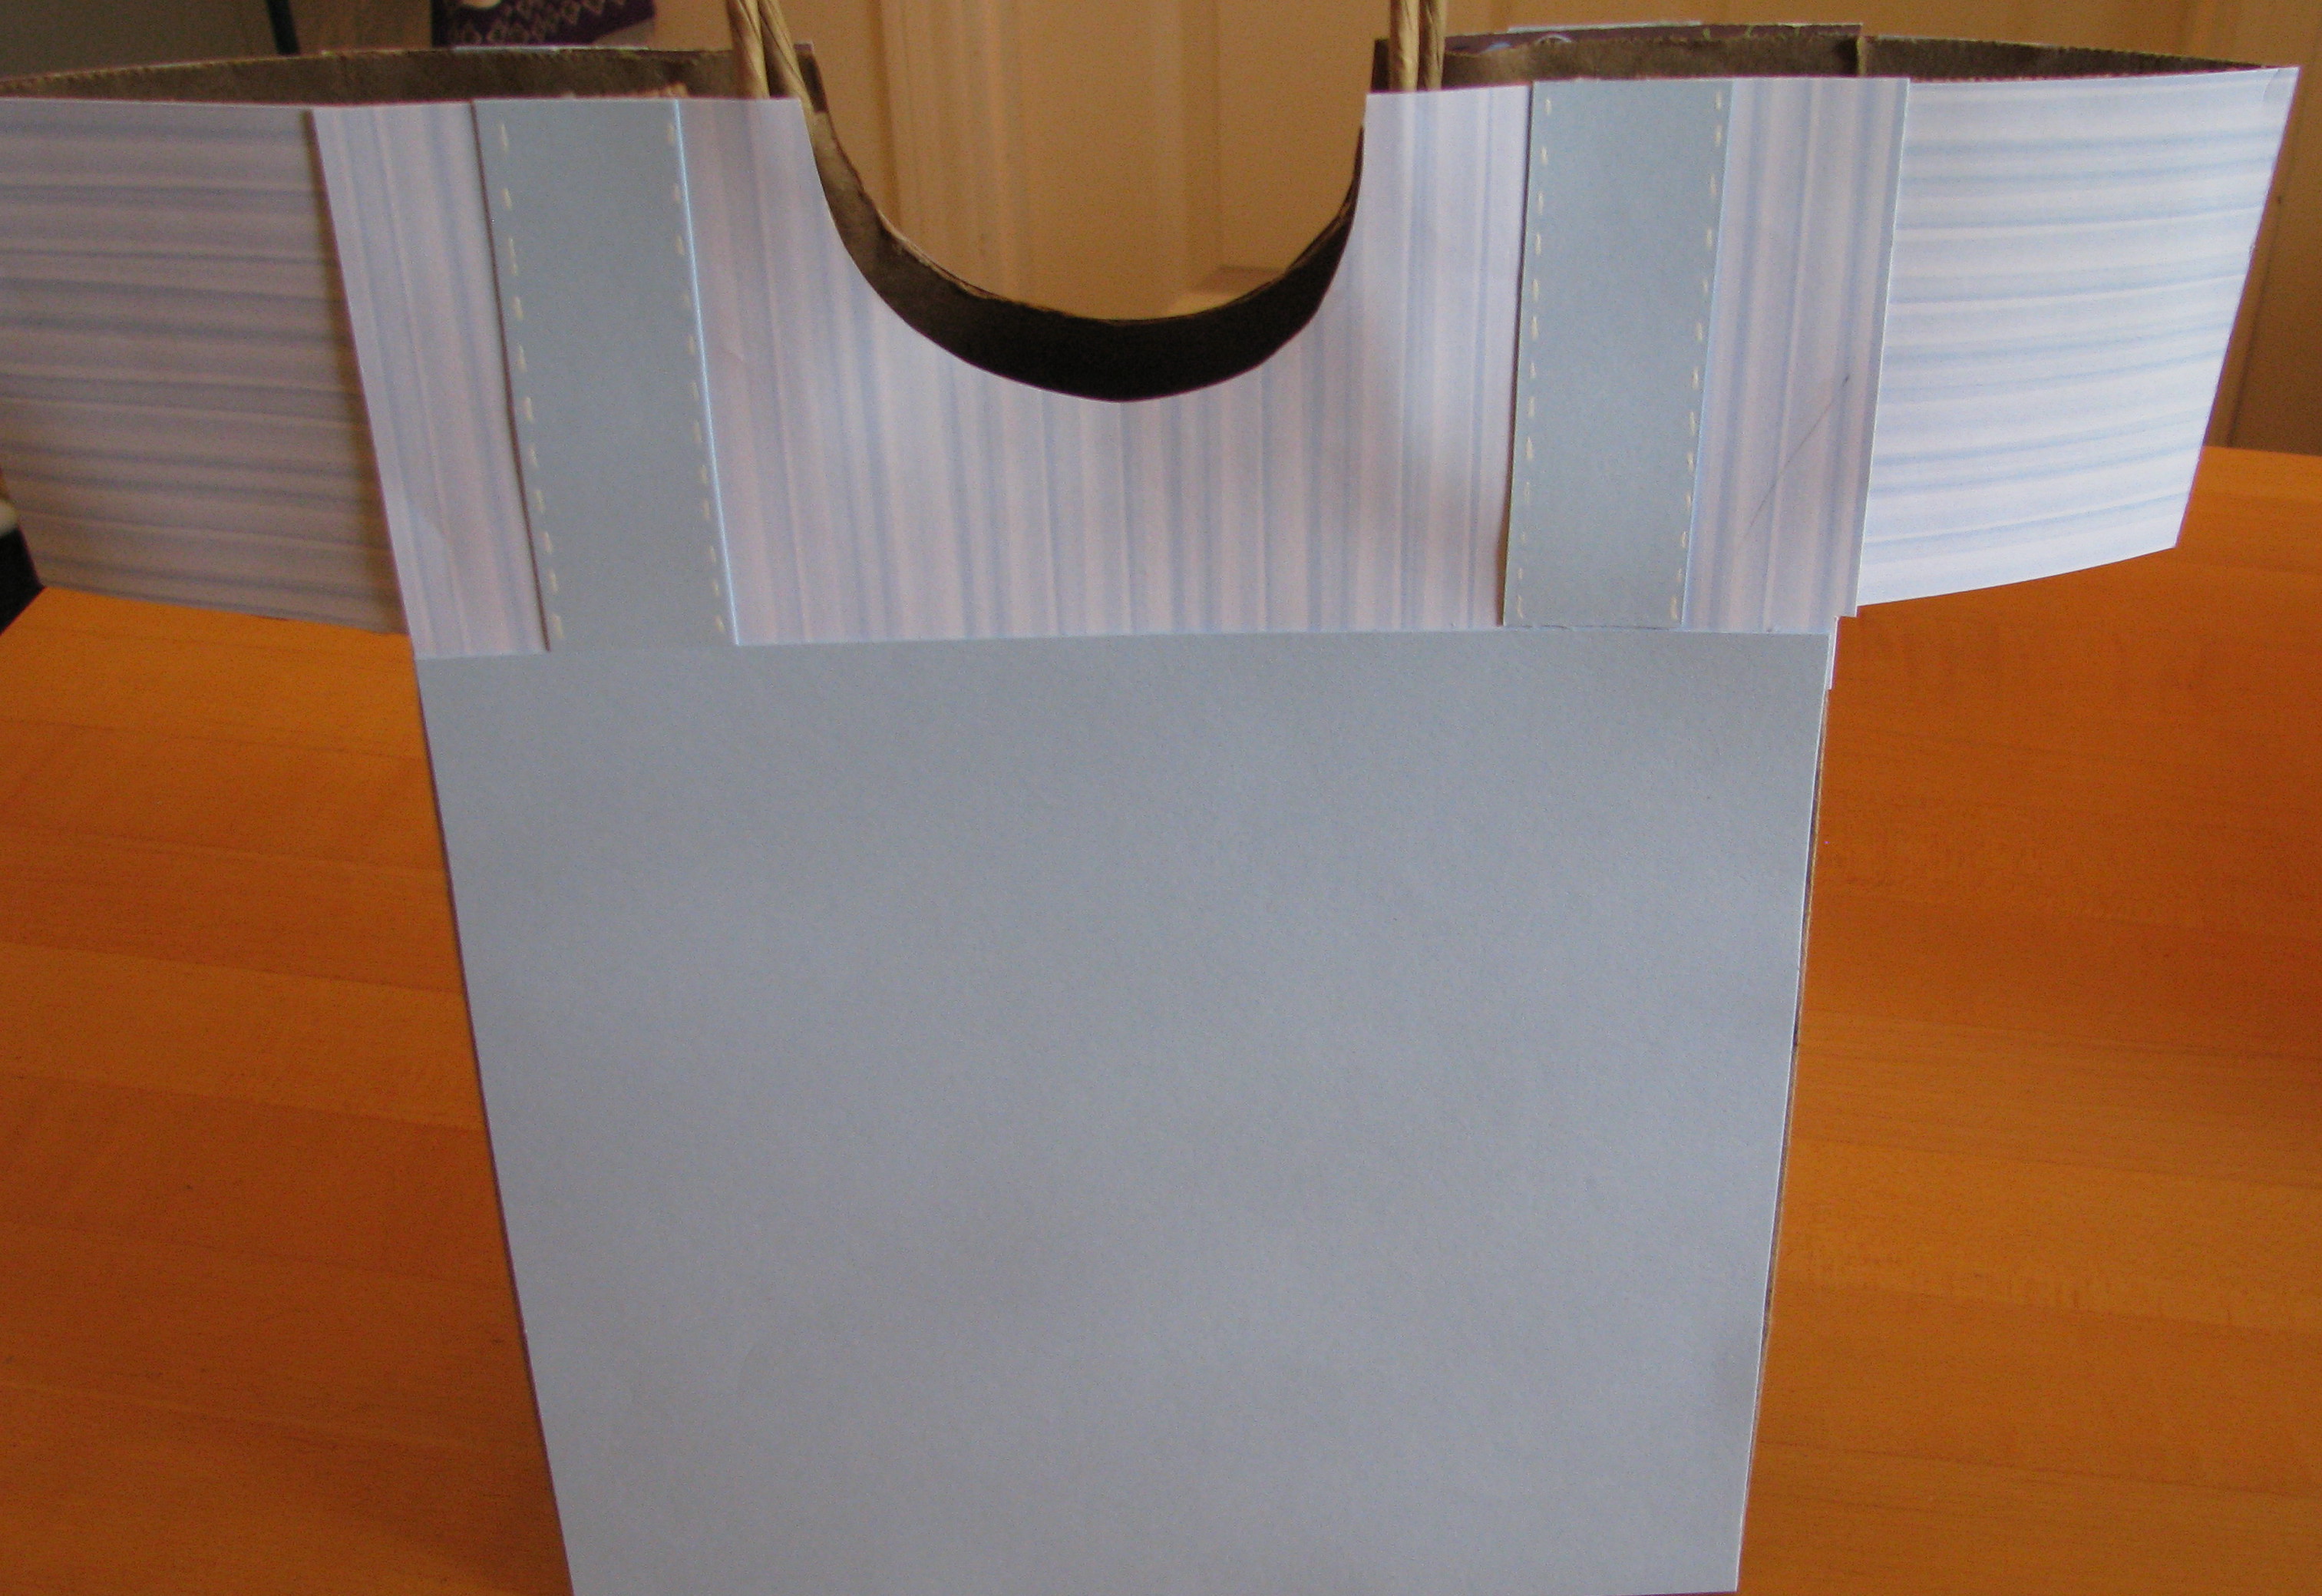
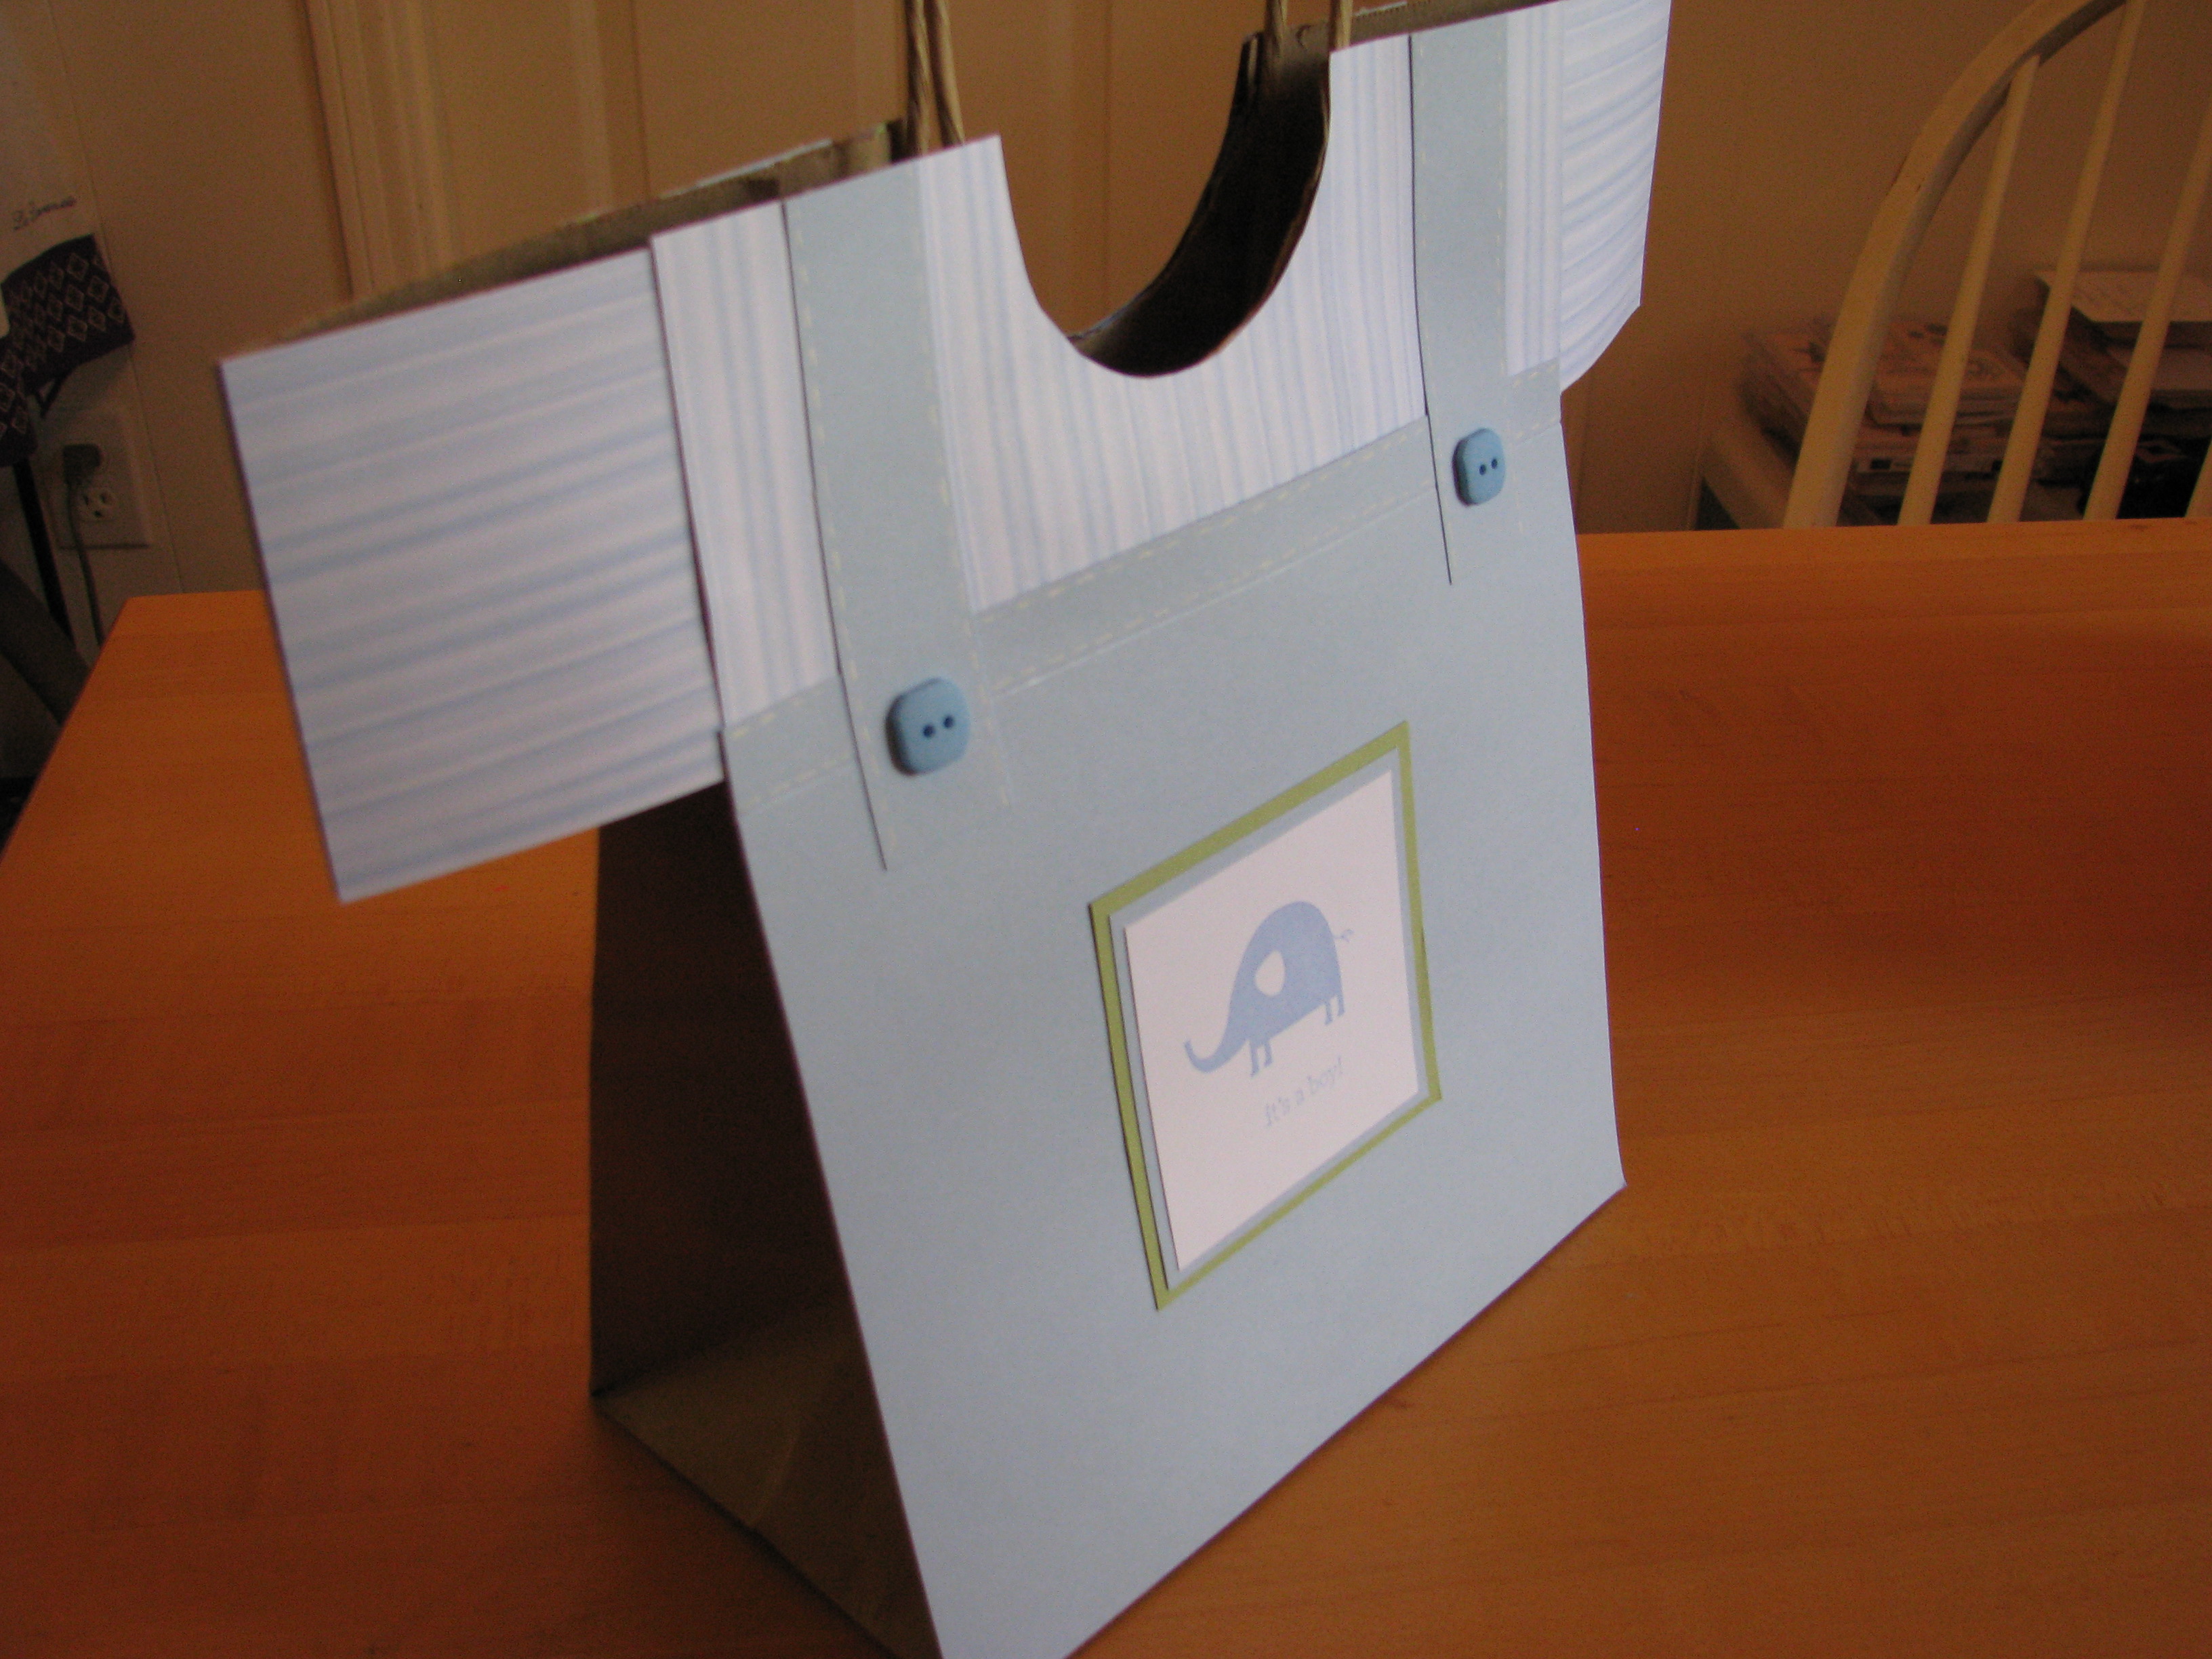
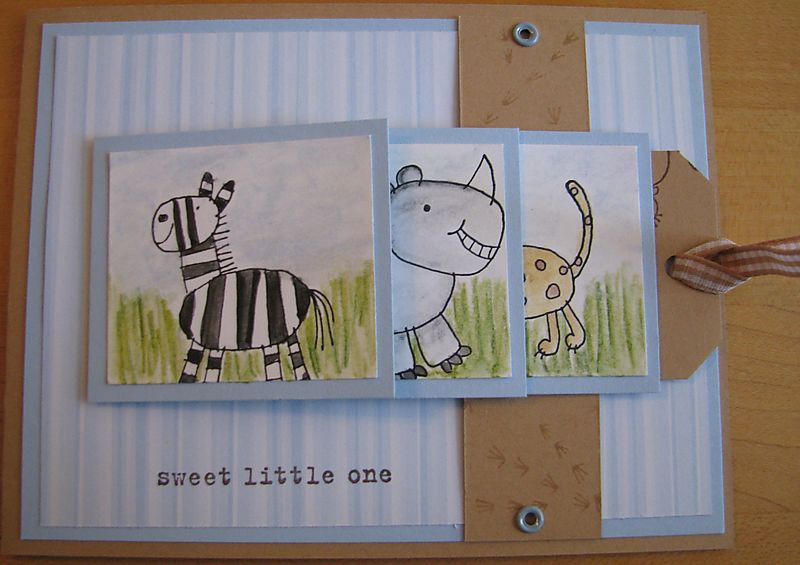
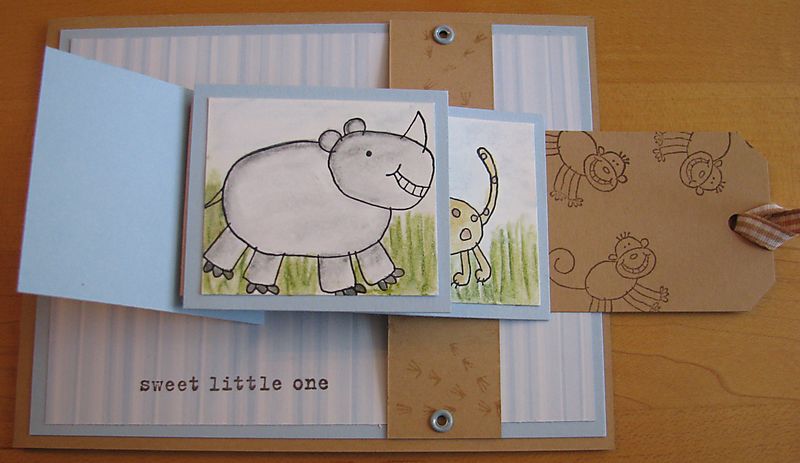
Here are some Halloween cards I've made (okay, mostly copied from somebody else!) to help celebrate the day!

Halloween Boo Eye card 

Halloween Haunting wheel 

Halloween Owl candy bag 

Halloween test tube 

Origami Bat 

Halloween Haunting Moonlight 

HalloweenCandyWrapper

My San Antonio Regional Swap Cards

Here are my swaps I took to the Stampin' Up! San Antonio Regional held yesterday and today.

AHappyHeartSwapSA 

This one I stamped with a set in the Holiday Mini called "A Happy Heart".  I also used the Spiral Punch on the side of the tic-tac-toe.  The little heart in the middle square is popped up with a dimensional and so is the big heart.  The designer paper is the fabulous Bella Rose.

MrTwigsterSwapSA 

And this one is the famous "Mr. Twigster" in the Holiday Mini.  I guess you either love him or hate him since lots of people say snowmen don't have legs.  But he was quite popular as a swap yesterday and I enjoyed making the card!  I used the snowflakes from "Merry and Bright" and stamped with white Craft ink.  The greeting comes from "Season of Joy".  I added a little Dazzling Diamonds Glitter for the snow at the feet of Mr. Twigster after coloring just a little bit of blue ink with my Aqua Painter.

You can click on the photos to make them larger.

Halloween Witch Hat Card

Here is a picture of the card I made for our demo group swap.  I saw it in a magazine and changed it a little bit.  It didn't give directions, but I just cut two triangles and then the band on the bottom has a fold which holds the triangles together.  The stars are punched, of course, and the big one is sprinkled with our chunky glitter, adhered with some Tombow Multi glue.  Fun card to make!

WitchesHatCard 

WitchesHatCardopen


Fall and Halloween Swaps

Our "demo group" meets once a month and we always enjoy making some project, swapping, and having lunch.  We still refer to it as our demo group, even though not everyone is a Stampin' Up! demo, but it is still fun.  That's why not everything you see here is Stampin' Up! but it displays a lot of talent regardless.  So here is a photo of all the swaps I received last week!

OctoberSwaps

An Easy Gift — A Photo Picture Frame

Yellowstone picture frame 

What is there, really, to buy a husband for his birthday?  There just don't seem to be as many gift ideas for men as for women.  Also, this was right on the heels of Hurricane Ike so there hadn't been the opportunity to shop and look around for a gift.  This was the first day most people in our area even tried to go back to work.  I pretty much accepted that he just wasn't going to get a gift this birthday, at least not on the day, although maybe he could pick out something he liked on another day.  And then about 3 pm in the afternoon, as I was thinking about a card I could make, maybe one with a stamped tree for a "male" card, I got the idea to find a summer vacation picture I could use in one of the wooden picture frames I had stashed away in the closet.  I have made several frames like this for gifts and they turn out pretty well.  One I made for a baby gift in this post.

This started as just a plain wooden frame bought at a craft store.  I went through our Yellowstone vacation photos until I came across this one, of my husband and our boys at Inspiration Point in Yellowstone National Park.  I chose some retired SU designer paper that I had on hand and seemed to match and covered the frame with it, just using the SU glue stick on both the frame and the back of the designer paper.  I just laid the frame on the back side of the paper and traced the shape, adhered the paper to the frame, then used a scissors and hobby blade to cut out the center.  Did the same with the back to make it look pretty and also put narrow bands of designer paper around the inside edge of the frame as well as the outer edge of the frame.  The pine trees and pine needles at the top were stamped with a retired stamp set, DD Pines.  I embossed the trees with Versamark and Clear Embossing Powder to make them stronger and more interesting.  And I used my new Big Shot to cut out the letters for Yellowstone using the Naturally Serif die.  The letters are very small, but they were perfect for this project and will be for many more projects. 

I just love my new Big Shot!!  If you aren't familiar with the Big Shot die cutting machine made by Sizzix, you will want to click on this link to watch the Stampin' Up! video.  Email me with any questions and you can decide if this product will be of use to you in your projects (of course it will!).

The Aftermath of Hurricane Ike

  Thankfully we weathered the storm just fine although it was an anxious night to say the least.  We were lucky that our power stayed on until 2 am, just as the storm got bad here.  I even managed to get some sleep as the wind didn't seem to be as scary where our bedroom was compared to the family room at the back of the house.  It's not just the wind, it's the odd noises and moans and groans that you can't identify and can't see out during the night and shouldn't be near the windows anyway.  In the morning we were stunned to see lots of tree branches down, our chimney cap off in a neighbor's driveway (one of the weird noises no doubt!) and a big branch on our garage, but the house was fine as were the cars.  Fortunately, in our neighborhood, of the parts I have seen, the big trees and branches that fell seemed to land in the street rather than on top of a house.  Miraculously our power came back on the next evening, but it is rare to have power.  I've learned the most important thing is to have ice!  People are standing in long lines waiting for ice, water, and meals not to mention gasoline, where there is some.  Generally speaking, we are just inconvenienced in Houston, but Galveston took a terrible hit and some other areas without the seawall are all but obliterated.  Even so, some beach houses stood and look in pretty good shape.  Now it looks like hundreds and hundreds of power trucks and workers have arrived and are staging at the race track so hopefully lots of people will get their power back on soon.  Here are some photos of the tree damage in our yard and neighborhood.  While shocking to us at first look after the storm, they seem like nothing after what we have seen on TV for days.

IMG_1511 

IMG_1517 

IMG_1518 

IMG_1527 

IMG_1540 

IMG_1542  

IMG_1546   

Tree Covent Garden

Ike update….before it gets bad here!

It started getting a little gusty around dinner time (one last hot meal!) but SO FAR it isn't even raining here in my area and it is only occasionally gusty.  But even that little bit is pretty scary.  Looks very bad in Galveston from the TV pictures.  Yes, we still have electricity although I don't expect that to last much longer.  There are already lots of areas out around town.  Just watching the TV news and answering the phone!  The worst will be during the night, I think they said they eye will be here around 2 am, then a little calm, and then the back side has to go through.  Can't wait for this to be over!!  We've got supplies in the hall assuming we will spend the night there, lots of things are put away in case of this or that….what if this window breaks, what if this window leaks, what if this falls over, what if this ceiling leaks, etc. etc.  Just so the house stays in one piece, we can deal with anything else….I think.

Hurricane Ike still coming

I was hoping I would wake up this morning and find out the storm had turned and wasn't coming here, but so far it is still on track for Galveston, which means Houston.  The sun is shining brightly in Houston right now, with no bad weather expected until late this afternoon.  I just added text messaging to my cellphone because I read sometimes a text message will go through when a call won't.  Who knows what kind of phone service, electricity, etc. we will have as this storm goes through?!  Already Galveston is starting to flood and the pictures of the waves crashing over the Seawall are incredible…..and it's only low tide and the storm is 100 miles out.  Another coastal community, Surfside, is already flooding.  Amazingly, there are always some people who won't leave.  Crazy!

Here is a funny hurricane joke someone sent me:

There's always a silver lining……..

Top 10 reasons Hurricane Season is like Christmas
Number 10:
Decorating the house (with plywood).

Number 9:
Dragging out boxes that haven't been used since last season.

Number 8:
Last minute shopping in crowded stores.

Number 7:
Regular TV shows pre-empted for 'Specials'.

Number 6:
Family coming to stay with you.

Number 5:
Family and friends from out of state calling you.

Number 4:
Buying food you don't normally buy . . . and in large quantities.

Number 3:
Days off from work.

Number 2:
Candles.
 
And the Number 1 reason Hurricane Season is like Christmas:
At some point you're probably going to have a tree in your house!

Hurricane Ike!! Yikes!!

Not much time to think about stamping with Hurricane Ike bearing down on the Houston area!  First it looked like it would go to Florida or Louisiana, then it looked like south Texas or into Mexico, but now it appears to be headed this way.  The eye perhaps will come ashore down around Freeport, west of Galveston which would mean in the Galveston/Houston area we will be on the "dirty" side, which gets the worst weather.  All of this could change at any moment if it takes a turn and goes somewhere else.  They think we will get lots of wind and rain and everything will be prone to flooding, due to the storm surge, which ultimately affects a lot of areas.  As long as the house stands, the worst part will be no power, probably….and no internet!  Oh my!!  This is seeming pretty serious, but it could still change.  But it is a big storm, so even if it heads somewhere a little off target we still will probably be affected.

So if you are out-of-town and need stamping supplies, the perfect answer is here!  Stampin' Up! just started online ordering the other day and it seems to be working pretty well!  If you need to order something, just go to MY website: www.karenfontinelle.stampinup.net.    Under my contact information in the upper right hand corner, you will see a "Shop Now" button.  Click on that and it will take you to the new online ordering!  If you just go to the Stampin' Up! website, you will have to select a demonstrator.  If you do not select a demo, you will pay a premium price and higher shipping…..so you really want to go to my website!!  You will still be able to receive Hostess Benefits (a slightly different name online I believe) for your $150+ order.  Of course, under normal conditions, if you prefer you can always email me or call me with your order and I will take care of it.  But online ordering will be great for those who just think of something they want and want to get it ordered themselves right that moment…..or perhaps in the case of a hurricane where your demo might not have power, phone, or internet for days and you want your stamps!  You can do it yourself!

Don't forget about the stamp sets that are 15% off now until the end of September!  Info on my website!  What a deal!

Gotta go see for sure if we have enough batteries, water, ice, whatever.  I think we are as prepared as we can be.  Stormy weather should begin tomorrow morning.  Hang on to your hats…..and keep your fingers crossed for those of us in Ike's path!!

Bella Rose Baby Name Frame

These name frames have been quite popular ever since Stampin' Up! came out with these large alphabet sets.  They make wonderful gifts, are easy to design, and you can be as creative as you want!  Even though the Letterpress Alphabet is now retired I used it on this project.  You could easily substitute another alphabet stamp set of your choosing or even chipboard alphabet letters to spell out a name.  When the new Bella Rose Designer Series Paper came out, I knew it was perfect to use.  After purchasing a frame, I just cut the designer paper to size and added strips of another pattern of paper to the top and bottom just to add some other color.  The letters were all stamped and layered with cardstock, with a little sponging on the edges.  I also cut out a few flowers from other sheets of the Bella Rose paper to add additional embellishments on the letters.  In the end, I HAD to add a little Dazzling Diamonds glitter on a few of the flowers!  Click on the photos to make them larger if you want.

StellaRosename

             Images © Stampin’ Up! 1990-2008

StellaRosenameframe

                Images © Stampin’ Up! 1990-2008

StellaRosecloseup

Easy Baby Gift Bag

At the Stampin' Up! Convention Linda Hanson made one of these cute gift bags so when I needed a gift bag I wanted to try to make it.  It actually reminded me of making something similar with just a plain lunch sack a long time ago.  I had only seen photos from Convention of the bag so I had no directions, but somehow it came back to me and I was able to figure it out!

BabyBoyGiftBag 


Pull out the side portions of the gift bag and just cut in a few inches down or however large you want your sleeve.  Just cut up to the line that makes the sack.

BBoygiftbagcut.jpg 

When you push the sides of the bag back in like they should be, but pull out the sleeve portion you just cut, it will look like the picture below.Babygiftbagoutside

To make the neckline, just freehand the shape or trace around a glass or something if you want a pattern.  Adhere portions of designer paper (yes, this one is retired!) on to the sleeves, both front and back.  You can probably see my measurements scribbled on my SU Grid paper but it will really depend on what size your bag and cuts are.

Babygiftbagsleeve 

Adhere more paper for the shirt top, front and back.

Babygiftbagshirt 

Adhere cardstock for the "suit" down to the bottom of the bag, front and back.

Babygiftbagbottom 

Add some straps, however long you want them.  Now you may notice the score line across the top of the suit.  That actually came from a mistake as my paper was longer than I planned (I think each side of the bag is a different size so check your measurements as you work).  You can see the suit comes up a little bit up into the sleeves so I thought I'd try fixing that, like folding down or cutting off the excess.  But then I decided it was going to be fine the way it was and it could actually look like that was how it was supposed to be!

Babygiftbagfront 

I added some SU Soft Subtles buttons with glue dots and added some faux stitching with my SU white gel pen.  The stamped image on the front, to look like a pocket or decoration, is from the stamp set "Nursery Necessities", now in the new catalog.

Babygiftbagfront2 

And the back looks like this:

BabyBoyGiftBagback 

And there you have an easy gift bag!

IMG_1390


Zoofari Waterfall Card

Have you ever made a Waterfall card?  While they look very complicated, they are not that hard to make.  That's what I love about stamping….nothing is too hard even for a beginner!  It is nothing more than a folded strip and your three panels adhered to the strip.  All the reader has to do is pull the tab, and you look like an advanced papercrafter for creating such a design.  Here is my latest waterfall card using the stamp set "Zoofari".

The images are stamped with Stazon ink and then watercolored, some grass and sky added.  The designer paper is retired but any pattern can be substituted.

Zoofari Waterfall card 

Zoofari Waterfall Card2 

Zoofari Waterfall Card3  

Contact me today if you'd like to learn how to make a waterfall card.


How to Budget and Have Friends

Ok, not your usual stamping post but I just have to brag!!  My daughter called this afternoon to tell me an article she wrote for Investopedia.com had turned up on the home page of Yahoo!  I don't know how long it will be there, but RIGHT NOW you can go to www.yahoo.comand it is one of the boxes under the Featured tab.  It says, "How to Maintain Your Budget & your Social Life".  When you click on that, it takes you to her article!  But if it is gone by the time you read this, this is a link to her article:  Amy's Article or just in case:  http://investopedia.com/articles/younginvestors/08/friends-budget.asp?partner=yahoobuzz&viewed=1

She writes personal finance articles on her blog, www.TwoPenniesEarned.com

and has also written articles, such as this one, for www.Investopedia.com.  They are usually practical, informative articles on how to save money on all kinds of topics, usually culled from personal experience.  She seems to suddenly be getting some notoriety so I just had to celebrate!  She also has a blog about old buildings in St. Louis, MO called Seeing St. Louis.

So for your reading pleasure, while we are awaiting the delivery of new Stampin' Up! catalogs SOON (I HOPE!!), go check out her articles and blogs and leave her a comment!  Thanks!!!!

Online Ordering Coming to Stampin’ Up! Order in Your Jammies!

Stampin’ Up! is just full of surprises lately!  Yesterday they announced to us demos that 24/7 online ordering for customers will be available sometime this fall.  If you choose, you will be able to place your order, through me, on your own computer, whenever you want!  This in no way replaces having your own demonstrator or hosting workshops or attending classes or stamp camps or anything of the sort.  It doesn’t even replace calling or emailing me and giving me your order as you always have!  It will just be an additional service for you.  If you are someone who likes to fool around on the computer or likes to do your own online shopping whenever it is convenient for you, even if you are in your pajamas, then you will like this new feature.  You will still receive Hostess Benefits if your order meets the Hostess criteria.  All the details will be forthcoming, but basically all you would do is go to my SU Demo website, www.karenfontinelle.stampinup.net and place your order.  But not yet!!

To read all about Online Shopping, CLICK HERE!

Feel free to comment or to email me with any questions.  However, don’t worry about all the details yet…..there’s still lots of time and we’ll all learn together!  I think it is an exciting development and will be a useful feature for a lot of customers!

A Stationery Gift Box

A lot of stampers have been making this cute little box to hold stationery supplies….a few cards and envelopes, gift tags, small gift cards, address book, stamps, and pen!  The design of the fold-out box and lid is by Jackie Topa.  There are a few steps involved, but nothing too difficult and when you get done, you have a nice and useful gift.  I gave this one to a friend for her birthday.  It’s a great project for which to use your Designer Series paper and then make the cards to match, but you could also do lots of stamping for decoration….or both!  I did some stamping on the inside as you can see and used Berry Bliss DSP on page 169 for covering most areas. (Get it before it’s gone!)  So many ways to achieve different looks with this project!  You should be able to click on any of the photos and have them enlarge.

Stationery Box open

Stationery Box cards

Stationery Box cards2

Stationery Box tags

Stationery Box Love Notes

Stationery Box closed

Yep, a little blurry!