Author Archives: Karen Fontinelle

Flourish Thinlits Dies Thanksgiving Card

Flourish Thinlits Dies Thanksgiving Card

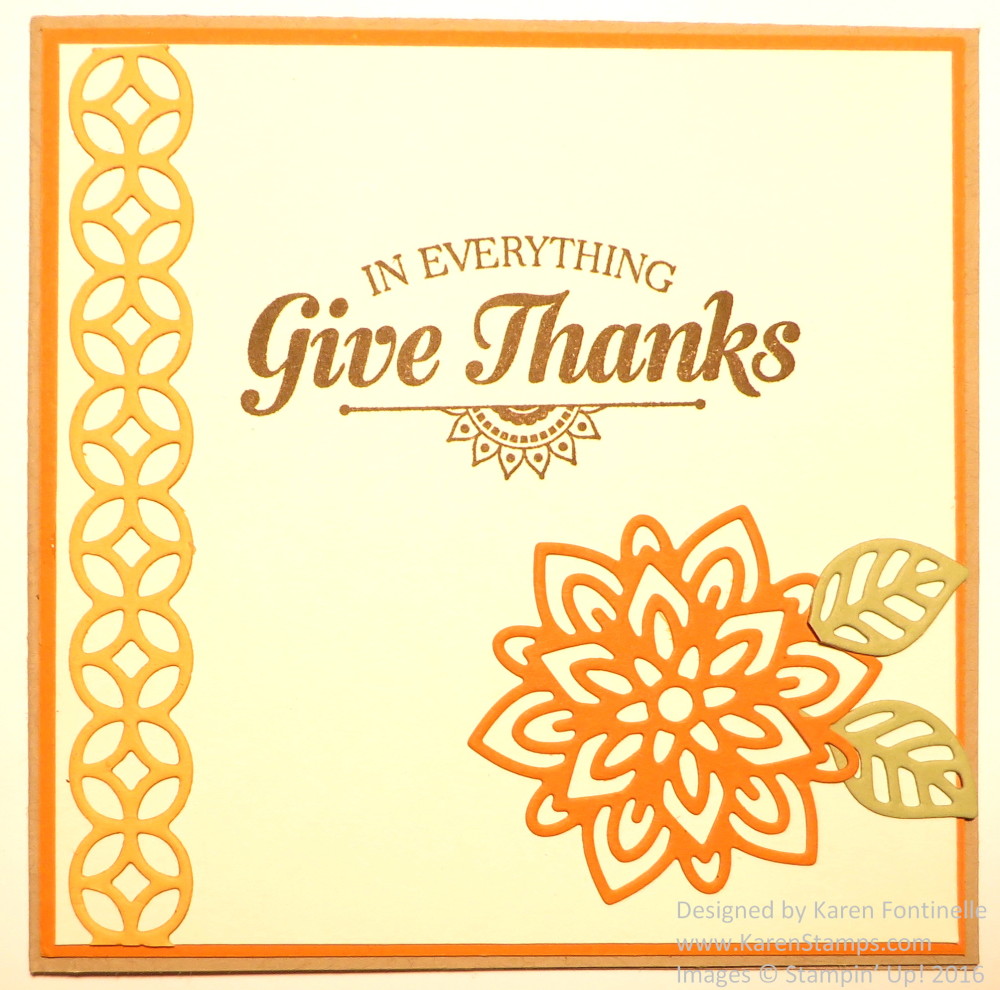
Can you believe it is the middle of November, the month that just started, and that Thanksgiving is on its way?! I realized I should probably make a card with fall colors and ended up with this Flourish Thinlits Dies Thanksgiving Card.  I really just kind of grabbed some scrap pieces of card stock in fall colors and I ended up with a 4 1/4″ x 4 1/4″ square card, Crumb Cake cardstock as the base. Later I decided to put the Very Vanilla front layer of the card over a piece of Pumpkin Pie cardstock for a thin border.

I just used my Big Shot and Flourish Thinlits Dies to cut as many pieces as I could fit on the cardstock scraps I had to make a bunch of pieces and then I could play with them and come up with something!  The greeting is stamped from the Suite Seasons Stamp Setone of the stamp sets on sale during November.  I ordered it, along with the new Stitched Shapes Framelits Dies, and I’m so glad I did.  I’ve already used it several times on cards and projects! You can never have too many greeting stamp sets.  As a side note, this stamp set has a greeting you can use for a sympathy card or some other kind of serious caring type card, and we often do not have a good saying to use for a card like that.

Be sure to check out the Stitched From the Heart collection of the new framelits and all the stamp sets on sale until November 31.

If you are new to stamping or do not have a Demonstrator, I’d be happy to mail you the current Stampin’ Up! catalogs! I have some extras right now and can send them out pronto!  They make the best reading material!!

Time to be making some Thanksgiving cards if you plan to mail some out or Thanksgiving favors or decorations, so let me know if you need any ideas or help.
Shop Stampin’ Up! Online HERE!

Ghirardelli Chocolate Candy Treat Holders

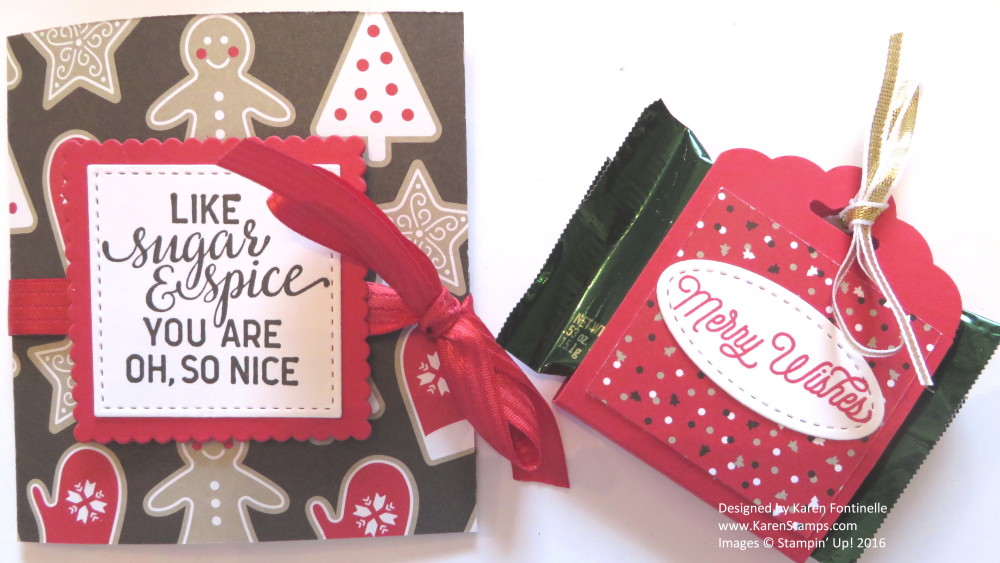
Ghirardelli Chocolate Candy Treat HoldersWhile we are on the subject of chocolate (from yesterday!), here are two more versions of Ghirardelli Chocolate Candy Treat Holders. Honestly, once you get started on these, you hate to stop! So many possibilities!

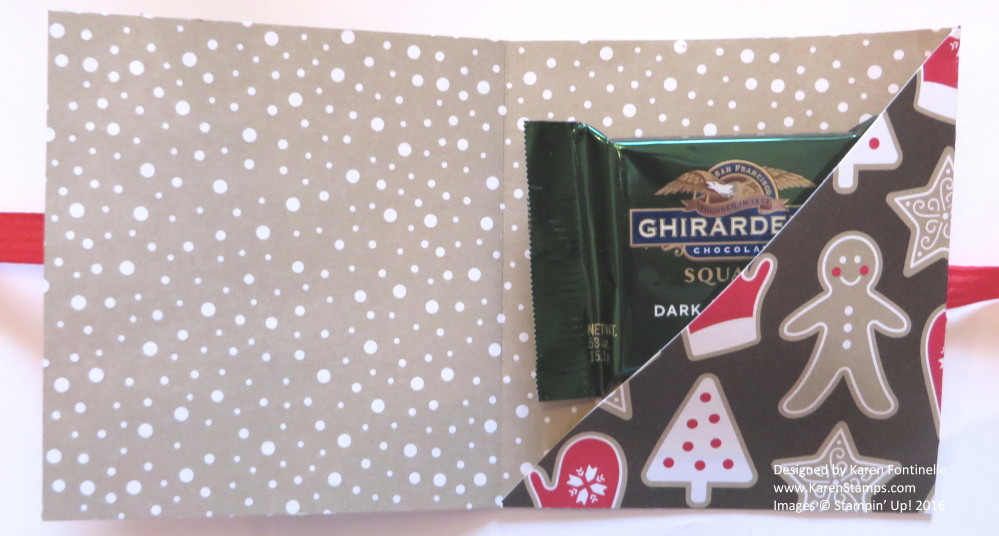
The first candy treat holder on the left is a folded over piece of Candy Cane Lane Designer Series Paper, cut 9 3/4″ x 3 1/2″. It is scored at 3 1/4″ from each end so that the paper is scored in thirds.  That gives a flap to fold on the inside to hold the candy (you could also do this for tea bags) that is trimmed at a diagonal so you can see the candy. Use an adhesive to hold the bottom of the triangle shut to hold the candy like Fast Fuse. Then just decorate the front of the candy holder however you like. I used the new Stitched Shapes Framelit Dies to cut out the greeting from the Oh What Fun Photopolymer Stamp SetThis stamp set is one that is on sale during the month of November.  You will be able to get lots of use out of this stamp set making your holiday cards and projects.

Ghirardelli Chocolate Folded Candy Treat Holder Inside

The smaller chocolate candy treat holder is cut 5 1/2″ x 2″ with each end punched with the Scalloped Tag Topper Punch. Then it is scored at 2 5/8″ and 2 7/8″. Fold, put the candy inside, perhaps with a Glue Dot to hold it inside, and tie with a ribbon at the top. I used the Gold 1/8″ RibbonI chose a piece of the Candy Cane Lane Designer Series Paper for the small piece on the front of the candy holder. The little greeting is from the Oh What Fun Stamp Setdie cut with the new Stitched Shapes Framelit Dies.  You DO want these dies in your collection!
Go stock up on some candies you can use in your holiday crafting, then have fun making all kinds of cute things like these Ghirardelli Chocolate Candy Treat Holders.

Shop Stampin’ Up! Online 24/7 for all your crafting needs!

Easy Ghirardelli Candy Holder

Easy Ghirardelli Candy Holder

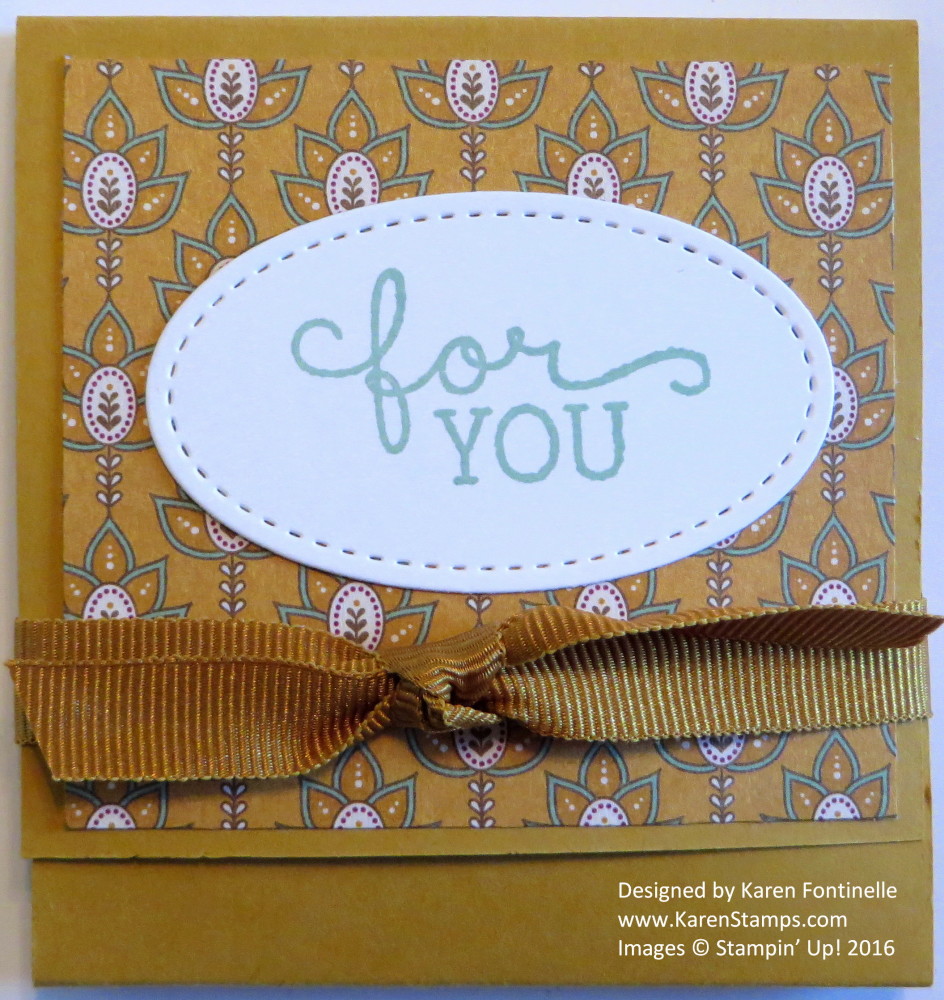
Here is an easy Ghirardelli Candy Holder for you to make, perhaps as a little table favor for your Thanksgiving guests or really for any occasion.  All you need are the basics on how to make this and you can decorate and embellish for any occasion. The other day I came across one of these I had made a long time ago for Valentine’s Day and I thought it was time for an update!

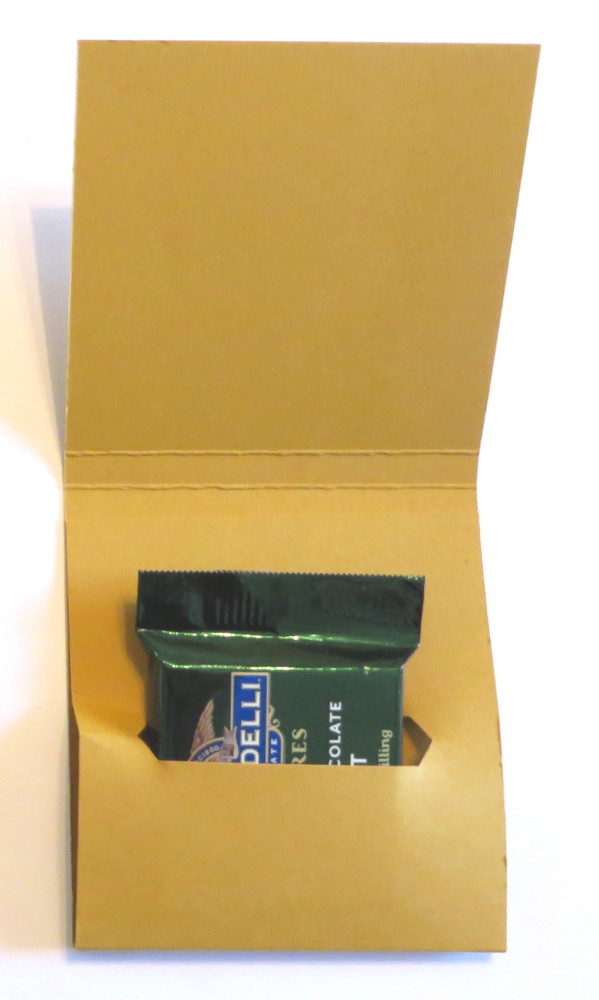
I cut my Delightful Dijon Cardstock 3″ x 9 5/8″. Actually, once you have the idea, you can modify the measurements to whatever you like. Then I scored this strip at 2 3/4″, 3″, 6 1/4″ and 6 1/2″. We used to use the Word Window Punch (retired) for the candy slot so today I tried the Classic Label PunchBefore you punch, fold on all the score lines and see how the packet will go together. I made the area that was a bit shorter to be the top flap. Therefore the longer area went inside and was punched to make the candy slot. From the bottom of the strip then I inserted it into the punch all the way, being careful on the sides to make sure it was centered. In this case, the punch was as wide as the paper, but you still need to make sure where the punch is in relation to the paper. After punching, I adhered the punched flap just about 1/4″ below the inside score line and used Fast Fuse Adhesive to hold it. If you are using SNAIL Adhesive, I would probably put the SNAIL on both areas that I was adhering.  I think that makes it hold better and stronger if you need that.

Candy Holder Inside

Now once you have the basic candy holder made, you can decorate it however you like! If you don’t find the exact greeting you want, just look through your stamps and surely you will find something generic you can use.  I opted for this “For You” greeting from the Birthday Blooms Stamp Set.  I’ve used that greeting over and over because I love the font and it suits almost any occasion.

I stamped the greeting on Whisper White and die cut with the Big Shot and the wonderful new Stitched Shapes Framelit Dies. Yes, you are going to love these new dies when you order them!  These dies put just a little bit of a stitched look around the shape. Many times it is just a little something that you need to make your card or project “pop” and these dies will do that! I could have put an oval layer behind the greeting, but for one thing, there wasn’t much space and for another, it looked good the way it was! I stamped it in Mint Macaron ink because that is one of the coordinating colors of the designer paper. Cut some designer paper for the front flap, leaving either a 1/4″ or 1/8″ border around the outside.  Since my outside flap was 2 3/4″ x 3″, I cut the designer paper, a pattern from Petals & Paisleys, to 2 1/2″ x 2 3/4″. I think this paper is beautiful for all your fall and Thanksgiving projects!

To finish my candy holder project, I used a piece of Delightful Dijon ribbon in the Ribbon 3/8″ Trio Packjust tied around to hold the flap down, in the Stampin’ Up! Holiday Catalog.  You can view the catalog online or if you would like your own hard copy, please email me at Karen@KarenStamps. com.  I’ll be happy to mail one to you. It’s not too late to enjoy the Holiday Catalog and enjoy you will!

So go hit the “craft supply” section in the candy department and pick up some candies you know you can use during the holiday season, starting now! These square chocolates are good for a lot of projects!

Shop Stampin’ Up! for color coordinated paper and ink!


Stitched Shapes Framelits Easy Christmas Card

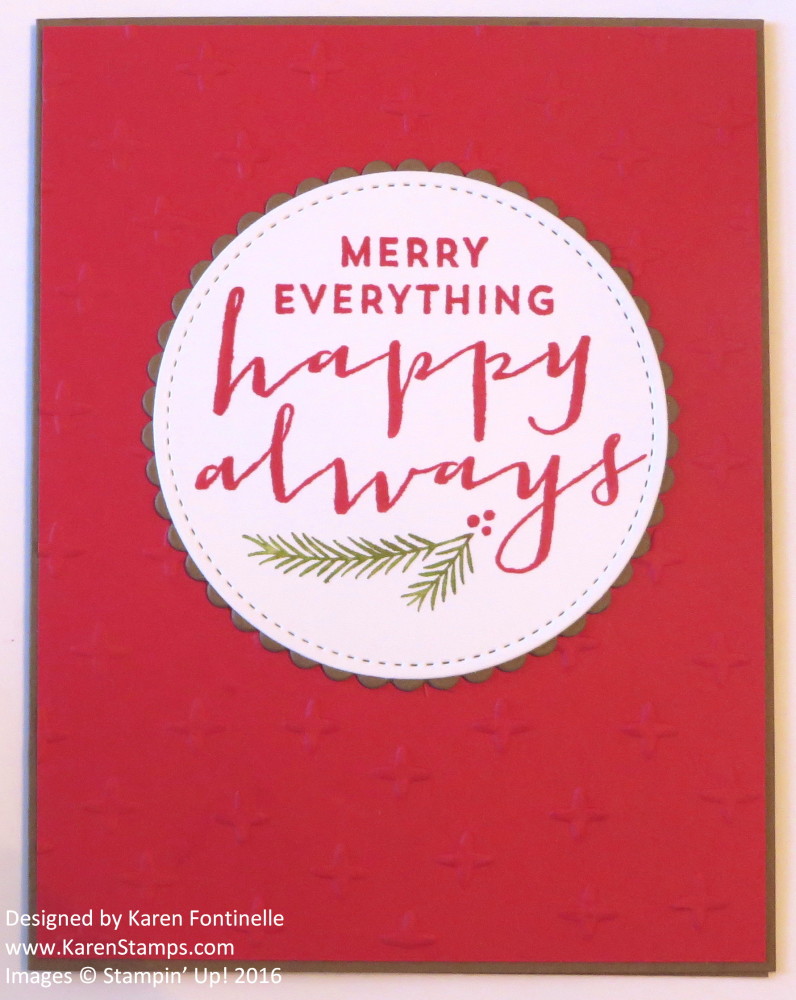
Stitched Shapes Framelits Easy Christmas CardMy new Stitched Shapes Framelits Dies arrived and I had to try them out on this quick Stitched Shapes Framelits Easy Christmas Card. Just making this quick card, I can tell you I love the Stitched Shapes Framelits!  As you can see the stitched look just adds a little something, just a little accent.  I think these framelits are going to be very popular!

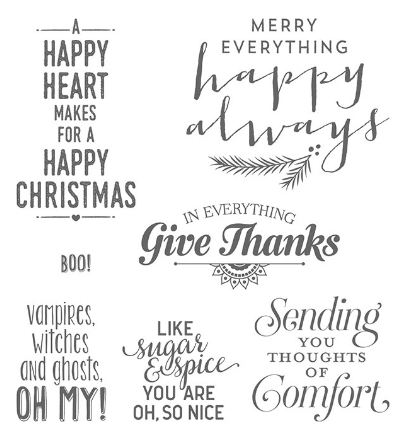
I made the card base with Soft Suede. (I actually meant to grab Crumb Cake Cardstock, but decided that Soft Suede would be fine, too!) For the Real Red layer, I embossed it with the Sparkle Embossing Folder.  The greeting is stamped from the Suite Seasons Clear-Mount Stamp Set.  You can get this set ON SALE during November for 25% off! Don’t miss it!

Suite Seasons Stamp Set

The greeting was stamped in Real Red ink, but then I wiped off the pine needle image and colored it with an Old Olive Stampin’ Write Marker. Then it is backed with a layer from the Layering Circle Framelits Dies, one with a scalloped edge.  So pretty!

Order your Stitched Shapes Framelit Dies today so you can begin using them on your cards and projects!


5 Ways to Relieve the Election Stress

American Flag with AMERICA

Here are 5 ways to relieve the election stress the day after!  Whether you are celebrating or disappointed today, take some time for yourself, and of course, Stampin’ Up! has all the perfect things! We all know stamping is therapy!

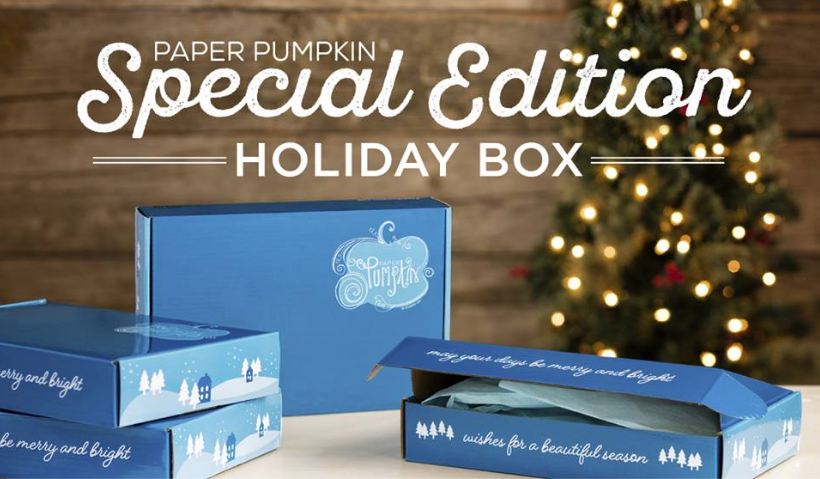
  1.  Join Paper Pumpkin and have stress-free crafting time once a month when your Stampin’ Up! kit arrives in the mail! All supplies are included in the box (normally red!).  All you have to do is sit down and craft! It comes with a video and directions. Subscribe by tomorrow to get the November Kit in this Special Edition Holiday Box. Stampin’ Up! says if you like the box, you’ll love what’s inside!  Can’t wait! Click HERE!Stampin' Up! Paper Pumpkin Special Edition Holiday Box

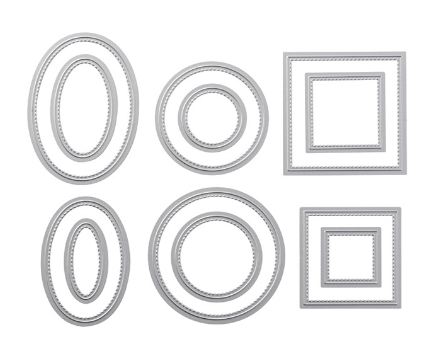
2.  Treat yourself to the brand new Stitched Shapes Framelits Dies that just came out November 1st.  These will be in the new annual catalog later on so this is an exciting pre-release! Mine are coming today!! And of course get yourself a Big Shot, too, if you don’t have one!  I use mine almost everyday!

Stitched Shapes Framelits Dies

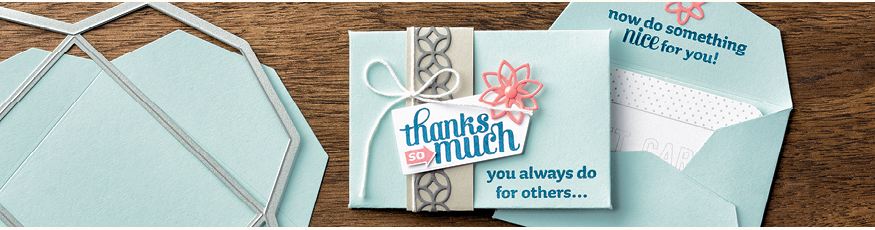
3.  Order anything you want from Stampin’ Up! Go ahead, your husband said you could after the election! See, even Stampin’ Up! says on their banner, “now do something nice for you!” Click HERE to shop!Stampin' Up! Do Something Nice for Yourself

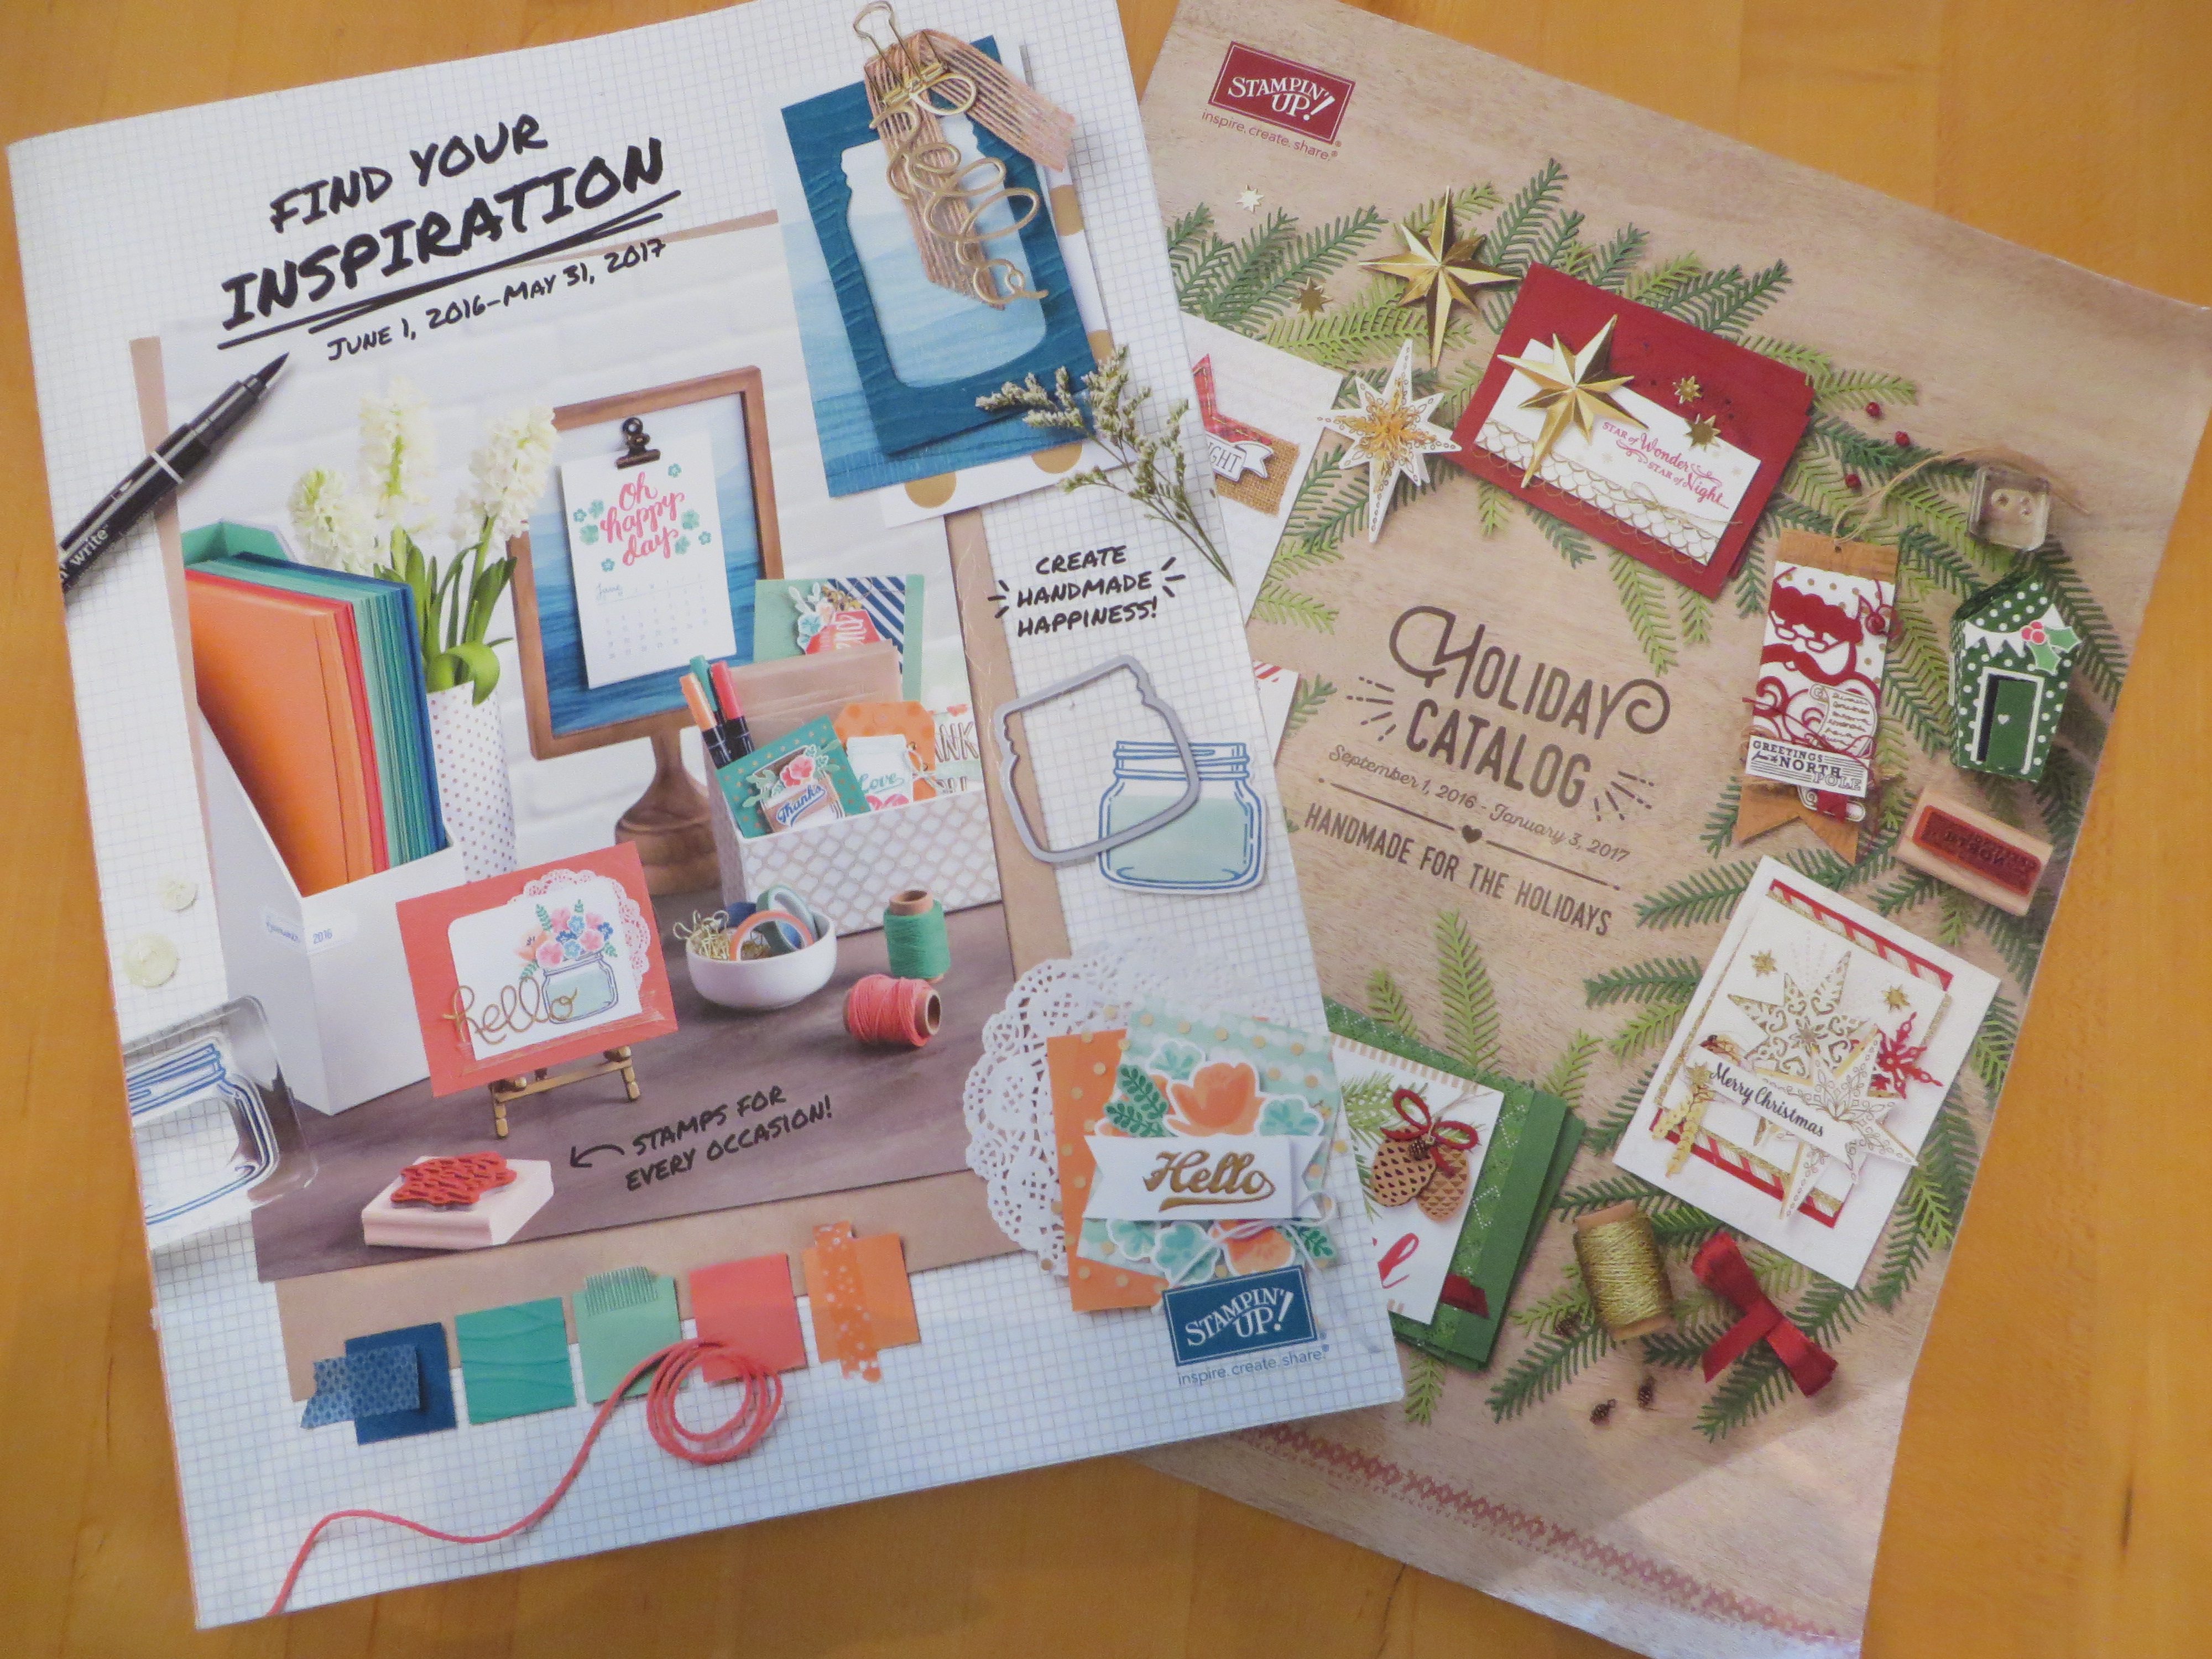
4.  Sit down with the therapeutic Stampin’ Up! catalogs and enjoy the inspiration! Every time you look through the catalogs you will notice a new idea or want to try something you see! Best reading material on the planet!!

Stampin' Up! Catalogs

5.  STAMP!!  Go ahead!  Just sit down with your supplies at hand and STAMP!  That stamp and block in your hand can work miracles! Just STAMP! Get your desk all messy with your paper, ink and stamps, then stand back and admire all the beautiful colors and materials!

Stampin' Up! messy desk

There you go!  The 5 ways to relieve election stress!  Hope you enjoy your day!

Shop Stampin’ Up! HERE for post-election stress relief!


Election Day 2016 Cookie Cutter Citizen Voter

Election Day Cookie Cutter Citizen Voter

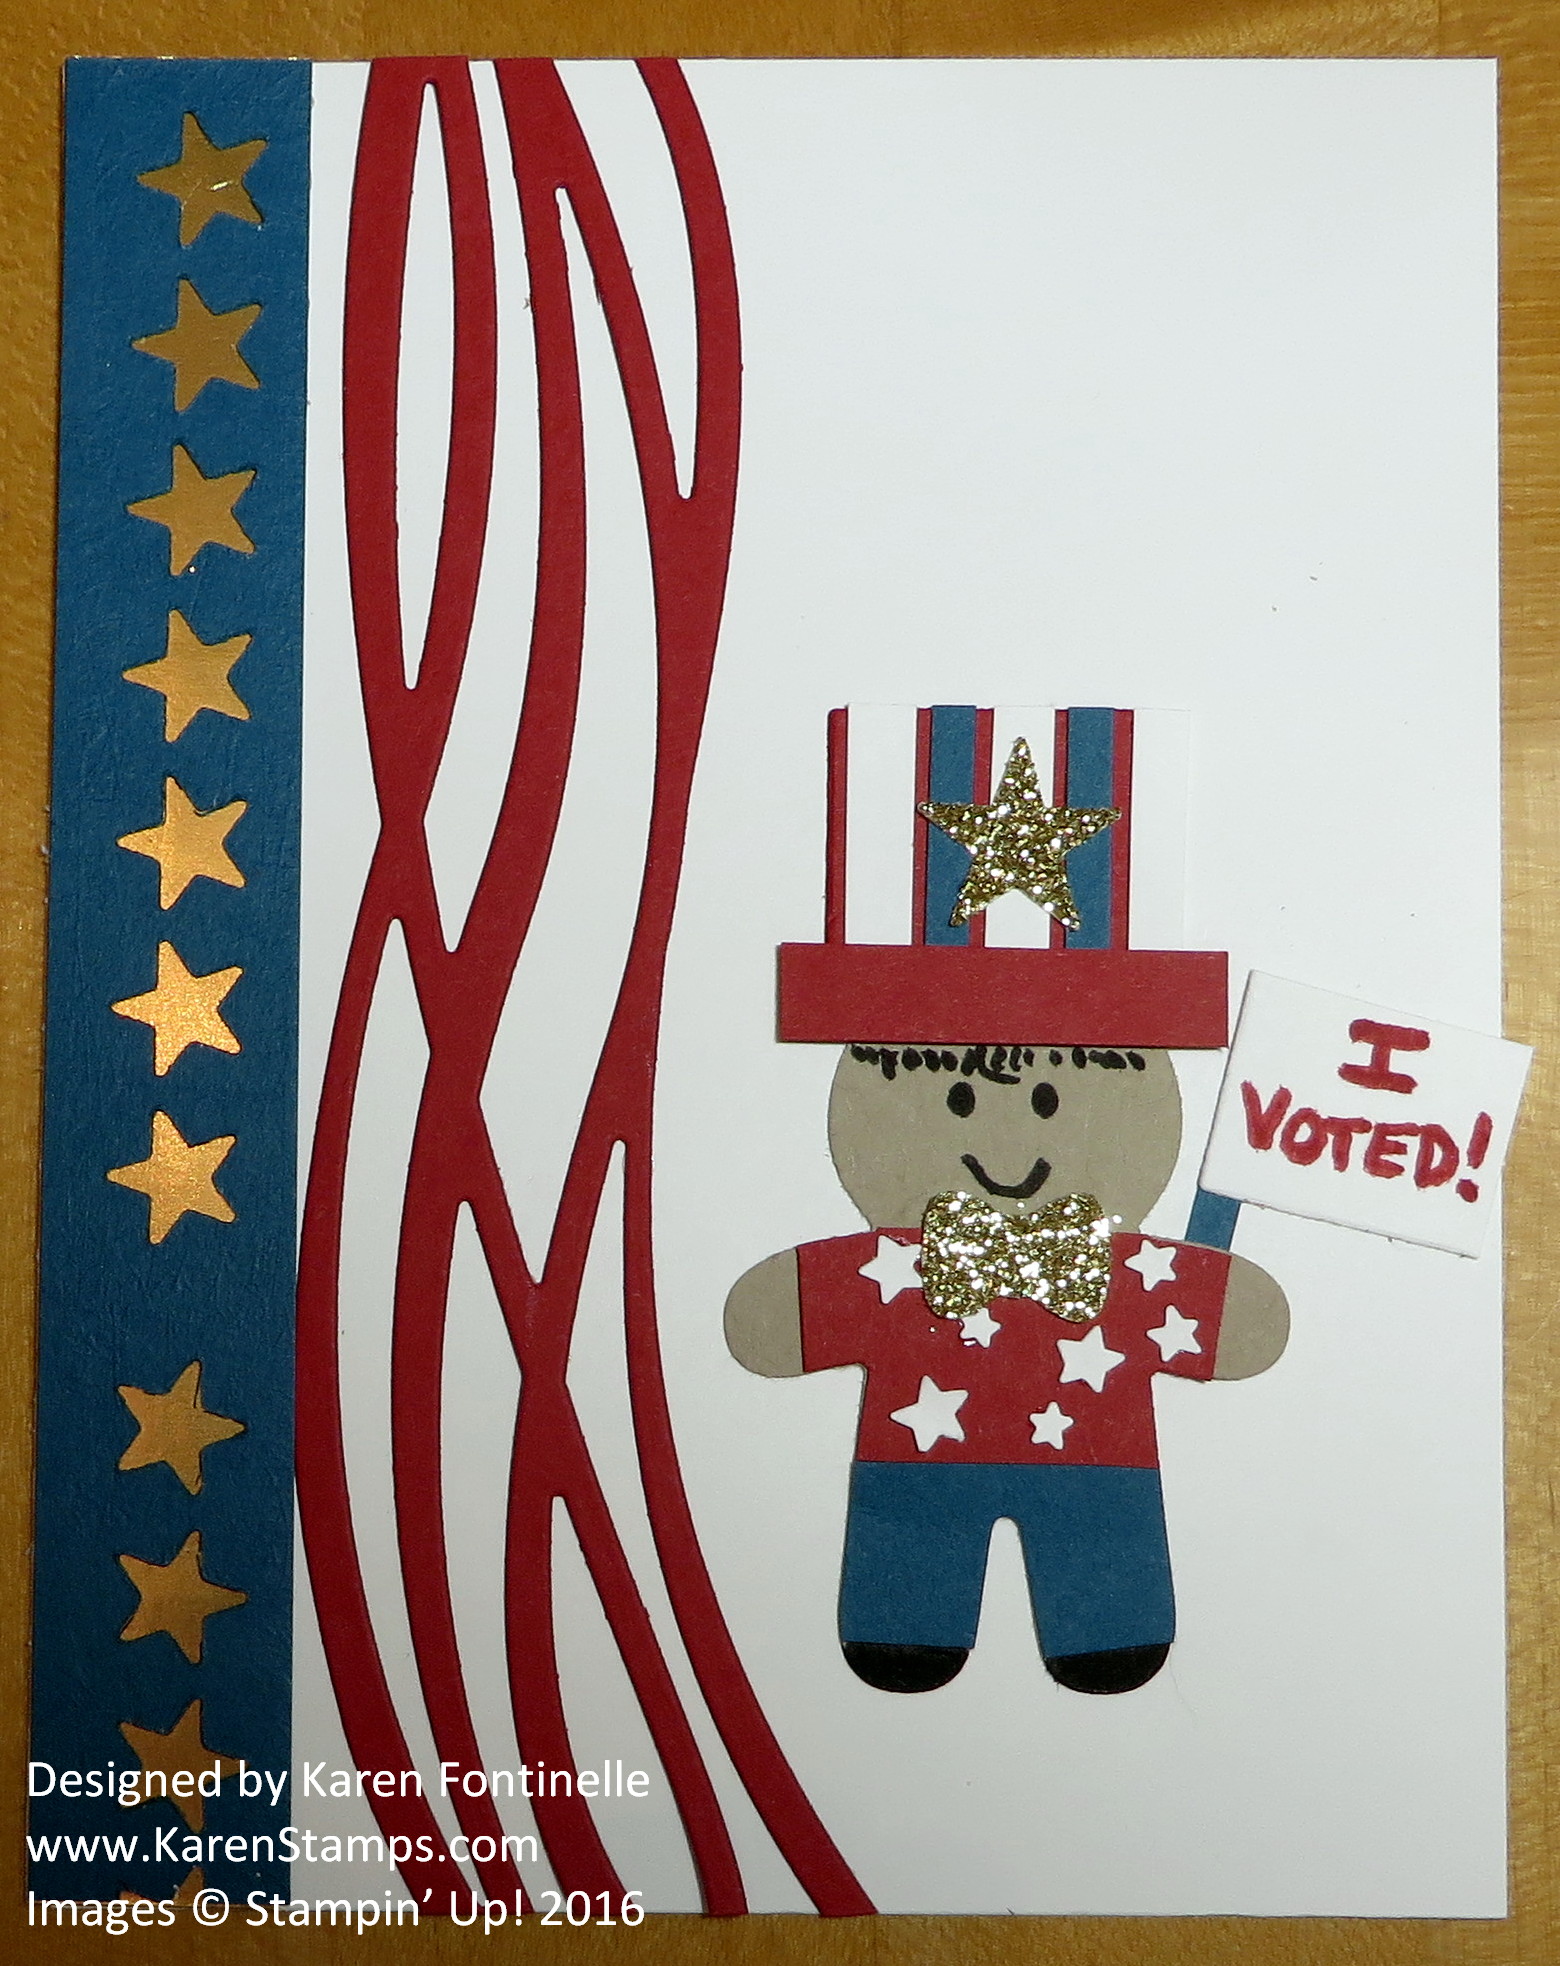
Today is Election Day 2016 in the US and this Stampin’ Up! Cookie Cutter Citizen has voted! Have you? If you haven’t early-voted, absentee-voted, mail-in-voted, then you need to go to your polling place today and cast your vote.  There are lots of places to find out your polling location if you are not sure, so be sure to check.

I looked for ideas for inspiration to make this card and combined a few things, plus made up my own! I saw a really cute patriotic owl made with the Owl Punch (what punch has ever been so versatile??!) and as I was reaching for the punch, I got the idea to try making something with the Cookie Cutter Punch! I punched some red, white and blue clothes for the gingerbread man and decorated his shirt with some stars from the Confetti Stars Punch (some teeny tiny stars!).

To add a little more patriotic touches, I die cut some wavy swirls with the Swirly Scribbles Thinlits Dies. The Dapper Denim paper is die cut with stars from the Mini Treat Bag Thinlits Dies with Gold Foil behind the stars.

Just a fun card to remind everyone of Election Day and have some fun!

And after you vote, come home and order some Stampin’ Up! supplies for yourself for a treat!

Shop Stampin’ Up! Online on Election Day!

Decorated Christmas Votive Holder

Decorated Christmas Votive Holder

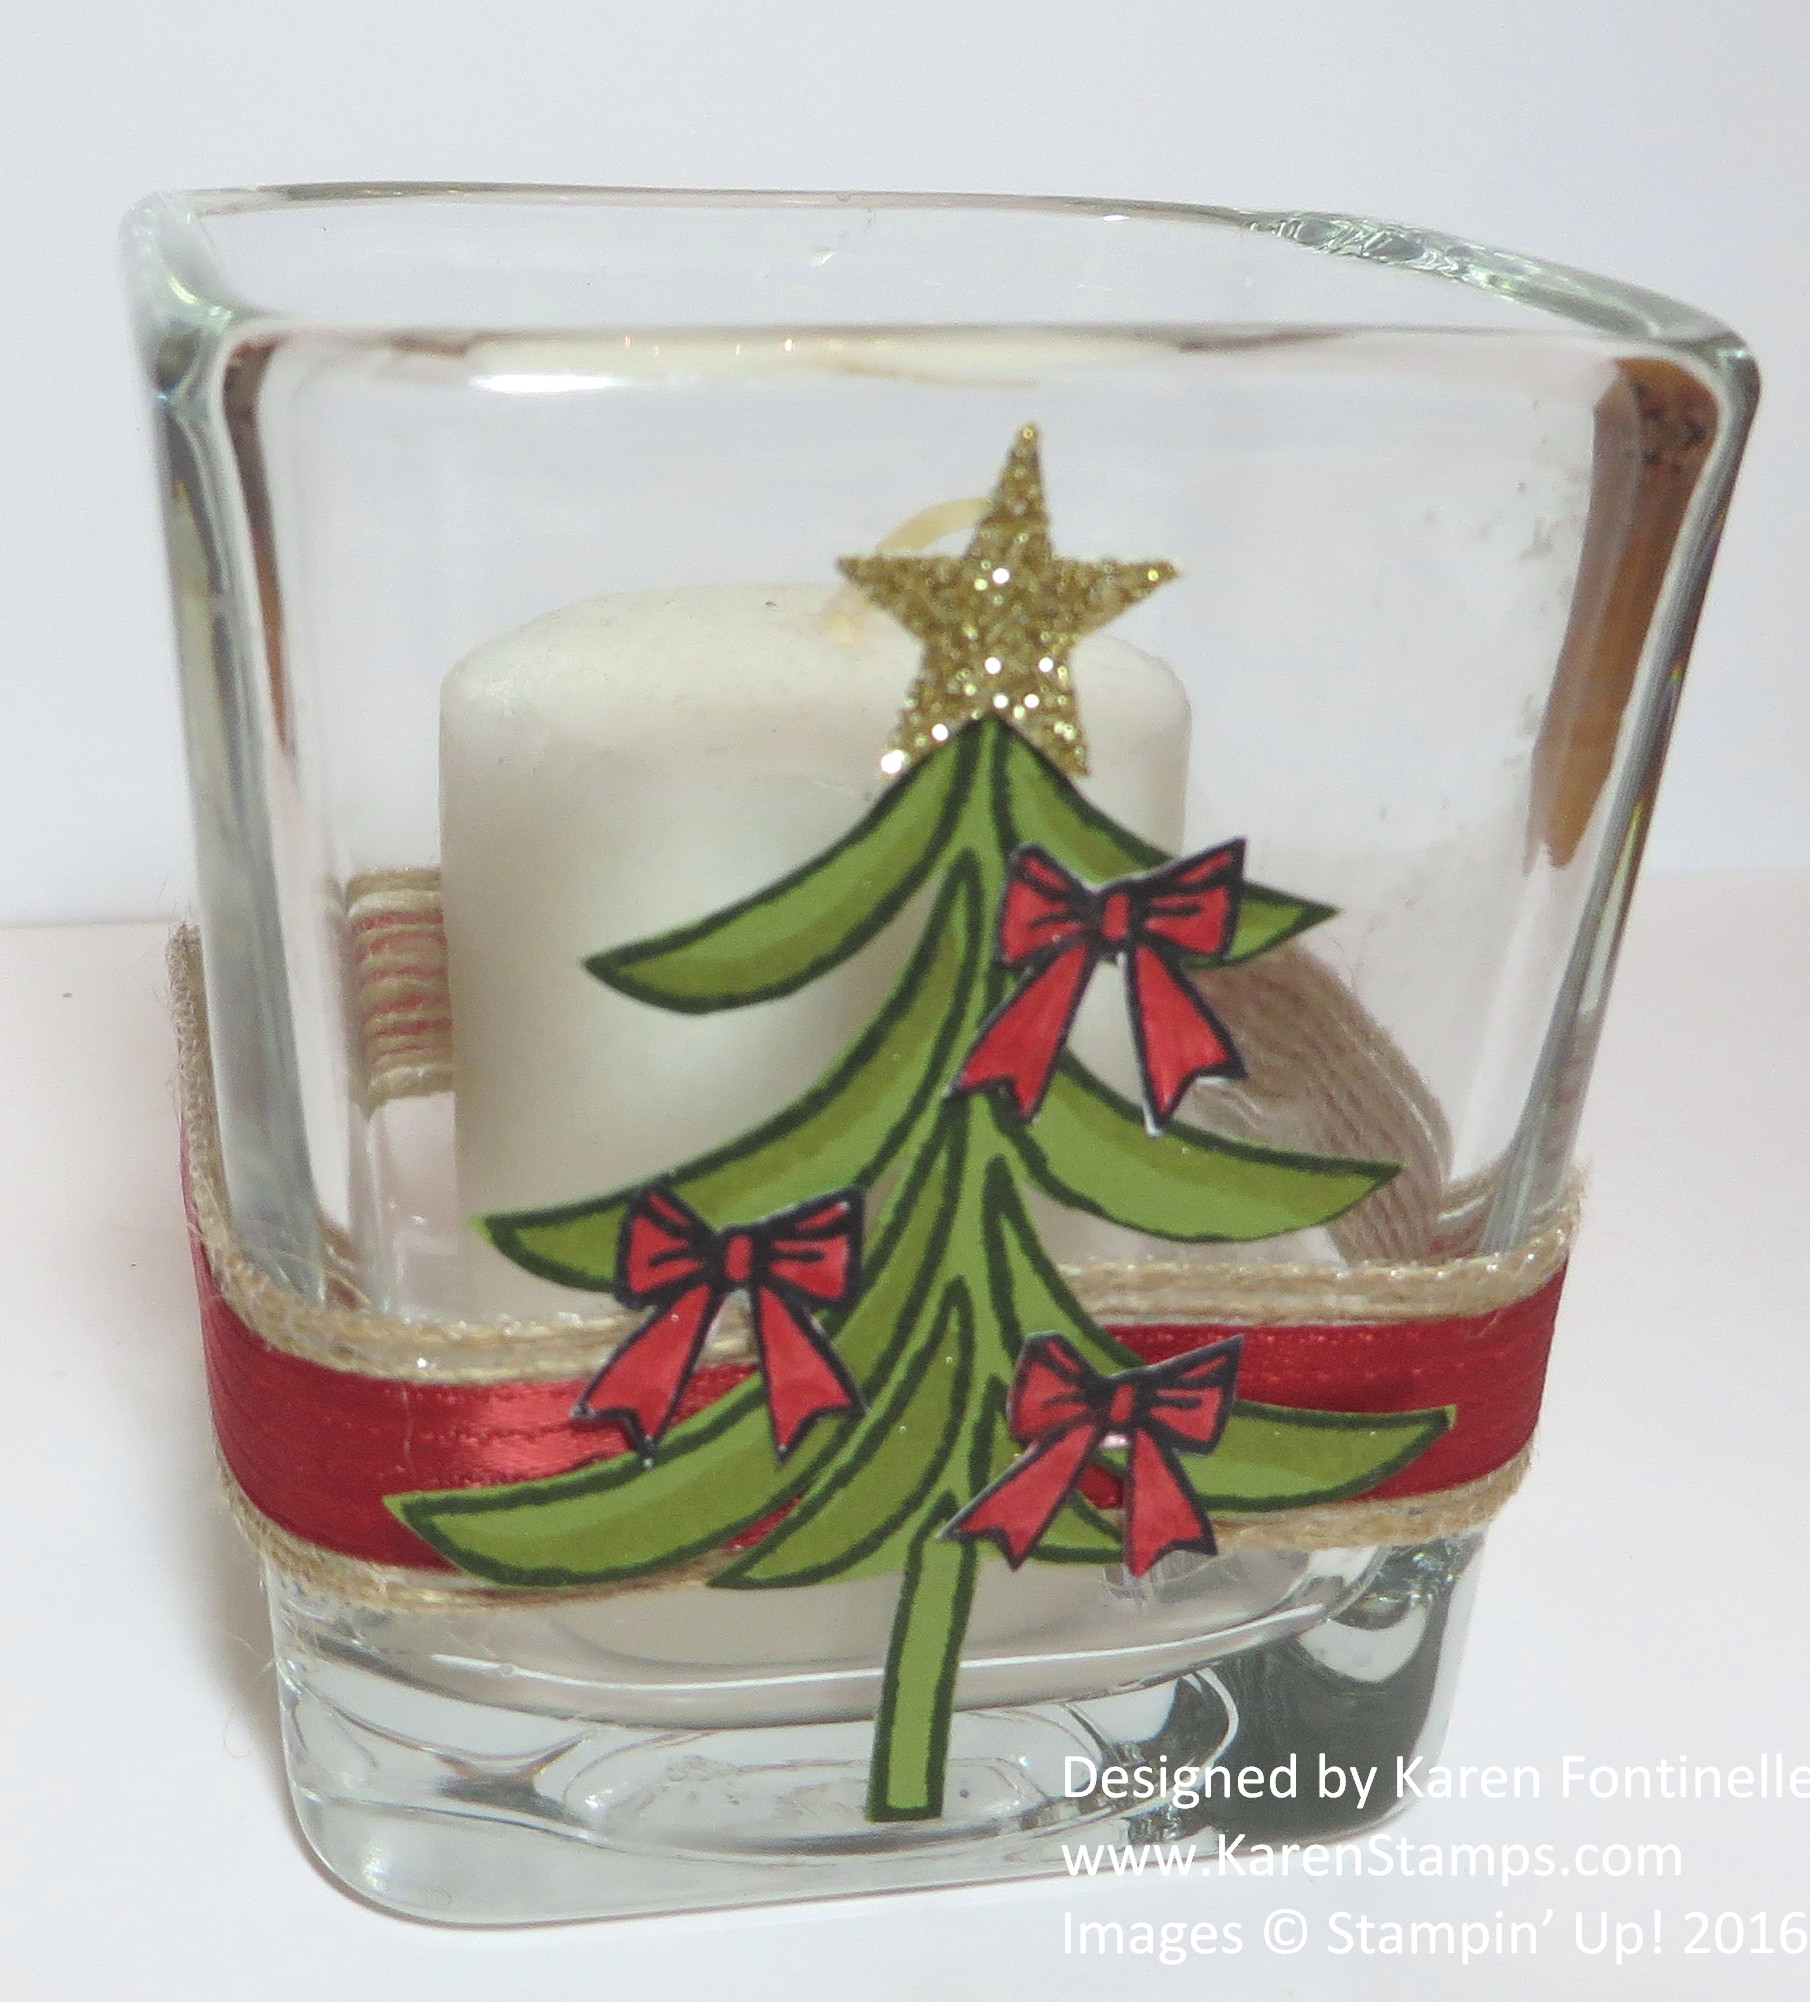
The other day I was at a holiday market and I saw a round votive holder with a piece of burlap wrapped around the middle and some other embellishments attached so that inspired my Decorated Christmas Votive Holder. Stampin’ Up! no longer carries the wide burlap ribbon , but we do have this 5/8″ Burlap Ribbon which is very soft, flexible and easy to use. For a little accent I also wrapped around the Real Red 3/8″ Stitched Ribbon. I love red and I love this ribbon!  Stampin’ Up! really has the best RED, don’t you agree?!

To decorate the votive, I decided on the Christmas tree in the Santa’s Sleigh Stamp Set.  The tree is really too tall for the votive but the design was such that I could cut the top off the tree and it still looked fine. I also stamped the red bows that come in the set and colored with a Real Red Stampin’ Write Marker and adhered to the tree. (Both the Real Red & Crumb Cake Markers can be purchased in the Holiday Catalog). You can’t see it in the photo, but I also felt compelled to play with both Wink of Stella Glitter Brushes!  I applied a little of the Gold Wink of Stella to the tree branches and some Clear Wink of Stella to the bows. Those glitter brushes are dangerous – once you start using them you can barely make yourself stop, they are so much fun! For the star on top of the tree, I used a retired star punch and Gold Glimmer Paper.

I think there are so many possibilities for decorating little votive holders for Christmas like this one. Pick up a few at the store, get out your stamping stuff, and see what you come up with!  They will make nice little gifts.

It’s not too late to get a Stampin’ Up! Annual Catalog and Holiday Catalog if you are interested in Stampin’ Up! products! Just email me at Karen@KarenStamps.com and I can mail the catalogs to you.

One more thing — if you are not on my Mailing List, be sure to sign up in the red sign-up box in the upper right of my blog (or in the pop-up box!) so that you get my monthly emails with projects and Stampin’ Up! news and specials PLUS right now the rest of my 12 Weeks of Christmas emails. You will also get a free gift just for signing up! Do it right now so you don’t forget!

Shop Stampin’ Up! Online HERE!

Christmas Thank You Note Cards

Christmas Thank You Note Cards

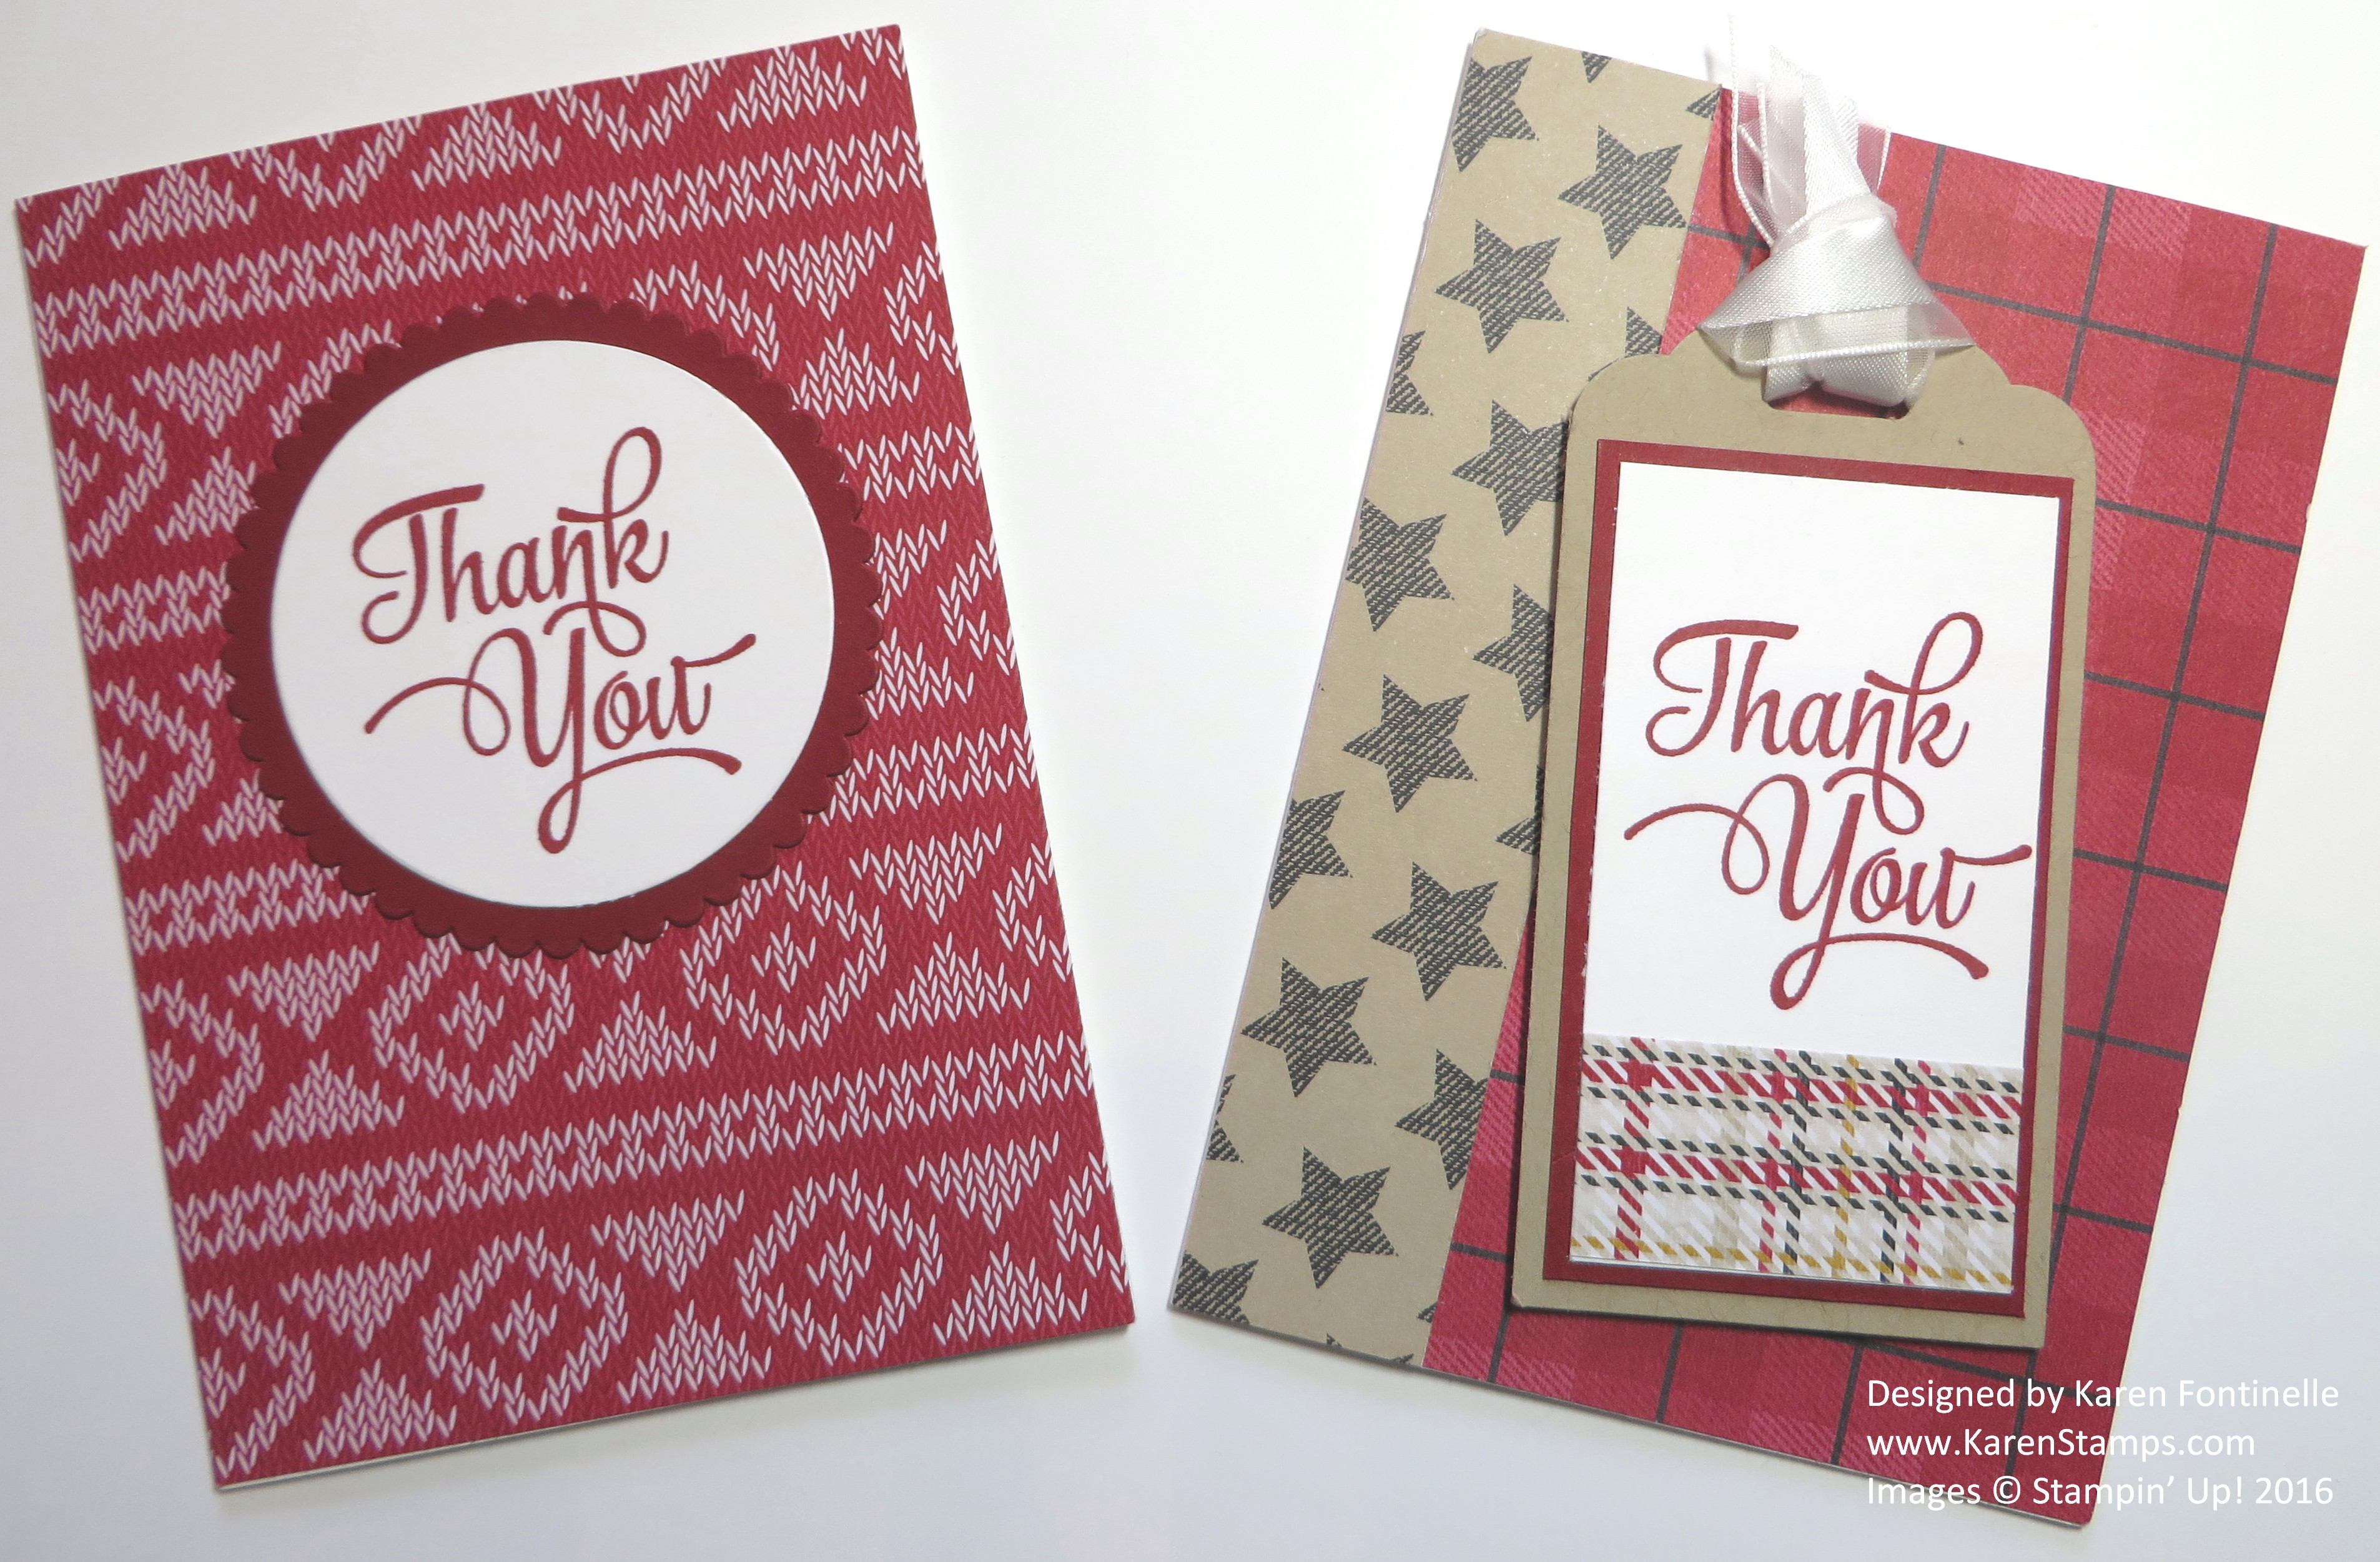
I’m calling these Christmas Thank You Note Cards, but can’t you see that you could use them almost any time? If you send thank you notes (and we all should) you will be sending them after the Christmas holidays, so these made with the Warmth & Cheer Designer Series Paper Stack have a lot of wintery looking papers, perfect to use after Christmas! But there are also other patterns that are other designs that you can use just any time.

To save time, I used the Whisper White Note Cards and EnvelopesThese cards are a little smaller than the cards we normally make, but not too small that they can’t be used for writing notes. I think these Stampin’ Up! Note Cards are one of the most overlooked items in the catalog! They are so handy, you should really keep a pack or two on hand. On these thank you notes, I covered the note cards with the designer paper, but you could also quickly stamp an image on the front of the plain note card and write a note inside.  Quick and easy! There are also Crumb Cake Note Cards and Envelopes if that color suits your purpose better!

Why am I mentioning thank you notes now?? Well, sometimes I think it is better to start from the end and work forward! Sometimes I do my packing for a trip this way! For the holidays you know you have shopping and wrapping and cooking and cleaning to do, but by the time you get to handmade thank you notes, you are not going to take the time. So do those now to keep on hand because you KNOW the shopping, the wrapping, the cooking and cleaning WILL get done! And besides, it’s not just Christmas! Maybe you will get a hostess gift from a guest at Thanksgiving dinner or maybe you will be a guest at someone’s house for Thanksgiving. Wouldn’t it be nice to have thank you notes ready to send after Thanksgiving? Which would be more fun?  Getting an email saying “Thank you for the dinner!” or receiving one of these cards in the mailbox with your handwritten note personally thanking your host?? Email is more convenient (unless the recipient doesn’t check their email as timely as you do!) but a handwritten card means and says so much more. And since that’s what we love to do – stamp and make cards – let’s DO that!

Stampin' Up! Note Card Sample

Make it simple for yourself in this busy time. Get a pack or two of note cards and make up a few thank you notes to send when the occasion calls for it.

And don’t forget the new Stitched Shapes Framelit Dies available now plus the 25% off sale on select stamp sets!

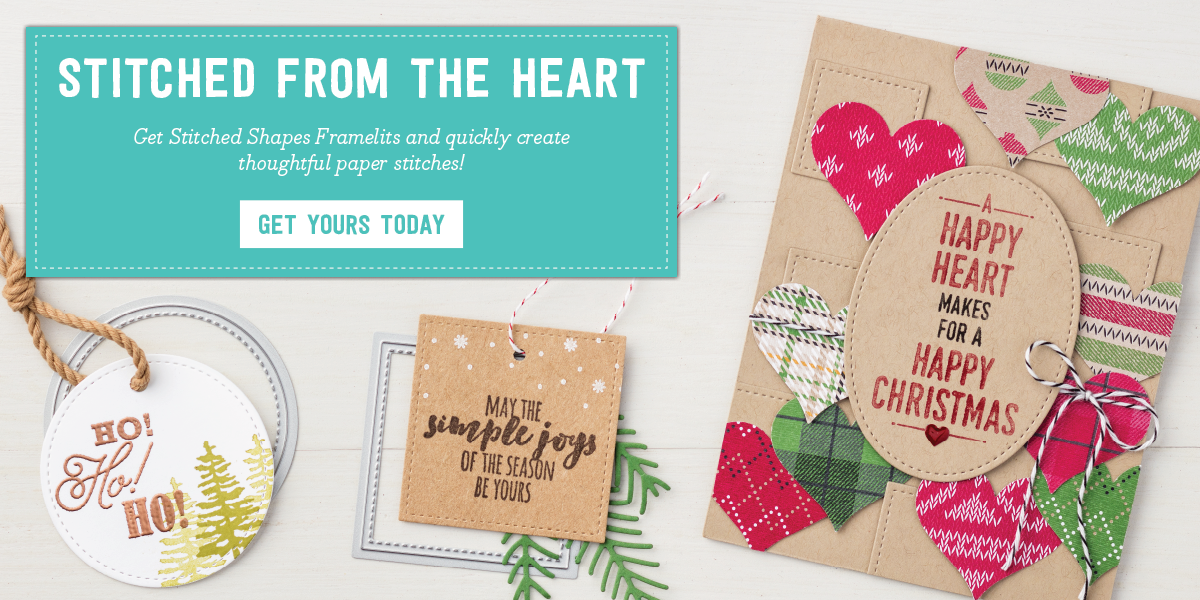
Stitched From the Heart Cards

Shop Stampin’ Up! Online 24/7 or contact me to help you place your order!


Gift Wrap Ideas With Cellophane Bags


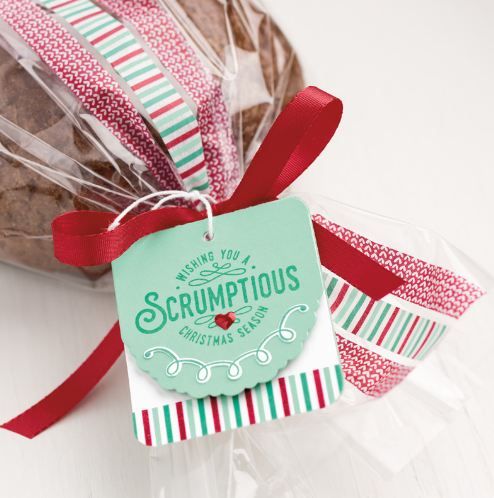
Enjoy this video from Stampin’ Up! and get wonderful gift wrap ideas and maybe just gift ideas themselves using the 6″ x 17″ Gusseted Cellophane Bags.  These are pretty large bags, given the 17″ length, so you can stick a large gift or treat inside! Think about when you are ready to make special treats for the neighbors or a group of friends, wouldn’t these bags be perfect to use for your holiday mix, special bread or cake, bag of cookies or candy, bottle of wine, and more? Just put your gift inside,  tie with a pretty ribbon and add a cute tag! If you don’t want the bag quite so long for a smaller gift, just cut off some of the length.

For another gift presentation when you want the gift to be hidden, just wrap pretty tissue paper all around the gift and insert it in the cello bag! You can also stamp on the outside of the bag if you use Stazon ink.

Remember, presentation is everything!! No matter what the gift, a big part of the thrill will be how you wrap and present the gift, and we stampers have all kinds of materials and ideas to make that the best part!

6x17 Cellophane Bag Gift Wrap

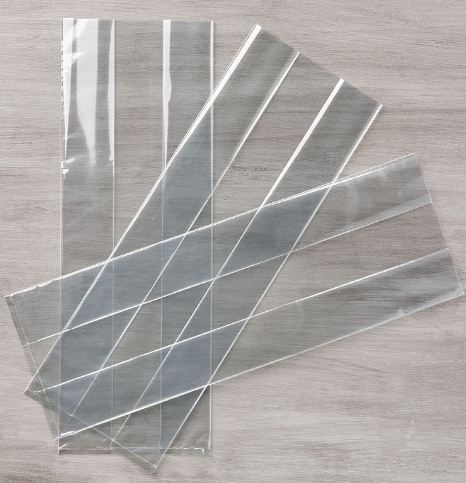
6x17 Cellophane Bags

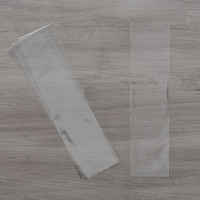
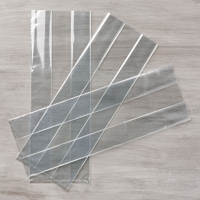
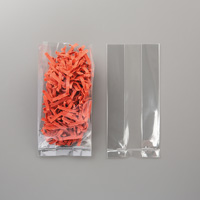
Stampin’ Up! also carries other sizes of cellophane bags. These are nice bags, completely clear and crisp, not that kind of thick, cloudy, cheaper looking kind of bag you can sometimes buy at other places.

World Series 2016 Cubs Win Celebration Card

World Series 2016 Cubs Win Celebration Card

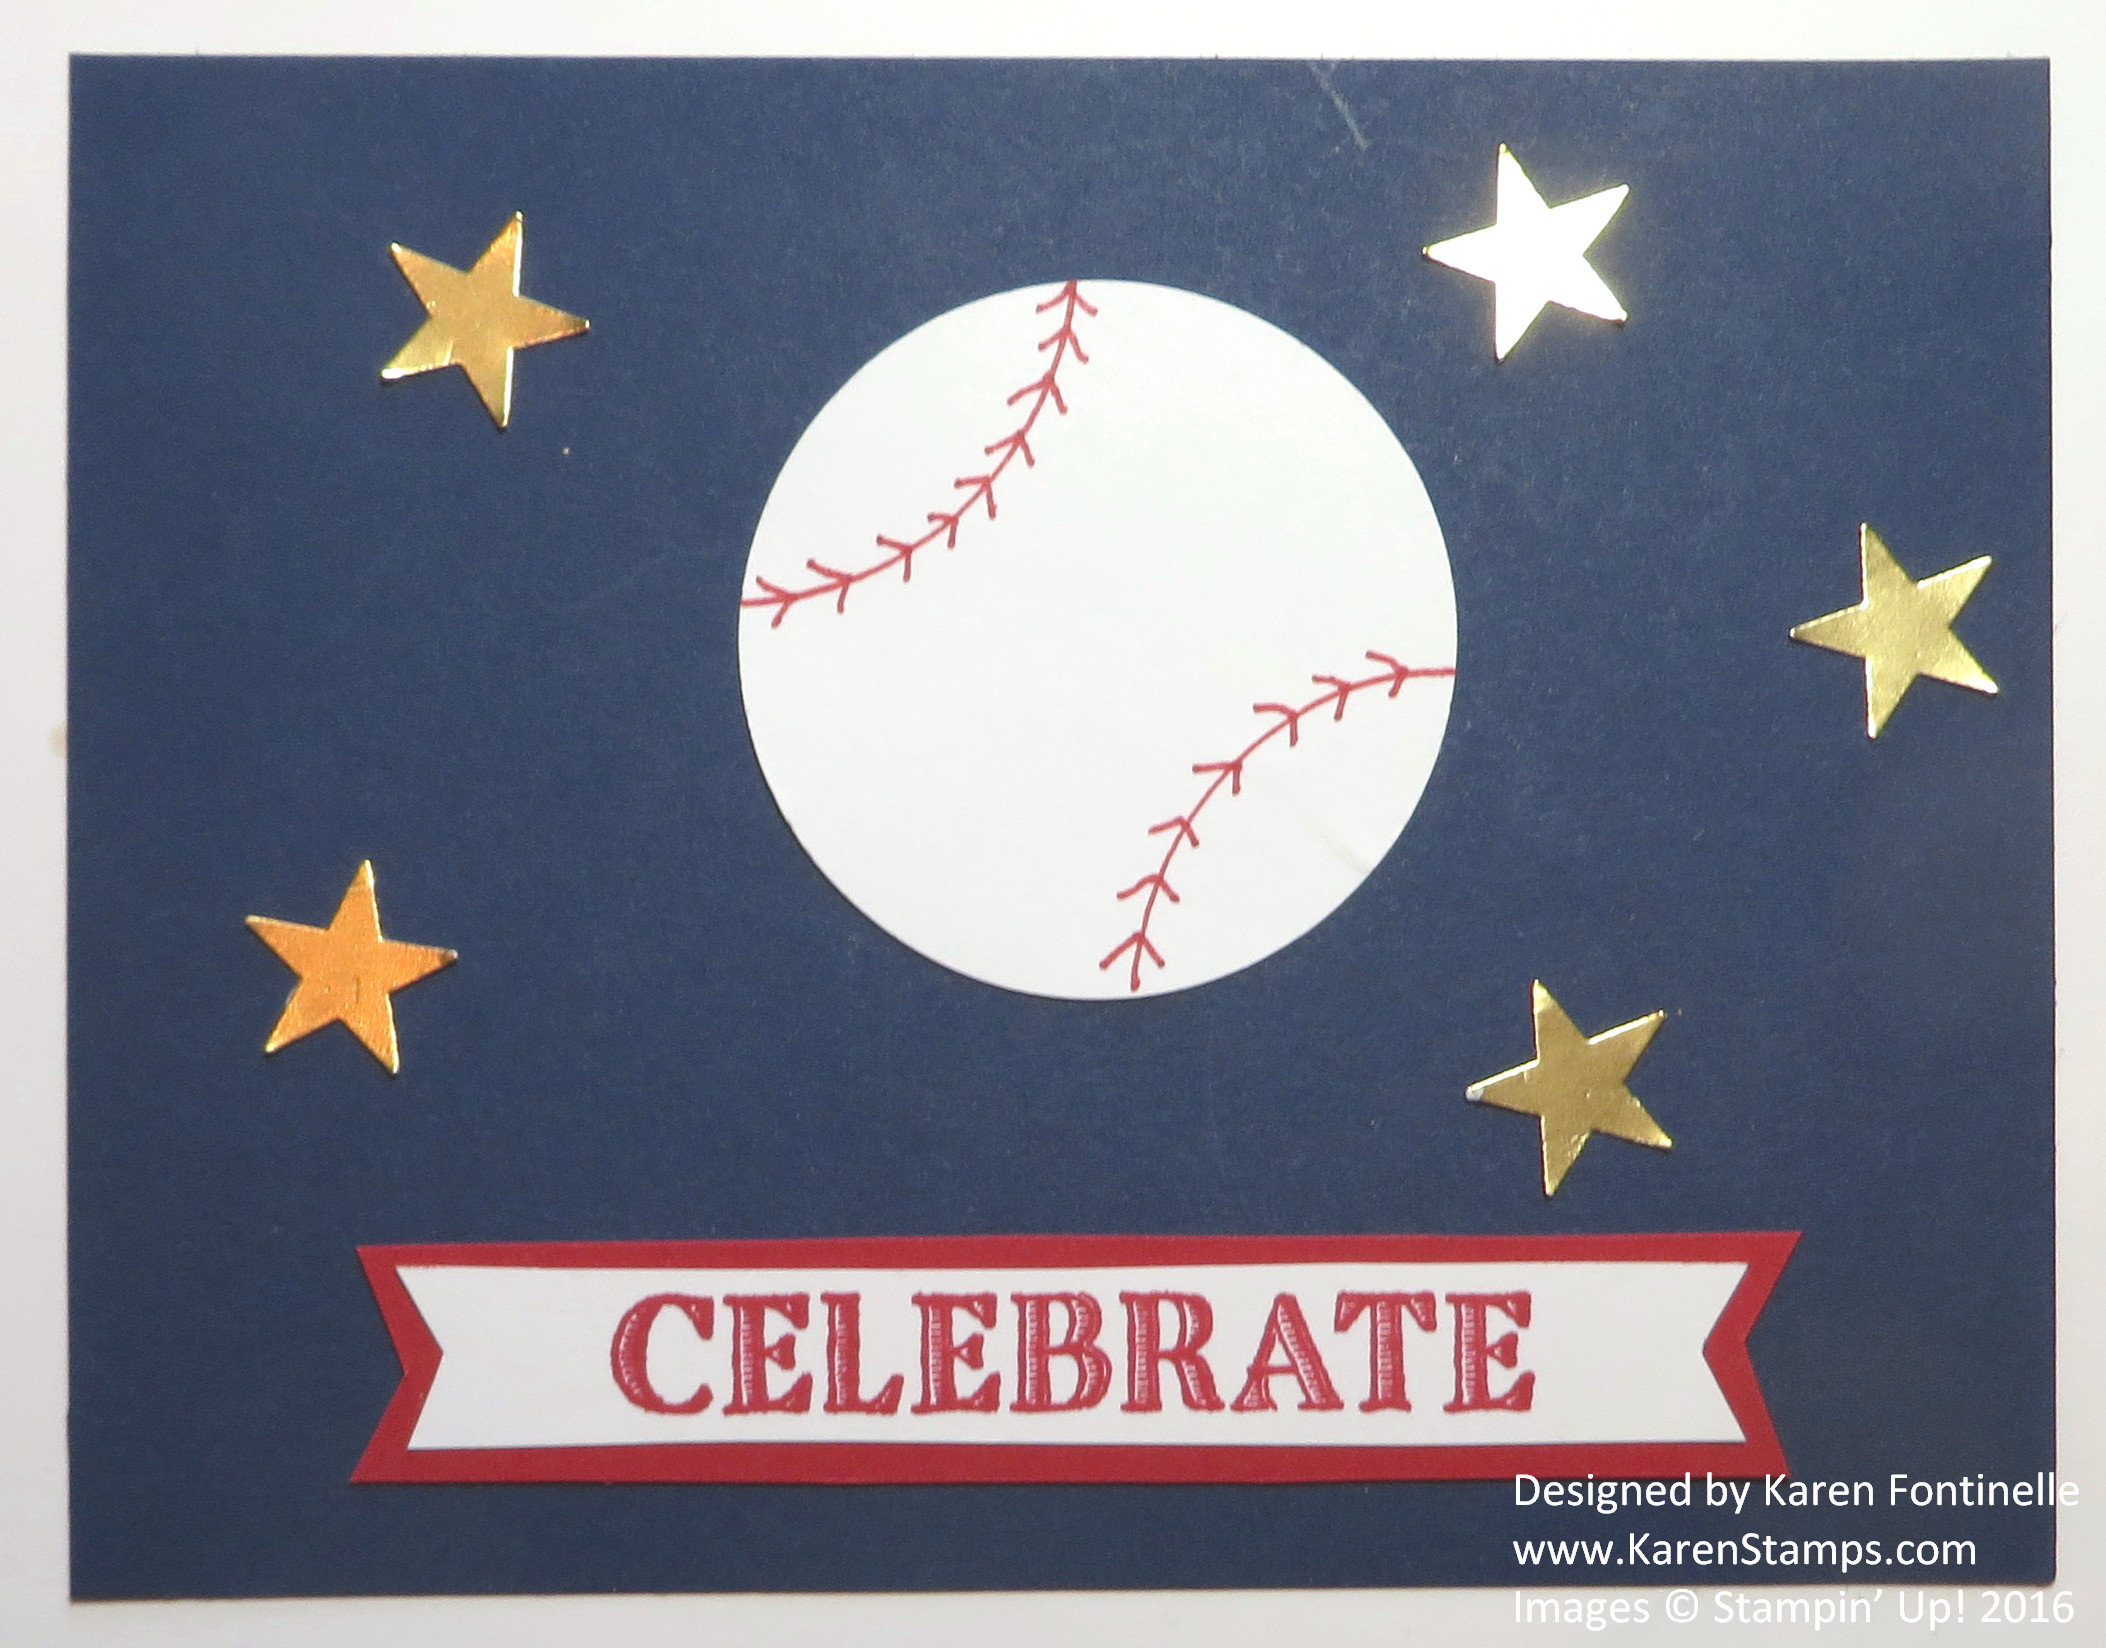
Did you watch Game 7 of the World Series last night with the Cleveland Indians playing the Chicago Cubs?  Wow!  What a game! Isn’t it fun that with stamping you can make a card that has something to do with current events like my World Series 2016 Cubs Win Celebration Card.  I’m sure some relatives of mine, lots of them from Chicago, who I remember being Cubs fans, like my grandpa’s brother, were celebrating in heaven last night! I couldn’t help but root for the Cubs because of their history and being from St. Louis (which isn’t too far from Chicago!), even though my son-in-law was mad they beat his Dodgers! He enjoyed the game itself anyway!

I very quickly made this card celebrating baseball, the World Series, and the Cubs victory. For the baseball I just punched a 2″ circle and drew on the baseball stitching lines with a Real Red marker. The word Celebrate is from the Ronald McDonald House Charity stamp set from Stampin’ Up! called My Hero . (A worthy cause while you add to your stamping collection!!) The little stars I just punched with a small retired punch from Gold Foil Sheets.

Whichever team you were rooting for,  I hope you enjoyed the World Series this year!

Shop Stampin’ Up! HERE!

Easy Christmas Card Ideas…and the Stamps Are On Sale!

Tin of Tags Christmas Cards

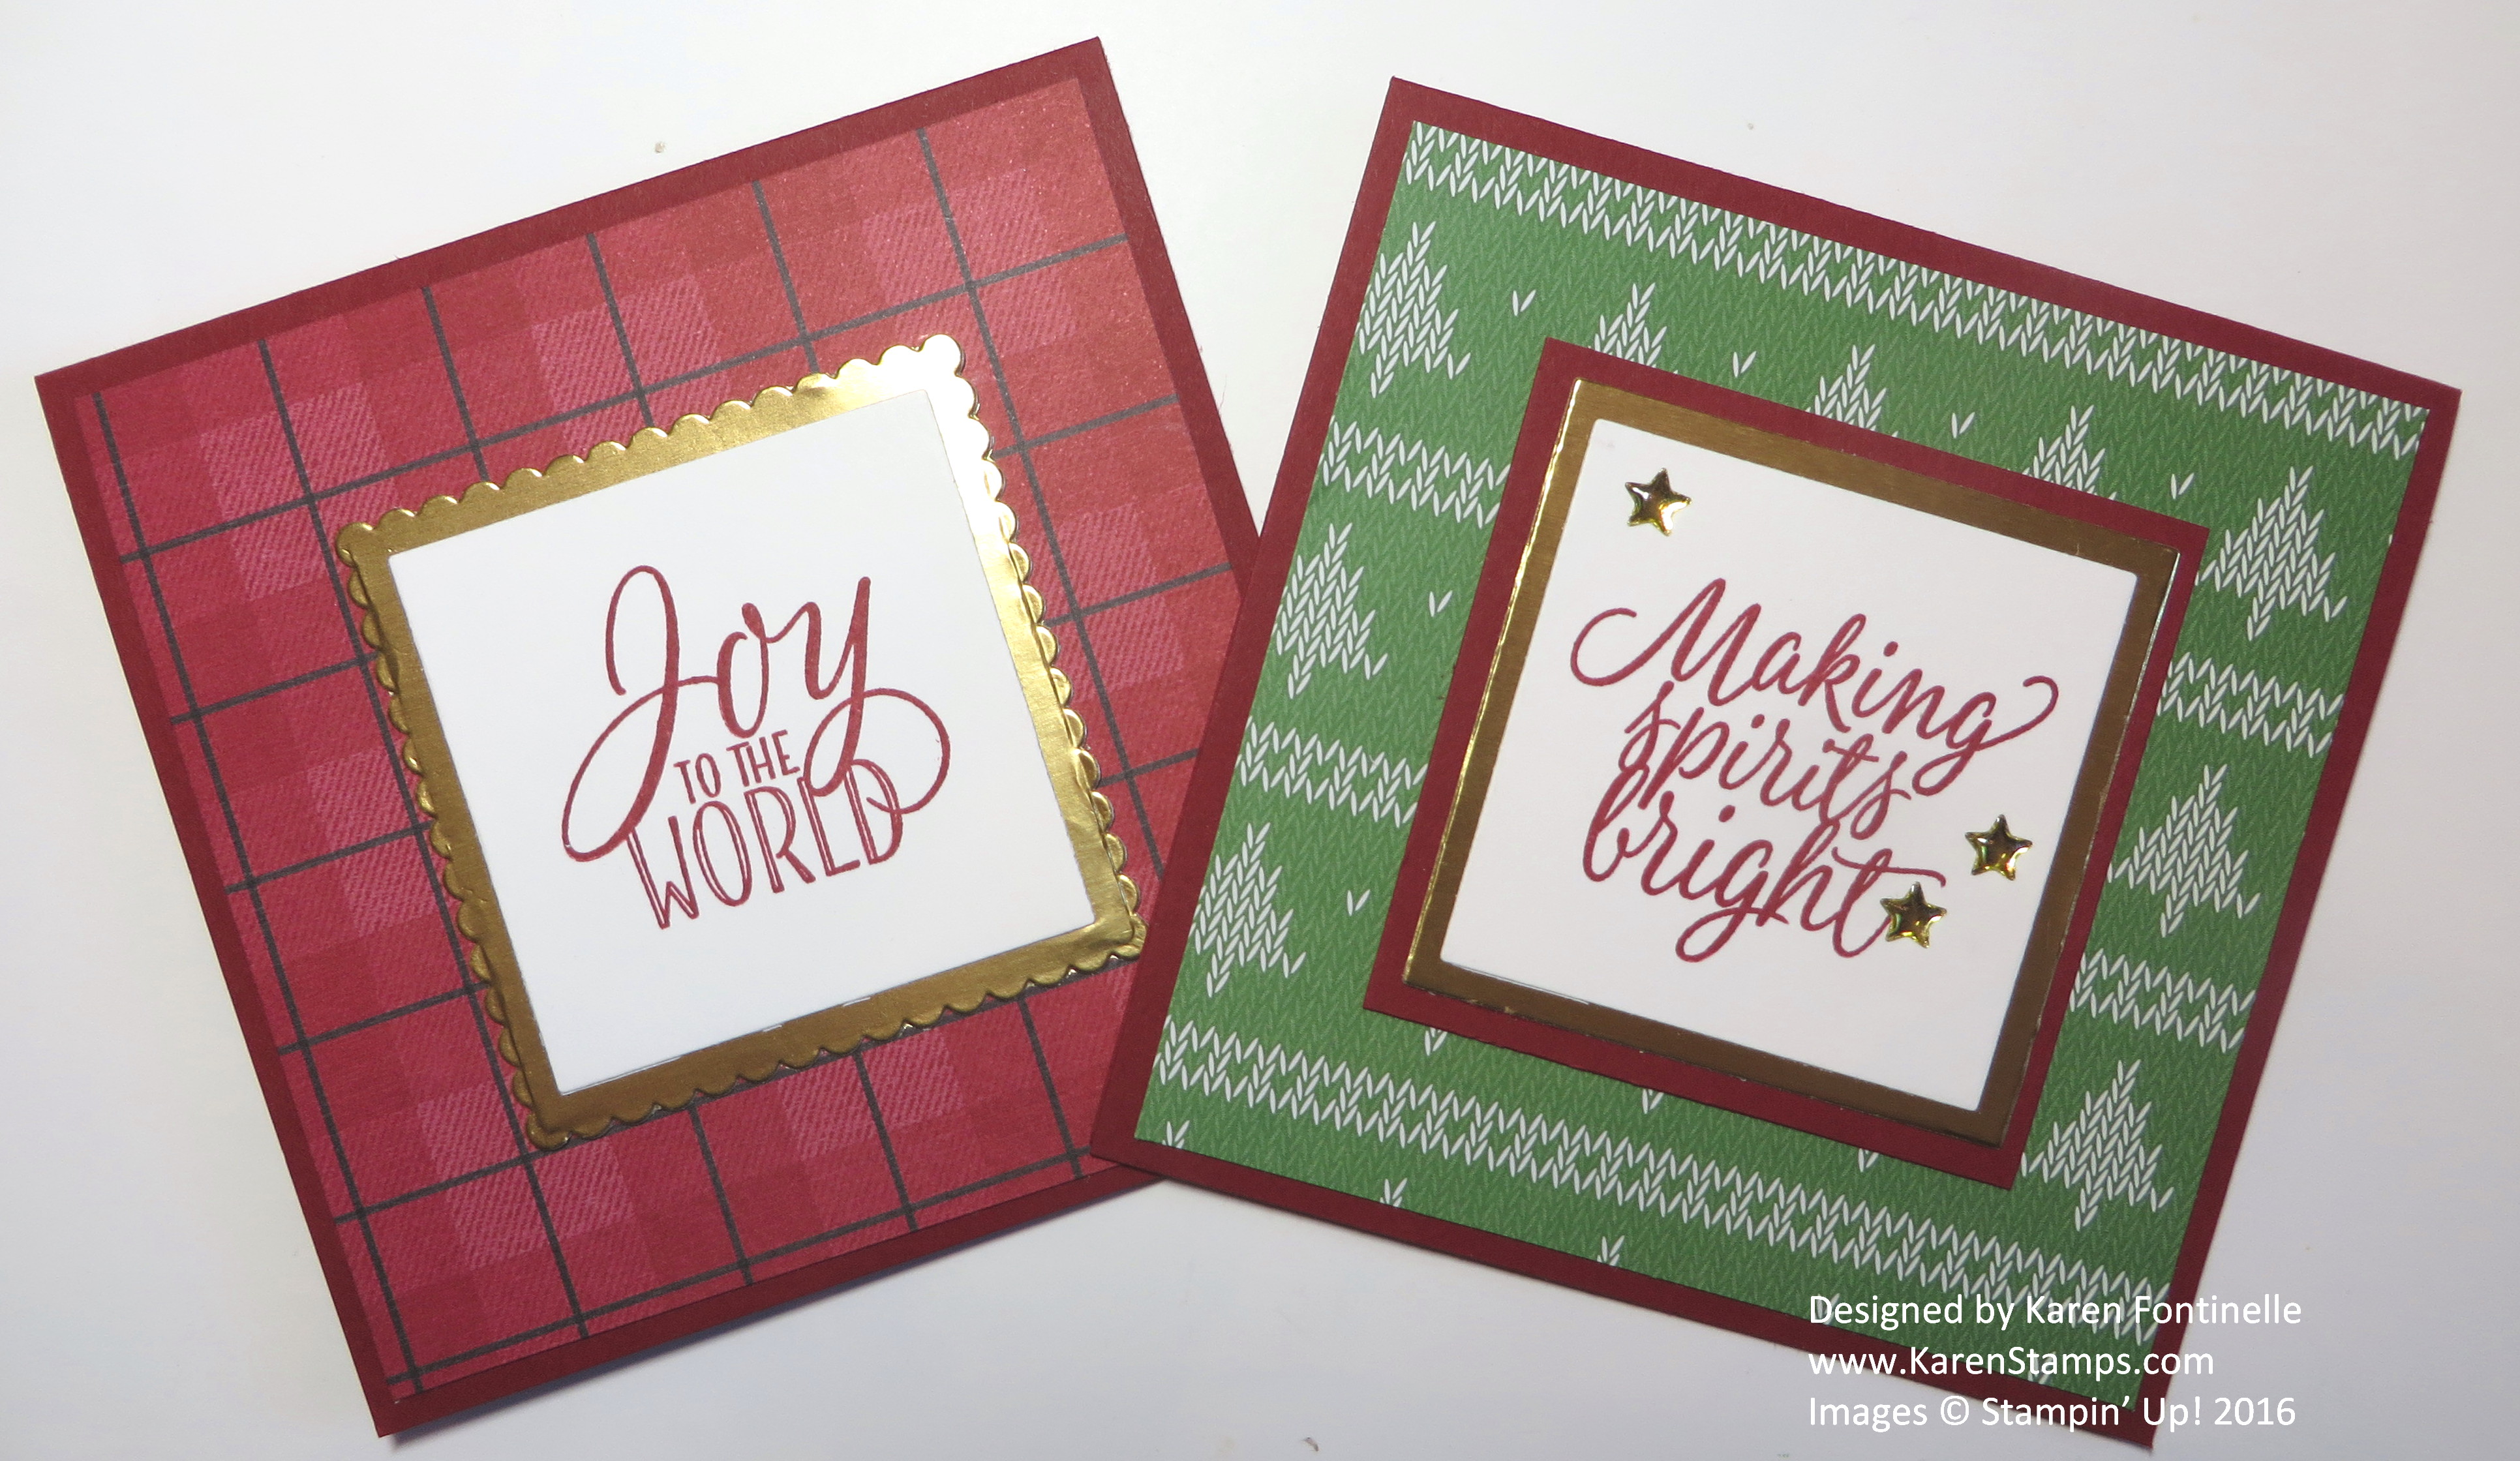
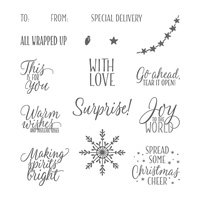
Yesterday Stampin’ Up! announced a 25% off sale of select stamp sets that perhaps coordinate nicely with the newly introduced Stitched Shapes Framelits Dies.  Here I used one of the stamp sets on sale, Tin of Tags Photopolymer Stamp Set, to make two easy Christmas cards! It’s that time of year! I don’t have the framelits yet, but I think they would add a nice touch to my greetings on my cards as a border.

Watch the Stampin’ Up! video below to see how to use the new Stitched Shapes Framelits Dies!

My Christmas cards were very easy to make. I decided to make a 4 1/4″ square card. Instead of cutting the cardstock in half horizontally as we usually do, cut the length to 8 1/2″, then cut in half vertically (well, if you start with a full sheet of cardstock, cut in half vertically and then trim each strip to 8 1/2″.) Score at 4 1/4″ and fold in half. I used a layer of the Warmth and Cheer Designer Series Paper Stack as a background. The greetings on each card are stamped from the Tin of Tags Stamp Set. I die cut the squares with the Layering Squares Framelits Dies, but if you don’t have those, just cut your own squares. I also used the gold Metallic Enamel Shapes to add little accents on the one card.

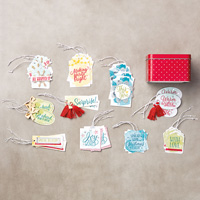
The Tin of Tags Photopolymer Stamp Set of course coordinates with the cute Tin of Tags Project Kit.  Such a fun and easy way to sit down for a little while and make 30 tags to use on your Christmas gifts!  And you still have the cute red tin!  I love red, so in my case, I bought the red tin and the kit just came with it!!  But you can use the stamp set a million ways without the project kit, so don’t let that stop you.

To see all the stamp sets on sale during November and the Stitched Shapes Framelits Dies, just click the link below!

Shop the 25% off Stampin’ Up! Stamp Sale on select stamp sets!

Get On My List for 12 Weeks of Christmas!

12 Weeks of Christmas Holiday Emails

Now that Halloween is over, you know Christmas is just around the corner and the time to be working on cards and gifts is here! Every week I send out a special holiday email to my mailing list subscribers with a new holiday idea! We have already done four weeks of cards!  Next up are gift ideas and then gift wrap ideas. You can still get the rest of my 12 Weeks of Christmas emails if you sign up today! The next issue goes out in less than 24 hours!  You don’t want to miss any!

Join my Mailing List in the red box in the upper right side of my blog, or in the pop-up that may appear on your screen! It’s easy and no obligation! Join us today!

12 Week of Christmas – Week 5 – goes out tomorrow!  

Sign up in the red box on the right!

NEW!! Stitched Shapes Framelits and Stamp Sale!

Something brand new for November from Stampin’ Up!  And a stamp sale!

Stitched Shapes Framelits Banner

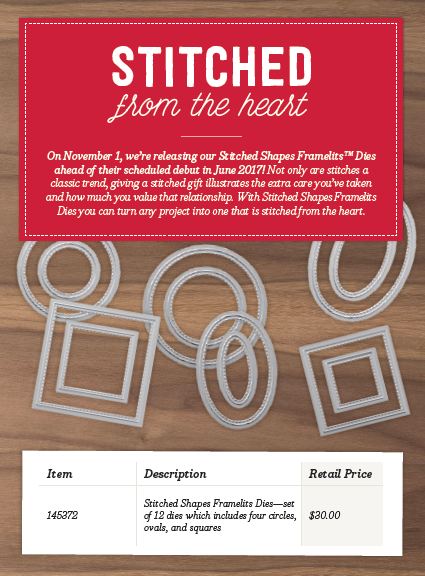
Not only are stitches a classic trend, they illustrate the quality, precision, and extra care taken when creating a piece. Giving a stitched gift shows just how much you value that relationship. Now you have the opportunity to purchase Stitched Shapes Framelits ahead of their official release in the 2017-2018 annual catalog and get 25% off coordinating stamp sets. These stamp sets bring out the beauty of the framelits.

Stitched Shapes Framelits Dies Flyer

With Stitched Shapes Framelits you can make paper stitches in seconds, turning any project into one that is stitched from the heart. And there’s more great news…although the 25% off stamps sets ends November 30, you will still be able to get the Stitched Shapes Framelits after that date.

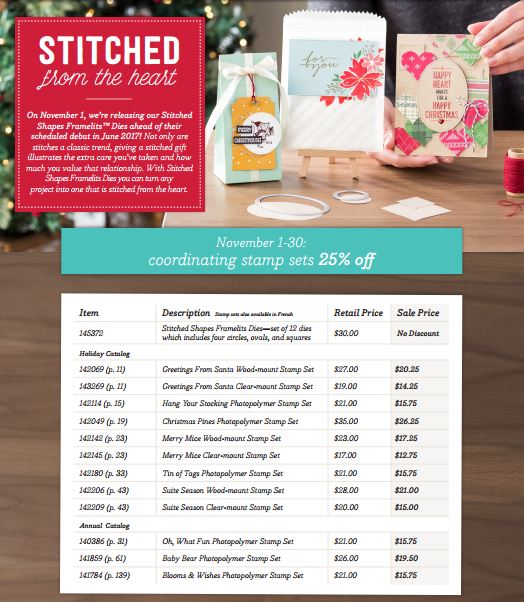
Stitched Framelits and Stamps Flyer

Item

Description

Retail Price

Sale Price

145372

Stitched Shapes Framelits Dies—set of 12 dies which includes four circles, ovals, and squares

$30 USD

No discount

142069 (HC p. 11)

Greetings From Santa Wood-mount Stamp Set

$27 USD

$20.25 USD

143269 (HC p. 11)

Greetings From Santa Clear-mount Stamp Set

$19 USD

$14.25 USD

142114 (HC p. 15)

Hang Your Stocking Photopolymer Stamp Set

$21 USD

$15.75 USD

142049 (HC p. 19)

Christmas Pines Photopolymer Stamp Set

$35 USD

$26.25 USD

142142 (HC p. 23)

Merry Mice Wood-mount Stamp Set

$23 USD

$17.25 USD

142145 (HC p. 23)

Merry Mice Clear-mount Stamp Set

$17 USD

$12.75 USD

142180 (HC p. 33)

Tin of Tags Photopolymer Stamp Set

$21 USD

$15.75 USD

142206 (HC p. 43)

Suite Season Wood-mount Stamp Set

$28 USD

$21 USD

142209 (HC p. 43)

Suite Season Clear-mount Stamp Set

$20 USD

$15 USD

140386 (AC p. 31)

Oh, What Fun Photopolymer Stamp Set

$21 USD

$15.75 USD

141859 (AC p. 61)

Baby Bear Photopolymer Stamp Set

$26 USD

$19.50 USD

141784 (AC p. 139)

Blooms & Wishes Photopolymer Stamp Set

$21 USD

$15.75 USD

*AC refers to the annual catalog; HC refers to the holiday catalog.

Details:

  • Stitched Shapes Framelits available beginning November 1, 2016
  • November 1-30, 2016: select stamp sets 25% off
  • Stamp sets also available in French
  • Ordering Deadline (25% off stamp sets): November 30, 2016, by 11:50 PM (MT)

Shop Stampin’ Up! HERE!


Make Easy Sour Cream Containers for Halloween Treats

HAPPY HALLOWEEN!!!

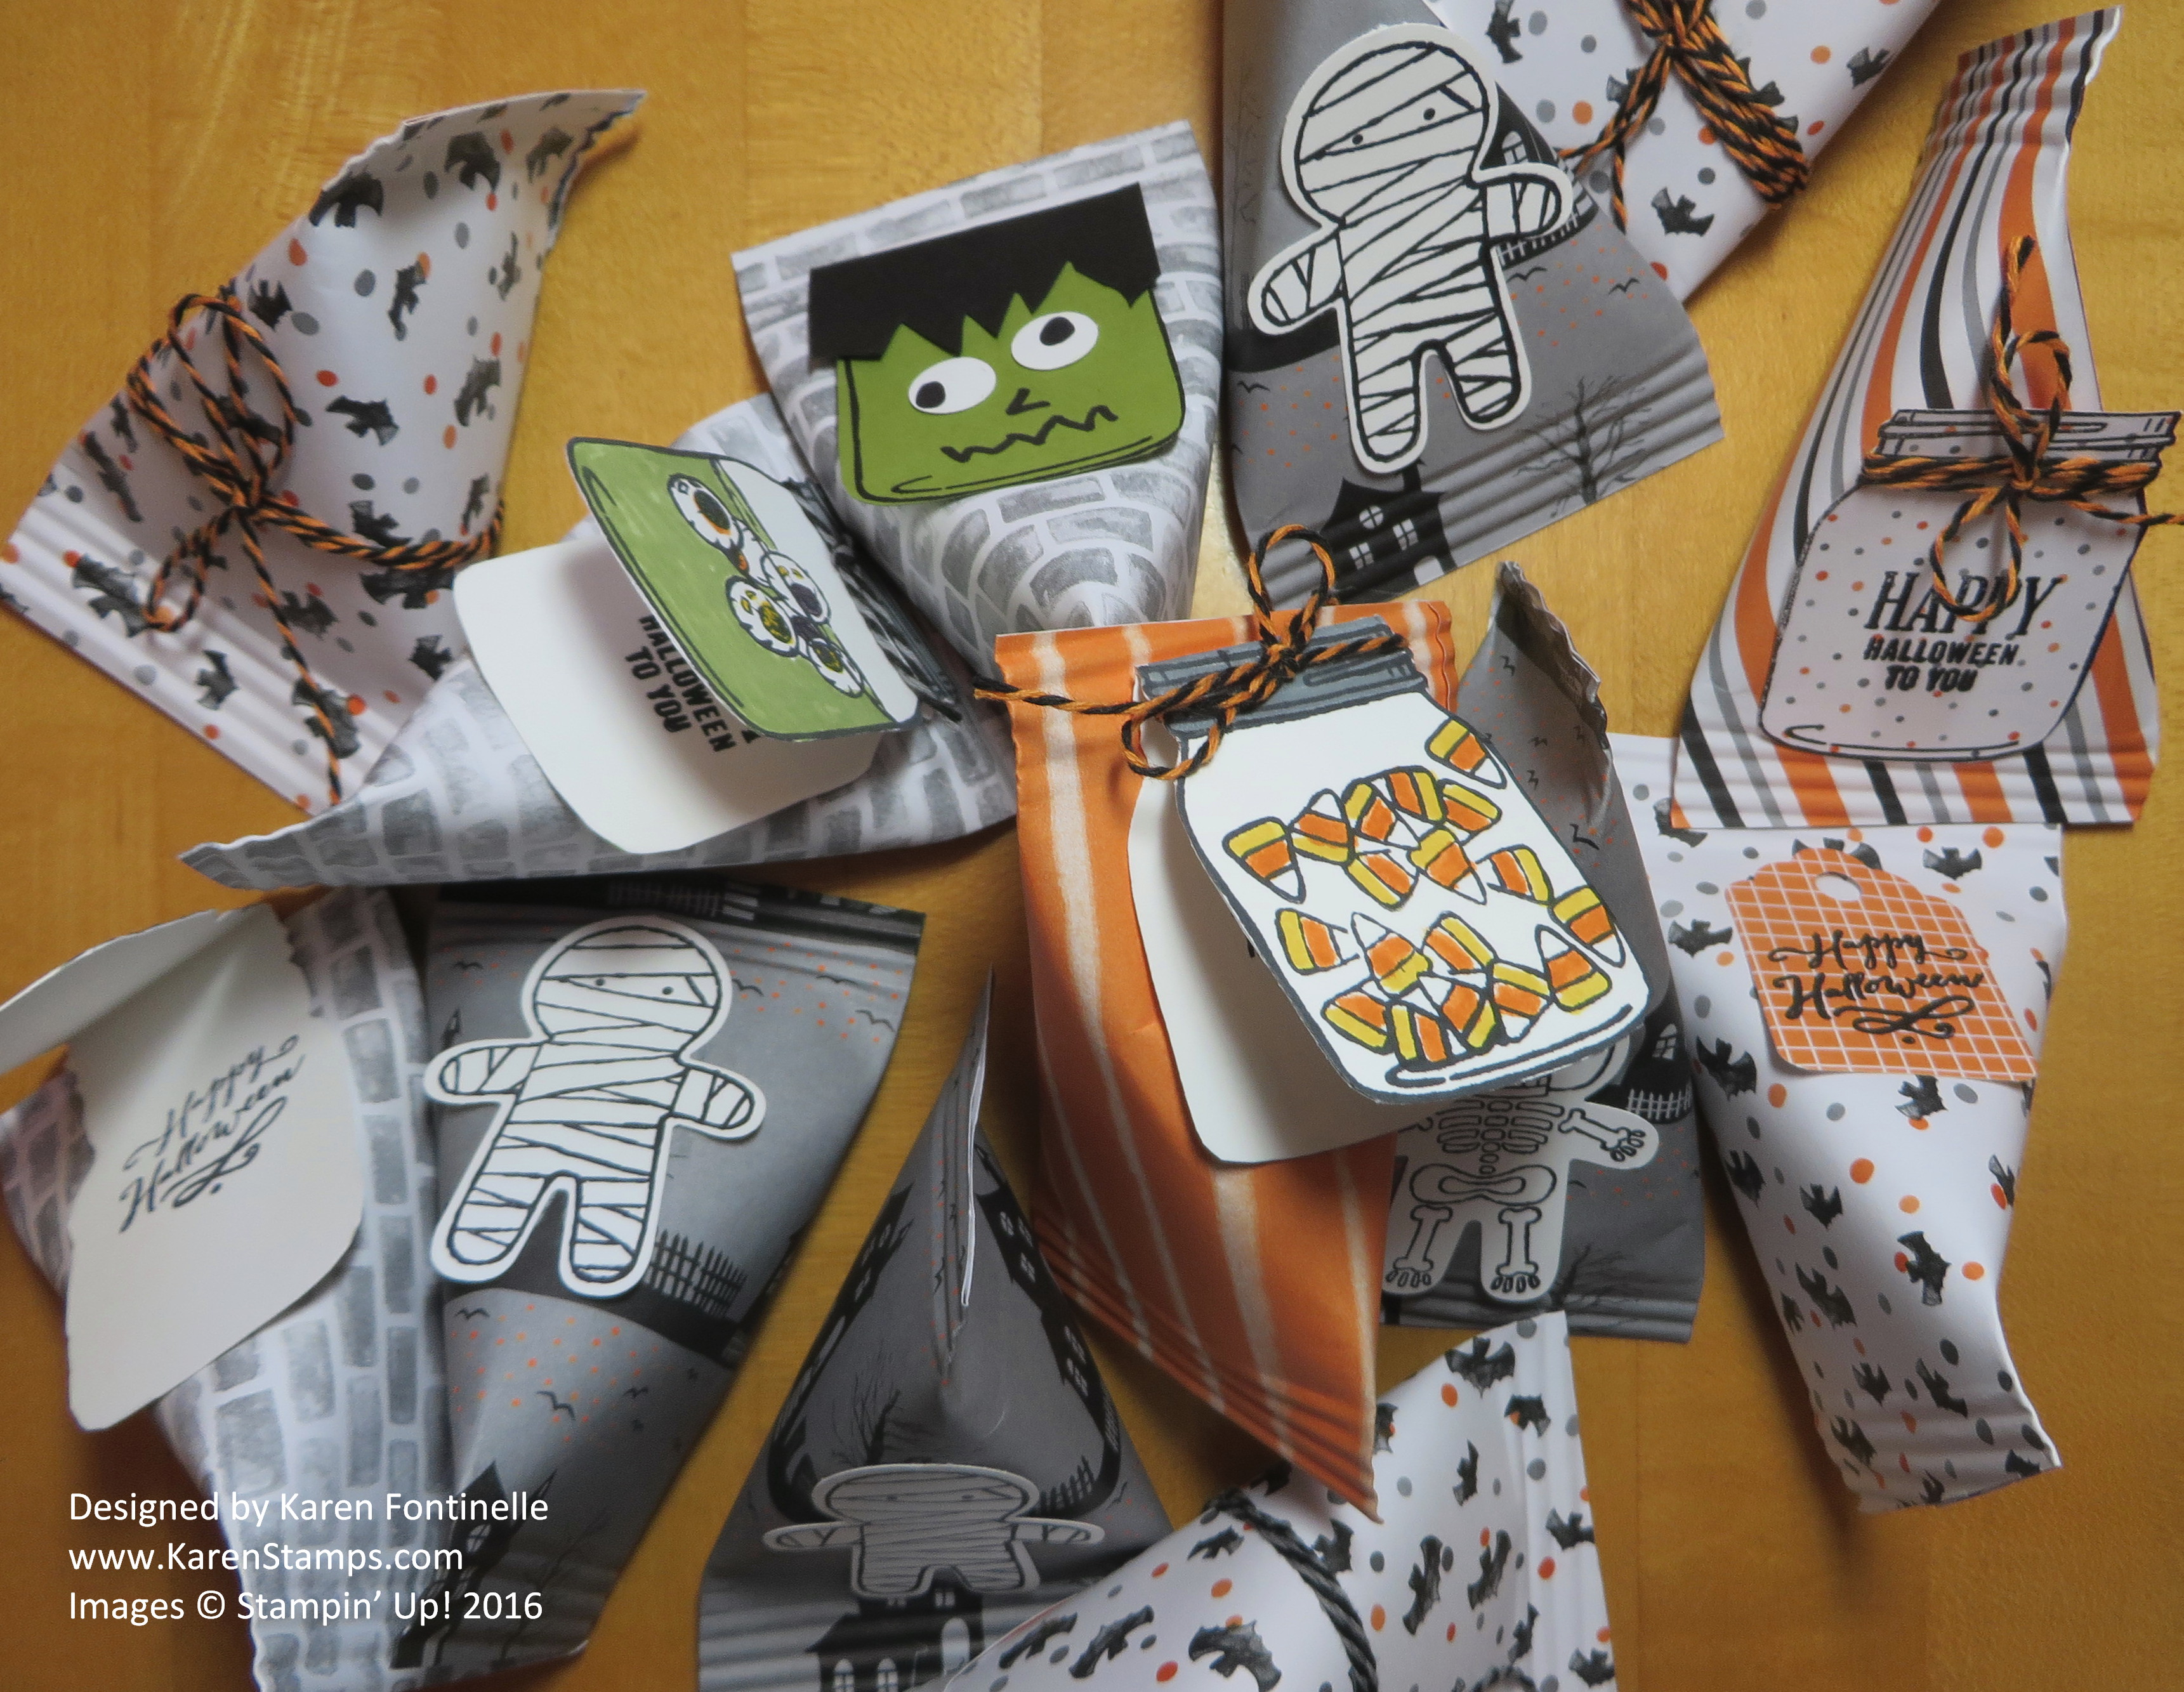
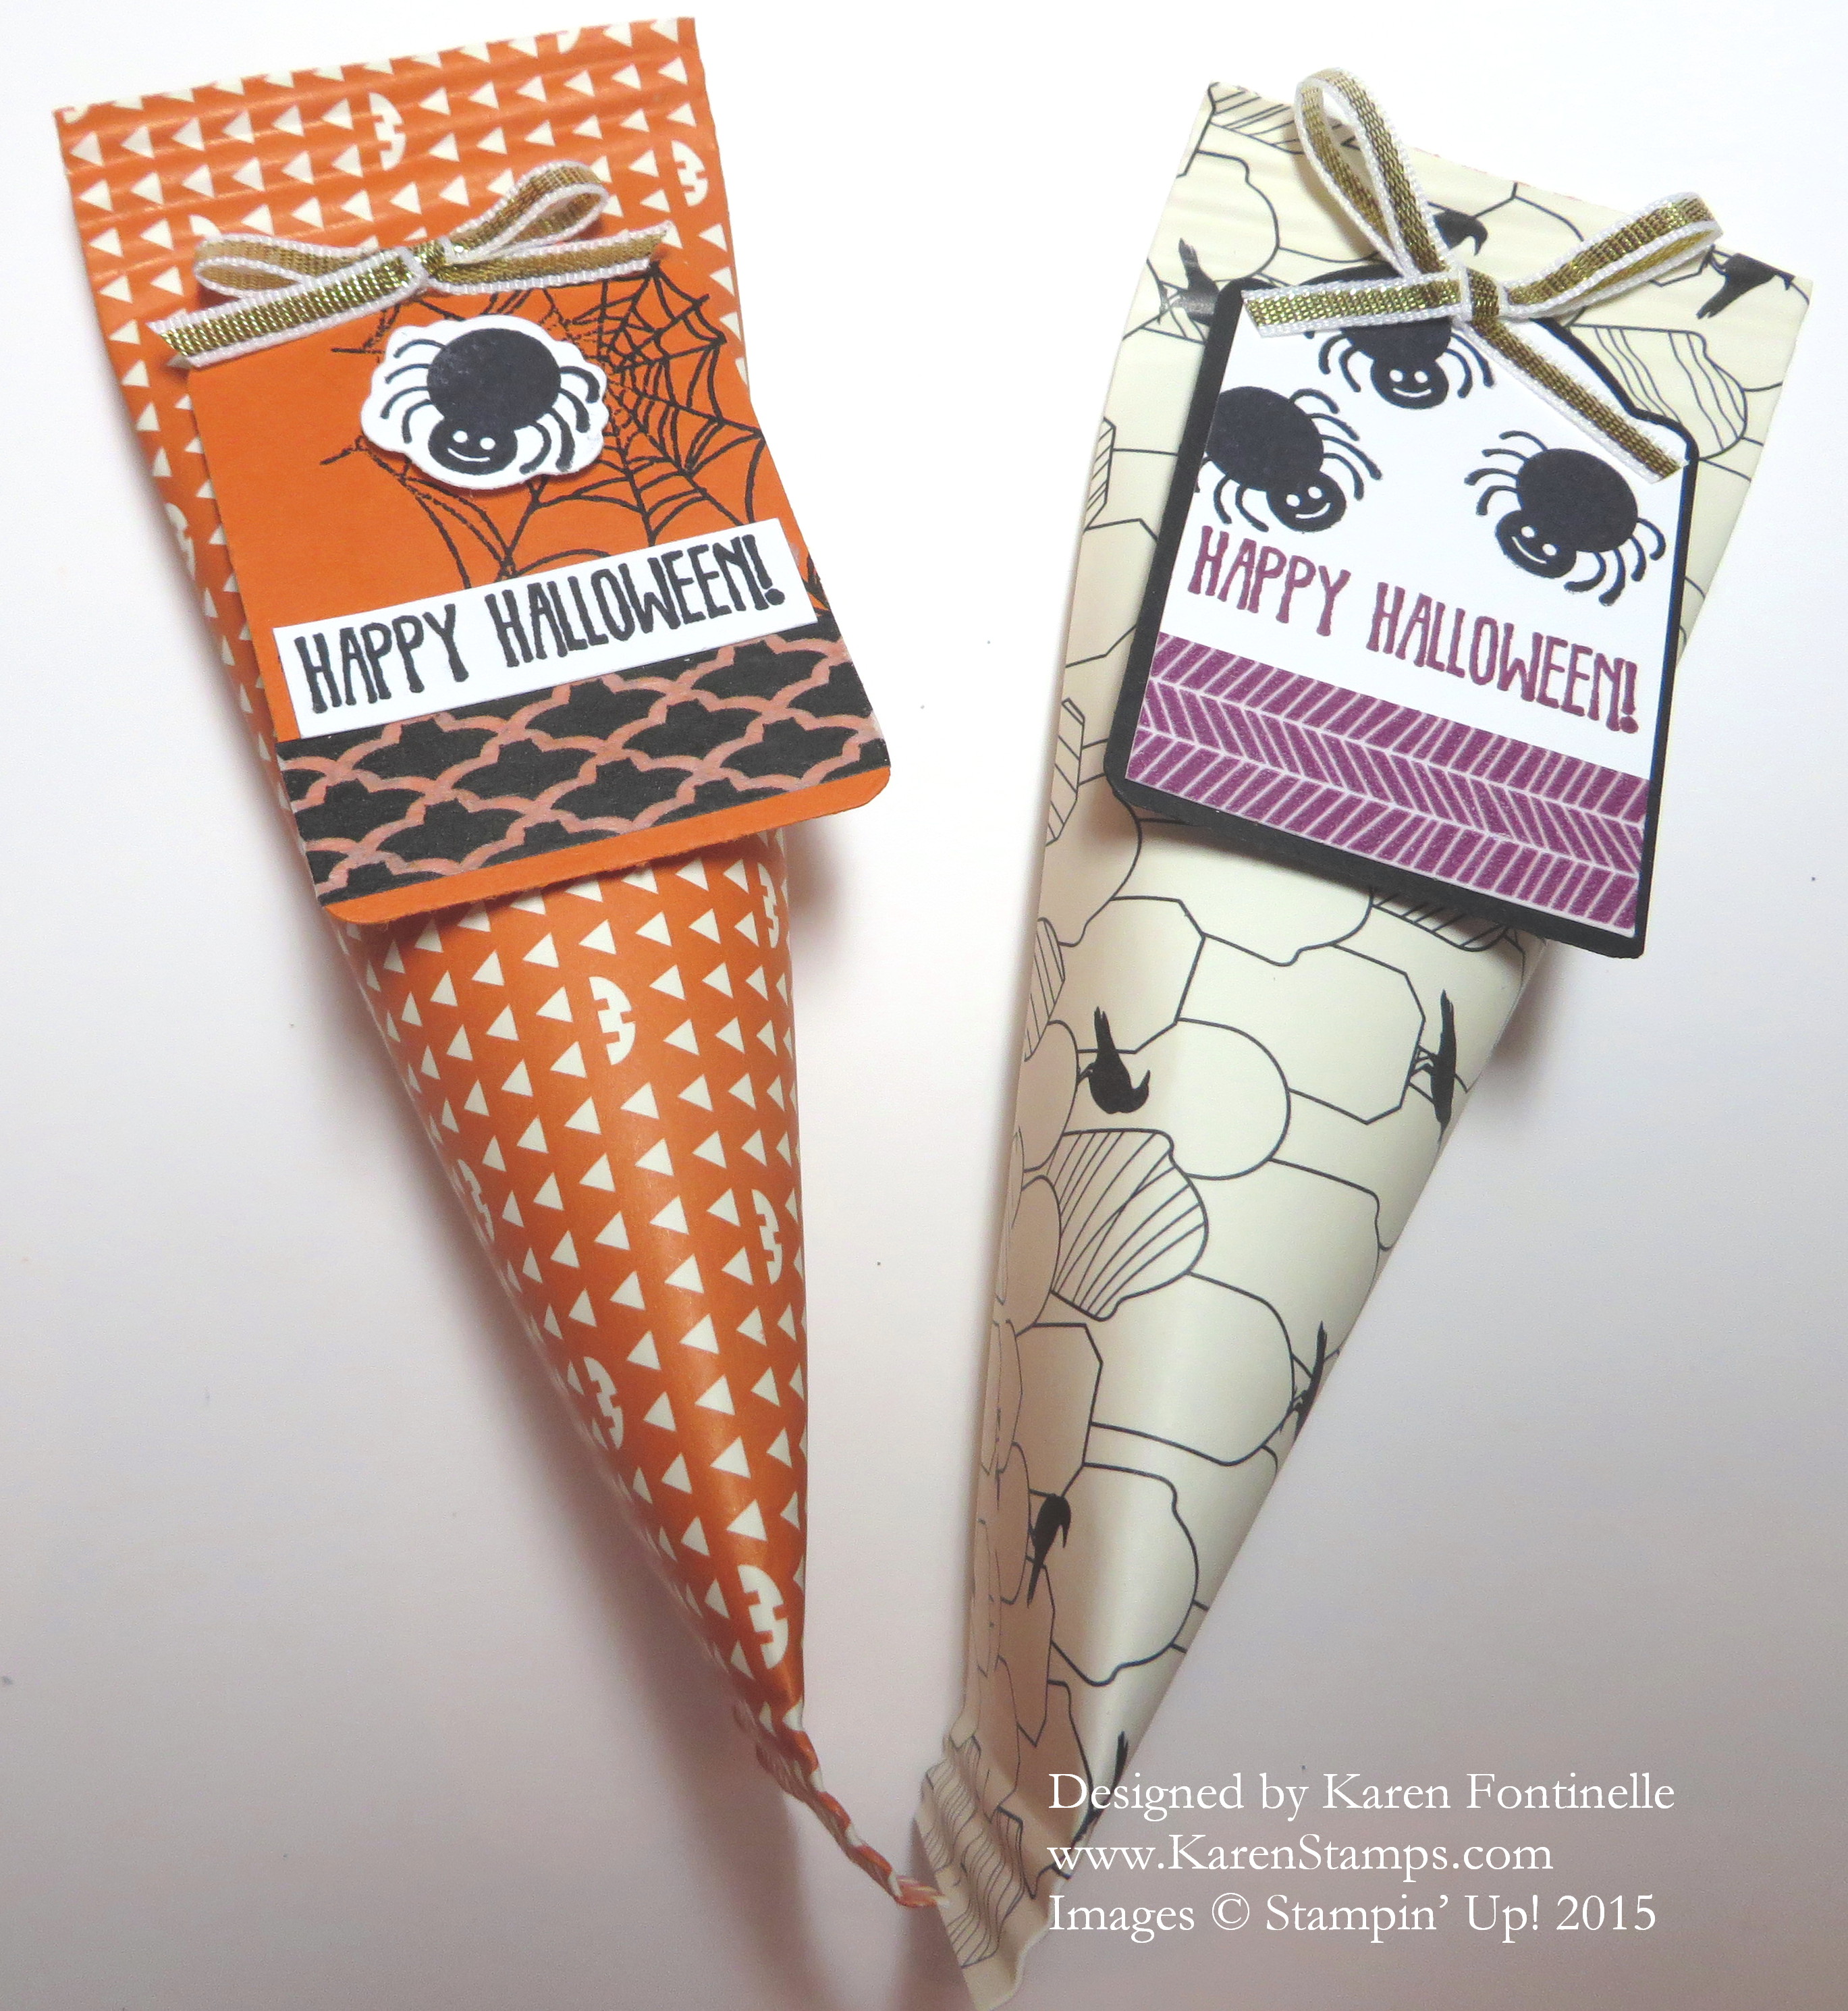
Make Easy Sour Cream Containers for Halloween TreatsThe day is here!  It’s Halloween! Need some last minute easy Halloween treat holders? Go to the gold standard, sour cream containers, like these Sour Cream Containers for Halloween Treats!  These have been around forever, probably because they are so easy.

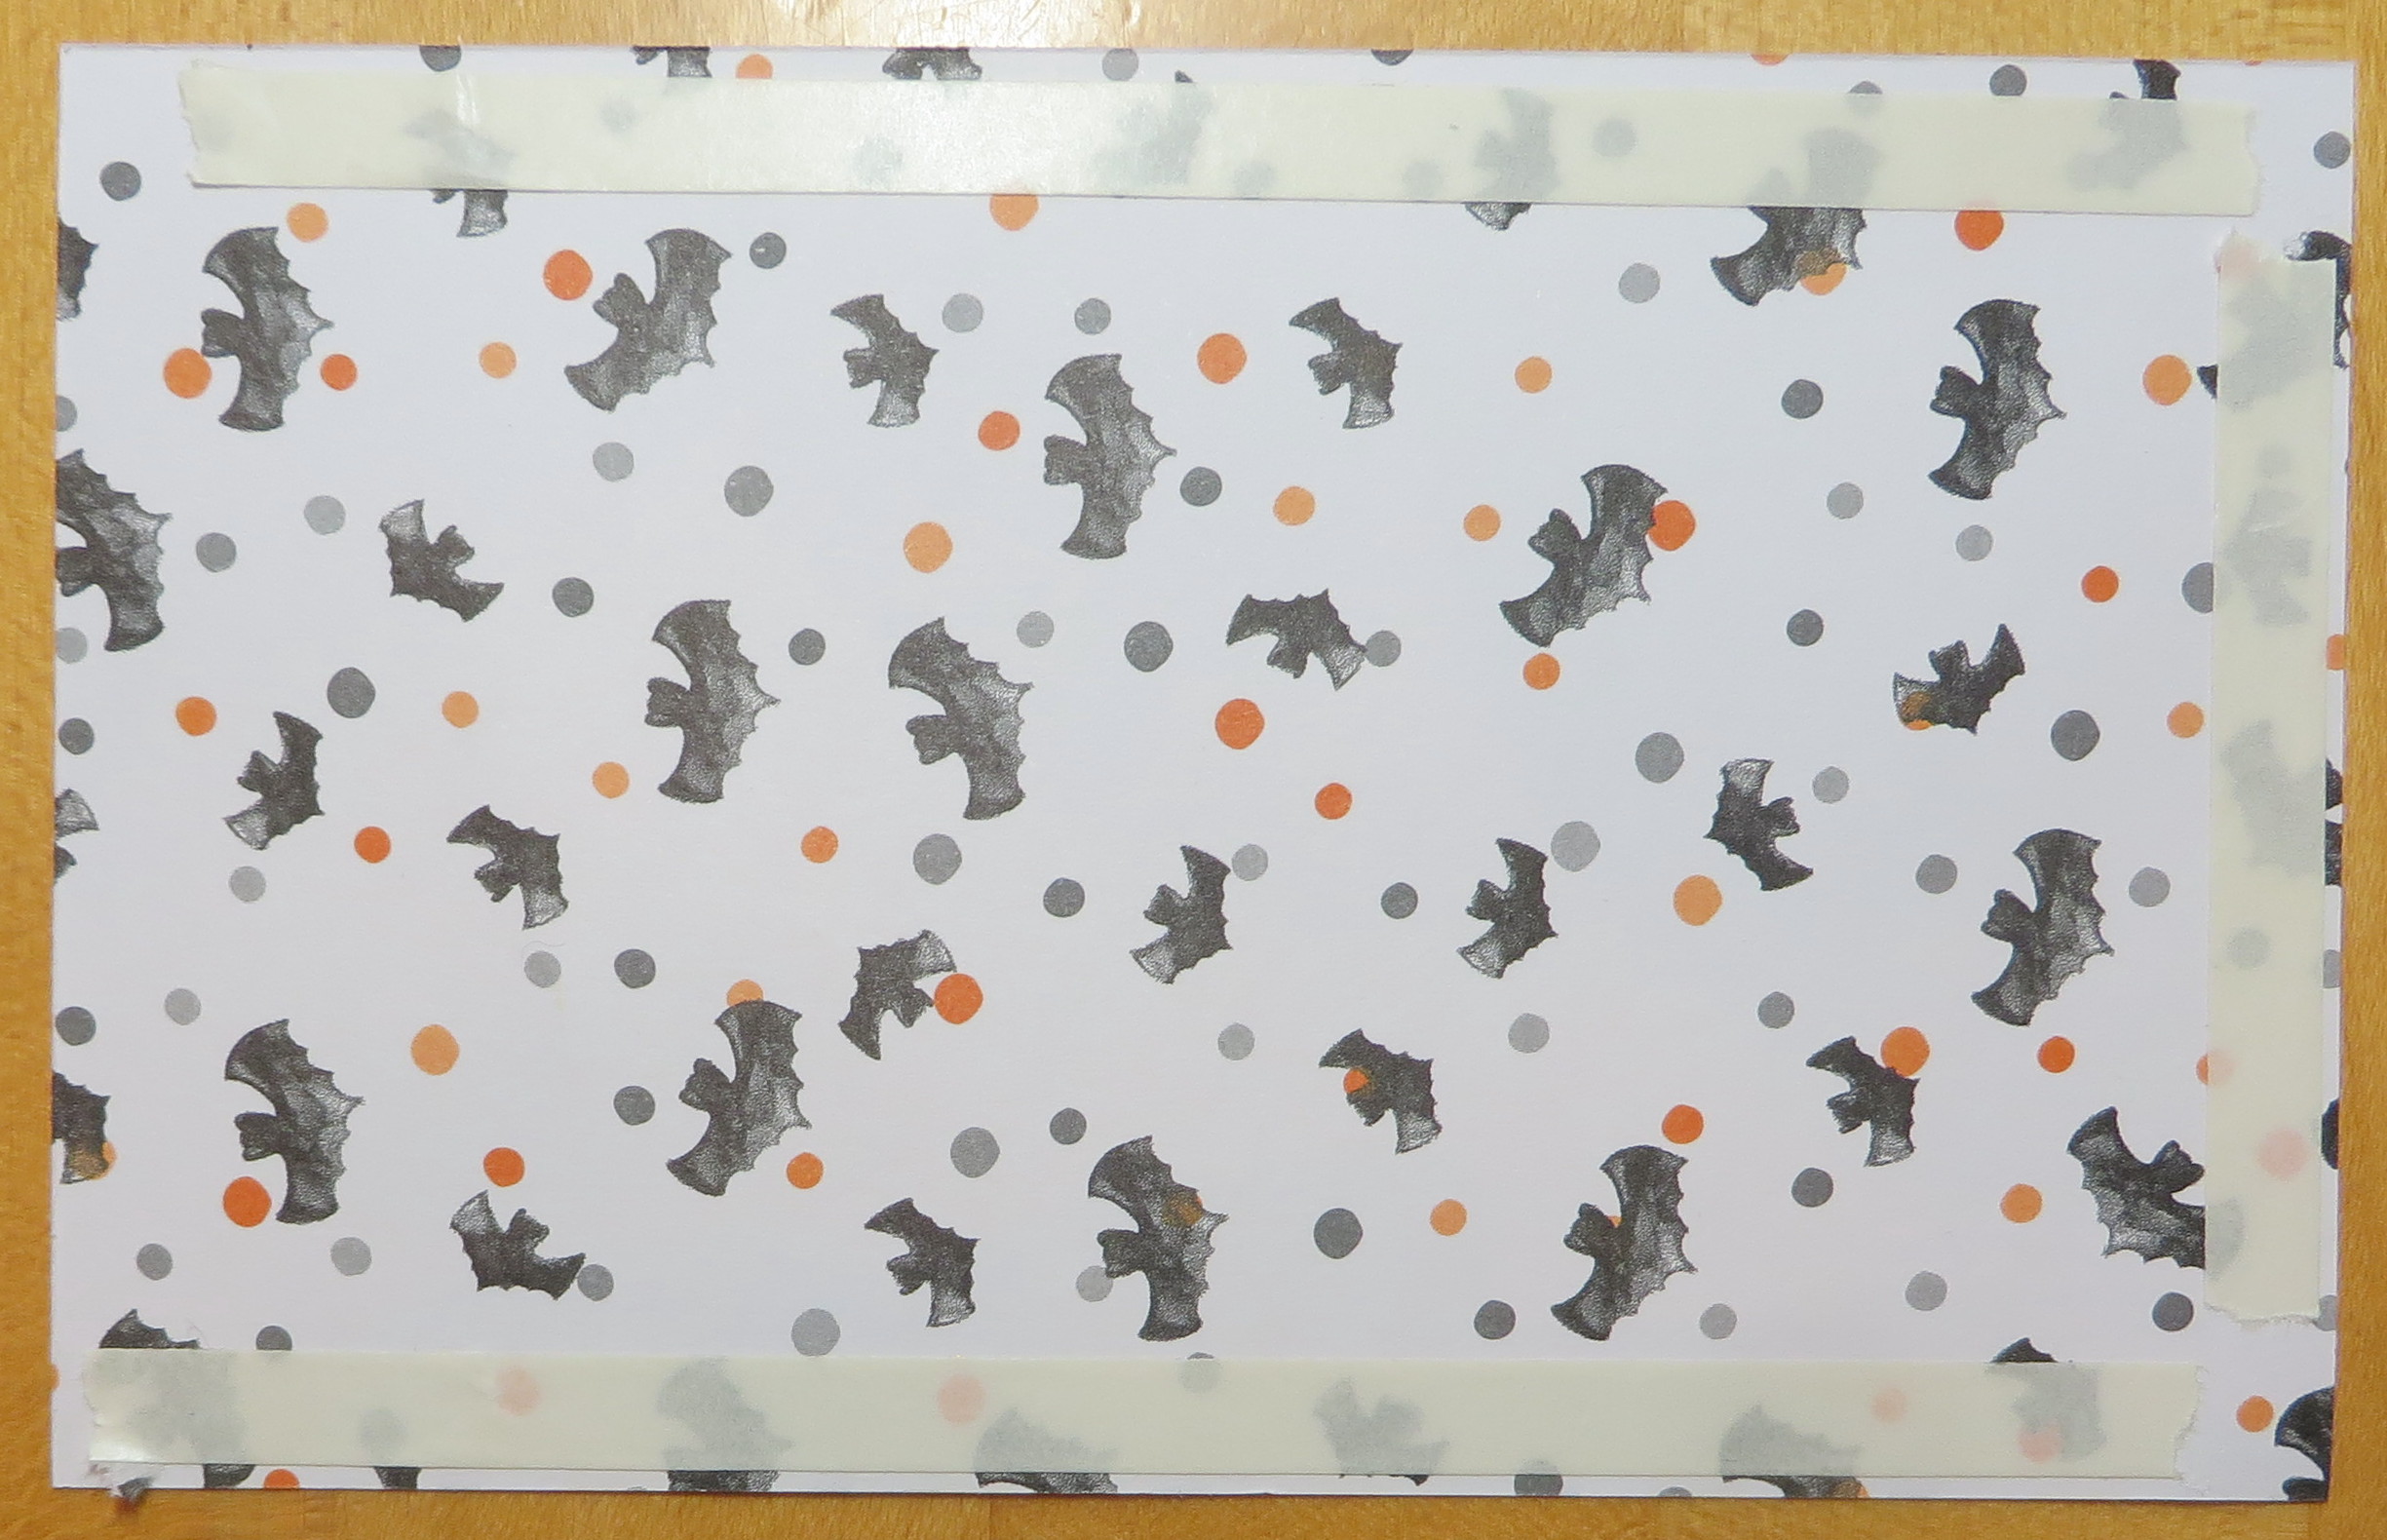
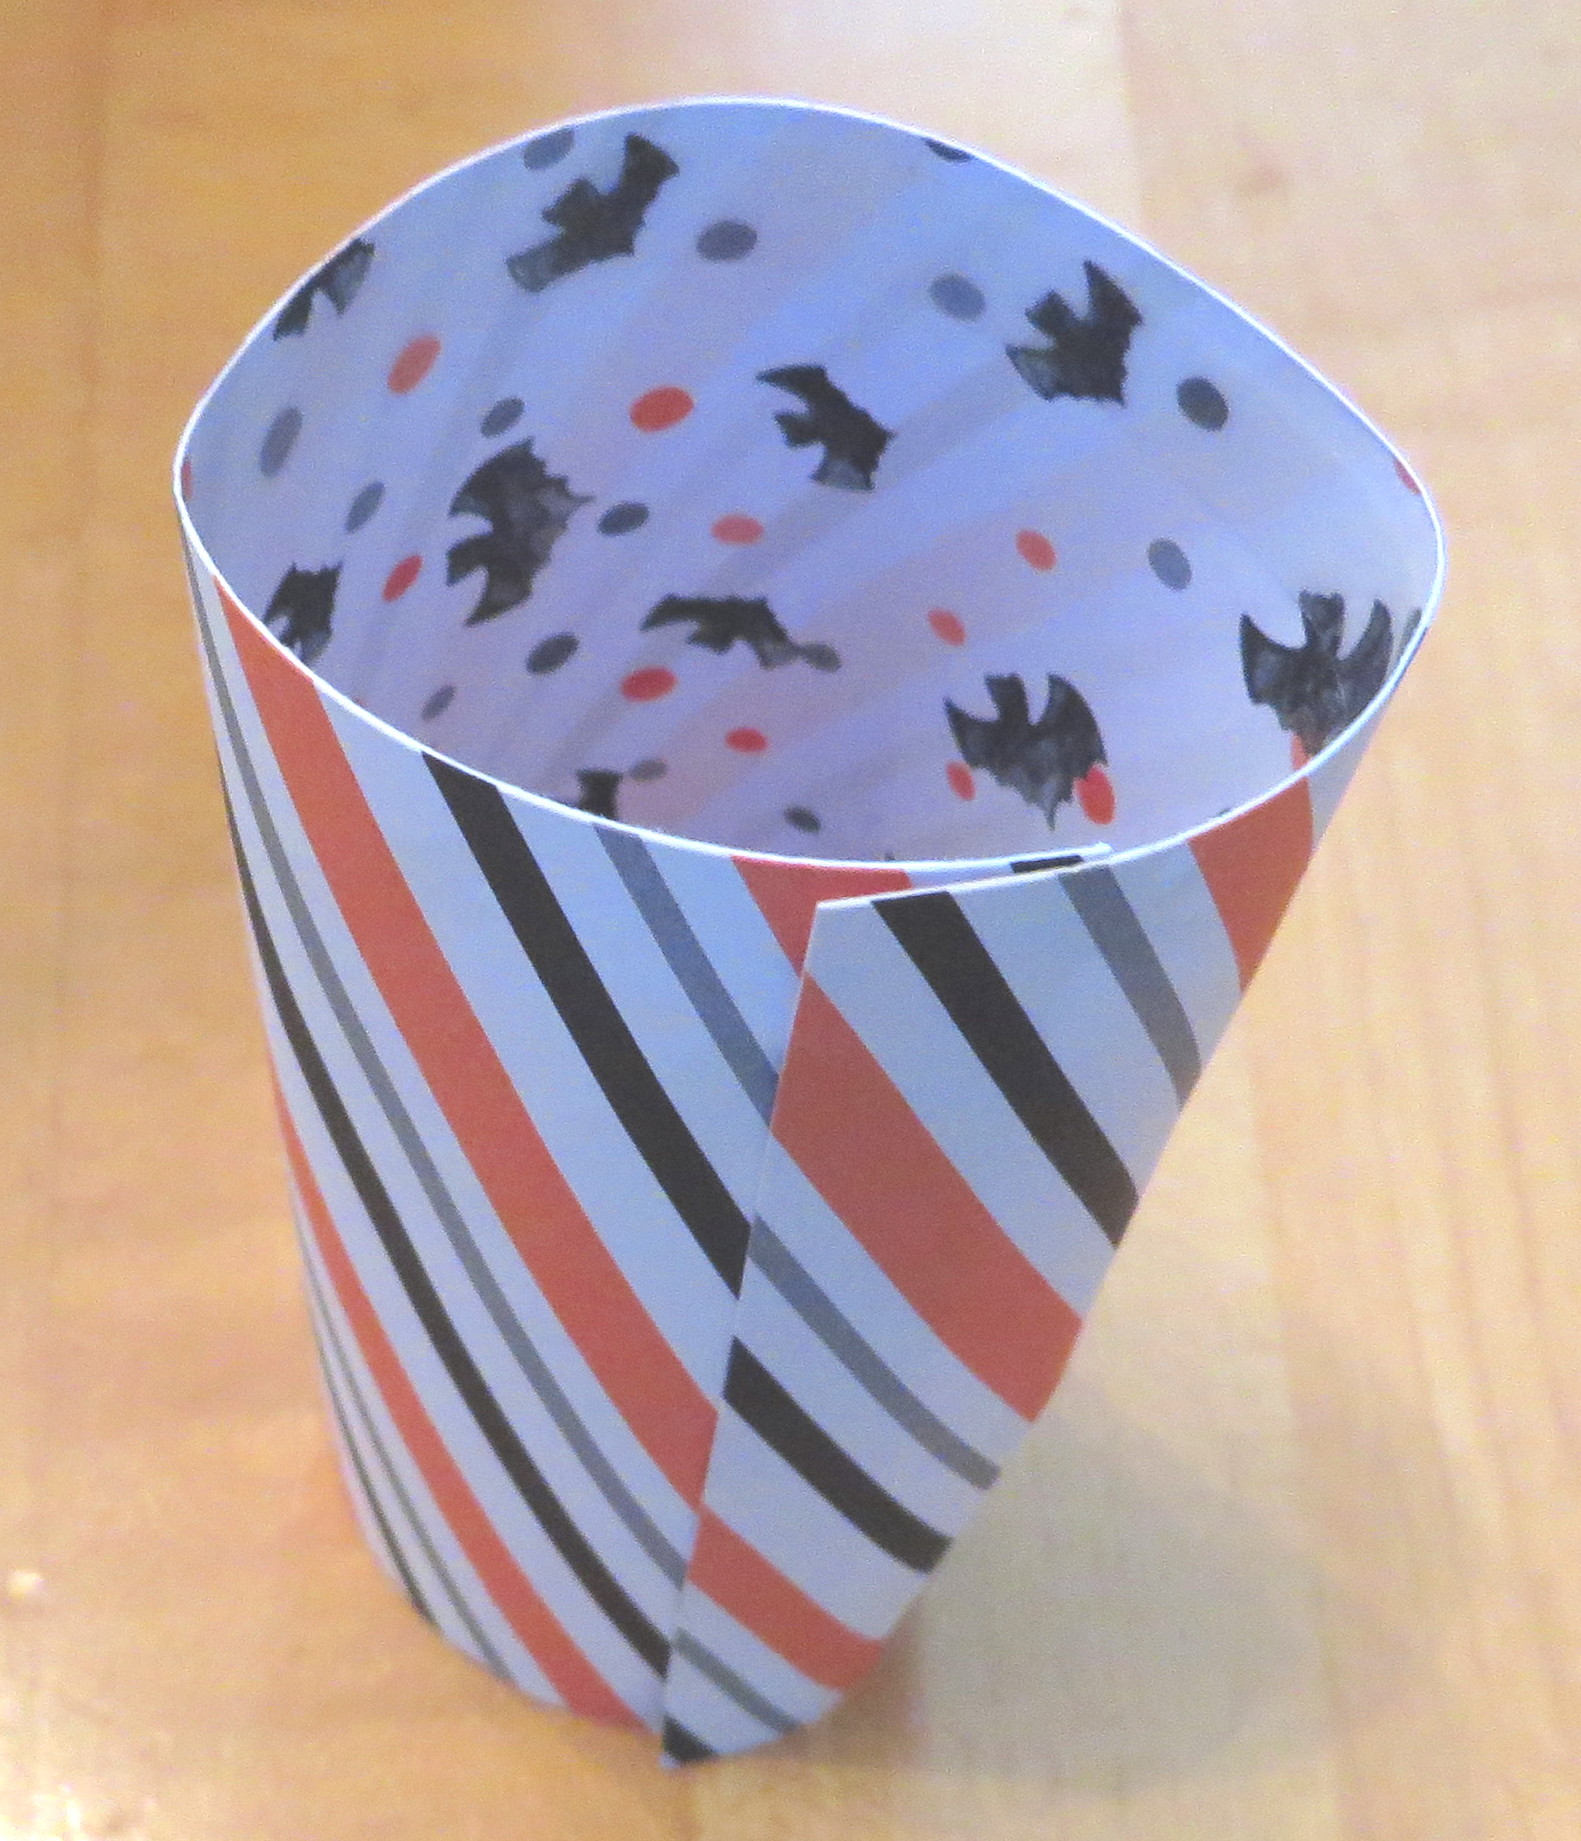
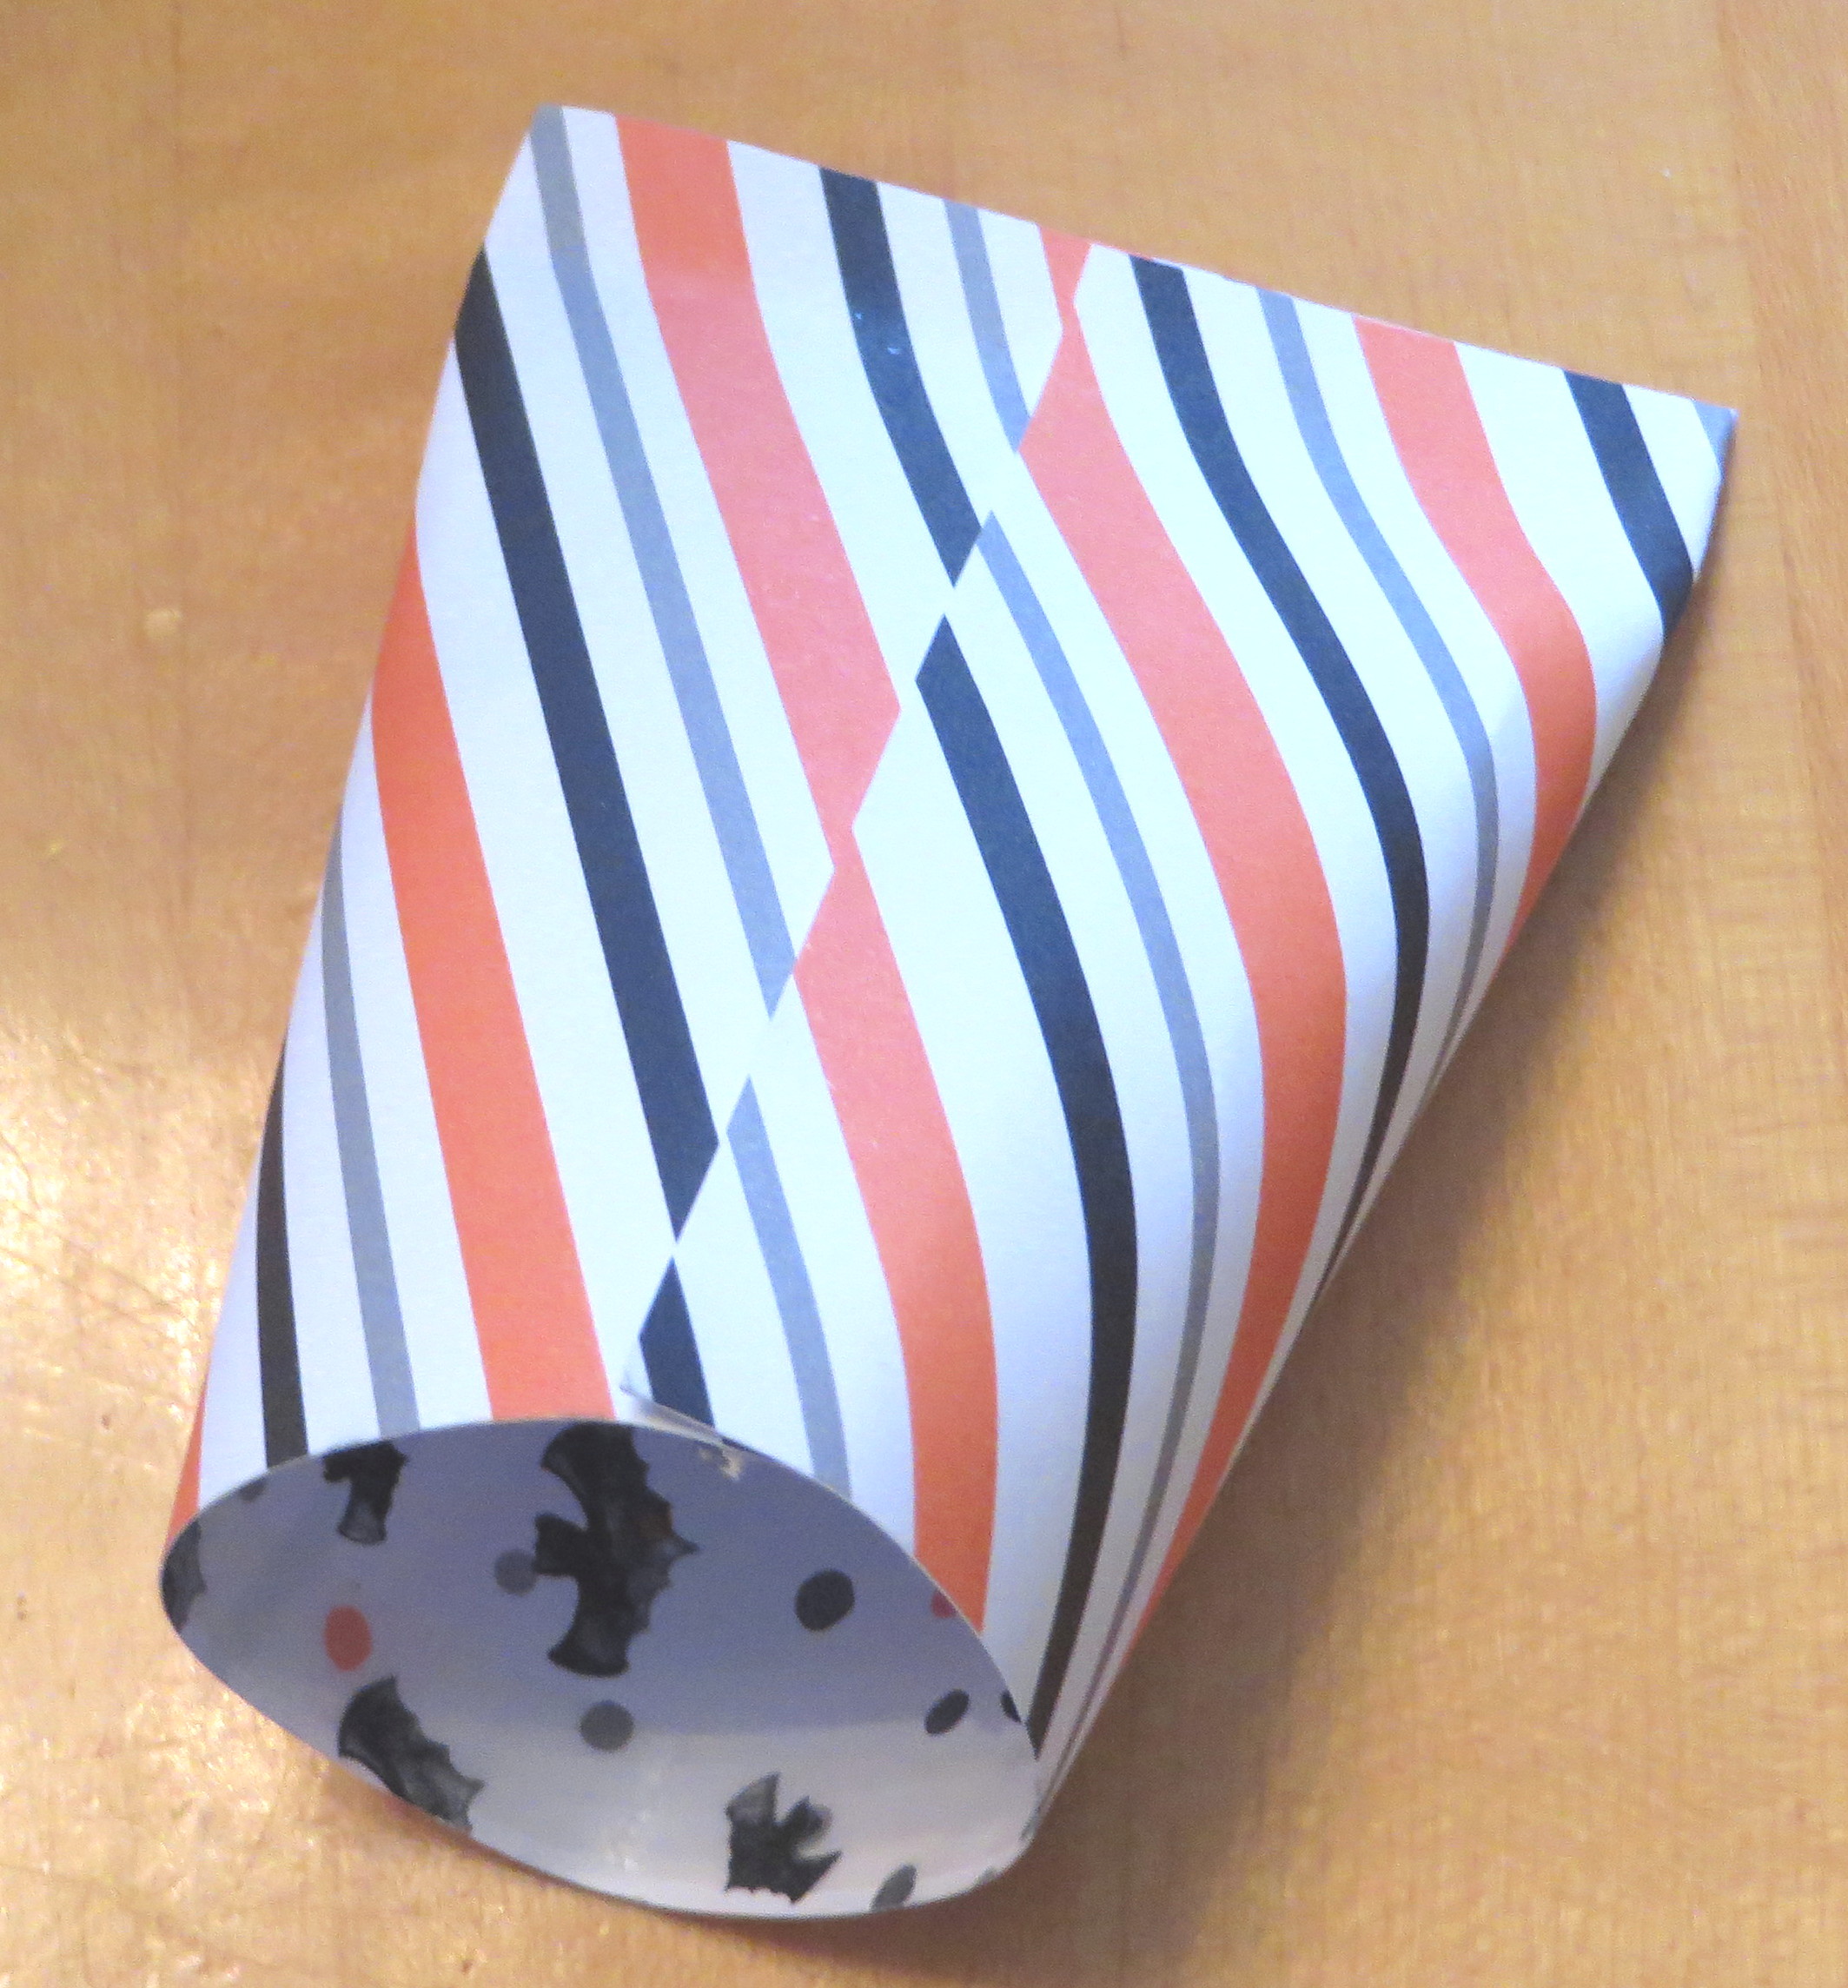
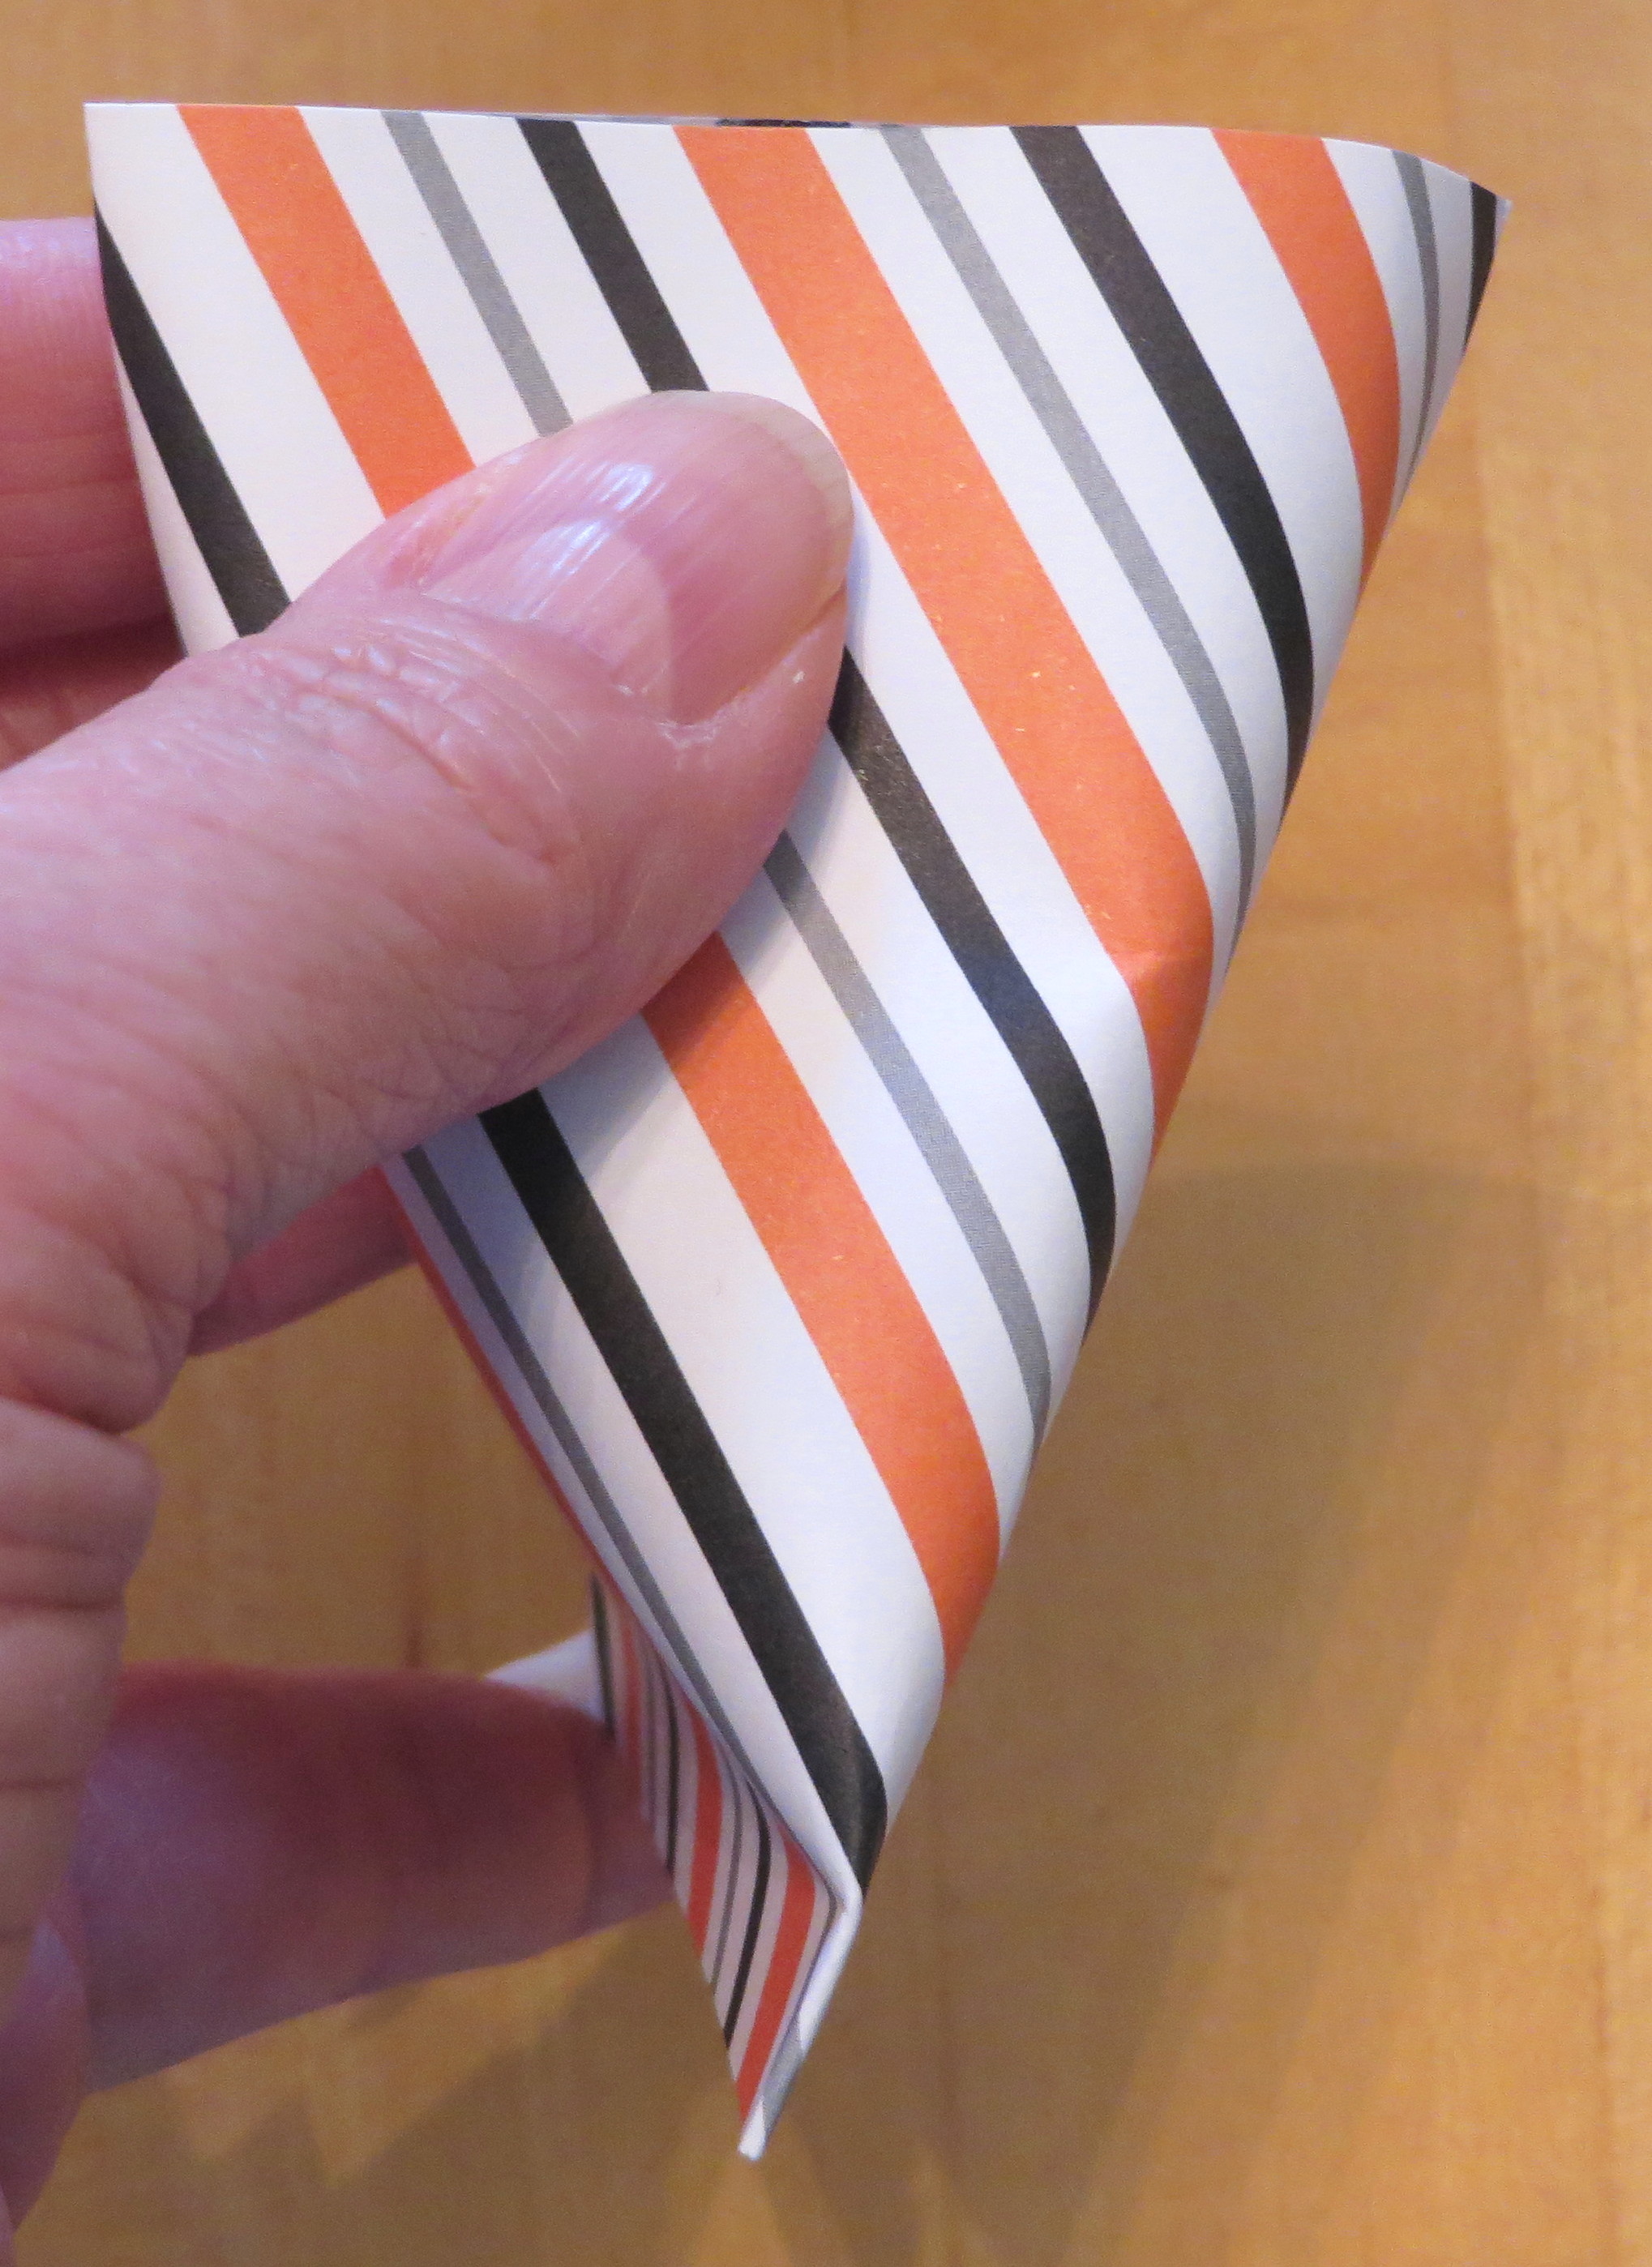
You can make various sizes according to your needs, but these I made with patterns from the Halloween Night Specialty Designer Series Paper. I cut a paper 4 1/4″ x 5 1/2″. Then I used Tear & Tape Adhesive on three sides – the two long 5 1/2″ sides and one 4 1/4″ side. Then adhere the 4 1/4″ side to the other 4 1/4″ side in a roll. It doesn’t even have to be perfect. Next, squeeze the top portion together to adhere. Don’t forget to put your candy or treat or gift inside at this point! Turn the container around to the open end. You will squeeze this end together going in the opposite direction of the bottom portion.  Once you have both ends adhered, if you have a Paper Crimper you can use that on each end or you can use a ruler and bone folder or stylus and score a few lines across the adhered ends. This just holds them together better and adds to the look of “sour cream containers”.

Make a Sour Cream Container with Tape

Make a Sour Cream Contain Roll

Make a Sour Cream Container One End

Make a Sour Cream Container Other End

That’s it!  It’s just that easy!  Then decorate your container with a stamped image or greeting or tie on some ribbon!  Make these for any occasion!

Shop Stampin’ Up! Online!

Last Minute Halloween Ideas

Layered Letters Alphabet Spooky Halloween Card

I thought I would look back and give you some last minute Halloween ideas with stamp sets and supplies you might have from last year if you don’t have the most recent ones. We gotta work with what we have, right?! Of course all you really have to do is change paper or colors or stamp sets to take an idea of things you don’t have and make something similar.

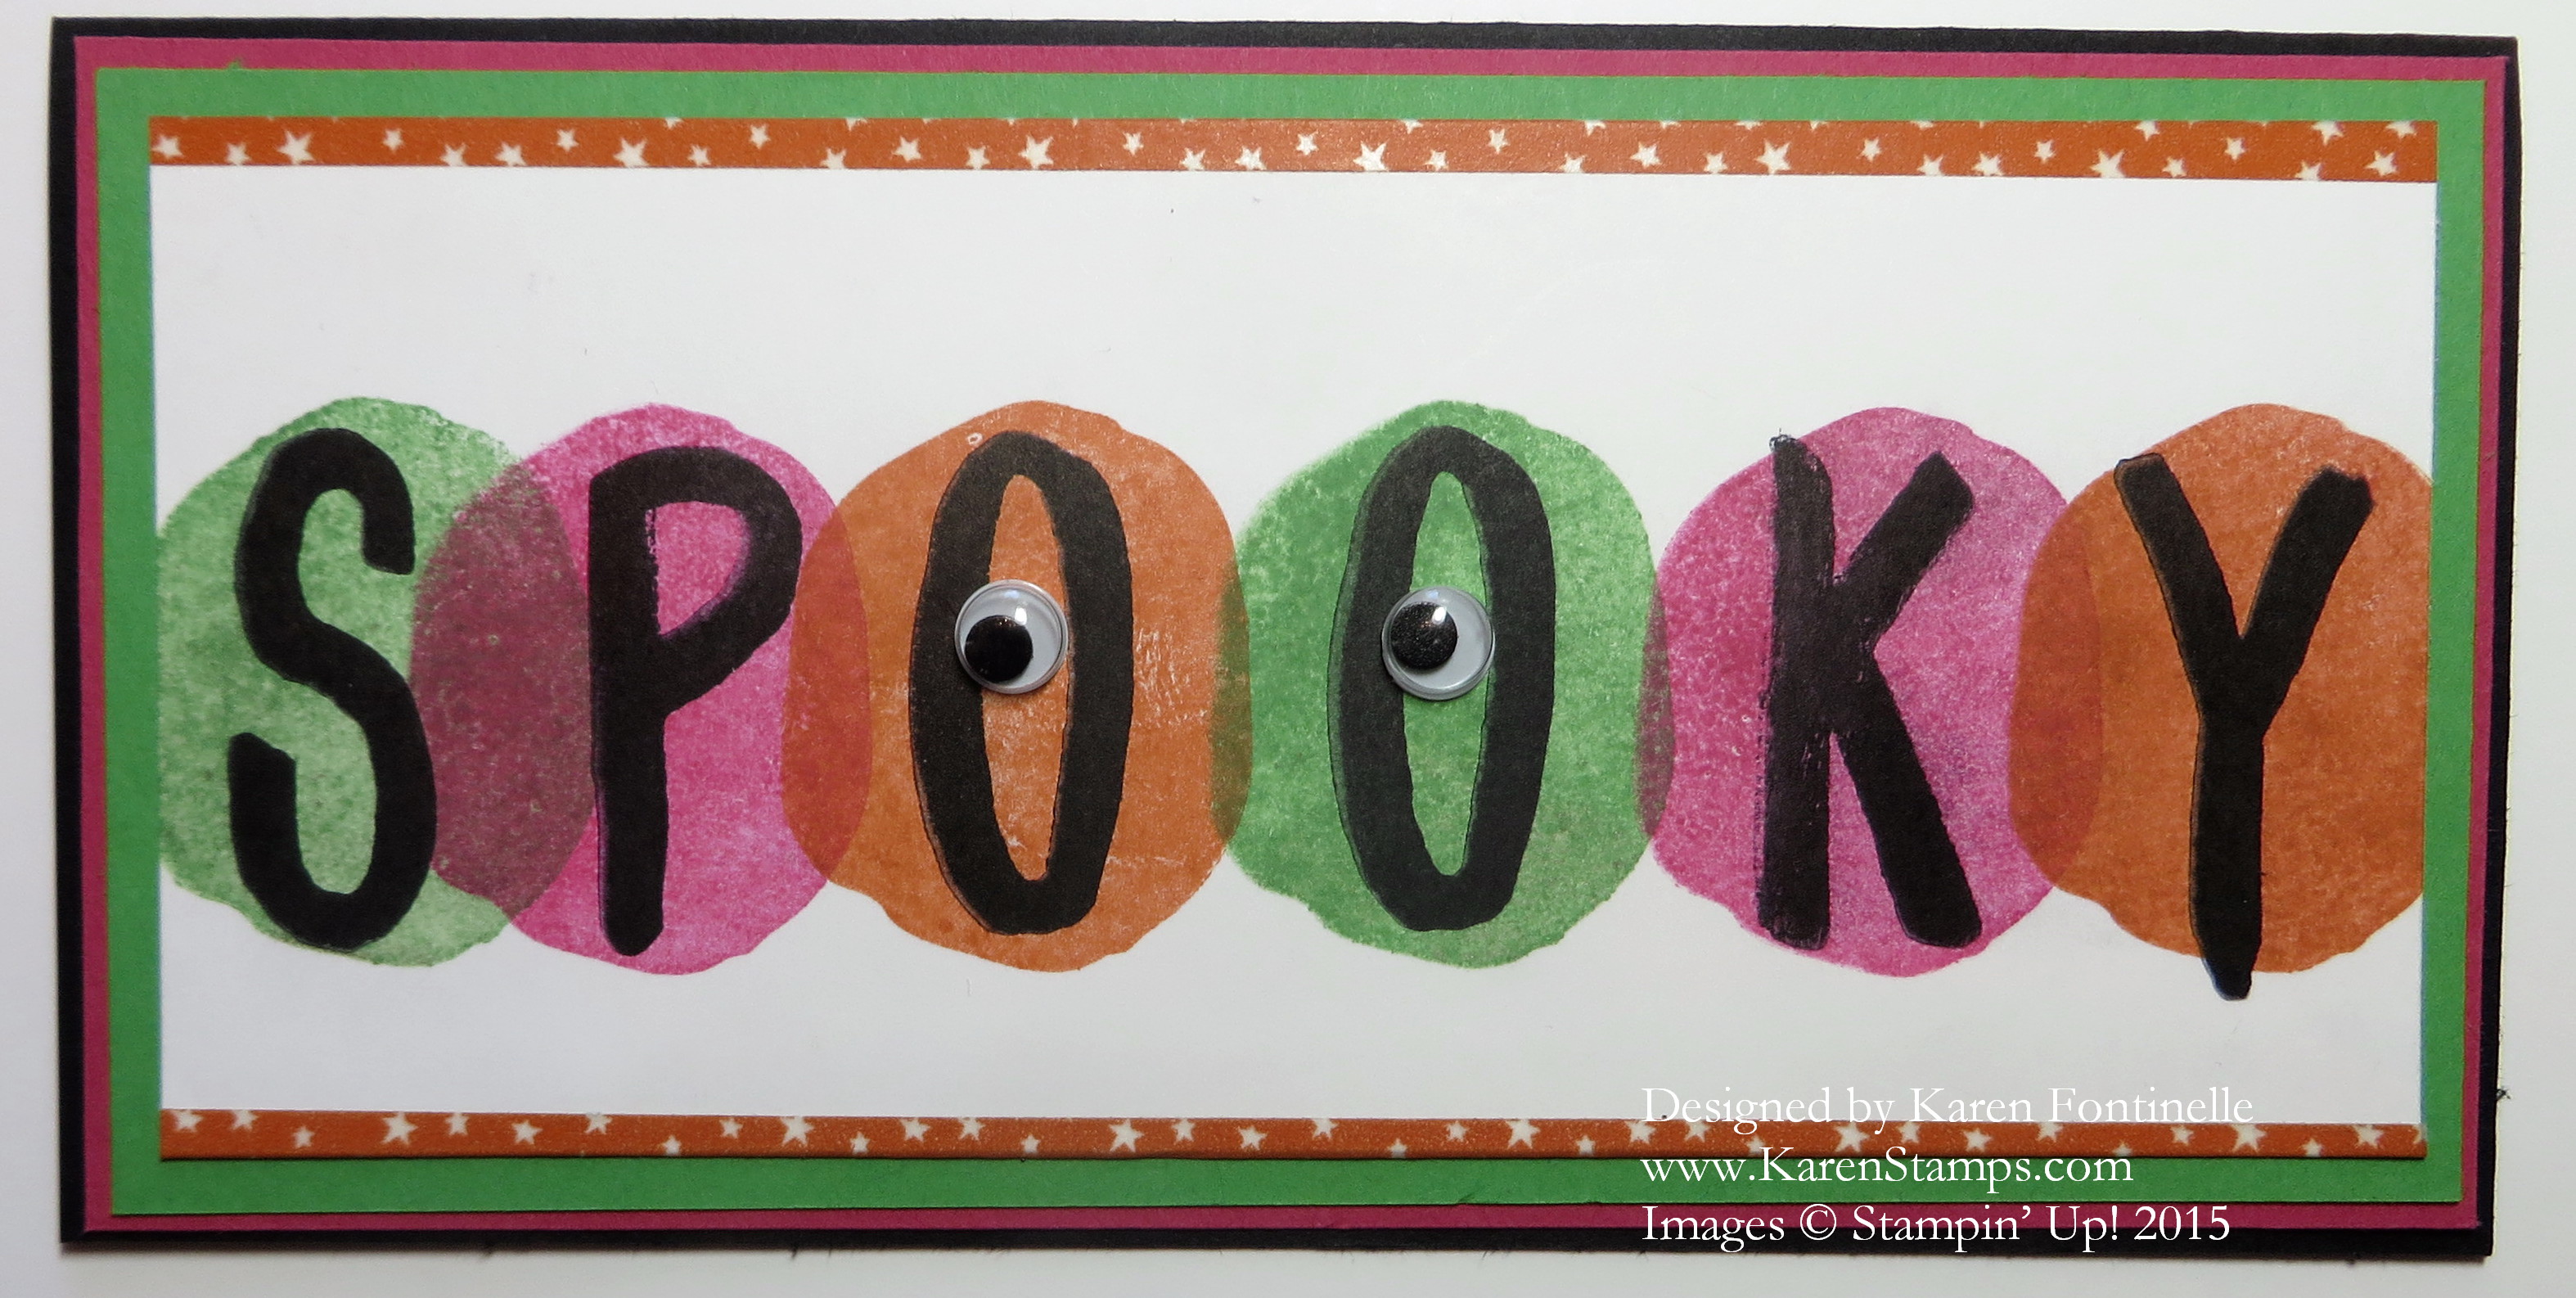
Above you see my Layered Letters Alphabet Spooky Halloween Card from last year using the Layered Letters Alphabet.  Love that! I used some Halloween colors and added some googly eyes. Click the link for the card for all the details on the blog post.

Trick or Treat Watercolor Wash Halloween Card

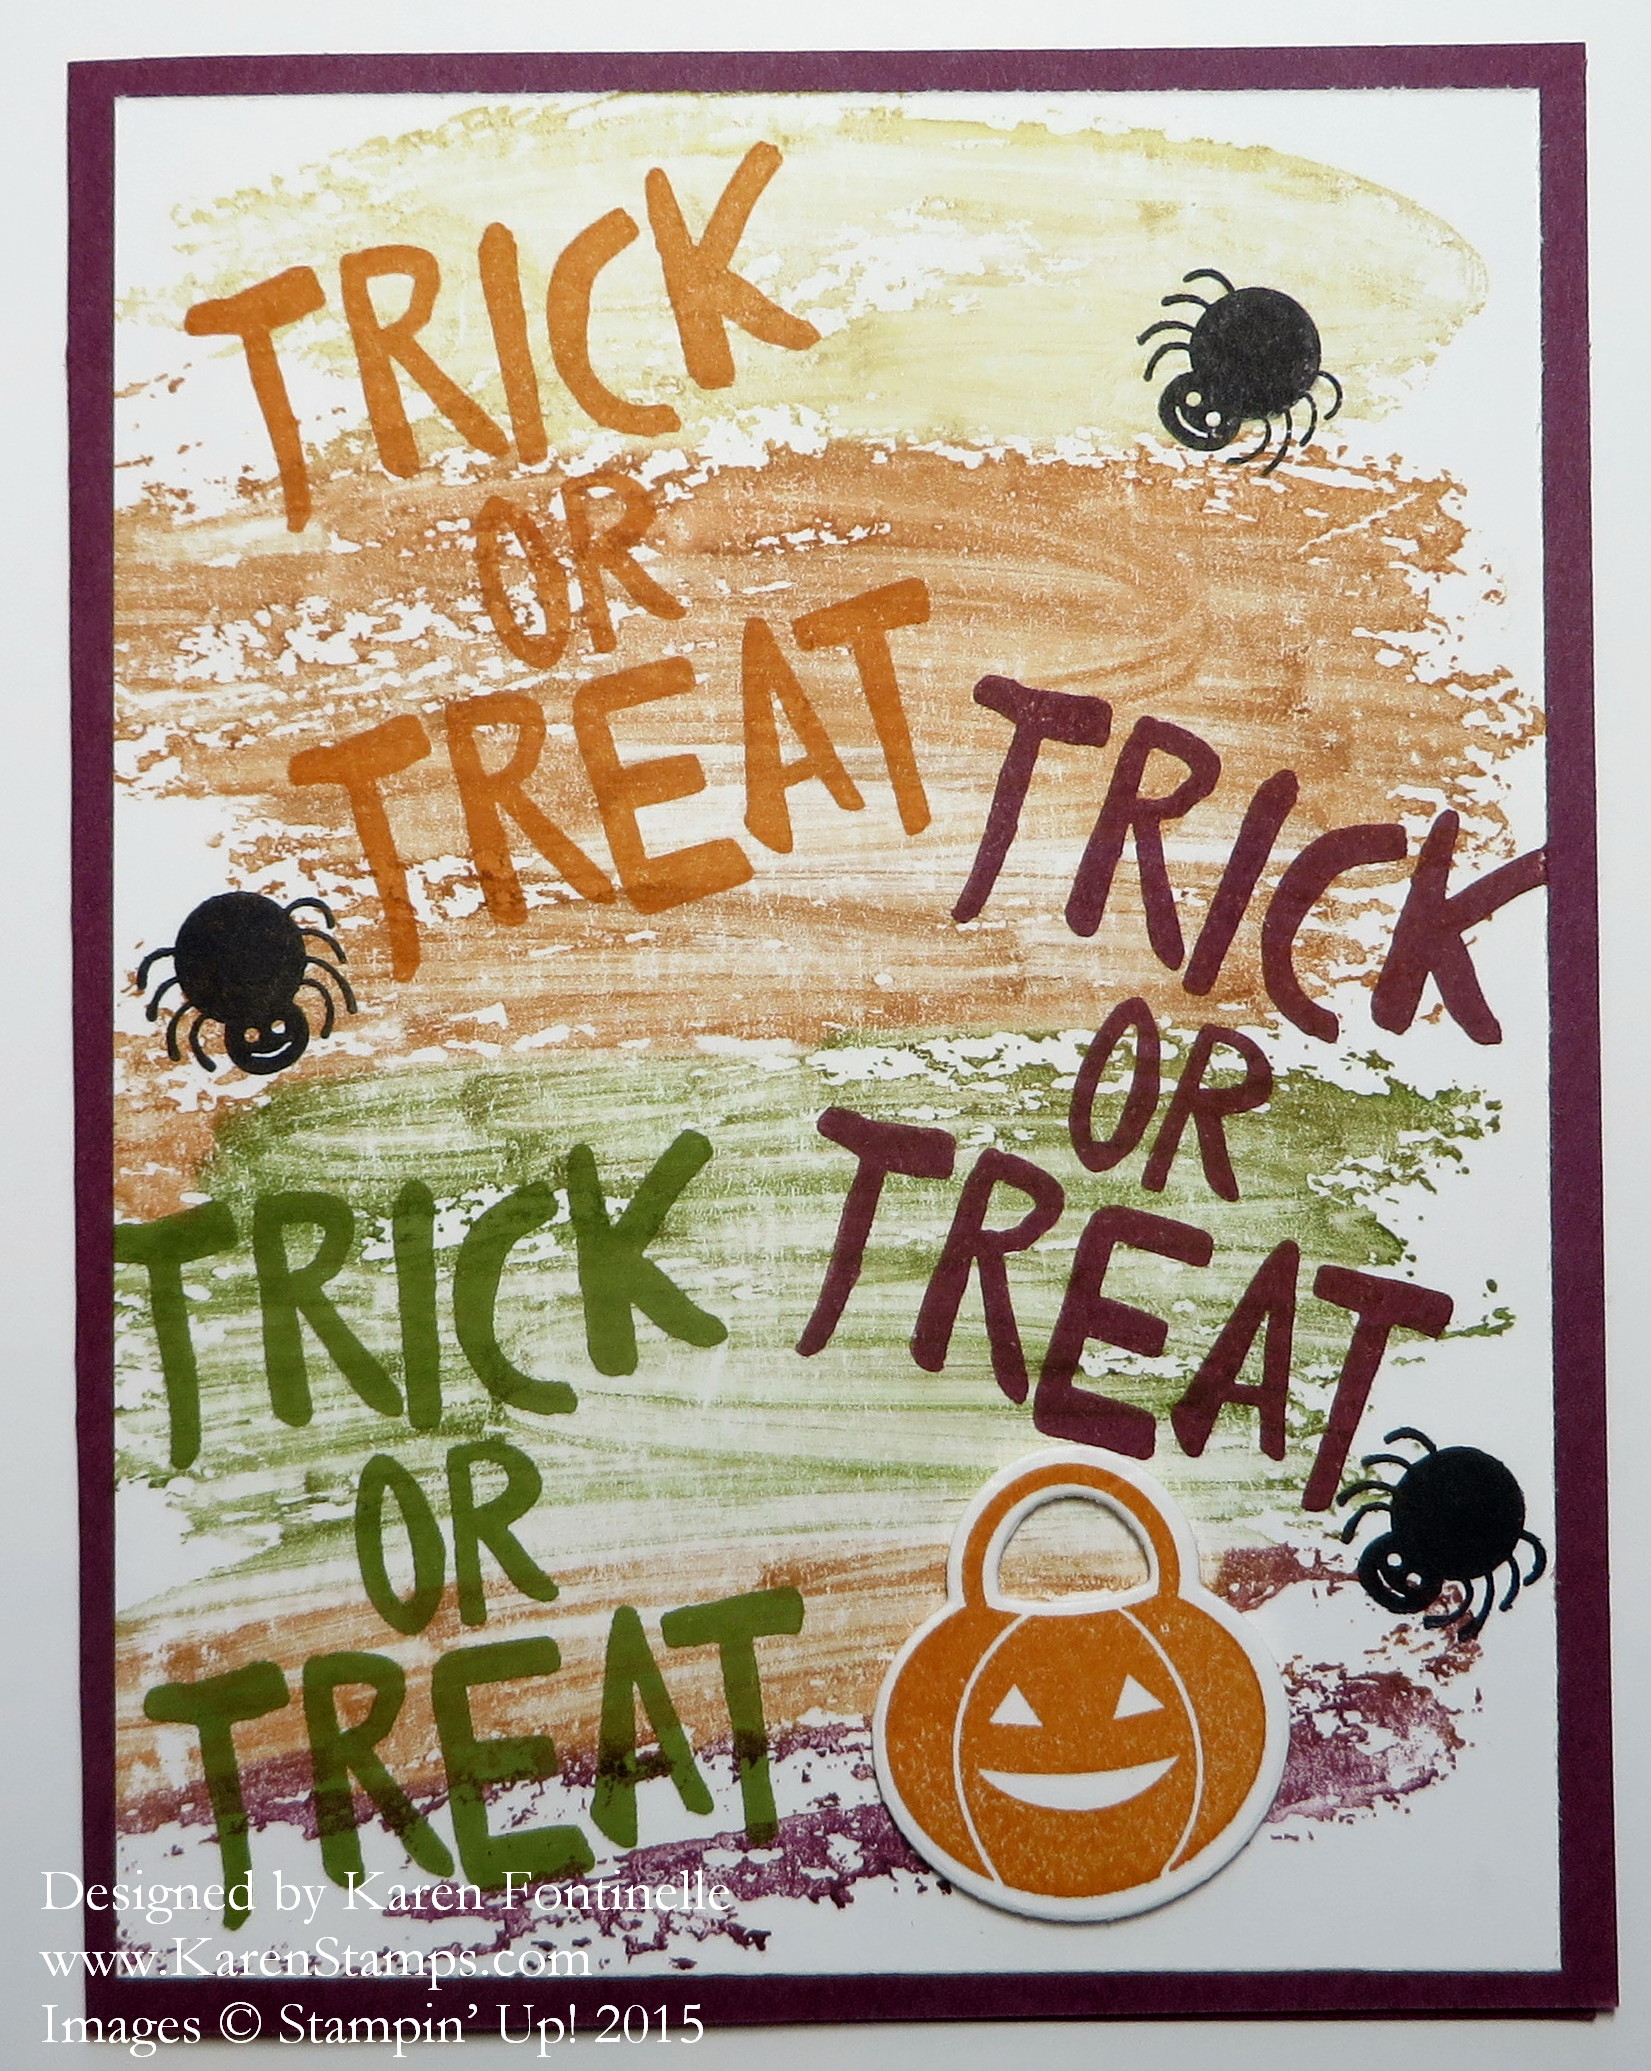
On my Trick-or-Treat Watercolor Wash Halloween Card I simply used the Watercolor Wash Background Stamp colored with various markers for the background.  You could also just pick up some ink refill with the Aqua Painter or a paint brush to make a similar background! Then just stamp over it with some greetings and embellish as you desire. Click the link for the card for all the details.

Easy Halloween Eyeball Card

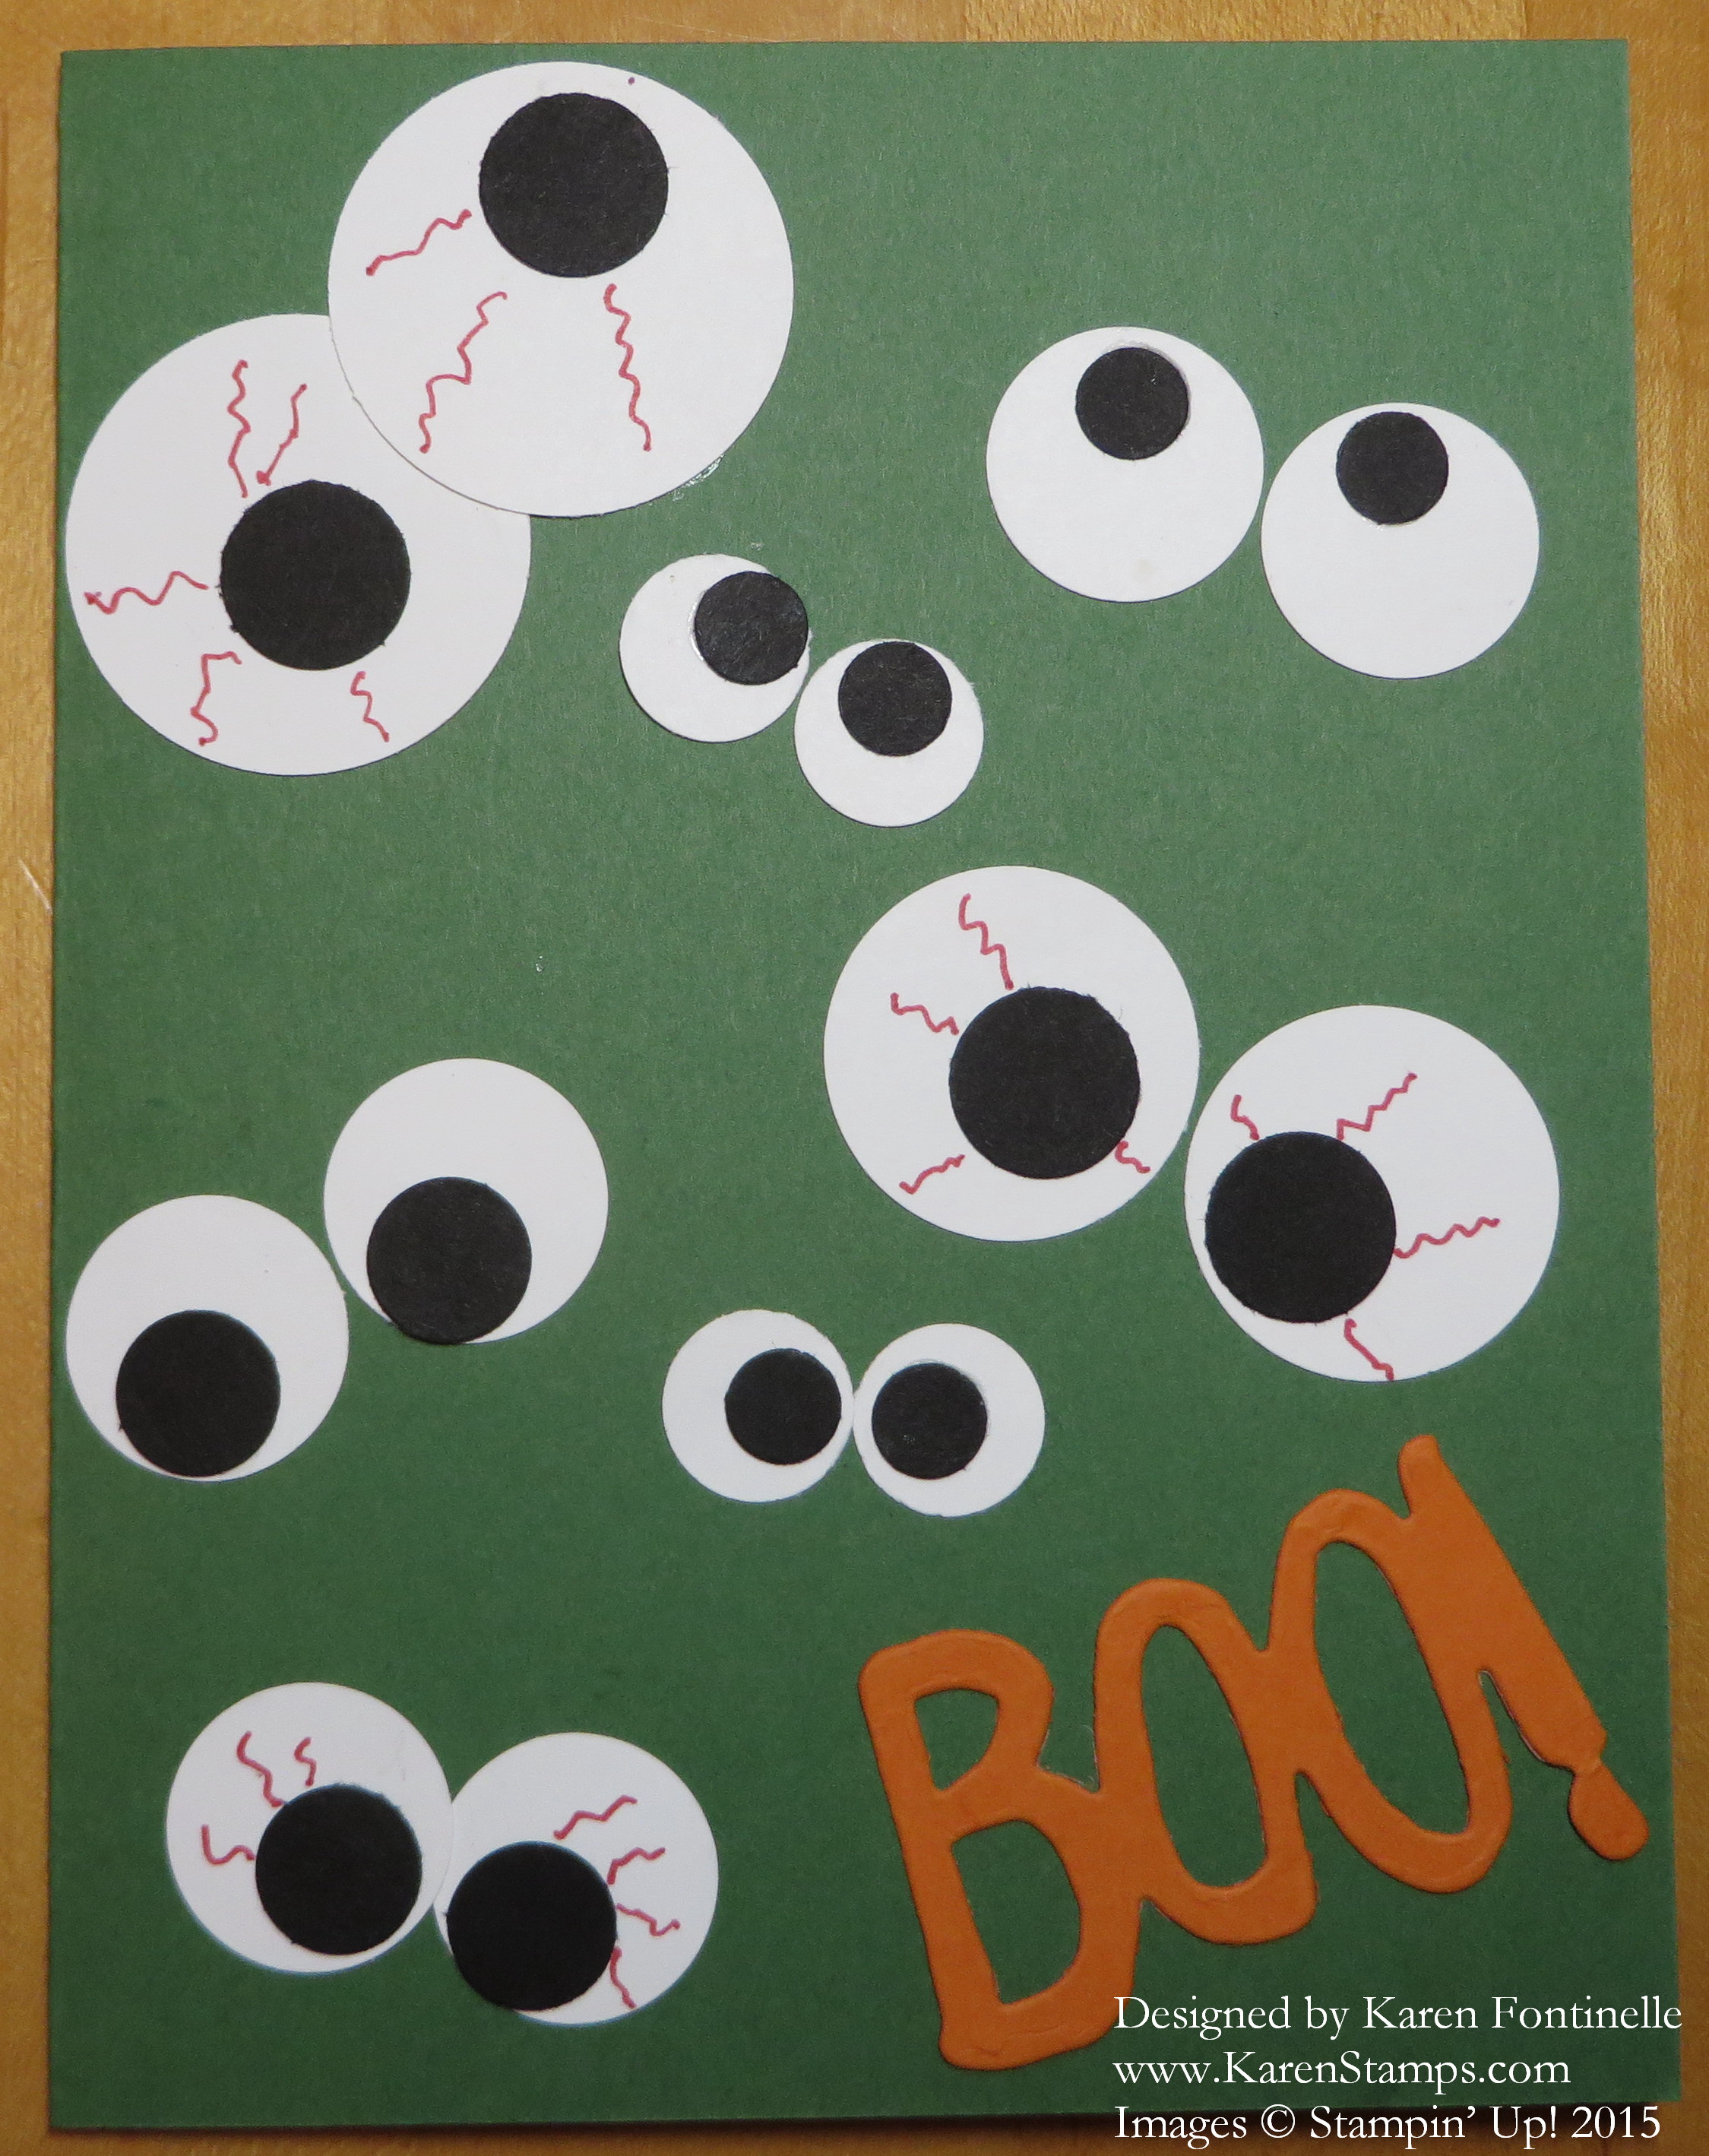
Now here’s an easy Halloween card anyone can make or put on a treat bag or box for Halloween! It’s my Easy Halloween Eyeball Card! Click on that link for all the specifics!

Halloween Happy Haunting Sour Cream Containers

My goodness, don’t forget about the Sour Cream containers like these Halloween Happy Haunting Sour Cream Containers! These have been popular since I first became a Stampin’ Up! Demonstrator and still are! So easy to make.  Click the link for the directions.

If you still need more ideas, just click on the Categories drop down box on the right side of my blog and choose Halloween. You’ll be able to go back in time and see lots of projects!

Get the best in papercrafting supplies at Stampin’ Up! Online!