Author Archives: Karen Fontinelle

Try Paper Pumpkin For 50% Off in September!

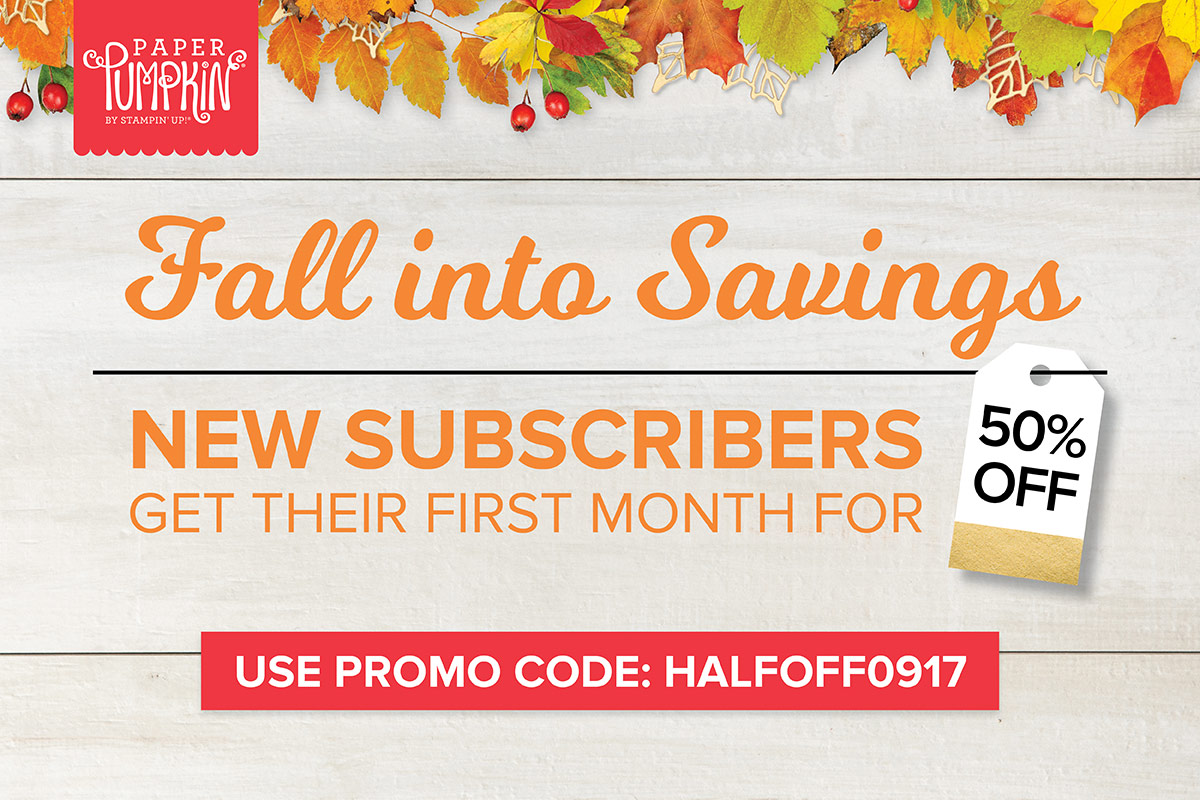
Paper Pumpkin Offer Sept 2017

This is a very special invitation to join Paper Pumpkin at an amazing introductory rate during our Fall into Savings promotion. Subscribe from August 11–September 10 and Stampin’ Up! will deliver September’s (gorgeous!) Paper Pumpkin kit straight to your door, complete with everything you need to make adorable, shareable projects—all for 50% off!

Just sign up using promo code HALFOFF0917 HERE by September 10.

  • Only new month-to-month subscribers qualify for the 50% discount.
  • To participate in this promotion, subscribers must join by Monday, September 10, 2017 at 11:50 PM (MT).
  • The 50% discount only applies to the new subscriber’s first kit. After that, the price for each month’s kit will return to the regular price of $19.95 USD/$26.95 CAD.
  • New subscribers must visit paperpumpkin.com to join.
  • Enter the promo code HALFOFF0917 at paperpumpkin.com to subscribe.
  • No risk, no obligation.  Just cancel by the 10th of any month or simply “Skip” a month if you need to!

l

Don’t delay!  Go ahead and sign up today! Then your subscription will be ready to go when Stampin’ Up! starts shipping out the kits mid-September!  Yours will be ready to go! You’ll experiment the fun of receiving your Paper Pumpkin Kit in the mail one day and have everything you need in one box to sit down and craft!  Just for you!

JOIN PAPER PUMPKIN TODAY!  (click the link)

USE PROMO CODE:  HALFOFF0917

Try Paper Pumpkin For 50% Off in September!

Paper Pumpkin Offer Sept 2017

This is a very special invitation to join Paper Pumpkin at an amazing introductory rate during our Fall into Savings promotion. Subscribe from August 11–September 10 and Stampin’ Up! will deliver September’s (gorgeous!) Paper Pumpkin kit straight to your door, complete with everything you need to make adorable, shareable projects—all for 50% off!

Just sign up using promo code HALFOFF0917 HERE by September 10.

  • Only new month-to-month subscribers qualify for the 50% discount.
  • To participate in this promotion, subscribers must join by Monday, September 10, 2017 at 11:50 PM (MT).
  • The 50% discount only applies to the new subscriber’s first kit. After that, the price for each month’s kit will return to the regular price of $19.95 USD/$26.95 CAD.
  • New subscribers must visit paperpumpkin.com to join.
  • Enter the promo code HALFOFF0917 at paperpumpkin.com to subscribe.
  • No risk, no obligation.  Just cancel by the 10th of any month or simply “Skip” a month if you need to!

l

Don’t delay!  Go ahead and sign up today! Then your subscription will be ready to go when Stampin’ Up! starts shipping out the kits mid-September!  Yours will be ready to go! You’ll experiment the fun of receiving your Paper Pumpkin Kit in the mail one day and have everything you need in one box to sit down and craft!  Just for you!

JOIN PAPER PUMPKIN TODAY!  (click the link)

USE PROMO CODE:  HALFOFF0917

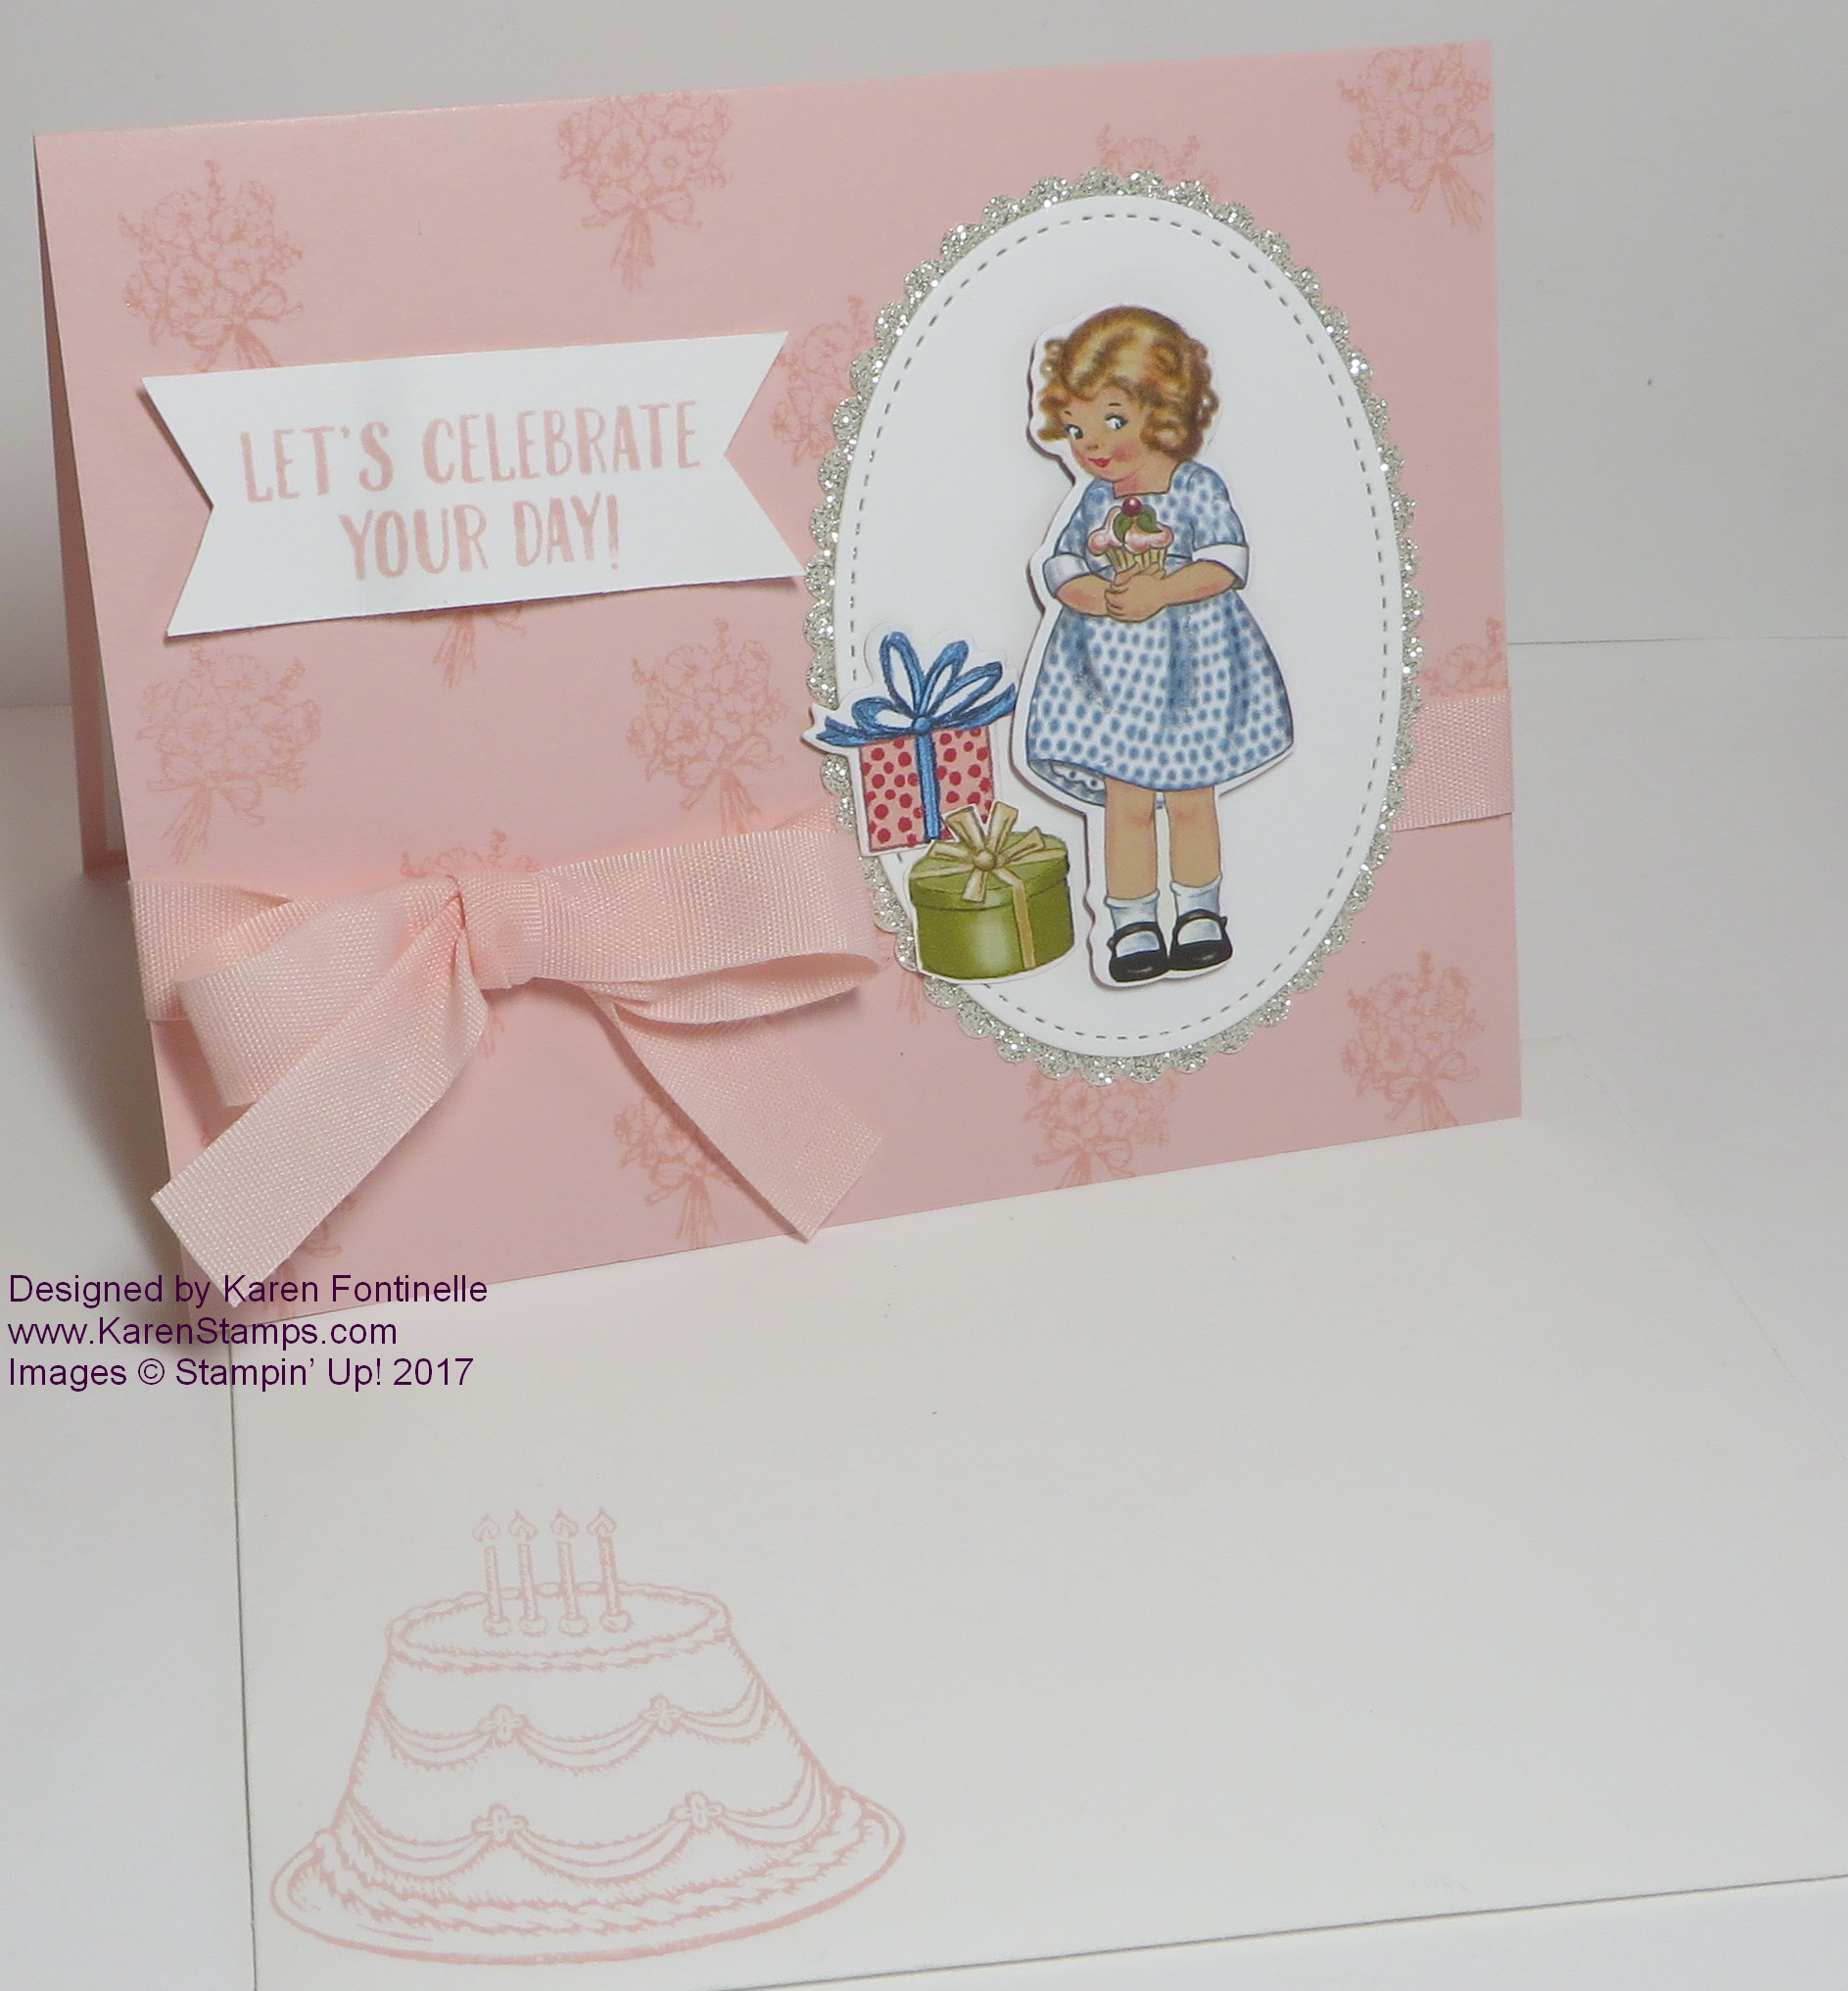
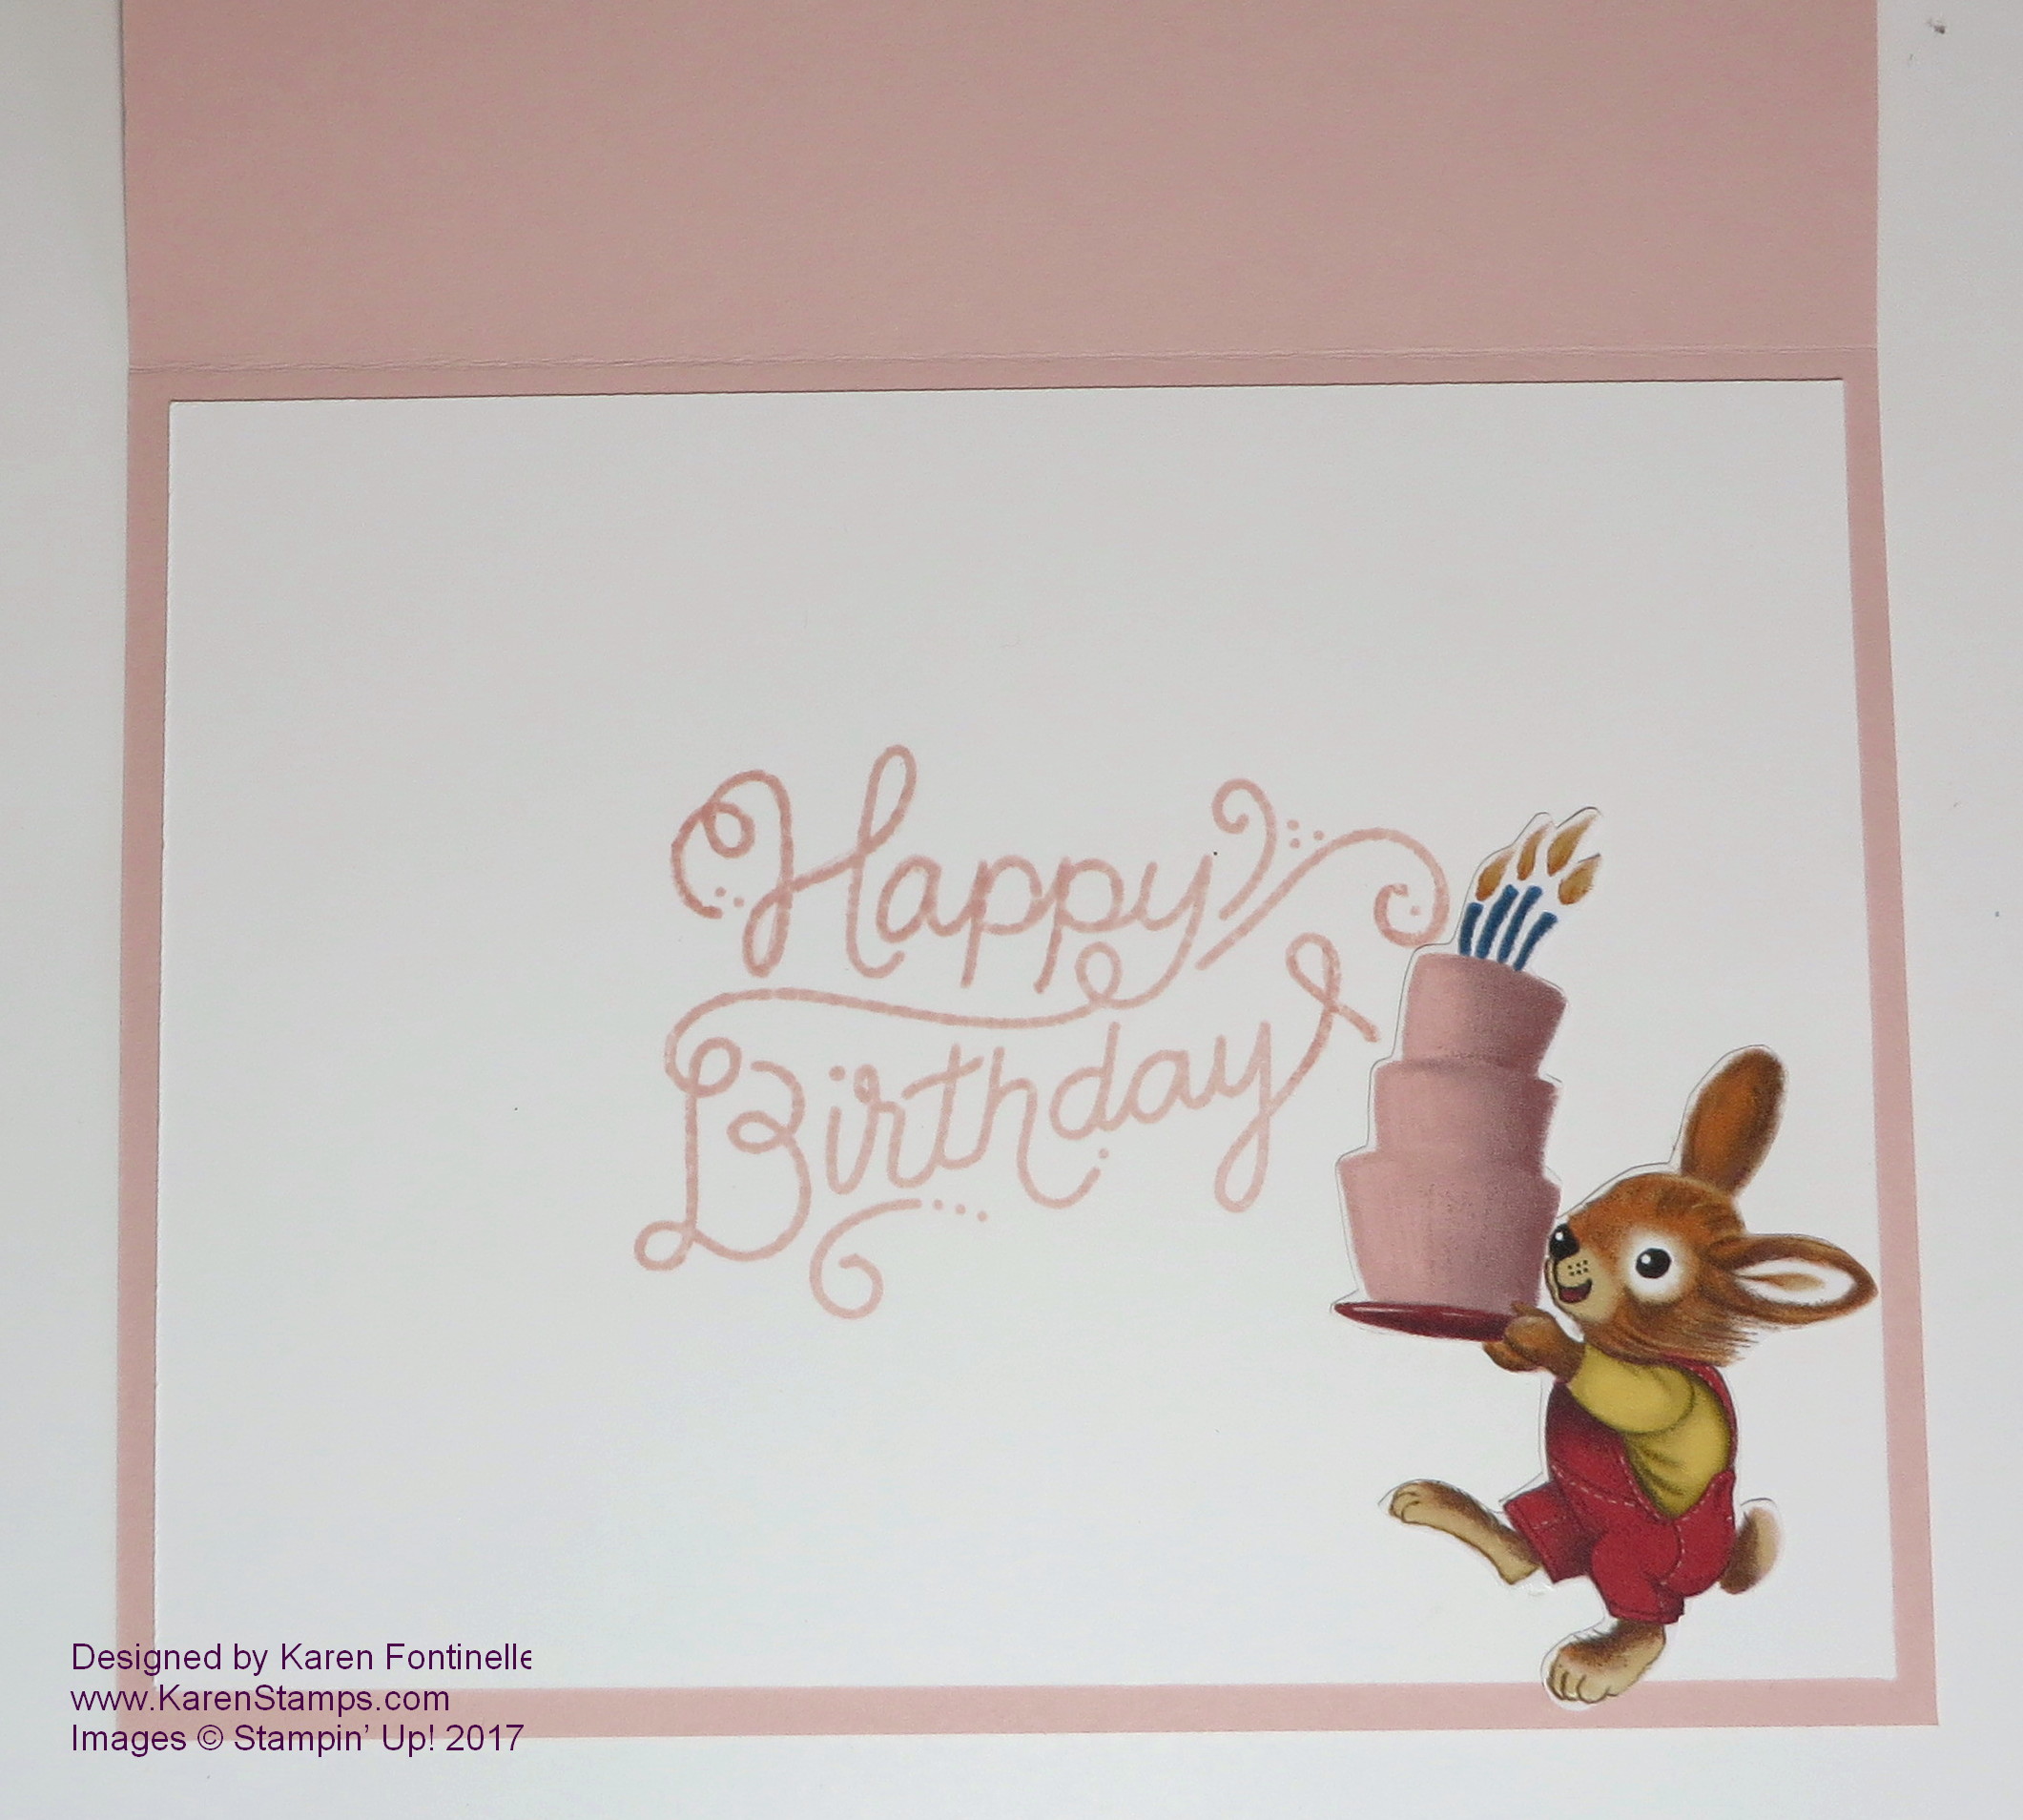
Happy Birthday Greeting Card Die Cut

Happy Birthday Greeting Card Die Cut

Today is MY birthday, but I have a friend who has a birthday tomorrow (and I don’t think she looks at my blog!) so this is the card I made for her! I was glancing through some cards I had made recently, and I LOVED a card I made with the Happy Birthday Thinlits Die and a watercolor background and I LOVED a card I made with this same Whole Lot of Lovely Designer Series Paper.  So I just combined the two ideas!

The card is made with Basic Black Cardstock so you do need to put a piece of Whisper White Cardstock inside so you can stamp or write a greeting or note. I glued a strip of this designer paper to the side of the Whisper White inside the card so I could decorate the inside a little bit. There is a layer of Powder Pink underneath the Whole Lot of Lovely DSP.

The greeting, of course, is just the Happy Birthday die cut!  I love the script, the size and everything about it!  Glue it down with just tiny dots of Multipurpose Liquid Glue or the Fine Tip Glue Pen.  Or try the new Multipurpose Adhesive Sheets.

I think the new Powder Pink 1/2″ Finely Woven Ribbon is just beautiful with this designer paper pattern and the card!  So soft and such a pretty pink!  I wrapped the strip of ribbon around the layer before adhering to the card.  Then I tied the bow separately with another piece of ribbon and attached it to that strip of ribbon with a few Mini Glue Dots . Sometimes that is easier than trying to tie a perfect bow with the whole piece of ribbon around the card!

I think this Whole Lot of Lovely Designer Series Paper is actually a whole lot of lovely!!  I suggest you put a package or two on your next order!  And if you ever make birthday cards (surely you do!) I would also get the Happy Birthday Thinlits Dies!

Since today is my birthday, I’m giving YOU the gift!  I’m celebrating all weekend (why not?!) so if you place a Stampin’ Up! order of $25.00 or more (before tax and shipping, of course!), I will send YOU a little grab bag of “stuff”!  And who doesn’t need more “stuff”?! Some might be new, some might be retired, but it will be a surprise! Order today through Sunday, August 13, 2017 at midnight.

SHOP STAMPIN’ UP! ONLINE HERE!


August Paper Pumpkin Kit: Join Today!

Paper Pumpkin August Mood BoardIf you want to receive the August Paper Pumpkin Kit in another week or so, join Paper Pumpkin today!  Today, August 10th is the deadline for the August Kit.

Usually each month is a surprise, but every now and then Stampin’ Up! gives us some clues or a sneak peek!  This month Stampin’ Up! has been giving us glimpses of the mood board they used for the August Paper Pumpkin Kit. You see the final one above.

Here is the clue from Stampin’ Up!:

” Navy baker’s twine and gorgeous coral ribbon are the perfect finishing touch to our August inspiration mood board. You don’t want to miss out on finding how these elements work with the rest of August’s coral-hued kit! Think warm CARDS and gifting! Share our finished mood board with a friend and subscribe at paperpumpkin.com before tomorrow, August 10th at midnight!”

Here is my direct link! CLICK HERE TO JOIN PAPER PUMPKIN TODAY!

Paper Pumpkin is the cute red box that comes in your mailbox once a month with a project inside designed to take you away! You deserve a few minutes of crafting time, with no preparation, no designing, no extra supplies needed.  Everything is included!  You get an exclusive stamp set with every kit and ink spot. With your very first kit you will also receive an acrylic block for mounting your stamps.  Directions are included and there is a video you can watch!  No risk, no obligation!  Cancel if Paper Pumpkin isn’t for you or just skip a month if you get too busy. Easy peasy!  Try it!

Paper Pumpkin Logo 2017

Click to Join!

Make a Christmas Card With the Carols of Christmas Bundle

Deck the Halls Cherry Cobbler Card

This is my first try at making a Christmas card with the Carols of Christmas Bundle. While I could have ordered it earlier in July, somehow with planning our vacation, going on vacation and getting back from vacation, I didn’t order it until the end of the month and just received it night before last. I had other things to do all day, and finally just before time to make dinner, I stopped and wanted to make a card with this new set, Carols of Christmas!

I pulled out my new Christmas paper in the Stampin’ Up! Annual Catalog. It’s called Be Merry Designer Series Paper.  If you are anxious to get started on Christmas cards and projects this month before the Holiday Catalog comes out, go ahead and order this Be Merry paper.  For this card, since Cherry Cobbler is one of the coordinating colors with the Be Merry paper, I chose Cherry Cobbler Cardstock for the card base. The patterned paper I chose was also Cherry Cobbler and to help it stand out a bit, I put a layer of Whisper White over the card base and the designer paper on top of that. I stamped the “Deck the Halls” greeting on a piece of Whisper White and decided to add the cute little ornaments to decorate.  These ornaments are very small, but adorable, so I was happy to use the Card Front Builder Framelits Dies to cut out the little bitty ornaments.

The ornaments are just placed above the greeting and I adhered a piece of Gold Metallic Thread to each one with either a Mini Stampin’ Dimensional (boy are they nice!) for the ones I wanted popped up or a Mini Glue Dot for the ones flat on the card. Then I draped the thread behind the top of the card held down with strips of Snail Adhesive.  I wanted something at the top so I decided on a piece of Cherry Cobbler 1/4″ Double-Stitched Ribbon.  After that, all the pieces were just glued down layer by layer with Fast Fuse Adhesive to hold real well.

Deck the Halls Cherry Cobbler Card CloseupI admit I wasn’t all that thrilled with this stamp set and bundle at first, or at least wanted to wait and see what was going to be in the Holiday Catalog.  As usual, as I saw some samples that other Demonstrators were making during our preorder opportunity, I knew I had to have it and placed it on my order!

You can make something simple, like my card today, or you can make some really fantastic cards and projects. I always say there is nothing too hard for even a beginner in stamping, as long as you have the materials and maybe someone to show you what to do! That’s just one of the many things I love about stamping! Nothing takes great SKILL, a person just has to know the techniques.

Carols of Christmas 2017

Get the  Carols of Christmas Stamp Set and the Card Front Builder Framelits Dies together in a Bundle and save 10%!  You will have something new from the Holiday Catalog before the Holiday Catalog comes out!  Then you can make a Christmas card With the Carols of Christmas Bundle like I have!

SHOP STAMPIN’ UP FOR THE CAROLS OF CHRISTMAS BUNDLE!

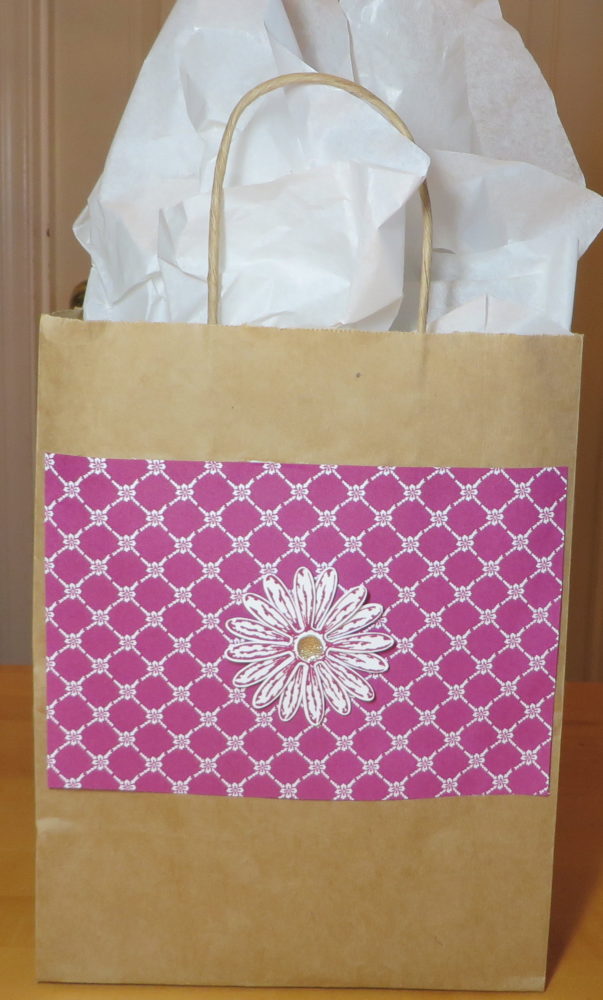
Handmade Daisy Gift Box

Handmade Daisy Gift Box

Make a Handmade Daisy Gift Box  like this one or similar when you need a small gift box quite easily!  Sometimes we need a gift box or gift bag in a hurry and it’s really quite easy to make one yourself rather than take all the time to run out to the store.

This gift box was made with a paper from the Wood Textures Designer Series Paper Stack. This paper has natural, rustic patterns in so many designs on 6″ x 6″ sheets.  You will want to have this in your “stash” because woodgrain works very well as a background or backdrop for your projects. The woodgrain, whether dark or light, works as a neutral when you are creating something.

Wood Textures

To make the box lid, I used the full 6″ x 6″ paper because I wanted the box to be 4″ x 4″ with a 1″ border to fold down for the lid. So 4″ across for the box plus 1″ on each side equals 6″. Then I scored on all 4 sides at 1″ to make the lid. I trimmed off the corners at an angle just to make it easier for fold in. It’s not absolutely necessary to do, but I like to.  Then cut up on the little score lines up to the score line above on two opposite ends.  That makes the tabs to fold to form the lid.

Box Lid

To make the box bottom, I did the same thing but with a piece of Soft Suede Cardstock. Now you can make it the exact same size, but I made the bottom just a “smidge” smaller, which means I cut the paper just 1/16″ inch shorter on each side.  This makes the lid fit better without having to squeeze the two pieces to fit.

Now you can have fun decorating your gift box!  I tied mine with the interesting and fun 1/4″ Copper Trim. The fun thing about this ribbon is that you can pull the sides apart to make it wider and with a different look, as I did to the ends of the ribbon.  If you don’t like it, you can just yank on the end of the ribbon and it will go back to the original shape.

The daisies are stamped with the Daisy Delight Stamp Set with So Saffron Ink on So Saffron Cardstock and then punched with the now-back-in-stock Daisy Punch.  I also stamped a few leaves and cut them out, plus the greeting that was in the stamp set.  And for a finishing touch, why not a Gold Faceted Gem?

Here is another post where I made a Christmas gift box, a larger one, out of 12″ x 12″ paper. Click HERE!

This Handmade Daisy Gift Box can be for most any occasion and is easy enough to make! Your recipient will appreciate that you made the box yourself and just for the occasion!

SHOP STAMPIN’ UP! ONLINE (and remember to use your Bonus Coupons from July!)!


Quick and Easy Card With Fresh Florals Paper

Quick and Easy Card With Fresh Florals Paper

This really is a quick and easy card with the Fresh Florals Designer Series Paper. And if necessary, you can make one even quicker and easier probably than this one! Sometimes we need something simple and that can suit the occasion on a moment’s notice, and this card can do that just by the greeting that you add to it!

I started with a card base using the Thick Whisper White Cardstock, which is just a little heavier weight than the regular Whisper White Cardstock. The regular is okay, the Thick is just a little bit nicer to use on a simple card, a little sturdier.  You can make the card base however you like, but for this card I cut the paper 4 1/4″ x 11″ with the fold at the top at 5 1/2″. You could even cut it like this but turn it sideways so the fold is on the left, but it would be wider than a regular card and not as tall.  Just a slightly different look if you are in the mood for change!

The Fresh Floral Designer Series Paper is beautiful and comes in all the new In Colors.  This pattern is Fresh Fig. To jazz it up, I used the Decorative Ribbon Border Punch.  If you don’t have this punch yet, just use strips of Fresh Fig Cardstock down the sides.  But this punch really does make a pretty accent along an edge so I do like it.

Now if I had the Fresh Fig 1/2″ Finely Woven Ribbon, I would have used that, but since I didn’t, I just used a strip of cardstock behind the greeting. You wouldn’t have to do this.

The greeting is made with the Label Me Pretty Bundle, a combination of the Label Me Pretty Stamp Set and the Pretty Label Punch. You can buy them separately, but the Bundle will save you 10%. To help the label stand out a little more against the designer paper, I just punched another label out of the Fresh Fig Cardstock and cut it in half from side to side, then glued it underneath the label for a layer.  That leaves a tiny bit on the sides open, which wouldn’t have showed against the cardstock strip I had underneath, but I did punch another label and just cut off the sides and glued those under the sides of the label for a layer on each end. Tiny detail, but you can do it if you want!  And why not add a couple of Rhinestone Jewels on the label as well?!

Here’s another very similar card I made with the Fresh Florals Designer Series Paper, this one in Powder Pink. Click HERE to see this card.

A couple reminders:

  • Don’t forget to use your Bonus Coupons from July if you earned any!  They will be in an email!
  • Several states are having back-to-school sales tax holidays beginning this weekend and certain Stampin’ Up! products are eligible for this tax holiday! Check the chart here!

I do think the dates for Texas are incorrect on this chart, sales tax holiday in Texas is NEXT weekend, August 11-13, so make sure the dates for your state are correct and that you are not charged sales tax on your order for those particular items.

Don’t forget to just make simple cards sometimes, like this Quick and Easy Card With Fresh Florals Paper. Have some designer paper and stamp sets on hand that will do for multiple occasions!  You can add extra embellishments, but you can also keep it simple!

To order your Stampin’ Up! supplies today, just click for the

Stampin’ Up! Online Store!


Buy Stampin’ Up! During Your State Sales Tax Holiday!

Money

It’s State Sales Tax Holiday Time for Back-to-School!

And You Can Get Stampin’ Up! Supplies Tax-Free!


There are 13 US states having state sales tax holidays for school supplies. What does that mean

for you? Stampin’ Up! products that fall under that category will be tax-free for a limited time! If

you live in one of the lucky states, make sure to take advantage of the holiday!

Click on each chart below to enlarge it.

Click HERE to see the full Sales Tax Holiday Chart (there are two parts).

Double-check with your state to make sure these dates are correct.  I believe the Texas dates are wrong….I’m seeing next weekend August 11-13 advertised as our Sales Tax Holiday, not this weekend as shown on this chart. Put some tax free items on your order and make sure you are not being charged sales tax!State Tax Holiday Chart 2017 page 1

State Sales Tax Holiday Chart 2017 page 2

You must place your order with Stampin’ Up! during the tax holiday period in order to receive these items tax-free (midnight on the first day to 11:59 PM on the last day of the tax holiday).

Keep in mind that this is a state sales tax holiday and may not apply to additional county, city, and special jurisdiction taxes.

Happy Shopping!  Be sure to check the dates!

Shop Stampin’ Up! HERE!

Naturally Eclectic Card For a Friend

Naturally Eclectic Card For a Friend
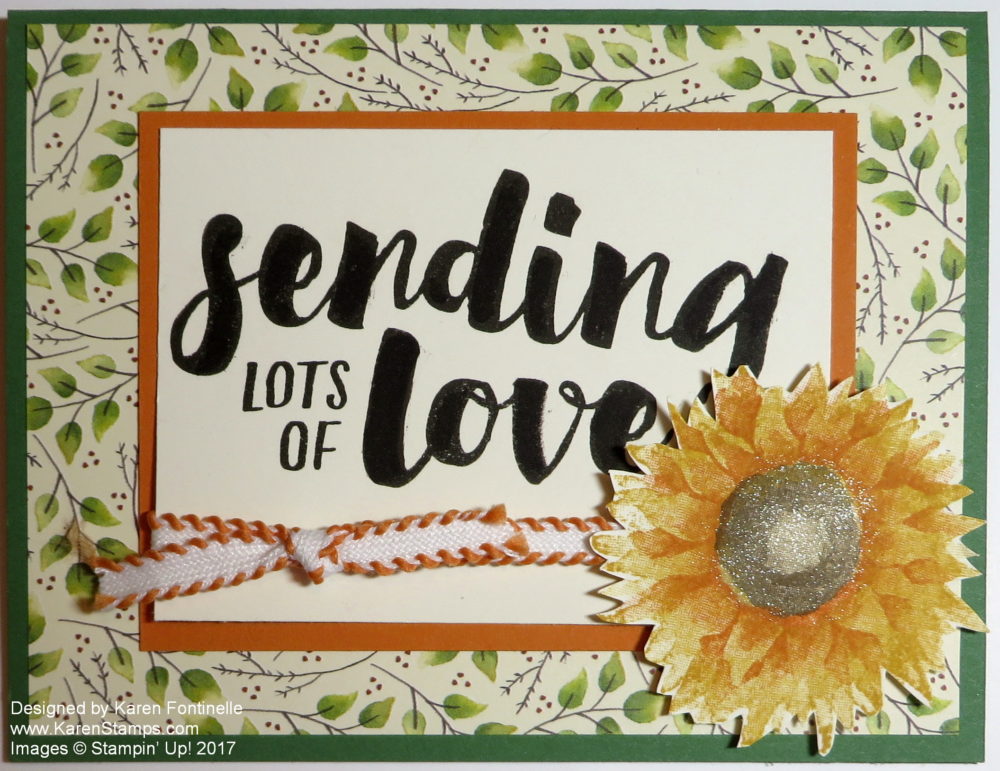
If you make this Naturally Eclectic Card For a Friend, be sure to mail it, because we never know when someone might especially need that card that comes from you in the mail. Not to mention that it is just fun to get some “real mail” because we seldom get anything but bills and junk mail!

I just love the Naturally Eclectic Suite in the new Stampin’ Up! Annual Catalog!  It is also the suite of products that are shown on the cover of the catalog!  I think the colors are all so pretty together and the flower designs are very nice to use.

With the Oh So Eclectic Bundle, which includes the Oh So Eclectic Stamp Set and the Eclectic Layers Thinlits Diesyou can save 10% over buying the two things separately, plus you will have everything you need…….stamps and dies!  And one of the dies is very artistic and different! You’ll enjoy it!

For this card, I used the Berry Burst Cardstock for the card base and Whisper White on top of that. Layered on top of that is the Naturally Eclectic Designer Series Paper.  Be sure to tie a strip of Berry Burst  1/2″ Finely Woven Ribbon around the designer paper before you adhere it to the card.

Stamp some flowers and leaves and die cut with the framelits dies and Big Shot. Arrange them how you like on the front of the card, popping up a few flowers with Stampin’ Dimensionals. I also added a bit of Clear Wink of Stella to all three flowers, but the shimmer doesn’t really show up in the photo. It is so fun to use the Wink of Stella!  And the name is incredible to me, too!  The greeting I used is also included in the stamp set.

Here is another card I made with the die cut flowers from the Eclectic Layers Thinlits Dies.  I love this die cut flower!  You can layer it on top of another layer or use it as is.

Be sure to check out this interesting suite of products, the Naturally Eclectic Suite, and maybe you will want to make a Naturally Eclectic Card for a friend!

SHOP STAMPIN’ UP! ONLINE HERE 24/7!

Black and White Washi Tape Greeting Card

Black and White Washi Tape Greeting Card

Make a black and white washi tape greeting card if you want to make a quick and easy modern card!  Washi tape is so much fun, but I think we forget to use it sometimes! I used it on this card with just a little bit of stamping.

There are new washi tape designs and patterns in the new Stampin’ Up! Catalog on page 195. The black and white washi tape I used is the Pick a Pattern Washi Tape.  The bottom of the card has a wide strip of dotted washi tape, and right above it is a very narrow strip with the little scallops.  I placed the black strip of washi tape at the top of the card.  When you have an assortment of washi tapes, you can make up your own design with them!

The card itself is a Basic Black card base with a layer of Whisper White Cardstock. It’s probably best to stamp first, but I think I might have broken that rule and put the washi tape on first and then stamped!  I used the Lovely Inside & Out Stamp Set for the  sentiment and the little black dots.

And for an extra little embellishment, I added some Rhinestone Jewels scattered around randomly.

Sometimes it is fun to make just a simple black and white card, but it doesn’t mean it has to be boring!  Here is a black and white card I made several years ago that I really liked. Sometimes just the stamping will be enough and sometimes adding a little embellishment with jewels or ribbon just finishes off the card.

Get out your washi tape that you have or order the new Pick a Pattern Washi Tape I used on this card to make a black and white washi tape greeting card and see what you can come up with!

Shop Stampin’ Up! Online HERE!

Carols of Christmas: Early Release From the Stampin’ Up! Holiday Catalog!

Carols of Christmas Banner

In September, the much anticipated Stampin’ Up! Holiday Catalog will go live!  In the meantime, the Carols of Christmas stamp set and dies have been released early for customers beginning today! When you saw information about this bundle last month, it was because the stamp set was part of a bonus offer for new Demonstrators who joined during July.

But now, the Carols of Christmas Stamp Set and the Card Front Builder Thinlits Dies are available separately AND as a Carols of Christmas Bundle if you would like both and want to save 10%!

Here are samples of the beautiful cards you can make with this set! These are samples from Stampin’ Up! but I have seen many other samples from Demonstrators and everyone agrees this is a beautiful set. You will want to order yours as soon as possible!  Get an early start on Christmas cards!

Carols of Christmas Card Peace on Earth

This card is fairly simple, using the die cut trees and deer and coloring the stamp with markers to get a multi-colored effect on the greeting.

Carols of Christmas2

I love the red on this card paired with the green and a bit of Copper Trim Ribbon behind the greeting.

Carols of Christmas3

If you want a different color scheme, these blues are beautiful using silver ribbon and sequin trim. This card uses the negative piece of paper after the trees are die cut.

Carols of Christmas4

A lot of young families like to send photo cards at Christmas. Here is an example of dressing up the photo with a piece of die cut vellum and Christmasy greeting and ribbon on the top.

Carols of Christmas5

This is my favorite sample because of the red and gold! So elegant and festive!

If you are wondering how you can make Christmas cards in August without Christmas paper, look in the Stampin’ Up! Annual Catalog on page 188 and check out the Be Merry Designer Series Paper!  This is very cute paper that will get you started until you have more choices in the Holiday Catalog!

Be Merry Designer Series Paper

It’s too hot in some places, like here in Houston, to do much of anything, so go ahead and treat yourself to this new Carols of Christmas Bundle and get a head start on Christmas! Put on some holiday music and pretend like it is snowing outside, as you run the a/c and wear your swimsuit or shorts!!

Remember to use your Bonus Coupons that you earned in July!  You should have received an email immediately after you ordered from Stampin’ Up! with your codes.  When you place your August order(s), you will see prompts on how to use your codes.

Shop for the Carols of Christmas Bundle at Stampin’ Up! Today!

Last Day to Become a Stampin’ Up! Demonstrator and Get This Bonus!

Christmas In July Recruiting Banner

Ho, ho, ho! Our Christmas in July promotion makes it easier than ever to sign up to be a demonstrator!

As a new recruit, you will receive a FREE Essentials Gift Pack including Paper Snips, SNAIL Adhesive, Grid Paper, two D Blocks (one for you and one for a stamping friend!), and a Bone Folder. That’s an added value of $52!

And to get a taste of the perks of being a demonstrator, Stampin’ Up! will also include the Carols of Christmas Stamp Set from the holiday catalog for FREE ($20 US)! With so many basic items provided for you, you’ll be able to get your brand, new business off to a fast start—and spend your Starter Kit dollars on things like your favorite stamp sets and accessories!

What Do You Have to Do to Become a Stampin’ Up! Demonstrator?

It’s easy!  Just CLICK HERE, read about becoming a Demonstrator and see if you have any questions.  Ask me if you do!  Read and agree to the Demonstrator Agreement, then follow the prompts as you choose items for your Starter Kit.  You will choose $125 worth of product (your choice!) and pay only $99 plus free shipping on your kit! The special Christmas in July promotion, the Essentials Gift Pack, will be automatically added to your Starter Kit.

Christmas in July Become a Demonstrator

Christmas In July Recruiting Products

This is the upcoming Holiday Catalog stamp set you will receive in your gift pack, Carols of Christmas!

Carols of Christmas Stamp Set Images

Everyone will be able to order the Carols of Christmas Stamp Set beginning August 1, 2017, but a new recruit on July 31 will get their stamp set FREE!  You can add the framelits dies to your Starter Kit if you would like!

Being a Stampin’ Up! Demonstrator has many rewards. Of course those rewards can be monetary if you work hard and build a business.  But along with that come the benefits of making new friends, having fun stamping with others, attending Stampin’ Up! events, being able to pre-order new products from new catalogs, and getting a discount on your purchases. If you make Stampin’ Up! a business, there are many other benefits along the way as you achieve your goals!

Stampin’ Up! provides lots of resources online to help you get started in your new business, and I will be here to help you as well!

Anytime is a good time to sign up to be a Stampin’ Up! Demonstrator, but why not sign up when you get extra goodies for FREE!

 Just CLICK HERE and take a few minutes to sign up and choose your Starter Kit contents!

You will then receive an email from Stampin’ Up! with your Demonstrator number and you will be in business!  Literally!

JOIN STAMPIN’ UP! TODAY! GET THE BONUS!

Flowery Thank You Card With Beautiful Bouquet

Flowery Thank You Card With Beautiful Bouquet

This flowery thank you card is made with the Beautiful Bouquet Bundle, and the variations you can make with this set are endless! This Beautiful Bouquet Photopolymer Stamp Set comes with a multitude of images and sentiments. There are 37 stamps in this set!  You can also purchase the Bouquet Bunch Framelits Dies which comes with 21 dies for all the different flower shapes, stems, and leaves.  Buy the stamp set and dies together in a Bundle and save 10%!

The card base is Pool Party Cardstock with a layer of Whisper White.  I embossed the Whisper White with the Polka Dot Basics Embossing Folder.  I like that this adds just a little bit of interest and texture to the background.  The greeting, of course, is from the stamp set, stamped in Pool Party ink, and die cut with one of the squares in the Layering Squares Framelits Dies . There are also scalloped edges squares in this set of dies and that makes a nice background layer for the greeting.

The flowers and flower stems are all die cut with the Bouquet Bunch Framelits Dies.  I will say that if you are making a lot of cards at one time with this Bundle, it will take some time to do all the die-cutting. The best way to approach this would be to stamp images using different framelits all on one sheet of paper if you can or at least place as many as you can on the Big Shot platform so that you can cut as many images as possible in one pass. If you run each flower and each leaf, one at a time, through the Big Shot, you will be doing lots of cranking away!

I really love the stems die cut because the stems are already arranged for you and all you have to do is adhere some flowers on top!  You con’t even have to hit every stem tip. Add as many or as few flowers as you like.

You can stamp the flowers on Whisper White with colored ink or on the same color of cardstock. You can see both examples on my card.  Add some flower centers, either stamped or with Enamel Dots or other embellishments.

Before I adhered the flower stems piece, I tied a piece of Linen Thread around it.  Linen Thread is one of those staples you should have in your supply. You may not use it a lot, but it is the perfect thing to use at certain times.

Purchase the Beautiful Bouquet Bundle today or tomorrow (by July 31st) and get a $5 Bonus Coupon to use in August on a Stampin’ Up! order!  Remember, Bonus Days end on Monday, July 31.  No limit to how many coupons you can earn, with each $50 purchase.

SHOP STAMPIN’ UP! TODAY AND GET YOUR BONUS COUPONS FOR AUGUST!

Buy Stampin’ Up! During Your State Sales Tax Holiday!

Money

It’s State Sales Tax Holiday Time for Back-to-School!

And You Can Get Stampin’ Up! Supplies Tax-Free!


There are 13 US states having state sales tax holidays for school supplies. What does that mean

for you? Stampin’ Up! products that fall under that category will be tax-free for a limited time! If

you live in one of the lucky states, make sure to take advantage of the holiday!

Click on each chart below to enlarge it.

Click HERE to see the full Sales Tax Holiday Chart (there are two parts).

State Tax Holiday Chart 2017 page 1

State Sales Tax Holiday Chart 2017 page 2

You must place your order with Stampin’ Up! during the tax holiday period in order to receive these items tax-free (midnight on the first day to 11:59 PM on the last day of the tax holiday).

Keep in mind that this is a state sales tax holiday and may not apply to additional county, city, and special jurisdiction taxes.

Happy Shopping!  Be sure to check the dates!

Shop Stampin’ Up! HERE!

You’re the Best Greeting Card

You're the Best Greeting Card

How about a “You’re the Best” greeting card to have in your stash for just the right occasion or person? I wanted to use my new washi tape, the Pick a Pattern Washi Tape so I looked in the new Stampin’ Up! Catalog for inspiration. I found a card sort of like this one, and this is what turned out! For the card design, I used the stamp set Watercolor WordsI’ve loved that stamp set ever since it came out!  Very easy to use in cardmaking and good sentiments as well!

The card base is Melon Mambo with a Whisper White layer, plus a layer of Basic Black behind the white.  I applied two strips of the washi tape at the bottom of the card layer and then stamped Melon Mambo flowers from the Watercolor Words Stamp Set across the front of the card. I actually stamped the greeting right over the flowers, but didn’t think it stood out well enough. If I was trying this card again, I might try stamping the flower each time off on scrap paper before stamping on the cardstock to get a lighter image. In that way, the greeting might show up better as the focal point on the card. But as it was, I just stamped the greeting on a new Whisper White piece of cardstock and die cut it in a circle and layered on a scalloped circle. These dies are the Layering Circle Framelits DiesSome are plain circles and some have the scallop edge.

And is a card without an extra little embellishment?  Just had to add some Glitter Enamel Dots!

Don’t forget!  The Stampin’ Up! Bonus Days are coming to an end on Monday, July 31.  For every $50 you spend on an order, you will be emailed a $5 Bonus Coupon to use on an order in August.  No limits!

Or better yet, become a Stampin’ Up! Demonstrator this month and get extra perks! Click here for more information and to join!  Just takes a little while to fill out the Demo Agreement and choose your products for your Starter Kit.  After you submit everything, you will be emailed your Demo number and you are official in minutes!

Use my “You’re the Best” greeting card design as inspiration to make your own card! As long as you have your stamps, ink and paper out, make several cards of the same design, then you’ll have them ready to go!