Author Archives: Karen Fontinelle

Blooming Summer Savings with Paper Pumpkin 50% Off!

Paper Pumpkin Bloomin' Savings Offer 2018 Banner

FOR NEW PAPER PUMPKIN SUBSCRIBERS!

TIME TO TRY PAPER PUMPKIN FOR 50% OFF!

During the Blooming Summer Savings, new subscribers can get your first Paper Pumpkin Kit at 50% off the first month!

What is a Paper Pumpkin Kit anyway?  It’s a papercrafting kit designed by Stampin’ Up! that comes to you in the mail every month! It may be cards or another type of project – maybe gift bags, party favors, home decor, mini album, decorations. It’s always a surprise – well, sometimes there is a clue! The first kit includes an acrylic block on which to mount your stamps. The kit includes an exclusive stamp set, an ink spot, and all the materials required to complete the project. You can make the kit as designed or you can make some alternative project.  It’s yours so you can do whatever you want! It’s easy enough for anyone, new or experienced crafters.  Besides the instructions, there is always a video to watch as well.

Get 50% off your first month of Paper Pumpkin!

Use PROMO CODE:  BLOOM0818

Join Paper Pumpkin

  • New month-to-month subscribers qualify for the 50% discount and must use the code BLOOM0818 at paperpumpkin.com by August 10, 2018 at 11:50 PM (MT).
  • The discount cannot be applied to prepaid codes.
  • The 50% discount only applies to the new subscriber’s first kit shipped. After that, the price for each month’s kit will return to the regular price of $19.95 USD/.  (That price includes shipping!)

Savings are blooming, and there’s no time like the present to introduce yourself to the Paper Pumpkin experience.

JOIN PAPER PUMPKIN HERE! 

Be sure to add the Promo Code of BLOOM0818

No risk, no obligation.  You can “Pause” your subscription or cancel any time. The 10th of any month is the magic date to get in any changes.

Let me know if you do sign up so I can make sure you got on my list!

Be sure to let me know if you have any questions about the Blooming Summer Savings with Paper Pumpkin and get your Paper Pumpkin papercrafting kit at 50% off!

Make Your Own Birthday Gift Bag With Designer Paper

Make Your Own Birthday Gift Bag With Designer Paper

It’s so easy to make your own birthday gift bag with half a sheet of designer paper!  Why not make your own with paper, greetings, and embellishments that express your sentiments and are appropriate for the gift and the recipient?  You just need paper, a scoring tool, scissors and adhesive to make the bag.

Cut a piece of cardstock or designer series paper in half, 6″ x 12″. Then score with the Stampin’ Trimmer or the Simply Scored.  Put the paper in longways and score at 1 3/4″.  Turn the paper so it is going sideways and score at 4″, 5 3/4″, 9 3/4″, and 11 1/2″.  The area below that 1 3/4″ score line will be the bottom of the box so check the paper pattern if it has one so the design is going in the correct direction. Fold and crease all the score lines.  Cut up on those bottom score lines, up to the 1 3/4″ score line to form the bottom flaps.  Cut off the little 1/2″ tab.

Designer Paper Scored For Bag

To make the birthday gift bag, I used the Broadway Bound Specialty Designer Series PaperJust put a strong adhesive, like,  Tear & Tapeon that narrow tab on the right side, then assemble the bag.  Fold the bottom flaps in and add some adhesive to close the bottom of the bag.

To decorate the bag, I cut a banner for the front of Lovely Lipstick Cardstock.  The greeting is stamped from the Detailed With Love Stamp Set.  I punched it out with the 1 1/2″ Circle Punch, made a layer with the 1 3/4″ Circle Punch of Lemon Lime Twist, and then layered those on Gold Foil punched with the Starburst Punch.

That’s all there is to it!  Put your gift inside with some tissue paper, and if you want to make your own crinkled paper, just cut thin strips of cardstock and crinkle them up by hand or with a paper crimper.

Although this Broadway Bound paper is NOT on the designer paper sale, Buy 3 Get 1 Free, lots of other very nice papers are during July so be sure to check that out!

Designer Series Paper Sale

Also, today, July 10th, is the day to sign up for Paper Pumpkin if you would like to receive the July papercrafting kit from Stampin’ Up! 

Just click here for my personal link!

Easy Petal Promenade Card For a Friend

Easy Petal Promenade Card For a Friend

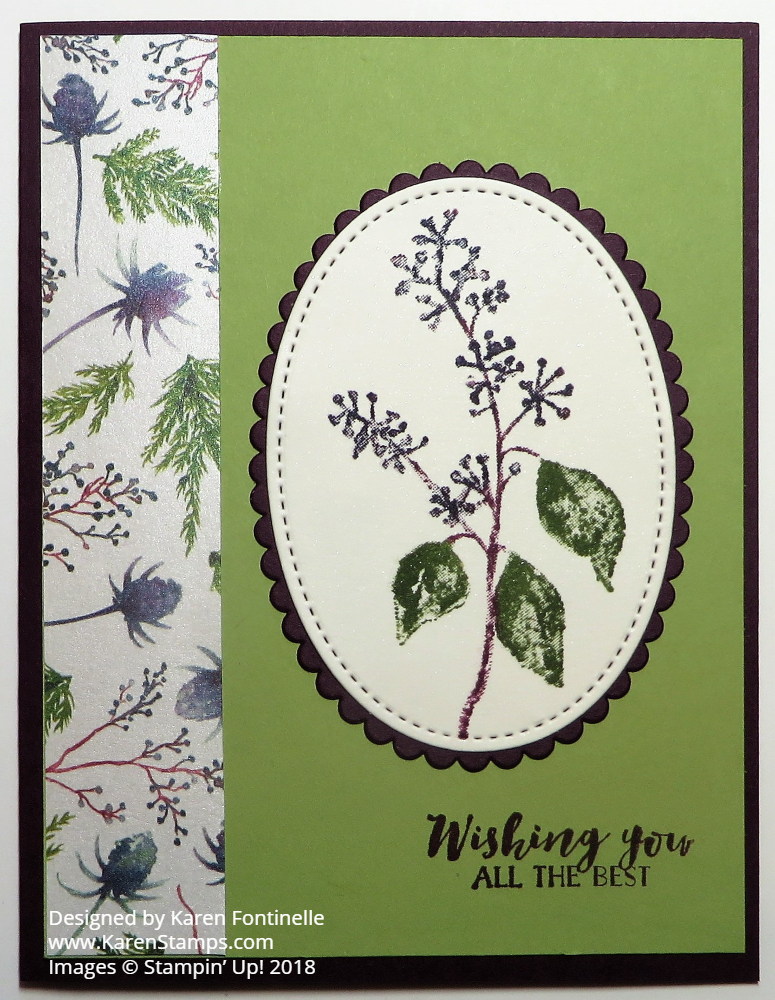
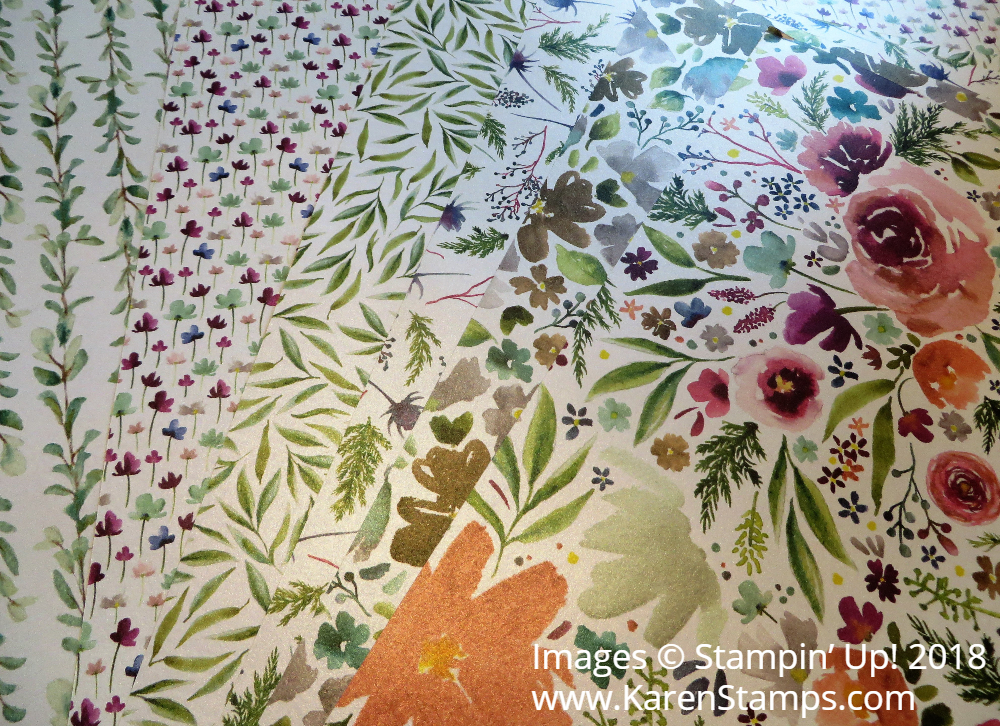
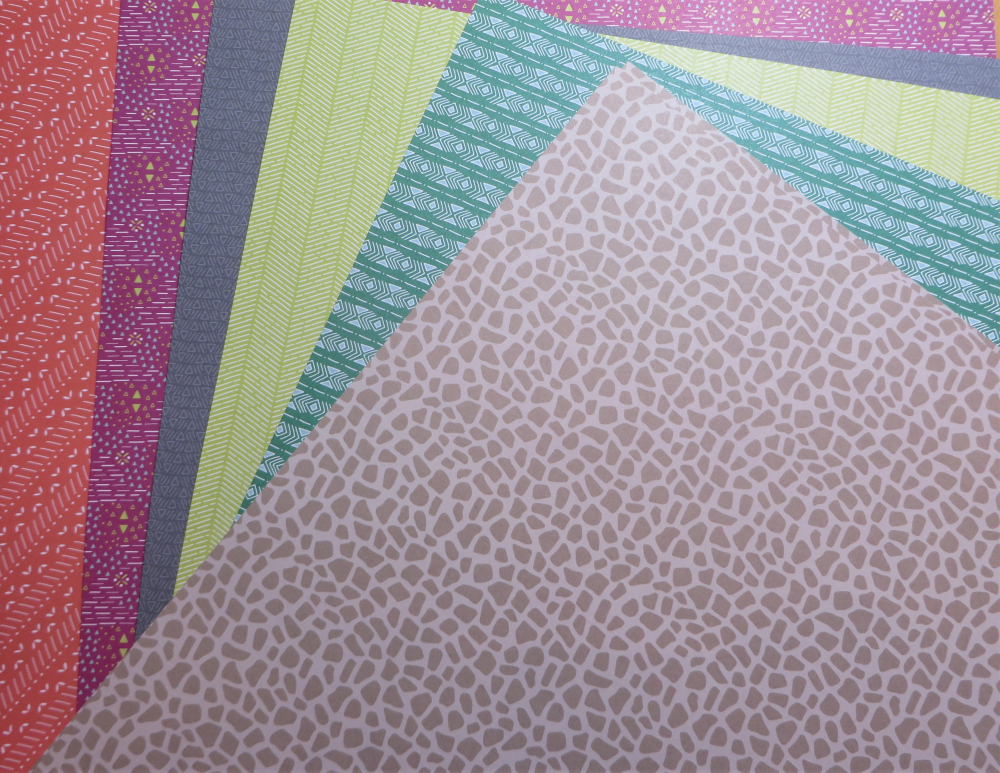
Yes, the Petal Promenade Designer Series Paper really is that beautiful! You can make easy cards with this paper because it is so pretty that it stands on its own. You don’t need to add too much embellishment or it will be too much.  I just got this paper late Friday night (where was that UPS man??!) and couldn’t wait to open the package. As I explained in THIS POSTthis paper was made from actually photographing real flowers and then turning it into designer paper by the Stampin’ Up! artists!

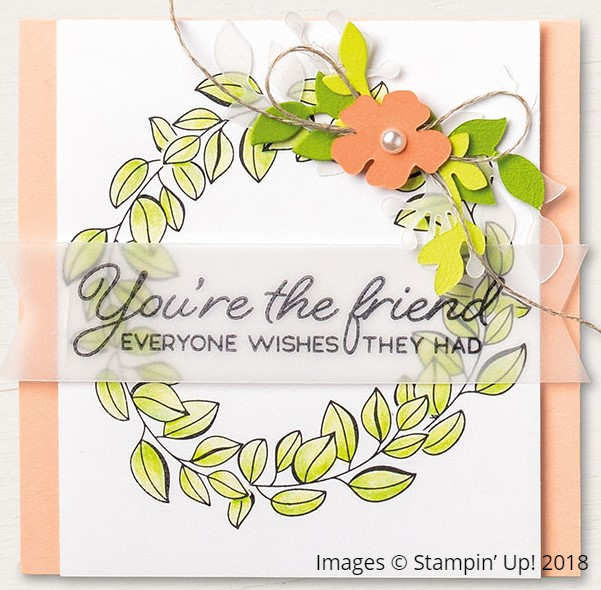
For this card, I started with a card base of Whisper White (and the Thick Whisper White Cardstock would be good to use if you have it).  I cut a piece of the designer paper and decided to layer it on a piece of Blushing Bride Cardstock, one of the many coordinating colors for this designer paper.  The greeting is stamped in Mossy Meadow Ink and layered on a strip of Blushing Bride Cardstock with a piece of the Petal Pink Metallic Ribbon (sold in a combo with Shaded Spruce).  So pretty and so easy!

Petal Promenade DSP Sheets

As pretty as this photo is, nothing does it justice other than seeing the paper in person! So if you like the pictures of the paper online and in the catalog, you can be assured you will LOVE it in person!

The best part is this paper is part of the Buy 3 Get 1 Free Designer Series Paper Sale going on now during July!  Order 3 packages of paper (the same or different) and then when you enter the 4th package the price should come up $0.00!  Let me know if you have any questions!

Don’t delay!  Go ahead and order this paper so you can start making beautiful cards and projects with it.  Try this design like my Easy Petal Promenade Card For a Friend, and get started!


Flowers in Vases Card For a Friend

Flowers in Vases For a Friend

I finally stopped the world and played with the new Varied Vases Stamp Set and matching Vases Builder Punch and made this Flowers in Vases Card For a Friend.  So many wonderful new stamp sets, paper, punches, tools, and accessories to play with after the debut of a new Stampin’ Up! Catalog! It’s hard to get around to everything!  You can even save 10% by purchasing the stamp set and punch in a Bundle.

I started with a card base of Poppy Parade, just because, and a piece of Whisper White cardstock on which to stamp the flowers and vases. As the design developed, I layered the Whisper White piece on top of So Saffron and Basic Black.

Two of the vases are stamped and then punched out, one with Coastal Cabana ink and the other with Poppy Parade ink, and the center one is just punched out of a piece of patterned paper from the Garden Impressions 6″ x 6″  Designer Series Paper. I thought that the yellow side of the paper would go with the So Saffron although the opposite side of the paper with a flowery design was also very pretty for a vase!

Rather than just stamping the flowers randomly and hoping they were placed correctly for the vases, I first stamped the vases very lightly with Gray Granite ink, stamped off once or twice. Then I stamped the flowers in Memento Black ink. After punching out the vases, I was able to adhere those right over the lightly stamped vases and the stamping didn’t show at all! Then I colored in the flowers with various Stampin’ Blends Markers.  Love those markers!

Just to “ground” the vases, I scribbled on a little shadow with the Light Smoky Slate marker.  The greeting is found in the Varied Vases Stamp Set, and I just added a couple of gold Metallic Pearls on each end.  I like the way this card turned out with no plan in mind!  I’ve seen so many pretty cards made with this Varied Vases Stamp set and coordinating punch, so there is lots of fun stamping ahead!

SHOP STAMPIN’ UP! ONLINE!

What Is the Simply Shammy?

Simply ShammyWhat is the Simply Shammy?  It may be a new product that you overlooked in the catalog or you wondered how in the world would it clean my stamps?  The Simply Shammy is a new way to clean our stamps and it works VERY well!  It starts out as this beautiful purple, unblemished!  And then you use it, and that’s it! Its pretty purpleness is ruined forever!

Simply Shammy Used

This picture is after the first time I used it. I forget what I was stamping, I think trying out new colors or something.  It’s kind of like when you get a Big Shot and die cut with it the first time and almost die when you see it has etched your brand new shiny clear cutting pad!  But that’s how it works.  Same with the Shammy.  Use it and don’t worry about it!

This is how it works:  Wet the Simply Shammy with water at your sink, getting it completely wet. Wring it out. Wipe or tap your stamp on the Shammy after stamping. That’s it!  The stamp is clean!  Stamp with the cleaned stamp on scrap paper.  You won’t see any remaining ink on the paper like we sometimes get with the Stampin’ Scrub because the pads have collected a lot of ink and when you stamp on scrap paper you can almost see a reddish brown stamp impression. (Unless you clean the pads really often! And who among us does that??!)

The Simply Shammy fits nicely in the Clear-Mount Stamp Cases so you might want to order a set of 4 of the empty cases, use one for the Shammy and use the others for something else, like paper scraps or embellishments. Or boot a very old stamp set out of its case and use that!

When you are finished stamping, be sure to leave the Shammy out so it will dry.  Do not close the stamp case unless you are coming back to it in a little while. People have said they start to smell funky if you leave them in a closed case or closed plastic bag.

When you leave the Shammy to dry, it will get hard and maybe even a little out of shape and you may think it has been ruined.  Do not fear, just take it to the sink again and wet it thoroughly (It takes a second for the water to start absorbing) and it will be good as new.

Now the ink stains will remain on the Simply Shammy, but will not transfer to your fingers or stamps. It’s just a fact of life. It will look messy and ugly after your first use.  But it cleans stamps like a gem, very easily, and like I said, the stamp don’t have that “dirty ink” on it afterward.  I have a second one on the way that I plan to cut into smaller pieces, maybe fourths, and see if I think that is handier, like perhaps wiping off a stamp on the Stamparatus.  But for general stamping at the table, the large size is good.  And you can turn it over to the other side, too!

So what about the Stampin’ Scrub??  Well, I still keep mine handy and find it quicker to use if I am just stamping one card or using just one stamp.  I can just spritz the Stampin’ Scrub quickly with the Stampin’ Mist and clean my stamp. If I am doing more stamping, then it’s easier to wet the Simply Shammy and have it on the table.  Just don’t let any of your paper or card touch the surface and get wet! (Don’t ask how I came up with that tip!)

I hope you will try the new Simply Shammy!  Put it on your next order!  I feel sure you will like it a lot!  You will find it in the new catalog on page 206 in the Accessories.

SHOP STAMPIN’ UP!

July 2018 Paper Pumpkin Kit Sneak Peek!

July 2018 Paper Pumpkin Kit Sneak Peek

Image © Stampin’ Up! 2018
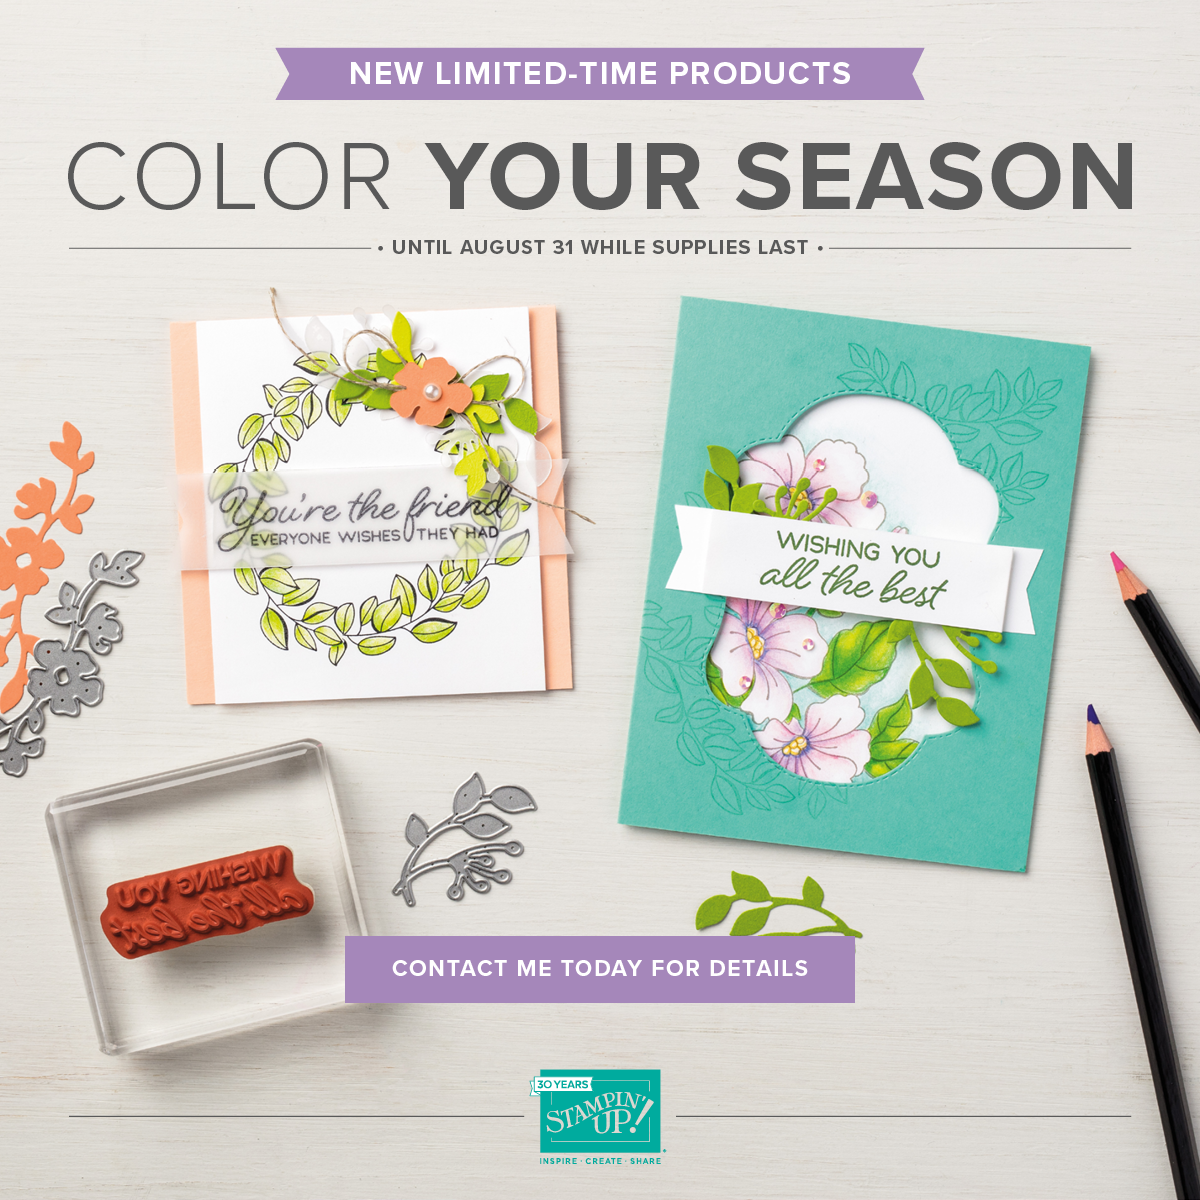
Lots of people say they would like to know what Stampin’ Up! Paper Pumpkin Kit will be showing up in their mailbox if they subscribe, so this month Stampin’ Up! is providing this July 2018 Paper Pumpkin Kit Sneak Peek!
Not much information, but a little clue!  And there will be one more reveal before July 10th!

July 10th (or the 10th of ANY month) is the magic date to remember! When you join Paper Pumpkin by the 10th of any month, you will receive that month’s kit in the mail about mid-month. Likewise, if you want to skip a month or (heaven forbid) want to cancel your subscription, just go into your account by the 10th of the month and update your account however you want.

Everything you need to make the project in the kit is included – a stamp set, an ink spot, die cut pieces, all the materials, even adhesive dots and/or dimensionals. With your very first kit as a new subscriber, you get an acrylic block on which to mount the stamps. You can make the project as described and/or make alternative projects out of the materials. Sometimes I do a few of the project as is and then make some extra alternate designs.  And you can find plenty of ideas on the internet in a couple of days after people get their kits!

If you want to receive this July 2018 Paper Pumpkin Kit, just be sure to sign up by July 10th at the link below! It goes directly to my Paper Pumpkin page so you don’t have to find my name or anything!
JOIN PAPER PUMPKIN TODAY!

4th of July Wood Crate Candy Treat Holder

4th of July Wood Crate Candy Treat Holder

It’s almost the 4th of July, and if you need a fun treat or party favor or even just a home decoration for the holiday, try this 4th of July Wood Crate Candy Treat Holder!  The Wood Crate Framelit Dies have been around for a year, so you may have them already, plus the Wood Textures Designer Series Paper Stack. And if you don’t have the paper, it’s part of the Buy 3, Get 1 Free Designer Series Paper special offer during July.

To make this crate, I used a light colored wood patterned paper in the stack.  You need to cut out two pieces to make the crate.  It goes together very easily.  Then I used the star die to cut out an assortment of stars to adhere to the front.  The word “celebrate” is from the Itty Bitty Greetings Stamp Set.  I already know this stamp set is going to get a lot of use because it has tons of greetings and sentiments in it.

As I said, there is a special offer on select designer series paper during the month of July so check out that sale and the choices HERE.

Also going on in July, if you are interested in becoming a Stampin’ Up! Demonstrator, you will DEFINITELY want to sign up during July and choose a whole set of the new Ink Pads FREE with your Starter Kit!  Just click HERE and scroll down a bit to see the information.

To finish off the 4th of July Wood Crate Candy Treat Holder, just fill up a cello bag with some candies for the holiday and tie with a ribbon!  Now you have a very cute and easy little treat for someone special!


4th of July Candy Treat Pouch

4th of July Candy Treat Pouch

If you are having a party or just want a little treat for your family or co-workers at the office, make these 4th of July Candy Treat Pouches.  They are easy to make and you can decorate them however you like! It’s really just origami in making the pouch!

I used a sheet of the In Color 2018-2020 6″ x 6″ Designer Series Paper for each pouch.  This 6″ x 6″ size makes a pretty small pouch, so if you want to put very much candy inside, you might want to use a 9″ x 9″ piece of designer paper or even cardstock. (It’s a good way to use up some of your retired designer paper if you are hoarding it for a special occasion!!) You could even make a big one at 12″ x 12″!

Fold the paper square in half to form a triangle.  Place the base of the triangle at the bottom, and fold down the top point to just about 1″ from the bottom edge. Then fold down the front layer of the point just as a guide.  Take the point on the right side and fold it over to the left side, but not all the way, so that it will fit underneath that point you folded down from the top.  Later you will fold that point down to stay, but for now, just make sure folding that point from the right will fit under it.  Then take the point on the left side and fold it over toward the right side. Now fold the front piece of that point at the top down. Tack it down with a little Snail or Glue Dot. Stick your hand inside to just poof it out a bit and it feels like everything locks in place when you do that!

For the 4th of July, I just used the patriotic colors of red, white, and blue….except the red is Lovely Lipstick and the blue is Blueberry Bushel!  To decorate my pouches, I die cut the star from the Wood Crate Framelit Dies.  I have to say Stampin’ Up! has done a good job of getting rid of our star punches and dies but I managed to find one in the Wood Crate dies as I said! Stars are SO useful I don’t know what we don’t have some good assortments that we have had in the past! The word “Celebrate” for the holiday is from the Itty Bitty Greetings Stamp Set.

For the candy, I always love decorating chocolate nuggets with designer paper. It really just takes a 1″ x 3″ (or 3 1/4″) strip to wrap around the candy.  Be sure not to get adhesive on the candy itself!!

If you saw my post from yesterday, you saw that Stampin’ Up! is having a Designer Paper Sale during July!  Select papers are Buy 3, Get 1 Free!  Check out this list to see which ones are on the sale!

SU DSP Paper Sale Options July 2018

It wouldn’t hurt to make yourself a little 4th of July Candy Treat Pouch even if you’re not having a big gathering!

Stampin’ Up! Designer Paper Special Offer For July!

Happy July!  A great way to celebrate the month of July is to take advantage of the Stampin’ Up! Designer Paper Special Offer!  

Just buy 3 packages of these select designer series papers from Stampin’ Up! and get 1 more package FREE!

Here are the papers to choose from!

SU DSP Paper Sale Options July 2018

Click to View Chart!

You will find these designer series papers on pages 188-191 of the new Stampin’ Up! Catalog. Remember, even if you only like a certain paper a little bit, it will be 10X better in person!  There’s no way the photographs of the paper can look as good as they do in real life! That’s what everyone says if they see the paper I have in person compared to what they see in the catalog!

Check out all the Designer Papers Online HERE!

Here are the details:

  • Dates: July 1-31, 2018
  • Only Designer Series Papers listed in the table below qualify for this promotion. You may mix and match papers from any of the listed papers.
  • There are no ordering limits on this promotion.
  • Designer Series Paper ordered with Stampin’ Rewards is not eligible for the promotion.
  • This promotion does not apply to Starter Kits.
  • In Online ordering, when three qualifying Designer Series Paper packs are entered, a prompt to add a free Designer Series Paper will appear in the merchandising section.
  • In the online store, if a customer orders four packages of the same qualifying Designer Series Paper, they will need to enter three together and then order the fourth free item separately.
  • Ordering deadlines:
    Online : July 31, 2018; 11:50 PM (MT)

Check out the papers here!  Just click on each one!

Just think about all the projects you could make with more designer series paper and cardstock!  Don’t wait until the end of the month!  Order as soon as possible so you can get stamping!  Make a list and then place your order for the Stampin’ Up! Designer Series Paper for July!

SHOP STAMPIN’ UP! ONLINE TODAY!

New Stampin’ Blends Colors Are Here!

Stampin Blends Banner

The Stampin’ Blends alcohol markers in the new colors have arrived in the Stampin’ Up! Online Store!  Yesterday afternoon they quietly slipped in there and word started to spread! Now all the Stampin’ Blends are in stock!  If you recall, the original colors of Stampin’ Blends sold out and it took Stampin’ Up! some time to restock.  But ALL the colors are back right now!

Pictured above are the newest colors added to the line.  You will find them all on page 205 in the catalog.  You can also purchase each marker separately, but I think you really will want the two markers in the Combo Packs so you can blend the light and the dark. There is no price difference if you buy them separately or in the Combo pack.  There is no big collection of all colors, so if you want to save typing time, order the Combos!

These markers are really wonderful to color with,  I can tell you from personal experience!  I love to sit down and color with these markers. If you like to color with markers, I would say these are better, in some ways, than the Stampin’ Write markers because they are not as dark and solid as some of the Stampin’ Write markers. But of course, I love the Stampin’ Write markers for coloring with the lighter colors and for many other techniques.

Stampin Blends Catalog Photo

Check out the new Stampin’ Blends colors.  You can click on the photos above in this blog post OR search in the Online Store for “blends” OR look under “Ink” category and then click on the Stampin’ Blends photo.

Shop Stampin’ Up! Online For All the Stampin’ Blends!

Stained Glass Coloring Birthday Card

Stained Glass Coloring Birthday Card

One of the most interesting and beautiful products in the new Stampin’ Up! Catalog has to be this Graceful Glass Designer Vellum with which I made this Stained Glass Coloring Birthday Card. It’s a stack of 6″ x 6″ vellum printed with stained glass images that you can then color in various ways.  You get 2 each of 12 different designs.  I have seen so many pretty cards made with this paper.

For my first attempt, I simply colored on the top side of the paper with the Stampin’ Blends markers.  I had no plan, really, just colored in as I went along.  Even the “dark” Stampin’ Blends markers color pretty lightly on this vellum, so you can go back over it if you want to make it darker.  If you adhere a piece of Whisper White cardstock behind the vellum, it will brighten up the colors of the markers.  You can also experiment with other colors of cardstock to put behind the stained glass for different effects.  You can also color with the Stampin’ Write markers but you might want to color on the back side of the vellum so the colors will not be too strong.  Just experiment and see.

I debated which green I wanted to use for the card base but settled on the Lemon Lime Twist Cardstock to just go ahead and make a bright card!  After adhering the vellum to a piece of Whisper White the same size for a backing, I layered that on a piece of Daffodil Delight.  But then I thought maybe it could use a layer of Basic Black so I added that.

In order to adhere the vellum to anything, make a small puddle of Multipurpose Liquid Glue either on the Silicone Craft Sheet or a piece of plastic or wax paper, and sponge the glue onto the paper, lightly.  This will not show through the vellum like almost any other adhesive will do.

The greeting is from the coordinating stamp set, Painted Glass Stamp Set. The stamps have that old style that goes with the stained glass look!  There are also Stained Glass Thinlits Dies if you would like to add that dimension.

I can’t wait to do a little more coloring with the various papers in the Graceful Glass Vellum package!

Shop Online at Stampin’ Up!

4th of July Patriotic Wreath Card with Swirly Scribbles

4th of July Patriotic Wreath Card with Swirly Scribbles

It’s hard to believe the 4th of July is coming up next week, but it is, so here is a card, 4th of July Wreath Card with Swirly Scribbles, to celebrate the holiday!  I said the other day that you didn’t need a “4th of July” stamp set to make 4th of July cards and projects and this is an example!  I’ve always seen cards with wreaths made with the circular die cuts from the Swirly Scribbles Thinlits Dies, so I got the idea to make a patriotic wreath out of that piece.

The card base is made with Lovely Lipstick Cardstock and embossed with the Sparkle Textured Impressions Embossing Folder for a little texture and interest. The Oh My Stars folder would also be a good one to use.

I actually die cut two wreaths and used the In Color 2018-2020 6″ x 6″ Designer Series Paper. I chose one of the Blueberry Bushel patterns. I cut two wreaths but the bottom layer uses the striped blue and white side and the top wreath shows the polka dot wreath.  I thought using two circles (wreaths) added a little more dimension to the wreath.

Then I stamped small flowers from the Swirly Bird Photopolymer Stamp Set, die cut a few and cut out a few by hand with Paper Snips!  Some flowers are popped up on Min Dimesionals.  The ribbon is used to make a double bow on the wreath. It’s the Whisper White 1/8″ Sheer Ribbon.  For a little pizzazz, I added a few silver stars from the Metallic Enamel Shapes (retired).

The greeting is stamped from the Itty Bitty Greetings Stamp Set and cut out with the Classic Label Punch, accented with two small Rhinestone Jewels.  This stamp set takes the place of Teeny Tiny Wishes, one set that I loved and used A LOT!  I can see using the Itty Bitty Greetings set A LOT also!  I think everyone should have it in their collection.

Check HERE for another patriotic card for the 4th of July I made with the Swirly Scribbles dies!

Have fun making some patriotic cards or cute projects for the 4th of July!  Remember, this is the last week in June and next Wednesday is the 4th of July!! Use this 4th of July Patriotic Wreath Card with Swirly Scribbles for your inspiration!

SHOP STAMPIN’ UP! ONLINE!


Broadway Bound Birthday Card With a Surprise Inside!

Broadway Bound Birthday Card

This is a fun card to make, a Broadway Bound Birthday Card with a surprise inside! From the outside, it looks like an ordinary card like we make all the time. I started seeing these cards around the internet and wrongly assumed how they were made.

Take a look at the inside of the card first:Broadway Bound Birthday Card Surprise Inside

Now you might, and I did, assume that there is a card base of Basic Black, with a panel of designer paper on the front and another panel of designer paper on the inside of the card, adhered to the full inside of the back of the front card base.  Well, it’s not!

I did start with a card base of Basic Black as usual. But the different step is to cut off 3 1/4″ of the front of the card base, leaving a 1″ strip for the card front instead! This way when you adhere the piece of designer series paper to the remaining portion of the card front, you will be showcasing both sides of the designer paper because when the recipient opens the card, they will see the opposite side of the designer paper!  Now if you did it the other way, adhering a piece of designer paper to the front of the card and adhering another piece of designer paper showing the other side to the inside of the card, this saves weight!  And it’s just something a little different!

Check out the pieces shown in the photo below.  I added a 1/2″ x 5 1/2″ strip of Gold Foil to put a little divider and accent on the front of the card.  When you adhere the designer paper to the card front, be sure to line up the designer paper with the corner and edges of the back side of the card base rather than the fold on the front of the card. (The gold strip in the photo is just laying on the black cardstock, it is not the proper placement.)

Broadway Bound Birthday Card Assembly

For this card, I used the Broadway Bound Designer Series Paper in the new catalog. It’s a little difficult to photograph because of the gold foil accents, but the paper is very pretty and fancy!  It will make lots of great birthday and other cards.

To complete my card, I stamped a greeting from the Picture Perfect Birthday Photopolymer Stamp Set. It is then die cut with the Stitched Shapes Framelits Dies and then layered on a Gold Foil  Scalloped Circle die.

Try this different way to make a card to use and appreciate our beautiful designer series paper. Something fun and different!

SHOP STAMPIN’ UP! ONLINE HERE!

Paper Pumpkin June 2018 Kit Broadway Bound Cards to Make

Paper Pumpkin June 2018 Kit Cards

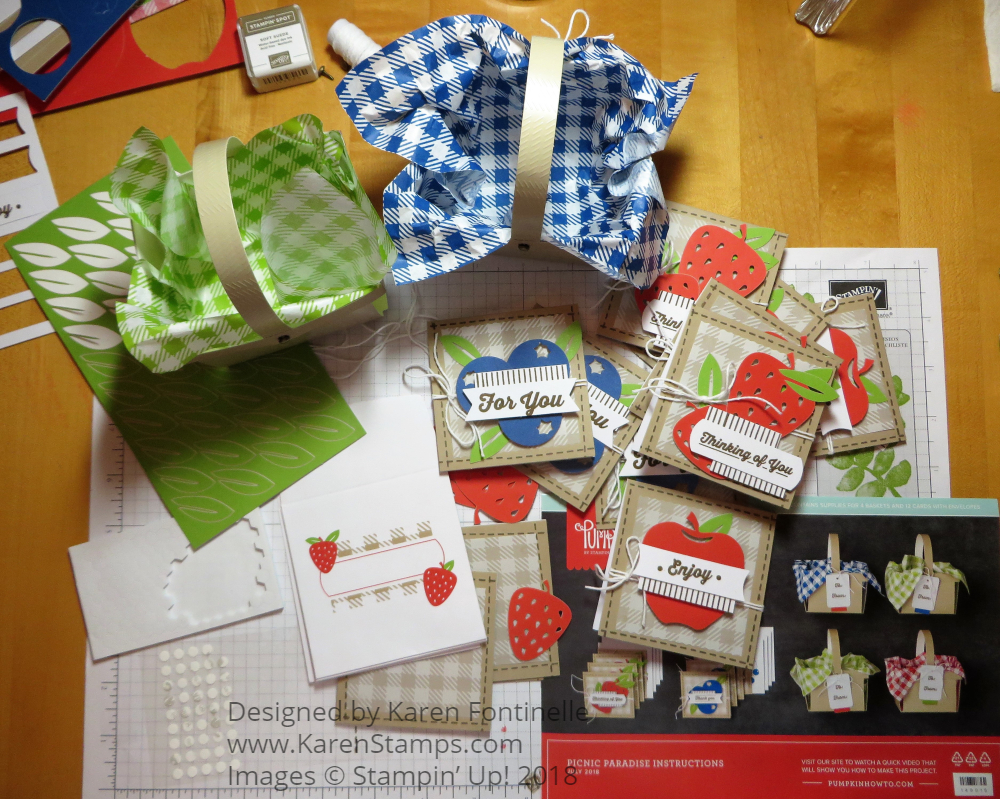
These are the two designs of cards found in the Paper Pumpkin June 2018 Kit that coordinate with the Broadway Bound Suite. This kit is such a bright and happy card kit using the new In Color Lovely Lipstick and the bright Lemon Lime Twist.  If you aren’t a Paper Pumpkin subscriber, then you have missed out! Sometimes there are extra kits available that Stampin’ Up! puts in the Online Store that are available only to subscribers. So even though you are past the deadline for subscribing to Paper Pumpkin for the June Kit, you could sign up now and be ready for the July 2018 kit and possibly be able to order the June Kit or refill (without the stamp set or ink spot)!

Paper Pumpkin is the paper crafting kit that comes in the mail to you every month with a new project inside with all the supplies and directions. Probably the majority of the kits are to make cards, but other kits might be something else!  We’ve had gift bags, party favors, holiday decorations, treat holders, home decor, mini album…..always something fun!! And almost always a surprise!  I say why not treat yourself to Paper Pumpkin once a month?!

JOIN PAPER PUMPKIN HERE!

Today I made half of the cards in the kit exactly as the design indicated.  I usually like to make some as designed and then save some to make alternate designs. If I don’t think them up myself, I can always find other ideas online! Everyone likes to share!

Everything is included in the kit, even adhesives!  There are little glue dots on a small sheet and dimensionals if needed.  The only thing I needed to add was scissors to cut the twine and trim the greeting.  With your very first kit you will receive a special acrylic block on which to mount the stamps that come with the kit.  These are usually pretty cute and useful little stamp sets exclusive to the Paper Pumpkin kits that you can use in many other of your stamping projects!

You also get an ink spot in every kit to use so no worries about not having the correct ink color!  As a bonus, now that we have the Stamparatus, you might find these ink spots that you get in the kits are easy to use with the Stamparatus. With certain stamps and situations, it is easier to ink up the stamp on the Stamparatus with a small ink spot than a big ink pad.

A special thing about this Paper Pumpkin Kit in June is that it coordinates with the Broadway Bound Suite in the new Stampin’ Up! catalog. This means that you can use the products in the suite to continue making cards and projects similar to the Paper Pumpkin Kit…or even use both together!

Watch this Stampin’ Up! Paper Pumpkin video to see how cute this June Kit is!

You can join Paper Pumpkin today and be all set for the July Kit if you wish!  You do have to sign up by the 10th of any month to get that month’s kit.  Likewise, you can cancel or skip a month if you designate that in your account by the 10th of any month.