Monthly Archives: September 2013

Sign Up for the Stamping with Karen “12 Weeks of Christmas”!

12 Weeks of Christmas Logo

Images copyright Stampin’ Up! My Digital Studio 2013

It’s that time of year again!  Time for my 12 Weeks of Christmas! What is the 12 Weeks of Christmas?? It’s a free gift for my Mailing List Subscribers! Each week, starting THIS week, subscribers will receive an email containing a project idea for a holiday card, gift, tag or wrapping, along with all the directions to make it! These emails are ONLY for my Mailing List Subscribers so if you haven’t signed up to be on my list, please do it today!

If you are already on my mailing list, no worries!  You are IN!  You don’t need to do anything! But if you have a friend who also might enjoy weekly holiday projects, just have them sign up too!

Getting these 12 Weeks of Christmas emails is really fun so I hope you will join us! I try to choose projects that I think you will enjoy and can make easily. We’ll start with ideas for Christmas cards for several weeks, then progress to gift ideas, and finally something to wrap them in, box them up in, or cute tags to make for your gifts.

These projects will not be on my blog or my Facebook page, so the only way you can get them is via my email list! I appreciate those who sign up for my mailing list and this is something special only for them. So if you have been visiting my blog, please sign up in the Mailing List Sign-Up Box in the upper right corner of my blog!

***Remember, when you do sign up you DO have to CONFIRM your subscription (just good email practice) so watch your email for a few minutes and see if that comes through.  Open and click on the link inside to confirm your subscription which gives us permission to send emails to you.  Be sure to complete this step so you will officially be on my list!

Go ahead! Sign up now! Only 48 hours until the first email goes out!

If you would like to share this news with your friends, hover over and click on the Facebook icon below or any of the social sharing buttons.

Last Few Days! Butterfly Bundle Ends September 30!

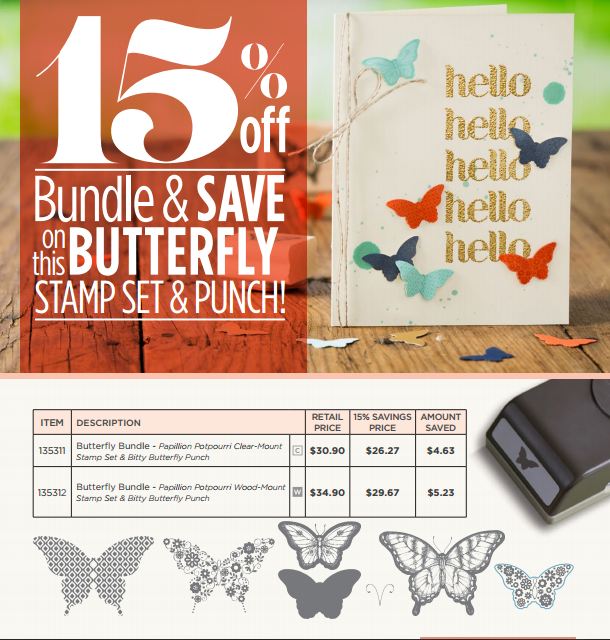
Butterfly Bundle Photo

This special offer ends Monday, September 30, 2013 so be sure to get your order in by Monday or before if you are interested.  You get the Papillion Potpourri stamp set plus the Bitty Butterfly Punch for a savings of 15% in the special Butterfly Bundle

Special Note:  The new Stampin’ Up! Envelope Punch Board has been so popular that it will probably go on backorder soon. Stampin’ Up! has more on the way, but if you want to be sure to have yours soon, you probably should order it right away.  It’s not even just for making envelopes! Some really creative people have already discovered several ways to use it to make things that are NOT envelopes!

Visit my Stampin’ Up! Online Store today so you won’t be disappointed!

Stampin’ Up! Everyday Occasions Cardmaking Kit for You!

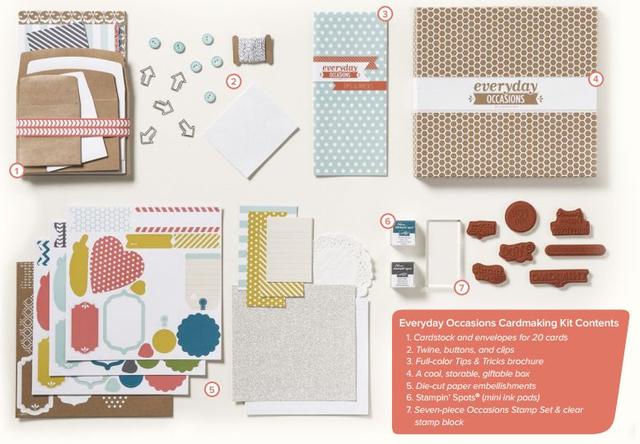
Everyday Occasions Cardmaking Kit Contents

The Everyday Occasions Cardmaking Kit is a new offering from Stampin’ Up! It’s designed for the new stamper or cardmaker. The kit contains everything necessary except adhesive and scissors to make 20 beautiful cards for almost any occasions. But there’s no reason why anybody couldn’t benefit from this kit. Sometimes we need a card in a hurry, so wouldn’t it be nice to have a selection of cards at hand rather than have to load up the kids and make a trip to the store?

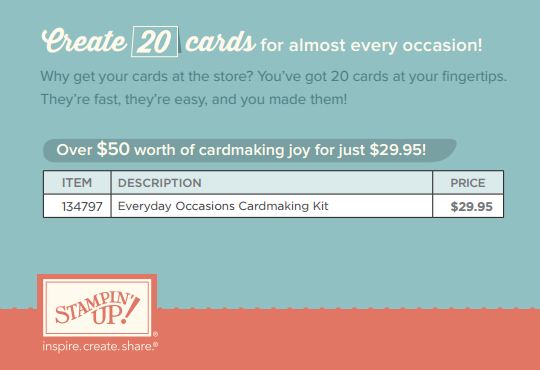
You’ll find the Everyday Occasions Cardmaking Kit under “Kits” in my Stampin’ Up! Online Store. Or just write #134797 on your order.

Everyday Occasions Cardmaking Kit Info


Magnificent Maple Card for Thanksgiving

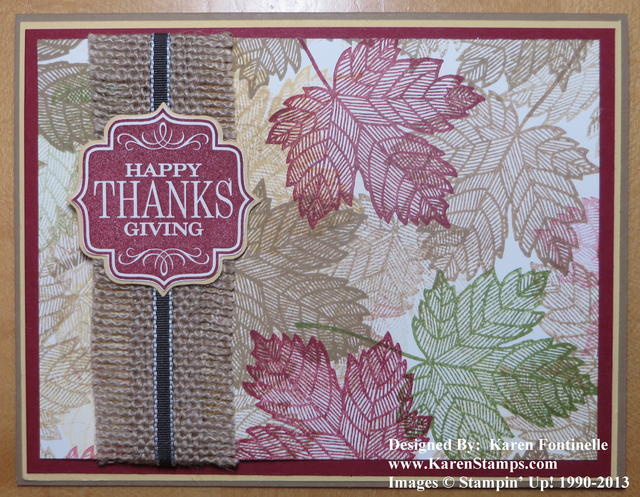
Magnificent Maple Leaf Thanksgiving Card

The Magnificent Maple stamp is great for you to use for fall cards and projects, and of course it is great to use for a Thanksgiving card. Here is another card you could make with the random stamping of the Magnificent Maple stamp all over your paper in different colors, sometimes known as a “one sheet wonder” because you stamp all over one sheet of card stock and then cut up the paper for individual projects.

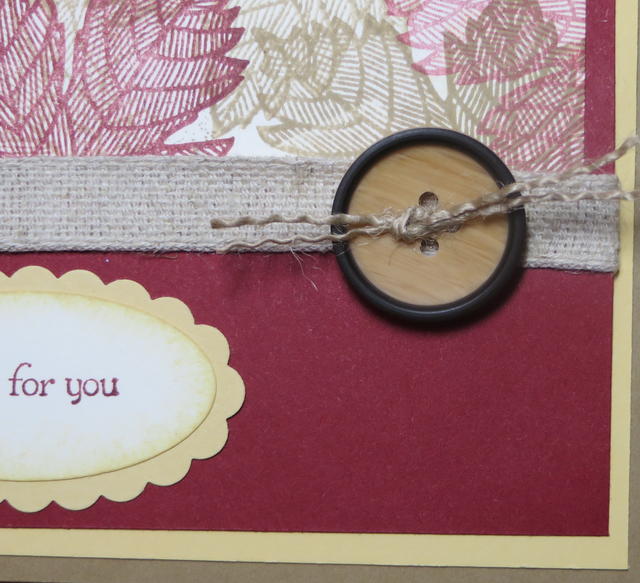
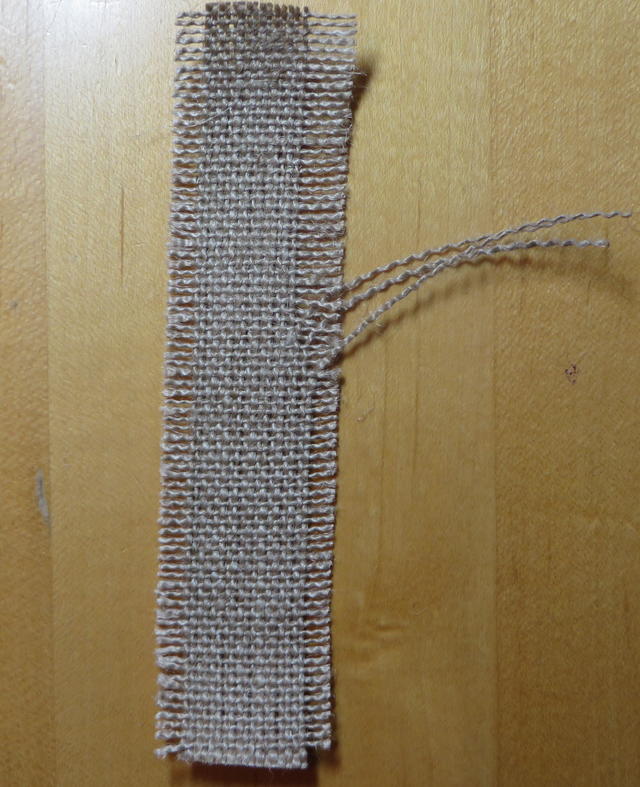
I used the Stampin’ Up! 1 1/4″ Burlap Ribbon in the Holiday Catalog on this card with a piece of 1/8″ Early Espresso Taffeta Ribbon down the center.  The Burlap Ribbon is actually frayed on each side, which doesn’t show very well in the photograph. Just pull off the binding on the edge and then pull off several threads from each side. It’s very easy to do. Burlap is quite trendy right now!

The Thanksgiving greeting is from the stamp set Tags 4 You. You get five stamps for four occasions:  Thanksgiving, Halloween, Christmas and Valentine’s Day, plus a little to and from stamp if you are making labels. There is a matching punch, the Label Bracket Punch that fits these stamps perfectly!  In fact, you can save 15% by purchasing the Tags 4 You BundleThe stamp set is available in wood- or clear-mount.

Here is a punch tip: The Label Bracket Punch only comes in one size, of course, but if you want to layer it, as I did on this card, you can use your Paper Snips to cut around the stamped image to make it smaller and then layer it on top of the punch in another color. Cutting something like that is much easier with the small Paper Snips rather than a regular scissors.

*************************************************

If you are reading this blog post and haven’t ever signed up for my Mailing List, do it today! On Monday I will tell you about something special I will be doing ONLY for my mailing list subscribers! You won’t find the same thing on my blog posts or Facebook page, it only goes to my Mailing List Subscribers. It’s fun and I got lots of nice comments about it last year. This year I want YOU to be included!  SIGN UP  now!

Looking for a New Halloween Stamp Set?

Bite Me Photopolymer StampsBite Me Photopolymer Stamp Set for Halloween

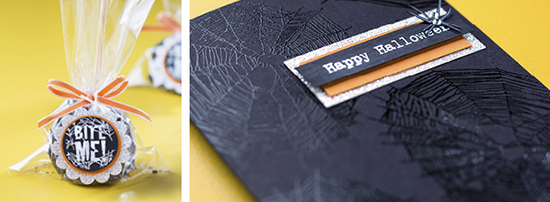
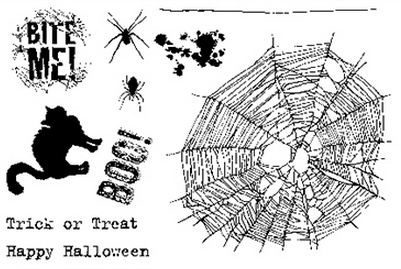
A new photopolymer stamp set was released by Stampin’ Up! just in time for Halloween! It’s called “Bite Me” and has a spooky spider web, a black cat, and of course spiders! You also get some splotches and some Halloween greetings for your handmade Halloween cards and other projects.

You’ll find it in my Stampin’ Up! Online Store HERE.

You can learn more about Photopolymer Stamps by watching this video with Brandi from the Stampin’ Up! Home Office!


Join Us! Sign Up for My Mailing List!

Christmas MailboxToday I am working on a Christmas project for my Twelve Weeks of Christmas special newsletter that will start coming out soon. I’ll give you the details later but if you are reading this, be sure you are on my Mailing List so you will get this special edition of my newsletter in the twelve weeks leading up to Christmas!  (Hard to believe, I know!)

Just fill out the information in the Mailing List Sign-Up Box on the right and get your free gift! Within a few minutes you will receive a confirmation email which you MUST open, read, and click the link to CONFIRM that we have your permission to send you our newsletter.  You’ve undoubtedly done this for other company emails.  If you don’t receive that email, either try signing up again, check your Spam folder and your multiple Gmail folders, or let me know and I’ll try to help!  Some people are signing up in the box but not confirming and that doesn’t get you anywhere.  But as in all things “computer”, we know there are sometimes glitches! So let me know if you have any problems!

Sign up now and receive my October newsletter next week and you’ll be all ready for the Twelve Weeks of Christmas newsletters with a new holiday idea every week!

Magnificent Maple Card for Fall

Magnificent Maple One Sheet Wonder Card

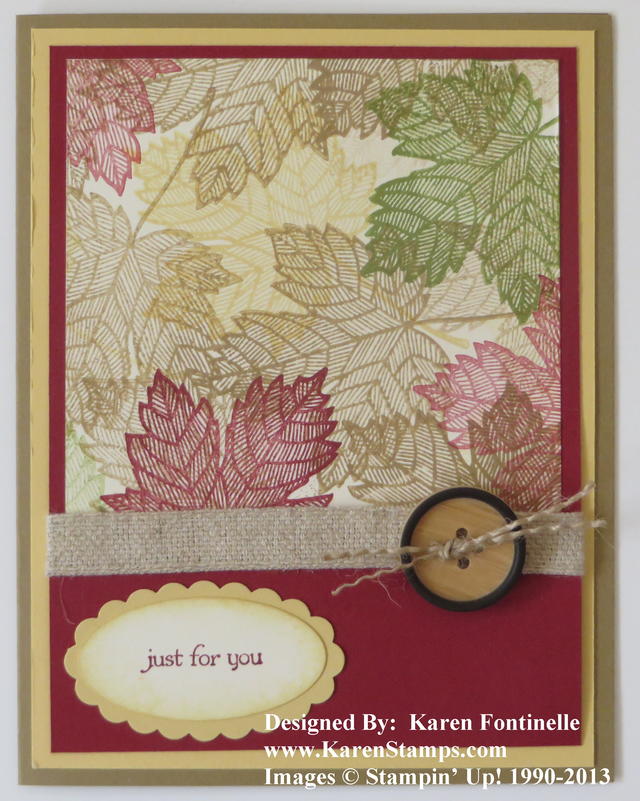
If you saw my post here about one sheet wonder stamping, this is one of the two cards I made with the scrap of Very Vanilla I decided to stamp randomly with the Magnificent Maple stamp. I inked up the stamp and stamped it on the Very Vanilla, then without reinking stamped it again in a different spot on the paper. Turn your stamp in different positions, even off the edge of the paper, even just stamping a tiny bit of the stamp on the edge of the paper. It doesn’t matter if you stamp over another image, it’s just random stamping.

I love the strip of Natural Trim Ribbon! It goes so perfectly with fall colors and with the Naturals Designer ButtonsIn another post the other day I showed you how I frayed the new Burlap Ribbon and used some of the threads to tie on the button.  The greeting, as it often is, is from the stamp set Teeny Tiny Wishes.

I can’t believe that the beginning of fall finally came and it actually is feeling a little like fall here in Houston!  I think the Magnificent Maple stamp is just beautiful to use on your fall and Thanksgiving projects.

What stamp do you have that you could use for a one sheet wonder project?

Magnificent Maple One Sheet Wonder Random Stamping

Magnificent Maple Leaf Card One Sheet Wonder Stamping

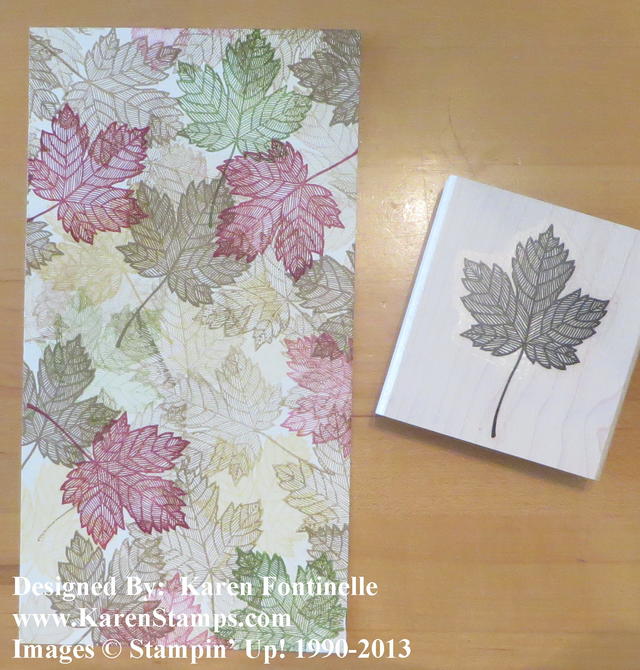
The Magnificent Maple single stamp is just perfect for fall stamping projects, and perfect for today, the first day of fall. This is one way creativity starts:  I picked up a scrap of Very Vanilla card stock and used the “One Sheet Wonder” technique of random stamping all over the paper. I inked up the maple leaf stamp and stamped on the paper and then continued stamping without reinking on the same paper. Then I changed to a different color ink and did the same thing. The colors I used were Baked Brown Sugar, So Saffron, and Cherry Cobbler. You could even just use one color and with the “stamping off” without reinking you would still get an interesting background.

To make cards or use on a project, just cut the stamped paper into pieces of whatever size you want. There are templates out there for cutting a full sheet of paper and making a mulitude of cards, but all you have to do is cut the sizes you want.

You will find this stamp, ink and paper in my Stampin’ Up! Online Store here!

The Magnificent Maple stamp really is a magnificent design, I think, and will make many beautiful projects for fall or any season in your paper crafts.This is a technique you can use to make your own patterned paper or decorative paper that you can then use in making greeting cards using the pieces or decoratively on scrapbook pages. Take some time to get out your basic card making supplies: paper, ink and stamps and go to town!  You might be surprised at what you come up with! Trying the rubber stamping one sheet wonder technique would be a good way to enjoy the first day of fall while you watch your favorite football game!

Using the Stampin’ Up! Burlap Ribbon By Fraying

Using frayed Burlap Ribbon on Naturals Designer Button

Here’s one fun way to use the Stampin’ Up! 1 1/4″ Burlap Ribbon in the Holiday Catalog on page 18. Burlap is quite the “in thing” right now so it is nice that we have burlap ribbon to play with on our projects! One thing you can do with it is rip off the edges of the ribbon and then continue fraying the edge, maybe on both sides.  Use the frayed threads to tie on your project.  On this one, I have use it to tie through a Naturals Designer Button on my card.  Just adds another bit of texture and a natural look to your card or project!

Fraying Burlap Ribbon

It’s time to start making those fall projects!  At least I hope it will be fall soon here!

Birthday Beer Stein Card

Birthday Beer Stein

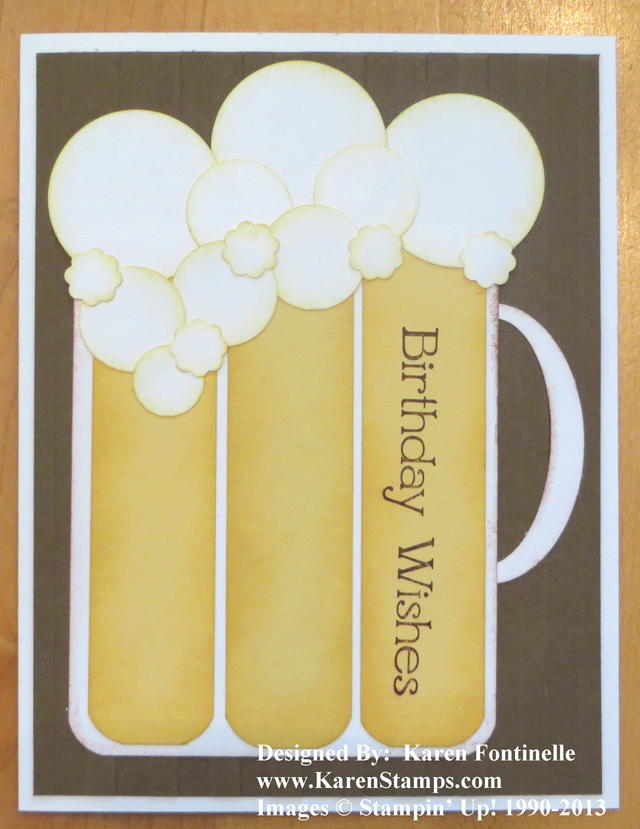
Yesterday was my husband’s birthday so of course I launched a search for masculine cards and found this birthday beer stein card idea on Pinterest. I copied it exactly except for the greeting. There are other versions similar to this but this one was made by a demonstrator named Tammy.

You’ll need a piece of Whisper White for the card base and Soft Suede for the layer. Mine is embossed with the Stripes Embossing Folder (hard to see in this photo!) but you could use something different or leave it plain.  The beer stein is a piece of 3″x 3 3/4″ Whisper White with the bottom corners rounded (you can use the new Envelope Punch Board!) with three strips of So Saffron 7/8″ x 3 1/2″, again with the bottom edges rounded.  I stamped the greeting from the stamp set Four You.  Everything is sponged with a little bit of ink around the edges on the card.

Then for the “punch art” part!  Make the beer foam bubbles with three circles from the 1 1/4″ Circle Punch, five circles from the 3/4″ Circle Punch, one circle from the 1/2″ Circle Punch and five scallops from the little scallop punch in the Itty Bitty Shapes Punch Pack.  That’s what I used but you could certainly use lots of other things to make the bubbles, such as other scallop punches or circle sizes.  The beer stein handle is the Large Oval Punch, then punched over with the Extra-Large Oval Punch.

It’s fun to make your own birthday cards for your friends and loved ones!   When you make handmade birthday cards, you can personalize the cards for that person.  My husband might not be a big beer drinker, but what he really likes is to pick out assorted different beers to try, in stores where you can do that. So while I saw lots of masculine card ideas and birthday card ideas I easily could have used for him, I thought the birthday beer stein card idea was one he would enjoy! I think it is important to send happy birthday wishes to people, especially after enjoying my own best birthday ever!

Need any Stampin’ Up! supplies?  Please come shop at my Online Store!

New Photopolymer Stamps for Travel Projects

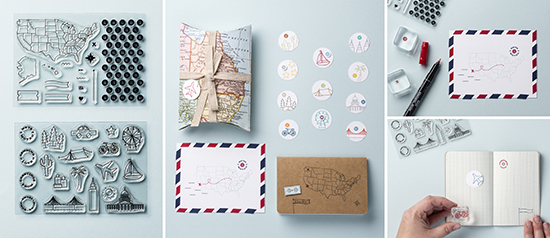
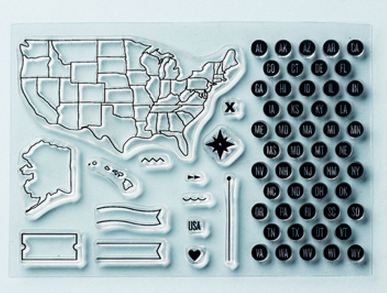
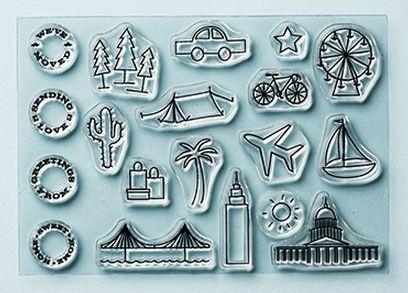
Travel Photopolymer setsStampin’ Up! just released two new photopolymer stamp sets (photopolymer-what??) for your stamping pleasure! They are Map It Out and Greetings From. They both have travel themes so will be great for scrapbooking your summer (or fall) travels…..and of course they’re not “just” for travel!  And not just for scrapbooking!

Photopolymer are the stamps that are clear themselves and go on the clear blocks so you can see right through them when you stamp.  They’re very sticky so they work well on the blocks.

At Convention last summer, Shannon West showed on stage how she makes cards in My Digital Studio ahead of her trip with a map or states on the front and shows her travel, and then she sends them out.  Now you can use these new stamps of the USA map to do something similar.

Map It Out Photopolymer Stamp Set

Map It Out Photopolymer Stamp Set #134620

Greetings From Photopolymer Stamp Set

Greetings From Photopolymer Stamp Set #134621

Check out the PDFs for the sets for more information:

You’ll find these two sets in my Stampin’ Up! Online Store.

Watch this video for an overview about Photopolymer Stamps!


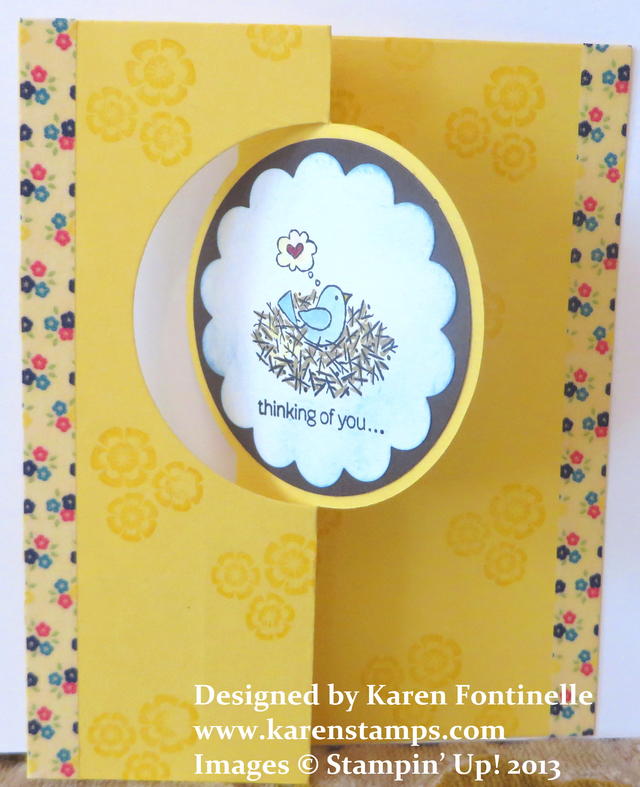
For the Birds Circle Thinlits Card

Thinking of You Circle Thinlits Card with For the Birds

As I’ve said before, I really LOVE the new Circle Card Thinlits Die! I just made this easy card using it and the stamp set  For the Birds, one of those good, all-purpose stamp sets. I used some flowers from the Betsy’s Blossoms stamp set to add some interest to the plain card stock and on the greeting on the inside. I also added some Gingham Garden Washi Tape along the edges of the card.  Washi tape is so much fun and easy to use!  Just tear it off and then trim it with your Paper Snips.  I even pulled one piece off and tried a different Washi tape and then decided to stick with the flowery one and put it back on.  It’s repositionable!  The Early Espresso circle is punched with the 2 1/2″ Circle Punch, a perfect fit for the circle on this card. The stamped image is cut out with the scallop circle that comes with the Thinlits Die.  That’s another great thing with the Thinlits Dies is that they both come with extra elements to use in your designs!

Be sure to watch the Stampin’ Up! video about using the Thinlits Dies on the store page!

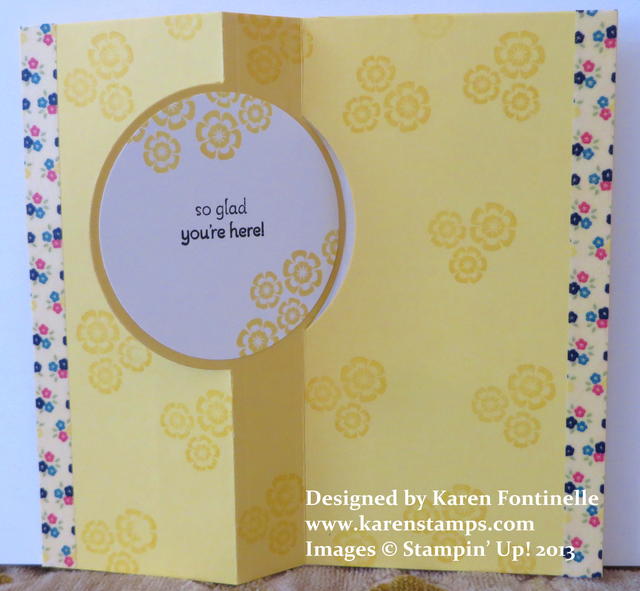
Here is the inside of the card!

For the Birds Circle Thinlits Card

The most difficult thing about this type of card is photographing it! Since it doesn’t lay perfectly flat it comes out looking odd-shaped and standing it up also makes for an odd angle.  But I assure you you will enjoy using either one of the thinlits designs. I will warn you, it will make a HORRIBLE noise going through your Big Shot!  But that is normal.

Oh, and in case you need a Big Shot, be sure to order one of those too.  Another decision you won’t regret!!

Carryover Stampin’ Up! Stamp Sets for the Holidays

Just a reminder that there are several stamp sets for the holidays that are available for purchase that are not shown in the Stampin’ Up! catalog. For the first time, there are no holiday stamp sets available in the annual catalog, but these six stamp sets are still available during the 2013-14 catalog year. They are available in the Stampin’ Up! Online Store or through your demonstrator (like me!). Of course these stamp sets are available in wood- or clear-mount.

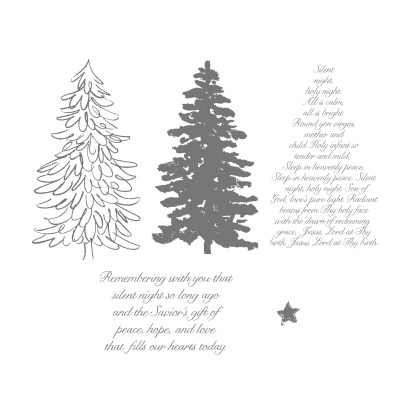
Evergreen Stamp Set

Evergreen Stamp Set

Click to go to Online Store

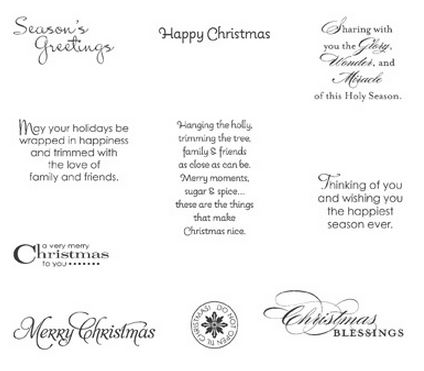
Greetings of the Season

Greetings of the Season Stamp Set

Click to go to Online Store.

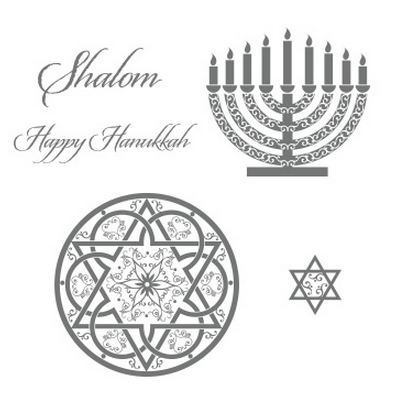
Jewish Celebrations Stamp Set

Jewish Celebrations Stamp Set

Click to go to Online Store.

More Merry Messages Stamp Set

More Merry Messages Stamp Set

Cick to go to Online Store.

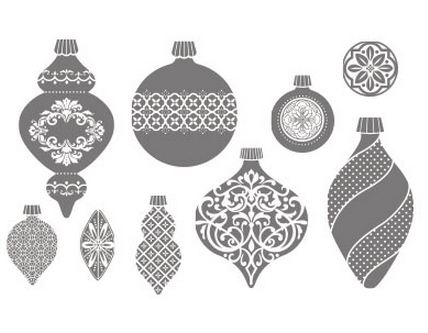
Ornament Keepsakes Stamp Set

Ornament Keepsakes Stamp Set

Click to go to Online Store.

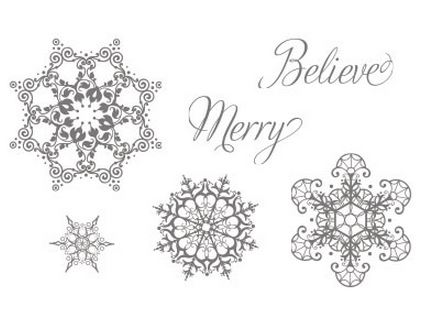
Snowflake Soiree Stamp Set

Snowflake Soiree Stamp Set

Click to go to Online Store.

These holiday stamp sets really add to your choices for your holiday cards and projects besides what stamp sets and products are in the Stampin’ Up! Holiday Catalog. I don’t know about you, but I like to know all my choices when I am shopping for anything (which is sometimes a curse!!). So I just wanted to remind you of these past stamp sets that are still available this catalog year.

Whatever you need, you will find in my Stampin’ Up! Online Store!  Or feel free to ask if you have any questions!


Artisan Label Punch with Butterflies Card

Butterfly Card

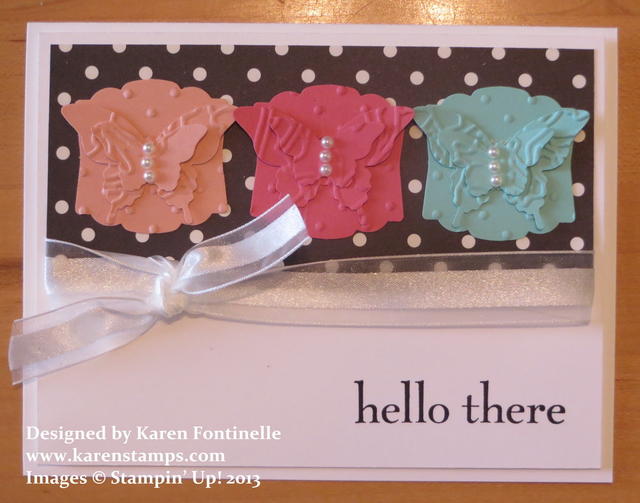
I wanted to play with the Bitty Butterfly Punch included in the Butterfly Bundle Special going on during September and this is the butterfly card I came up with using the Artisan Label Punch as a background for each butterfly. If you don’t already own the Elegant Butterfly Punch I would suggest getting that also in addition to the Butterfly Bundle.  Then you can layer the two butterfly sizes.  The paper is the Modern Medley Designer Series Paper.  The greeting is from the Happy Day stamp set.

To make it less plain, I embossed the Artisan Design Punch pieces with the Perfect Polka Dots Embossing Folder and the butterflies with the Flower Garden Embossing Folder. And I even added some Basic Pearls Jewels for the butterfly body and some Whisper White 5/8″ Organza Ribbon.

The Butterfly Bundle Special is available through September 30, 2013. If you need any Stampin’ Up! supplies, you can always get them here in my Online Store.

Friday the 13th Black Cat Card Idea

Friday the 13th Black Cat Card Idea

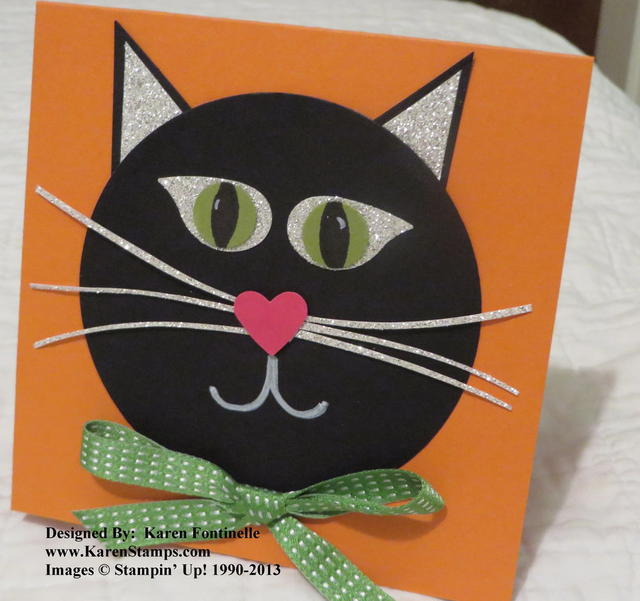
When I realized today was Friday the 13th, I came up with this black cat card idea. The cat face is cut with a Circle Framelit, the eyes with the wing on the Bird Punch. That black ear I punched with the  1″ Square Punch and then cut that square in half diagonally to make the triangle shape. Then I punched a piece of Silver Glimmer Paper in a square, cut the square in half on a diagonal, and then trimmed down the triangles so they would fit on the black.

For the eyeballs, I punched a 1/2″ Circle  of Old Olive and colored in the pupil with a black marker.

The whiskers are just cut by hand from Silver Glimmer Paper and stuck on the back of the Small Heart Punch for the nose.  The mouth is just drawn on with the new White Chalk MarkerI’m afraid people may have overlooked the Chalk Marker in the Holiday Catalog. I’ve found it very useful and think you should check it out on page 20, top right, of the Holiday Catalog. I also used it to draw the little glimmer in the cat eyes.

Do you have any Friday the 13th superstitions?  Why is Friday the 13th lucky?  My one grandfather was born on a Friday the 13th so he always considered it lucky!  My mother’s aunt considered the number 13 unlucky, so if there were already twelve people seated at the dinner table, she wouldn’t sit down. I don’t know if Friday the 13th is always unlucky, but I think my black cat turned out kind of fun looking so hopefully it will be a lucky day!