Monthly Archives: September 2013

New Items on the Stampin’ Up! Clearance Rack

Shop the Stampin' Up! Clearance Rack

Stampin’ Up! has added new items to the Clearance Rack! You know how clearance racks go…some things go fast, so I can’t tell you what will be available when you shop!  But check it out! Remember to “View ALL” for easiest viewing.

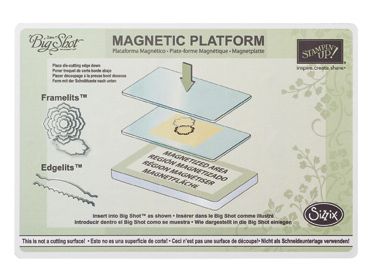
Stampin' Up! Magnetic Platform

Good news!  The Magnetic Platform to use with the Big Shot  is now available again from Stampin’ Up! It’s the handy-dandy device to use with Framelits and Edgelits, to hold them in place on the paper you want to cut, especially when you have stamped an image and want the Framelit positioned perfectly over that image as it runs through the Big Shot.

Just go to my Online Store and put #130658 on your order!  Don’t wait too long; I expect these are going to be very popular after a long wait for a new shipment.  Just add it to your Clearance Rack order!

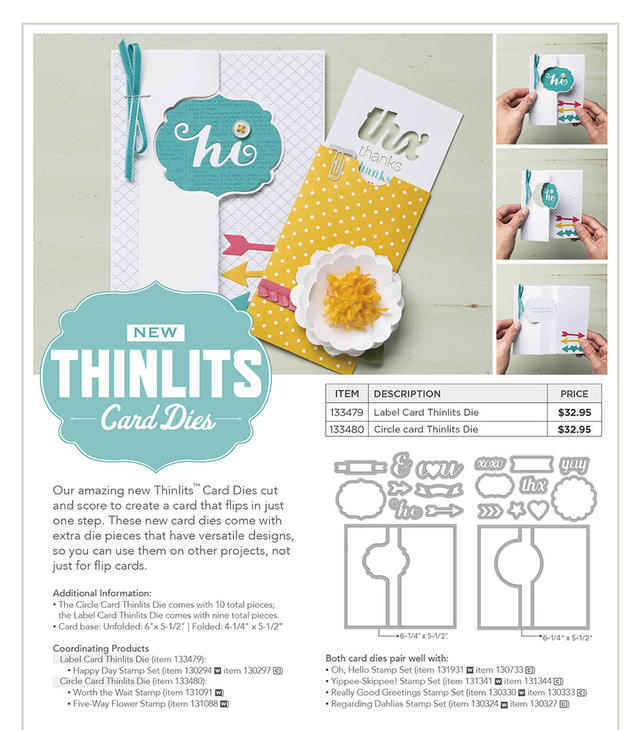
And while you are at it, I would highly recommend one of the new Thinlits Dies!  They make really fun cards and are easy to do!

New Stampin' Up! Thinlits Dies

I could also mention the new Envelope Punch Board and the Butterfly Bundle special during September.  But you’ll see them all at my Stampin’ Up! Online Store!  Let me know if you have any questions!

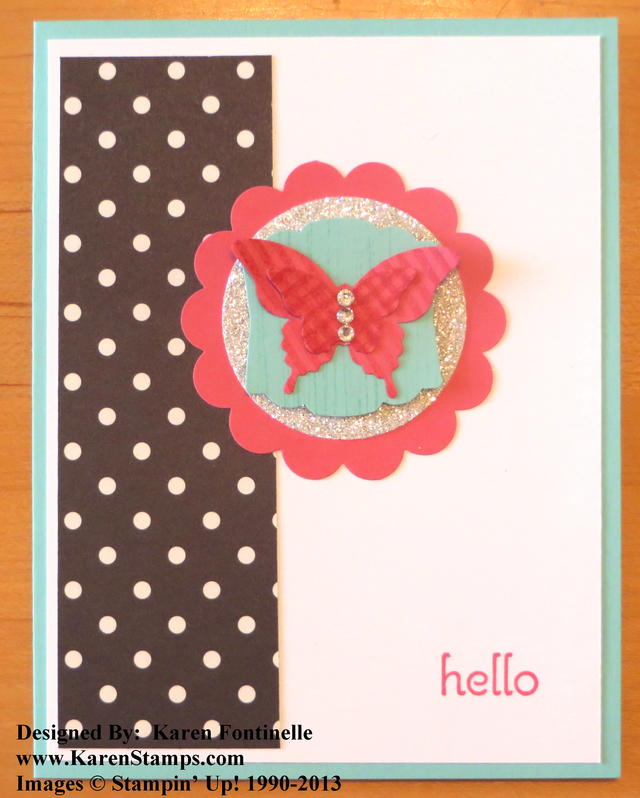
Modern Medley Bitty Butterfly Card

Modern Medley Bitty Butterfly Card

I was working on some cards with the Bitty Butterfly Punch, included in the Stampin’ Up! Butterfly Bundle  during the month of September. The Butterfly Bundle includes

* Papillon Potpourri Clear-mount stamp set and
* Bitty Butterfly Punch

Save 15% by purchasing the Bundle!

For this card, I used a piece of the Modern Medley Designer Series Paper layered on Whisper White on a card base of Coastal Cabana.  The butterfly is mounted on a piece of Coastal Cabana punched with the Artisan Label Punch. I very lightly stamped it with the lines from the Gorgeous Grunge Stamp SetIt just adds a tiny bit of something to the background. Then that punch is layered on a piece of Silver Glimmer Paper on top of a  2 3/8″ Scallop Circle Punch  in Strawberry Slush.

The butterflies are punched with the Bitty Butterfly Punch as well as the larger Elegant Butterfly Punch. I stamped both butterflies with the stamp from Gorgeous Grunge that has the diagonal lines in one direction. I only stamped that once on the Elegant Butterfly.  But on the Bitty Butterfly I stamped the diagonal lines once and for the second time stamped the lines perpendicularly and that made the crossed diagonal lines!  I love how it looks! And a few Rhinestone Jewels add a little bling to the butterfly!  The greeting is from the stamp set A Dozen Thoughts.

Today, as we all remember September 11th, perhaps we should each make a card for someone and send it. It can be to a loved one, to a friend, a neighbor, a teacher, a child, anyone. The act of making the card and sending it will make you feel good today to express your feelings to someone or just to say “hello” or “I’m thinking of you!”. And imagine the good feeling THEY will have in a day or two or three when they receive it as a surprise in their mailbox.

Check out the Butterfly Bundle from Stampin’ Up! today in my Stampin’ Up! Online Store. You’ll find that Bitty Butterfly Punch rather useful as well as the beautiful butterfly stamp set. You can put it on your order tomorrow with the newly available Magnetic Platform, which goes back on sale September 12th.

Amazing New Downloads Today for My Digital Studio!

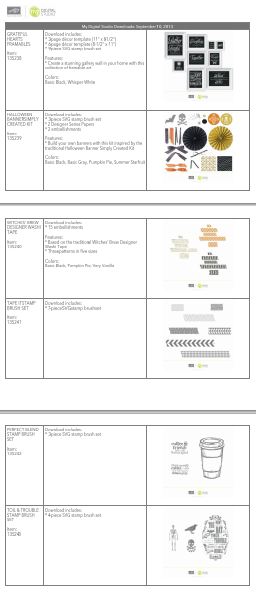
Wow! If you ask me, I think Stampin’ Up! has hit the jackpot today with their new weekly downloads for My Digital Studio!  There are several Halloween downloads, the BURLAP RIBBON, the cute coffee cup stamp brush set, “Perfect Blend“, washi tape, and MORE! One amazing download, Simply Life Photo Templates, is a bunch of divided pages that you can put in an album, using digital images plus traditional elements. Check out the blog post from a Stampin’ Up! concept artist, Arika, showing how she used these elements for her trip scrapbook.

My Digital Studio downloads Sept 10 2013

Click to Enlarge

You can find all these new downloads and previous ones at my Stampin’ Up! Online Store HEREYou don’t pay shipping on MDS downloads and you have instant access to them!  Isn’t that great?! Go check them out now!


Teddy Bear Baby Card on Teddy Bear Day

Teddy Bear Punch Art Baby Card

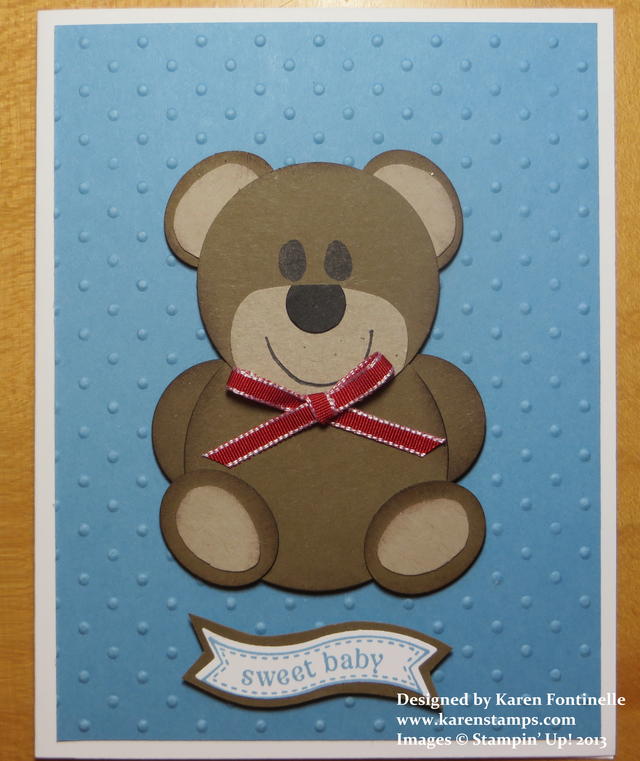
Today is Teddy Bear Day so here is a Teddy Bear punch art baby card. Teddy bears are named after President Theodore “Teddy” Roosevelt.  The name supposedly came after a 1902 hunting expedition where Roosevelt was offered the opportunity to shoot a young bear but refused.  A cartoonist illustrated the incident and the larger bear was later redrawn as a cuddly cub. The whole story became famous and a toymaker brought out a cute stuffed bear and named it “Teddy’s Bear”. The teddy bear, of course, has become a staple with babies and children and even adult collectors.

My teddy bear is made with some punches, but also some hand-cutting was involved! Actually, I also used some of the new Circle Framelits.  It’s good to sponge the edges of the pieces with ink before you assemble so that they stand out more. My bear is made with Soft Suede and Crumb Cake card stock and adhered to a layer of Marina Mist on a Whisper White card base. The Marina Mist is embossed with the popular Perfect Polka Dots Embossing Folder.

Do you have a favorite teddy bear?  Get it out today and celebrate Teddy Bear Day!

Make a Halloween Card with Scraps!

Halloween Card with Paper Scraps

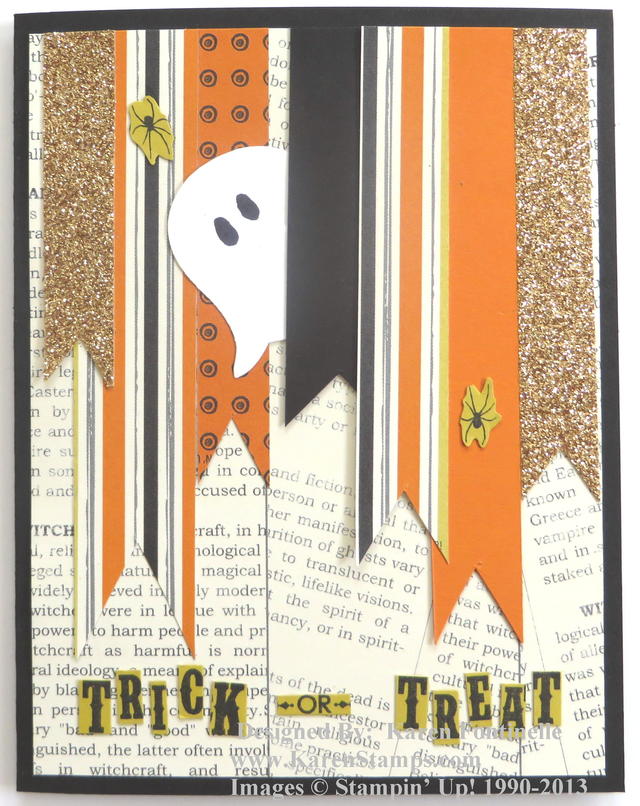
This Halloween card was primarily made with scraps after I had made another Halloween card! The background is a piece of the Witches’ Brew Designer Series Paper and the banners are scraps of the same designer paper, card stock, and the Champagne Glimmer Paper.  It was all just laying their on my table anyway!  I punched the ghost with the Owl Punch, cut off the feet, and turned it upside down.  I thought it would be funny for the ghost to be peeking out from the banners!

For the greeting, I stamped the Tags 4 You Trick or Treat image on Summer Starfruit card stock. And then I cut each letter apart with my Paper Snips!  I like the way it looks on this card!  And on that tag were two little spiders, so I cut out around those two spiders also….not super crazy but just around them.  For just using scraps, I like the look of this card.

Click on the link to go to my Stampin’ Up! Online Store if you need some Halloween paper and stamps!  The time is getting close!  You can view the Holiday Catalog items in the store or view the catalog HERE.

Simply Created Spooky Halloween Banner

Spooky Halloween Banner

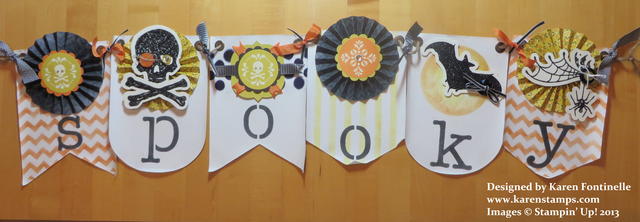
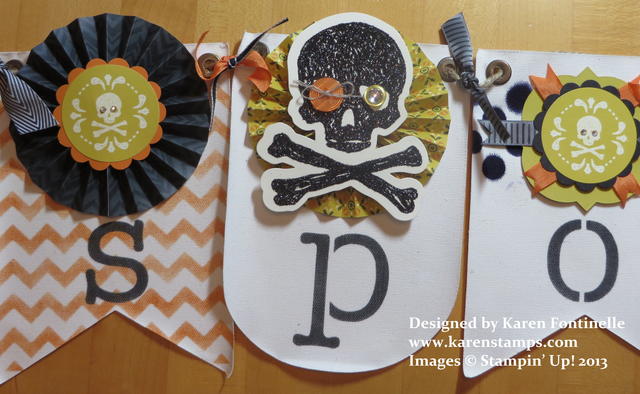
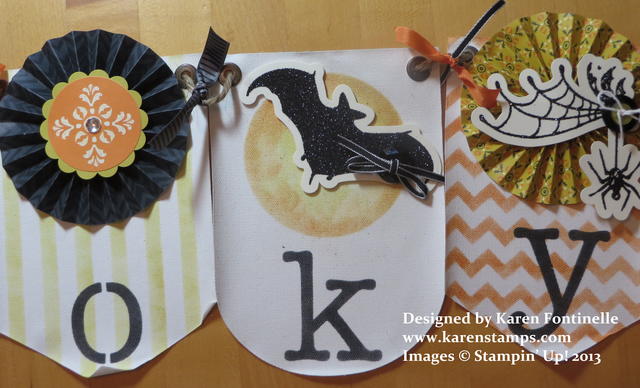
One thing I easily passed up in the Holiday Catalog  was this Build a Banner Simply Created Kit.  But after seeing several banners created at the Stampin Up! Convention this summer, it was one of the first things to go on my next order!  The Build a Banner Kit has the canvas pennants with grommets and all the stencils.  All you need to do is decorate it!  To make that easy for you, purchase the Halloween Banner Simply Created Accessory Kit and you’ll have everything you need!

I found it worked well to use Sponge Daubers to dab on the ink from the ink pad over the stencils onto the pennants.  Most videos show using alcohol and reinkers sprayed on (lightly!) with the Spritzers, but some people were having trouble with that, and it just seemed easier and cleaner to use the sponge daubers.  I think the Black Stazon works better than the Basic Black, although then you have to scrub that Stazon off the stencil!

This might look like a complicated project, but I really found it pretty simple and quick.  I could have made two more rosettes on my own, but I mostly stuck with what came in the kit, although I used my own modifications a little bit.

Put these supplies to make a Halloween banner on your next order!  I’m sure you will enjoy making one!

Here are some close-ups!  You can use your own imagination and decorate yours how you like.

Spooky Halloween Banner close-up

Spooky Halloween Banner Close-up end

Please order your supplies on my Stampin’ Up! website HERE or contact me with your order.

A Fun Spider Card for Halloween

Fun Spider on Halloween Card

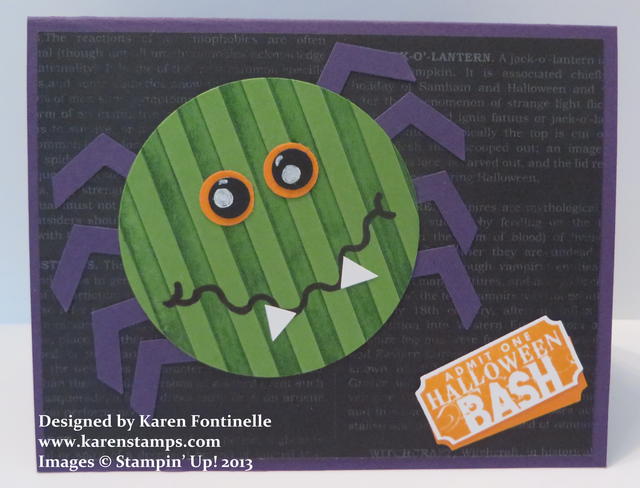
You never know where creative inspiration will come from! I got an email advertising Halloween gifts. The designs on the items were so cute, and I thought, “I could make a card using that idea!” So here is a fun Halloween spider card!

The Halloween spider is made by cutting a Gumball Green circle with one of the Circle Framelits.  In order to get the stripes, I used a technique I’ve seen a million times but hadn’t tried myself. Before I embossed the circle with the Stripes Textured Impressions Embossing FolderI inked the inside stripes of the embossing folder with a darker green color, Garden Green. That made some of the stripes colored! It looked really neat when I took it out of the folder!  For the eyes, I punched two Pumpkin Pie circles and smaller Basic Black circles and colored in the whites with the Signo Gel Pen.  I hand-drew the squigly mouth with a black marker and just hand-cut two little triangles for his teeth. Do you know what the legs are?  They are punched from the new Chevron Border Punch!

The card base is Elegant Eggplant layered with a piece of the new Witches’ Brew Designer Series Paper.  For a little greeting I used a stamp from the Halloween Bash stamp set and punched out with the Ticket Duo Punch.  You could use this stamp and this card as a Halloween party invitation!  Since the card is such a dark color, I put a Whisper White layer on the inside and stamped with a another greeting from the same Halloween Bash stamp set.

It’s fun to spot something cute that you know you can duplicate or at least copy to some extent with your stamps, ink, and paper.  Keep your eyes open for ideas in unusual places for papercrafting inspiration!

About My Digital Studio Digital Papercrafting

Every week Stampin’ Up! comes out with new downloads for My Digital Studio.  And this week is no different!  But if you are not familiar with My Digital Studio, I thought I would post this Stampin’ Up! video with Holly Linford describing the kinds of projects you can make with this digital papercrafting program. It’s not just about scrapbooking! But it certainly CAN be about scrapbooking! Let’s get those photos out of the box or off the computer or phone and put them where you can enjoy them!

http://youtu.be/XwgoEx_mn1Q

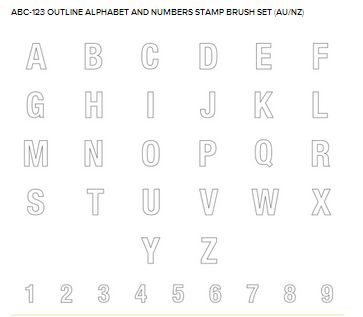
And here are the new Stampin’ Up! downloads for My Digital Studio! View them all below or view on this PDF HERE. Shop for all these downloads and more HERE in my Stampin’ Up! Online Store.  You can add any MDS downloads to any order you have.  You don’t pay shipping on downloads and you have immediate access to them!

MDS Outline Alphabet

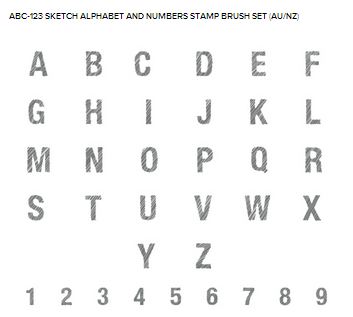
MDS Sketch Alphabet

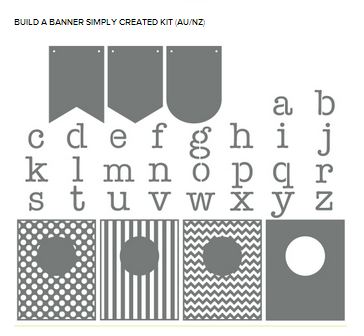
MDS Banner


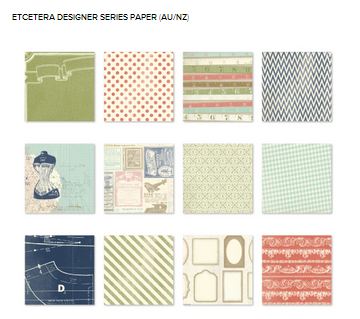
MDS Etcetera DSP

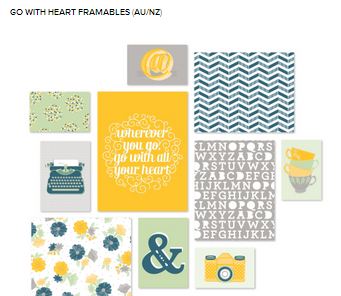
MDS Go With Heart Frameables

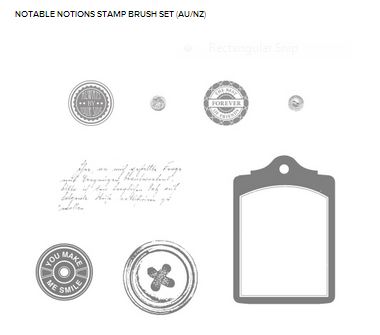
MDS Notable Notions

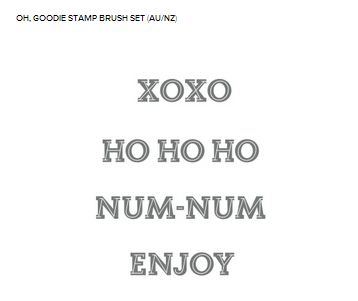
MDS Oh,Goodie

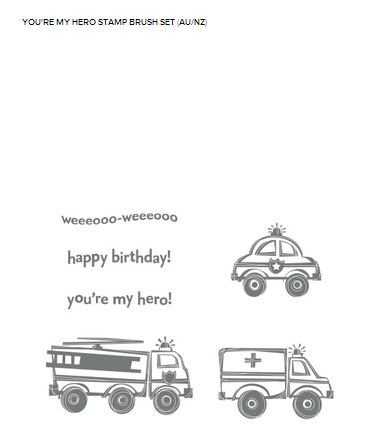
MDS You're My Hero


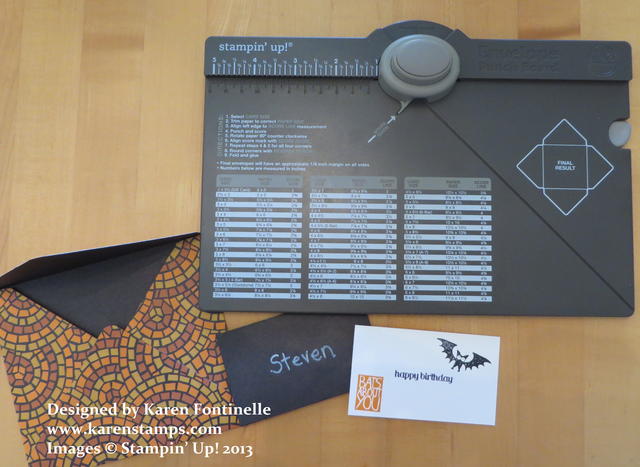
Trying Out the New Envelope Punch Board

Stampin' Up! Envelope Punch Board

Stampin’ Up! has introduced the Envelope Punch Board to customers and it’s a must have! You can make your own envelopes to fit your custom cards, up to 66 different sizes!

I tried mine out with some retired Halloween designer series paper. I’m probably the only person who couldn’t follow the directions correctly so I was glad I wasn’t using my new paper! The chart they printed on the front of the board shows the size of paper you need to cut for the size card you have made and the measurement of where you start with scoring your paper.  My mistake was I continued to put the paper at that measurement on all four sides, which was wrong!  You just do it the first time and after that you line your paper up with the line that juts out from the bottom left of that top punch button.  It’s very easy.  Line up your paper in the right place and punch that button. It will make the shape you see on the right of the punch board.  Then just fold on the score lines and you have an envelope!

You may need to trim the point of the top or bottom flap.  If you like it rounded, there is a built-in rounder in the top part of that punch button on the board.  Or you can trim it with your scissors or fold it over….whatever works for your size envelope.

The first envelope I made is for a regular size card.  The second one is the smallest one you can make. I used the same paper but put the black color on the outside.  That envelope actually fits a gift card, but since I have a son with a birthday the day before Halloween, I made a little greeting card to put inside!  I used the new stamp set Halloween Hello in the Holiday Catalog for the images on the card plus the birthday greeting from Itty Bitty Banners.

You may have overlooked it in the Holiday Catalog, but there is a White Stampin’ Chalk Marker  that is so fun to use on dark or black paper! You can see I used to write my son’s name on the envelope since it would show up so well on the black!  I spent hours and hours as a girl writing on my blackboard in the basement and playing school so I LOVE anything related to chalk!!

Once you fold your envelope on the score lines just use some adhesive, being careful to put it so that it just holds the envelope flaps together and not the inside of the envelope!

This new tool is really fun to use.  I bet you won’t be able to make just ONE envelope with the new Envelope Punch Board! Put it on your order today at my Stampin’ Up! Online Store!


Make Coordinating Envelopes for Your Beautiful Cards

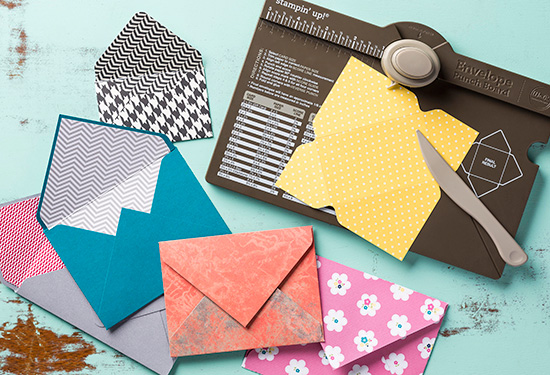
Stampin' Up! Envelope Punch BoardNow you can make coordinating envelopes to go with the beautiful stamped cards you make with the new Stampin’ Up! Envelope Punch Board! This was introduced at the Stampin’ Up! Convention in July and met with plenty of interest and excitement by those of us who were there! Now, starting today, it is finally available to everyone!

  • It creates totally customizable envelopes in up to 66 different sizes. (Not to mention a million different color and pattern options depending on the paper you want to use). Even tried and true envelope sizes will only take you moments to create!
  • It’s super easy to use. It looks intimidating at first glance, but all you have to do is measure for the first punch and from there you just turn and score.
  • It’s small and lightweight. It’s super portable and easy to store. It’s small and light enough that you could use it while watching a soccer match, at a park, at a friend’s for craft night-anywhere.
  • It even has a slick scoring tool as well as a punch that lets you create rounded corners on your envelopes.
  • It’s easy to keep it all together. The stylus storage compartment and two punches are designed into the tool so you don’t have a bunch of little pieces to keep track of (even the instructions are printed right on the tool so you won’t lose them!).
  • The price is terrific-especially for a tool that does so much!  Item #133774  $19.95
  • It will be in next year’s annual catalog, so it’s here to stay.

You can order the Envelope Punch Board now at my Stampin’ Up! Online Store or contact me with your order!  You won’t want to wait long!

Watch the Stampin’ Up! video below as Brian Pilling demonstrates how easy it is to use the new Envelope Punch Board!