
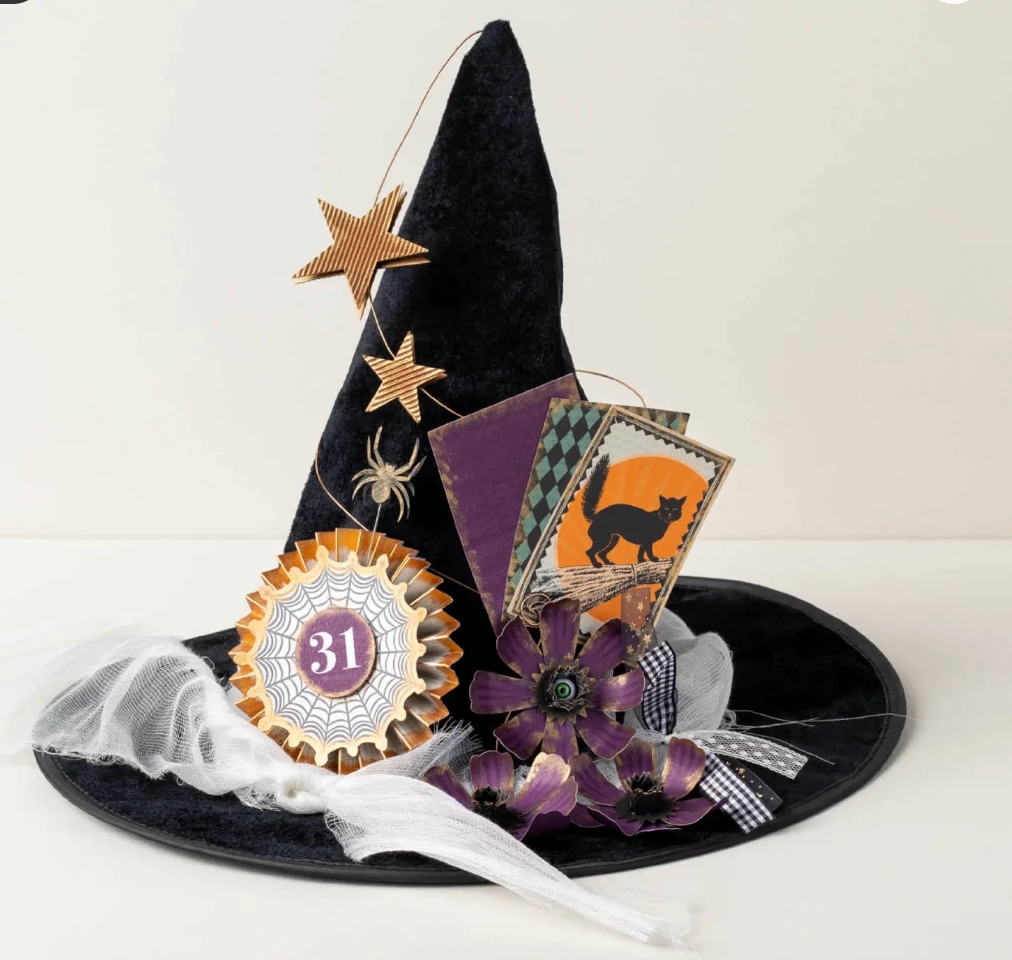
Here is the Witchy Whimsy Hat Kit in the Stampin’ Up! Kits Collection, just released in September 2026. I love almost all things Halloween so this witch hat kit really caught my eye! Years ago Stampin’ Up! had a witch hat kit of some kind that I bought and made and still put out at Halloween. It has a garland of fall leaves wrapped around the base of the hat. But we had to make the hat first! With this kit, a real witch velvety hat is included in the supplies. After you take it out of its little plastic bag, don’t expect to fold it back up and put it back in the bag! At least I could not! But it is a great hat! This Kit is a little involved to make so give yourself a block of time and enjoy working on it. I will give you some of the steps in photos below. If you are short on time, just plan to get all the pieces prepared and then another time you can adhere everything on to the hat.
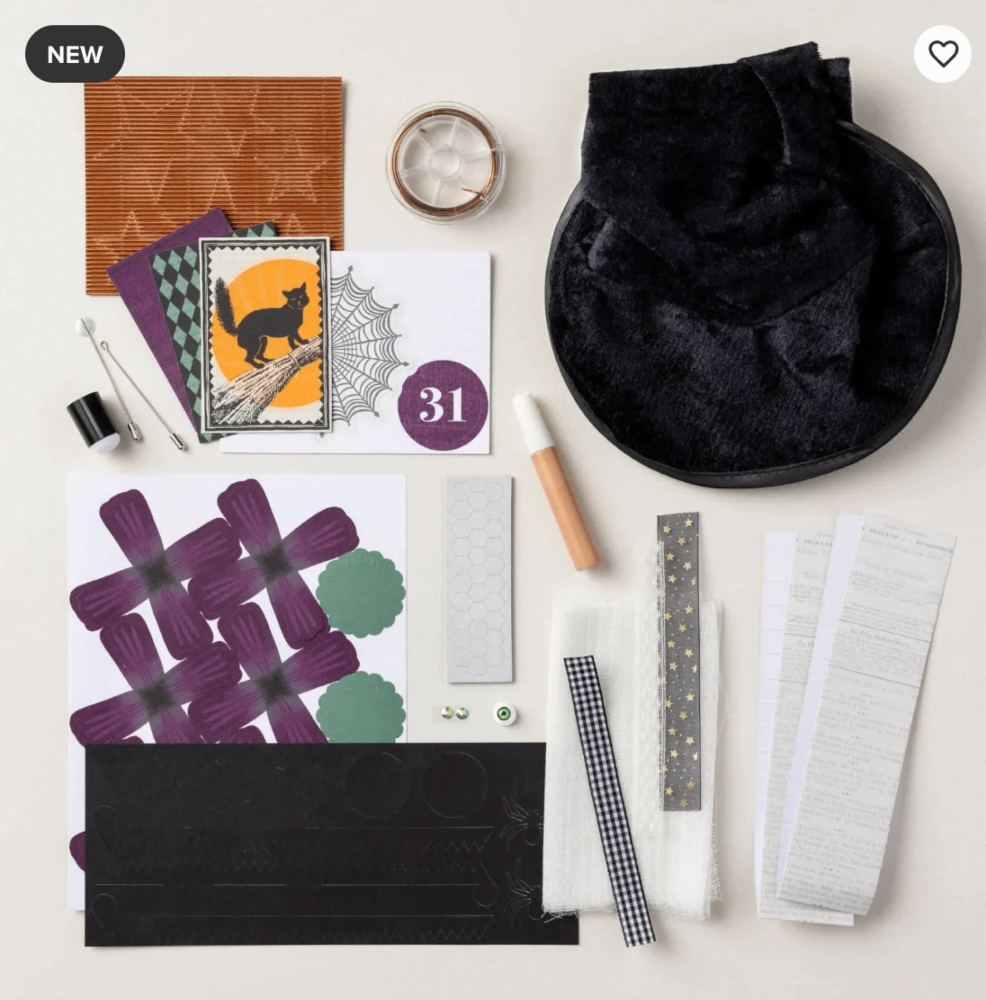
Here are the contents of the kit, as seen in the Stampin’ Up! Online Store.
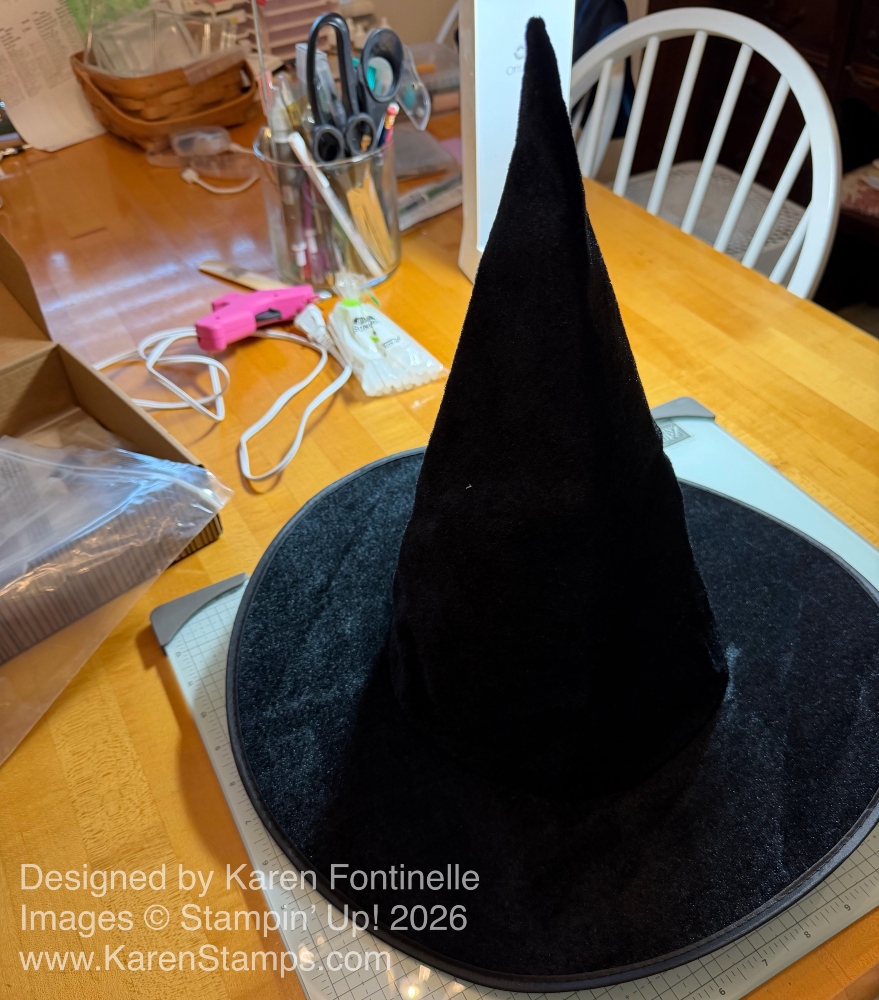
Here is my witch hat after I took it out of the plastic bag. And I’ve got my “cool” hot glue gun ready!
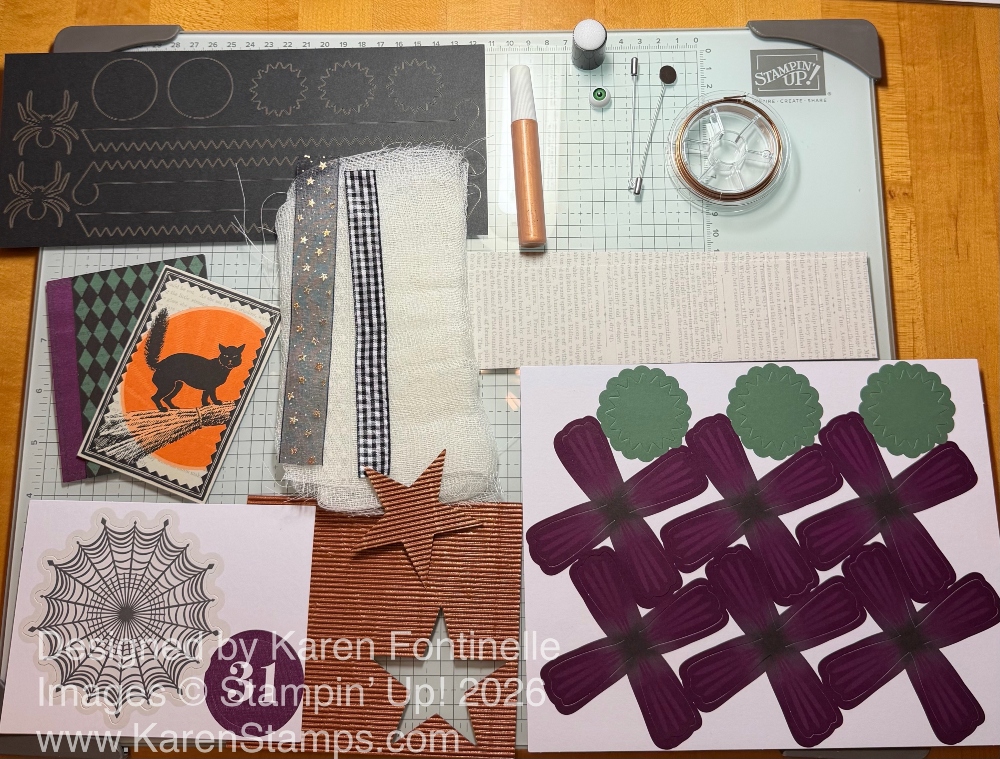
Here are the pieces I took out of the kit! I love doing this when I purchase a kit in the Kits Collection or the monthly Paper Pumpkin Kit! I love to see what is included in the box! Lots of pieces to punch out, wire to wrap around the hat (be careful when you “unleash it” from that roll!), gauze for the base of the hat, ribbons for embellishment, a tube of copper colored paint and sponge dauber for “distressing” the pieces (the most fun part!), and really cool corrugated copper-colored paper which you punch out the stars from. Love it!
Here are the directions in a pamphlet just like directions in other Stampin’ Up! kits. There are no “written” directions for assembling the kits, I assume because the kits go to other world markets as well. Usually these would be fine for kits. But for this witch hat, I heard one Demonstrator say, “Here are the directions, now throw them away!” I was close to that but what I recommend is look at the directions and diagrams. Then watch the video several times. Maybe show down the playback speed because it is very fast. No talking on the video either. But watch it and get the general idea, then look at the directions again and you will probably understand them a little better. And if you don’t want ANY guidance, look at the photo of the hat and put it together however you like! Nobody said you have to follow directions or even do it like the design is intended. Have the video handy to watch again as you make the hat, pausing it, or rewinding as necessary. At least, that is what I had to do!! Maybe your experience will be more intuitive….and I like to make my things EXACTLY as intended so….!
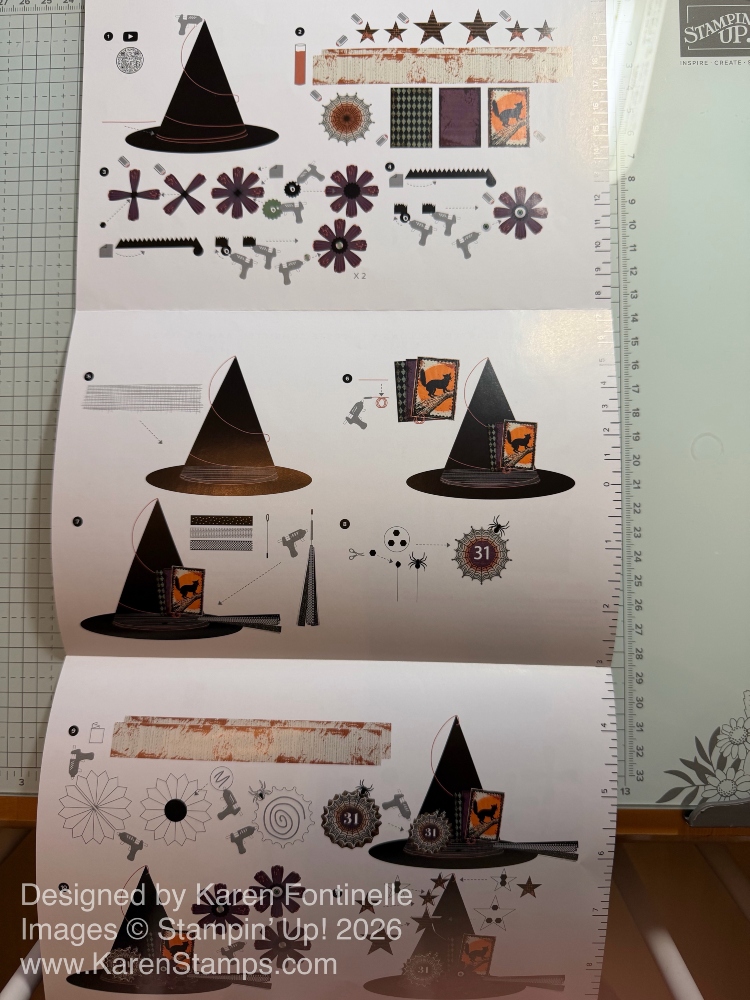
Now to the good part! Punch out all the pieces, get your supplies organized, have scrap paper to cover your surface and/or your Glass Mat if you have one. You will be working with paint, so be ready to protect whatever you are working with.
If you have made a rosette before, you will know how to fold these two long scored strip back and forth. The fun part of adding some paint to the sponge dauber and then rubbing it on to the rosette strips, not solid and perfect, but in a haphazard/distressed fashion. You can watch the video to see how to make the rosette which is the background for the “31” and the spider web piece. You can apply the paint first to the folded up strip, then open it up and add more. If you do the inside first, then fold up, the wet paint might stick.
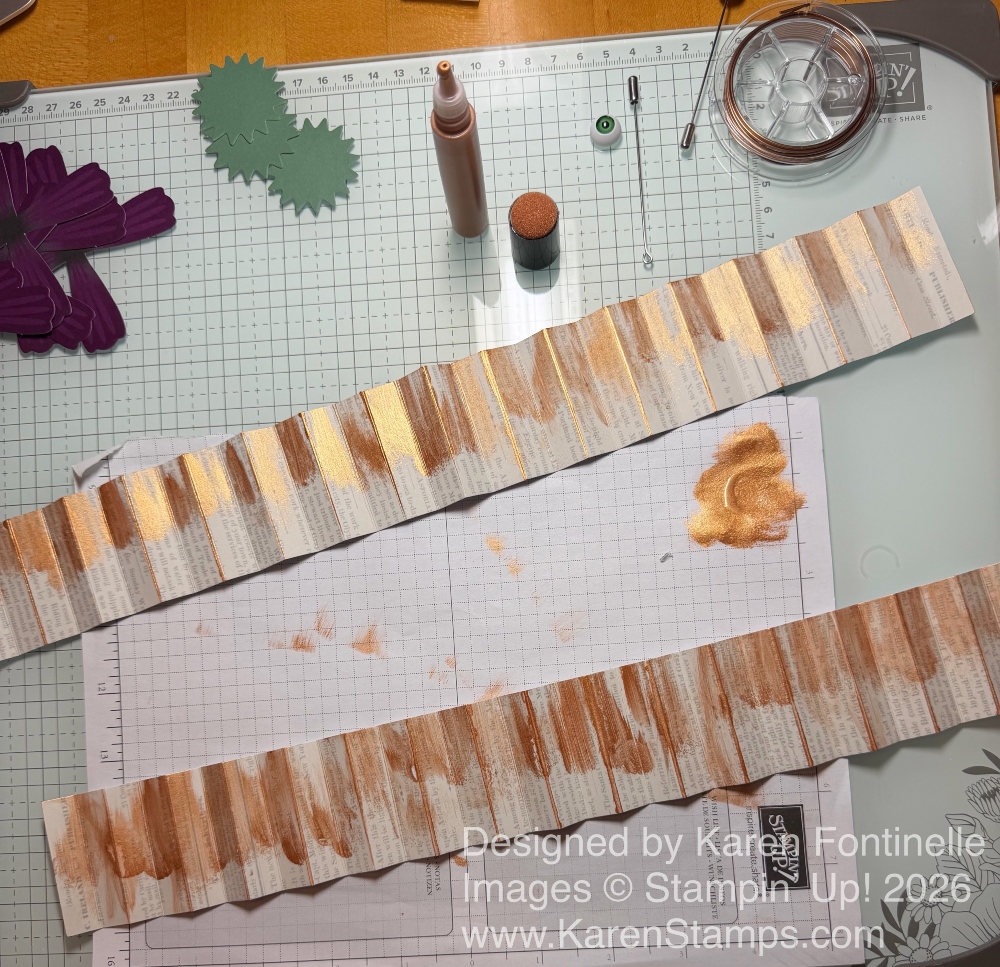
Keep adding paint to all the pieces as you see in the video. I really liked this tube of paint and the sponge dauber! It was fun adding paint to all these pieces.
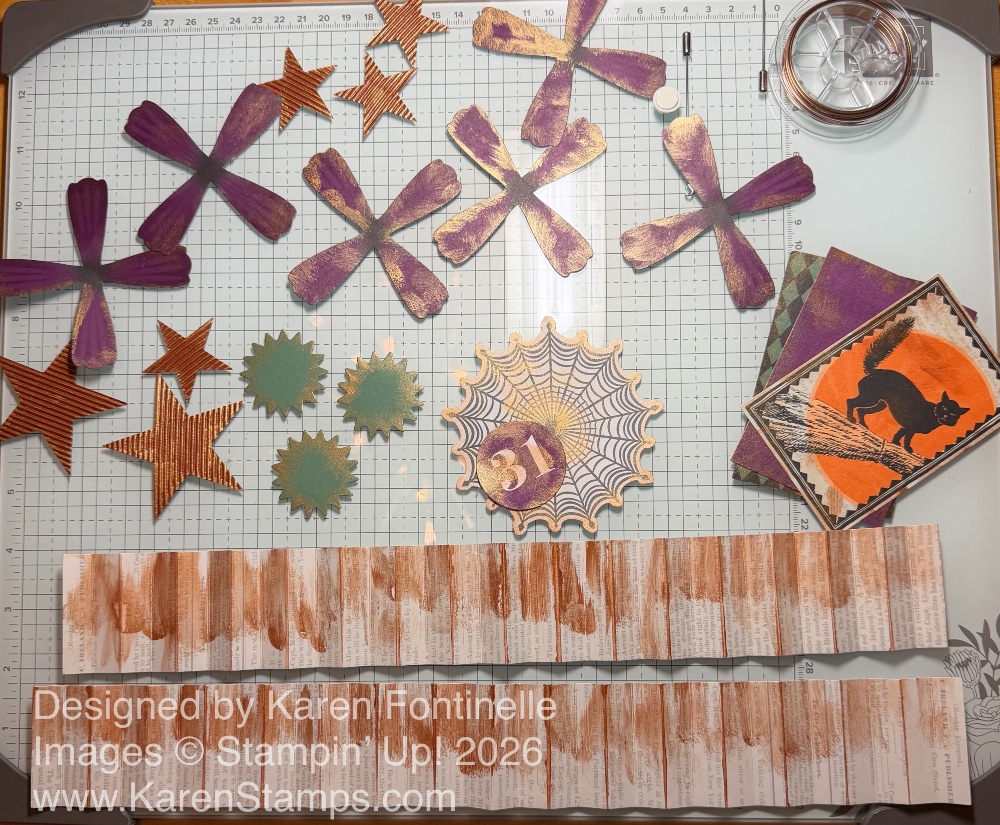
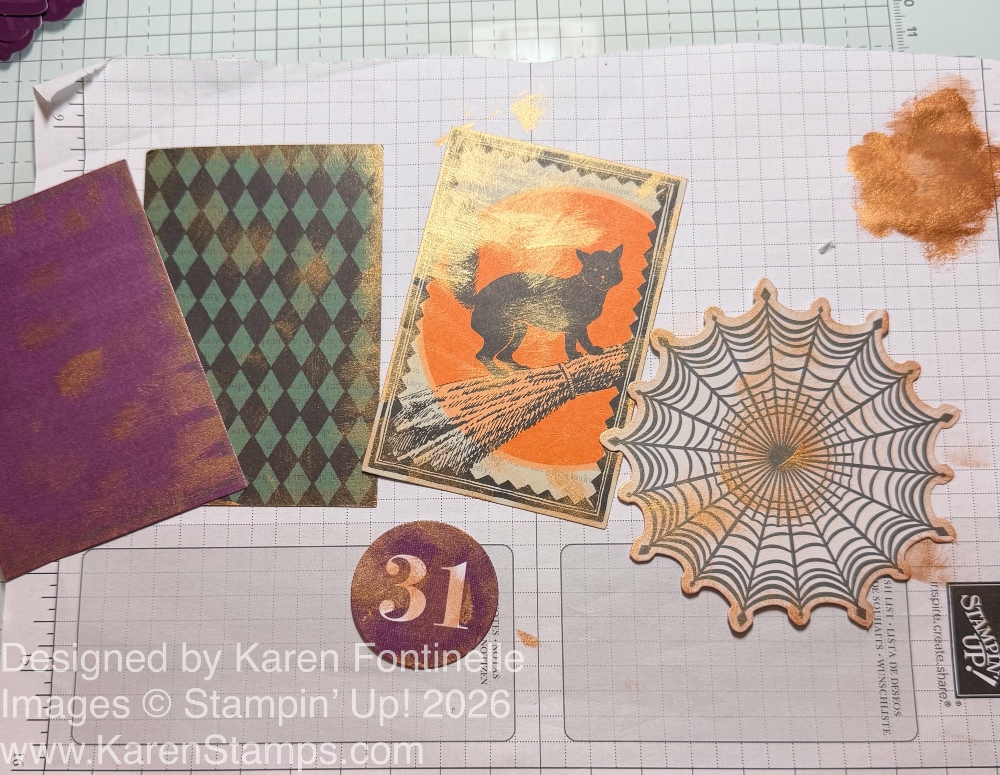
When you have all your pieces ready and dry, you can decorate the hat. To start the wire, wrap one end around the paint pen or something of that size to effectively make a “knot” or obstruction so you can stick the wire up inside the hat to come out the tip top and that knot will hold it in place. I found it was a good idea to stuff the hat with some kind of paper like newspaper, tissue, bubble wrap, whatever you have to hold the shape while you work on it. You will need to kind of straighten the wire so you can work with it wrapping it around the hat and around the base, but not totally. The wire then gets wrapped around the hat, and then the stars are attached, back to back. I followed the instructions and used Dimensionals in between the stars, but maybe hot glue would be better. Your choice.
Just follow the video, directions, or picture to decorate your hat. Pay attention to where the seam is on the hat and put that in the back.
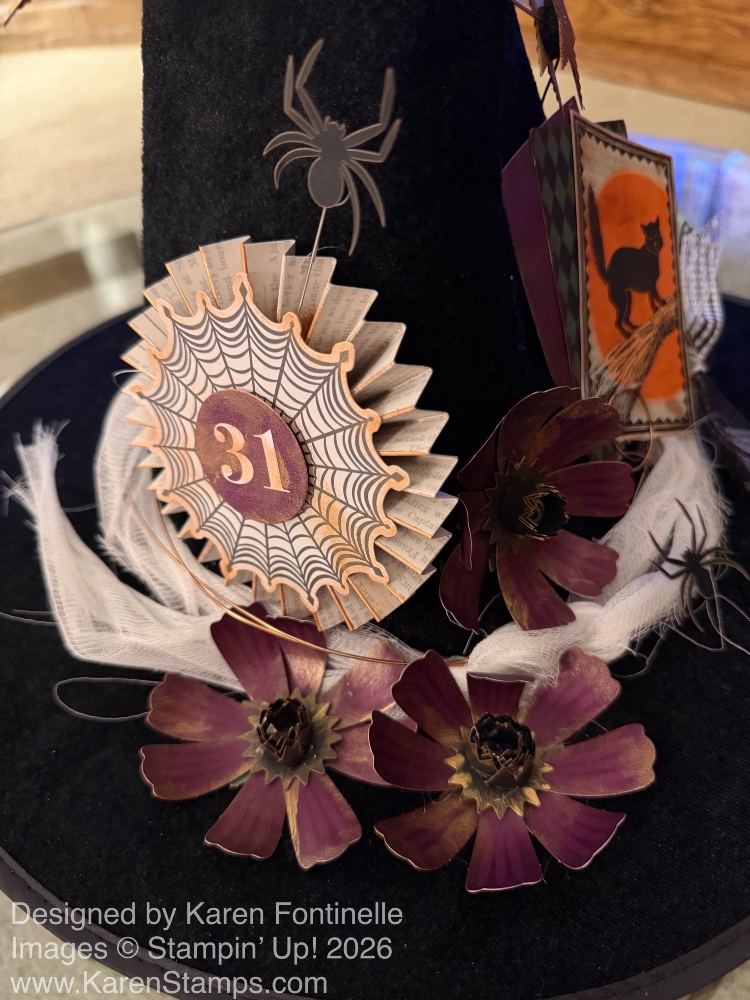
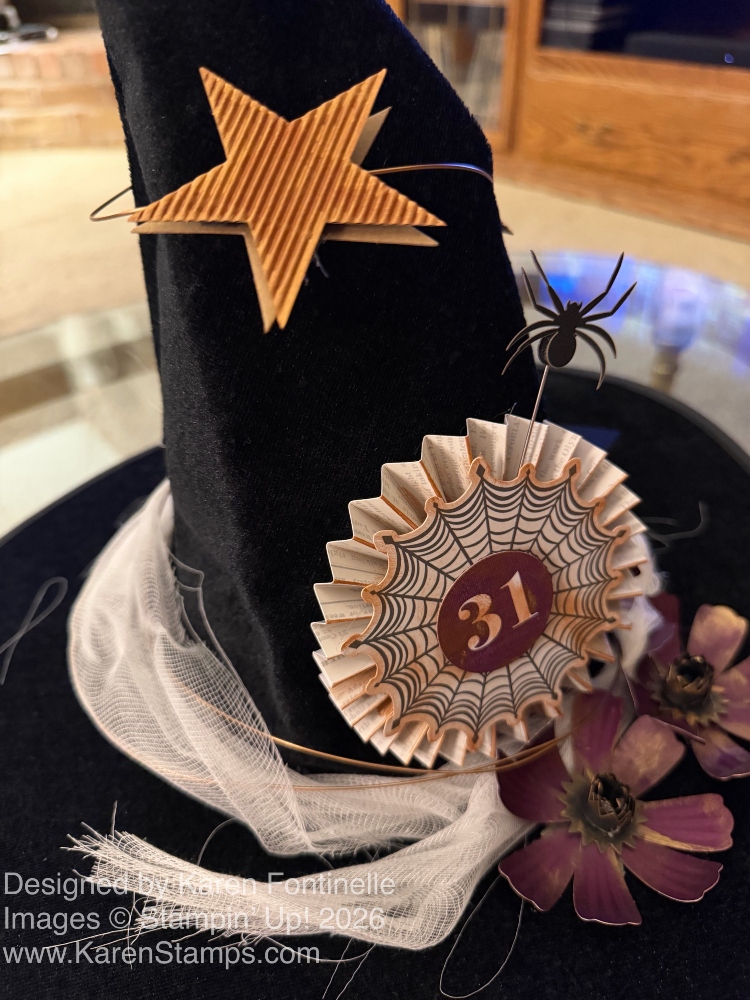
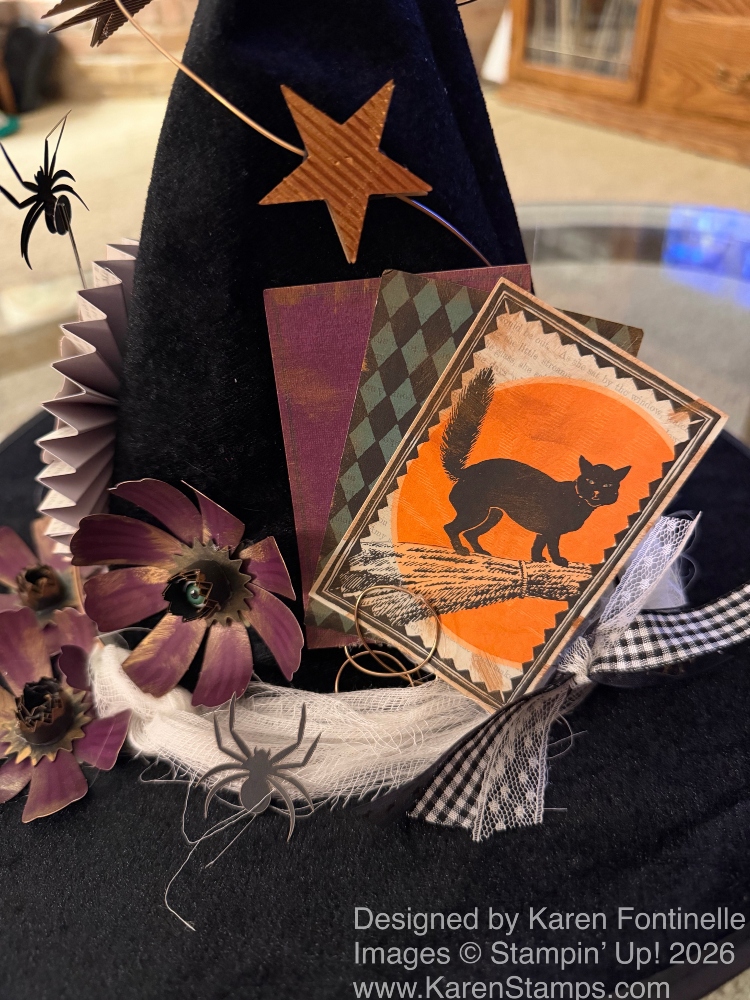
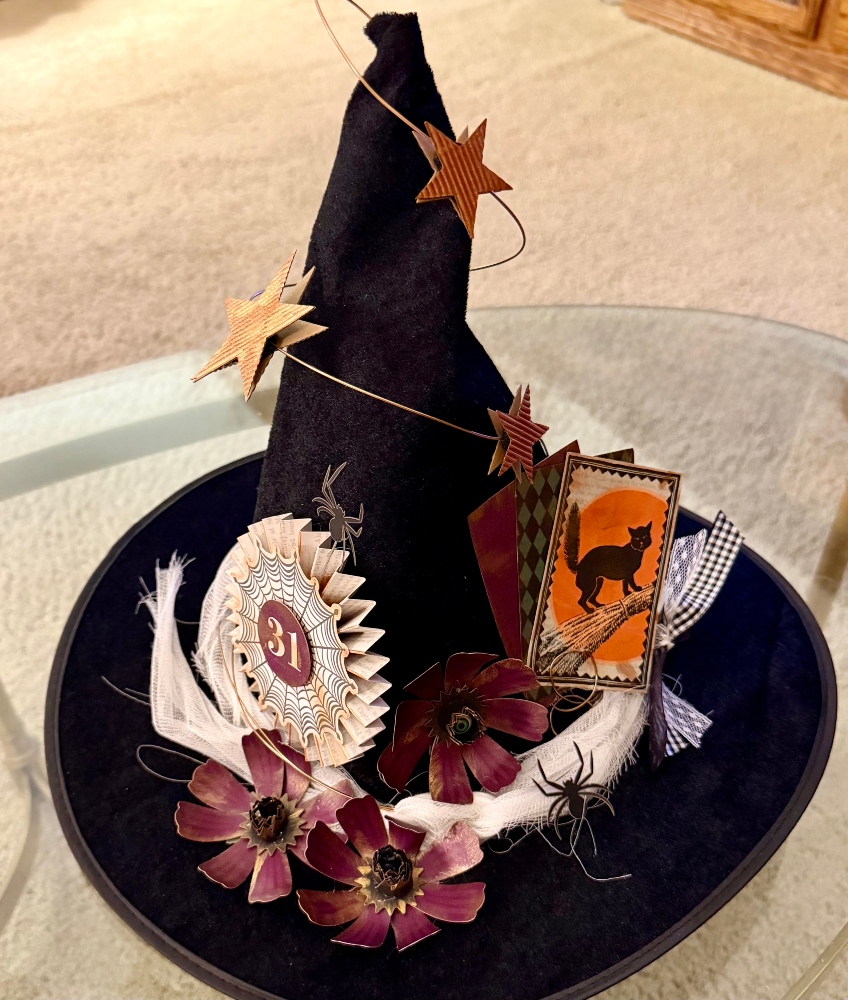
That’s it! Now you have a fabulous Witchy Whimsy Hat for your Halloween home decor! Have a friend or two order the kit and make them together.