Yesterday Stampin’ Up! announced some product changes that probably took almost all of us by surprise. There will be lots of different opinions about the changes depending on what you like, but I find that after everyone gets used to the new things it turns out okay.
Here are the changes.
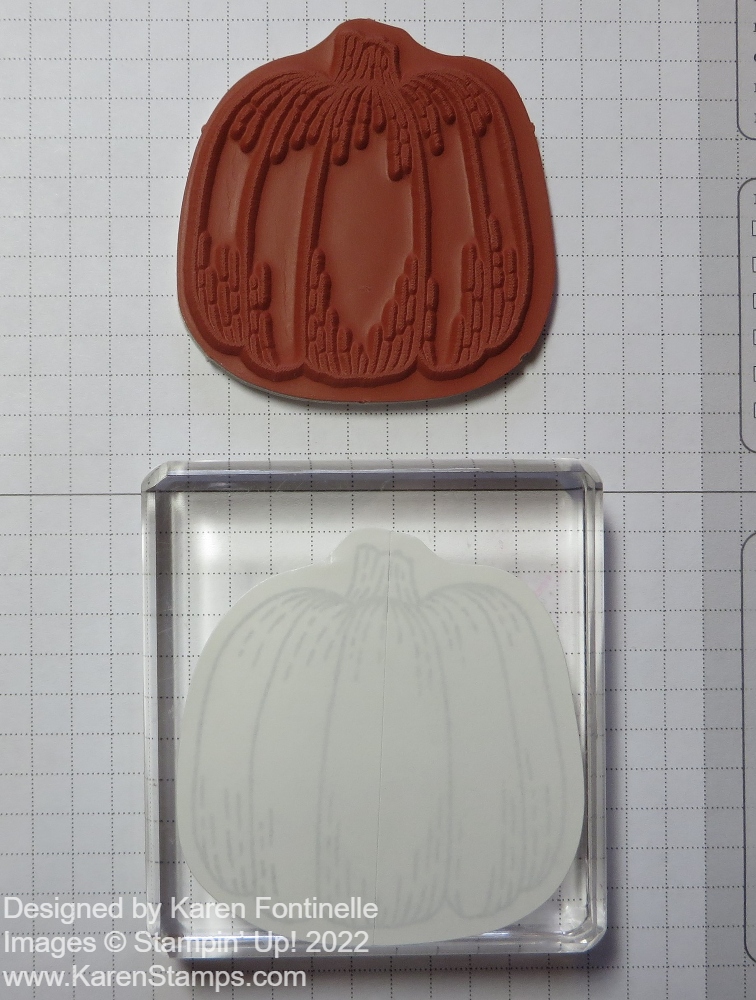
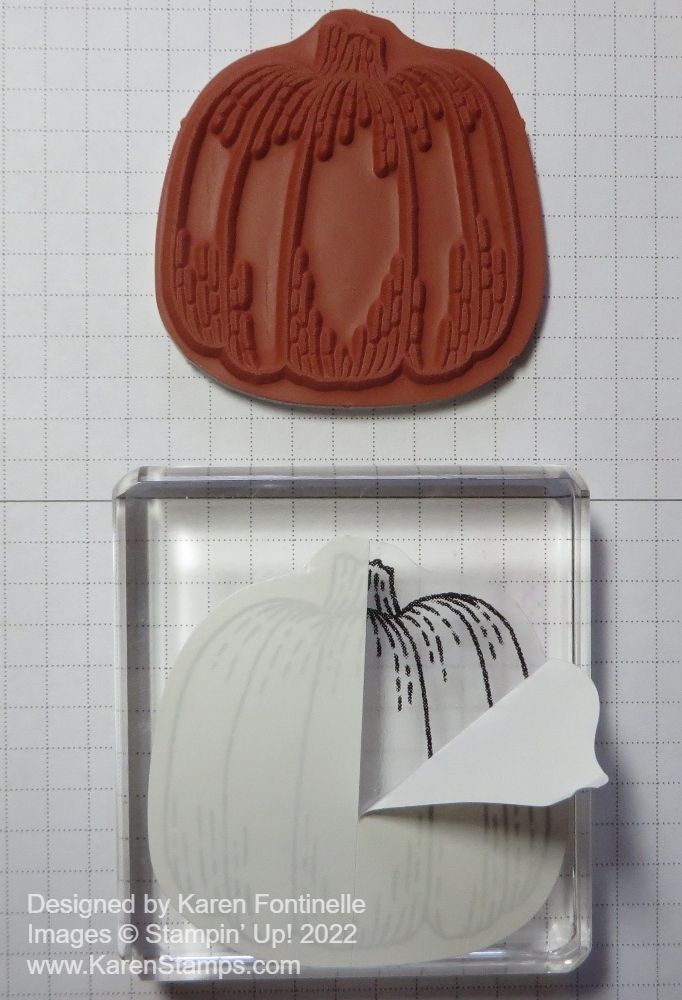
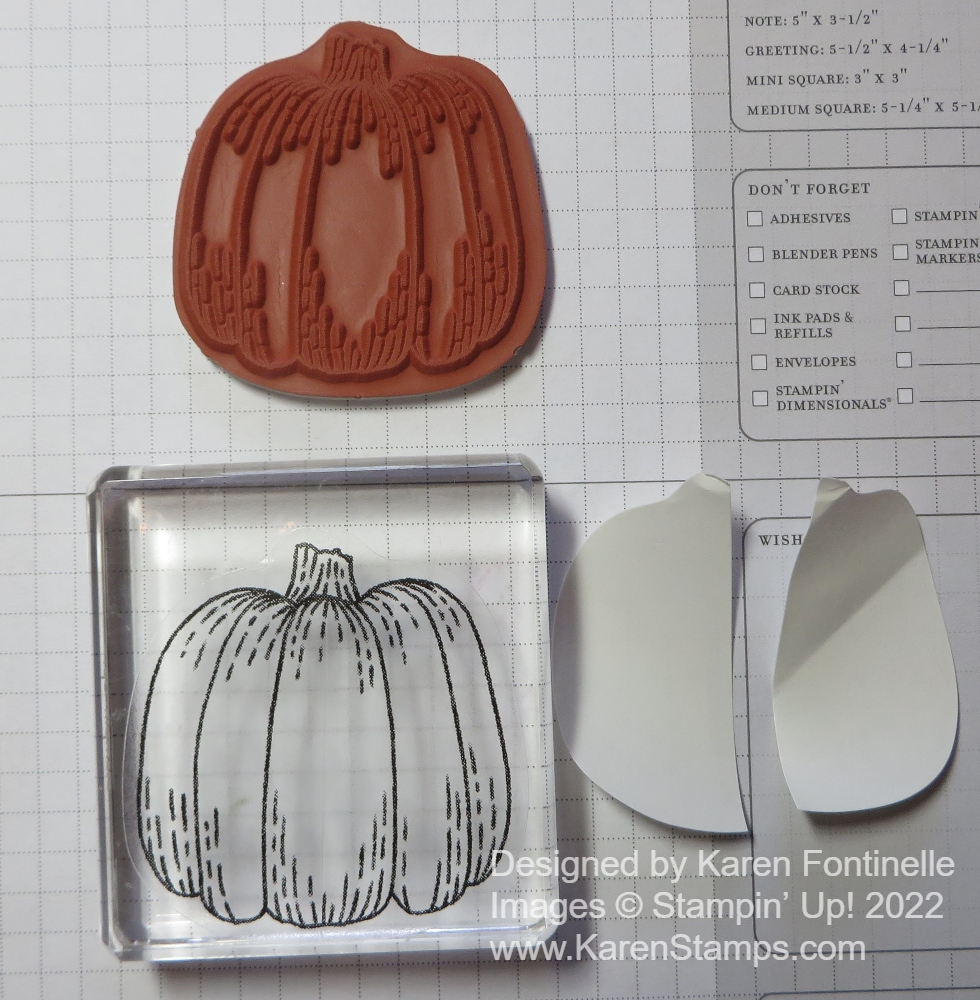
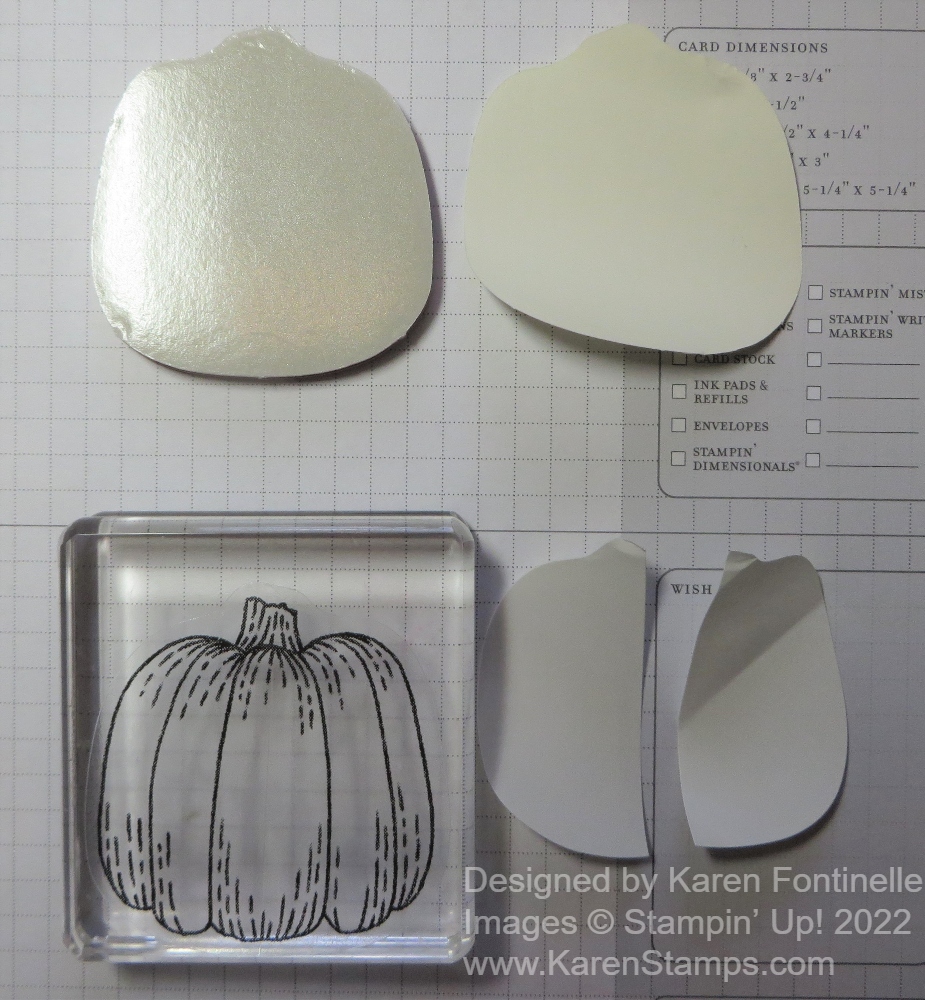
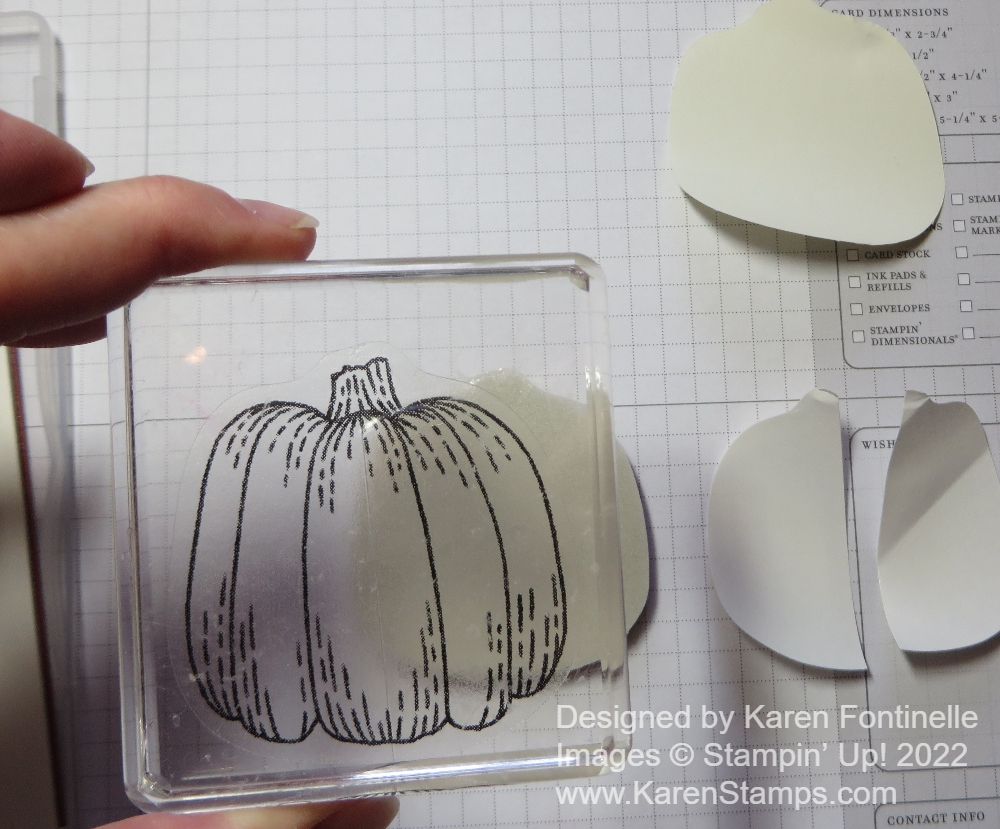
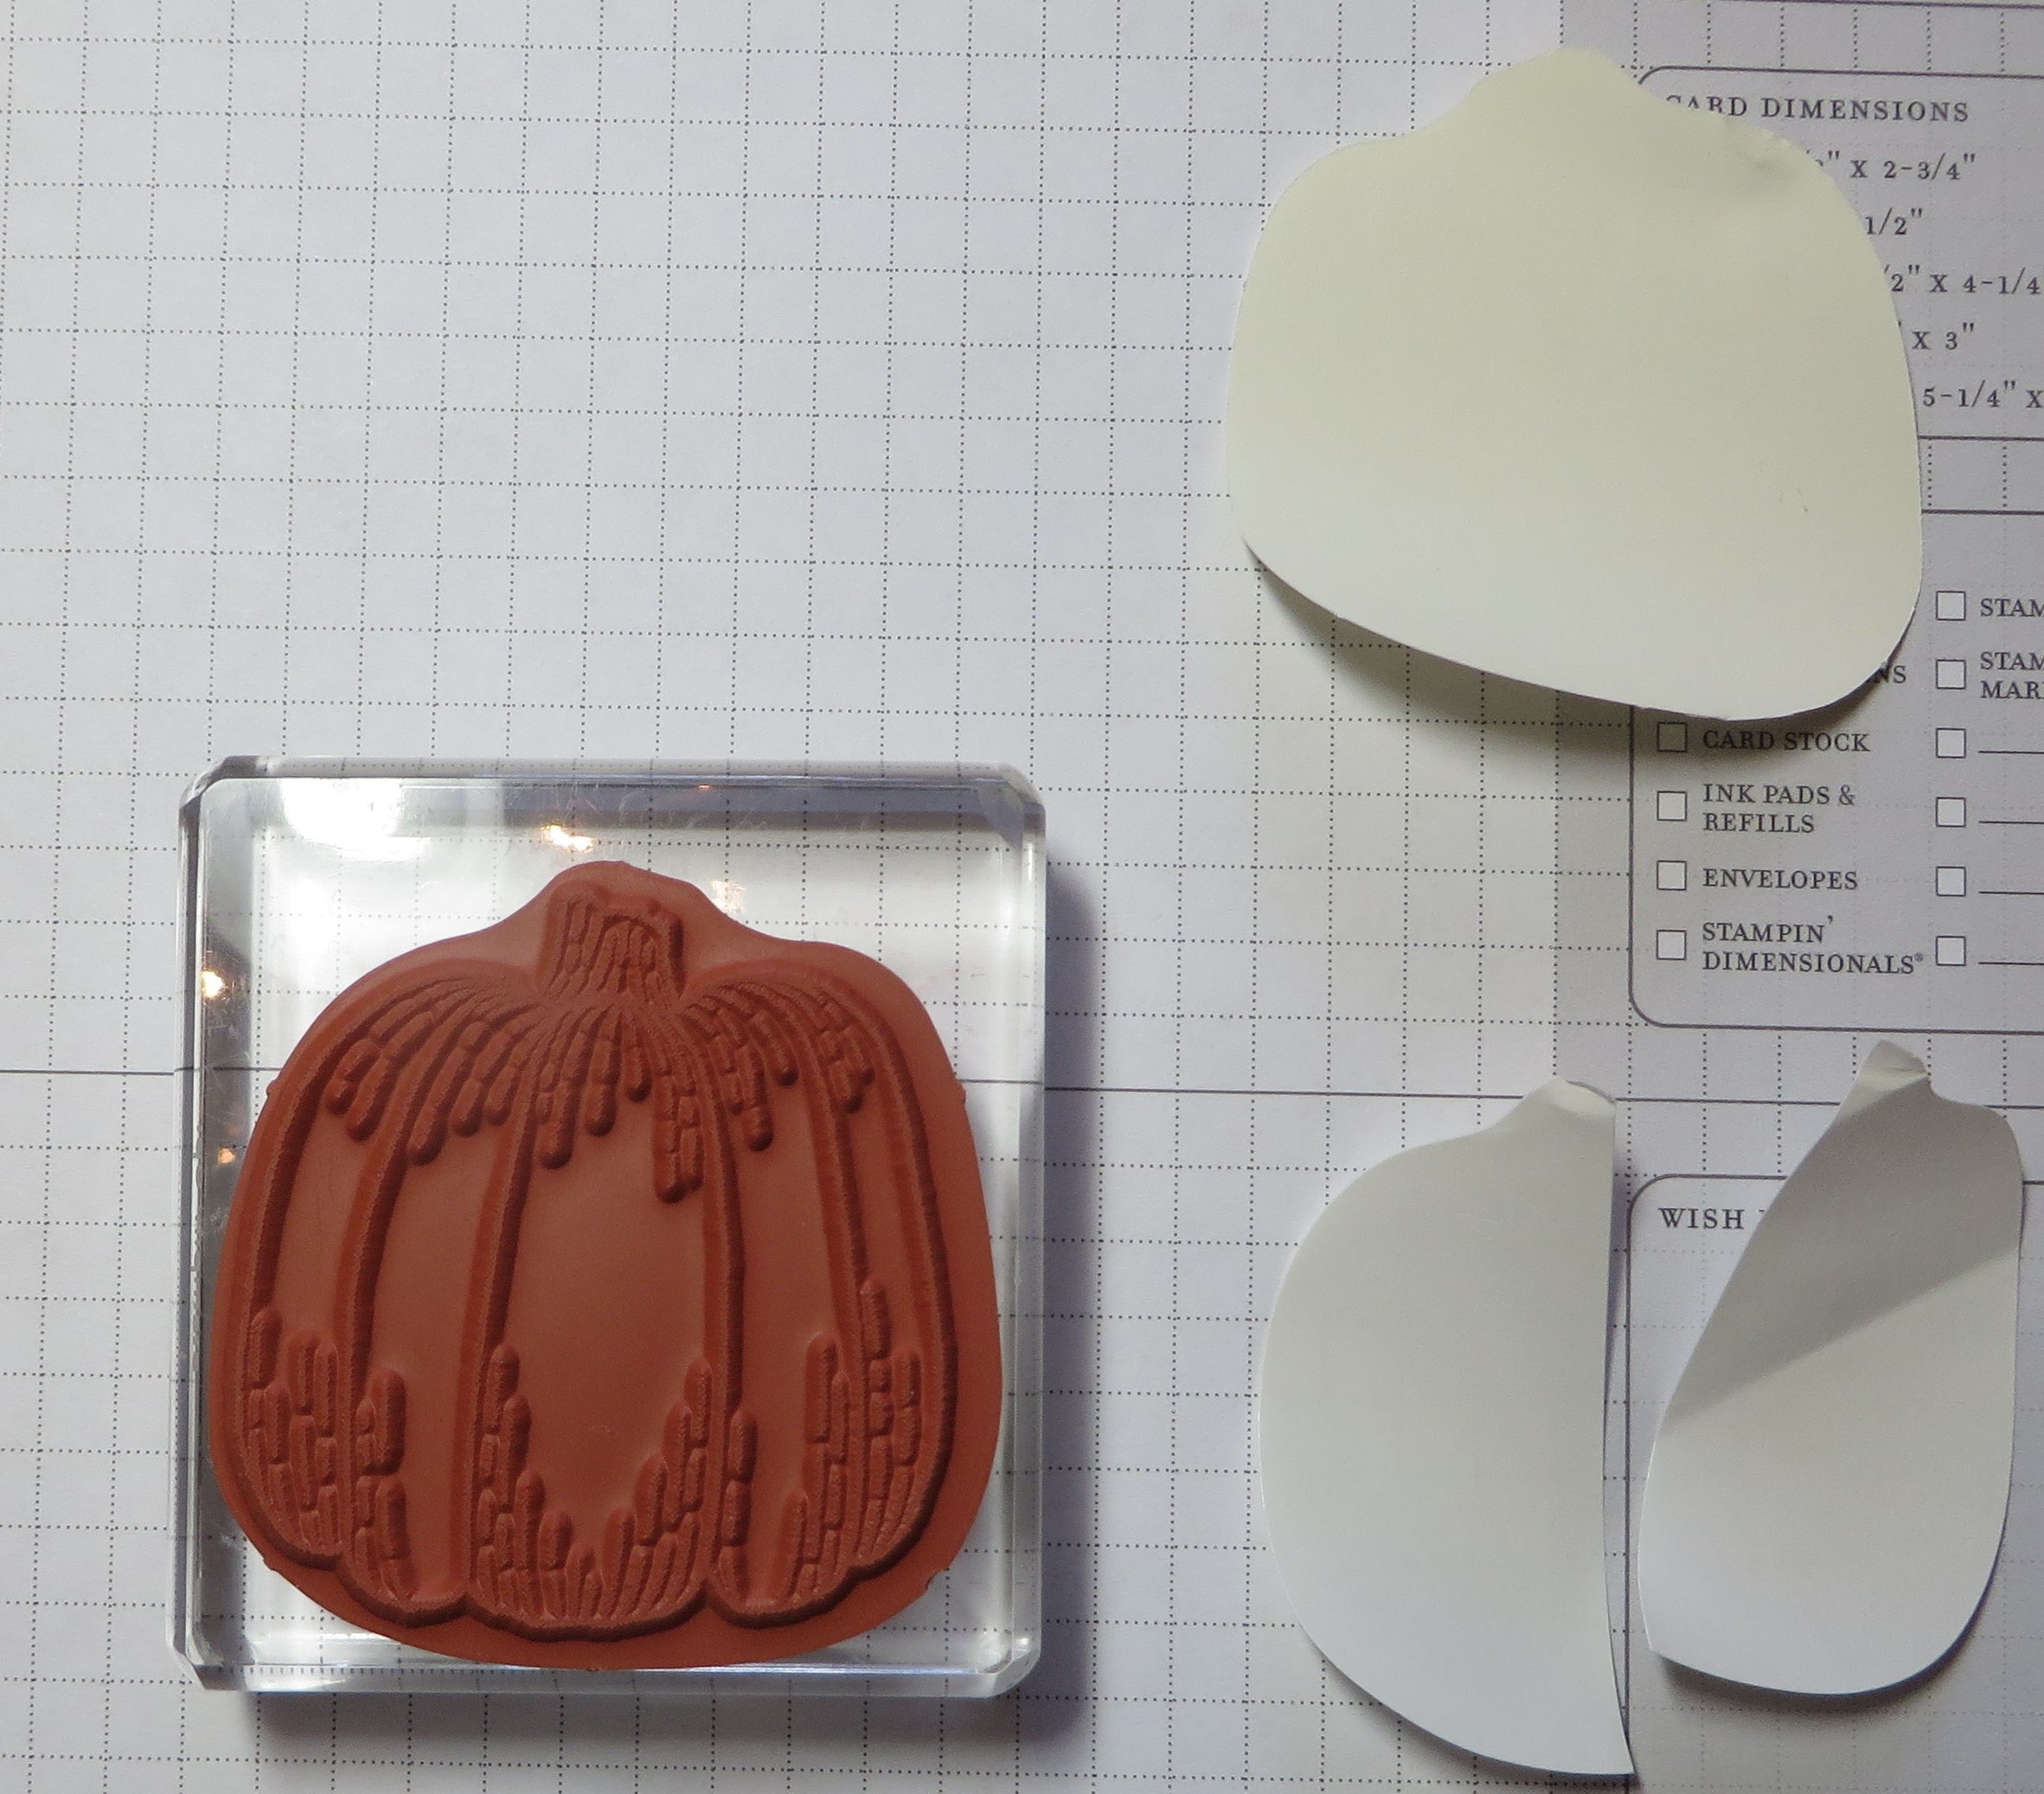
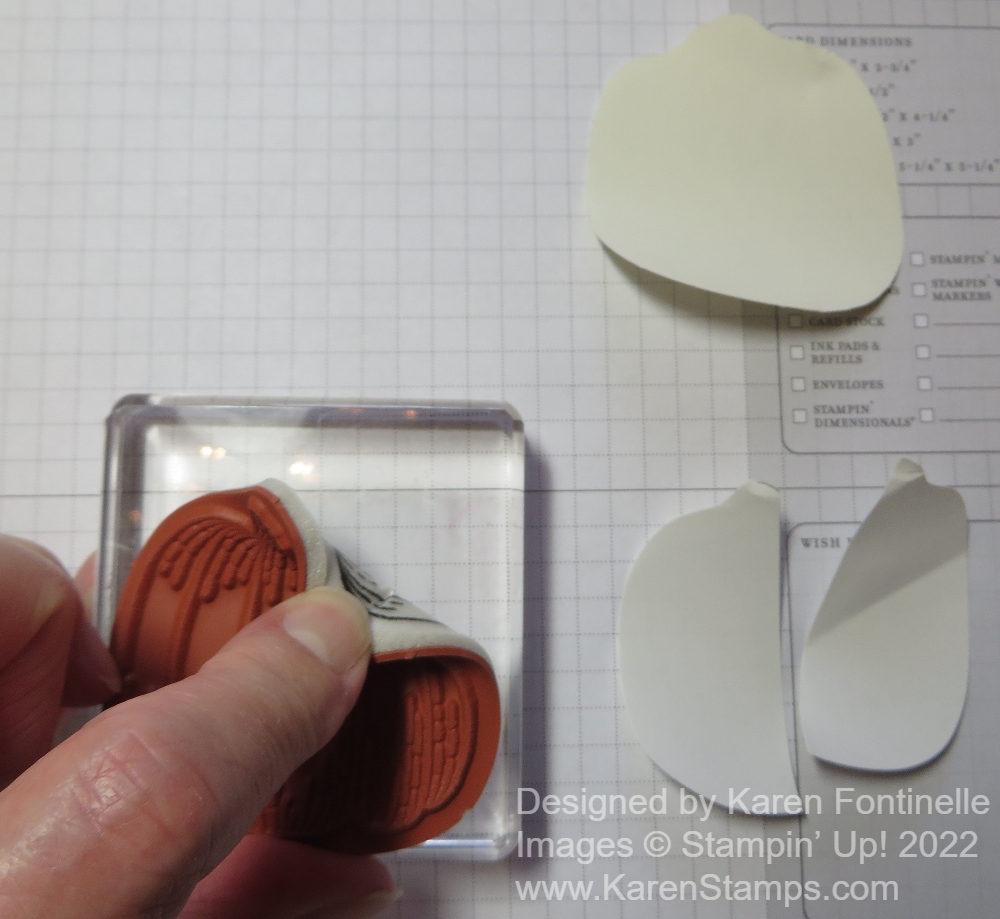
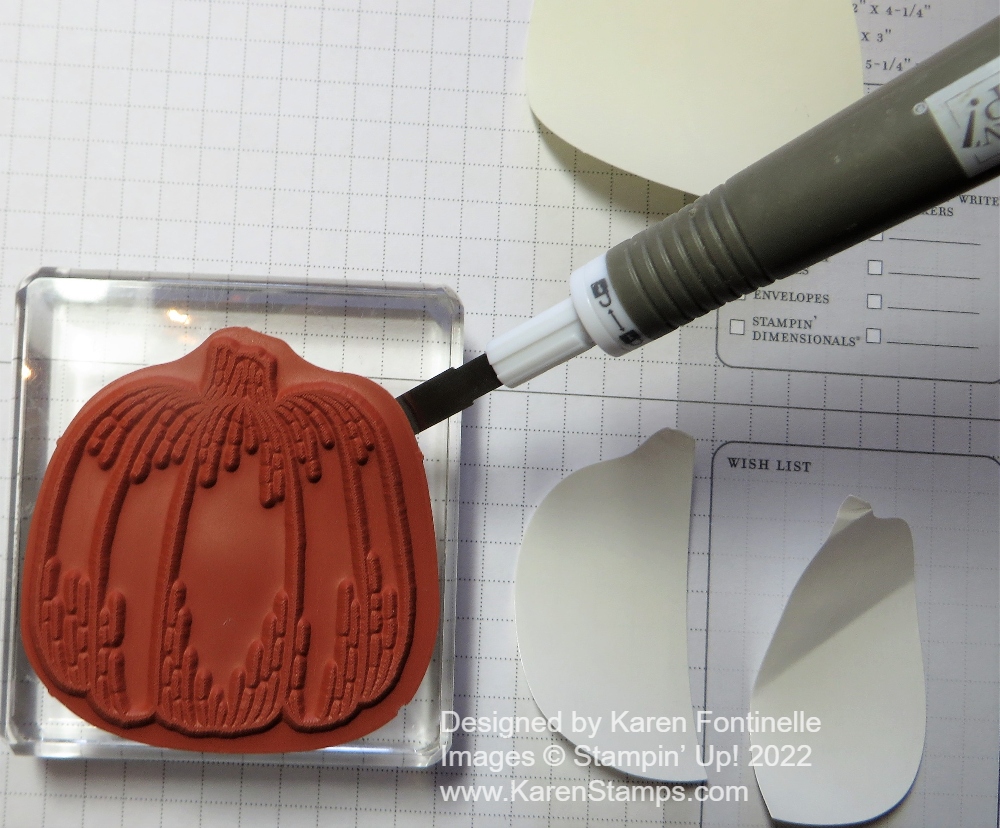
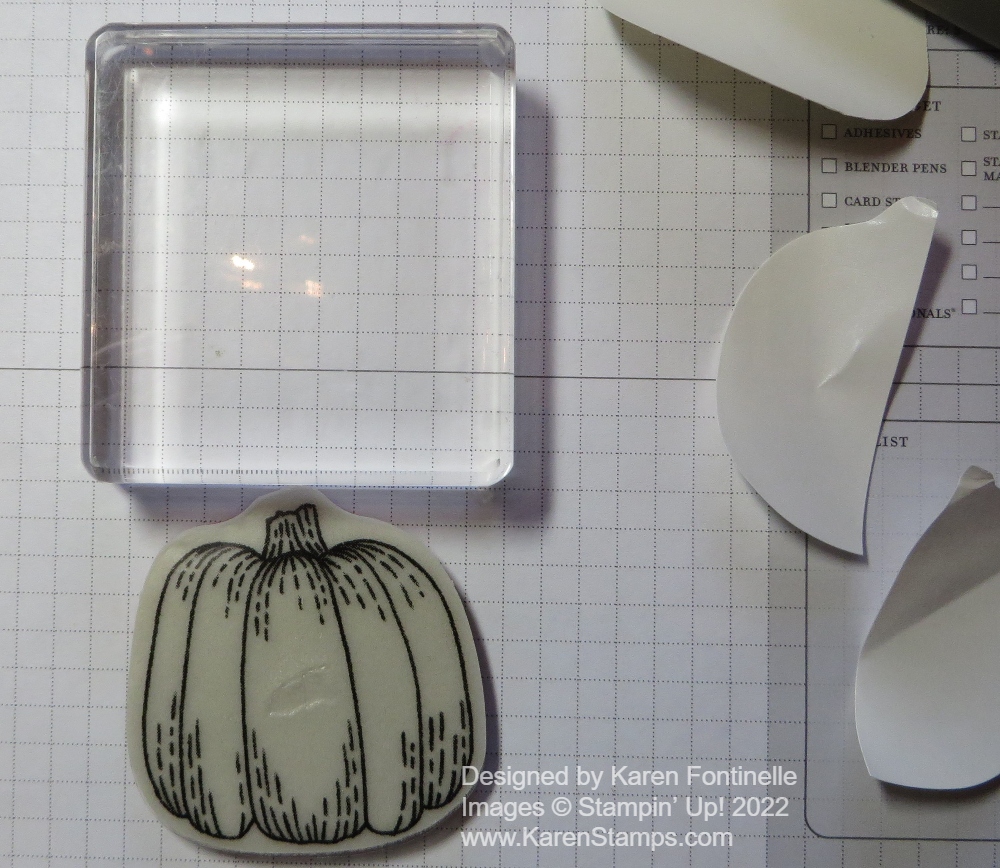
- Stampin’ Up! is discontinuing red rubber cling stamps and all stamps will be photopolymer. I have been finding that I’m so used to the photopolymer and being about to see through the clear stamps that in some cases I’m disappointed I can’t see through the cling stamps for placement.
- Also being discontinued, are Stampin’ Write Markers. Oh my! We have had these markers since before I started stamping. We even had the nifty carrying case for ALL of the markers. BUT I have found that I rarely use mine any more because I use Stampin’ Blend markers all the time. But you still have a chance to get your hands on the Stampin’ Write Markers while they are available.
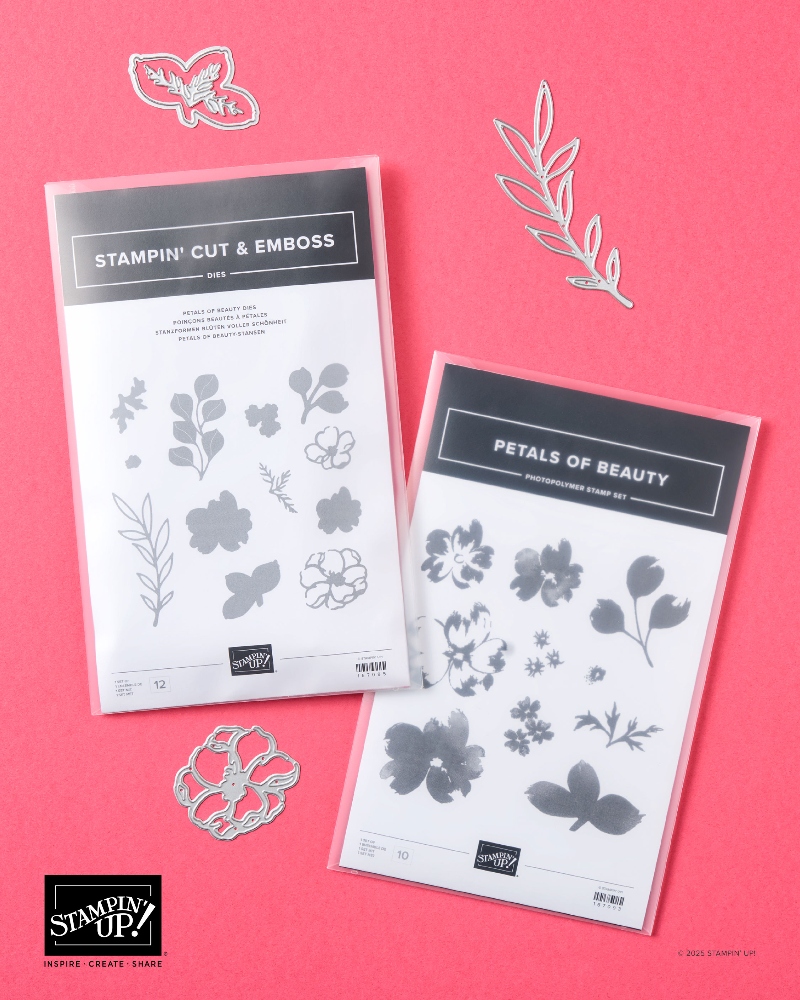
- New are the stamp and dies packaging! This will make some people happy who like saving space and having the artwork for the dies on the package which we don’t have now. Other people who don’t like their storage system changed up may not be happy. Even if you prefer another kind of storage and organization you can still do that with your own system.
Watch this video from Stampin’ Up! explaining the changes and the reasons why. Then I’ll give you the information on dates.
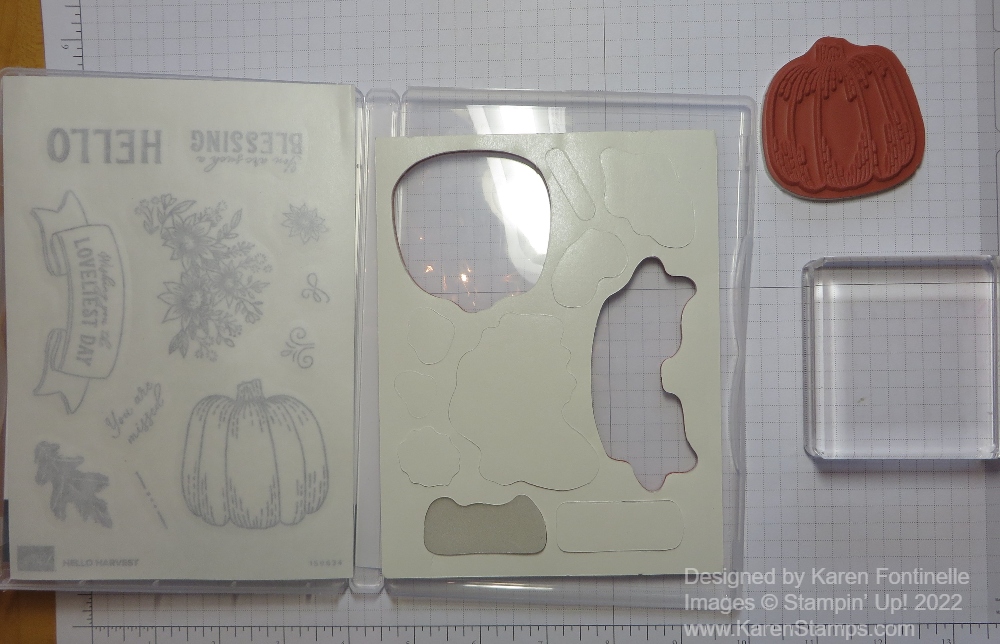
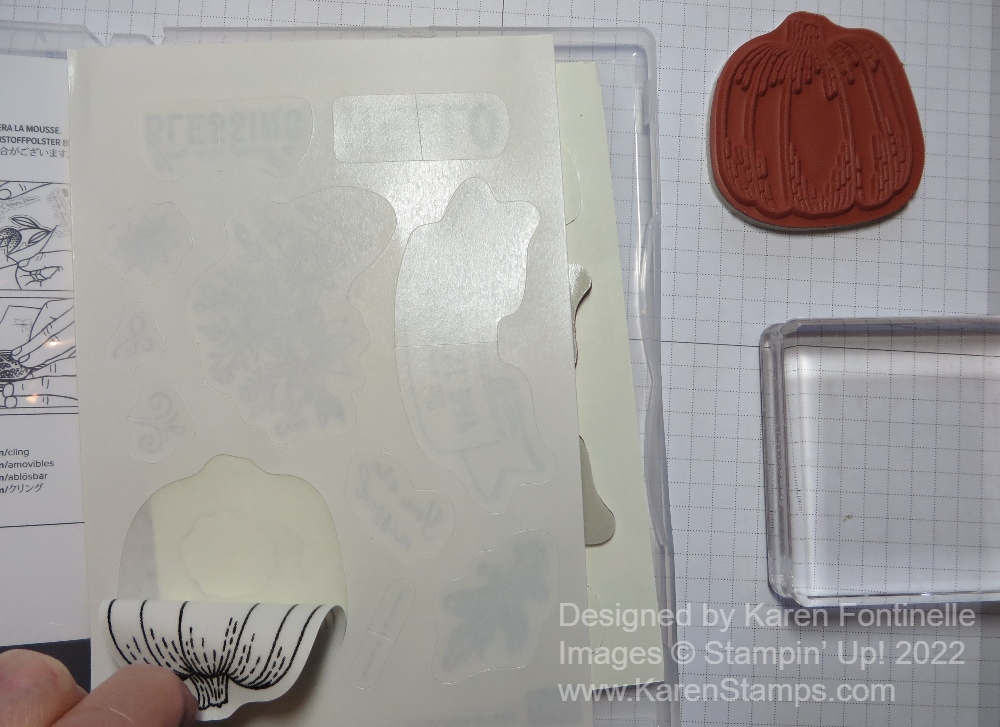
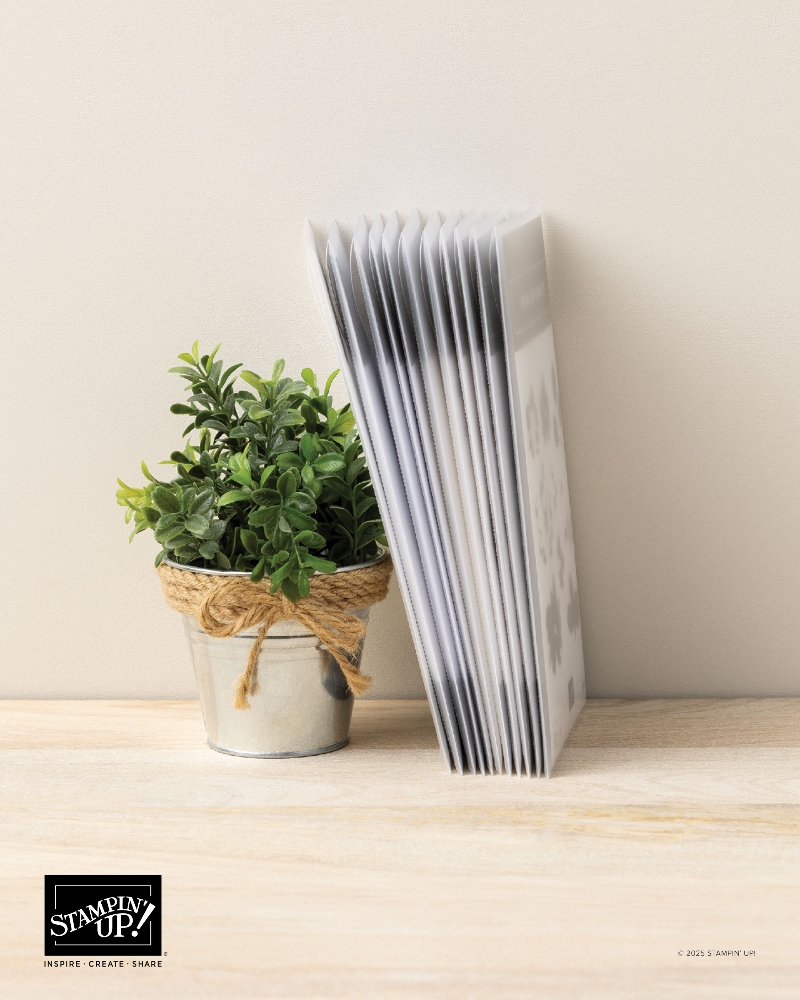
PS: That stamp set and dies you see pictured above? It’s a sneak peek of a new set and packaging coming in the November Online Exclusives!
Cling Stamps Info:
- Starting with November 2025 Online Exclusives, all new stamps will be photopolymer.
- The upcoming Sept – Dec 2025 Mini Catalog and the 2025-2026 Annual Catalog will be the last printed catalogs with cling stamps.
- In December 2025, all cling stamps in the September–December 2025 Mini Catalog will move to Last Chance Products and be available while supplies last. No cling stamps from the mini catalog will carry over.
- In April 2026, all cling stamps in the 2025–2026 Annual Catalog will move to Last Chance Products and be available while supplies last. No cling stamps from the annual catalog will carry over.
- Final transition: In April 2026, all remaining cling stamps across our offering will move to Last Chance Products and be available while supplies last.
Stampin’ Write Markers – IMPORTANT TO KNOW TODAY!
- On August 20, 2025, all Stampin’ Write Markers will move to Last Chance Products* and be available while supplies last. So if you want to get any markers, I’d get on that website today and start ordering in case some colors sell out.
New packaging for stamp sets and dies!
- New packaging measures 5-5/8″ x 9″ (14.3 x 22.9 cm).
- Stamps and dies will now come in the same size and style of packaging, making it easy to store bundles and coordinating products together.
- Packaging is clear with an insert that displays stamp or die artwork for quick and easy identification—yes, both stamp and die packaging will now show artwork!
- Larger packaging dimensions allow us to showcase more stamp artwork at 100% on the insert.
- Sleek, slim design will help you and your customers store more in less space.
- Envelope closure includes a tuck-in flap for quick and easy opening and closing.
- Packaging is sized to fit a variety of organization systems.
Let all this news sink in! If you have any questions just let me know! Or leave a comment about what you think!