
When you get a new red rubber cling stamp set from Stampin’ Up! you are eager to try it out but first, you want to know How to Add Labels to Rubber Stamps Perfectly. One way to do it is to peel off the covering from the label leaving it on the whole sheet of labels and place the stamp down on the label. That is how I have done it for years, but there is another way to do it and be able to SEE how the label and stamp line up so you can get the label on just right!
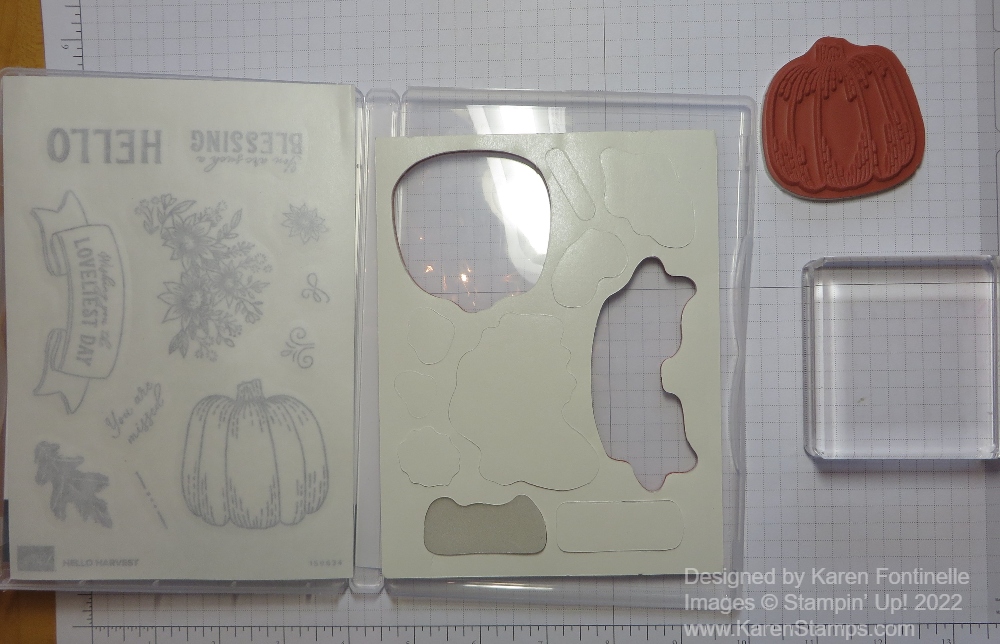
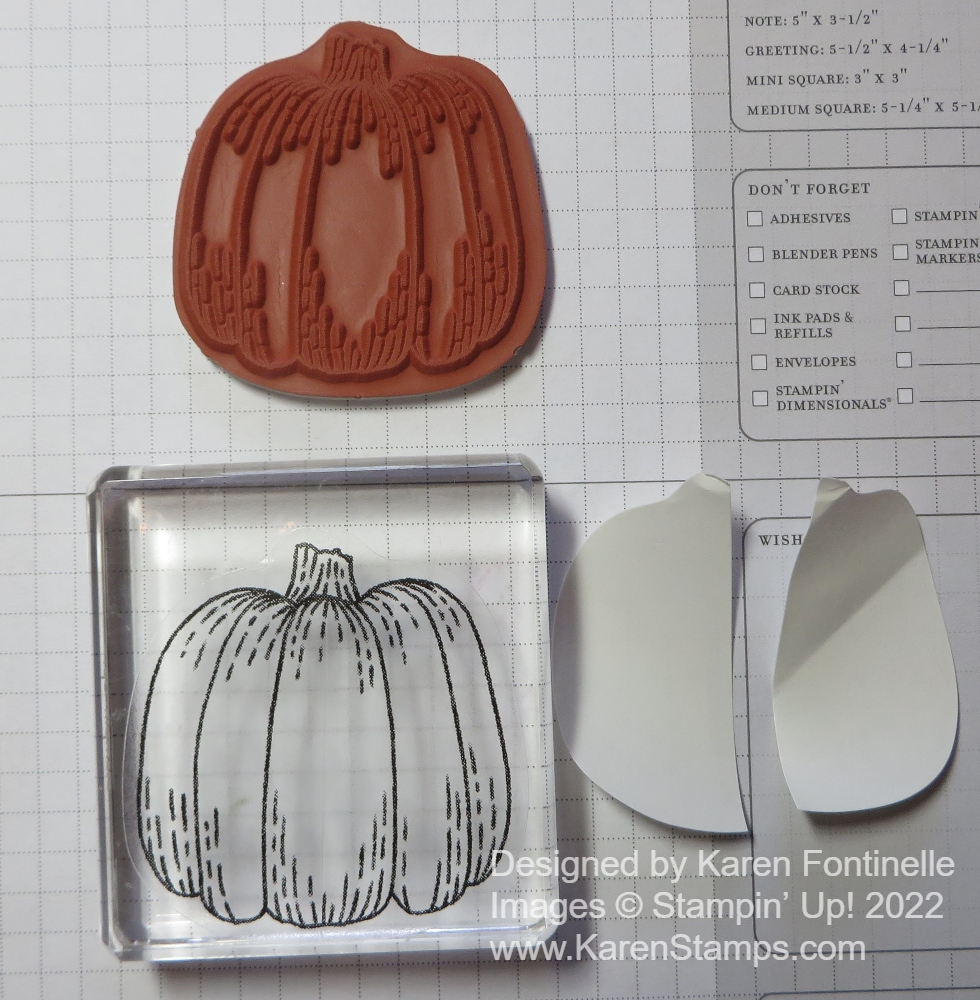
Detach the stamp from the rubber sheet, leaving the white paper over the back that protects the stamp’s cling side. We will use the pumpkin in the Hello Harvest Stamp Set, a new stamp set in the Holiday Mini Catalog.
Carefully peel the label off the label sheet. Be sure you are on the side where the labels are cut around. This label will be very sticky.
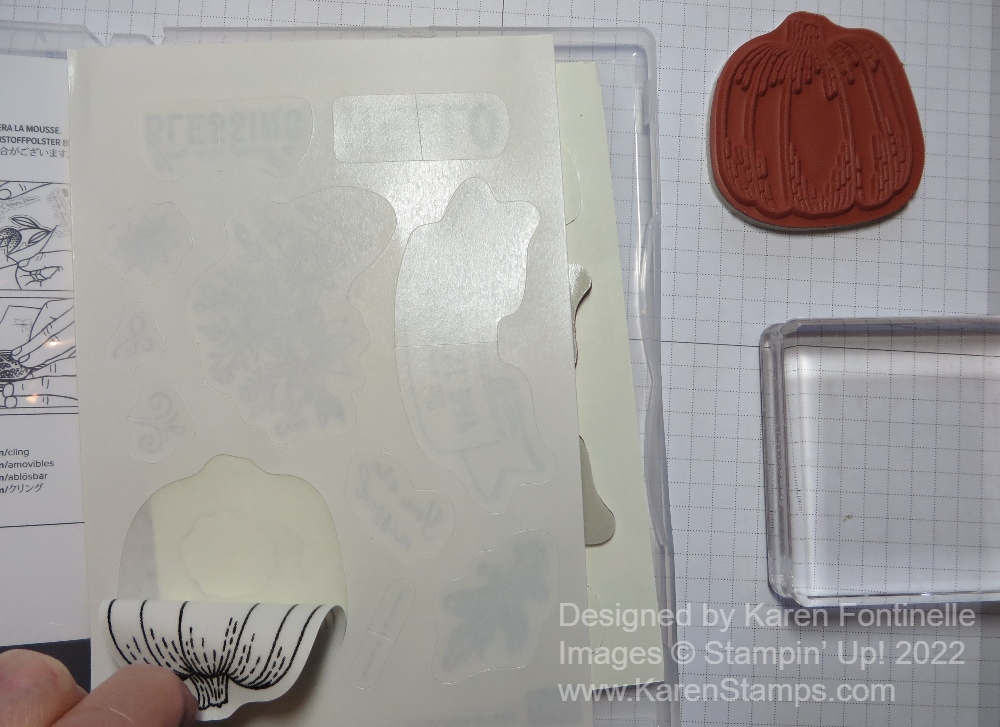
Place the label on a clear acrylic block, leaving the white covering on top. You may need to use a larger block for larger stamps. The sticky label side is face down on the top of the acrylic block.
Now peel off the white covering from the label, which will likely come off in two half pieces. That’s how they are designed.
Now the clear label is on the top of the acrylic block and you can obviously see through it which will help you place the label correctly onto the stamp!
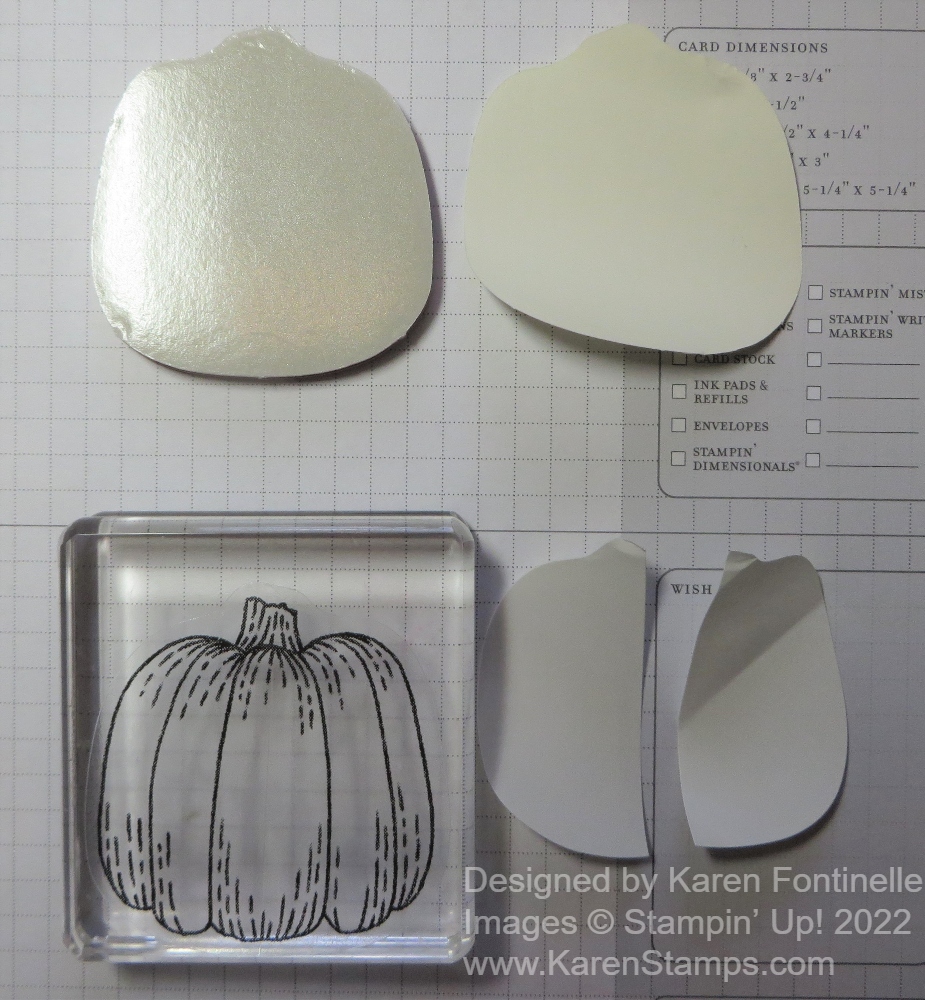
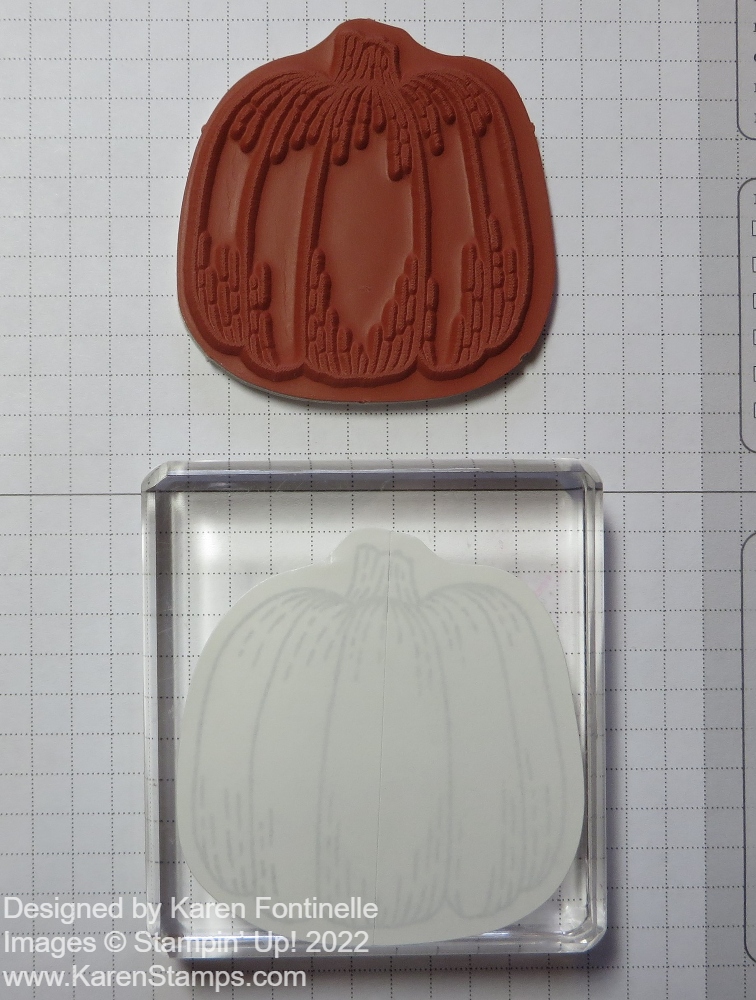
In the photo above, you can see the clear label is ready. Right above it, the pumpkin stamp has been turned face down, ready to receive the clear label. The white paper covering the cling side of the stamp is removed. Be sure to take this off!
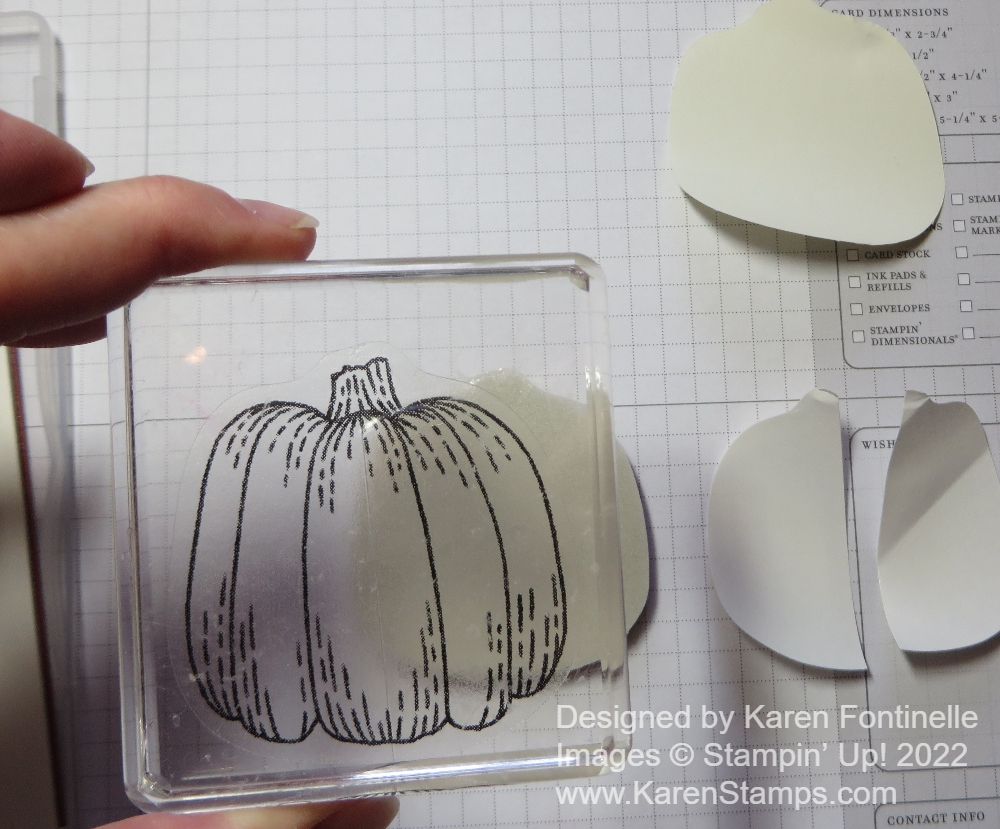
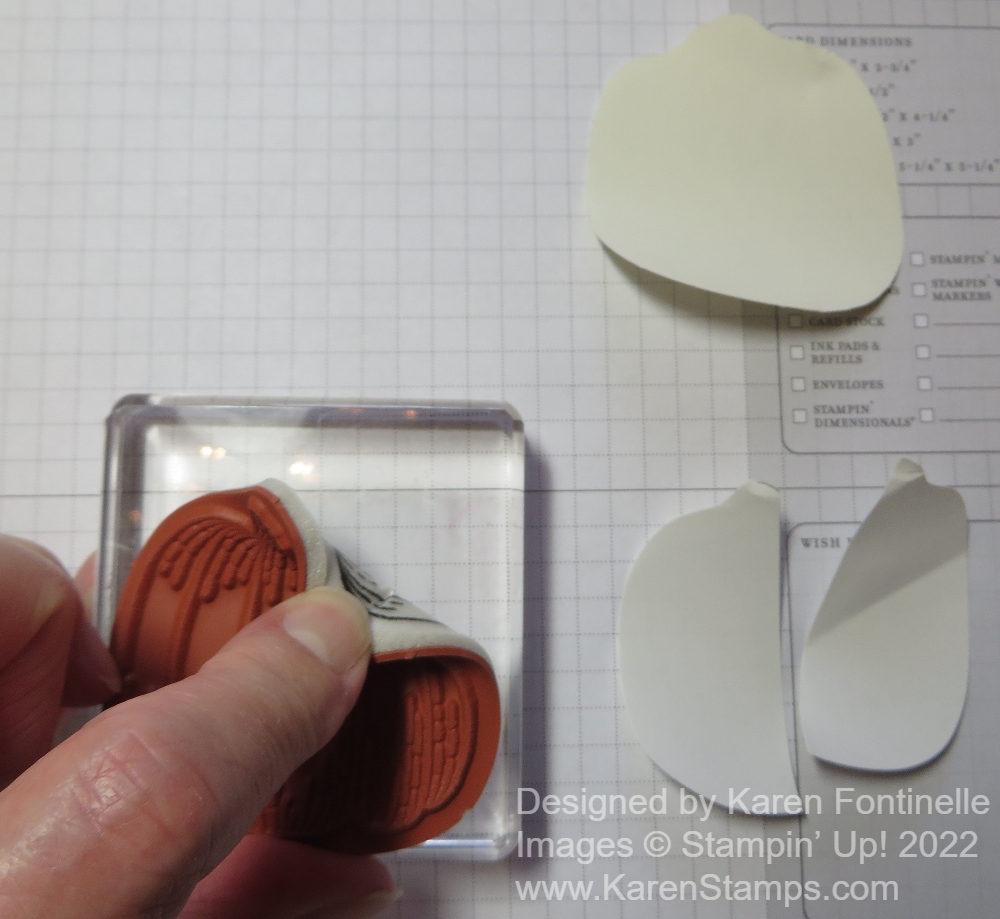
Pick up the block with the label and hold it over the backside of the stamp (that white/gray cling side). Line it up with the edges of the label on the stamp. It will be easy to see where you are.

When the label is adhered to the cling side of the stamp, it will look like the photo above. The block is on top, the stamp underneath.
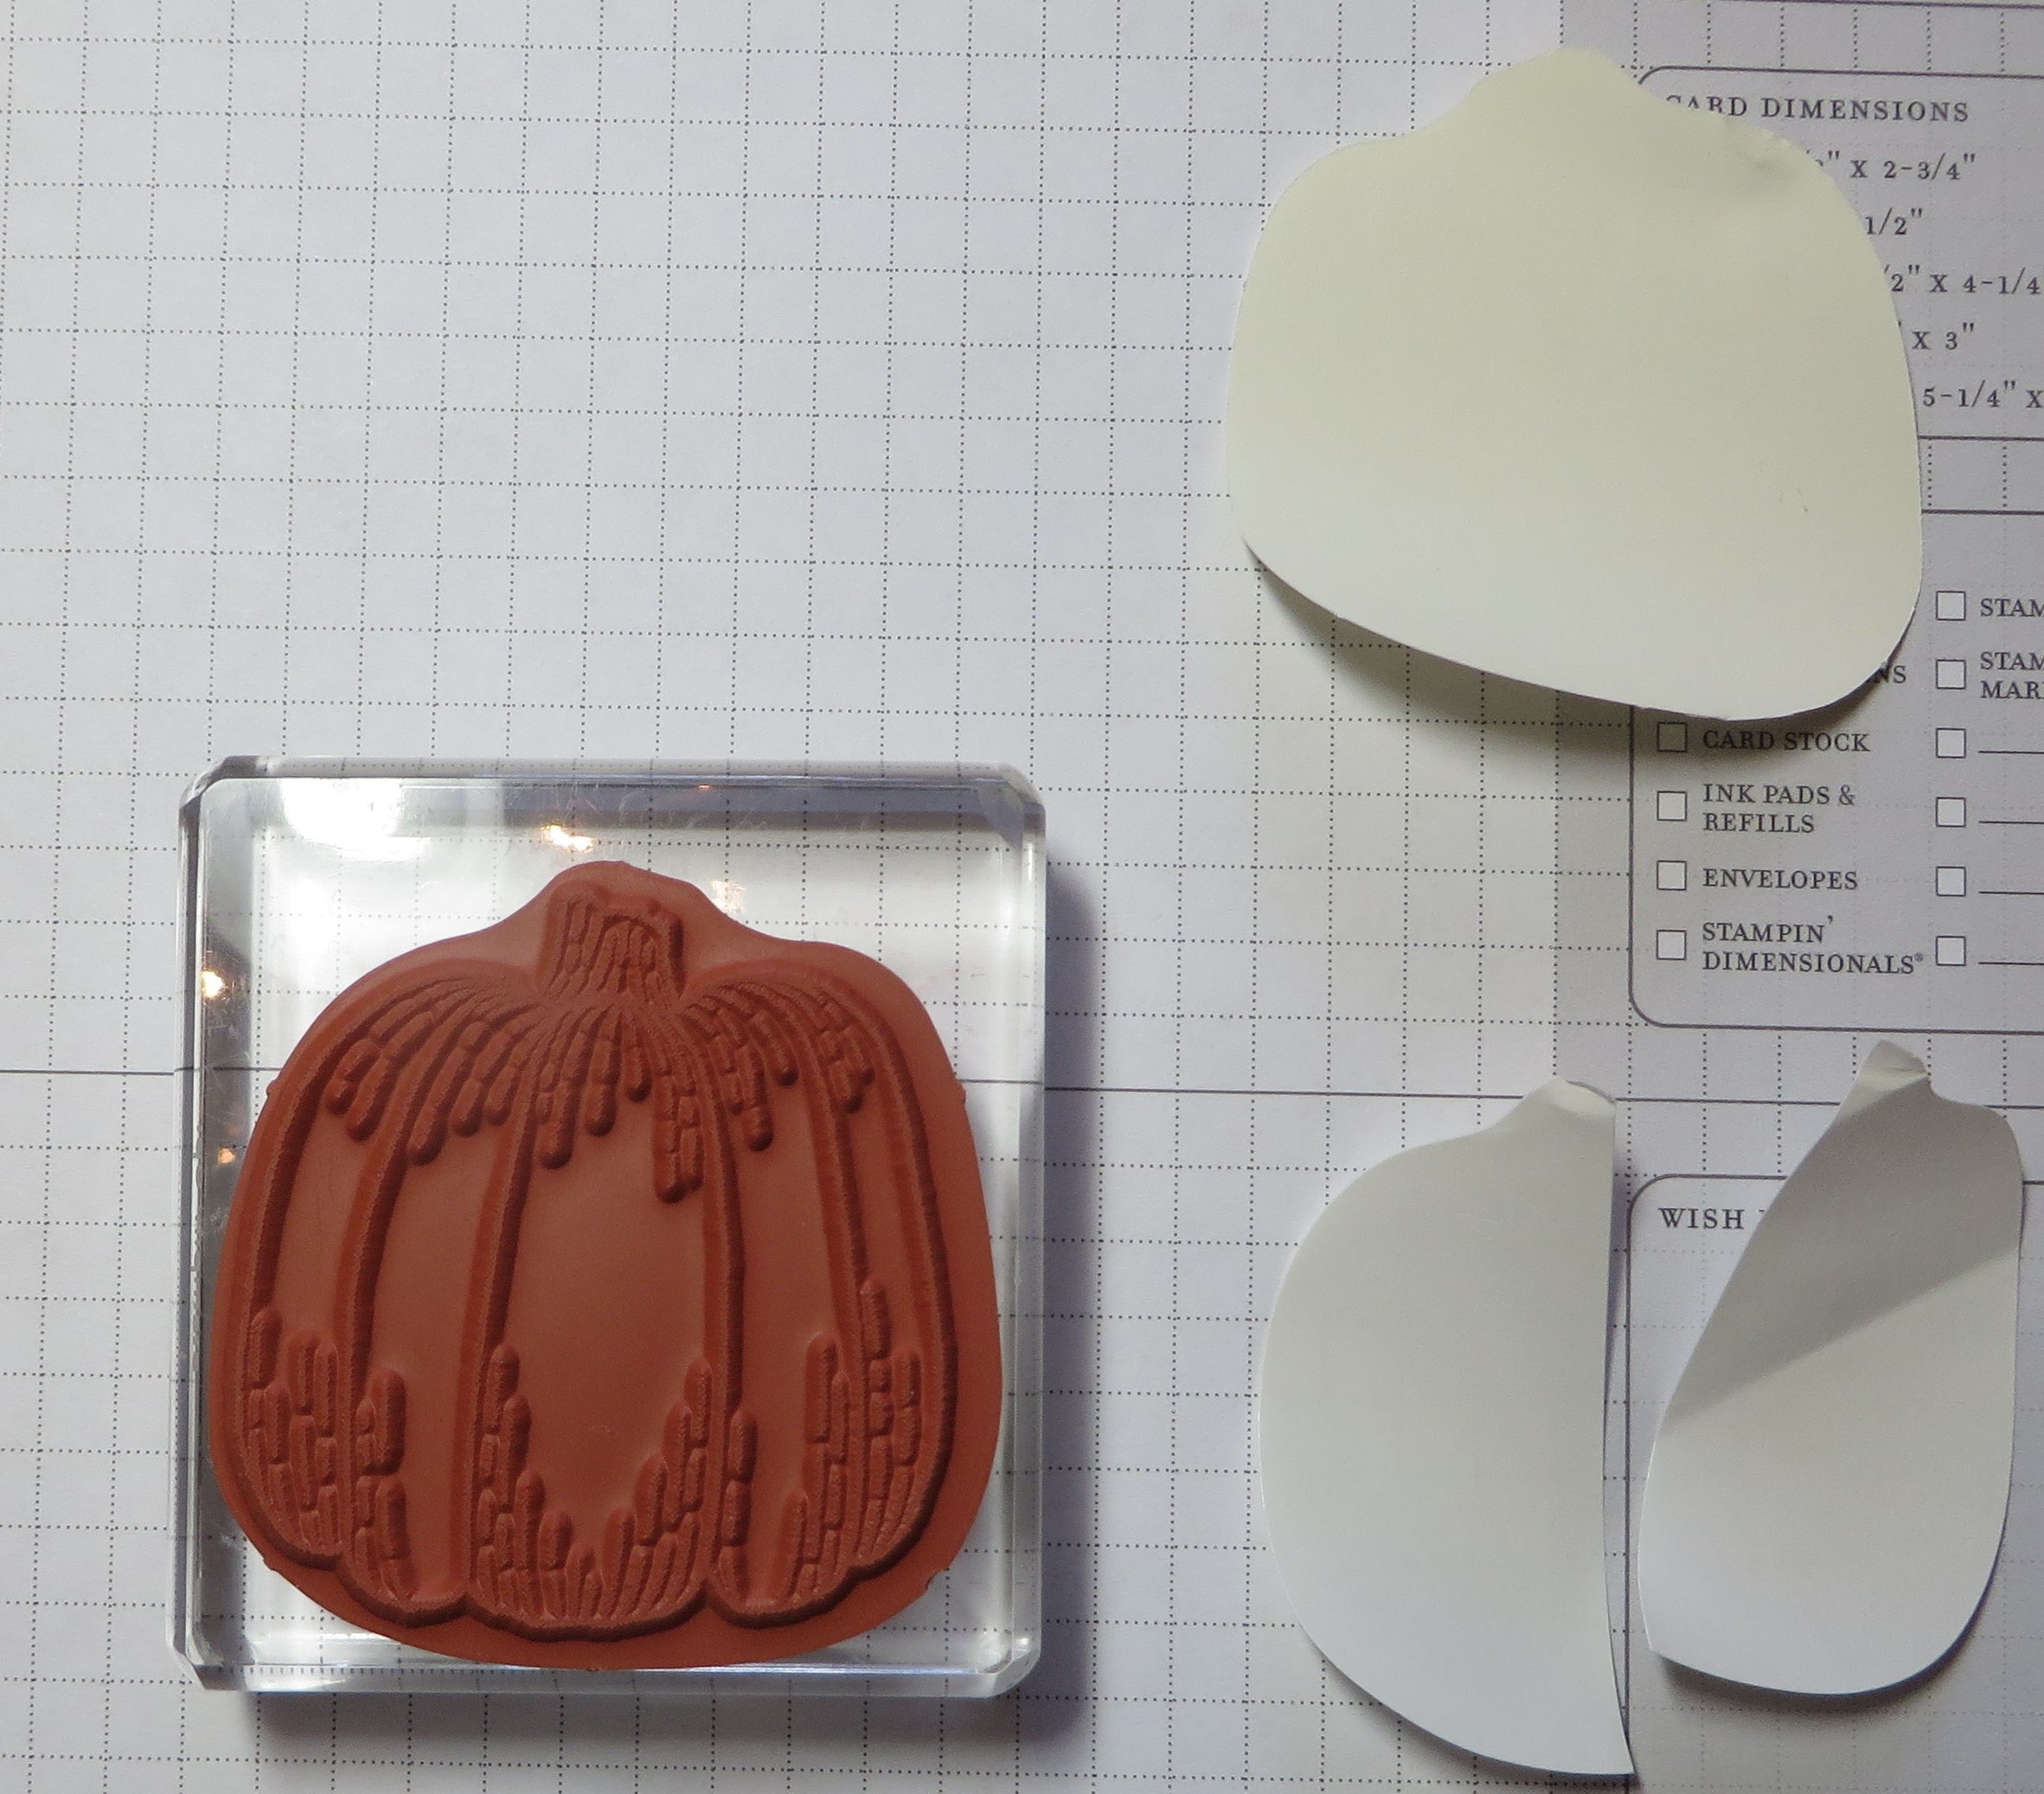
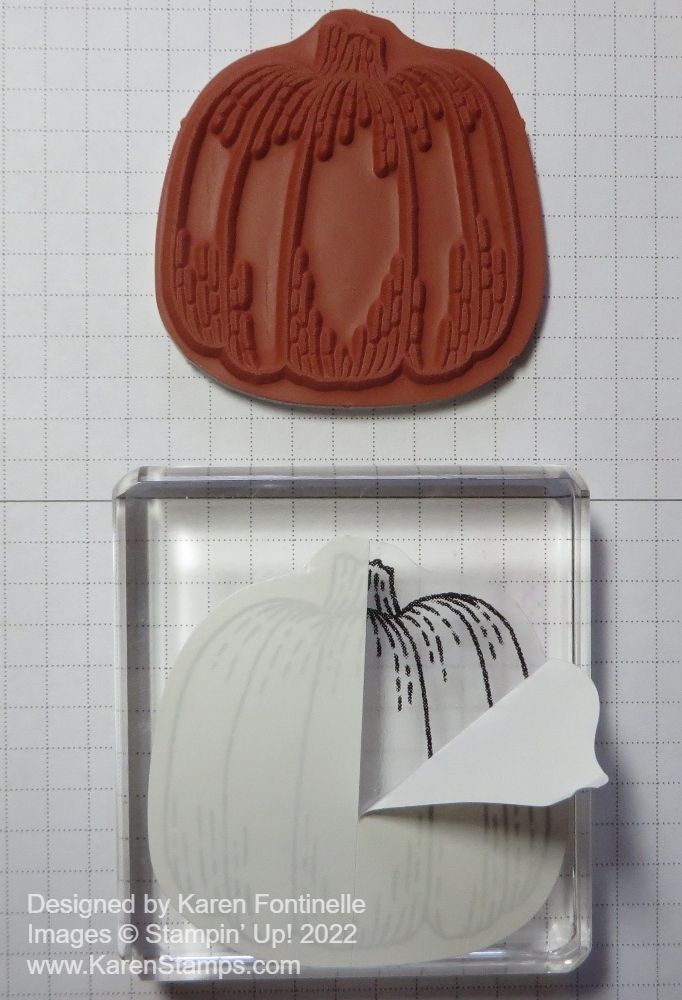
Turn the block over and the stamp is ready to use!
Now, just as if you had stamped with it, carefully peel the stamp off the block with your finger, being sure to get underneath the clear sticky label.
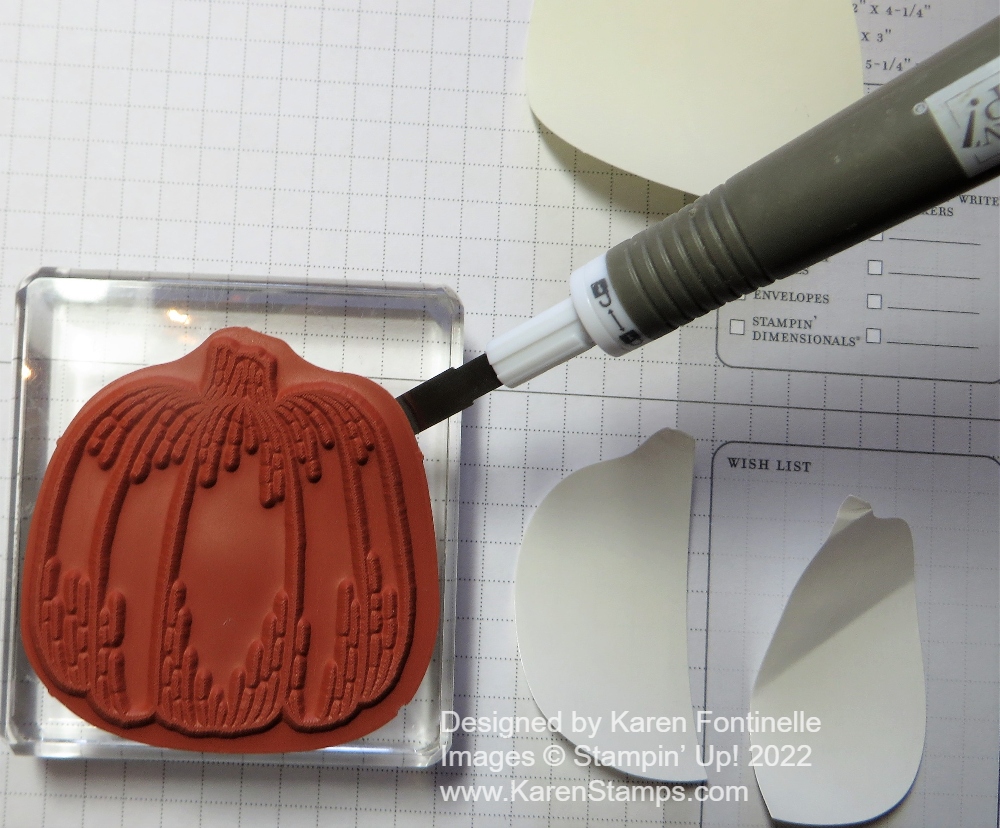
If it is difficult to get the stamp off the block with your fingers, use the Take Your Pick tool, the spatula end (unscrew the pointy end and switch), and carefully insert the flat spatula underneath the sticker.
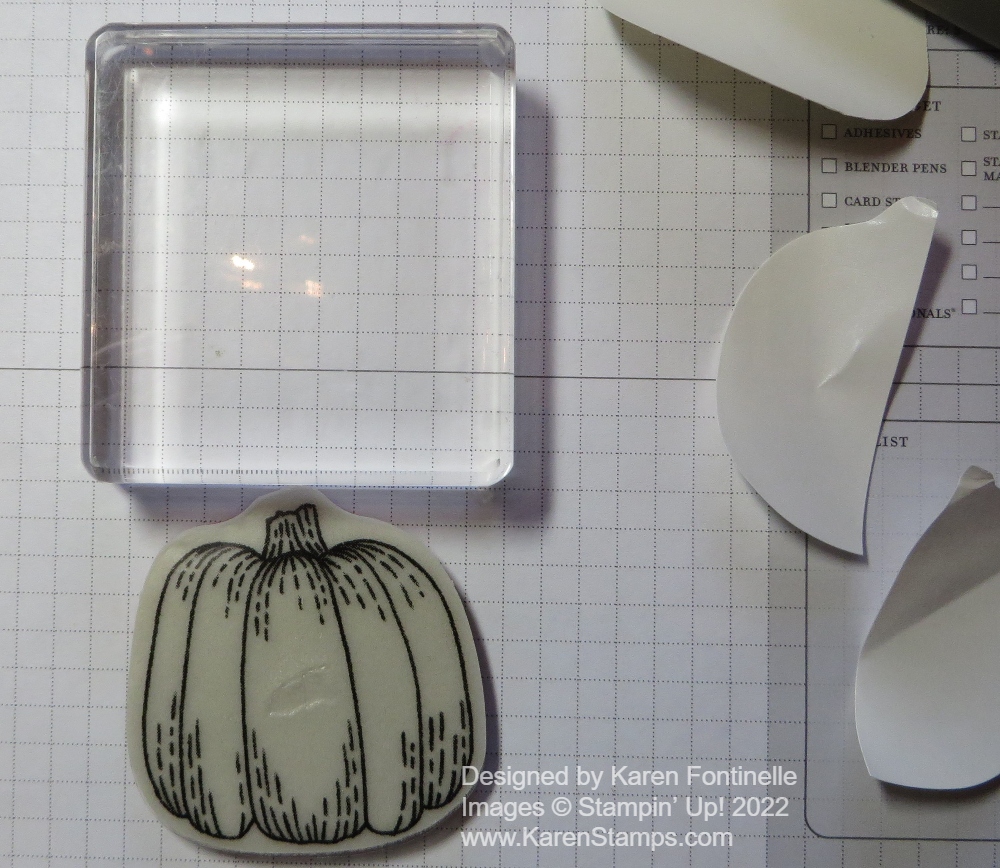
That’s it! You have the label perfectly aligned on the stamp! I know some people use their stamps without a label but I need it on my stamps!
I hope this step-by-step method of adhering labels to your red rubber cling stamps is helpful to align the label and stamp design very well which will help your stamping be aligned the way you want it to be!