
I was inspired to make something different than a card so I looked through my designer paper and this pinecone paper is what jumped out at me! I thought it would be perfect for an easy little gift bag for the holidays, like this Painted Christmas 2-4-6-8 Gift Bag. You know the holidays will be here before we know it!
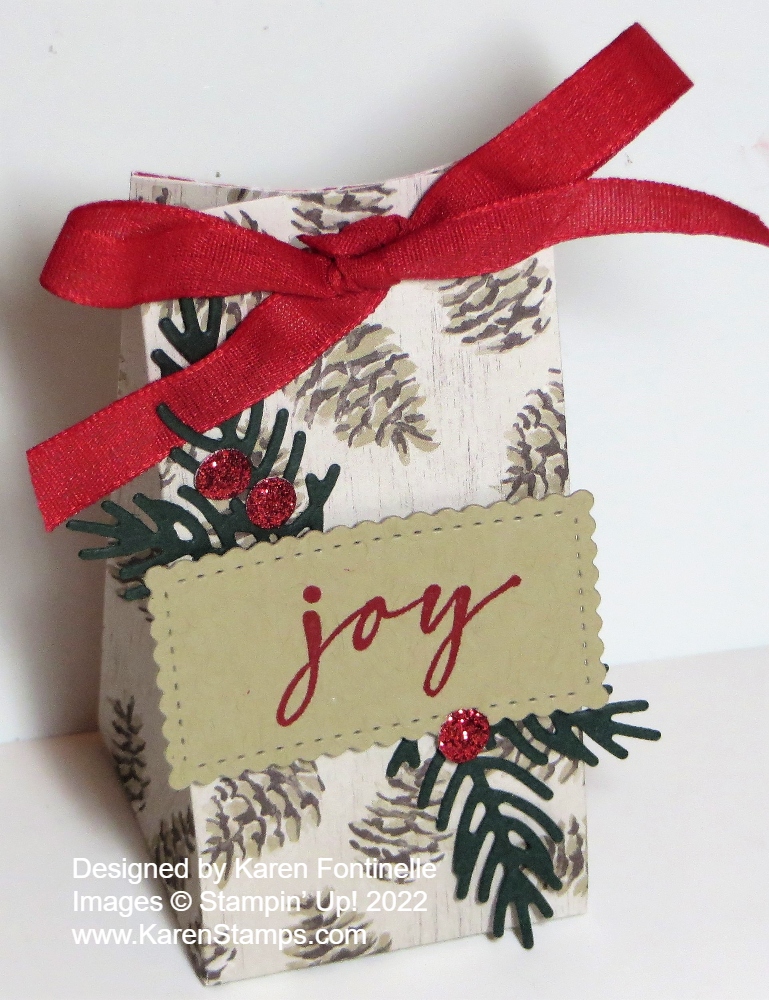
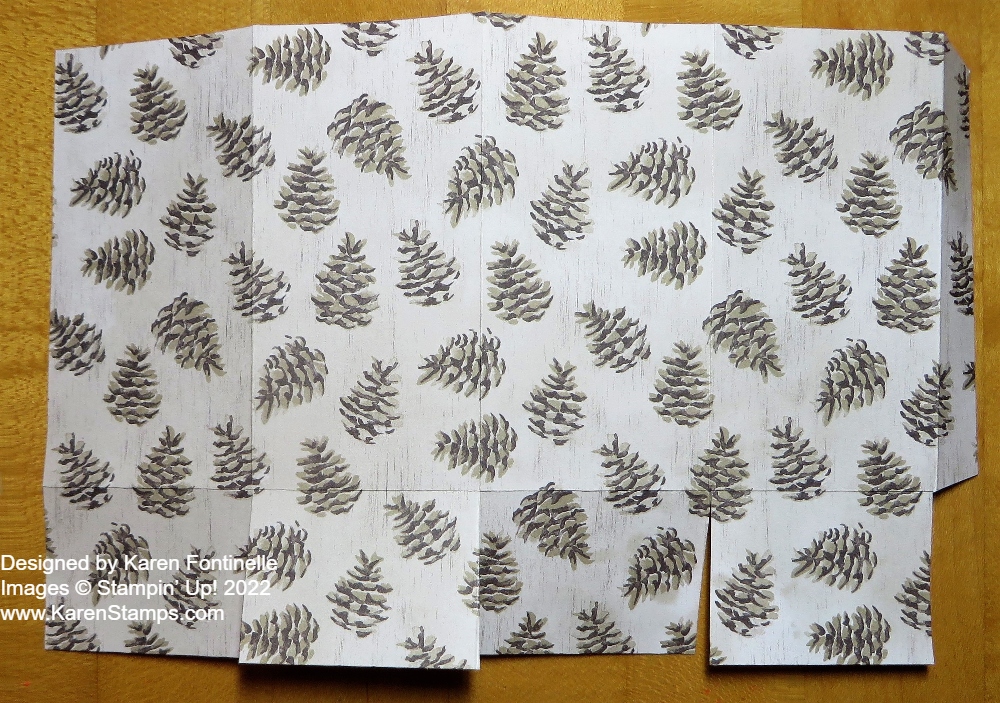
There’s almost nothing easier to make than a 2-4-6-8 gift bag! And so versatile! you can leave the top open or you can pinch it closed, as I did. Make a lid if you like. All this one takes is a piece of paper – cardstock or designer series paper – cut at 5 1/2″ x 8 1/2″. I used the Painted Christmas Designer Series Paper which was around last year and has returned this year in the Holiday Mini Catalog so you may have some! Put it in your Paper Trimmer or Simply Scored board to score at 2″, 4″, 6″, and 8″. Make sure you pay attention if there is a pattern so you have the design going the right way and not upside down or something. Then turn the paper lengthwise and score at 1 1/2″ or 2″ to make the bottom flaps of the bag. You can vary the height of the bag if you make it wider than 5 1/2″. Then cut those score lines for the flaps up to the horizontal score line. Also, cut off the tiny little 1/2″ piece at the end. Check out the paper below.
To assemble, crease all the score lines with a Bone Folder for a good fold, and then see how the bag is going to go together. Apply adhesive (Multipurpose Liquid Glue gives you some wiggle room to get the paper lined up but Tear & Tape or Stampin’ Seal+ is good, too!) to that narrow 1/2″ piece on the end. You don’t really have to hold the bag up in the air to adhere the other side to that 1/2″ side. Just lay it flat on the table and carefully fold over the opposite side to adhere to that 1/2″ side. Then just fold in the flaps, trying to not have seams showing on the front side of the bag. Apply some adhesive to the flaps and always stick your Bone Folder or something down inside the bag to put pressure on all those flaps and make sure they have fully adhered together. If you want the top of the bag closed AFTER you put your gift or treat inside, just pinch in on the sides and then close the top with ribbon through some punched holes, a staple, or some kind of clip. Whatever you like!
To decorate the bag, I used a little diecut rectangle out of Crumb Cake Cardstock and die-cut some evergreen branches out of Evening Evergreen Cardstock using the Christmas Banner Dies. I had a scrap of the Real Red Glimmer Paper in the 6″ x 6″ Pack so I diecut some red berries just in case I wanted to use them. The “joy” is stamped in Real Red ink from the Brightest Glow Stamp Set. You can purchase the whole Brightest Glow Bundle with the stamp set and some fancy dies, but if you just need some more or some Christmas greetings, you can just get the stamp set.
This little Painted Christmas 2-4-6-8 Gift Bag started out with some not real exciting pinecone paper and got turned into a real Christmasy bag for a small gift or treat! Time to get ready for the holidays!